Mastering Fence Painting: A Comprehensive Guide to Achieving Professional Results
Your fence serves as more than just a boundary; it’s a prominent feature that significantly contributes to your home’s overall curb appeal and first impression. A well-maintained and beautifully painted fence can elevate your property’s aesthetic, while a faded or peeling one can detract from it. Achieving a professional-looking fence paint job might seem daunting, but with the right knowledge and techniques, it’s a rewarding home renovation project you can tackle yourself.
This comprehensive guide will walk you through essential tips and tricks, empowering you to approach your fence painting project with confidence and achieve results that look like they were done by a seasoned pro. From selecting the perfect paint to mastering surface preparation and application techniques, we cover every detail to ensure your fence stands out for all the right reasons.
Choose the Right Paint for Your Fence
The foundation of any successful paint job lies in selecting the correct type of paint. This isn’t a one-size-fits-all decision, as different paints are formulated for specific surfaces and environmental conditions. Using the wrong paint can lead to premature bubbling, peeling, and a short-lived finish, making all your hard work futile.
When choosing paint for your fence, two critical factors must guide your decision: the material your fence is made from and the prevailing climate conditions in your area. For instance, a wooden fence will require different considerations than a metal or composite one. Similarly, a fence in a humid, rainy region needs more robust protection against moisture and mildew than one in a dry, sunny climate.
Understanding Different Paint Types
- Acrylic Latex Paints: These are highly popular for fences due to their flexibility, durability, and ease of cleanup with water. They resist cracking, fading, and mildew, making them an excellent choice for most exterior applications, especially wood and composite fences.
- Oil-Based Paints: Known for their hard, durable finish and superior adhesion, oil-based paints are ideal for high-traffic areas and offer excellent protection against wear and tear. However, they take longer to dry, clean up requires mineral spirits, and they can become brittle over time, potentially leading to cracking.
- Solid Stains: Often confused with paint, solid stains offer a paint-like appearance while still allowing some of the wood grain to show through. They penetrate the wood, providing excellent protection and are less prone to peeling than traditional paints. They are a great choice for a more natural yet colored look.
- Specialty Paints: For metal fences, look for rust-inhibiting paints. For composite materials, ensure the paint is specifically designed to adhere to plastic-based surfaces.
Consider Sheen and Finish
Beyond paint type, the finish you choose will also impact your fence’s appearance and longevity. Finishes range from flat/matte to high-gloss, each offering distinct advantages:
- Matte/Flat Finish: This finish offers a subtle, non-reflective look that can beautifully complement a natural landscape. It’s excellent for hiding imperfections but can be slightly harder to clean. Ideal for a rustic or traditional aesthetic.
- Satin Finish: A satin finish provides a soft, low-sheen look that is more durable and easier to clean than matte. It’s a versatile choice that balances appearance with practicality, offering a natural feel with a touch of sophistication.
- Semi-Gloss Finish: Offering a noticeable shine, semi-gloss paints are highly durable and very easy to clean. They create a more polished and modern appearance, making them suitable for contemporary homes.
- Gloss/High-Gloss Finish: This finish delivers the highest level of shine and durability, reflecting light beautifully. While offering maximum protection and being incredibly easy to clean, gloss finishes tend to highlight surface imperfections, so meticulous preparation is crucial.
For a polished, modern fence, a good sheen will make your fence look crisp and clean. For a more natural or understated look, a matte or satin paint will blend seamlessly with your outdoor environment.
Choose the Right Colour for Your Property

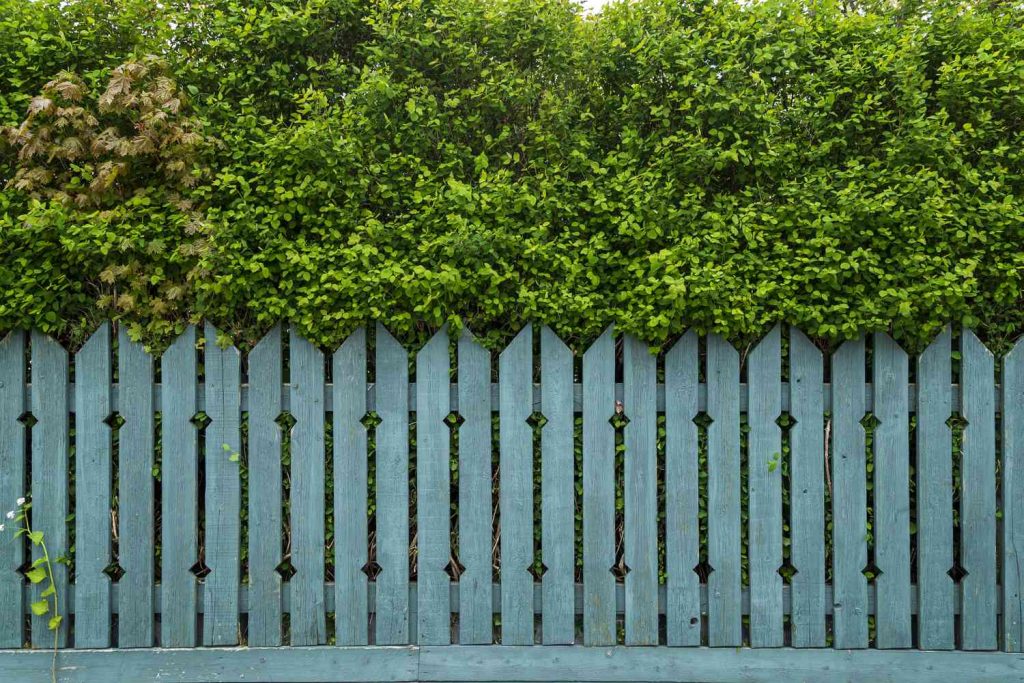
Beyond durability, the color of your fence plays a pivotal role in your home’s exterior design. While you might be spoiled for choice, it’s crucial to think practically and strategically about your color selection. Unless your neighborhood has specific Homeowners Association (HOA) rules dictating exterior aesthetics, you have creative freedom, but always consider the impact on your property value and overall curb appeal.
Harmonizing with Your Home’s Exterior
For homeowners aiming for a cohesive and integrated look, consider matching your fence color to elements of your home’s existing exterior, such as the trim, siding, or even the roof. This creates a seamless flow that ties your entire property together. For example, a white fence can beautifully complement a classic colonial home, while a dark gray or black fence can provide a striking contrast to lighter siding, adding a modern touch.
Alternatively, if you desire a bolder statement, choose a complementary color that makes your fence pop without clashing. For instance, a deep forest green fence can look stunning against a brick house, echoing natural tones, or a warm beige fence can soften a home with vibrant landscaping.
Considering Landscaping and Environment
Think about how your fence color will interact with your landscaping. A darker fence can make lush green foliage and colorful flowers stand out more prominently, acting as a sophisticated backdrop. Lighter colors, on the other hand, can brighten up a dense garden space. Also, consider the natural light conditions throughout the day; colors can appear vastly different under direct sunlight versus shade.
Always Test the Paint Before Committing
Once you’ve narrowed down your paint and color choices, resist the urge to immediately start painting the entire fence. Testing your chosen paint is an absolutely crucial step that can save you significant time, money, and frustration. Always apply the paint to a small, inconspicuous section of your fence, or even on a spare piece of the same material, before making a full commitment.
This test patch allows you to observe several vital aspects:
- Color Accuracy: Paint colors can look very different once applied to a large surface and under natural light conditions compared to a small swatch or in a store. Sun exposure, shade, and surrounding elements will all influence how the color appears.
- Texture and Finish: Confirm that the texture and sheen are exactly what you envisioned. Does the paint dry evenly? Does it provide the desired level of gloss or matte finish?
- Adhesion and Coverage: Verify that the paint adheres well to your fence material and provides adequate coverage. This will give you an idea of how many coats might be necessary for a flawless finish.
- Compatibility with Existing Aesthetics: See how the color and finish harmonize with the rest of your home’s exterior, your landscaping, and even your neighbor’s property.
If you’re not completely satisfied with the test results, it’s far less costly and easier to choose a different paint or color at this stage than to repaint an entire fence.
Never Skip Surface Preparation – The Key to Longevity

The secret to achieving a durable, professional-looking fence paint job isn’t just in the painting itself, but primarily in the thoroughness of your surface preparation. Skimping on this crucial step can lead to a paint job that chips, flakes, or peels prematurely, negating all your efforts. The more meticulous you are with repairing, cleaning, and priming your fence, the longer your paint will last and the better it will look.
Step 1: Inspect and Repair
Begin by thoroughly inspecting your entire fence for any damage. Look for loose or rotting boards, protruding nails or screws, splinters, and areas of decay. Address these issues proactively:
- Repair or Replace: Fix or replace any rotten or severely damaged sections. Use wood filler for small cracks and holes.
- Secure Fasteners: Hammer in any loose nails or replace them with screws for better stability.
- Smooth Surfaces: Sand down any rough patches or splinters to ensure a smooth, even surface for painting.
Step 2: Remove Old Paint and Loose Debris
If your fence has existing paint that is chipping, flaking, or cracked, it must be removed. New paint will not adhere well to unstable old paint, and these imperfections will show through the new coat.
- Scraping: Use a wide-blade paint scraper to remove loose and peeling paint. Work carefully to avoid damaging the wood.
- Sanding: Follow up with coarse sandpaper (around 80-100 grit) to smooth out any remaining rough spots and feather the edges of intact old paint. For larger areas, an orbital sander can save a lot of time and effort.
- Wire Brush: For tougher spots or intricate designs, a wire brush can be effective.
Step 3: Clean the Fence Thoroughly
Before any paint goes on, your fence must be impeccably clean. Dirt, grime, mildew, and cobwebs will prevent proper adhesion. There are a few ways to clean your fence effectively:
- Pressure Washing: This is the fastest and most efficient method, but use a low-pressure setting and keep the nozzle moving to avoid damaging the wood. Allow ample time for the fence to dry completely, typically 24-48 hours, depending on humidity.
- Manual Scrubbing: For a gentler approach, or if you don’t have a pressure washer, use a stiff brush, warm water, and a mild detergent or a specialized fence cleaner. Rinse thoroughly with a garden hose.
- Mildew Removal: If you spot mildew, treat it with a bleach-and-water solution (1 part bleach to 3 parts water) or a commercial mildew remover.
Step 4: Priming the Surface
Once your fence is clean and completely dry – this is crucial, as painting on a wet surface leads to adhesion issues and potential color problems – apply a high-quality primer. Primer serves several vital functions:
- Enhanced Adhesion: It creates a uniform surface that allows the paint to stick better and last longer.
- Improved Coverage: Primer helps the topcoat achieve a more even color and requires fewer coats of paint.
- Stain Blocking: Especially important for wood, primer can block tannins from bleeding through and discoloring your new paint.
- Protection: Some primers offer additional protection against moisture and mildew.
Choose a primer compatible with both your fence material and your chosen topcoat paint. Allow the primer to dry completely according to the manufacturer’s instructions before proceeding to the painting stage.
Mask Off or Remove the Hardware
A tell-tale sign of an amateur paint job is paint splattered onto hinges, handles, and other hardware. To achieve a truly professional finish, you must either meticulously mask off or temporarily remove these elements before you begin painting. This small detail makes a huge difference in the final appearance of your fence.
- Removing Hardware: The cleanest option is to carefully unscrew and remove any gate handles, hinges, barrel bolts, latches, or decorative elements. Store them safely until the paint has completely dried, then reattach them. This ensures crisp, clean lines and prevents any accidental drips or smudges.
- Masking Off: If removing hardware isn’t feasible or is too time-consuming, use high-quality painter’s tape to meticulously mask off all edges of the hardware. Press the tape down firmly to prevent paint from seeping underneath. Extend the tape slightly beyond the hardware’s edge to provide ample protection. You can also use plastic sheeting or newspaper secured with tape for larger items that cannot be removed.
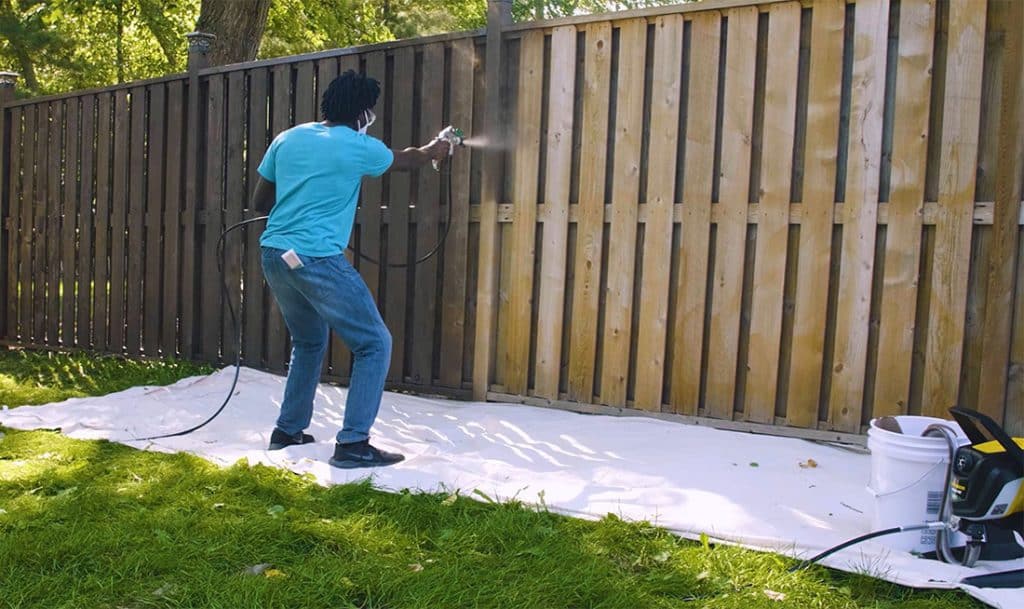
Don’t forget to protect any surrounding plants, paving, or structures with drop cloths or plastic sheeting to catch any drips or overspray, especially if you plan to use a paint sprayer.
Choose Your Paint Applicator Well
The tool you choose to apply paint to your fence significantly impacts the speed, precision, and final finish of your project. Each method – brush, roller, or sprayer – has its own advantages and drawbacks, making the right choice dependent on your fence type, size, and desired outcome.
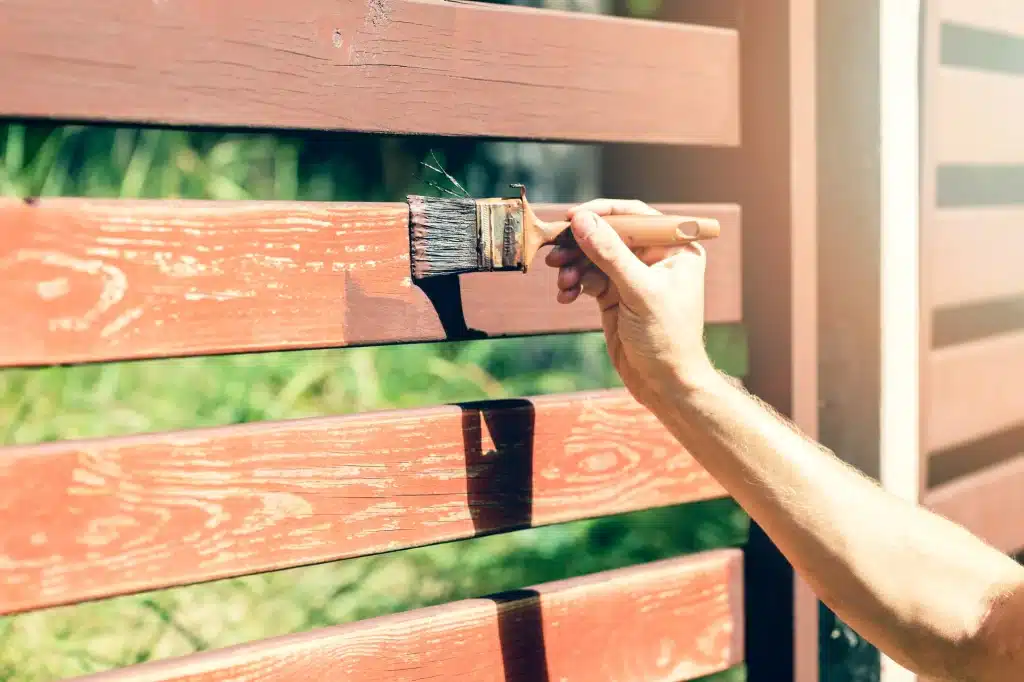
- Paintbrushes: For ultimate precision and reaching every nook and cranny, especially on intricate fences or those with many small gaps, a paintbrush is unmatched. While slower, it allows for meticulous application and a smooth finish. Use a quality synthetic brush for latex paints and natural bristles for oil-based paints. A 3-4 inch wide brush is typically good for fence panels, with a smaller angled brush for detail work.
- Paint Rollers: Rollers offer a faster way to cover large, flat surfaces. They are ideal for smooth fence panels or solid privacy fences. Use a roller with a thick nap (e.g., 3/4 inch) for rough or textured wood and a shorter nap (e.g., 1/2 inch) for smoother surfaces. A roller tray or five-gallon bucket with a grid can make the process more efficient.
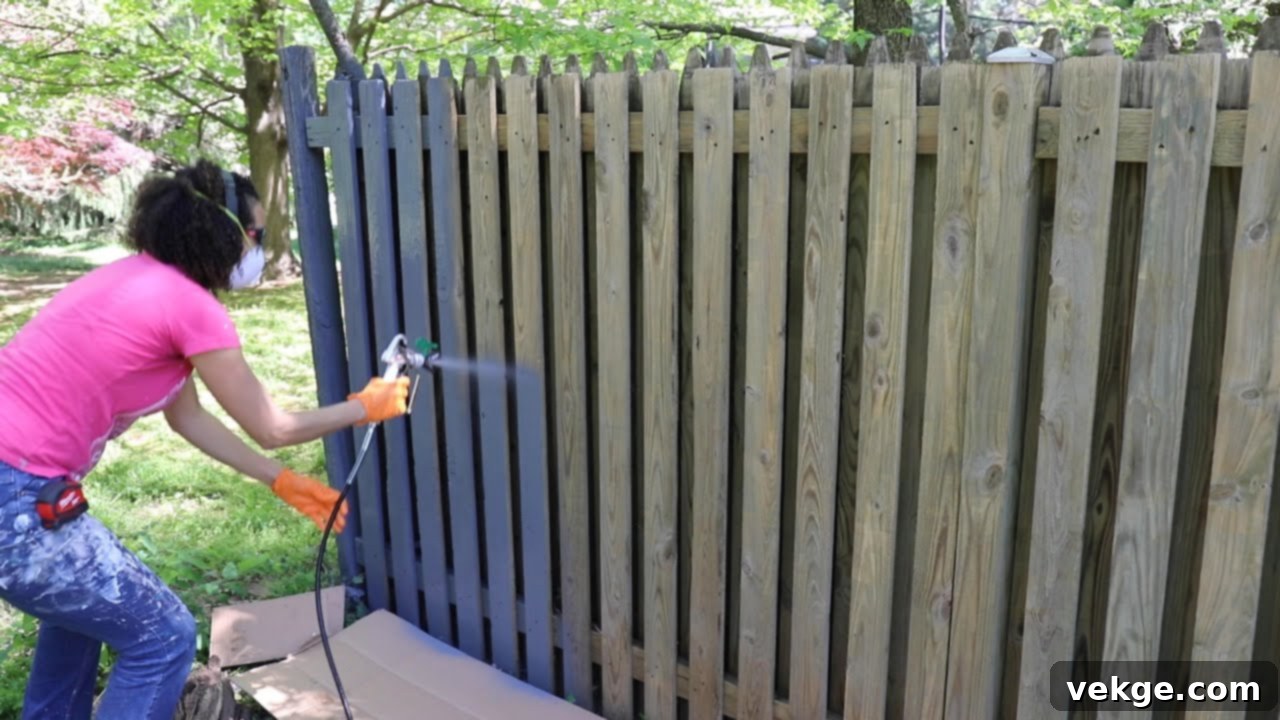
- Paint Sprayers: For covering very large fences quickly and efficiently, a paint sprayer is an excellent tool. It provides a uniform finish with minimal brush strokes. However, sprayers require careful setup, masking of surrounding areas to prevent overspray, and a certain level of skill to avoid drips and uneven coverage. There are two main types:
- Airless Sprayers: Deliver a fine, high-pressure spray, ideal for large projects and thick paints.
- HVLP (High Volume Low Pressure) Sprayers: Offer more control and less overspray, better for smaller projects and thinner coatings.
Often, a combination of tools works best: a sprayer or roller for the main panels and a brush for edges, corners, and intricate details.
Apply More than One Coat of Paint

For a truly polished, durable, and long-lasting finish, applying more than one coat of paint is non-negotiable. While a single coat might initially look acceptable, it rarely provides the full depth of color, uniform coverage, or the necessary protection against the elements. This is especially true when you’re significantly changing the color of your fence, or if the surface is porous.
Applying at least two, and often three, thin coats of paint offers several key benefits:
- Full Coverage and Richer Color: Multiple thin coats build up color saturation, providing a more vibrant and consistent hue without streaks or see-through spots.
- Enhanced Durability: Each additional coat adds a layer of protection, making your fence more resistant to UV rays, moisture, temperature fluctuations, and general wear and tear. This significantly extends the life of your paint job.
- Improved Adhesion: Successive coats bond better to each other, creating a stronger, more resilient film that is less prone to chipping and peeling.
- Smoother Finish: Thin coats are less likely to drip or sag and allow for a smoother, more professional-looking finish with fewer imperfections.
Always allow each coat to dry completely according to the paint manufacturer’s instructions before applying the next. Rushing this step can lead to a sticky, uneven, or bubbling finish. Lightly sanding with fine-grit sandpaper (around 220-grit) between coats can also help achieve an even smoother surface, especially if you notice any minor imperfections.
Check the Weather Before Painting Your Fence
The weather is arguably one of the most critical factors influencing the success and longevity of your fence painting project. Ignoring the forecast can lead to frustrating issues like poor adhesion, uneven drying, and a compromised finish. Always check the weather forecast for ideal painting conditions before you commit to starting your project.
Optimal Weather Conditions
- Temperature: The “sweet spot” for most exterior paints is between 50°F and 85°F (10°C and 30°C). Temperatures that are too cold can cause paint to dry slowly, affecting adhesion and finish quality. If it’s too hot (above 90°F / 32°C), paint can dry too quickly on the surface, leading to blistering, flaking, or an inability to properly bond. Avoid painting in direct, intense sunlight on hot days.
- Humidity: Low to moderate humidity is ideal. High humidity slows down drying times, making paint susceptible to smudges, dust, and mildew growth. It can also trap moisture, leading to blistering.
- Dry Conditions: It’s essential that your fence, and the air, remain dry throughout the painting process and for at least 24-48 hours after the final coat. Rain, fog, or heavy dew can ruin a fresh coat of paint, causing it to streak, sag, or peel.
- Wind: While a light breeze can help with drying, strong winds are detrimental, especially if you’re using a sprayer. Wind can cause overspray, uneven application, and quickly blow dust and debris onto your wet paint.
Aim for a period of several consecutive dry days with stable temperatures. Early mornings or late afternoons are often the best times to paint on warm days, avoiding the harshest sun.
Final Thoughts on Achieving a Professional Fence Paint Job
Painting your fence is more than just applying color; it’s an art that requires patience, attention to detail, and proper planning. It’s not a job that should be rushed if you desire results that not only look fantastic but also stand the test of time and weather.
By investing time in choosing the right paint for your specific fence material and climate, meticulously preparing the surface, selecting a complementary color, utilizing the appropriate tools, and ensuring ideal weather conditions, you can transform your fence into a beautiful, durable asset that enhances your home’s aesthetic appeal for years to come. Take pride in the process, and enjoy the lasting beauty of your professionally painted fence.
