The Ultimate Guide to Cleaning and Prepping Wood Before Painting for a Flawless Finish
Preparing wood for painting is arguably the most crucial step in achieving a professional-looking, durable, and long-lasting finish. Many eager DIYers often underestimate the importance of thorough surface preparation, leading to paint peeling, bubbling, or failing to adhere properly.
Whether you’re revitalizing an old piece of furniture, giving a fresh coat to trim, or transforming cabinets, the condition of the wood surface directly impacts the quality of your paint job. A clean, smooth, and well-prepared surface ensures maximum paint adhesion and a beautiful, even appearance.
This comprehensive guide will walk you through every essential step, from inspecting your wood to the final wipe-down, ensuring you have all the knowledge and techniques needed for successful wood preparation. By investing a little extra time in cleaning and prepping, you’ll save yourself potential frustrations and rework down the line, ultimately achieving a finish you’ll be proud of.
Why Cleaning and Prepping Wood Before Painting is Essential
Before diving into the practical steps, understanding the fundamental reasons behind proper wood preparation will motivate you to execute each stage meticulously. A clean surface isn’t just about aesthetics; it’s about the chemistry of adhesion and the longevity of your paint.
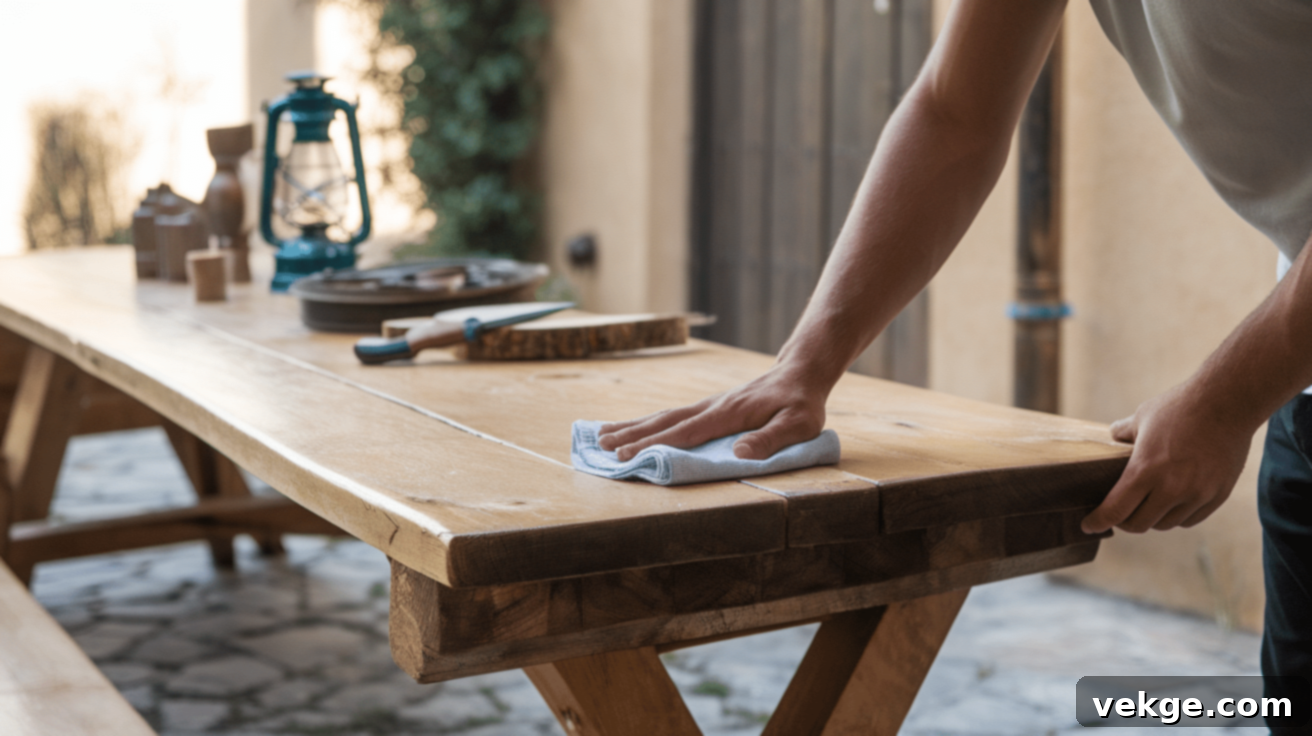
Over time, wood surfaces accumulate a variety of contaminants: dust, dirt, grease from everyday handling, cooking oils, and even residues from cleaning products. These particles create a barrier between the wood and the paint, preventing the paint from bonding effectively. When paint doesn’t adhere well, it can easily chip, flake, or peel, significantly shortening the lifespan of your finish.
Moreover, proper cleaning helps to remove old paint, stains, mildew, or other blemishes that could otherwise show through your new coat of paint or compromise its integrity. Without a clean base, wood may absorb paint unevenly, resulting in a blotchy, inconsistent, and unprofessional appearance. The goal is to create a pristine canvas, allowing the paint to achieve its intended color, texture, and durability. Taking the time to properly clean and prepare the wood ensures that every drop of paint you apply contributes to a smooth, uniform, and resilient finish.
Gather Your Essential Tools and Materials for Wood Preparation
Having the right tools and materials on hand before you begin will make the wood preparation process smoother and more efficient. Gather everything listed below to avoid interruptions and ensure you can tackle any surface challenge.
- Warm Water and Mild Soap: Essential for general cleaning. Dish soap or an all-purpose cleaner is usually sufficient. Avoid harsh chemicals that could damage the wood or interfere with paint adhesion.
- Two Buckets: One for soapy water, one for clean rinse water. This prevents transferring dirt back onto the wood.
- Soft Cloths or Sponges: For applying cleaner and wiping surfaces. Microfiber cloths are excellent for picking up dust and grime without scratching.
- Stiff Bristle Brush or Toothbrush: Useful for scrubbing stubborn dirt from crevices, grain, or intricate carvings.
- Baking Soda: An excellent natural abrasive for tackling tough stains or grease without damaging the wood.
- Clean Rags or Paper Towels: For drying the surface and absorbing excess moisture.
- Sandpaper or Sanding Block: A variety of grits (e.g., 80-grit for heavy removal, 120-150 grit for general sanding, 220-grit for fine finishing). A sanding block provides even pressure.
- Wood Filler or Putty Knife: For repairing cracks, holes, or imperfections. Choose a filler that is paintable and compatible with your wood type.
- Mineral Spirits or Paint Stripper (Optional): For removing old, peeling paint or stubborn residues that regular cleaning can’t handle. Use with caution and adequate ventilation.
- Vacuum Cleaner with Brush Attachment: For efficiently removing dust and debris, especially after sanding.
- Safety Gear: Rubber gloves to protect your hands from cleaners, dust mask to prevent inhaling wood dust, and safety glasses to protect your eyes.
Thorough Wood Inspection: What to Look For Before You Begin
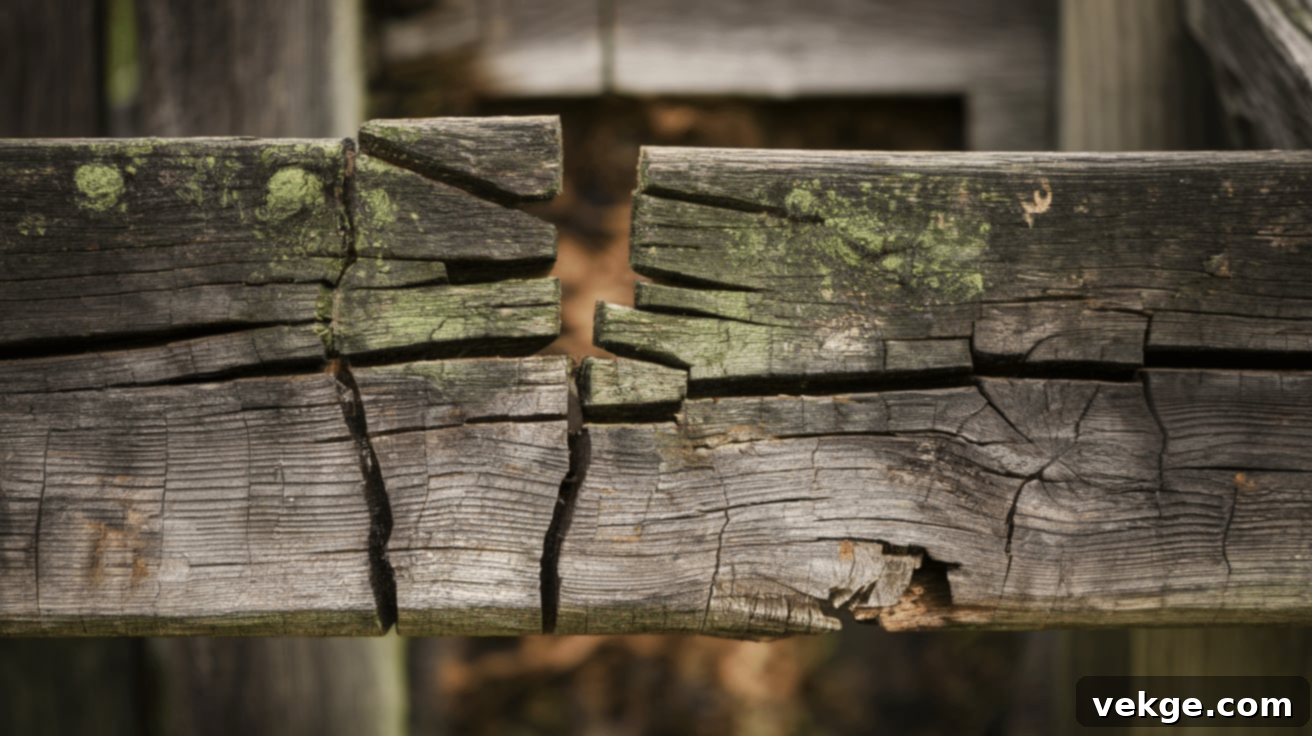
Before any cleaning or sanding takes place, a detailed inspection of your wood surface is crucial. This step helps identify any underlying issues that need attention, ensuring your subsequent preparation efforts are targeted and effective.
1. Surface Integrity: Cracks, Splits, and Dents
Carefully examine the entire wood surface for any signs of physical damage. Look for cracks, splits, chips, dents, or holes that might compromise the smoothness of your final paint job. Small imperfections are common, especially on older pieces or outdoor wood. These flaws not only detract from the aesthetic appeal but can also allow moisture to penetrate the wood, leading to further damage down the line. Identifying these early allows you to address them with appropriate wood filler or epoxy, creating a uniform and structurally sound base for your paint.
2. Existing Finish: Old Paint, Varnish, or Stain
Determine if the wood has an existing finish, such as old paint, varnish, lacquer, or stain. Assess its condition: Is it peeling, chipped, bubbling, or flaking? A failing old finish will prevent new paint from adhering properly, no matter how well you clean it. If the old finish is in poor condition, it will need to be partially or completely removed, often through sanding or chemical stripping. If the old finish is intact and smooth, a thorough cleaning and light sanding might be sufficient to provide a good “tooth” for the new paint.
3. Surface Texture and Smoothness
Run your hand across the entire surface of the wood. Does it feel rough, bumpy, or uneven? Any inconsistencies in texture will likely be magnified once paint is applied. Rough spots, raised grain, or dried drips from a previous finish need to be sanded smooth. Achieving a consistently smooth surface is paramount for a professional finish, allowing the paint to glide on evenly and reflect light uniformly. This step is also where you’ll identify any stubborn previous imperfections that cleaning alone won’t solve.
4. Dirt, Grime, Grease, and Sticky Residues
Visually inspect and gently touch the surface for any visible dirt, grime, sticky spots, or greasy build-up. Areas frequently handled, such as furniture arms or cabinet doors, often accumulate body oils and cooking grease. Outdoor wood might have environmental dirt or sap. These contaminants are the primary enemies of paint adhesion and must be thoroughly removed. Greasy spots, in particular, require targeted cleaning with appropriate degreasers to ensure the paint bonds directly to the wood, not to a layer of oil.
5. Moisture Damage, Mold, and Mildew
For outdoor wood, or pieces exposed to high humidity, check for signs of moisture damage, mold, or mildew. These manifest as dark spots, discoloration, or a fuzzy growth. Painting over mold or mildew will not kill it; instead, it will likely continue to grow beneath the paint, eventually causing the paint to peel or bubble. Any mold or mildew must be treated and thoroughly cleaned with a fungicidal wash or a vinegar-and-water solution. Ensure the wood is completely dry after treatment to prevent regrowth and before proceeding with any further preparation.
By thoroughly inspecting the wood before you start, you’ll be able to create a strategic plan for cleaning and preparing your surface, ensuring it is in optimal condition for painting.
Step-by-Step Guide to Cleaning and Prepping Wood for Painting
Now that you’ve inspected your wood and gathered your tools, it’s time to get hands-on. Follow these detailed steps to ensure your wood surface is perfectly prepared for a flawless paint application.
Step 1: Initial Dust and Debris Removal
Begin by removing any loose dirt, dust, cobwebs, or debris from the wood surface. Use a dry, soft cloth, a microfiber duster, or a vacuum cleaner with a brush attachment. Pay close attention to corners, crevices, and any carved details where dust can accumulate. This initial pass prevents merely spreading dirt around during the wet cleaning stages and gives you a clearer view of the surface’s true condition.
Step 2: Deep Cleaning the Wood Surface
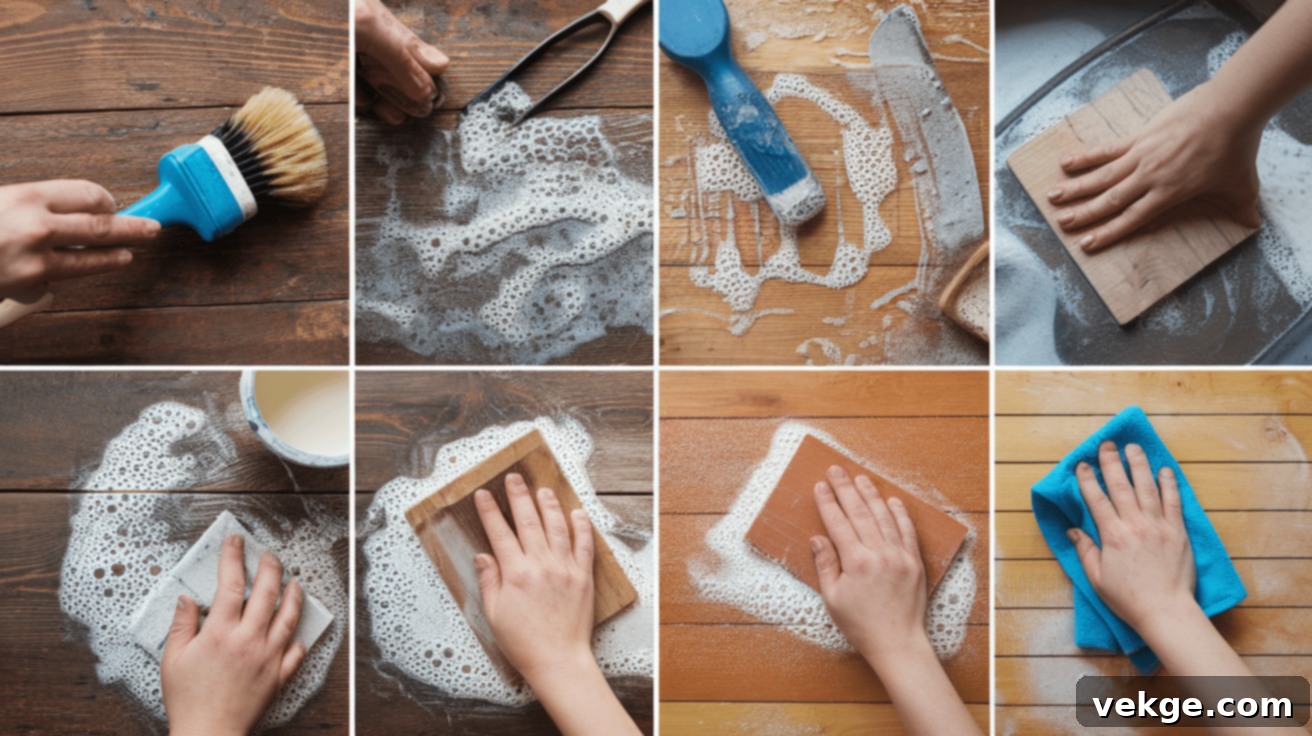
Mix a solution of warm water with a few drops of mild dish soap or an all-purpose cleaner in one bucket. Dip a soft cloth or sponge into the soapy water, wring it out well so it’s damp but not dripping, and wipe down the entire wood surface. Work in sections, cleaning off accumulated dirt, light grease, and general grime. For tougher areas, you might need to apply a little more pressure or use a stiff-bristle brush.
After cleaning a section with soap, rinse your cloth thoroughly in the second bucket of clean, warm water (or use a fresh, clean, damp cloth). Wipe down the cleaned area again to remove any soap residue. It’s crucial to remove all soap film, as it can interfere with paint adhesion. Repeat this process until the entire surface is clean and free of suds. Allow the wood to air dry completely. This might take several hours, depending on humidity and ventilation. Ensure no moisture remains trapped in the wood grain before proceeding.
Step 3: Addressing Stubborn Stains and Grease
For persistent stains, scuff marks, or heavy grease spots that the general cleaning couldn’t remove, targeted treatment is necessary. For greasy spots, apply a small amount of concentrated dish soap or an all-purpose degreaser directly to the area, gently scrub with a soft brush or sponge, then wipe clean with a damp cloth and rinse thoroughly. For stubborn stains, a paste made from baking soda and a little water can act as a gentle abrasive. Apply the paste, let it sit for a few minutes, then gently scrub and wipe clean. Rinse well and ensure the area is completely dry.
If you encounter mold or mildew, clean the area with a solution of equal parts white vinegar and water. Scrub thoroughly, rinse, and allow to dry completely. For very old, flaky, or peeling paint that won’t budge with scraping, consider using mineral spirits or a paint stripper, following the product’s instructions carefully in a well-ventilated area and with appropriate safety gear.
Step 4: Repairing Imperfections with Wood Filler
Once the wood is clean and dry, it’s time to address any cracks, splits, dents, or holes identified during your initial inspection. Use a good quality wood filler that is paintable and suitable for your project. Apply the filler with a putty knife, pressing it firmly into the imperfection and slightly overfilling it. Smooth the filler as much as possible with the knife, then allow it to dry completely according to the manufacturer’s instructions. Drying times can vary significantly based on thickness and humidity.
Step 5: Essential Sanding for Optimal Adhesion
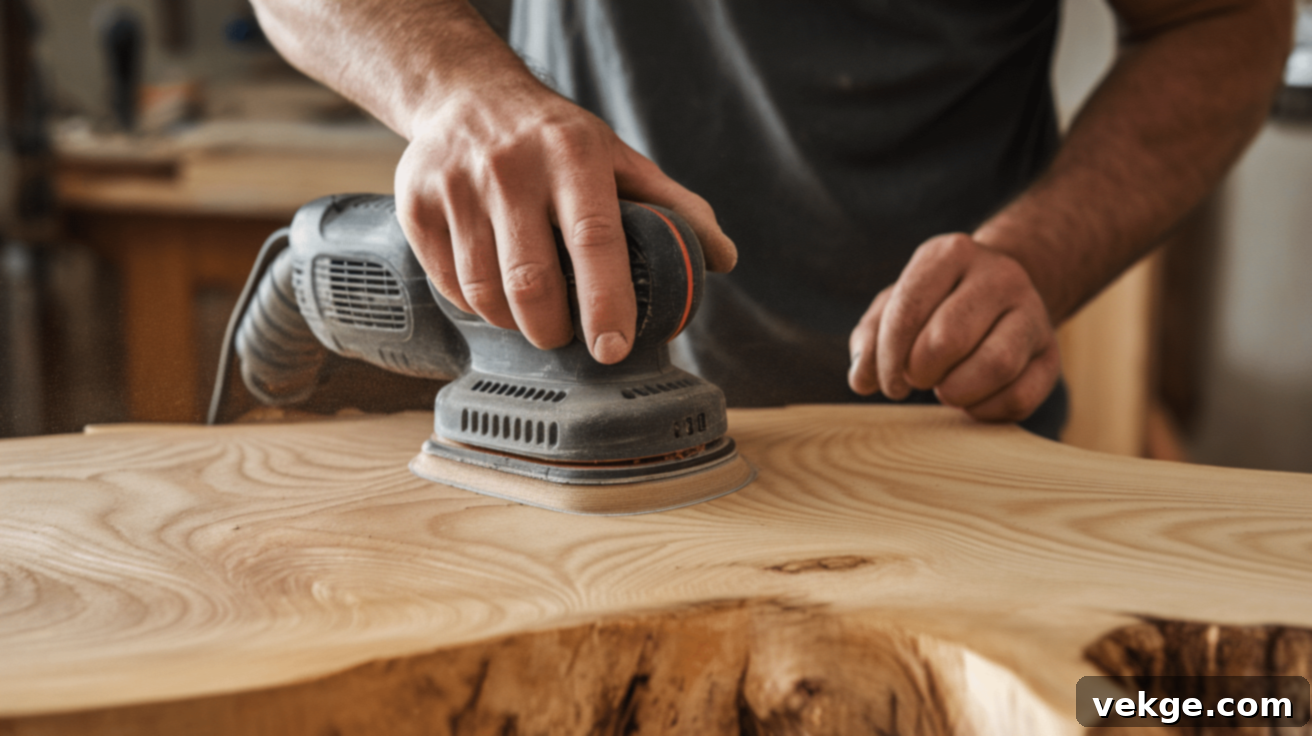
Sanding is a critical step that creates a “tooth” for the paint to adhere to, ensuring a smooth, uniform finish. Begin by sanding any areas where wood filler was applied. Once dry, sand these spots smooth and flush with the surrounding wood using medium-grit sandpaper (around 120-grit). Then, sand the entire wood surface. If you’re working with raw wood, start with 120-150 grit sandpaper to remove any rough spots and open the wood’s pores. If you’re sanding over an intact old finish, a 180-220 grit sandpaper will be sufficient to lightly scuff the surface for better adhesion.
Always sand in the direction of the wood grain to avoid unsightly cross-grain scratches that will show through the paint. For larger areas, a random orbital sander can save time, but always finish with a hand-sanding pass to ensure the grain direction is respected. After initial sanding, progress to a finer grit (e.g., 220-grit) for a silky-smooth finish. This two-stage sanding process removes imperfections and creates a perfectly prepped surface. After all sanding is complete, use a vacuum cleaner with a brush attachment, followed by a tack cloth, to remove all sanding dust. Even small specks of dust can create bumps under paint.
Step 6: Final Dust Removal Before Priming
After sanding, it is absolutely crucial to remove every speck of dust. Use a vacuum cleaner with a brush attachment to pick up the majority of the dust. Follow this with a tack cloth, which is a slightly sticky cloth designed to pick up fine dust particles. Wipe the entire surface with the tack cloth, applying light pressure, until no dust residue remains. For very intricate pieces, you can also use a soft, dry paintbrush to brush dust out of crevices, then vacuum again. This step is often overlooked but is paramount for a smooth, dust-free paint finish.
Step 7: Applying the Right Primer (If Needed)
Priming isn’t always mandatory but is highly recommended for most projects, especially when painting raw wood, drastically changing the color, or covering existing stains. Primer serves multiple functions: it seals the wood, prevents tannin bleed (discoloration from wood’s natural oils), blocks stains, improves paint adhesion, and creates a uniform base color, which can reduce the number of topcoats needed.
Choose a primer compatible with your topcoat paint (e.g., water-based primer for latex paint, oil-based primer for oil paint, or a shellac-based primer for stain-blocking on knotty wood). Apply a thin, even coat of primer according to the manufacturer’s instructions, using a high-quality brush or roller. Allow the primer to dry completely. Lightly sand the primed surface with 220-grit sandpaper for an even smoother finish, then wipe away any dust with a tack cloth before painting.
Step 8: Final Wipe Down and Drying
After all steps, including priming and light sanding of the primer, give the wood one last, thorough wipe-down. Use a clean, damp cloth (dampened with just water) to remove any remaining dust or residue from sanding the primer. Ensure no lint or fibers are left behind. Allow the surface to dry completely – this is non-negotiable. Even a slight amount of moisture can compromise paint adhesion and the final finish. Once the wood is perfectly dry, clean, and smooth, it is finally ready for its first coat of paint.
Specific Considerations for Different Wood Types
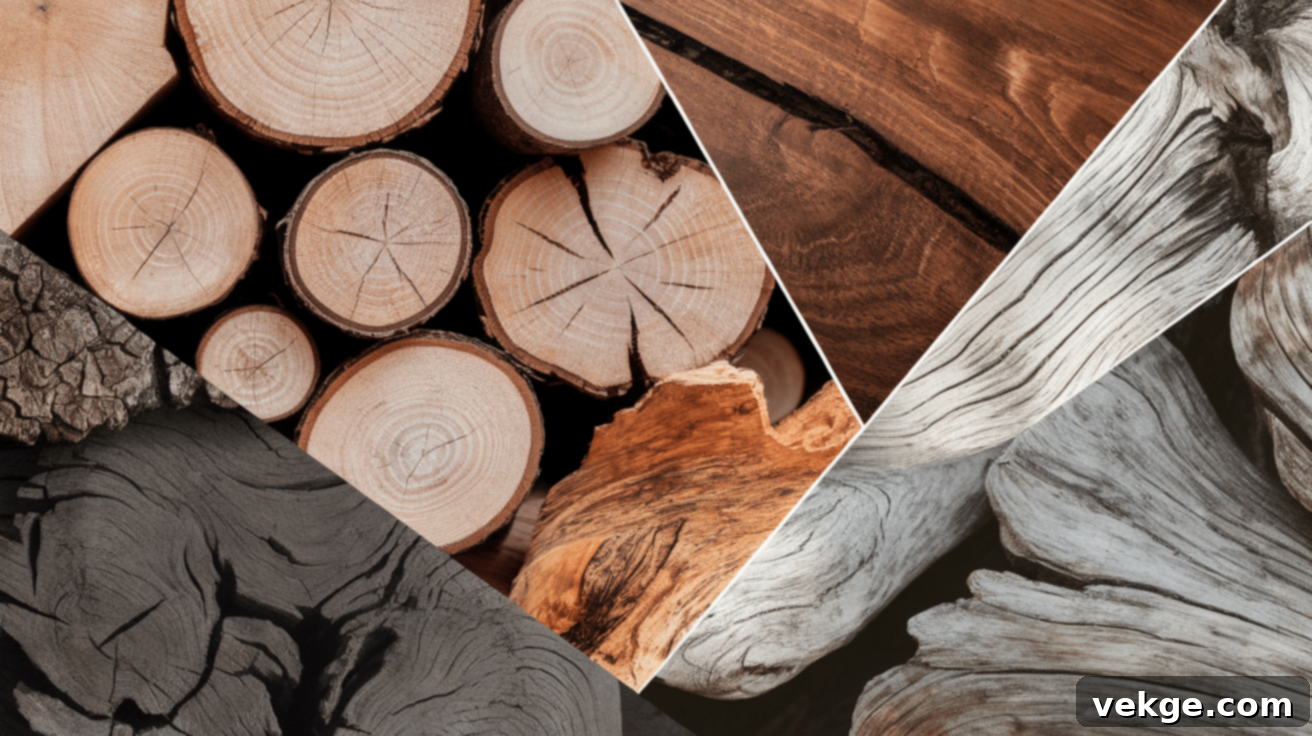
While the general steps for wood preparation remain consistent, certain types of wood or existing finishes require specific attention. Understanding these nuances can save you time and ensure a better outcome.
Softwoods (Pine, Cedar, Fir)
Softwoods like pine, cedar, and fir are generally easier to work with but have distinct characteristics. They are prone to denting and scratching, so use a lighter touch during sanding. They also tend to have more sap or resin (especially knots in pine), which can bleed through paint, causing yellowing over time. For softwoods, it’s highly recommended to use a shellac-based primer or an oil-based stain-blocking primer, especially over knots, to seal in these natural resins and prevent bleed-through. Avoid over-saturating softwoods with water during cleaning, as they can absorb moisture quickly and swell.
Hardwoods (Oak, Maple, Cherry)
Hardwoods like oak, maple, and cherry are denser and more durable, making them less prone to damage during preparation. They can generally withstand more rigorous cleaning and sanding. However, open-grain hardwoods (like oak) may require extra wood filler or a grain filler if you desire a perfectly smooth, glass-like finish, as paint alone might not fill the deep pores. For closed-grain hardwoods (like maple or cherry), a thorough cleaning and light sanding are usually sufficient to create an excellent base for paint adhesion. Hardwoods are less likely to bleed tannins, but priming is still beneficial for adhesion and uniform color.
Wood with Existing Finishes (Varnish, Shellac, Lacquer)
When painting over existing finishes, the key is proper adhesion. If the old finish is in good condition, a thorough cleaning and light scuff-sanding (220-grit) to dull the shine will typically suffice to create a good bonding surface for primer. If the old finish is severely damaged (peeling, cracking, flaking), it must be removed. You can use a paint stripper for complete removal or sand aggressively (e.g., 80-grit) to strip it back to bare wood. Always test any strong cleaners or strippers in an inconspicuous area first to ensure they don’t damage the underlying wood.
Outdoor Wood Surfaces
Outdoor wood, such as fences, decks, or siding, faces harsher environmental conditions and often accumulates more dirt, grime, mildew, and algae. For these surfaces, a stronger cleaning solution, such as an outdoor wood cleaner or a mildew remover, may be necessary. Pressure washing can be highly effective for large outdoor areas, but use caution with the pressure setting to avoid damaging the wood fibers. Ensure ample drying time for outdoor wood, as it can absorb a lot of moisture. A weather-resistant primer specifically designed for exterior use is highly recommended to protect against moisture and UV damage, and to enhance the durability of your exterior paint.
Common Mistakes to Avoid During Wood Preparation
Even with the best intentions, certain mistakes during wood preparation can undermine your efforts and compromise the final paint finish. Being aware of these common pitfalls can help you avoid them.
Skipping the Cleaning Step
One of the most frequent mistakes is painting over a dirty surface. Dust, grease, and grime act as a barrier, preventing the paint from bonding directly to the wood. This inevitably leads to peeling, chipping, or bubbling paint, sometimes within weeks of application. Always prioritize thorough cleaning.
Insufficient Drying Time
Painting over wood that is not completely dry is a recipe for disaster. Trapped moisture can cause paint to blister, crack, or fail to adhere. It can also lead to mold growth under the paint. Always allow ample time for the wood to dry thoroughly after cleaning, especially in humid conditions or for outdoor projects.
Neglecting to Sand
Sanding is not just about smoothing rough spots; it creates a “profile” or “tooth” on the surface, allowing the paint to grip effectively. Skipping sanding, or doing an insufficient job, results in poor adhesion and a finish that is easily scratched or peeled. Even previously painted or finished surfaces need a light scuff-sanding.
Using the Wrong Primer (or Skipping it When Needed)
Not all primers are created equal. Using a standard primer on a surface prone to tannin bleed (like knotty pine) or over severe stains may not provide adequate blocking. Similarly, skipping primer on raw wood, or when making a significant color change, often leads to an uneven finish and requires more paint coats. Always choose a primer appropriate for your wood type and paint.
Ignoring Safety Precautions
Wood preparation involves dust, chemicals (cleaners, strippers, fillers), and potentially airborne particles. Failing to wear proper safety gear like gloves, safety glasses, and a dust mask can lead to skin irritation, eye injuries, or respiratory issues. Always prioritize your health and safety during the preparation process.
Conclusion: The Payoff of Proper Preparation
In conclusion, cleaning and prepping wood before painting is not merely a suggestion; it is an indispensable foundation for a successful and enduring finish. By meticulously following the steps outlined in this guide – from initial inspection and thorough cleaning to precise sanding, filling, and priming – you are actively investing in the longevity and aesthetic quality of your project.
These preparatory efforts are the silent heroes of any paint job. They ensure that your chosen paint adheres flawlessly, preventing common issues like peeling, blistering, and uneven coverage. A properly prepared surface accepts paint more uniformly, resulting in a smoother, richer color, and a more professional appearance that truly stands the test of time.
While the preparation phase might seem time-consuming, remember that the quality of your finish is directly proportional to the effort you put in beforehand. Skipping steps or rushing the process often leads to costly corrections and disappointing results. Embrace the preparation, understand its critical role, and you will undoubtedly achieve a beautiful, durable, and satisfying painted finish that enhances the value and appeal of your wood surfaces for years to come.
Frequently Asked Questions (FAQ)
Why is it so important to clean wood before painting?
Cleaning wood before painting is crucial because it removes dirt, grease, dust, and other contaminants that can prevent paint from adhering properly. A clean surface ensures a strong bond between the paint and the wood, leading to a smooth, durable, and long-lasting finish that resists peeling or chipping.
How often should I inspect the wood before painting?
You should thoroughly inspect the wood surface every single time you plan to paint, regardless of its age or previous condition. Issues like new cracks, dings, or changes in the existing finish (if any) can arise over time and must be addressed for a successful paint job.
Can I paint wood without sanding it?
While technically possible in some specific cases (e.g., certain “no-sanding” paints over very specific, intact finishes), it’s highly recommended to at least scuff-sand wood before painting. Sanding creates a micro-rough surface (a “tooth”) that significantly improves paint adhesion and helps achieve a smoother, more professional finish. Skipping sanding often leads to poor paint bond and a less durable result.
What type of soap should I use to clean wood?
For most wood surfaces, a mild dish soap mixed with warm water is perfectly adequate. You can also use a general-purpose household cleaner that is not overly abrasive or chemical-heavy. Always test any cleaner in an inconspicuous area first to ensure it doesn’t discolor or damage the wood. Avoid harsh, acidic, or alkaline cleaners, which can harm wood fibers.
Can I clean wood with just water?
While water can remove some loose dust and light dirt, it’s generally not sufficient for thorough cleaning before painting. Water alone struggles to break down and remove oils, grease, sticky residues, or embedded grime. Adding a mild soap or all-purpose cleaner helps to emulsify and lift these contaminants more effectively, ensuring a truly clean surface for paint adhesion.
How long should I wait for the wood to dry after cleaning?
After cleaning, you must allow the wood to dry completely. This typically takes several hours, usually between 4 to 24 hours, depending on the wood type, how much water was used, and ambient humidity and temperature. It’s better to wait longer than to rush. The wood should feel completely dry to the touch and appear free of any dampness before proceeding to sanding or priming.
Do I always need to prime wood before painting?
Priming is not always strictly required but is highly recommended for most projects. It’s especially important for raw wood (to seal the grain and prevent tannin bleed), when making a significant color change, or when painting over stained or knotty wood (to block stains and knots from showing through the topcoat). Primer significantly improves paint adhesion, provides a uniform base, and can reduce the number of topcoats needed.
