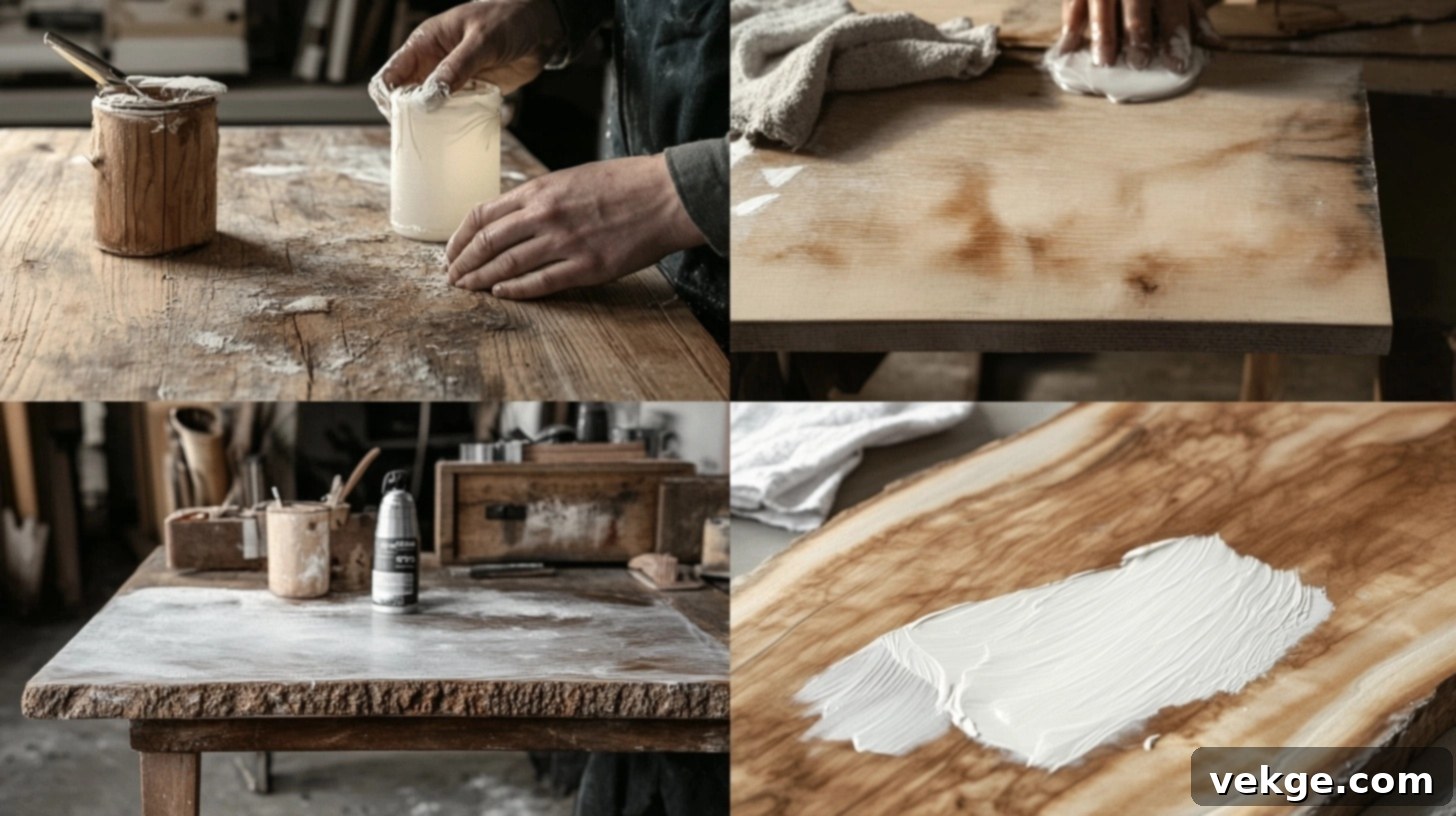
Mastering White Wax for Furniture: Your Ultimate Guide to an Aged, Beautiful Finish
When I first ventured into furniture refinishing, discovering white wax was a pivotal moment. It wasn’t just another product; it completely transformed my approach to creating unique, aged looks for various pieces. After five years of experimenting with countless finishes and techniques, I can confidently say that white wax offers unparalleled effects that other products simply cannot replicate.
My clients frequently inquire about the secret behind the perfectly aged, subtly distressed appearance of my furniture. My answer is always the same: white wax. It’s my go-to secret weapon for achieving that coveted vintage charm. This comprehensive guide condenses everything I’ve learned through countless projects, including both intentional techniques and happy accidents. Whether you’re a complete novice embarking on your first refinishing project or an experienced DIYer looking to refine your skills with advanced techniques, these detailed steps will empower you to master the art of white wax application and create stunning, professional-quality finishes.
Understanding White Wax Basics: What It Is and How It Works
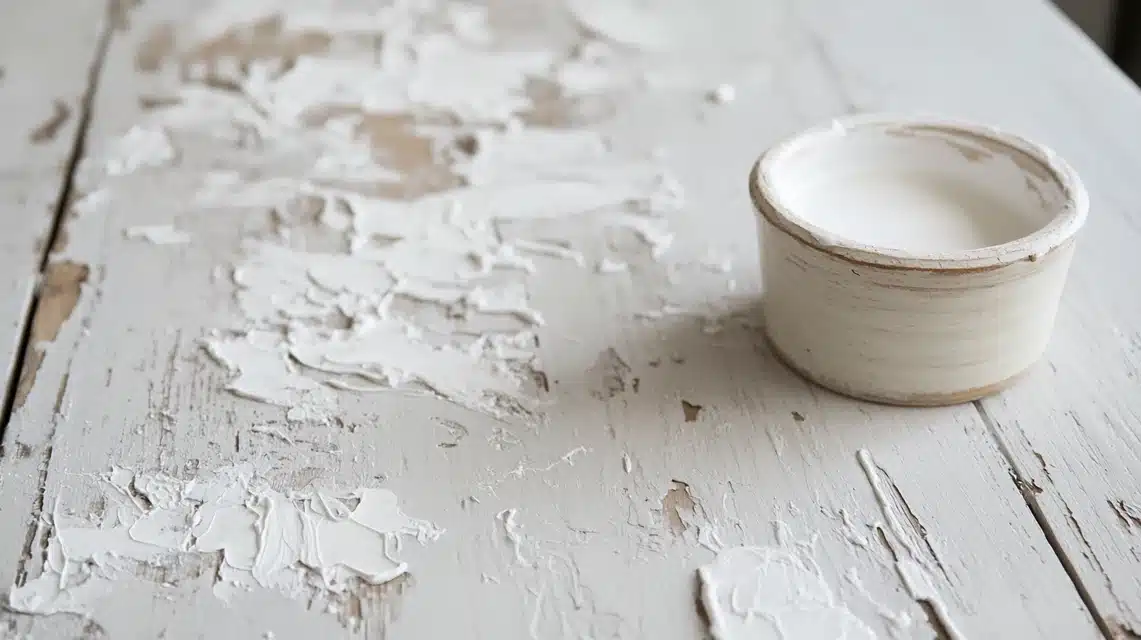
My initial experiments with white wax quickly taught me the critical importance of understanding your materials. White wax is essentially a carefully crafted blend of white pigments and clear furniture wax, resulting in a creamy, protective paste. This unique composition allows it to protect and subtly color your furniture simultaneously.
Unlike traditional paints or stains, white wax doesn’t fully cover the surface. Instead, it strategically settles into the natural wood grain, cracks, and surface textures, effectively highlighting these inherent features. This characteristic is what gives furniture that beautiful, ‘limed’ or ‘pickled’ finish. While clear wax primarily offers protection, white wax goes a step further by depositing a delicate layer of color, enriching the wood’s appearance without obscuring its natural beauty.
The beauty of white wax lies in its versatility. The final finish can vary dramatically depending on your application technique. Applying thicker layers will result in a more pronounced white, creating a distinct liming effect perfect for a farmhouse or coastal aesthetic. Conversely, thinner layers will impart a more subtle, ethereal depth, enhancing the wood’s natural tones with a soft, aged patina. This control over intensity is what makes white wax such a powerful tool for achieving a range of decorative styles, from shabby chic to sophisticated antique looks.
Step-By-Step Guide for White Waxing Furniture
Step 1: Meticulous Surface Preparation for a Flawless Finish
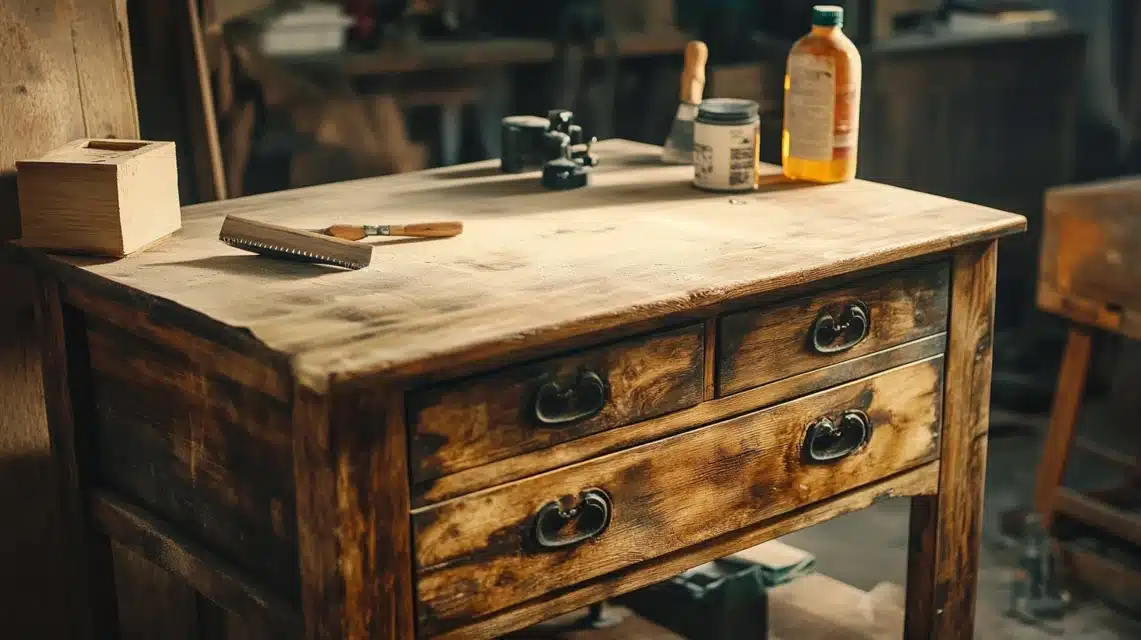
The foundation of any successful white wax project is impeccable surface preparation. Over the years, I’ve learned that skipping or rushing this initial stage inevitably leads to disappointing results. I always begin by creating a clean and organized workspace, laying down a thick drop cloth to protect the floor and catch any potential drips or spills. The furniture piece itself demands a thorough cleaning – all traces of dust, dirt, grease, and any old, loose finishes must be removed to ensure proper wax adhesion and an even finish.
Environmental conditions also play a crucial role. I aim to work in a room where the temperature is consistently between 65-75 degrees Fahrenheit (18-24 degrees Celsius), as this range ensures the optimal consistency and workability of the wax. Additionally, good lighting is non-negotiable; it allows me to identify and address any imperfections or missed areas during both preparation and application.
Detailed Preparation Steps for a Perfect Canvas:
- Thoroughly wipe down all furniture surfaces with mineral spirits using a lint-free cloth. This step degreases the wood and removes stubborn residues.
- Allow the surface to dry completely. This typically takes about 30 minutes, but always confirm it’s dry to the touch before proceeding.
- Carefully run your hand over all surfaces to identify any rough spots, splinters, or uneven textures that might affect the wax application.
- Remove any hardware, drawers, or detachable parts. This provides easier access to all surfaces and prevents wax buildup on hardware.
- Use medium-grit sandpaper (e.g., 150-220 grit) on any rough areas. Sand lightly until the surface feels smooth and consistent.
- Vacuum the entire piece meticulously to remove every last particle of sanding dust.
- Follow up with a tack cloth, wiping down all surfaces to catch any remaining fine dust particles. This is a critical step for a truly clean surface.
- Visually inspect and mark any deep scratches, dents, or gouges that might require special attention or a slightly heavier wax application.
- Check all joints and seams for any gaps or loose areas. Address these before waxing, as wax will highlight imperfections.
- Set up ample, even lighting around your piece. Natural light combined with good artificial lighting is ideal for seeing all angles.
Things I’ve Learned from Experience:
- Rushing the preparation phase is the most common cause of poor final results; patience here pays dividends.
- Always work in a well-ventilated area, especially when using mineral spirits, to ensure proper drying and for your safety.
- Take “before” photos to document your progress and appreciate the transformation.
- Thorough preparation makes the actual waxing process significantly smoother and more enjoyable.
- Room temperature and humidity directly influence how the wax spreads and dries, so adjust your pace accordingly.
Step 2: The Critical First Wax Application
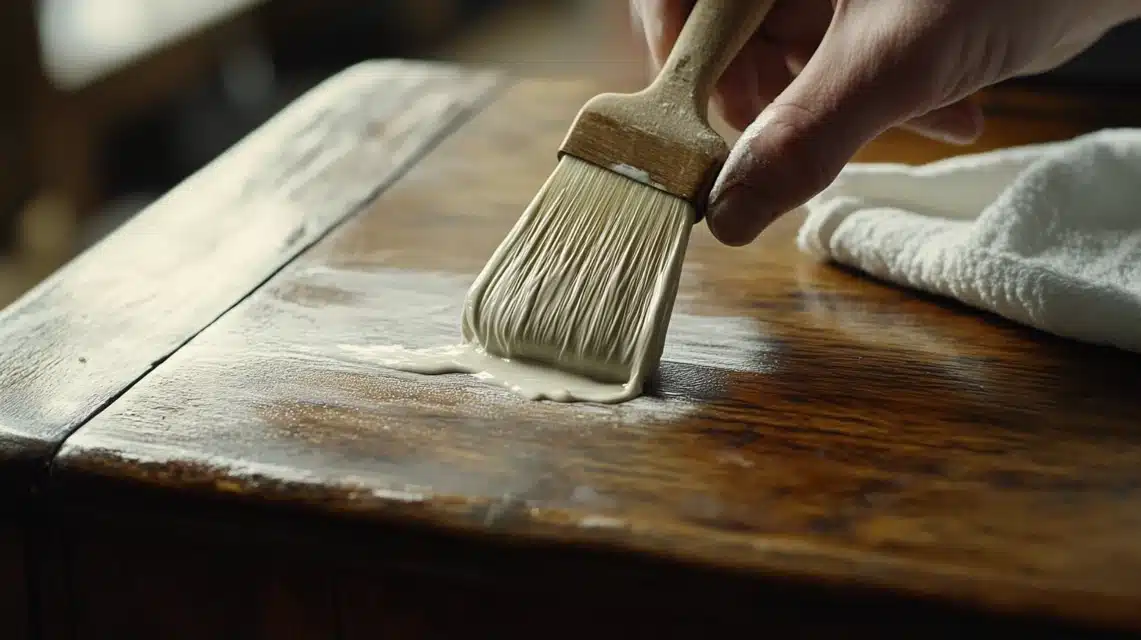
The initial layer of white wax is fundamental; it establishes the base for your entire project’s aesthetic. I always begin by testing the wax on a small, inconspicuous area of the furniture to observe how the wood reacts and absorbs it. This crucial test spot helps you gauge the absorption rate and color intensity before committing to a larger surface.
The golden rule here is to apply thin, even coats. Resist the urge to apply a thick layer, as this will lead to a cloudy, uneven, and often sticky finish that is difficult to buff. I prefer to work in manageable sections, typically no larger than 2 feet square (approximately 60×60 cm), which allows me to maintain control over the wax before it dries. Getting this first coat right is absolutely essential for achieving a beautiful and professional final look.
Detailed Application Steps for the First Layer:
- Open your white wax container and gently stir the wax until it achieves a smooth, consistent paste-like texture.
- Load your wax brush (or lint-free cloth) with a very small amount of wax. Remember, “less is more” at this stage; you can always add more if needed.
- Start applying wax in the least visible area of your piece, working systematically along the direction of the wood grain.
- Apply the wax using long, steady, and overlapping strokes, exerting light and even pressure across the surface.
- Keep a close eye out for any excess wax accumulating in corners, carvings, or deep grooves. These areas need immediate attention.
- Immediately after applying wax to each section, use a clean, lint-free cloth to gently wipe away any excess. This helps prevent cloudiness and ensures an even application.
- Regularly step back and check your work from various angles to identify any missed spots or uneven application.
- Allow each section to dry slightly to the touch, usually about 3-5 minutes, before moving on to an adjacent section.
- Always fold your cleaning cloth to a clean side for each new section to avoid reapplying removed wax.
- Periodically step back to observe the overall coverage and ensure a consistent base layer across the entire piece.
Things I’ve Learned from Experience:
- Starting with an excessive amount of wax on your brush or cloth is the most common beginner’s mistake.
- Working in smaller, controlled sections is crucial to prevent the wax from drying too quickly, making it difficult to blend.
- The first coat often appears slightly uneven or translucent, which is entirely normal. Don’t panic; subsequent layers will build depth.
- Room temperature and humidity directly influence how quickly the wax dries; adjust your working speed accordingly.
- Keeping your application brush or cloth clean between sections is vital for the best, streak-free results.
Step 3: Building Layers and Crafting Desired Effects
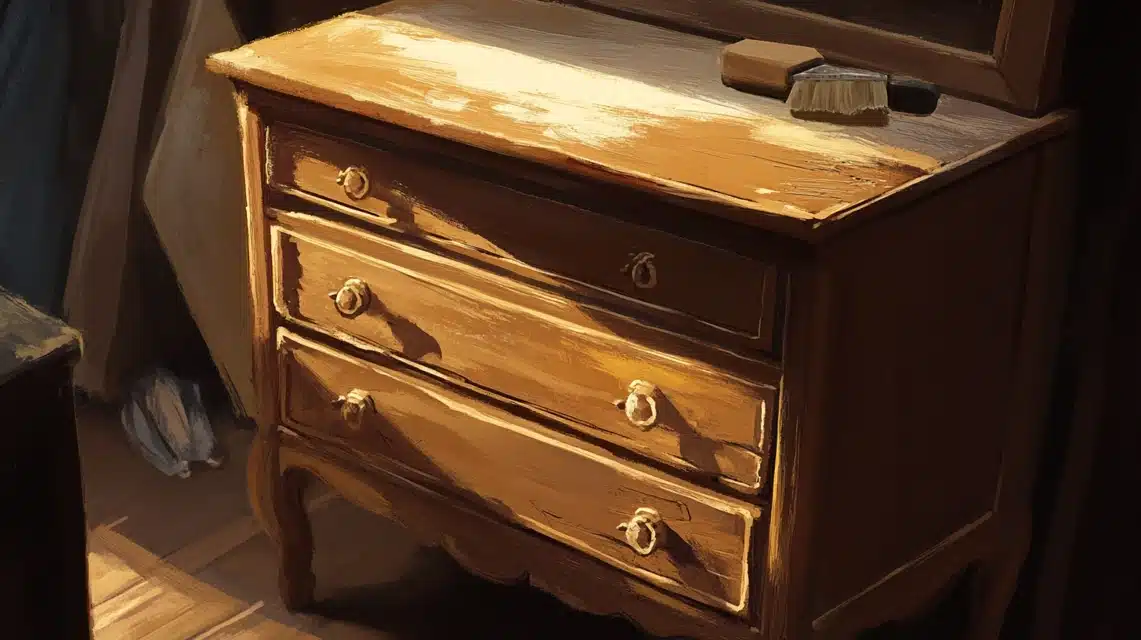
Once the first coat of wax has set for approximately 15 minutes and feels slightly tacky but not wet, it’s time to begin building depth and character into your finish. This stage is where you truly control the degree of aging, distressing, or weathering your piece will exhibit. Each subsequent layer thoughtfully applied adds unique character, but patience between coats is paramount to prevent the finish from becoming muddy or uneven.
I pay meticulous attention to areas that would naturally show wear and tear over time – edges, carved details, and recessed areas. This strategic application mimics authentic aging, lending a genuine, lived-in feel to the furniture. This is where the true magic of white wax unfolds, as the piece gradually reveals its unique personality and aged charm.
Detailed Layering Steps for Enhanced Effects:
- Before applying the next layer, confirm that the previous layer has set sufficiently but isn’t completely dry. It should feel slightly tacky.
- Load your brush with an even smaller amount of wax than you used for the first coat; thinner layers are key for building depth without excess.
- Focus your application on specific areas where you desire more pronounced white, such as wood grain, carved details, or areas you want to appear more “aged.”
- For natural-looking wear patterns, try applying wax using gentle, circular motions, particularly on flat surfaces.
- Intentionally build up the wax subtly on edges and corners, as these are the areas that would naturally show wear and highlight over time.
- If any area appears too heavy or overly white, immediately wipe back the excess with a clean, lint-free cloth.
- To add subtle texture or a more distressed look, use a nearly dry brush for a stippling or dry-brushing technique.
- Create delicate shadows and highlights by working the wax into recessed areas and wiping back from raised elements.
- Continuously blend transitions between areas with heavier and lighter wax applications to ensure a seamless, natural look.
- Step back frequently and observe the piece from a distance to assess the overall balance and ensure you’re achieving your desired effect.
Things I’ve Learned from Experience:
- Each consecutive layer of wax should be progressively thinner than the last to avoid a heavy, artificial appearance.
- Experiment with different brush strokes and application tools (e.g., cloth, stiff brush, fine brush) to create varied and interesting effects.
- Allowing layers to dry completely between applications makes blending significantly more challenging; aim for “tacky but not wet.”
- Observing how natural wear occurs on antique furniture helps you replicate authentic aging patterns.
- Keep a mental note or even a small written log of how many layers you’ve applied to different sections, especially on larger pieces.
Step 4: Final Buffing and Finishing for Durability and Sheen
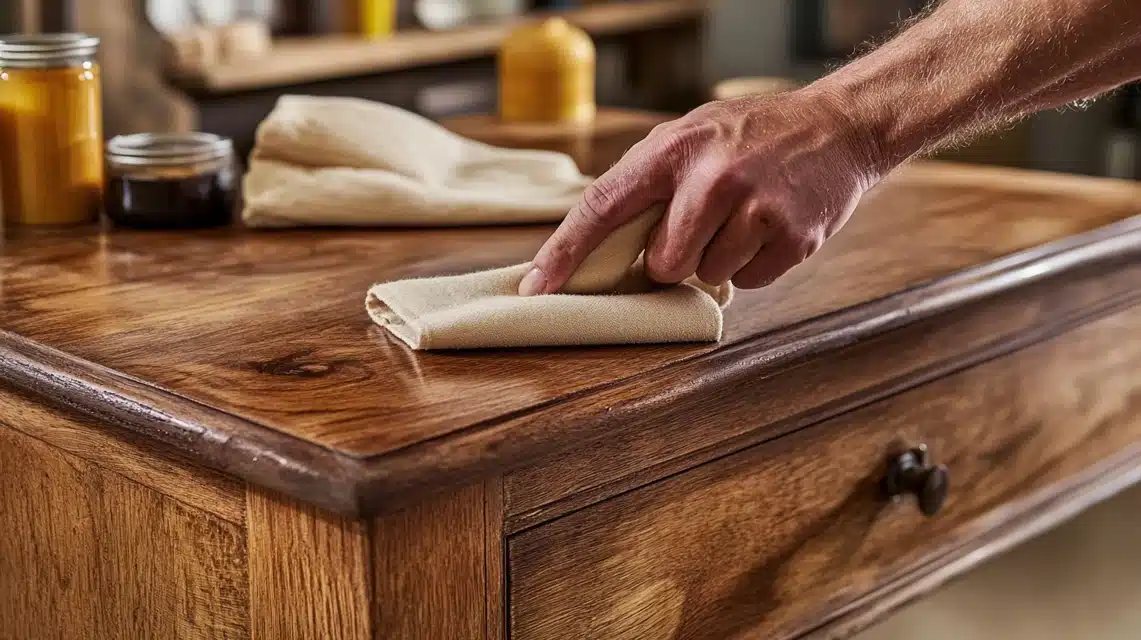
This final stage is where your meticulous work transcends from a good finish to one of professional quality. I typically allow the last coat of wax to cure for about an hour before commencing the buffing process. The surface should feel slightly tacky to the touch, but not wet, indicating it’s ready for buffing. This crucial step not only enhances the durability of the finish but also brings out the subtle variations and depth you’ve created through your layering work. I’ve often found that thorough and proper buffing can miraculously redeem a piece that initially appeared too heavy or uneven.
Detailed Buffing Steps for a Luminous Finish:
- Before starting, gently test the surface with light finger pressure. It should not leave a visible mark, confirming the wax has adequately set.
- Begin buffing with gentle, overlapping circular motions using a clean, soft white cotton cloth. Avoid microfiber, as it can be too abrasive or remove too much wax.
- As you work your way across the surface, gradually increase the pressure, allowing the friction to bring out the sheen.
- Pay particular attention to areas where layers meet or where you applied more wax; these spots benefit from extra buffing.
- As your cloth becomes saturated with wax or visibly dirty, fold it to a fresh, clean section. Using a dirty cloth will simply redistribute wax.
- Work systematically from the top to the bottom of your furniture piece, ensuring no areas are missed or over-buffed.
- Frequently check your progress by viewing the surface from different angles under good lighting to ensure an even sheen.
- For edges, corners, and intricate details, use a folded corner of your cloth to get into tight spaces and refine the finish.
- Carefully remove any remaining wax buildup in corners or crevices using a pointed tool or a very small, clean cloth.
- For the final passes, buff lightly in the direction of the wood grain to achieve a smooth, consistent luster.
Things I’ve Learned from Experience:
- Applying too much pressure during buffing isn’t always better; controlled, even pressure is key.
- High-quality white cotton cloths are superior to microfiber for buffing wax, as they are less likely to leave lint.
- Excellent lighting is your best friend during buffing, helping you spot any missed or uneven areas.
- Some areas, especially those with thicker wax application or intricate details, may require extra buffing time and effort.
- Take short breaks to avoid arm fatigue, which can lead to inconsistent pressure and an uneven finish.
White Waxed Furniture: Essential Maintenance and Care Guide
After years of working with and living alongside white-waxed furniture, I’ve developed a comprehensive care system that ensures the longevity and beauty of these pieces. Every item requires specific attention based on its usage and placement within a home. Understanding and applying proper care techniques will significantly extend the life of your white wax finish. I provide these exact guidelines to my clients for optimal long-term maintenance, ensuring their cherished pieces remain stunning for years to come. Let me detail the care requirements by timeframe and situation.
1. Daily Care for White Waxed Furniture
| Task | Method | Tools Needed | Warning Signs |
|---|---|---|---|
| Dusting | Gently wipe surfaces with soft, circular motions to lift dust without scratching. | Soft microfiber cloth or feather duster | Visible dust accumulation, dulling surface. |
| Spot Cleaning | Lightly dampen a clean cloth and gently wipe specific marks or spills. Avoid saturating the surface. | Clean, soft cotton cloth, distilled water (optional: very mild soap) | Fresh spills, fingerprints, subtle water rings. |
| Surface Check | Perform a quick visual inspection of the furniture surface for any new damage or wear. | Good ambient lighting | New scratches, dings, or unexplained marks. |
| Heat Protection | Always use coasters, placemats, or protective pads under hot items. | Coasters, trivets, table runners | Visible ring marks or discoloration from heat. |
| Sunlight Control | Adjust blinds, curtains, or furniture position to minimize direct sunlight exposure. | Window coverings, furniture sliders | Noticeable fading, especially on one side or section of the piece. |
2. Monthly Care for White Waxed Furniture
| Task | Frequency | Process | Prevention Tips |
|---|---|---|---|
| Deep Clean | Once monthly, or as needed for heavily used pieces. | Wipe with a very dilute solution of mild soap (e.g., dish soap) and water, then immediately wipe dry. | Never use harsh chemical cleaners, abrasive sponges, or excessive water, as they can strip the wax. |
| Scratch Check | Every 2-3 weeks, or more often for high-traffic items. | Conduct a close, thorough inspection of all surfaces for minor scratches or scuffs. | Avoid dragging items across the surface; use felt pads under items that sit on the furniture. |
| Wax Touch-up | As needed, usually every few months for high-wear areas. | Apply a tiny amount of white wax to faded or scratched areas using a clean cloth, then buff gently. | Keep a small amount of your original white wax on hand for quick repairs and touch-ups. |
| Buff Surface | Every 3-4 weeks, or when the sheen appears dull. | Using a clean cotton cloth, buff the entire surface with light, circular motions to restore luster. | Always use clean, dry cloths to prevent smearing or redistributing dirt. |
| Moisture Check | Twice monthly, especially during seasonal changes. | Feel the surface for unusual dryness or stickiness; check for signs of wood expansion/contraction. | Use a hygrometer to monitor room humidity; maintain stable humidity levels (45-55% is ideal). |
3. Seasonal Maintenance for White Waxed Furniture
| Season | Special Care Focus | Products Needed | Key Focus Areas |
|---|---|---|---|
| Spring | Deep clean the entire piece after winter, checking for any dry spots or damage from indoor heating. | Gentle wood cleaner, white wax for touch-ups, furniture polish (optional, wax-safe) | Ensure surfaces are free of lingering dust; address any new scratches or areas where wax has thinned. |
| Summer | Protect from intense direct sunlight and monitor for high humidity which can make wax feel tacky. | UV protectant spray (if compatible with wax), hygrometer to monitor humidity. | Pieces near windows, conservatories, or in humid environments are most vulnerable to sun damage and stickiness. |
| Fall | Prepare the furniture for the dry indoor heating season by ensuring adequate moisture protection. | Room humidifier, a light re-application of white wax to boost protection. | All surfaces, especially tabletops and fronts, benefit from a fresh layer of wax before dryness sets in. |
| Winter | Monitor for excessive dryness caused by central heating, which can lead to cracking or shrinking of wood. | Moisture meter for wood, white wax for areas showing dryness or loss of sheen. | Furniture placed near radiators, fireplaces, or vents needs extra attention to prevent dehydration. |
White Wax for Furniture: Common Problems and Expert Solutions
Working extensively with white wax has presented me with various challenges over the years, each of which has been a valuable learning experience. These common issues, rather than being setbacks, have invariably taught me new ways to refine and perfect the finishing process.
1. Tackling Cloudy Finish Issues
The most frequent complaint I hear is a cloudy, hazy, or uneven surface appearing after the waxing process. This undesirable effect almost always stems from an excessive buildup of wax in certain areas, or not enough buffing.
Solution: I typically remedy this by first gently warming the affected area with a hair dryer set on its lowest heat setting. The warmth softens the wax, making it more pliable. Immediately after warming, I use a clean, lint-free cotton cloth to buff the area vigorously with firm, circular motions. This action helps to evenly distribute and work the excess wax into the wood, or remove it entirely. In more severe cases, where there’s a significant wax buildup, I might use a tiny amount of mineral spirits on a cloth to gently dissolve and remove the excess before reapplying a much thinner, carefully buffed coat.
2. Effective Streaking Solutions
Visible streaks are a tell-tale sign that the wax was not properly blended during application, or that the cloth used for wiping was saturated with wax. They appear when wax dries unevenly before it can be fully worked in.
Solution: I’ve learned that preventing streaks is about technique during application. Always work in smaller, manageable sections, and critically, blend the edges of each section while the wax is still wet. Using long, consistent, and slightly overlapping strokes helps to seamlessly merge one section into the next, preventing harsh lines. If streaks do appear after the wax has dried, I lightly sand the streaked area with very fine-grit sandpaper (e.g., 400-grit or finer) to smooth it out, then thoroughly clean the dust and reapply a very thin, even coat of wax, ensuring immediate buffing.
3. Fixing Patchy Coverage
When the underlying wood or paint shows through in an inconsistent, patchy manner, it’s a clear indication of uneven application or insufficient cleaning of the surface before waxing.
Solution: My first step is to thoroughly clean the entire surface with mineral spirits to remove any residual wax and ensure a completely clean base. After allowing it to dry completely, I apply very thin, even coats of white wax using a high-quality wax brush or pad. The key here is patience; building up layers gradually, rather than attempting one thick coat, allows for greater control and even saturation. Each layer must be given adequate drying time before the next is applied, ensuring proper adhesion and consistent coverage.
4. Repairing Color Inconsistency
Sometimes, different parts of the furniture piece absorb or react to the white wax differently, leading to variations in color intensity or tone across the surface.
Solution: To achieve a uniform appearance, I often start by applying a very light base coat of clear wax before introducing the white wax. This clear wax acts as a barrier, creating a more uniform surface for the white pigment to adhere to, which helps mitigate uneven absorption. Working under bright, consistent lighting is crucial, as it allows me to spot any inconsistencies early in the application process. Regularly stepping back from the piece to observe its overall appearance from various angles helps prevent missed spots and ensures a harmonious, balanced finish.
Conclusion: Embrace the Art of White Waxing
After countless pieces, years of dedicated practice, and continuous learning, white wax has cemented its place as one of the most versatile and rewarding finishing techniques in my repertoire. Every single project, from rustic dining tables to delicate antique cabinets, offers fresh insights – whether it’s observing how different wood types react to the wax or discovering new application methods that yield unexpectedly beautiful results.
The true keys to success with white wax are straightforward yet profound: diligent surface preparation, unwavering patience between layers, and a deep understanding of your chosen material. There’s an undeniable excitement that comes with watching each piece develop its unique character and personality as the wax is applied and buffed. My consistent advice to anyone embarking on this journey is to start with smaller, less intimidating projects, always work under good, clear light, and most importantly, trust the process. Remember that perfection is a journey, not a destination. My initial attempts with white wax were far from flawless, looking nothing like the refined work I produce today. Each project you undertake, regardless of its outcome, builds your confidence, hones your skills, and deepens your appreciation for this fascinating finishing technique. Keep learning, keep experimenting, and above all, revel in the creative process of transforming furniture into works of art.
Frequently Asked Questions About White Wax for Furniture
What’s the Difference Between White Wax and White Paint?
White wax and white paint serve distinct purposes in furniture finishing. White wax is a translucent, pigment-infused wax that primarily settles into the wood grain, cracks, and surface texture, enhancing these features rather than covering them. It can be buffed to various sheens, from matte to a soft luster, and creates a more subtle, natural, and aged effect. You have greater control over its intensity, making it ideal for layering and distressed looks. White paint, on the other hand, provides opaque, solid color coverage, fully obscuring the underlying surface and wood grain. While both can create white finishes, wax offers a delicate, ‘limed’ or ‘pickled’ aesthetic, while paint delivers a solid, uniform color.
How Long Does a White Wax Finish Last?
With proper application and consistent care, a white wax finish can be remarkably durable. My white wax finishes typically last between 2 to 3 years before they might require a minor refresh or touch-up. Regular dusting with a soft cloth, avoiding harsh chemical cleaners, and using protective measures like coasters significantly extend its lifespan. Furniture pieces in high-traffic areas, or those subjected to frequent use, may benefit from yearly maintenance or a light re-application of wax to maintain their protective qualities and aesthetic appeal.
Can I Apply White Wax Over Painted Furniture?
Absolutely, white wax can be a fantastic complement to painted furniture, especially over matte or chalk-style finishes. It works beautifully to highlight textures, add depth, and create a softened, aged, or distressed look on painted surfaces. Before applying, I always recommend testing a small, inconspicuous area to ensure compatibility and desired effect. It’s crucial that the underlying paint has fully cured (dried and hardened) before applying wax to prevent any lifting or adhesion issues. The wax can deepen the paint color slightly and provide a protective layer, while also emphasizing brush strokes or carved details.
What’s the Best Way to Fix Mistakes During Application?
The good news is that most white wax mistakes are correctable! For fresh, wet wax, immediately wipe away any excess with a clean, lint-free cloth. If the wax has dried and you have too much buildup or an uneven patch, you can often gently warm the area with a hair dryer on a low setting to soften the wax, then buff vigorously with a clean cloth. For more stubborn mistakes, or if you need to remove a significant amount of wax, dampen a clean cloth with a small amount of mineral spirits and gently wipe the affected area. Always let the surface dry completely before attempting to reapply wax. A key preventative measure is to work in small sections, as it allows you to address any issues before the wax sets. Remember the mantra: you can always add more wax, but removing it effectively takes a little more time and careful effort.
Do I Need Special Tools for White Wax Application?
While specialty tools can be helpful, you don’t necessarily need them to achieve great results with white wax. The most essential tools are relatively simple: a good quality wax brush (preferably with natural bristles, as synthetic ones can sometimes leave fibers), several clean, soft cotton cloths (old t-shirts or cotton rags work wonderfully), and consistent, good lighting. Avoid using synthetic microfiber cloths for application or primary buffing, as they can sometimes remove too much wax or leave behind microfibers. For optimal results, consider having separate brushes for different colored waxes (e.g., clear, white, dark) to prevent any accidental mixing or color transfer.
