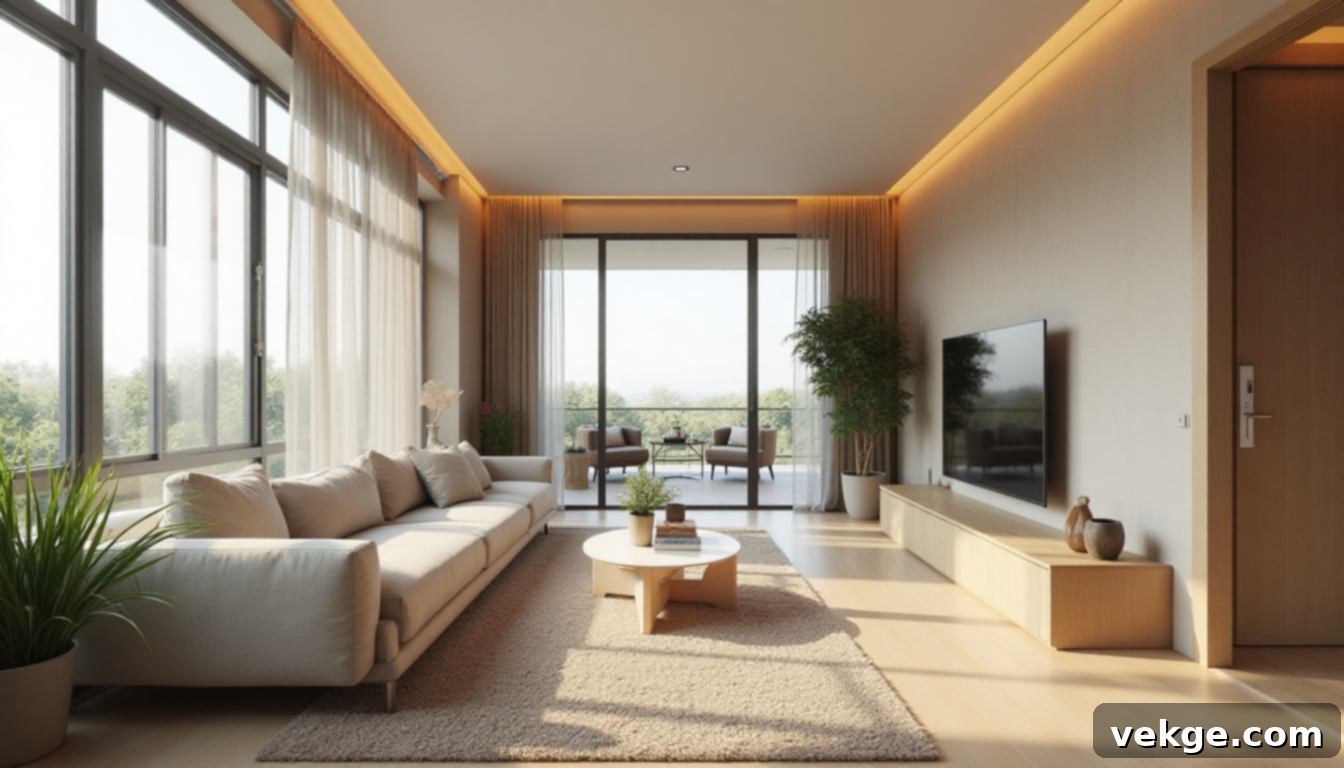
Mastering Your Long Living Room Layout: A Complete Guide to Functional & Stylish Design
Decorating a long living room can feel like a daunting challenge. I understand this struggle firsthand – I’ve been there, facing an awkwardly shaped space that felt more like a hallway than a comfortable area for relaxation and entertaining. The empty expanses at one end and crowded corners at the other can make it difficult to achieve a sense of balance and warmth.
That’s precisely why I’ve created this comprehensive, step-by-step guide. Drawing from my own experience, I’ll walk you through the process of transforming your long living room into a beautiful and highly functional space. We’ll cover everything from meticulous space measurement and strategic flow planning to clever furniture arrangement and avoiding common design pitfalls. Every tip shared is designed to be simple, practical, and budget-friendly, ensuring you can achieve stunning results without breaking the bank.
Beyond the basics, I’m also excited to share real-world layout examples tailored to different room sizes, along with specific lighting techniques that made a dramatic difference in my space, and smart design moves that significantly enhanced both the aesthetics and usability of the room. Let’s embark on this design journey together and turn your challenging long living room into a true highlight of your home.
Why Thoughtful Layout is Crucial for a Long Living Room
A long and narrow living room presents unique challenges that a well-conceived layout can effectively address. Without a strategic plan, these spaces often suffer from common issues: one end might feel uncomfortably crowded, while the opposite end remains largely unused or forgotten, creating an imbalanced and unwelcoming atmosphere.
Without clear direction, furniture can end up placed haphazardly, leading to wasted space, awkward pathways, and a general lack of cohesion. This can make the room feel disjointed, less comfortable, and visually unappealing, resembling a tunnel rather than a cozy sanctuary.
The right layout is your most powerful tool in fixing these issues. It instills balance, purpose, and comfort into your room, making it feel intentionally designed. A smart layout also subtly guides how people move through the space, optimizes the use of natural and artificial light, and defines the distinct function and mood of each area. By carefully planning your space, you can prevent it from feeling like a mere passageway and instead transform it into a series of inviting and purposeful zones.
Even seemingly minor adjustments, such as repositioning a sofa, strategically placing area rugs, or upgrading your lighting, can yield surprisingly significant improvements, radically altering how the room looks and feels.
Your Step-by-Step Guide to a Perfect Long Living Room Layout
This section outlines the exact method I used to plan my own long living room layout, providing actionable tips that have proven effective. Follow these simple steps to bring balance and functionality to your space.
Step 1: Measure and Sketch Your Room Accurately

The foundation of any successful room design begins with precise measurements. Start by measuring the entire length and width of your living room. Carefully record these dimensions. Crucially, don’t forget to include all fixed elements such as doorways, windows, electrical outlets, and built-in features like fireplaces or shelving units.
These architectural details are essential “fixed points” that will help you avoid blocking natural light sources or creating inconvenient walkways later in the design process. Once you have your measurements, draw a rough sketch of your room on graph paper, or utilize a free online floor plan tool. Clearly mark all your key measurements and the positions of fixed elements. This initial step provides you with a clear, birds-eye view of your space, allowing you to anticipate potential challenges and prevent costly mistakes before you even begin moving furniture or purchasing items that won’t fit.
Step 2: Identify and Define Natural Zones within Your Space
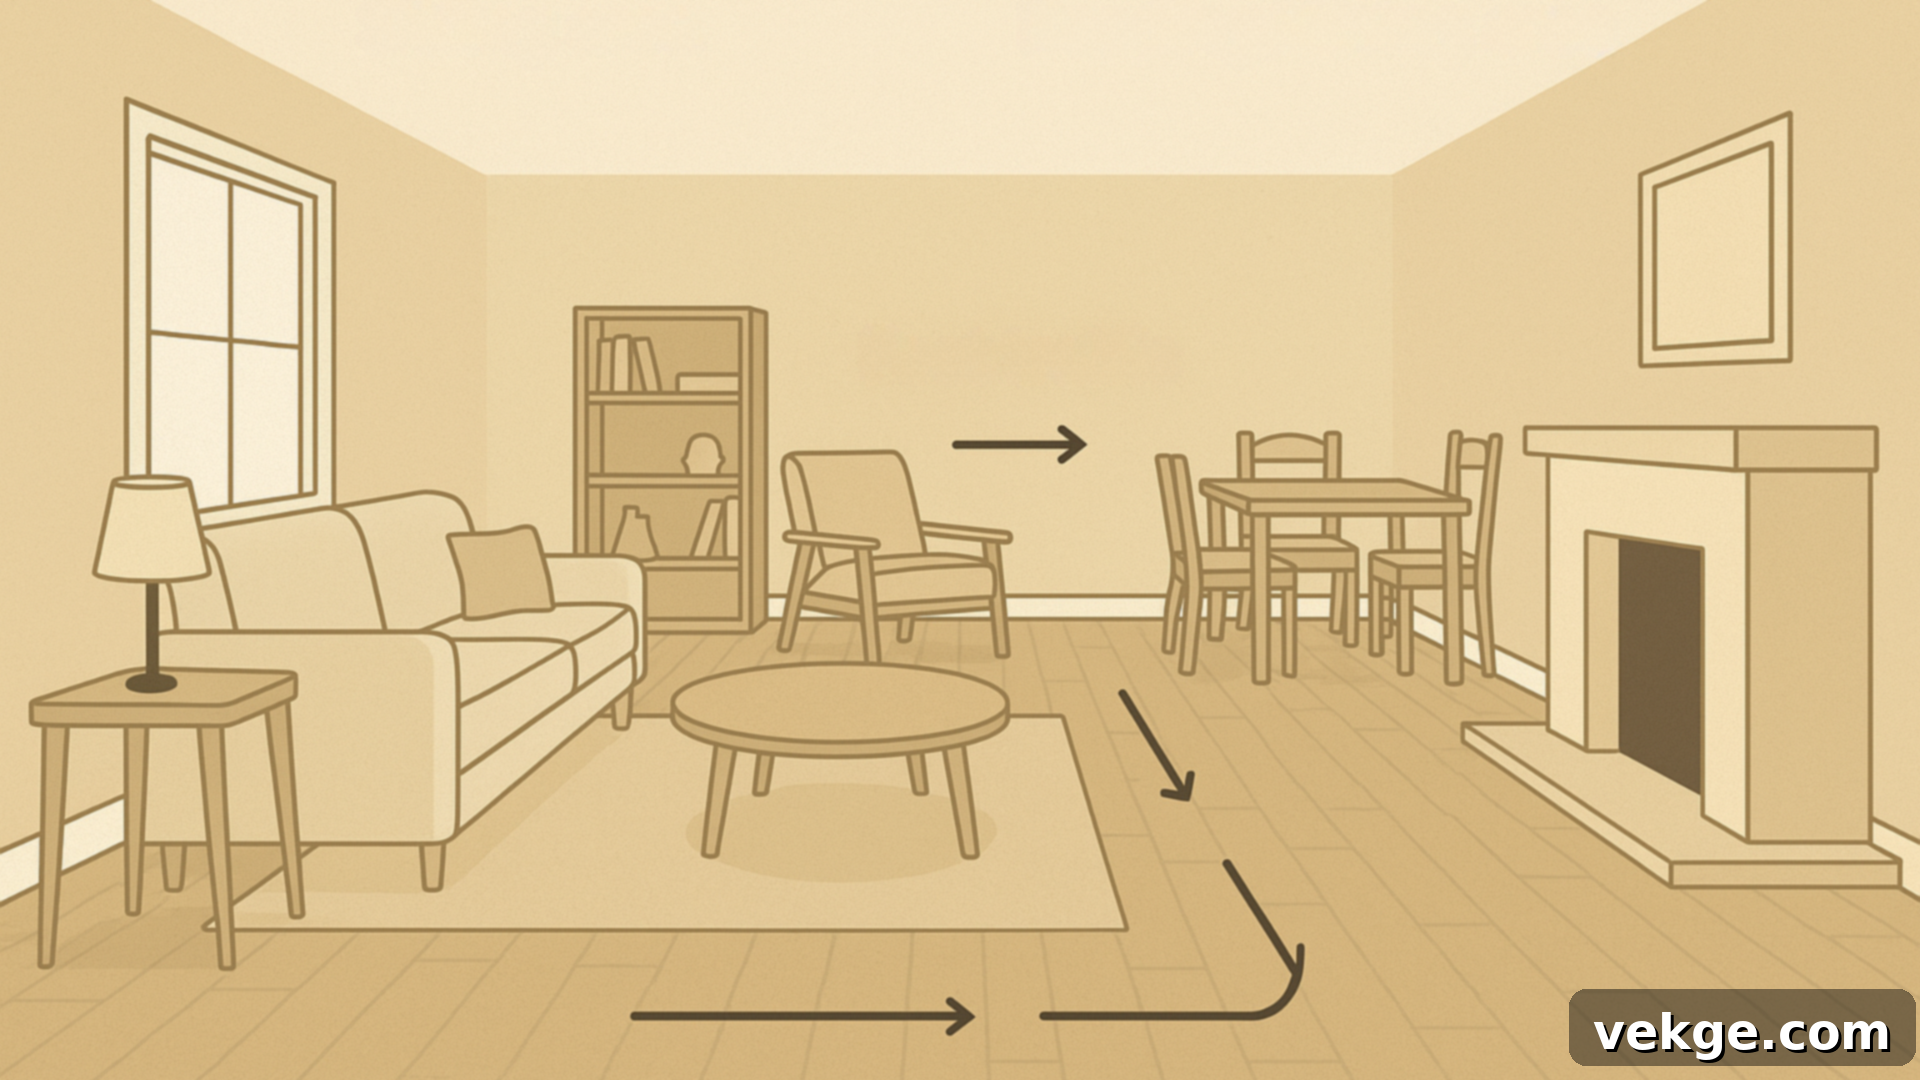
With your accurate sketch in hand, it’s time to consider how your room is currently used and how you ideally want it to function. Long living rooms are inherently more manageable and inviting when conceptually divided into smaller, distinct sections or “zones.”
For instance, the front portion of your room might be perfectly suited for a primary seating and conversation area, while the back could be transformed into a cozy reading nook, a dedicated home office, or even a compact dining space. Let natural cues guide you: observe the direction of foot traffic, identify areas with ample natural light, and recognize focal points like large windows, a fireplace, or a built-in entertainment unit. These elements can naturally suggest where one zone might begin or end.
Creating zones is a highly effective strategy for breaking up the overwhelming length of a room, preventing it from feeling like a long, empty tunnel. Moreover, zoning significantly enhances the utility and versatility of your space, allowing for multiple activities to occur simultaneously without the need for extensive renovations or permanent structural changes. It brings order and purpose to your layout.
Step 3: Strategically Place Your Anchor Furniture Pieces First
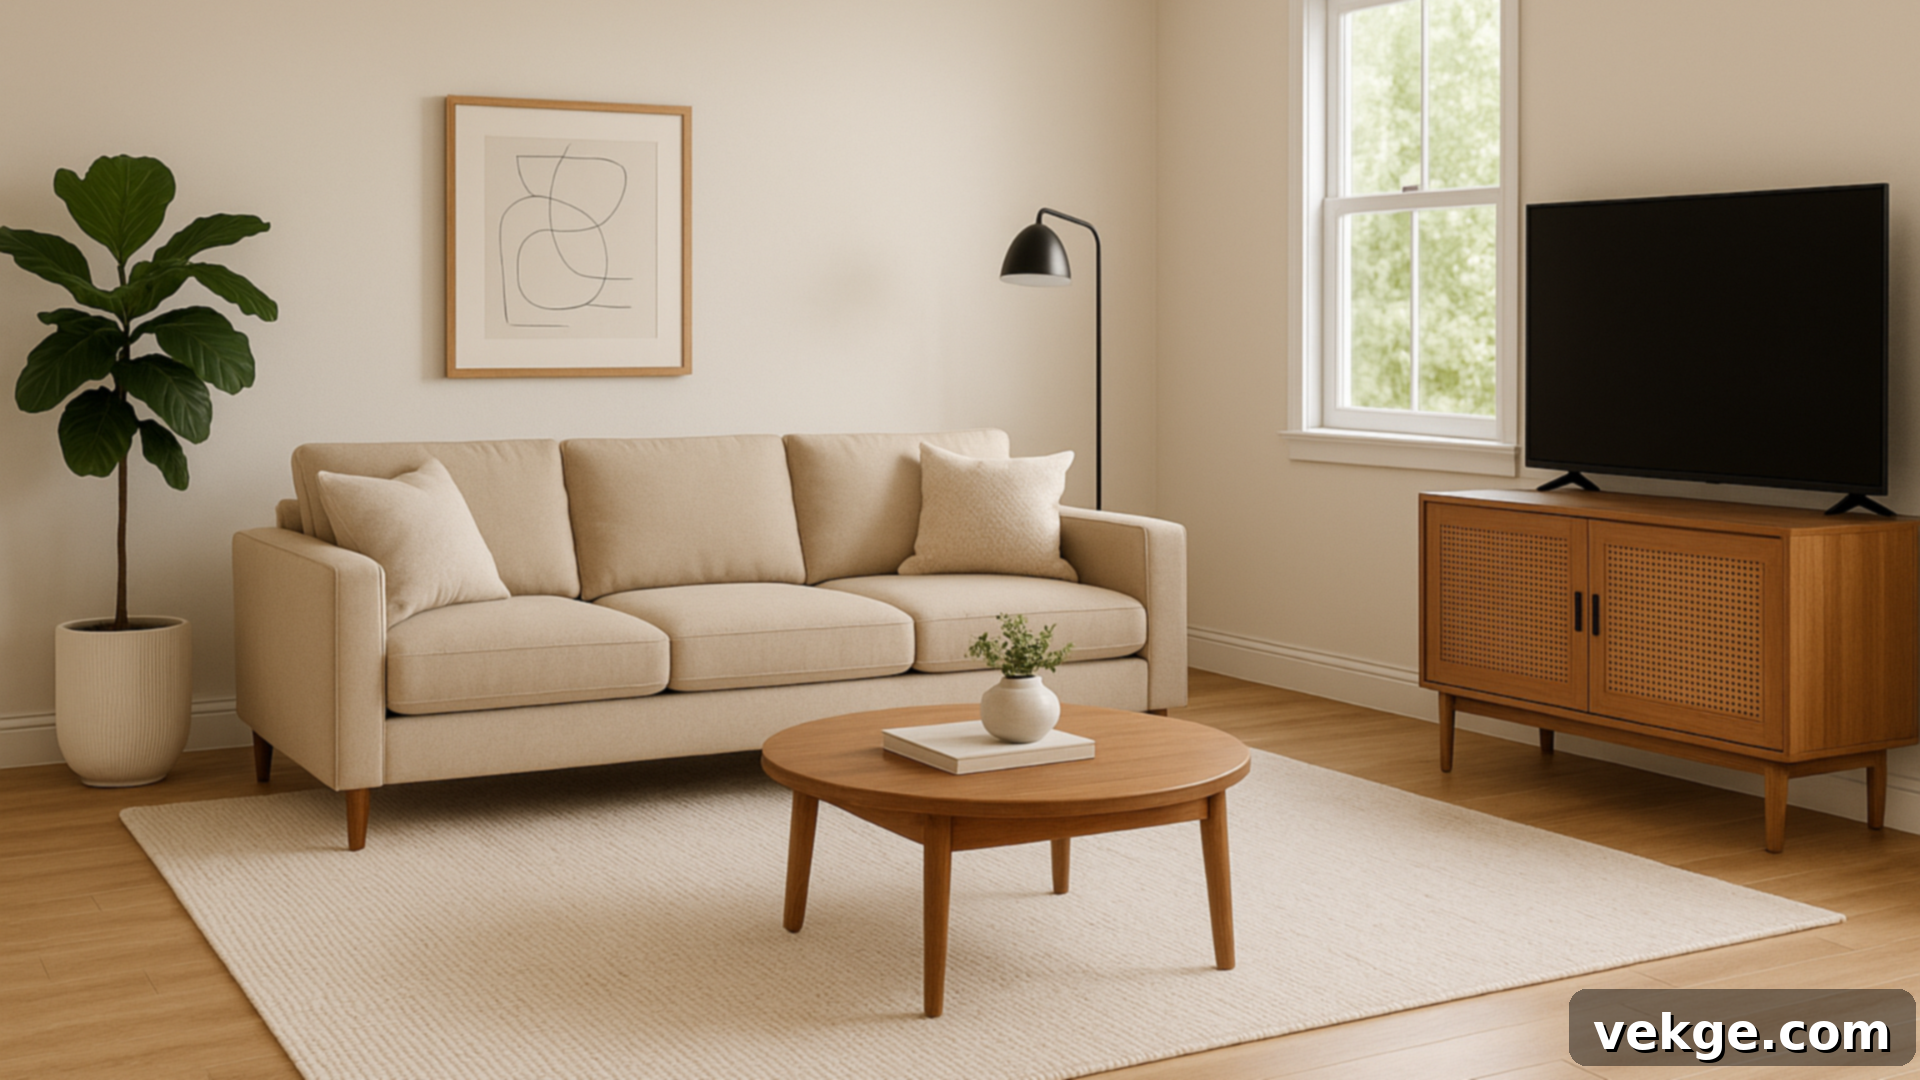
Once your zones are conceptualized, the next crucial step is to position your anchor furniture – these are typically your largest and most impactful pieces, such as your sofa, sectional, or main media console. Begin by placing these items first, as they will dictate the flow and orientation of the rest of your room.
Resist the urge to simply push all your furniture against the longest walls. To effectively center your layout and prevent the creation of a “bowling alley” effect, consider floating your sofa by placing it across the width of the room, rather than strictly along its length. Orient it towards a natural focal point, whether that’s your television, a beautiful window, an artistic wall display, or a fireplace. Ensure you leave ample walking space around these anchor pieces to maintain a comfortable flow of movement.
When your anchor furniture is thoughtfully positioned, it establishes the main direction and purpose of each zone. From this foundation, arranging smaller pieces around them becomes significantly easier, allowing you to build a balanced, comfortable, and visually appealing layout.
Step 4: Balance Your Layout with Thoughtful Side Pieces and Accents
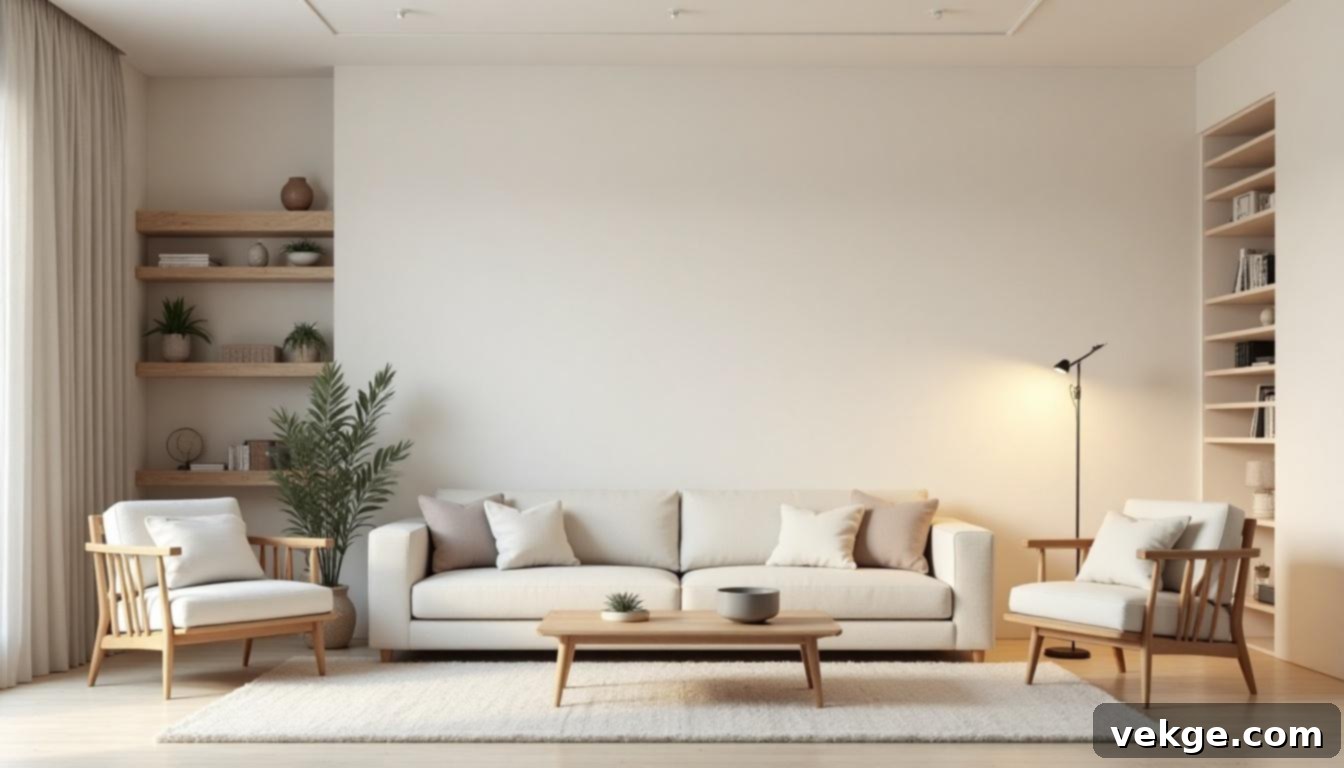
With your primary furniture in place, it’s time to introduce side pieces and accent items. These include additional chairs, bookshelves, end tables, coffee tables, and lamps. These smaller elements play a vital role in supporting and completing your layout without creating clutter or overwhelming the space.
To foster conversation and connection, try placing accent chairs directly across from your main sofa. Utilize slim consoles, side tables, or open shelving units to fill awkward corners, provide essential storage, or delineate the boundaries between your newly established zones. Always remain mindful of your pathways, ensuring they remain clear and unobstructed for easy movement throughout the room.
Consider how different elements contribute to the overall feel. A well-placed floor lamp can visually separate a reading nook, while a slim console table can act as a gentle divider between a seating area and an entryway. This final step brings your room to life, adding crucial function, defining its shape, and creating a cohesive, cozy atmosphere that flows seamlessly from one end to the other.
Inspiring Real Long Living Room Layout Examples by Size
Every long living room presents its own set of characteristics. Here’s how I approached different scenarios, offering three practical layout ideas based on typical room dimensions.
10×25 Layout: Crafting Cozy Conversation Zones
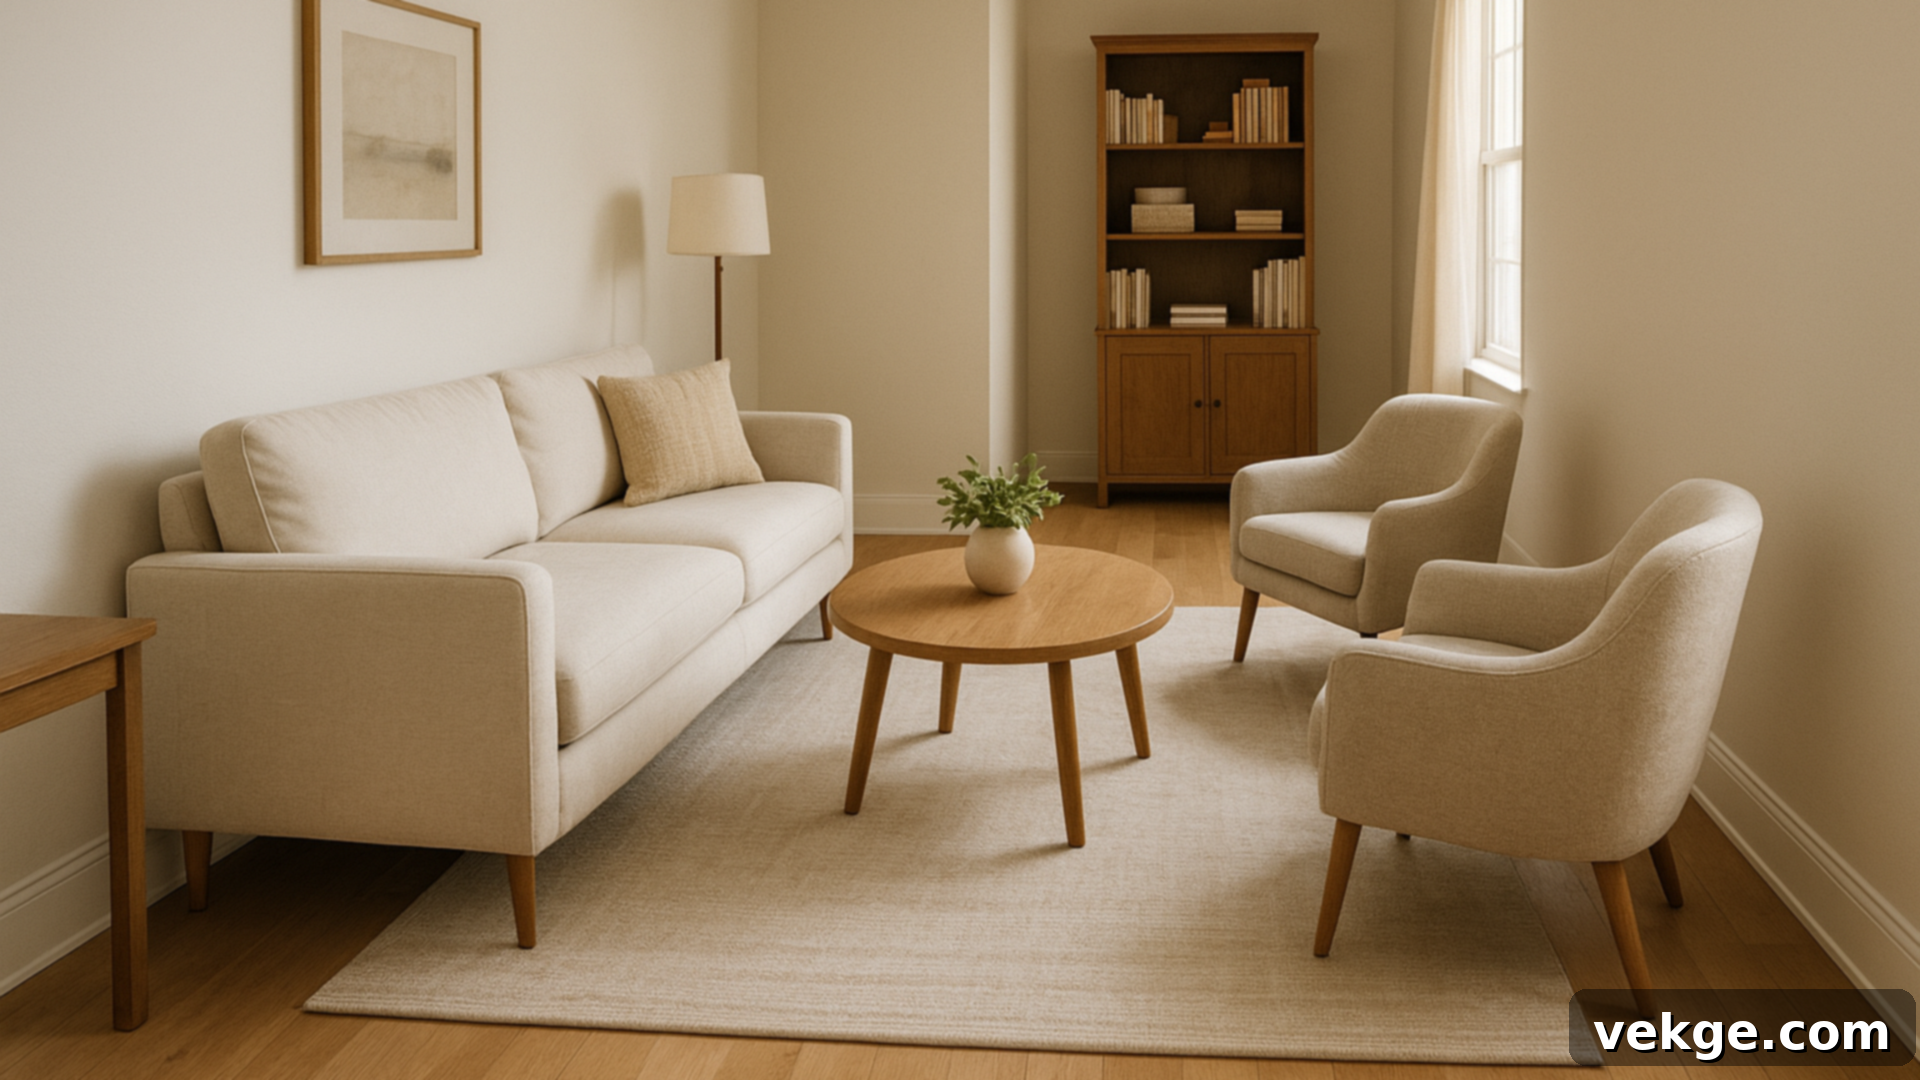
A 10×25 foot living room, while quite narrow, is still workable with smart design choices. The key here is to visually interrupt the excessive length. Start by choosing a smaller-scale sofa or a love seat and place it across the width of the room, rather than along the longest wall. Complement this with a pair of armchairs, positioned to face the sofa, to create an intimate and inviting conversation area.
For a tighter space like this, a round coffee table is often a better choice than a square or rectangular one, as it takes up less visual space and offers easier navigation. Use an area rug to clearly define this seating zone, anchoring the furniture and adding warmth. At the far end of the room, consider a slim console table or a tall, open-backed bookshelf to provide balance and additional functionality without obstructing light or flow.
Crucially, avoid the temptation to line all your furniture along the walls. Floating seating arrangements like this give the room a much more comfortable, connected, and less “hallway-like” feel, optimizing the available space for interaction and relaxation.
12×30 Layout: Designing a Multipurpose Family Space
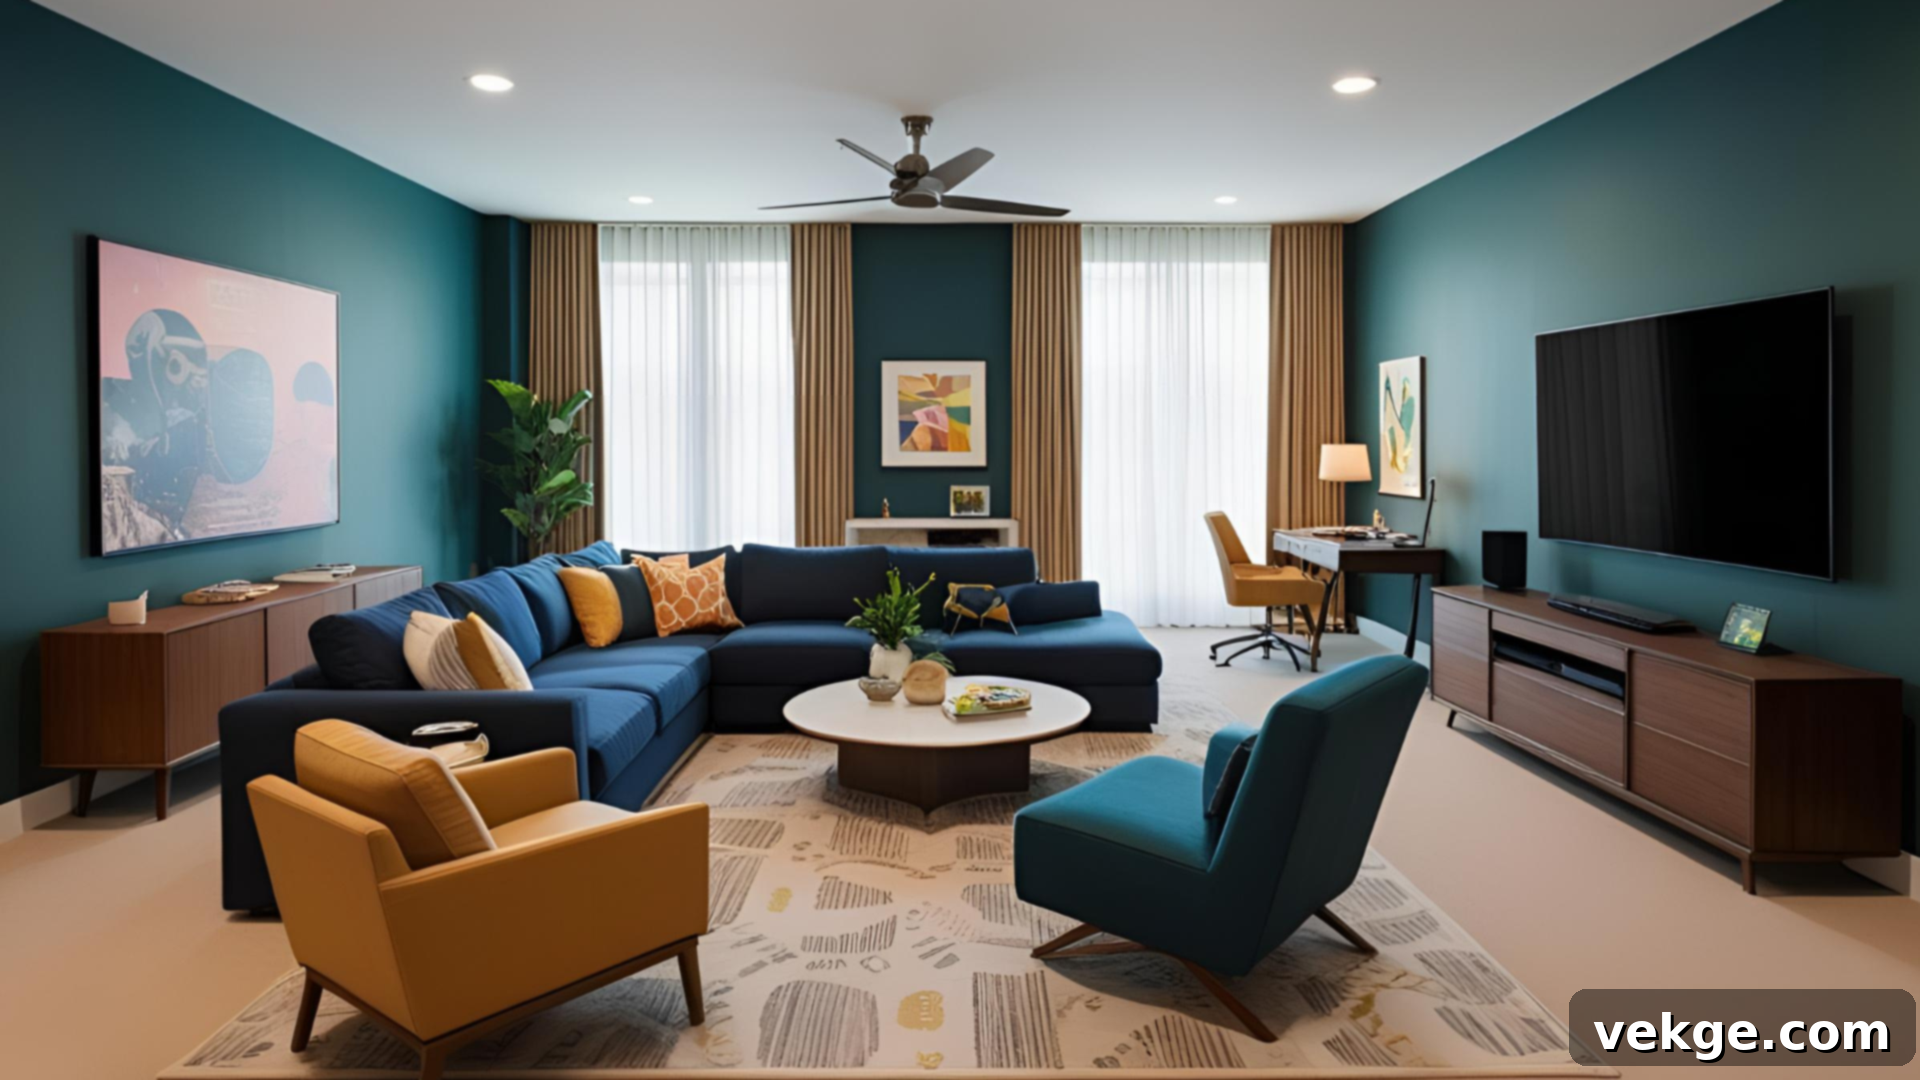
With a more generous dimension like 12×30 feet, you have ample room to confidently divide your living area into distinct, functional zones. Begin by establishing your primary entertainment zone with a large, comfortable sofa and a media setup positioned strategically. This usually forms the largest and most central part of the room.
Then, explore creating a secondary area at the opposite end of the room. This could be anything from a dedicated game table for family fun, a small yet functional desk for a home office, a tranquil reading nook complete with a comfy armchair and bookshelf, or even a creative hobby station. Allow the thoughtful placement of furniture itself to naturally suggest where one area gracefully transitions into another.
You can further enhance these transitions and zones later with accent pieces like plants, unique lighting, or decorative screens. Maintain an open, airy feel by keeping most of your furniture centered within its respective zone, leaving clear, generous walkways on either side. This approach maximizes the utility of your room, providing multiple dedicated spaces for various activities without ever making the extensive area feel empty, disorganized, or overwhelming.
Open-Plan Long Rooms: Intelligent Dual-Use Strategies
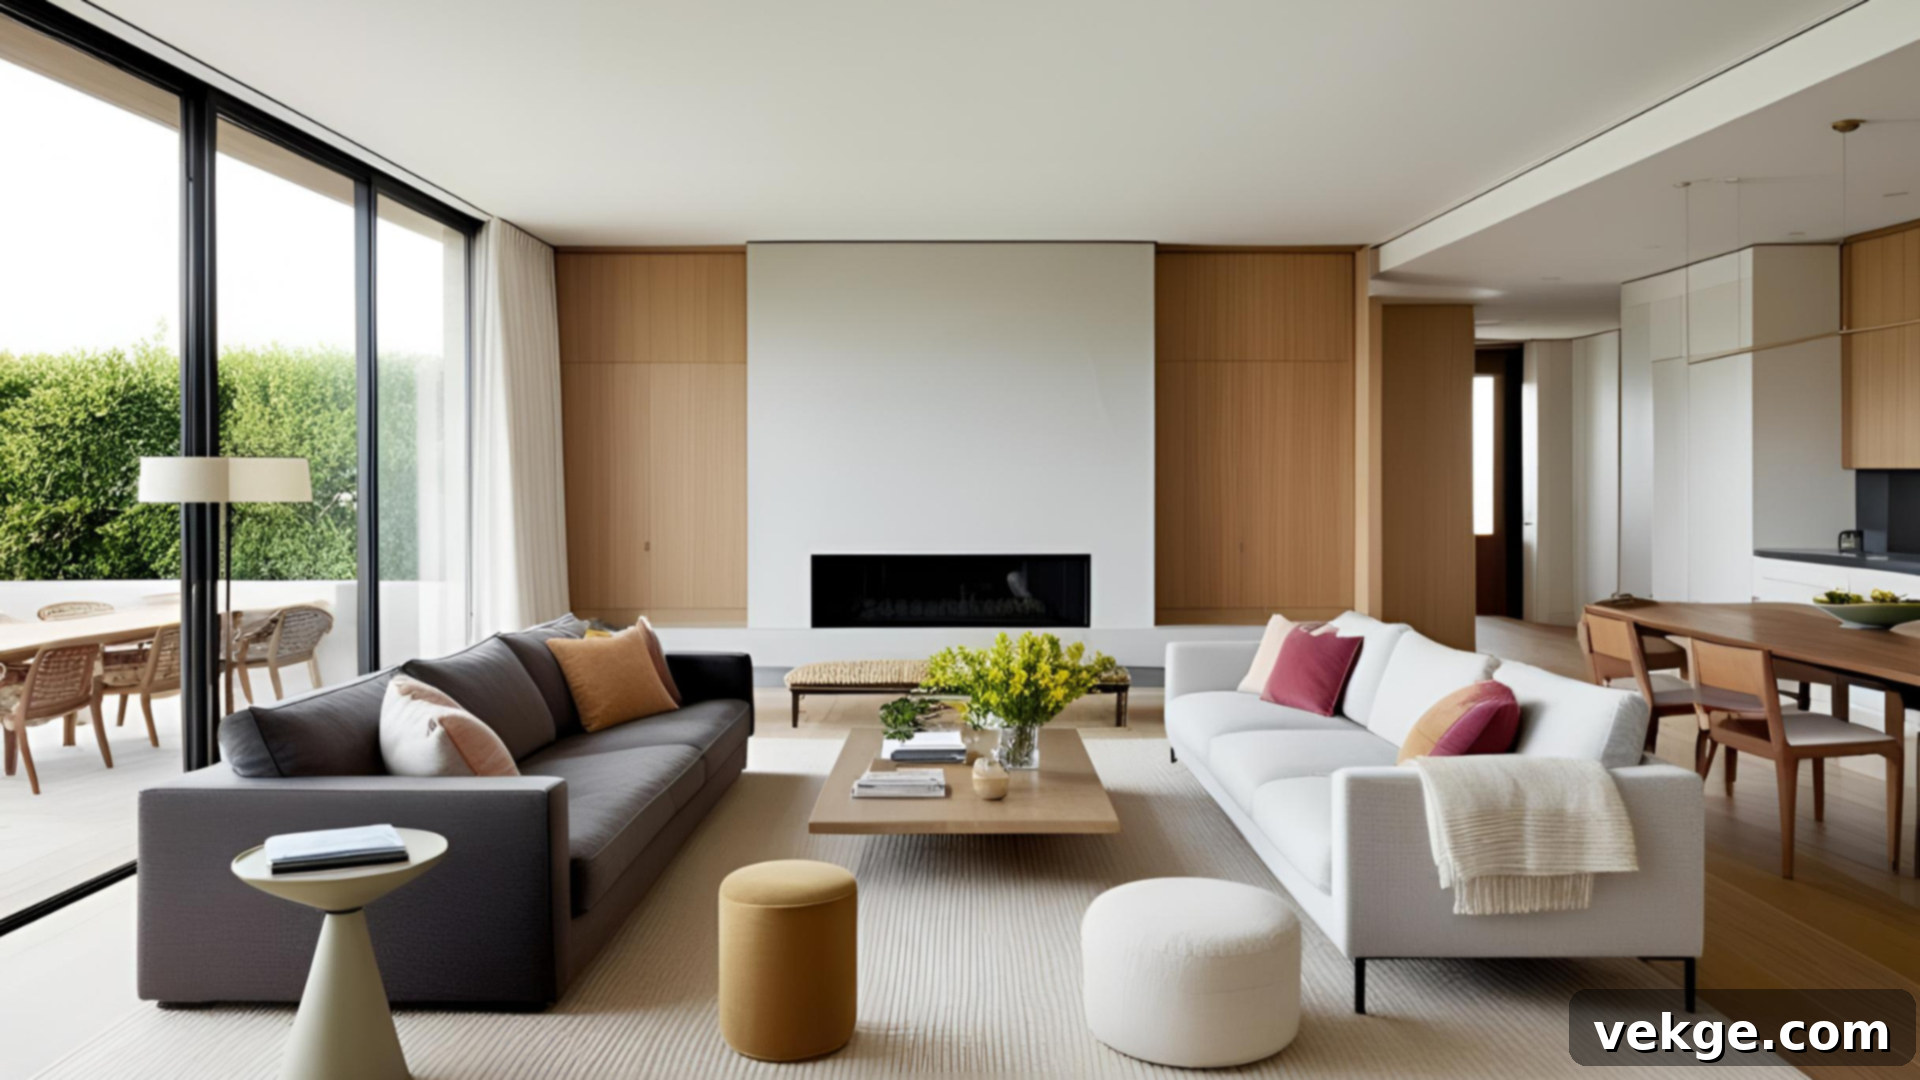
In contemporary open-plan layouts, the living room often seamlessly blends with adjacent spaces, most commonly the dining area or kitchen. The key to success here is using strategic furniture placement to establish “soft boundaries” that define different functional zones without resorting to physical walls.
Begin by orienting your main sofa or sectional towards a natural focal point within the living zone, such as the television, a fireplace, or a large window. Then, positioned immediately behind the sofa, you can place your dining table and chairs. This arrangement uses the back of the sofa as a natural, albeit gentle, divider.
To further enhance the division and provide additional utility, consider adding a slim console table or a low bookshelf between the two zones. This piece can offer extra storage, a surface for decorative items, or even act as a small bar area. You can also utilize area rugs to visually anchor and separate each space, choosing rugs that complement each other but clearly delineate their respective zones. Hanging pendant lights over the dining table, distinct from the living room’s general lighting, can also effectively define the dining area.
This intelligent dual-use setup helps organize a large, open-concept room, giving each area its own identity and purpose while maintaining a sense of spaciousness and connection.
Budget-Friendly Layout Solutions for Your Long Living Room
You absolutely do not need an extravagant budget to dramatically improve your living room’s layout. I’ll demonstrate how I maximized what I already had, and how you can apply these smart, cost-effective strategies too.
Repurpose and Reallocate What You Already Own
Before you even consider purchasing new items, take a thorough inventory of your existing home furnishings. You might be surprised to find a wealth of small tables, extra chairs, or forgotten shelving units in other rooms that can be creatively repurposed for your living room. Try rotating furniture from your bedroom, home office, or even an unused guest room. Experiment with swapping items between different zones within your living room itself.
A sturdy small bench can easily be transformed into a stylish coffee table, while an old bookcase, when strategically placed, can serve as an excellent room divider. Don’t overlook smaller decorative elements either; reuse lamps, wall art, and even existing rugs in new and unexpected locations. By changing the function or location of your current pieces, you can give your living room a completely fresh and updated feel without spending a single penny.
Innovative DIY Dividers and Faux Walls
Creating distinct zones in your long living room doesn’t necessitate expensive construction or permanent walls. There are numerous budget-friendly and creative DIY solutions to achieve visual separation. Tall, open-backed bookcases or stylish open shelving units are excellent choices; they provide structure and storage while allowing light to pass through, maintaining an airy feel. Fabric curtains, hung from ceiling tracks, offer a soft, movable division that can be opened or closed as needed.
A decorative folding screen can be highly versatile, easily moved to reconfigure your space. Even simpler ideas, like a carefully arranged row of tall plants or a long bench with integrated storage underneath, can effectively act as subtle dividers. For those who enjoy a craft project, constructing a simple panel wall using lightweight plywood or reclaimed wood can offer a more robust, yet still temporary, separation. These inventive setups brilliantly break up the visual length of a room, making it feel more thoughtfully designed and segmented, all without the expense of hiring professionals or investing in costly custom pieces.
Utilize Affordable Area Rugs to Define Your Spaces
Area rugs are arguably one of the most straightforward and impactful tools for visually separating and anchoring distinct areas within a long living room, and they don’t have to be expensive. Place a dedicated rug under each zone you’ve created – for example, a larger rug under your primary sofa and armchairs, and a smaller, complementary rug beneath a reading chair or a small dining table.
To find budget-friendly options, explore local home goods stores during sales, scour thrift shops, browse online marketplaces, or keep an eye out for deals from reputable retailers. The key is to select rugs that are appropriately sized for their respective zones; a rug that is too small can make a space feel cramped and disconnected, while one that is too large can swallow the room. A rug that perfectly fits beneath the main furniture pieces of a zone (with at least the front legs of furniture on it) effectively anchors that area, bringing a sense of order and helping to define how that specific part of the space is used, all without adding visual clutter.
Strategic Tricks to Make a Long Room Feel Wider and More Balanced
I perfectly understand how constricting and tunnel-like a long, narrow room can feel. Through clever design, I successfully made my own space appear significantly wider and more expansive. Here are some simple, yet incredibly effective visual tricks you can implement in your home.
Incorporate Horizontal Wall Elements
Horizontal lines have a remarkable ability to guide the eye from side to side, creating an illusion of width and contributing to a more balanced feel. Experiment with elements that emphasize this direction: large, wide pieces of wall art strategically placed on your longest walls, long curtain rods that extend beyond the width of your windows, or even subtle horizontal stripes in paint or wallpaper can all work wonders. These design choices draw the eye across the room, effectively “stretching” the perception of its width and softening the sense of narrowness.
This seemingly small design decision can dramatically alter the visual dynamics of your space, imbuing it with a much-needed sense of breadth, openness, and overall visual harmony. It’s a powerful way to counteract the inherent linearity of a long room.
Arrange Main Furniture Width-Wise Instead of Length-Wise
One of the most impactful ways to counteract a room’s length is to reorient your major furniture pieces. Instead of aligning everything along the longest walls, turn your main items sideways. For example, instead of pushing your sofa against the long wall, float it across the width of the room. Then, position accent chairs opposite the sofa to form a more squared-off, intimate seating zone. This configuration immediately breaks up the “bowling alley” effect that so often plagues long rooms, bringing the focus to the center of the space rather than emphasizing its elongated dimensions.
This intelligent setup not only makes the room feel wider but also encourages better utilization of the entire space, preventing one side from feeling empty or all furniture from being pushed to the periphery. It’s a small but powerful shift in perspective that yields a profoundly positive effect on the room’s perception and functionality.
Opt for Low-Profile Furniture and Decor
Tall, bulky furniture and oversized decorative items can visually shrink a narrow space, making it feel even more cramped and enclosed. To combat this, choose low-profile sofas and armchairs that sit closer to the ground, chairs with open legs that allow light and air to flow underneath, and short, wide bookcases rather than tall, imposing ones. These choices allow more of the wall to be visible and keep sightlines clear, which helps to maintain an expansive and open feel throughout the room.
Actively avoid large, heavy pieces that sit too high or obstruct views across the room. Even your coffee table can contribute to this effect; opt for a wide, low design rather than a tall, boxy one. When your furniture maintains a lower profile, the ceiling feels higher and the walls appear to recede, instantly giving you a greater sense of breathing room and making the entire space feel significantly wider and more inviting.
Long Living Room Lighting Tips: Illuminating Your Space Beautifully
Thoughtful lighting was a game-changer for my long living room. It proved instrumental in breaking up the expansive space, creating cozy, inviting spots, and ultimately bringing a sense of balanced warmth to the entire room. Here are several simple yet highly effective lighting ideas you can implement to dramatically enhance the atmosphere and functionality of your own long living area.
Layer Multiple Light Sources for Depth and Ambience
To avoid stark shadows, dark corners, and a flat, uninviting glow, move beyond a single overhead light. Instead, employ a layered lighting strategy by combining various types of light sources. Integrate ambient lighting from ceiling fixtures (like recessed lights or a subtle flush mount), task lighting from table lamps and floor lamps strategically placed near seating or reading areas, and accent lighting from wall sconces, picture lights, or dimmable LED strips to highlight artwork or architectural features.
This multi-layered approach distributes light evenly across the entire room, ensuring every part feels warm, purposeful, and well-illuminated. The result is a much richer and more dynamic environment than what a single, central fixture could ever achieve. For maximum flexibility, consider putting different light sources on separate dimmer switches, allowing you to fine-tune the illumination based on the time of day, your mood, or the specific activity taking place.
Utilize Floor Lamps as Elegant Space Dividers
Tall, stylish floor lamps can serve a dual purpose in a long living room: they not only provide essential light but also function as sophisticated, non-permanent space dividers. Place a striking floor lamp strategically between two distinct zones, such as the main seating area and a more intimate reading corner or a small home office setup. Its height and presence help to subtly signal a change in function or mood from one area to the next, all without the need for solid walls or bulky furniture.
Choose lamps with slim profiles and a design that complements both adjacent spaces. Ensure the light emitted is bright enough to adequately illuminate both areas, or offers adjustable settings. This clever placement keeps the overall flow of the room open and unobstructed while still imparting a unique identity and purpose to each defined section, enhancing both aesthetics and practicality.
Keep Ceiling Fixtures Minimal and Evenly Distributed
In a long room, relying on one large, central ceiling fixture can often exacerbate the “tunnel effect” and make the ceiling feel lower and more oppressive. Instead, opt for multiple smaller ceiling fixtures, evenly spaced across the length of the room. Recessed lighting, discreet flush mounts, or flexible track lights are excellent choices. These options provide consistent ambient light without drawing undue attention to a single point or visually lowering the ceiling height.
These minimal fixtures can be wonderfully complemented by carefully placed pendant lights over specific key spots, such as a coffee table, an accent table, or above a dedicated reading chair. Spreading the light sources in this manner ensures the entire space feels uniformly bright, open, and far more balanced from one end to the other, creating a more harmonious and inviting atmosphere.
Conclusion: Your Long Living Room, Transformed
A long living room, despite its initial design challenges, does not have to be a source of ongoing frustration or a design headache. With the right strategic layout, the intelligent creation of distinct zones, and the thoughtful application of varied lighting, you possess all the tools to transform your potentially awkward space into one of the most comfortable, functional, and inviting spots in your entire home.
Now that you’ve walked through my personal process of measuring, planning, and carefully arranging every element, you’re fully equipped and ready to confidently update your own room. You can proceed without the usual overspending or the constant second-guessing that often accompanies major decorating decisions. Keep your initial sketch close as your guiding map, actively think in terms of purposeful zones as I did, and consciously avoid those common layout mistakes that can compromise flow and aesthetics.
Remember, even a few well-considered, small changes can truly make a monumental difference in how your long living room looks, feels, and functions. Embrace these strategies, and prepare to enjoy a beautifully optimized and utterly comfortable space.
Want even more easy layout tips and inspiring design ideas? I’ve shared a collection of simple, helpful guides designed to make every space in your home work better and feel more beautiful for you.
