Mastering Your DIY Quartz Kitchen Countertop Installation: A Comprehensive Guide
Quartz kitchen countertops have soared in popularity among homeowners, celebrated for their exquisite design, unparalleled versatility, and enduring durability. Whether you’re embarking on a minor upgrade or a complete kitchen overhaul, installing quartz countertops can dramatically elevate your home’s aesthetic and functional appeal. Their sleek, modern appearance and practical benefits make them a top choice for any contemporary kitchen.
While the prospect of installing new countertops might seem daunting, especially for those new to home improvement projects, it is a perfectly achievable task with the right guidance. This comprehensive article aims to demystify the process, providing you with a detailed, step-by-step guide on how to confidently and easily install quartz kitchen countertops yourself. We’ll cover everything from meticulous planning and preparation to the final touches, ensuring a successful and satisfying DIY experience.

Why Choose Quartz Countertops for Your Kitchen?
Quartz offers an array of benefits that make it an outstanding material for kitchen countertops. Its engineered nature allows for incredible customization, ensuring a perfect fit for any kitchen layout with maximum ease. Unlike natural stone, quartz is non-porous, providing exceptional resistance against stains, scratches, and heat damage. This characteristic also makes it highly resistant to mold and bacteria growth, creating a more hygienic surface ideal for food preparation areas.
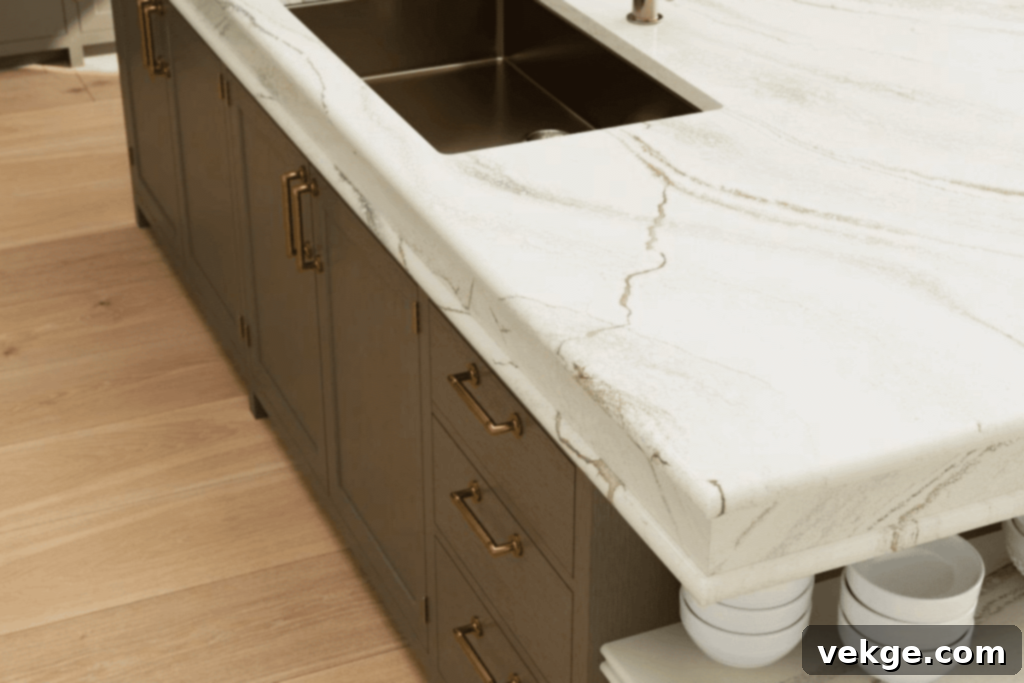
Beyond its practicality, quartz boasts an impressive aesthetic range. It’s available in a vast selection of colors, patterns, and styles, mimicking the look of natural marble or granite, or offering unique contemporary designs. This variety ensures you can find the perfect match to complement your kitchen’s existing decor or create an entirely new focal point.
Homeowners also appreciate quartz countertops for their minimal maintenance requirements and long-term investment value. Cleaning is simple, typically requiring just soap and water. With their inherent strength and resilience, quartz countertops are built to withstand the rigors of heavy daily use and high temperatures, ensuring they maintain their beauty for years to come. Installing quartz is not just an upgrade; it’s an investment in a modern, versatile, and enduring kitchen transformation. If time or experience is a constraint, professional assistance from services like Kitchen Remodeling New York is always an option.
Essential Tools and Materials for Quartz Countertop Installation
Before you begin, gathering all the necessary tools and materials will ensure a smooth and efficient installation process. Having everything on hand minimizes interruptions and allows you to focus on precision. Here’s what you’ll typically need:
- Measuring Tape: For accurate dimensions of your cabinets and countertop pieces.
- Level: Crucial for ensuring your cabinets and countertops are perfectly even.
- Shims: Small wedges used to level cabinets and countertops.
- Construction Adhesive or Silicone Adhesive: To secure the quartz to the cabinets.
- Caulking Gun and Silicone Caulk (Color-matched if possible): For sealing seams and edges against walls and sinks.
- Jigsaw or Diamond Blade Saw: Essential for cutting openings for sinks and cooktops (ensure appropriate blades for quartz).
- Pencil or Marker: For marking cut lines and templates.
- Plywood or Cardboard: For creating precise templates.
- Safety Gear: Safety glasses, gloves, dust mask (especially when cutting).
- Screwdriver or Drill: For securing base cabinets and any undermount sinks.
- Clamps: To hold pieces together while adhesive dries.
- Rubbing Alcohol: For cleaning surfaces before applying adhesive/caulk.
- Clean Cloths/Sponges: For cleanup.
Step-by-Step Guide to Install Quartz Kitchen Countertops
1. Planning and Preparation: The Foundation of Success
The success of your quartz countertop installation hinges on meticulous planning and preparation. Start by taking precise measurements of your kitchen cabinets where the new countertops will rest. Also, carefully measure the dimensions of your chosen quartz slabs. Remember, accurate measurements prevent costly mistakes.
Next, consider the style, color, and edge profile of your quartz countertop. These choices significantly impact the final look and feel of your kitchen. Opt for designs that complement your existing cabinetry and overall kitchen aesthetic. Once your design decisions are finalized, ensure you have all the necessary tools and materials ready, including shims, a level, a measuring tape, construction or silicone adhesive, and crucial safety equipment like gloves and eye protection.
2. Safely Remove Your Old Countertops

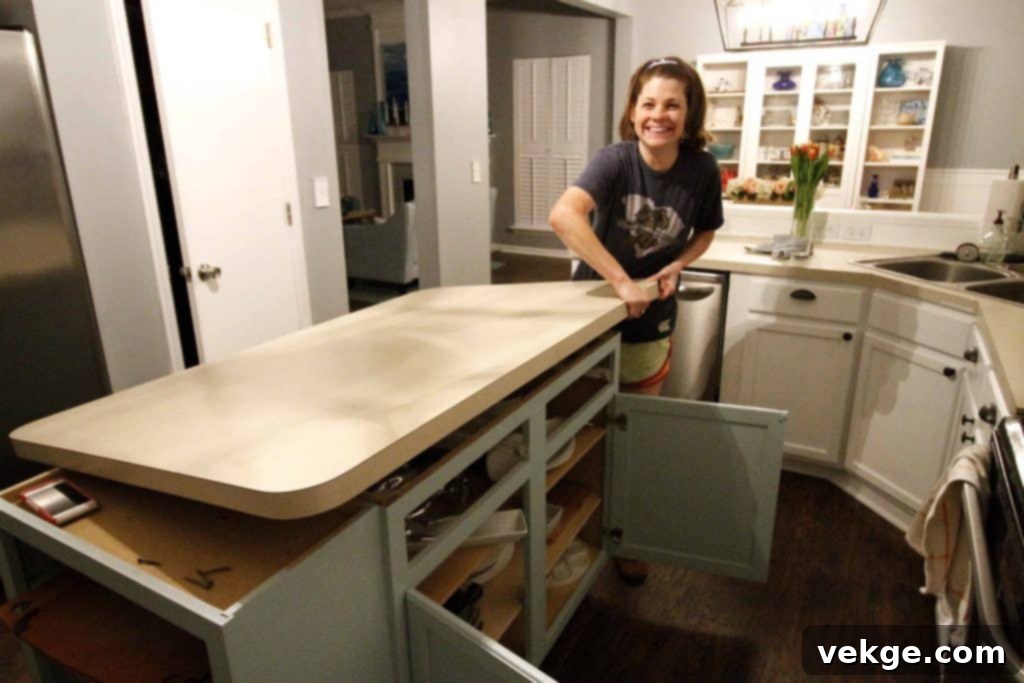
Before installing your new quartz, you must carefully remove any existing countertops. This process begins by disconnecting all plumbing connections from your sink, garbage disposal, and any other appliances integrated into the old countertop. Turn off the main water supply and power to these units for safety. Then, gently detach the old countertop, paying close attention not to damage the underlying cabinets or adjacent walls. Many countertops are screwed in from underneath or simply glued; locate these fasteners and remove them. Take your time to avoid unnecessary damage and ensure the area is clear for the next step.
3. Prepare Your Cabinets for Installation
Once the old countertops are removed, focus on preparing your base cabinets. This is a critical step, as the stability and levelness of your cabinets directly impact the flawless installation of the quartz. Use a level to check that all cabinet tops are perfectly flat and even. If you find any discrepancies, use shims to raise or adjust the cabinet height until they are level and provide solid support across all surfaces. After leveling, thoroughly clean the cabinet tops, removing all dust, dirt, old adhesive residues, and any debris. A clean, stable surface is essential for proper adhesion and a long-lasting installation.
4. Create Accurate Templates (If Necessary)
For complex layouts, irregular shapes, or custom cutouts for sinks and cooktops, creating a template is highly recommended. Use materials like plywood or sturdy cardboard to accurately trace the exact layout and size of your countertop, including precise locations for appliance cutouts and sinks. This template serves as a dry run, allowing you to visualize the fit and make any necessary adjustments before cutting into your valuable quartz slabs. This step significantly reduces the risk of errors during installation, ensuring an accurate and custom fit.
5. Precisely Cut Sink & Cooktop Openings
With your template ready, transfer the precise dimensions and cutout locations onto your quartz slab using a pencil or marker. These marks will guide your cuts for the sink and cooktop openings. Use a high-quality jigsaw or a diamond blade saw, specifically designed for cutting hard materials like quartz, to carefully follow your marked lines. Always wear appropriate safety gear, including safety glasses and a dust mask, as cutting quartz generates fine dust. Take your time, make clean cuts, and if possible, do a dry fit of your sink and cooktop into the cutouts before applying adhesive to ensure they fit perfectly.
6. Carefully Install the Quartz Countertops

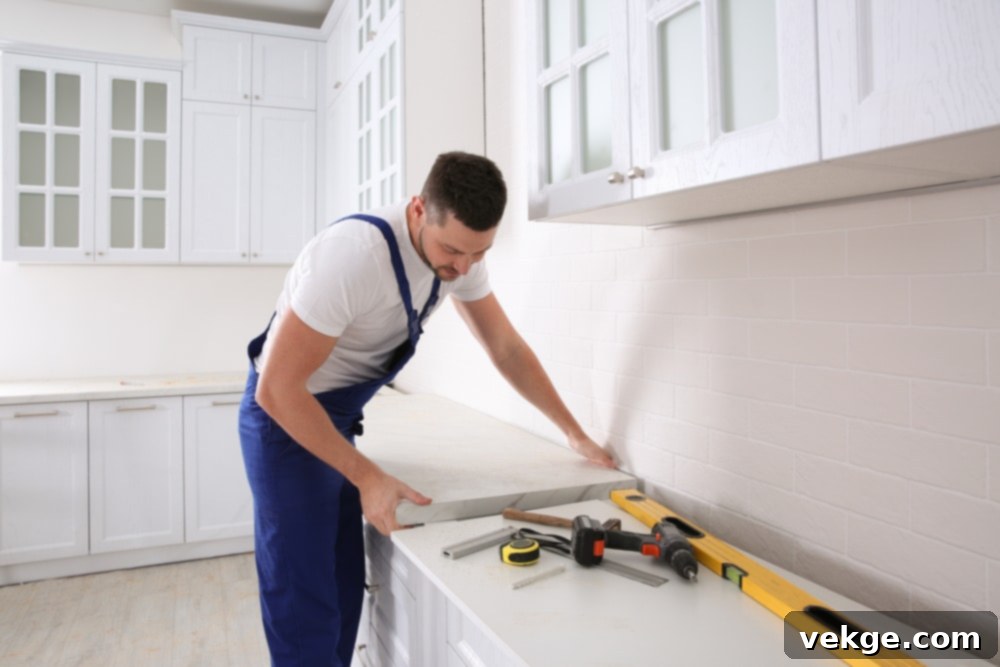
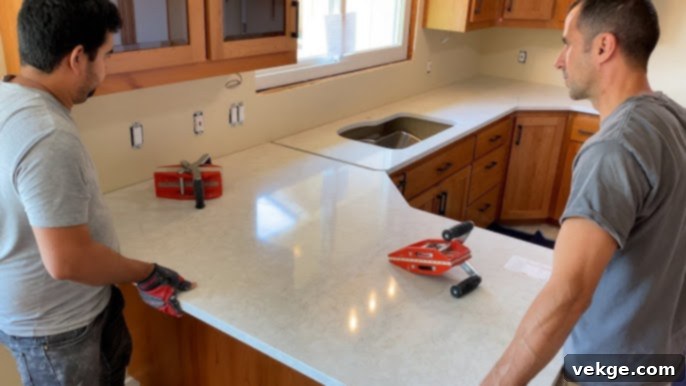
With all preparations complete, it’s time for the main event: installing your quartz countertops. Apply a continuous bead of construction adhesive or silicone adhesive along the top edges of your cabinets, where the quartz will rest. Be generous but avoid excessive application that could squeeze out too much. Carefully lift and place the quartz countertop slab onto the adhesive, ensuring it aligns perfectly with the cabinet edges and walls. Use shims if necessary to achieve perfect alignment and levelness. For multiple slabs, ensure the seams are as tight and even as possible, using clamps to hold them together while the adhesive sets. Precision here is key for a professional finish.
7. Secure and Seal Your New Countertops
Once the quartz slabs are accurately positioned, secure them from underneath by screwing through the cabinet frame into the underside of the countertop. Use appropriate screws that won’t penetrate through the quartz. Double-check that all sections are perfectly level using your spirit level. Next, apply a thin, consistent bead of silicone caulk along the seams where the countertop meets the walls. This not only creates a clean finish but also provides a waterproof barrier, protecting your cabinets from potential water damage. For any visible seams between multiple quartz pieces, use a color-matched epoxy or specialized caulk designed for quartz to ensure they are filled, sealed, and visually seamless. Carefully wipe away any excess caulk or adhesive with a damp cloth before it dries to maintain a pristine look.
8. Reconnect Plumbing and Appliances, Followed by Final Inspection
After the adhesive and caulk have fully cured (check manufacturer’s recommendations for drying times), you can reconnect all plumbing for your sink, faucet, garbage disposal, and any other under-counter appliances like your dishwasher. Carefully follow the manufacturer’s instructions for each appliance, ensuring all connections are secure and leak-free. Once everything is reconnected, conduct a thorough final inspection of your newly installed countertops. Check for any small chips, scratches, or uneven gaps. Ensure the entire surface is clean of dust, debris, and adhesive residue. Run water through the sink to check for leaks and confirm all appliances are functioning correctly. This meticulous final check ensures your DIY installation is complete and ready for use.
Long-Term Care and Maintenance Tips for Your Quartz Countertops
While quartz is renowned for its low maintenance, following a few simple care guidelines will ensure your countertops remain stunning for decades. Proper care enhances their longevity and preserves their pristine condition.
- Daily Cleaning: Wipe down your quartz countertops daily with a soft cloth, warm water, and a mild dish soap. Avoid abrasive scrubbers or harsh chemical cleaners, as these can dull the surface or leave residues.
- Spill Management: Clean up spills immediately, especially acidic liquids like wine, coffee, or lemon juice, to prevent potential staining, although quartz is highly stain-resistant.
- Heat Protection: Although quartz is heat-resistant, it’s not heat-proof. Always use trivets or hot pads under hot pots, pans, and heat-generating appliances (like slow cookers or griddles) to prevent thermal shock or discoloration.
- Avoid Harsh Chemicals: Steer clear of strong alkaline or acidic cleaners, oven cleaners, drain cleaners, paint removers, and products containing bleach or abrasives. These can damage the resin that binds quartz particles.
- Cutting Boards: Always use a cutting board. While quartz is scratch-resistant, it’s not impervious to damage from sharp objects, and protecting the surface is always a good practice.
- UV Protection: If your kitchen receives direct, intense sunlight for prolonged periods, consider using UV-blocking film on your windows. While quartz is generally color-stable, extreme, prolonged UV exposure could potentially lead to subtle discoloration over many years.
- No Sealing Required: One of the major benefits of quartz is its non-porous nature, which means it never needs to be sealed, unlike natural stone. This saves you time and money on maintenance.
Conclusion
Installing quartz kitchen countertops is a significant investment, but it’s one that yields immense long-term value through minimal maintenance and exceptional durability. By following this detailed guide, you can confidently undertake this home improvement project yourself, transforming your kitchen into a more adorable, beautiful, and highly functional space.
The numerous advantages of quartz – including its versatility, resilience, aesthetic appeal, and low maintenance costs – make it an ideal choice for any homeowner looking to enhance their kitchen. Regular, simple maintenance will ensure the longevity and enduring beauty of your quartz countertops, allowing you to enjoy their benefits for many years to come.
