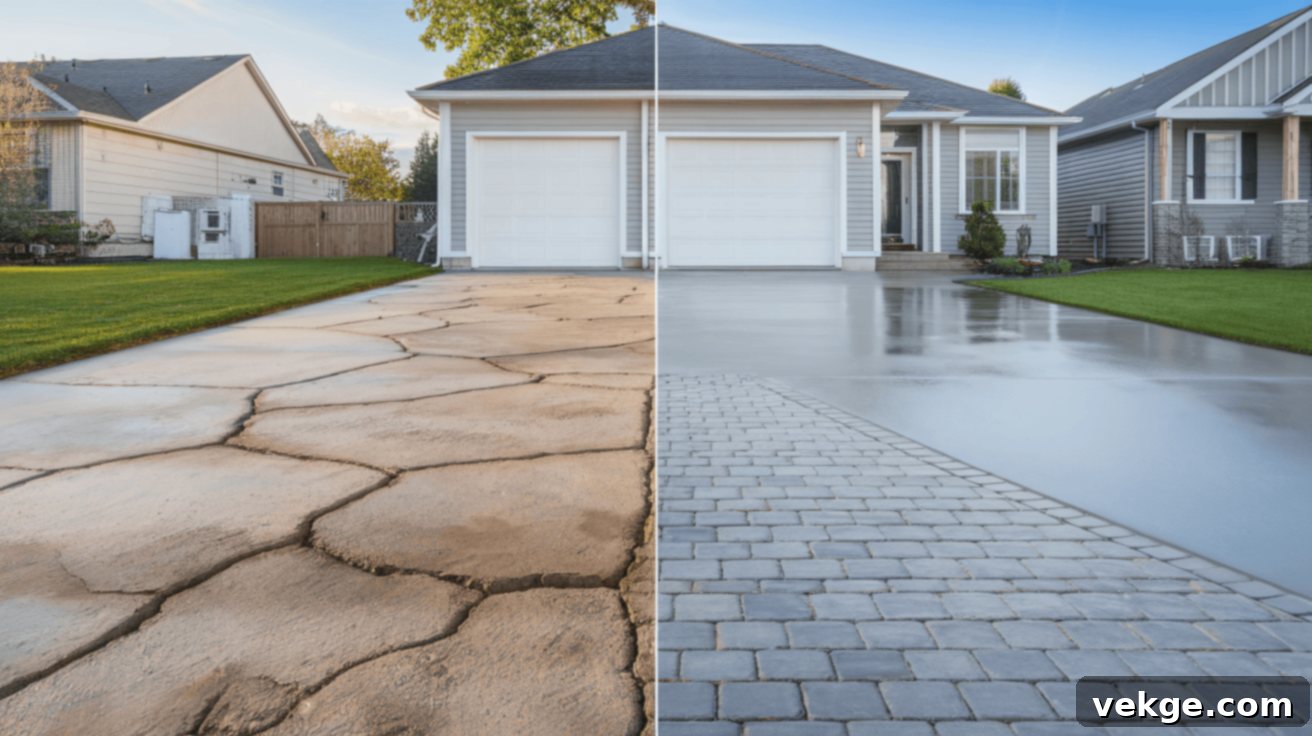
Ultimate Guide to Concrete Driveway Resurfacing: Restore, Repair, & Revitalize Your Driveway
Is your concrete driveway showing undeniable signs of wear and tear? Perhaps you’re noticing an increasing number of hairline cracks, stubborn oil stains, or significant weather damage that makes your once-pristine driveway look old, neglected, and uninviting. These issues not only detract from your home’s curb appeal but can also compromise the structural integrity of your driveway over time.
But there’s good news: a complete, costly replacement isn’t always necessary. Concrete driveway resurfacing offers a smart, cost-effective, and highly efficient solution to restore its pristine appearance and significantly extend its functional life. This innovative process allows you to give your driveway a fresh, new look without the expense and disruption of a full tear-out and repour.
In this comprehensive guide, we’ll walk you through everything you need to know about concrete driveway resurfacing. We’ll delve into the numerous benefits it offers, provide a detailed step-by-step process for a successful project, and outline all the essential tools and materials you’ll need. Whether you’re considering a hands-on DIY approach to save costs or prefer to hire a seasoned professional, this guide will equip you with all the necessary information to make an informed decision and achieve a stunning, durable result. Let’s explore how you can transform your driveway and enhance your home’s value.
Benefits of Resurfacing Your Concrete Driveway
Concrete driveway resurfacing provides an array of compelling benefits for homeowners looking to significantly enhance their property’s aesthetic appeal and overall functionality. This process is celebrated for being a remarkably cost-effective alternative to full replacement, offering a powerful way to boost your home’s curb appeal while effectively addressing common surface imperfections and wear.
Key advantages of choosing concrete driveway resurfacing include:
- Extends Driveway Lifespan by 10-15 Years: Resurfacing acts as a protective shield, rejuvenating the existing concrete and significantly extending its functional life. When properly maintained, a resurfaced driveway can add another decade or more to your original investment, offering excellent long-term value and enhancing your property’s market appeal.
- Addresses Minor Cracks, Stains, and Weathering Damage: This solution is ideal for repairing superficial damage such as hairline cracks, minor spalling, discoloration from oil spills, and general weathering. It effectively hides these imperfections without the need for extensive demolition, saving both time and substantial financial resources compared to a full replacement.
- Allows Creative Customization and Aesthetic Enhancement: Unlike a basic concrete slab, resurfacing opens up a world of design possibilities. You can choose from an extensive range of options, including decorative stamped patterns that mimic natural stone, brick, or wood, integrate various colors to complement your home’s exterior, or apply textured finishes for enhanced grip and visual appeal. This allows for a fresh, modern look that truly matches your home’s unique architectural style.
- Quick Installation (Typically 1-3 Days): The resurfacing process is remarkably efficient. Depending on the size and complexity of your driveway, most projects can be completed within one to three days. This minimal disruption means you can usually resume normal vehicle traffic within 24-48 hours after the resurfacing material has properly cured, making it a convenient choice for busy homeowners.
- Low Maintenance and Improved Safety: A properly resurfaced concrete driveway requires significantly less upkeep than many other paving materials. Its smooth yet durable surface is easier to clean and maintain. Furthermore, certain textured finishes can improve traction, making your driveway safer in wet or icy conditions. It strikes a perfect balance between addressing existing repairs and avoiding the high costs of complete replacement.
Concrete Driveway Resurfacing Step-by-Step Process
Achieving a durable, smooth, and aesthetically pleasing finish on your concrete driveway through resurfacing is a highly rewarding project. Follow this detailed, step-by-step guide to ensure lasting and professional results.
Tools and Materials Required
Before embarking on your concrete driveway resurfacing project, it’s crucial to gather all the necessary tools and materials. Proper preparation is key to ensuring successful surface adhesion, effective crack repair, precise material application, and a high-quality finish. Here’s what you’ll need:
- Poly-Bond (Cementitious Bonding Adhesive): This is the primary resurfacing material, a polymer-modified cement that provides excellent adhesion and durability.
- Fine Sand: Used for thickening the Poly-Bond mixture, especially for filling deeper gaps or for thicker applications to build up low spots.
- Clean Water: Essential for mixing the Poly-Bond to the correct consistency.
- Pressure Washer: For thorough cleaning and degreasing of the existing concrete surface, ensuring optimal adhesion.
- Mixing Equipment: A heavy-duty drill with a paddle mixer attachment is ideal for achieving a consistent, lump-free mix. A large mixing bucket or wheelbarrow may also be needed.
- Sponge Float or Magnesium Float: Used for smoothing, leveling, and bringing the “cream” to the surface of the applied material.
- Steel Trowel or Squeegee: For evenly spreading the resurfacing material over the driveway. A squeegee is often preferred for initial broad application.
- Stiff-Bristled Broom or Concrete Scratcher: For creating a textured finish, enhancing slip resistance and aesthetic appeal.
- Concrete Crack Filler or Patching Compound: For addressing minor cracks and spalling before the resurfacing coat.
- Quick-Setting Concrete Mix (for larger repairs): For filling deeper holes or larger spalled areas that require more substantial repair.
- Safety Gear: Gloves, safety glasses, and a dust mask are crucial for protection during the mixing and application process.
Step 1: Preparation – The Foundation of Success
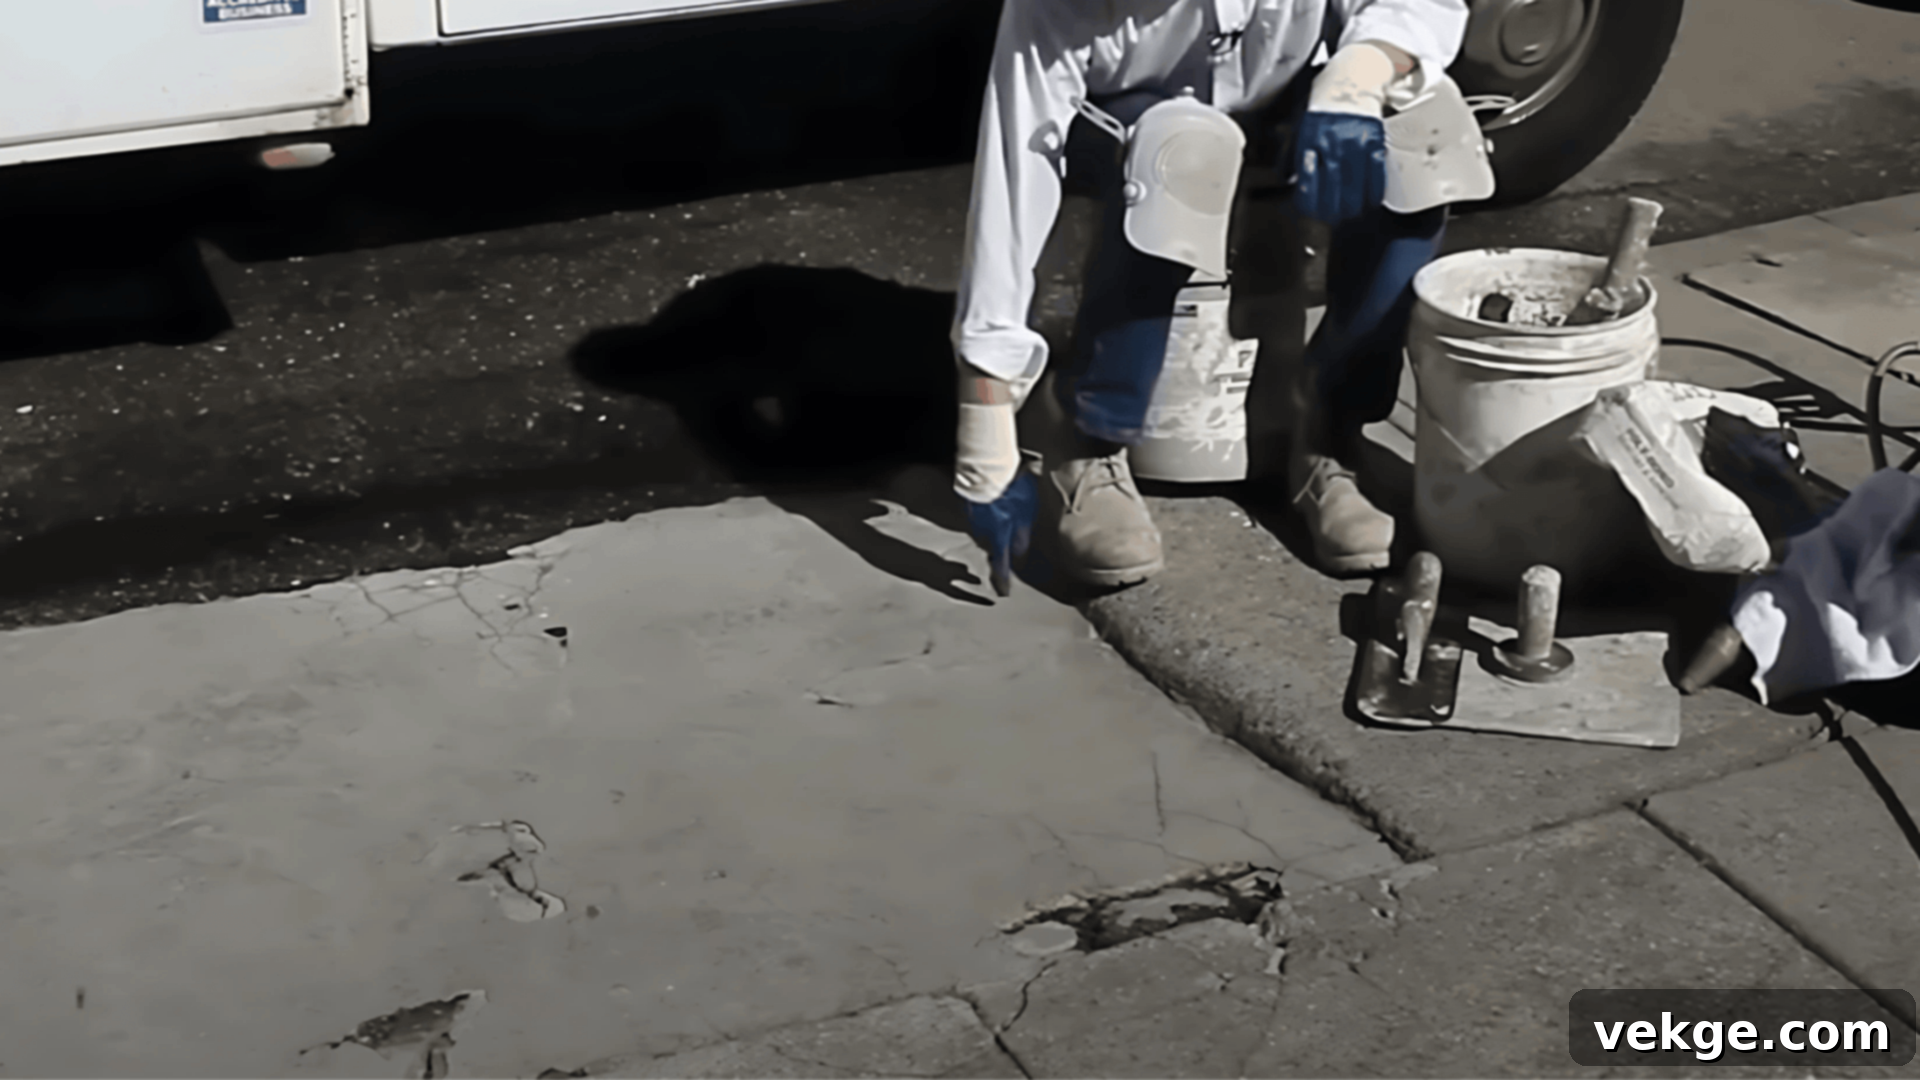
Clean the Driveway Thoroughly: Begin by meticulously cleaning the entire driveway surface. Use a powerful pressure washer to remove all dirt, grime, loose debris, algae, mildew, and any oil or grease stains. For stubborn oil and grease, a degreaser specifically designed for concrete may be required. Ensure the surface is impeccably clean, as any contaminants can hinder the resurfacing material’s adhesion, leading to premature failure. Allow the driveway to dry completely before proceeding.
Assess the Damage and Plan Repairs: Conduct a detailed inspection of your driveway. Identify all cracks, spalled areas, potholes, or large gaps. Understanding the extent of the damage is crucial, as different types of damage require different repair approaches. Minor, non-structural issues are suitable for resurfacing, while extensive, structural cracks or significant slab movement might indicate a need for professional assessment or even full replacement.
Step 2: Fill Cracks and Gaps
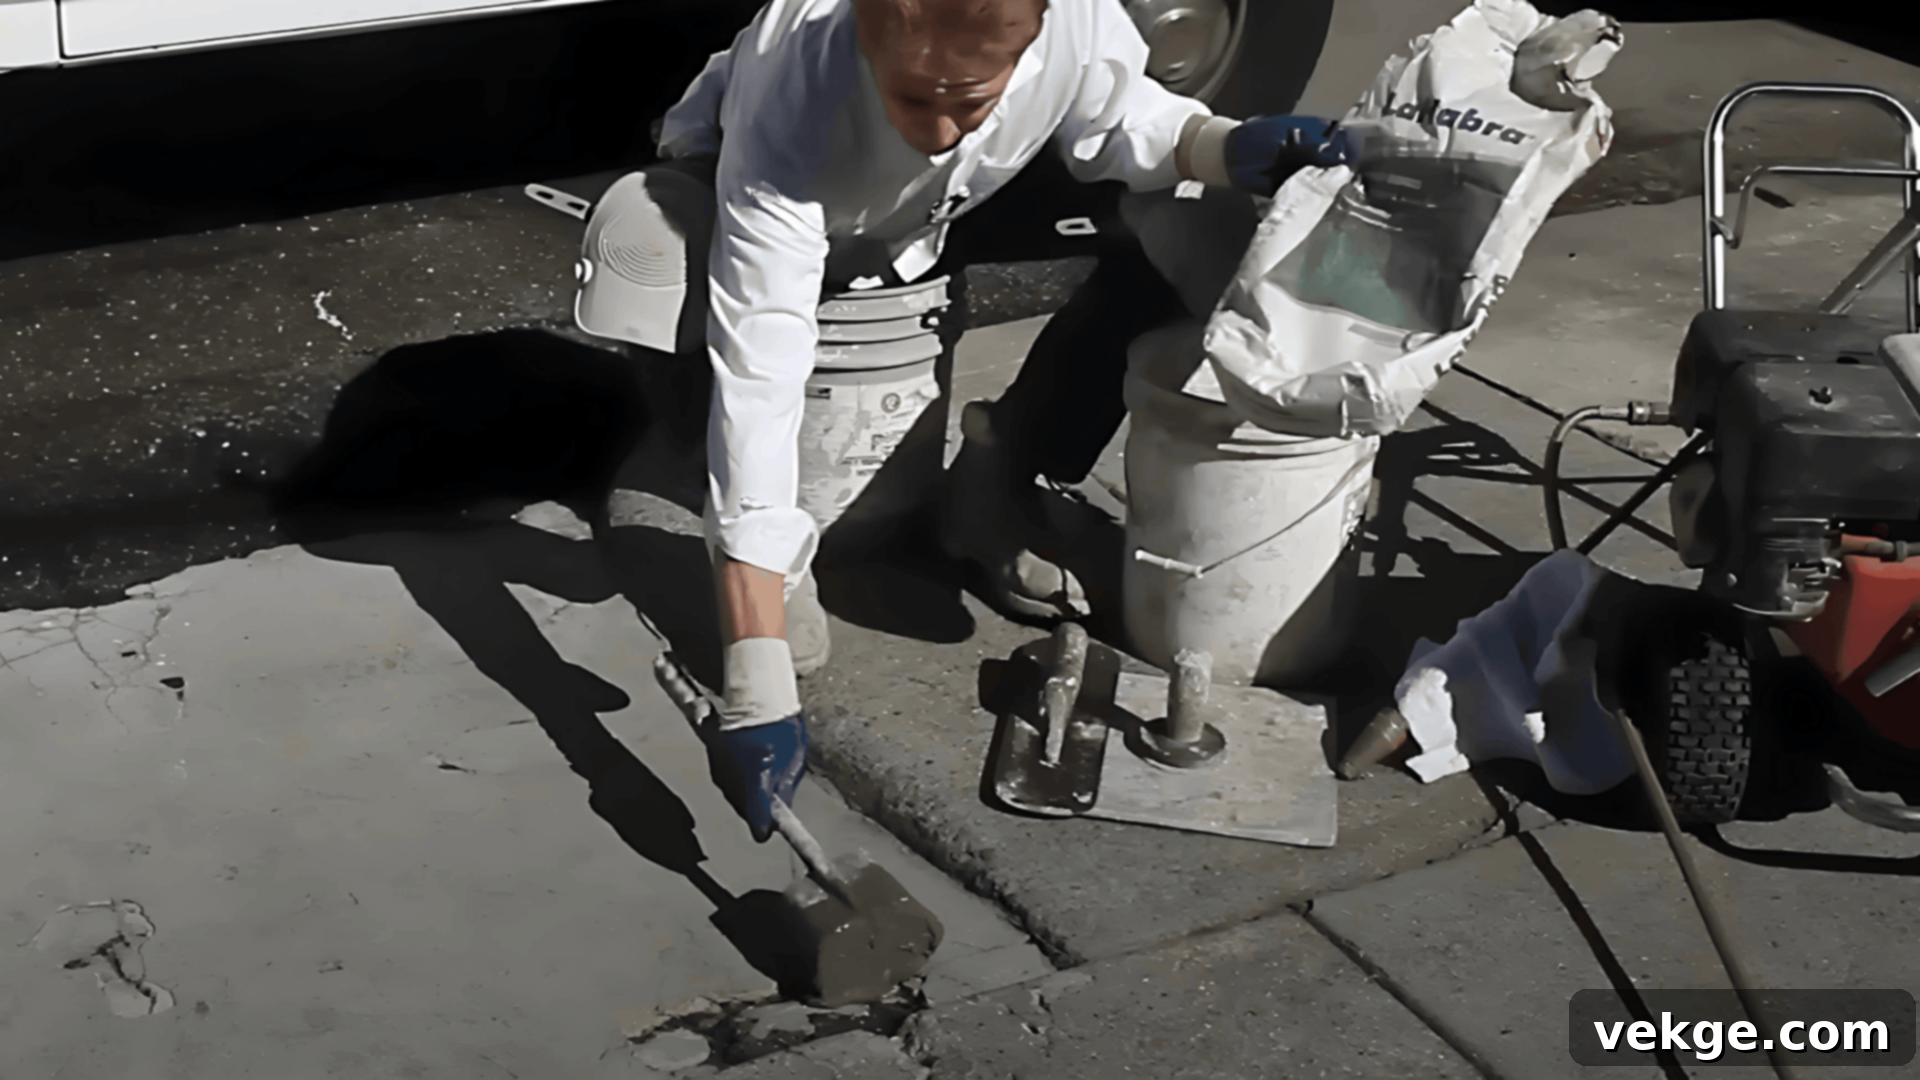
Fill Minor Cracks: For hairline cracks or those up to 1/4 inch wide, use a high-quality concrete crack filler or caulk. Apply the filler into the cracks, ensuring it penetrates deeply, then smooth the surface flush with a putty knife. Allow it to cure according to the manufacturer’s instructions.
Address Larger Gaps and Spalled Areas: For wider cracks (up to 1/2 inch), deeper spalls, or small potholes, a quick-setting concrete repair mix is more appropriate. Mix the product following the manufacturer’s guidelines and trowel it into the damaged areas, leveling it carefully with the surrounding concrete. It’s important that these patches are flush with the existing surface to ensure a smooth finish for the resurfacing material. Allow these repairs to cure for at least 24 hours, or as recommended by the product, before moving to the next step.
Step 3: Mix Poly-Bond for Optimal Consistency
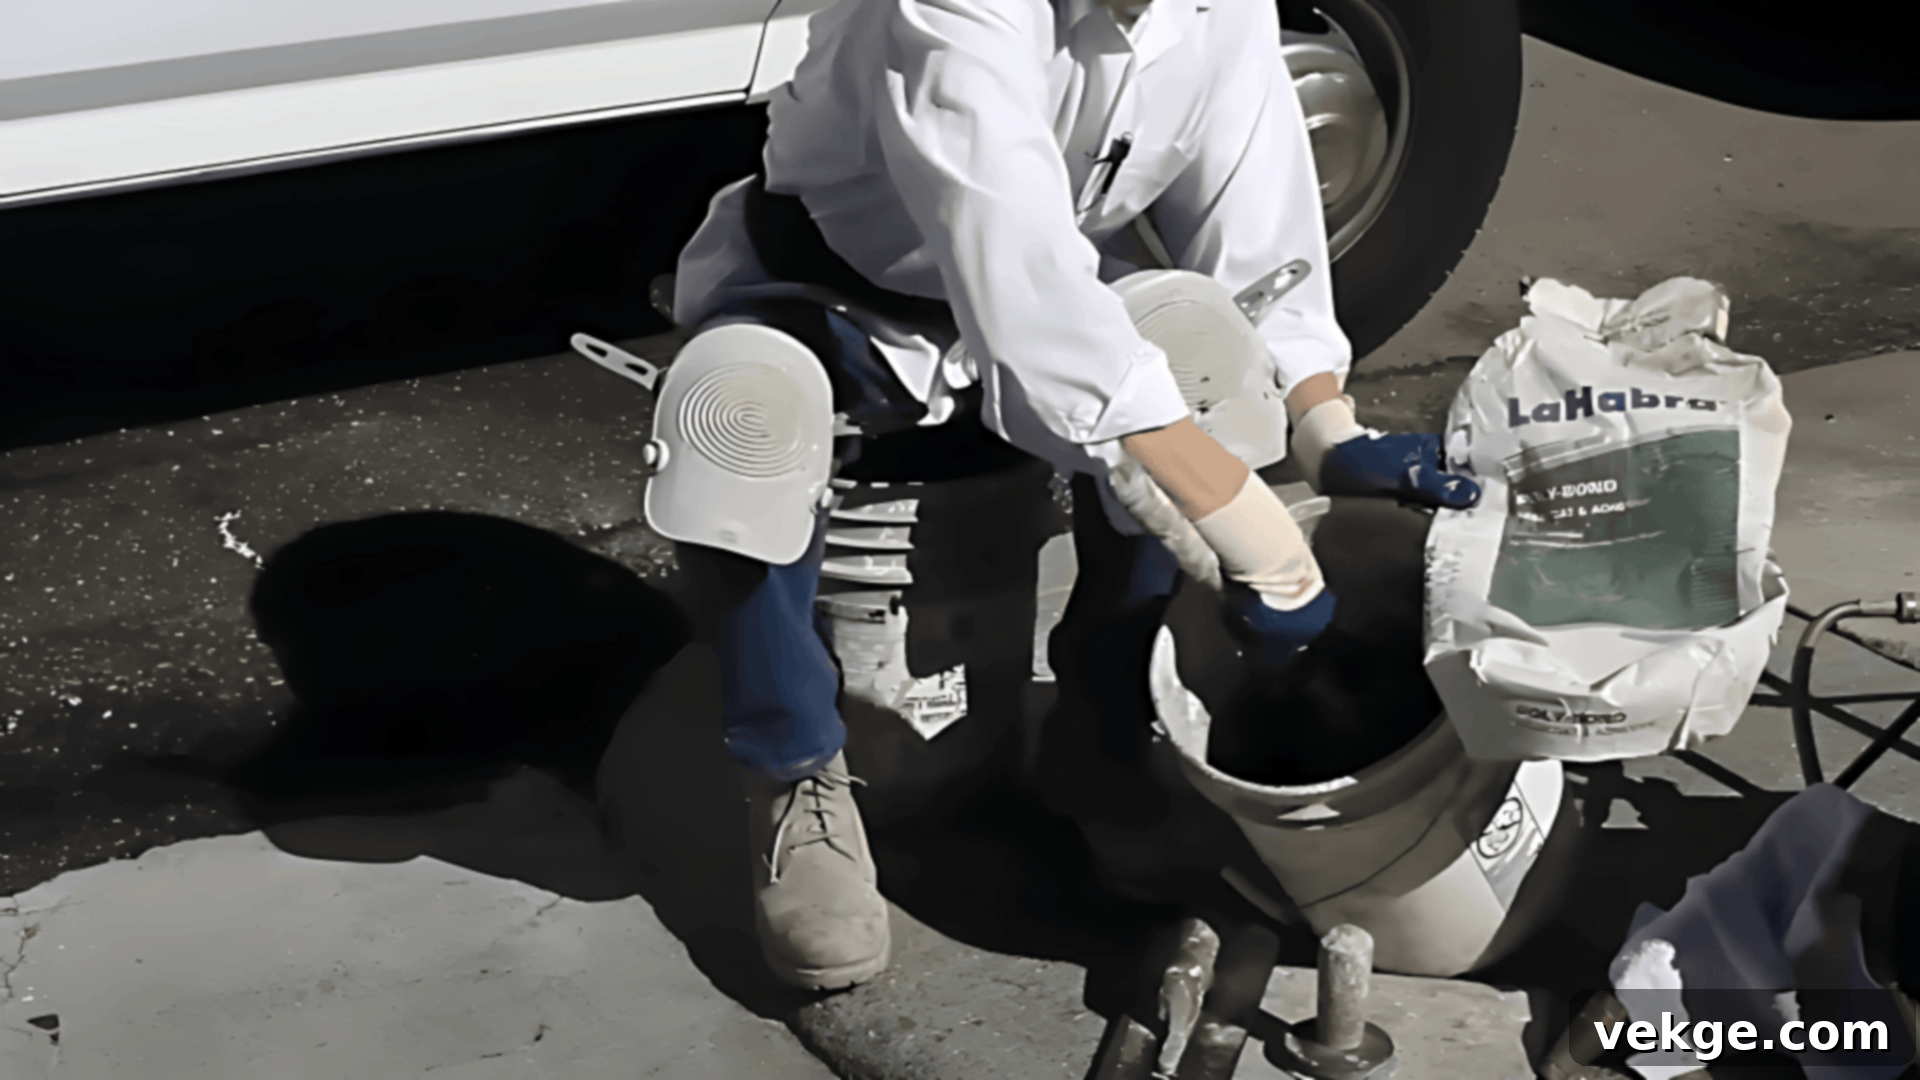
Prepare the Poly-Bond Mixture: Poly-Bond is a polymer-modified cementitious bonding adhesive, formulated for excellent durability and adhesion. Begin by adding the specified amount of clean water to your mixing bucket, then gradually add the Poly-Bond powder while mixing continuously with a drill-mounted paddle mixer. The goal is to achieve a smooth, lump-free consistency, similar to pancake batter or thick paint, that is easy to spread yet thick enough to hold its form.
Adjusting Consistency with Sand: For thinner applications (typically 1/8″ to 1/4″), the standard Poly-Bond mixture is usually sufficient. However, for larger cracks, deeper depressions, or if you need to build up certain areas, you can add a small amount of fine sand to the mixture. This will thicken the material, allowing it to fill deeper gaps more effectively and provide more body. Always ensure the sand is well-integrated to maintain consistency and strength. Always follow the manufacturer’s specific mixing ratios and recommendations for best results.
Step 4: Apply the Base Coat Evenly
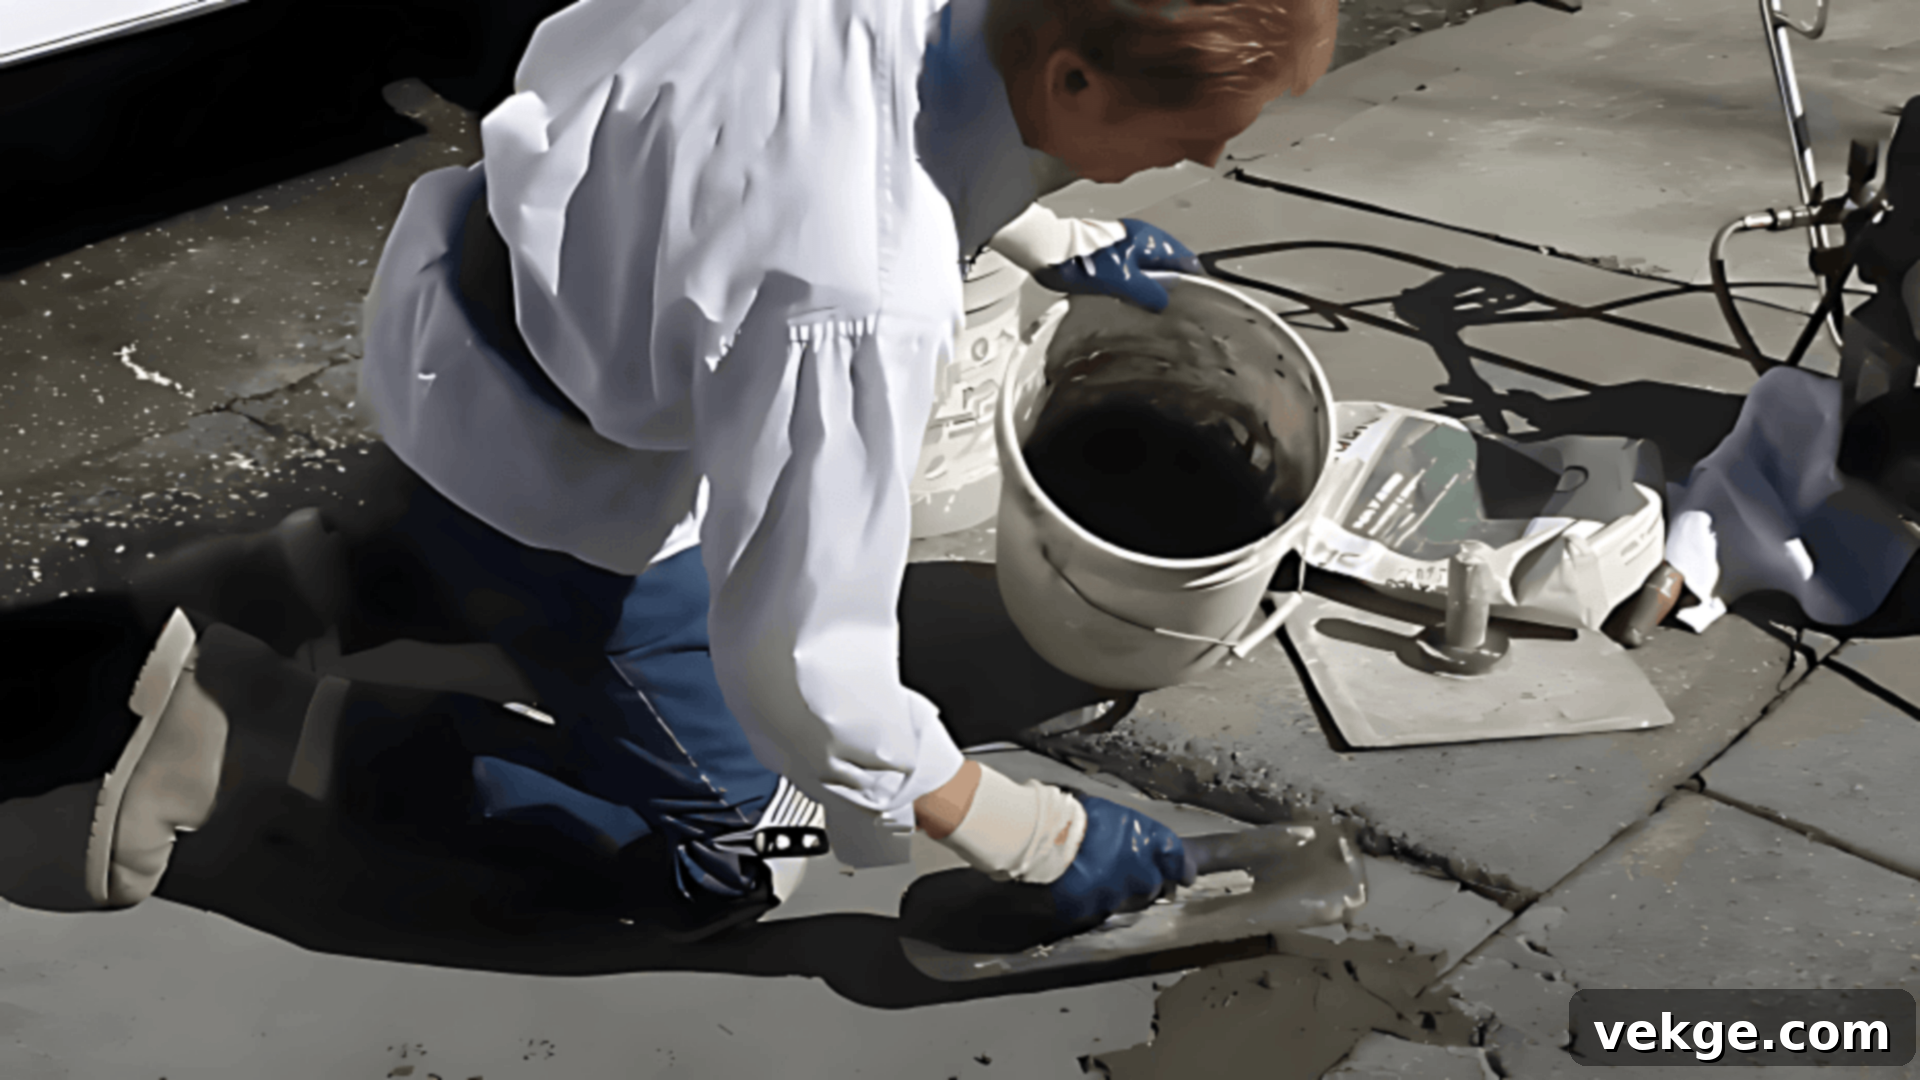
Spread the Poly-Bond Mixture: Begin by lightly dampening the concrete surface – this helps with adhesion and prevents the resurfacing material from drying too quickly. Pour a manageable amount of the mixed Poly-Bond onto the driveway. Using a long-handled squeegee or a steel trowel, spread the mixture evenly over the driveway surface. Work in small, manageable sections, ensuring you maintain a “wet edge” to avoid visible seams where sections meet. Aim for a consistent thickness, typically 1/8 to 1/4 inch, depending on your product and desired finish.
Skim and Level the Surface: As you spread the material, use the squeegee or trowel to skim the surface, ensuring it fills in all minor cracks, rough areas, and imperfections. The goal is to achieve a uniform and smooth base coat. Avoid applying too much pressure, which can thin the material excessively in some spots. After initial spreading, you can use a float (sponge or magnesium) to further smooth and level the surface, working out any trowel marks or high spots. This step is critical for a professional-looking finish.
Step 5: Add Texture for Enhanced Grip and Aesthetics
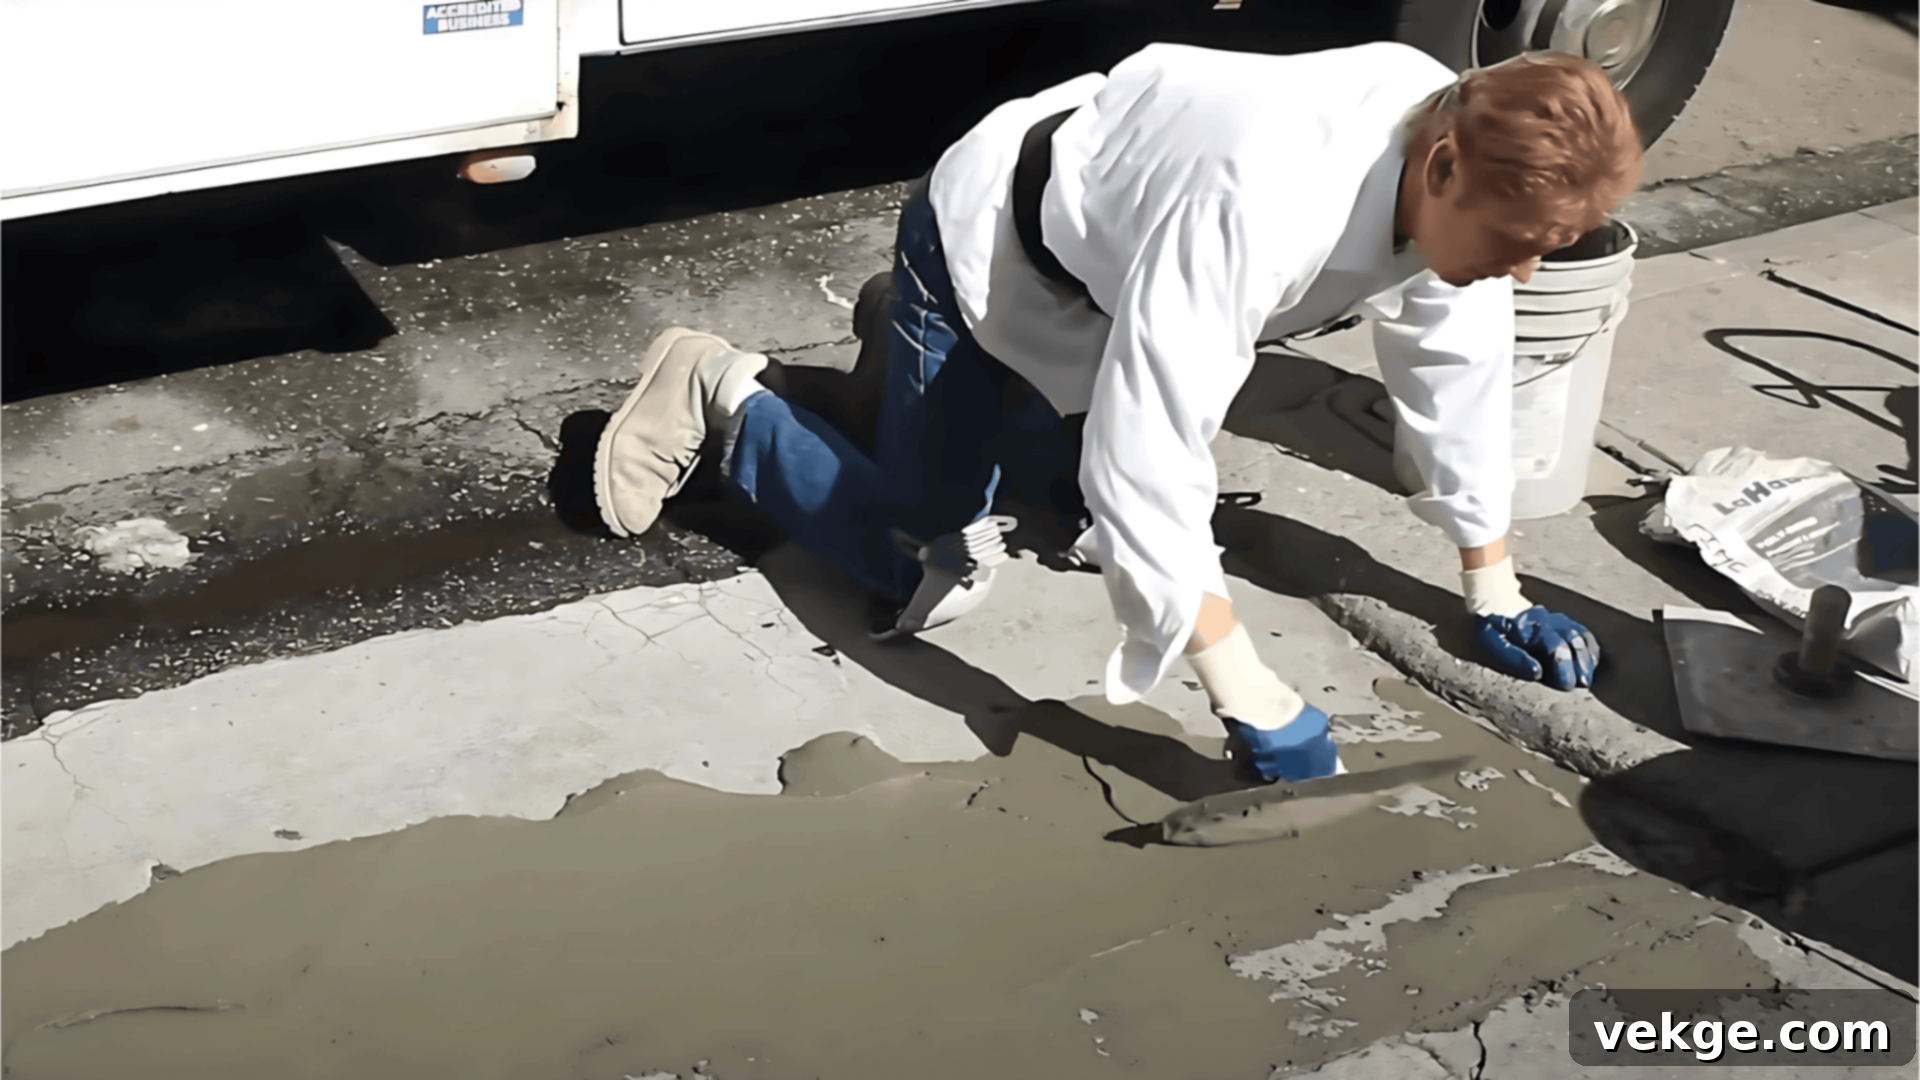
Create Your Desired Textured Finish: While the resurfacing material is still wet and workable, this is the stage to apply any desired texture. For enhanced slip-resistance and a classic finish, drag a stiff-bristled broom across the surface in a consistent direction to create a brushed texture. For a more subtle, swirled appearance, a sponge float can be used with circular motions. If you prefer a completely smooth finish, you can continue to float the surface until it’s perfectly even.
Optional Decorative Finishes: This is also the stage where you can apply more elaborate decorative elements. If you desire a stamped concrete look that mimics natural stone, brick, or other patterns, specialized stamp mats can be pressed into the wet overlay. This requires careful timing and technique to ensure clean, consistent patterns. Always follow the specific instructions for any decorative stamping products you are using, often involving the use of a release agent.
Step 6: Apply Color and Protective Sealer
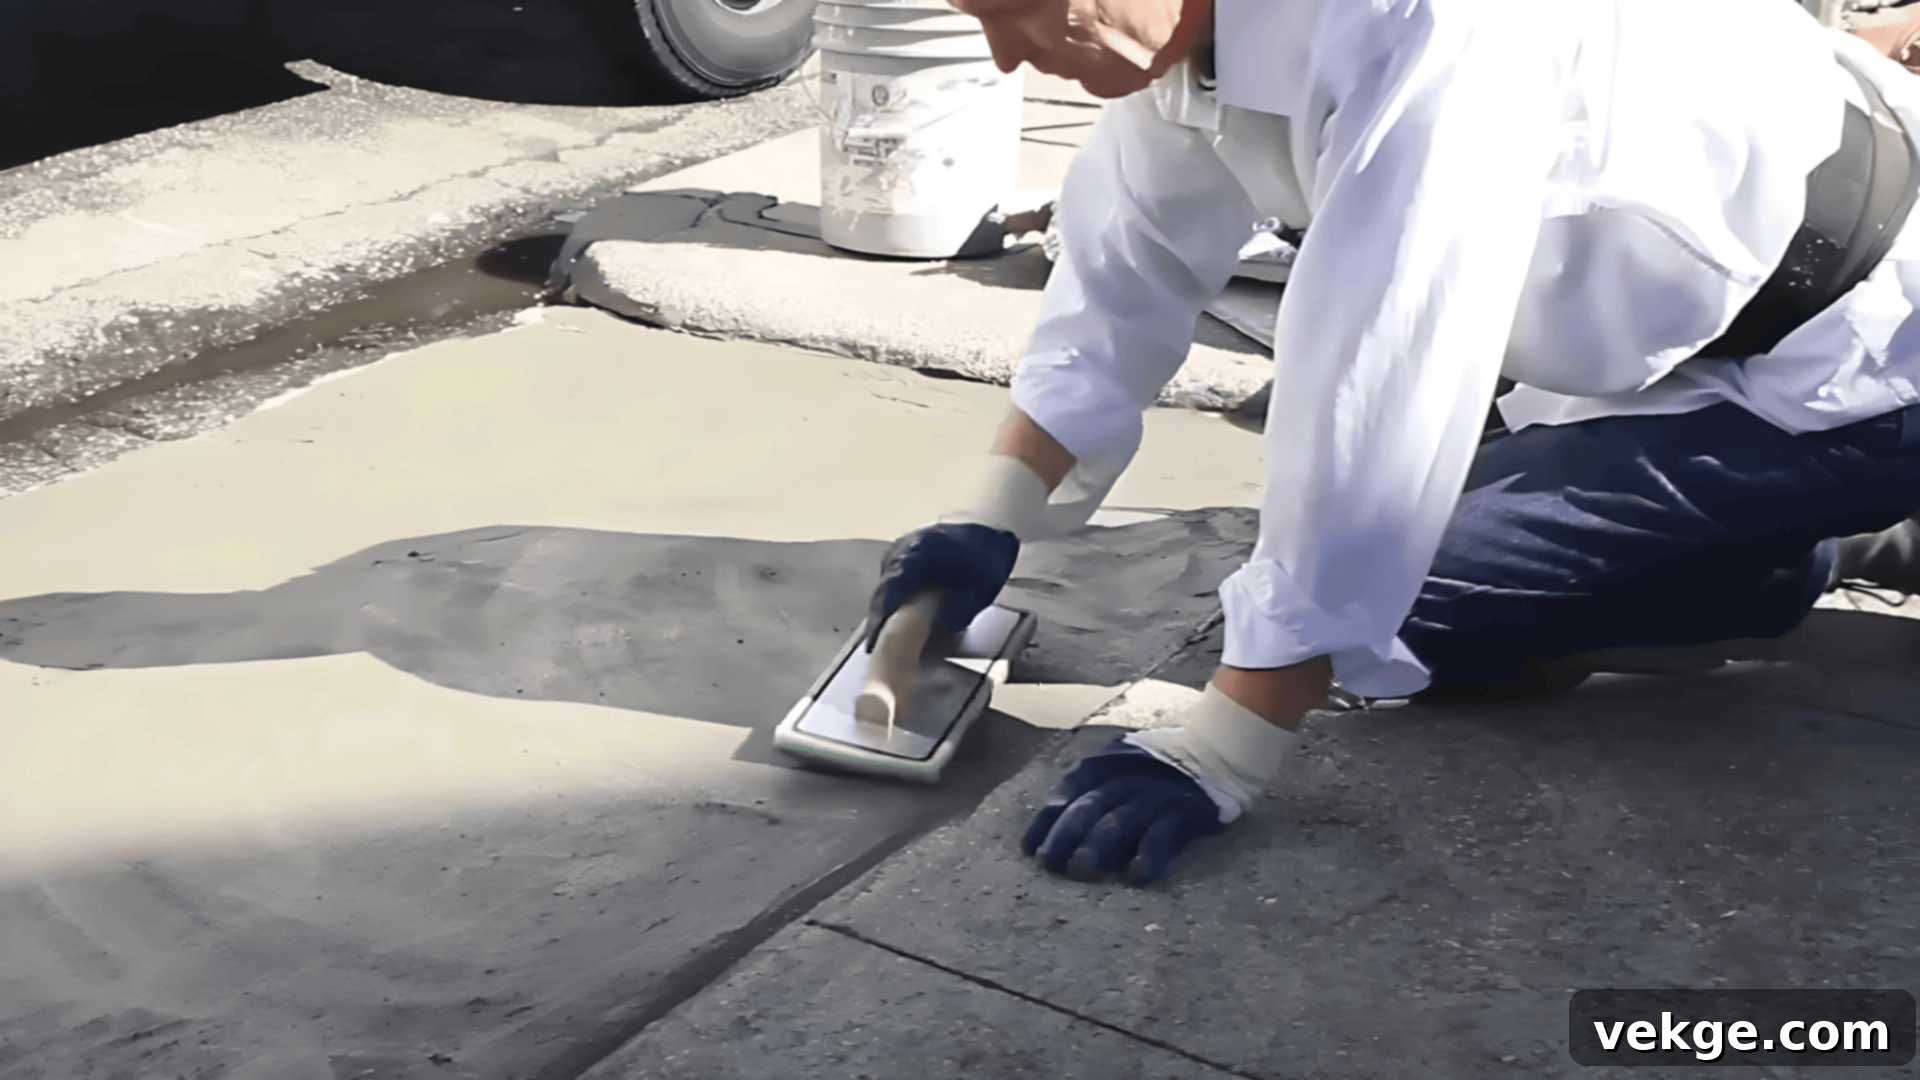
Add Color (Optional): If you wish to color your driveway, there are several options. You can integrate liquid or powdered colorants directly into the Poly-Bond mixture during Step 3 for a consistent, through-and-through color. Alternatively, after the base coat has been applied and slightly set, you can apply concrete stains or dyes. These are typically rolled or sprayed onto the surface while it is still slightly wet (but not pooling) for optimal absorption and a natural, variegated look. Experiment with a small, inconspicuous area first to ensure you achieve the desired hue.
Apply Concrete Sealer for Protection: Once the resurfacing material has fully cured (typically 24-48 hours, or as advised by the manufacturer), it’s crucial to apply a high-quality concrete sealer. Use a roller or an airless sprayer for even application. The sealer acts as a protective barrier against moisture, UV rays, oil spills, and general abrasion. It not only extends the life of your resurfaced driveway but also enhances its color and provides a desirable finish (matte, satin, or gloss). Applying two thin coats is often more effective than one thick coat, allowing proper drying time between applications.
Step 7: Final Touches and Curing
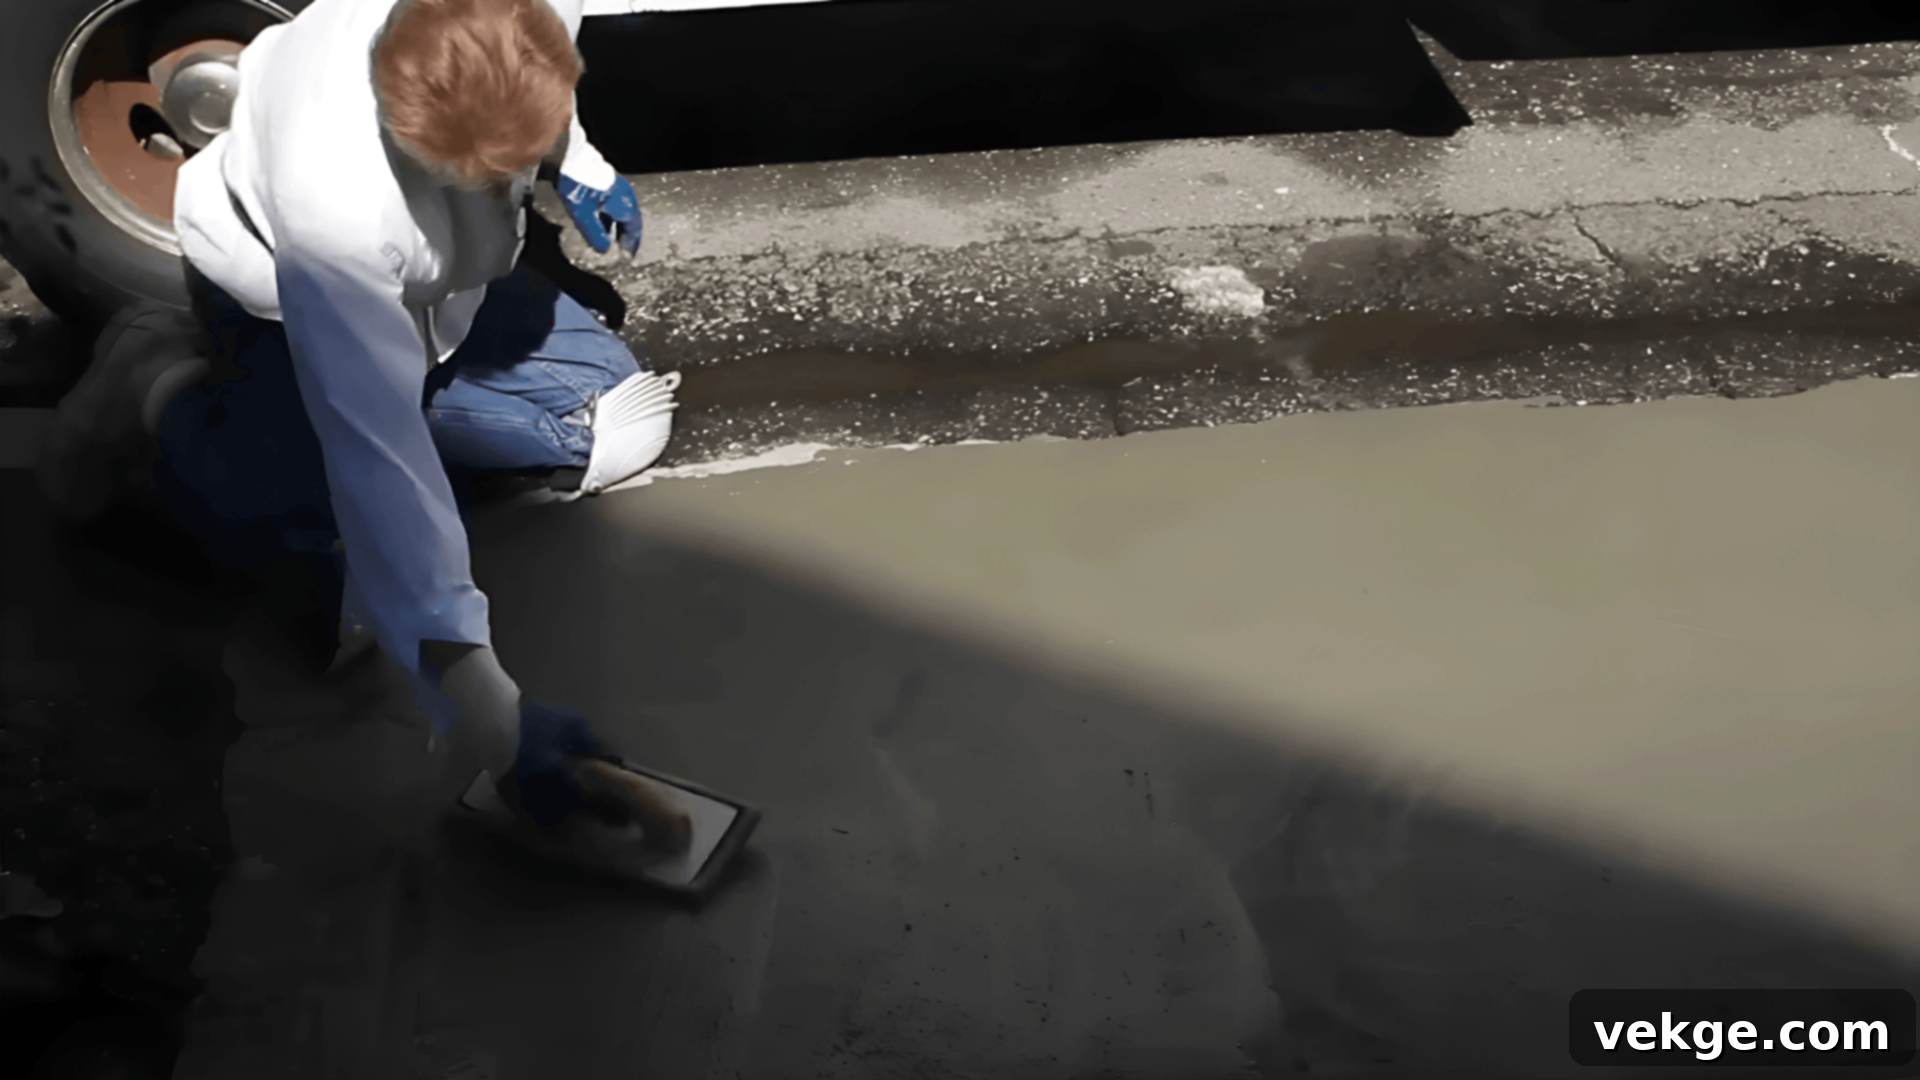
Allow for Full Curing: Patience is key at this stage. Allow the driveway to cure fully for the recommended period, which is typically 24-48 hours for foot traffic and 3-7 days for vehicle traffic, depending on the product and weather conditions. Rushing this stage can lead to damage, compromising the durability and appearance of your newly resurfaced driveway. Keep heavy objects and vehicles off the surface until it has reached its full strength.
Review the Result and Ongoing Care: After the curing time, thoroughly inspect your driveway. The Poly-Bond coating should be strong, durable, uniformly colored (if applied), and highly resistant to weather and traffic. With proper application and sealing, your resurfaced driveway will last significantly longer than a traditional, untreated concrete surface. Regular cleaning and re-sealing every 1-3 years (depending on traffic and climate) will help maintain its beauty and protective qualities for many years to come.
For a more detailed walkthrough of the process, including visual demonstrations and expert tips, check out the concrete driveway resurfacing video tutorial below:
Types of Concrete Driveway Resurfacing Options
Choosing the right resurfacing option is crucial for achieving your desired look, durability, and budget. Here’s a breakdown of five popular types, ranging from basic, cost-effective solutions to premium decorative finishes:
1. Concrete Resurfacer (Cement-Based) – Estimated Cost: $2-4/sq ft.
- Description: This is the most budget-friendly option, consisting of a thin, cement-based polymer-modified coating. It’s designed to bond strongly to existing concrete surfaces.
- Ideal Use: Perfect for driveways with minor surface wear, small imperfections, discoloration, or simply to give an old slab a fresh, clean look. It’s a great choice for quick aesthetic upgrades.
- Application: Typically applied in a very thin layer (about 1/16″ to 1/8″) using a squeegee, trowel, or roller. It’s relatively straightforward for a DIY enthusiast.
- Limitations: Primarily available in basic gray, though some products allow for integral colorants. It offers limited decorative options compared to overlays. Not suitable for major structural issues.
2. Acrylic Resurfacer (Polymer-Based) – Estimated Cost: $3-6/sq ft.
- Description: A more advanced formula than basic cementitious resurfacers, acrylic resurfacers incorporate flexible polymers that enhance durability and crack resistance.
- Ideal Use: Suited for driveways needing improved resistance to cracking and a wider range of color choices. It offers better performance in areas with freeze-thaw cycles.
- Application: Mixed according to specific directions and applied with a roller or squeegee, often requiring multiple thin coats. The polymer content makes it more forgiving during application.
- Benefits: Offers superior adhesion, flexibility, and a more vibrant range of colors. It’s a good step up for homeowners seeking better longevity and aesthetic options than basic resurfacers.
3. Epoxy Coating (Durable, Protective) – Estimated Cost: $4-8/sq ft.
- Description: A heavy-duty, two-part system (resin and hardener) that, when mixed, creates a tough, chemical-resistant, and high-gloss finish.
- Ideal Use: While more commonly seen in garages, epoxy is excellent for driveways that experience heavy traffic, oil spills, or require extreme durability and protection against chemicals and abrasion.
- Application: Requires precise mixing and meticulous surface preparation, including grinding or acid etching. A primer is often applied first, followed by the epoxy with a roller. Weather conditions during application are critical.
- Considerations: Its complex application typically makes it a professional-grade project. Offers a distinctive, often glossy, aesthetic.
4. Concrete Overlay (Thicker Layer, New Design/Pattern) – Estimated Cost: $6-10/sq ft.
- Description: A thicker, polymer-modified cementitious layer (usually 1/4″ to 3/8″) that can be applied over existing concrete. It provides a new canvas for design.
- Ideal Use: When you want to completely transform the look of your driveway, correct more significant surface imperfections, or introduce intricate textures and patterns.
- Application: Applied with a trowel and float. Due to its thicker nature, it allows for complete design freedom with various textures, aggregate exposure, and patterns. Mixing smaller batches and working quickly before the mixture sets is essential.
- Benefits: Offers excellent durability and versatility for decorative finishes. Can significantly increase property value due to its customizability.
5. Stamped Concrete Overlay (Decorative, Mimicking Stone/Brick) – Estimated Cost: $8-12/sq ft.
- Description: This is a specialized form of concrete overlay where decorative mats are pressed into the freshly applied, wet material to replicate the appearance of natural stone, brick, slate, or wood.
- Ideal Use: For homeowners desiring the luxurious look of natural paving materials without the high cost and complex installation of individual stones or bricks. It’s the ultimate choice for maximum curb appeal.
- Application: After pouring the overlay material, a release agent is applied to the surface to prevent stamps from sticking. Then, specialized rubber stamp mats are immediately pressed into the wet concrete. This step requires precise timing, skilled technique, and often, multiple people. Color hardeners can be broadcast onto the surface before stamping for a more authentic, natural look.
- Considerations: This is generally considered a professional job due to the skill and specialized equipment required to achieve high-quality, uniform results.
Disclaimer: The prices listed above are general estimates and can vary significantly based on your geographical location, the specific materials chosen, labor costs, and the overall size and complexity of your project. Always obtain detailed quotes from local suppliers or experienced contractors for accurate pricing specific to your area.
Key Considerations for Choosing Resurfacing Methods
Selecting the optimal concrete driveway resurfacing method involves carefully balancing several critical factors. Your decision should align with your budget, the amount of traffic your driveway experiences, your desired aesthetic, and the current condition of your concrete. Understanding these considerations will help you move from basic, light-use options to premium overlays suitable for heavy traffic and sophisticated designs.
Here are some crucial considerations you should keep in mind:
- Cost Implications: Your budget will inevitably be a primary driver in your decision-making process. Simple concrete resurfacers are the least expensive, offering a quick refresh. On the other end of the spectrum, decorative stamped concrete overlays represent a more significant investment due to specialized materials and labor. Factor in not just the material costs but also the potential expense of tools if you’re doing it yourself, or professional labor if you’re hiring out.
- Durability and Traffic Needs: Consider how much daily traffic your driveway endures. A driveway for light residential use might be adequately served by a basic resurfacing product, which offers good longevity for moderate wear. However, for driveways that experience heavy vehicle traffic, frequent turning, or harsh weather conditions (like freeze-thaw cycles), more robust solutions like epoxy coatings or thicker concrete overlays will provide superior durability and resistance to wear and tear.
- Desired Aesthetic and Home Style: The visual outcome is a major factor. A basic concrete resurfacer provides a clean, functional, often industrial look. If you desire a more sophisticated or custom appearance, options like acrylic overlays offer color variations, while concrete overlays and stamped concrete overlays unlock extensive design possibilities, allowing you to mimic the natural beauty of stone, brick, or tile. Choose a finish that seamlessly integrates with your home’s architectural style and landscaping.
- Current Condition of Your Driveway: An honest and thorough assessment of your existing concrete’s condition is paramount. Resurfacing is an excellent solution for cosmetic surface wear, minor spalling, and hairline cracks. However, if your driveway exhibits major structural damage, such as large, deep cracks, significant settling, or extensive crumbling, resurfacing will only be a temporary fix and will not address the underlying issues. In such cases, a full replacement is often the more prudent, long-term solution to prevent costly mistakes down the line.
DIY vs. Professional Help: Making the Right Choice
Deciding whether to tackle concrete driveway resurfacing yourself or hire a professional depends largely on the complexity of the project, your skill level, and the desired outcome. Here’s a quick breakdown to help you determine the best path for your specific situation:
| Project Type | DIY or Professional | Why |
|---|---|---|
| Basic concrete resurfacer application | DIY | These products are designed for accessibility. They feature easy mixing, require standard tools readily available at hardware stores, and are generally forgiving during application, making them ideal for handy homeowners. |
| Acrylic overlays for minor improvements | DIY | While a step up from basic resurfacers, acrylic overlays still offer a relatively straightforward process. They provide good workability and color options, making them manageable for DIYers with a bit more experience. |
| Light wear or minor cosmetic issues | DIY | For simple surface refreshes or addressing small stains and hairline cracks, the cost-effectiveness and relatively simple “clean, mix, and apply” process make DIY a practical and rewarding choice. |
| Stamped concrete overlays | Professional | Achieving a high-quality, uniform stamped pattern requires specialized tools (stamping mats, release agents), precise timing, and considerable expertise in concrete finishing. Inconsistent application can lead to a very undesirable look. |
| Epoxy coatings for driveways | Professional | Epoxy systems are complex. They require meticulous surface preparation (often grinding), precise mixing ratios, and a very sensitive application process that is highly dependent on specific weather conditions. Errors can be costly and difficult to fix. |
| Extensive repairs or structural damage | Professional | If your driveway has underlying problems beyond surface-level issues, a professional can accurately diagnose the root cause (e.g., poor sub-base, drainage issues) and recommend the appropriate, lasting solution. |
| Major cracks or significant slab movement | Professional | Cracks that are wide, deep, or showing signs of active movement often indicate structural issues. An expert assessment is crucial to determine if resurfacing is viable or if a full replacement is necessary. |
| Persistent drainage problems | Professional | Poor driveway drainage can lead to accelerated wear and even foundation issues for your home. This requires complex troubleshooting and sometimes regrading, which is best handled by experienced professionals. |
| Intricate patterns or multi-color designs | Professional | For highly detailed, multi-color, or custom patterns beyond simple textures, specialized skills and artistic vision are needed to ensure a truly professional and aesthetically pleasing result that enhances your home’s value. |
Common Problems and How to Fix Them in Resurfacing Projects
Even with careful planning and execution, concrete driveway resurfacing projects can sometimes encounter issues. Fortunately, most common problems have straightforward solutions, especially if caught early. Understanding these challenges and their remedies can save you time, money, and frustration.
- Cracks Reappearing: Small, hairline cracks (up to 1/8 inch) are easily addressed with proper crack filler or caulk before resurfacing. However, if cracks are wider, deeper, or reappear shortly after resurfacing, it’s a strong indicator of underlying structural problems in the original slab, such as shifting ground or an unstable sub-base. Resurfacing cannot solve these foundational issues; professional assessment or a full replacement might be necessary.
- Uneven Surfaces After Application: Minor dips, bumps, or trowel marks can sometimes occur. For small low spots, a self-leveling concrete compound or a slightly thicker application of overlay material during resurfacing can help even things out. Small high spots can be gently ground down before resurfacing or carefully smoothed with a float during application. Significant unevenness, however, suggests major concrete failure in the original slab that resurfacing alone cannot rectify.
- Premature Lifespan Issues: The expected lifespan of resurfacing varies: basic resurfacing typically lasts 3-5 years, acrylic overlays 5-8 years, and epoxy/concrete overlays can last 10-15+ years. If your resurfaced driveway fails much earlier than expected, the culprits are often poor preparation (e.g., inadequate cleaning, not filling cracks properly), adverse weather conditions during curing (too hot, too cold, rain), or using incompatible materials. Always follow manufacturer guidelines precisely.
- Delamination or Peeling: This occurs when the resurfacing material separates from the original concrete. The primary cause is almost always improper surface preparation. The existing concrete must be absolutely clean, dry, and properly profiled (roughened) for the resurfacer to bond effectively. Contaminants like oil, dirt, or sealers can prevent adhesion. Insufficient curing time or extreme temperature fluctuations during application can also contribute to delamination.
- Color Fading or Discoloration: UV exposure can cause some colorants to fade over time. Using UV-resistant sealers is critical for preserving color. Discoloration might also stem from improper mixing of colorants, uneven application, or reaction with de-icing salts. Promptly cleaning spills and avoiding harsh chemicals can prevent localized staining.
In essence, most resurfacing problems have relatively simple fixes if addressed promptly. However, the most critical steps to maximizing the lifespan and success of your investment – which can range from 3 to 15 years – are thorough surface preparation, careful material selection tailored to your needs, and diligent annual maintenance like cleaning and re-sealing. Prevention truly is the best cure in concrete driveway resurfacing.
Conclusion: Revitalize Your Driveway with Resurfacing
As we’ve explored, concrete driveway resurfacing is an incredibly effective and versatile solution for addressing a wide range of surface-level issues, such as minor cracks, unsightly stains, and general wear and tear. It stands out as my top recommendation for homeowners looking to restore their driveway’s aesthetic appeal and extend its functional life significantly, all without incurring the substantial costs and disruption associated with a full replacement.
Choosing the right resurfacing option allows for a tailored approach: opt for basic concrete resurfacing for a simple, cost-effective refresh. Consider acrylic overlays when seeking enhanced durability, improved crack resistance, and a broader spectrum of color choices. For those desiring a dramatic transformation and maximum curb appeal, decorative stamped concrete overlays offer the luxurious look of natural stone or brick at a fraction of the price.
However, it’s vital to remember that while resurfacing is powerful for cosmetic and minor structural issues, it is not a panacea. Major structural damage, deep foundation cracks, or significant sub-base problems require a more intensive solution, typically a full concrete replacement. Resurfacing will not solve these underlying engineering issues and could lead to premature failure if applied over compromised concrete.
By understanding the benefits, following the step-by-step process, choosing the appropriate materials, and making an informed decision about DIY versus professional help, you can transform your old, worn driveway into a beautiful, durable, and welcoming entrance to your home. If you found this guide useful, be sure to explore other guides available on our website for additional insights and inspiration for your next home improvement projects.
