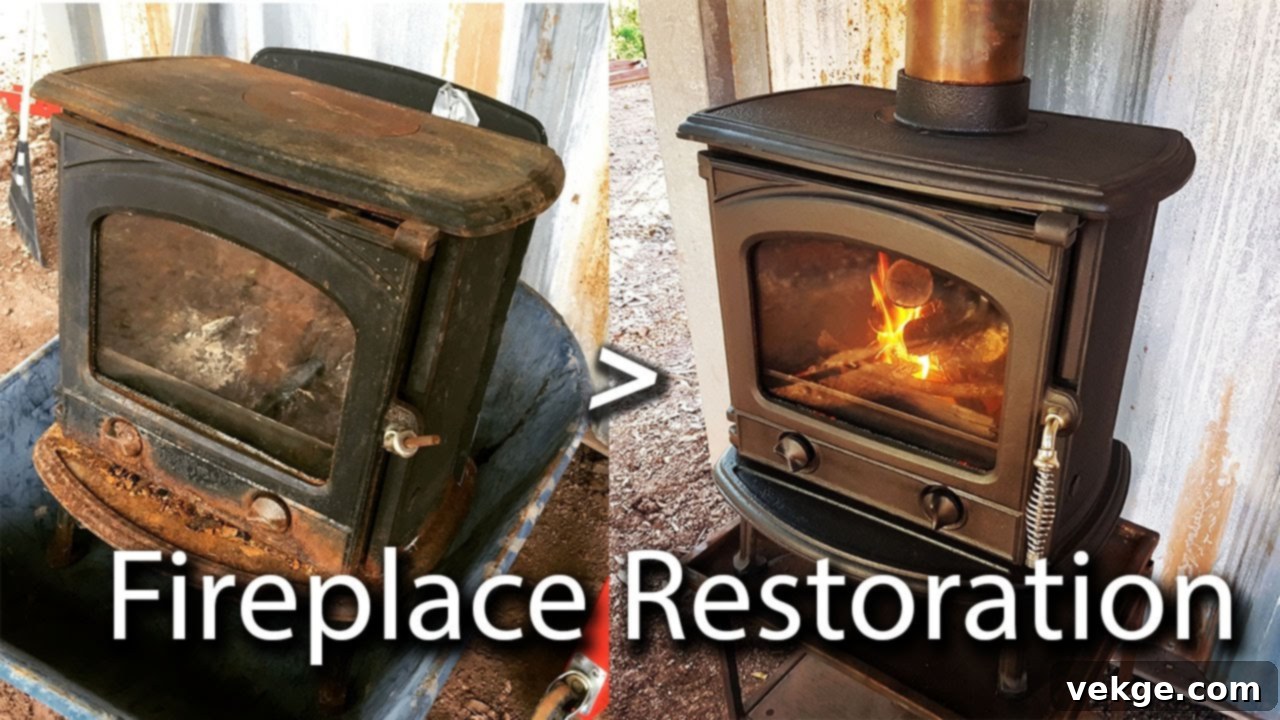
Revive Your Cast Iron Fireplace: The Ultimate DIY Restoration Guide
Is your cherished cast iron fireplace looking a little worse for wear? Perhaps it’s hidden beneath layers of chipped paint, marred by unsightly rust, or showing signs of age with hairline cracks. Far from being a mere decorative element, a restored cast iron fireplace can become the captivating heart of your home, echoing the timeless elegance of a bygone era. This guide provides a detailed roadmap to transforming that neglected centerpiece into a stunning focal point, breathing new life into your home’s historic charm.
Restoring a cast iron fireplace is more than just a home improvement project; it’s an act of preservation, connecting you to the craftsmanship of the past. Whether you’re a seasoned DIY enthusiast eager to tackle a rewarding project or contemplating professional assistance for more complex issues, our step-by-step instructions will equip you with the knowledge to make informed decisions and achieve impressive results. We’ll delve into common problems like stubborn rust, flaking paint, and structural concerns, empowering you to revive your fireplace’s original beauty with confidence.
Ready to embark on this rewarding restoration journey? Let’s uncover the secrets to returning your cast iron fireplace to its former glory, enhancing both its aesthetic appeal and its historical significance within your living space.
Understanding the Unique Challenges of Cast Iron Fireplace Restoration
Restoring a cast iron fireplace presents a unique set of challenges, primarily due to its intricate designs, the material’s properties, and its often rich historical background. Before you even pick up a tool, it’s crucial to thoroughly understand the scope of the task ahead. This foundational knowledge will empower you to accurately assess your fireplace’s current condition and formulate an effective, systematic restoration plan.
This section will meticulously detail the common issues you’re likely to encounter, ranging from superficial blemishes like surface rust and peeling paint to more serious structural concerns that demand careful attention. By recognizing these potential hurdles upfront, you’ll be better prepared to allocate your time, resources, and effort, ensuring a smoother and more successful restoration project. Whether your fireplace requires a minor cosmetic touch-up or a comprehensive overhaul, understanding these challenges is the indispensable first step towards a stunning transformation.
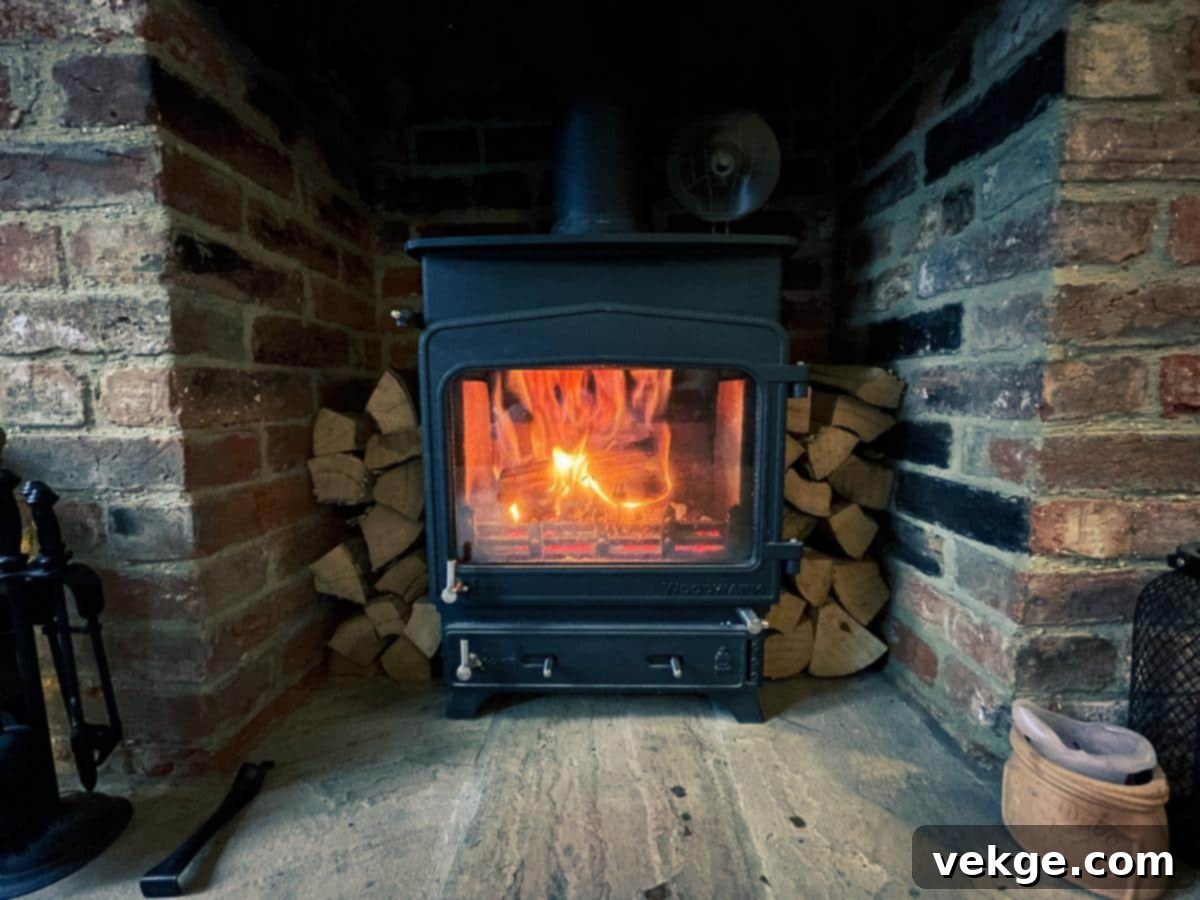
Cast iron fireplaces, particularly those dating back to the Victorian or Edwardian eras, are exquisite pieces of history that have often endured decades, if not centuries, of use and exposure. As such, they are susceptible to various forms of deterioration over time. Here are the most prevalent issues you might encounter:
- Rust Patches: When cast iron is exposed to moisture, oxygen, and time, it undergoes oxidation, forming iron oxides – commonly known as rust. This results in unsightly reddish-brown spots that not only mar the appearance but, if left untreated, can spread and even lead to pitting or weakening of the metal surface.
- Cracks: Cast iron, while durable, is also inherently brittle. Significant temperature fluctuations from repeated heating and cooling, or even minor physical impacts, can cause the metal to develop cracks. These can range from fine, almost invisible hairline fractures to more substantial splits that may compromise the fireplace’s structural integrity or safety.
- Broken or Chipped Parts: Over many decades, delicate decorative elements like finials, floral motifs, or even functional components such as damper flaps can become fragile and prone to breaking off or chipping. This is especially common in elaborately designed fireplaces where details are finely cast.
- Flaking or Peeling Paint: Many historic cast iron fireplaces were originally finished with a stove blacking, paint, or received multiple coats of domestic paint over the years. Due to age, consistent heat exposure, improper surface preparation, or poor paint quality, these layers can lose adhesion and begin to flake, peel, or blister, detracting significantly from the fireplace’s appearance.
- Warping or Deformity: In severe and rare cases, prolonged and extreme exposure to high heat, especially if the fireplace was used without proper ventilation or had internal structural issues, can cause sections of the cast iron to warp, bend, or become visibly deformed.
- Deep Corrosion: Beyond superficial rust, deep-seated corrosion can slowly eat away at the metal. This form of deterioration is more serious, as it can progressively thin the cast iron, weakening its overall structure and potentially leading to perforations or complete failure if not addressed.
For individuals undertaking their first restoration, facing multiple issues simultaneously can indeed feel overwhelming. The prospect of tackling rust, flaking paint, and structural concerns all at once might leave one unsure of where to begin. However, it’s vital to remember that with the right knowledge, proper tools, careful execution, and a generous dose of patience, your fireplace can absolutely be returned to its former glory. Each specific issue has a corresponding set of proven remedies. Addressing these problems systematically, one step at a time, will not only make the task more manageable but also lead to a stunning and deeply satisfying transformation. The foundation of a successful restoration lies in understanding the unique nature of cast iron, respecting the historical value embedded in the piece, and approaching the entire project with a thoughtful, well-planned strategy.
Essential Steps to a Stunning Cast Iron Fireplace Restoration
With a clear understanding of the challenges ahead, it’s time to transition from assessment to action. This section will meticulously guide you through the essential, hands-on steps required to restore your cast iron fireplace. We’ll cover everything from the initial, crucial cleaning and thorough rust removal to more advanced techniques for addressing stubborn paint layers and even professional guidance for structural repairs.
Each stage outlined here plays a critical role in bringing your fireplace back to its original splendor. While the entire restoration process might appear daunting at first glance, breaking it down into these manageable, logical steps will help you approach the task with confidence and precision. Remember, patience, meticulous attention to detail, and adherence to safety protocols are paramount as you work through each stage. Let’s delve into the step-by-step process that will transform your cast iron fireplace into a captivating and functional focal point of your home.
Step 1: Tackling and Eradicating Stubborn Rust

Rust is undoubtedly the primary adversary of any cast iron surface, including historic fireplaces. It forms readily when moisture, even atmospheric humidity, comes into contact with the metal, quickly marring its traditional aesthetic. Fortunately, due to the inherent durability and thickness of cast iron, surface rust is primarily a cosmetic concern and rarely indicates deep structural damage unless left untreated for an extremely long period or if it’s severe pitting corrosion. The key is to address it promptly and thoroughly.
Before you begin, gather the following essential tools and materials to ensure a safe and effective rust removal process:
- Abrasive Tools: Steel wool (medium to fine grade), wire brush (brass or steel, depending on rust severity and surface delicacy), or a rotary tool with wire brush attachments for intricate areas.
- Cleaning Cloths: Several clean, lint-free rags for cleaning and drying.
- Rust Removers: Commercial rust remover solutions (containing phosphoric or oxalic acid) or household white vinegar for milder rust.
- Sandpaper: Assorted grits (120-grit for tougher spots, 180-220 grit for smoothing).
- Protective Gear: Essential for safety – robust protective gloves, a protective face mask (to avoid inhaling rust particles), and safety goggles.
- Sanding Block: For even pressure with sandpaper on flat surfaces.
Begin by dry brushing the surface with a wire brush or steel wool to remove loose rust and flaking material. For moderate rust, apply a rust remover solution or white vinegar, following the product instructions carefully. Allow it to penetrate, then scrub the area. For stubborn patches, gentle sanding with medium-grit sandpaper may be necessary, always working with the grain of the metal. Ensure all rust dust is wiped away. After thoroughly cleaning and drying the surface, it is crucial to apply a protective layer. Options include high-heat resistant rust-proof paint specifically designed for fireplaces, traditional iron paste (often graphite-based), or black grate polish. These not only restore the aesthetic but also create a barrier against future moisture and oxidation, preserving your hard work.
Step 2: Expertly Removing Unwanted Layers of Paint
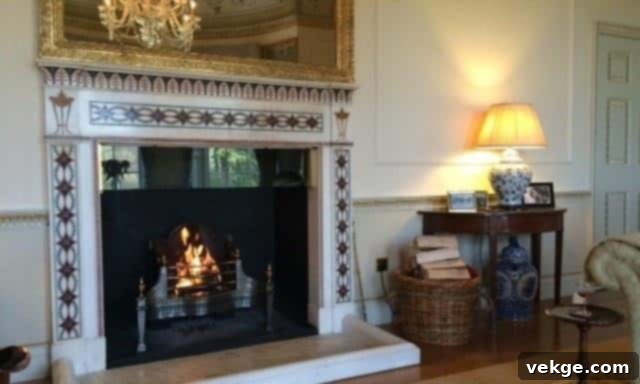
Layers of old, flaking, or improperly applied paint are a common and often significant issue encountered during cast iron fireplace restoration. Whether it’s decades of domestic paint, a previous owner’s accidental spill, or an attempt at customization, removing these layers is crucial to reveal the original beauty of the cast iron beneath and ensure a smooth, durable refinish.
I. Comprehensive Preparation for Paint Stripping
A. Prioritizing Safety Measures
- Wear Protective Gear: Always don heavy-duty chemical-resistant gloves, a robust face mask (preferably an N95 or respirator for fumes), and safety goggles to protect against splashes and fumes.
- Protect Clothing: Don old clothes, overalls, or a disposable suit, as paint stripper can be corrosive and stain fabrics.
- Cover Surrounding Areas: Lay down thick drop cloths, old sheets, or plastic sheeting to protect flooring, walls, and furniture from stripper drips and paint debris.
- Ensure Proper Ventilation: Work in a well-ventilated area. Open windows and doors, or use fans, to ensure good airflow and minimize the inhalation of fumes, which can be strong and hazardous.
B. Strategic Material Selection
- Choose a Cast Iron-Safe Paint Stripper: Opt for a paint stripper specifically designed for metal or universal use. Solvent-based strippers are generally effective and less corrosive to the metal than harsh caustic strippers. Gel formulations are often preferred as they cling better to vertical surfaces and intricate details.
- Gather Necessary Tools: Prepare a sturdy paintbrush (natural bristles are often preferred for applying stripper), a selection of scrapers (plastic scrapers to prevent scratching, and small metal ones for stubborn spots), various grits of sandpaper (120-220 grit), and plenty of clean cloths. Dental picks or stiff-bristled nylon brushes can be useful for detailed areas.
II. The Paint Stripping Process
A. Precise Application of Stripper
- Apply a Thick, Even Layer: Using your paintbrush, apply a generous and even layer of the chosen paint stripper over all painted areas. Do not skimp, as a thin layer will dry out too quickly and be less effective.
- Ensure Complete Coverage: Take care to coat all painted surfaces thoroughly, including any decorative motifs and crevices.
B. Observing the Waiting Period
- Follow Product Instructions: Adhere strictly to the manufacturer’s recommended wait time, which can range from 15 minutes to several hours, depending on the stripper type and paint layers.
- Monitor for Paint Reaction: Watch for visual cues such as the paint bubbling, wrinkling, or lifting away from the cast iron surface. This indicates the stripper is effectively breaking down the paint bonds.
C. Careful Paint Removal
- Use Appropriate Tools: Once the paint has softened, use a plastic scraper to gently remove the loosened paint and stripper. A plastic scraper is ideal for avoiding scratches on the cast iron. For extremely stubborn areas or tight spots, a small metal scraper can be used with extreme caution.
- Work in Small Sections: Tackle the removal process in manageable sections, always working gently and, where applicable, following the natural grain or contours of the cast iron.
- Exercise Caution: The goal is to remove paint without damaging the underlying metal surface or delicate cast iron details. Reapply stripper to any areas that remain resistant.
III. Thorough Cleaning and Detailing
A. Residue Neutralization and Removal
- Dampen a Soft Cloth: Use a soft cloth dampened with white spirit (mineral spirits) or, if specified by the stripper manufacturer, water or a specific neutralizer.
- Wipe Away Residue: Carefully wipe away any remaining paint stripper residue and loose paint particles. Reapply stripper and repeat the scraping and cleaning process for any stubborn or missed areas.
B. Addressing Complex and Intricate Areas
- Fine-Grit Sandpaper: For detailed sections, grooves, and persistent small spots, use fine-grit sandpaper (180-220 grit) wrapped around a finger or a small block.
- Utilize Specialty Tools: Clean crevices and highly ornate designs with a stiff-bristled brush (nylon is generally safe) or even dental picks to carefully dislodge embedded paint.
- Preserve the Surface: Always work gently to preserve the intricate details and the integrity of the cast iron surface.
IV. Final Cleaning and Crucial Drying
- Wipe Down Entire Fireplace: After all paint and stripper residue have been removed, wipe the entire fireplace thoroughly with a clean, damp cloth to remove any remaining dust or cleaner.
- Dry Thoroughly: Immediately follow with a clean, dry cloth to remove all moisture.
- Allow Ample Air Drying: It is critically important to allow the cast iron to air dry completely for at least 24-48 hours in a well-ventilated area. Any residual moisture can lead to flash rusting when the metal is exposed to air, undoing your hard work.
Step 3: Addressing Structural Cracks in Cast Iron
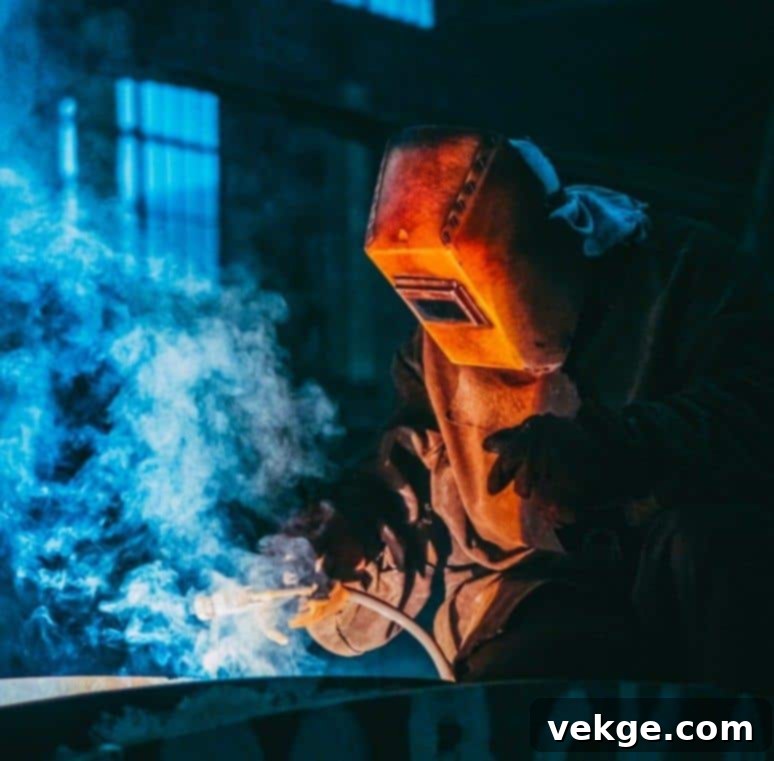
Unlike surface rust or flaking paint, significant cracks in a cast iron fireplace are not merely cosmetic; they can compromise the fireplace’s structural integrity and, if it’s a working fireplace, its safety. Cast iron’s high carbon content makes it brittle and challenging to weld effectively without specialized knowledge and equipment. Therefore, when your cast iron fireplace exhibits noticeable or deep cracks, it is absolutely crucial to seek professional assistance. A skilled welder, particularly one experienced with cast iron, possesses the expertise and specialized techniques required.
These professionals understand the unique properties of cast iron and can employ methods such as ‘nickel rod’ welding, which involves a specific process of gradually heating the surrounding metal before welding and then slowly cooling it down. This controlled thermal management is vital to prevent further stress, cracking, or warping of the brittle cast iron. Attempting to repair structural cracks yourself without the correct equipment and experience can lead to irreversible damage, making a professional repair an indispensable step for ensuring the long-term safety and durability of your restored fireplace.
Step 4: Choosing and Applying Refinishing Options
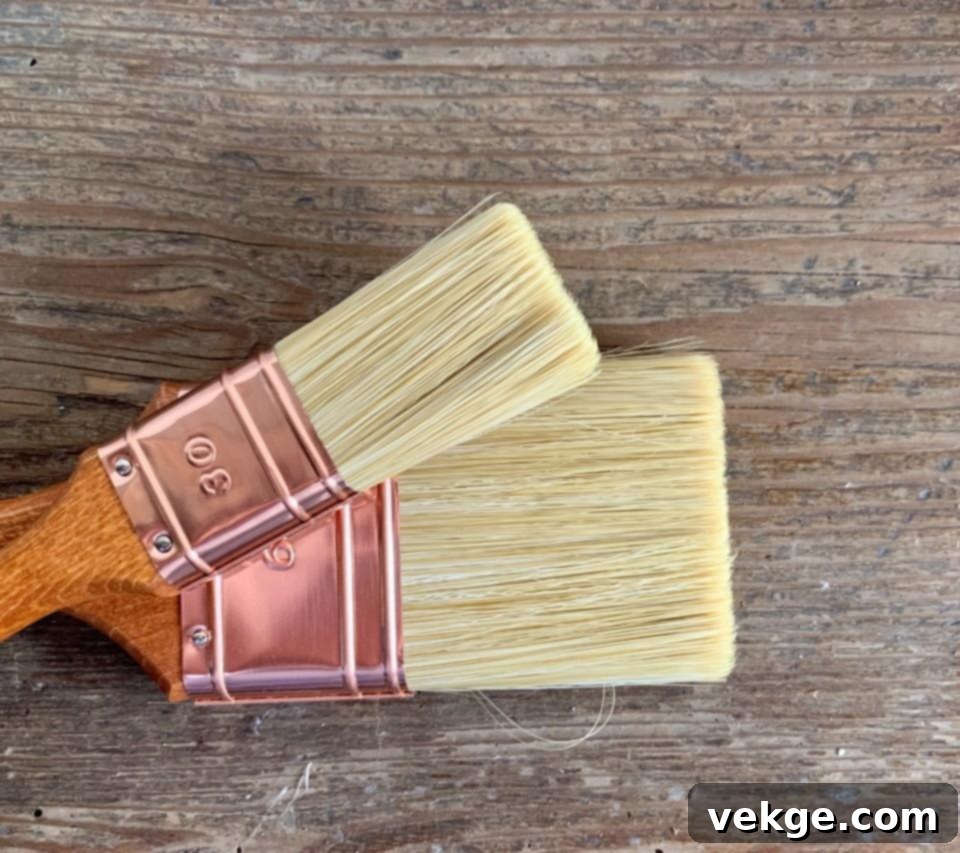
After diligently addressing all rust, old paint, and any structural issues, you’ve arrived at the exciting stage of refinishing. This is where your fireplace truly begins to reclaim its visual splendor. The beauty of this step is the freedom to choose a finish that not only protects the cast iron but also perfectly complements your desired aesthetic. Your options are not merely restricted to its original appearance; you can decide to repaint, polish, or wax it to attain your exact desired look, ranging from traditional to modern.
- Traditional Black Grate Polish: For a classic, authentic look, a black grate polish (often graphite-based) is an excellent choice. It nourishes the iron, provides a subtle sheen, and offers a protective layer against moisture. Apply a thin, even coat with a soft cloth, allow it to dry, and then buff vigorously with a clean, dry cloth for a deep, lustrous finish. Regular reapplication may be needed.
- High-Heat Resistant Paint: If you prefer a uniform color and greater durability, especially for a working fireplace, consider using specialized high-heat resistant paint. These paints are formulated to withstand the extreme temperatures of a firebox. They come in various finishes (matte, satin, gloss) and colors, though black is traditionally popular. Ensure the paint specifies “fireplace” or “stove” use. Apply in thin, even coats following manufacturer instructions, allowing proper drying and curing time between layers.
- Protective Wax Finish: For a more natural, subtle patina, a protective clear wax (like beeswax or a specific metal wax) can be applied. This enhances the inherent dark beauty of the cast iron and offers a degree of protection while allowing the metal’s texture and imperfections to show through. Apply sparingly and buff to a soft glow.
Regardless of your chosen refinishing method, ensure the fireplace surface is completely clean, dry, and free of any dust or grease. Proper preparation at this stage is crucial for the adhesion and longevity of your chosen finish, ensuring a professional and lasting result that will be admired for years to come.
Exploring Professional Alternatives for Cast Iron Fireplace Restoration
While DIY restoration is incredibly rewarding, there are situations where the complexity of the damage, the historical value of the piece, or simply a lack of time and specialized tools necessitate professional intervention. Several expert services are available to help restore your cast iron fireplace to its former glory, particularly for intricate restorations or if you’re not comfortable undertaking the more challenging aspects yourself.
Here are key professional services and why you might consider them:
- 1. Sandblasting (Abrasive Blasting): This technique is highly effective for thoroughly removing multiple layers of old paint, deep-seated rust, and stubborn grime, especially on fireplaces with highly ornate or intricate designs that are difficult to clean by hand. Professionals use high-pressure air mixed with various abrasive materials (like glass beads or fine grit) to carefully strip away unwanted finishes and corrosion. This method is particularly useful for:
- Fireplaces with elaborate details and textures that manual cleaning cannot reach effectively.
- Heavily rusted surfaces where manual scrubbing would be too labor-intensive and potentially damaging.
- Large-scale restorations where time efficiency and a perfectly clean base are crucial before refinishing.
- 2. Professional Cast Iron Welding: As discussed, significant cracks or structural issues in cast iron are best left to experts. Skilled welders who specialize in cast iron understand its unique metallurgical properties. Their expertise is invaluable because:
- They possess in-depth knowledge of cast iron and how its high carbon content reacts to heat, preventing further damage.
- They perform controlled pre-heating and slow cooling techniques, essential for successful and durable cast iron repairs using specialized nickel-alloy rods.
- They have access to industrial-grade welding equipment and specific materials not typically available to the home DIYer.
- 3. Antique Fireplace Restoration Specialists: Some companies focus solely on antique fireplace restoration. These experts often have a deep appreciation for historical accuracy and can offer a comprehensive service from start to finish. They can:
- Accurately assess the historical value and period-specific features of your fireplace.
- Provide custom solutions for unique, rare, or complex designs, often sourcing period-correct replacement parts if needed.
- Offer end-to-end services, including cleaning, repair, metalwork, and expert refinishing, ensuring a historically sensitive and durable result.
- 4. Powder Coating Services: For a remarkably durable, long-lasting, and aesthetically consistent finish, some professionals offer powder coating. This process involves electrostatically applying a dry powder (a mix of plastic polymers) which is then cured under heat to form a hard, even layer. This option is ideal for components that can be detached and sent to a specialist shop because:
- It creates a significantly more uniform and chip-resistant coating than traditional wet paint.
- It’s available in an extensive range of colors, textures, and finishes, offering modern durability with classic aesthetics.
- It can substantially extend the protective life and overall resilience of your restored fireplace parts.
- 5. Conservation Experts: For fireplaces of exceptional historical or architectural significance, conservation experts are the go-to professionals. Their focus is not just restoration but preservation of original features and patina. They can:
- Employ non-invasive or reversible restoration techniques that respect the object’s history.
- Use period-appropriate materials and methods, ensuring the restoration aligns with conservation ethics.
- Provide meticulous documentation of the fireplace’s history, condition, and the entire restoration process for archival purposes.
By considering these professional avenues, you can ensure that your cast iron fireplace is restored to its utmost potential, especially in instances where the project demands specialized skills, extensive equipment, or a level of historical fidelity beyond typical DIY capabilities. Investing in professional help can be a wise decision for preserving a valuable piece of your home’s heritage.
Summing It Up: The Rewarding Journey of Fireplace Restoration
Restoring a cast iron fireplace is far more than just a home maintenance task; it’s a profoundly rewarding voyage that intertwines history, craftsmanship, and a deep sense of personal satisfaction. By following this comprehensive guide, you’ve gained the knowledge and confidence to tackle common challenges, from methodically removing stubborn rust and stripping away layers of old paint to understanding when and why to seek professional help for critical structural issues like cracks.
Remember, the essence of a successful restoration lies in patience and meticulous attention to detail. Take your time with each step, allowing proper drying and curing, and you’ll ensure the best possible results. Whether you choose to embark on the full DIY journey yourself or wisely opt for professional assistance for more complex aspects, your dedicated efforts will undoubtedly culminate in a beautifully restored piece – a true testament to its historical resilience and your commitment to its revival. This transformed fireplace will not only add unparalleled character and warmth to your home but also stand as a stunning focal point that draws admiration and sparks conversation.
As you gather around your revitalized fireplace, basking in its renewed glow, take immense pride in knowing that you’ve preserved a tangible piece of architectural history. You’ve not merely cleaned and polished; you’ve actively contributed to the longevity of a beautiful artifact, allowing it to continue telling its story for generations to come. For those still contemplating such a rewarding project, we wholeheartedly encourage you to take that first, decisive step. Your cast iron fireplace awaits its magnificent transformation, ready to once again become the distinguished heart of your living space.
