Expert Guide to Antique Furniture Restoration: Preserve Value & Beauty
Antique furniture pieces are more than just functional items; they are tangible links to the past, holding countless stories and a depth of history that no modern piece can replicate. Each scratch, dent, and faded finish tells a unique tale, contributing to its unparalleled character. The process of restoring these cherished items is a rewarding endeavor, breathing new life into them while carefully preserving their inherent special value and historical integrity.
A common misconception is that working on old furniture automatically diminishes its worth. However, with the right knowledge, meticulous care, and a thoughtful approach, careful restoration can significantly enhance both the aesthetic appeal and practical utility of these pieces, often increasing their value. The true art lies in understanding which methods best retain the original charm and historical patina while effectively addressing wear and damage. By following thoughtful, informed steps, you can transform antique furniture into beautiful, functional heirlooms without sacrificing their unique qualities or rich heritage.
Assessing Your Antique Furniture Before Restoration
Before any tools are picked up or a drop of cleaner is applied, a thorough assessment of your antique furniture is paramount. This initial evaluation helps determine its historical significance, potential monetary value, and the most appropriate restoration approach.
Determine Value Before Restoration
The first step is to ascertain if your piece holds significant value, either historical, monetary, or sentimental. Look diligently for identifying marks such as maker’s stamps, labels, or stenciled names. These are commonly found on the bottom, back, inside drawers, or even beneath upholstery. These crucial clues can reveal the original maker, manufacturing period, and sometimes the origin, which are vital for determining authenticity and rarity.
To get an informed opinion, take clear, well-lit photographs of your piece from various angles, including close-ups of any unique features or marks. Share these images with a reputable local antique dealer or a certified appraiser. Many antique shops offer complimentary initial advice that can guide your decision-making. Be aware that some highly valuable or rare furniture pieces may hold more worth in their original, unrestored condition, even with visible signs of age and wear. Extensive restoration on such items could inadvertently decrease their collector’s appeal.
Beyond expert consultation, online research can also provide valuable insights. Search for similar items that have recently been sold at auction or through reputable online antique marketplaces. This will help establish a realistic price range and further inform your restoration strategy.
How to Identify the Original Finish
Understanding the original finish is crucial for informed restoration. Examine hidden areas of the furniture, such as the underside of the top, the back of a drawer, or a secluded corner of the base. These less-exposed spots are more likely to retain the true original finish, having been spared from years of wear, dirt, and previous interventions.
A simple test involves gently rubbing a small, inconspicuous area with a soft cloth dampened with mineral spirits. This can help reveal the wood’s underlying appearance by temporarily dissolving surface grime without damaging the existing finish. Observe the color and texture carefully. An original finish, often shellac, varnish, or lacquer, might appear dark, somewhat uneven, or show fine crackling (crazing) typical of aged materials. A very smooth, uniform, and perhaps slightly thick appearance could indicate a newer, possibly polyurethane-based, finish applied by a previous owner.
The presence of patina – the natural aging and darkening of wood and finish over time – is highly valued in antiques. Identifying and preserving this patina is often a primary goal, as it contributes significantly to a piece’s authenticity and charm.
Types of Furniture Not Recommended for Refinishing
Not all antique furniture benefits from a full refinishing. Certain categories are best left to professional conservators or appreciated in their “as found” condition:
- Very Old Pieces (Pre-1830): Furniture from periods like the Federal, Sheraton, or earlier often has a delicate original finish that is integral to its historical and monetary value. Extensive refinishing can strip away this crucial layer of authenticity.
- Rare or Museum-Quality Items: Any piece suspected of being exceptionally rare, historically significant, or museum-worthy should always be evaluated by a certified antique conservator before any work is considered. Their expertise is essential to prevent irreversible damage.
- Items with Unique Surface Treatments: Furniture featuring intricate hand-painted designs, delicate inlays (marquetry), parquetry, or unusual wood patterns (like burled or highly figured veneers) requires extreme caution. Standard refinishing techniques, such as aggressive sanding or chemical stripping, can easily destroy these irreplaceable decorative elements.
- Arts and Crafts/Mission Style Furniture: Many pieces from the Arts and Crafts movement (late 19th-early 20th century) were finished with specific fuming or ammonia treatments that gave them their distinctive dark color. Removing this original finish can significantly reduce their collector’s value.
Preparation Before Restoration
Proper preparation is the cornerstone of any successful antique furniture restoration project. It involves careful cleaning, structural repairs, and thoughtful consideration of whether stripping and sanding are necessary.
Cleaning
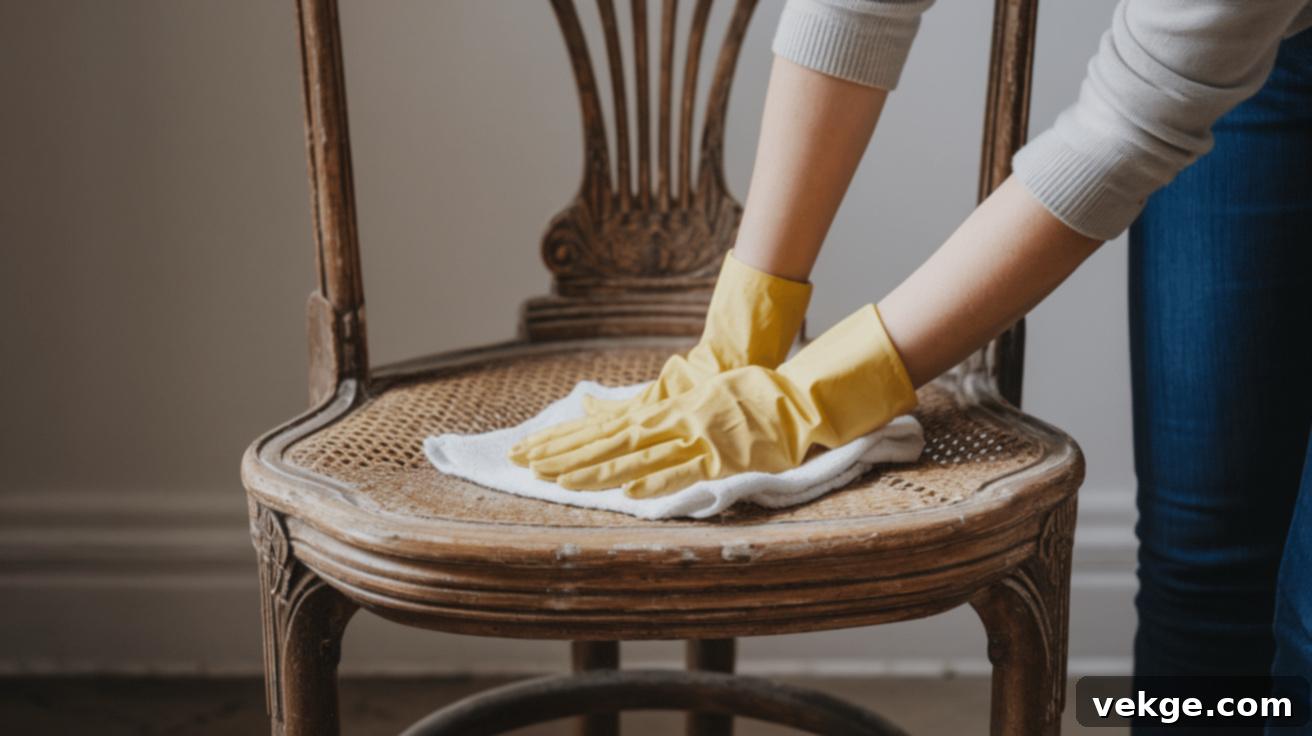
Begin by meticulously dusting your furniture with a soft, lint-free cloth, ensuring all loose dirt and cobwebs are removed. For general cleaning, a gentle solution of a few drops of mild dish soap mixed with warm water works wonders. Dampen a soft cloth – ensuring it’s not soaking wet – and gently wipe down the wood surfaces. Always follow the wood grain, and avoid saturating the wood, which can cause swelling or damage.
For more stubborn dirt, grime, or old polish buildup, a mixture of equal parts white vinegar and water can be effective. This solution is generally safe for most finished wood surfaces, but always test it on an inconspicuous area first. Wipe thoroughly and dry immediately with a clean, soft cloth.
Sticky residues or heavy grime that soap and water can’t tackle might respond to mineral spirits. Apply a small amount to a clean cloth and rub lightly. Mineral spirits are excellent for dissolving old wax, oil, and various forms of dirt without harming most original finishes. Again, always test in a hidden spot and work in a well-ventilated area.
Repairing Structural Damage
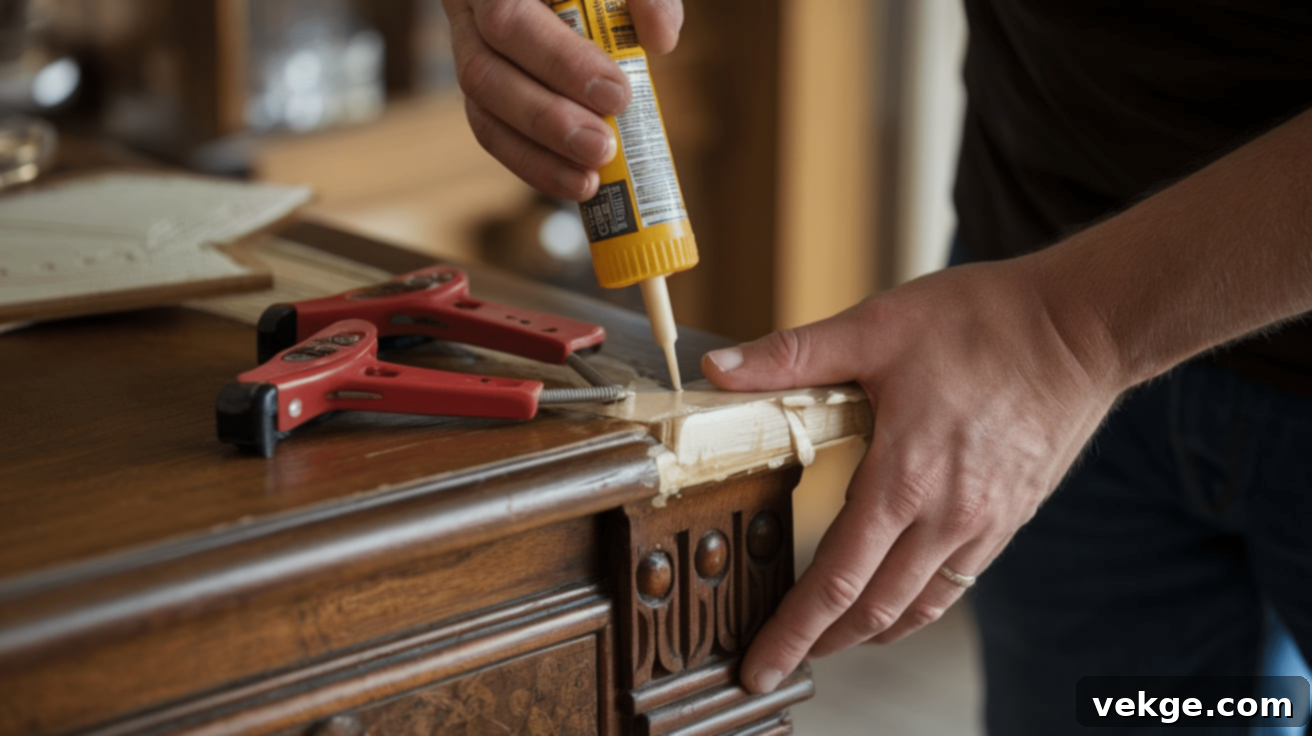
Structural integrity is paramount. Inspect your furniture by gently wiggling each joint, leg, or frame piece to identify any looseness. Loose joints are a common issue in antique furniture due to age and stress.
To repair, carefully disassemble the loose joint if possible. Scrape away any old, brittle glue using a small chisel, sandpaper, or a utility knife to ensure a clean bonding surface. Apply fresh wood glue (yellow PVA glue is generally suitable for most repairs) to both surfaces, press the joint together, and clamp it firmly until the glue is completely dry. Use padding under clamps to protect the wood surface.
For minor cracks, dents, or small missing chips, wood filler that closely matches the original wood color is ideal. Apply with a putty knife, let it dry, and then sand smooth. For larger missing sections or intricate broken pieces, you might need to source matching wood or wood veneer. Hobby stores, specialty woodworking suppliers, and online shops often carry various wood types and parts that can be carefully shaped and integrated into your piece. Sometimes, creating a new part from scratch or using a wooden dowel can provide the necessary structural reinforcement.
Sanding and Stripping
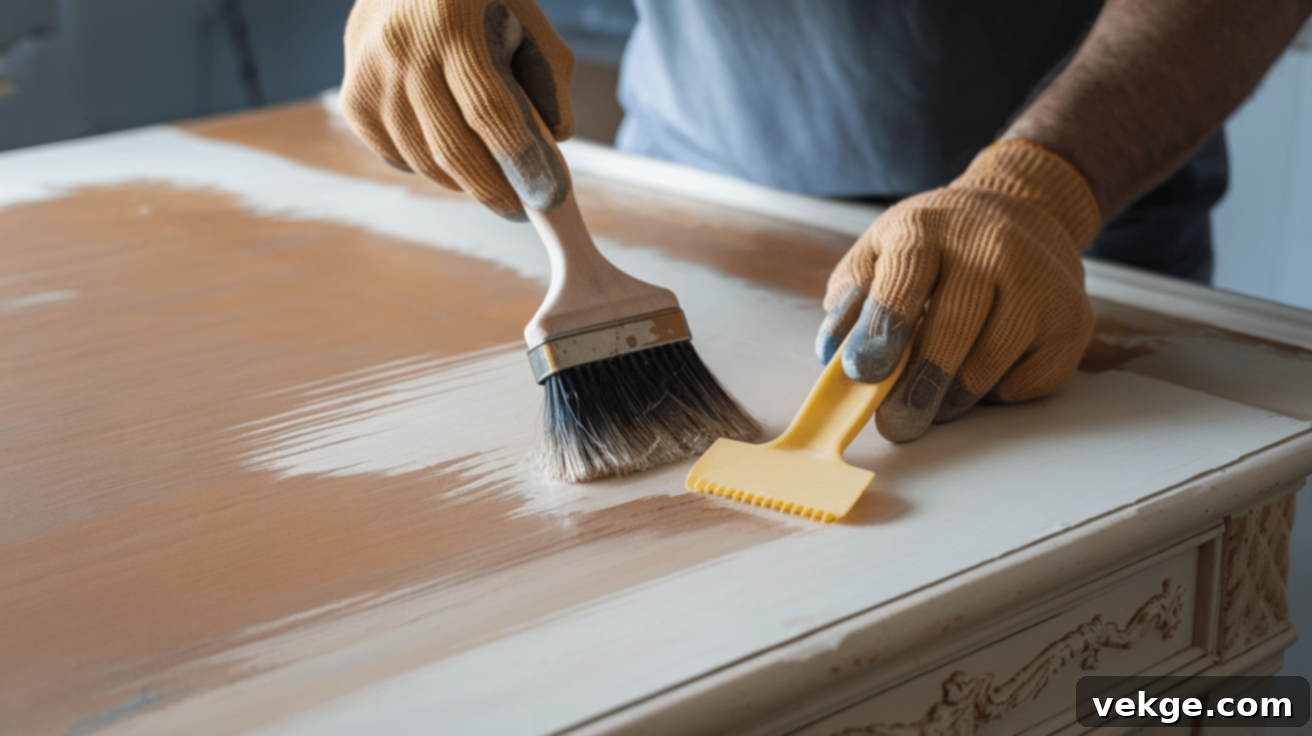
The decision to strip an old finish should not be taken lightly. If the original finish is severely damaged, flaking, or inconsistent, stripping might be necessary. Chemical strippers, specifically formulated for furniture, can be highly effective. Always read product instructions carefully, apply in a well-ventilated area, and wear appropriate safety gear (gloves, eye protection).
Apply the stripper generously with a natural bristle brush and allow it to dwell for the recommended time, usually 5-15 minutes. Once the finish begins to bubble and soften, gently scrape it away using plastic or wooden tools. Metal scrapers can easily gouge and scratch the underlying wood, causing irreparable damage. For intricate carvings or tight corners, steel wool (grade 000 or 0000) or a stiff brush dipped in stripper can help lift the old finish.
After stripping, neutralize any chemical residue if required by the product, then proceed to sanding. Start with a medium-fine grit sandpaper, such as 120-grit, to remove any remaining finish or surface imperfections. Always sand *with* the wood grain to avoid unsightly cross-grain scratches. Progress to finer grits, like 180-grit and then 220-grit, for a smooth, ready-to-finish surface. For very fine finishing, you might even use 320-grit. Pay special attention to veneers, as they are very thin and can be easily sanded through, revealing the substrate beneath.
Restoring by Applying a New Finish
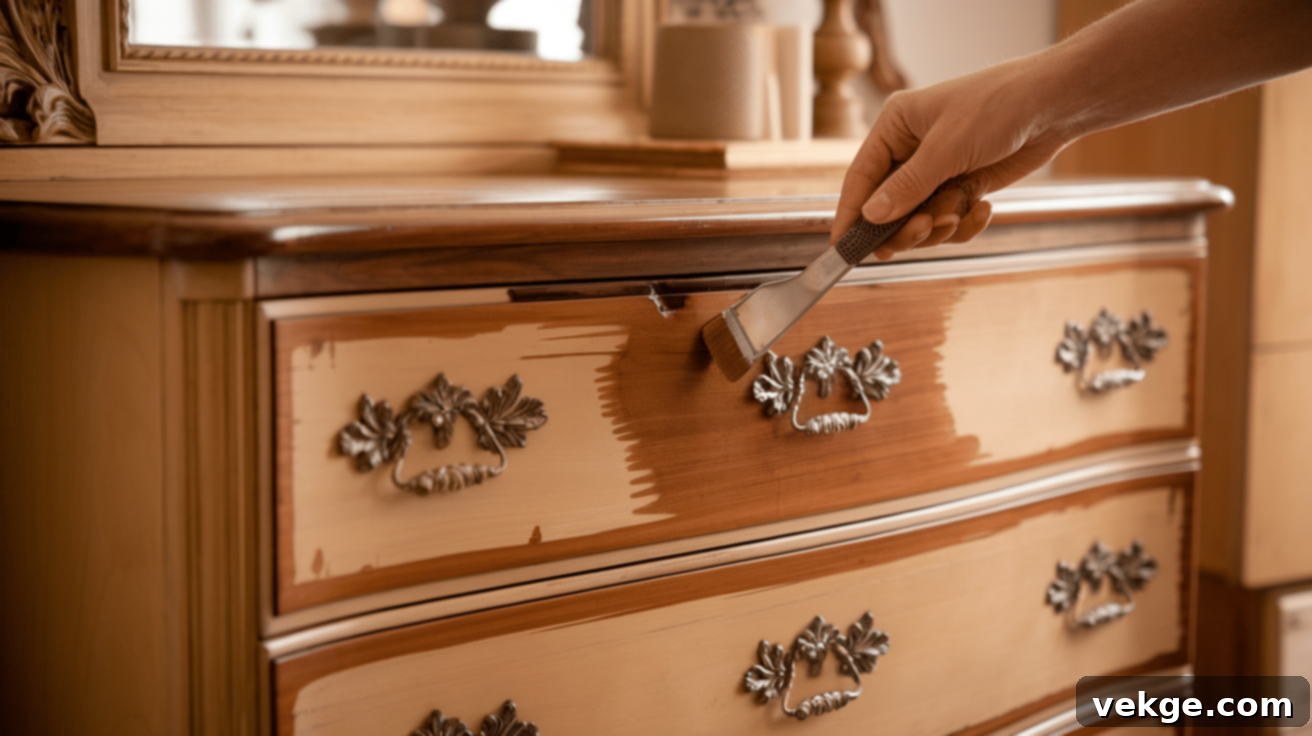
Once your antique furniture is clean, repaired, and prepped, you can choose to apply a new finish. This step offers a chance to either completely transform its look or enhance its natural beauty.
Choosing Your Finish
The type of finish you select significantly impacts the final appearance and durability of your restored piece. Consider both aesthetic goals and historical accuracy:
- Paint: Offers complete coverage, hiding the wood grain and allowing for a wide spectrum of colors. It’s a great option for pieces with damaged or less attractive wood, or for creating a modern, refreshed look. Popular choices include chalk paint for a distressed, matte finish, or enamel paints for a more durable, smooth surface.
- Stain: Enhances the natural beauty of the wood grain while imparting a desired color. Stains are available in various shades and types (oil-based, water-based, gel stains) and can be used to match existing wood tones, deepen natural hues, or simulate darker, older woods.
- Clear Finishes (Varnish, Shellac, Lacquer, Polyurethane, Oil): These finishes protect the wood while allowing its natural color and grain to shine through. Each has distinct properties:
- Varnish/Polyurethane: Provide excellent durability and water resistance, available in various sheens. Polyurethane is a modern finish, very tough, but might not be historically accurate for very old pieces.
- Shellac: A traditional finish, dries quickly, provides a beautiful, natural luster, and is easily repaired. It is less durable against water and heat than polyurethane.
- Lacquer: Dries hard and fast, offering a smooth, durable finish. Requires specialized spraying equipment for best results.
- Oil Finishes (e.g., Danish Oil, Tung Oil): Penetrate the wood, enhancing its natural color and providing a soft, natural-looking matte or satin finish. They are easy to apply and repair but offer less surface protection than film-building finishes.
Paint Application Steps
- Prepare the Surface: Ensure the wood is impeccably clean, dry, and free of dust. If the wood was previously stripped, a light sanding with 220-grit paper will create a good “tooth” for the primer.
- Apply Primer: A good quality primer is essential for adhesion, especially on bare wood or if you’re painting over a dark existing finish. Apply a thin, even coat and allow it to dry completely according to manufacturer instructions.
- Apply Paint Coats: Using a high-quality brush or roller (or spray gun for a smoother finish), apply thin, even coats of your chosen paint. Thin coats dry faster and are less prone to drips and brush marks.
- Allow Ample Drying Time: Let each coat dry fully before applying the next. Rushing this step can lead to a tacky finish, poor adhesion, and an uneven appearance.
- Light Sanding Between Coats: For an exceptionally smooth finish, lightly sand between coats (after the paint is dry) with very fine-grit sandpaper (e.g., 320-400 grit). This removes any imperfections and helps the subsequent coat adhere better. Wipe away all dust before reapplying paint.
- Apply Top Coat (Optional): For added durability, especially on high-use surfaces, consider a clear protective top coat (e.g., a water-based polyurethane or a specific furniture wax over chalk paint).
Stain Application Steps
- Test the Stain: Always test your chosen stain on an inconspicuous area of the furniture or on a scrap piece of the same wood. This ensures you achieve the desired color.
- Apply Pre-Stain Conditioner (Optional but Recommended): For softer woods or woods that tend to blotch (like pine or maple), a pre-stain conditioner can help achieve a more even color absorption. Apply according to instructions.
- Apply Stain Evenly: Use a clean cloth, foam brush, or natural bristle brush to apply the stain generously, working with the direction of the wood grain. Ensure even coverage across the entire surface.
- Allow Penetration: Let the stain sit for 5 to 15 minutes, or as recommended by the product. The longer it sits, the deeper and richer the color will be.
- Wipe Off Excess: With a clean, lint-free cloth, wipe off any excess stain, again following the wood grain. This prevents sticky spots and ensures an even tone.
- Add More Coats for Depth: If a deeper or darker color is desired, allow the first coat to dry completely before applying additional thin coats. Always wipe off excess after each application.
- Allow Full Cure: Let the stained wood dry completely, often 24-48 hours, before applying any protective top coat.
Protective Top Coats
A protective top coat is essential for durability, protecting the wood and finish from moisture, scratches, and everyday wear.
- Brush-on Polyurethane: Available in oil-based (more durable, ambering effect) and water-based (dries faster, clearer finish) formulas. Excellent for flat surfaces like tabletops and dressers, offering long-lasting protection. Apply thin coats with a good quality brush, sanding lightly between coats.
- Spray Polyurethane/Lacquer: Ideal for curved surfaces, intricate carvings, or for achieving a super-smooth, factory-like finish. Requires careful application to avoid drips and ensure even coverage.
- Paste Wax: Provides a soft, lustrous shine and a pleasant feel to the touch. It offers a degree of protection but is less durable than polyurethane or varnish. Paste wax is often used over oil finishes or as a final layer for shellac, and needs reapplication periodically.
- Varnish: A classic durable finish, offering good protection against moisture and scratches. It can be oil-based (slower drying, amber hue) or synthetic.
- Shellac: A traditional, natural finish that dries quickly and builds to a beautiful, clear luster. Easily repaired, but less water and heat resistant than modern synthetic finishes.
Restoring Without Taking Off the Finish (Preserving Patina)
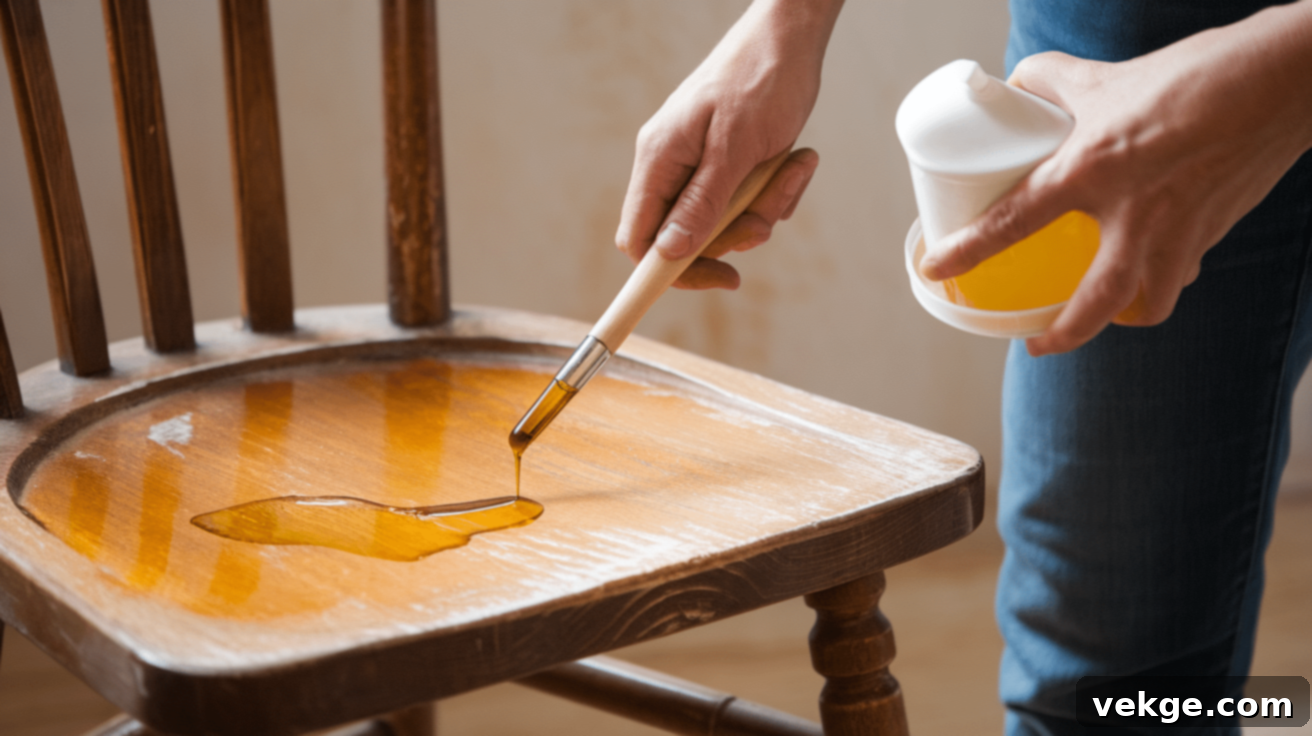
Sometimes, the best restoration is one that maintains the original finish and the unique patina that develops over time. This approach aims to clean, refresh, and repair minor damage without resorting to stripping.
Cleaning Methods
- Gentle Dusting: Start with a soft, lint-free cloth or a feather duster to remove surface dust and loose debris.
- Mild Soap and Water for Grime: For stuck-on dirt and light grime, dampen a soft cloth with a mixture of a few drops of mild soap (like dish soap or Murphy Oil Soap, specifically for wood) and warm water. Wring out the cloth thoroughly so it’s barely damp, then gently wipe the surface. Immediately follow with a dry, clean cloth to remove any moisture.
- Vinegar and Olive Oil Mixture: For tough spots or to revive dull finishes, a mixture of equal parts white vinegar and olive oil can work wonders. The vinegar cleans, while the olive oil nourishes the wood. Apply with a soft cloth, rub gently, and then buff thoroughly with a clean, dry cloth. Always test this on an inconspicuous area first.
- Specialized Furniture Restorers: Products like “Howard Restor-A-Finish” are designed to blend out scratches, remove white rings, and restore faded finishes without stripping. They come in various shades to match different wood tones. Follow product instructions carefully.
- Naphtha for Wax Buildup: If your furniture has a thick, waxy buildup, naphtha (available at hardware stores) can gently dissolve it without harming most oil or shellac finishes. Apply to a clean cloth and rub lightly in a well-ventilated area, then wipe dry.
Quick Fixes and Touch-ups
- Filling Small Cracks and Gouges: Use color-matched wood putty or wax repair sticks. These are available in various shades and can be applied directly to fill minor imperfections. Once dry, buff gently.
- Tightening Loose Joints: For joints that are slightly wobbly but not fully separated, sometimes injecting wood glue into the joint with a syringe, then clamping, can resolve the issue without full disassembly.
- Scratch Repair: Stain markers, touch-up pens, or even a walnut rubbed directly into a scratch can help conceal minor surface scratches by introducing color that blends with the wood.
- Reviving Dry Wood: For wood that appears dry or “thirsty,” boiled linseed oil or Danish oil can deeply penetrate and nourish the wood, bringing back its luster. Apply a thin coat with a cloth, let it soak in for 15-30 minutes, then wipe off all excess thoroughly to prevent a sticky residue. Repeat as needed, allowing days between applications.
- Addressing Water Rings/Heat Marks: Often, these surface blemishes can be gently buffed out. Try a mixture of baking soda and toothpaste on a soft cloth, or fine steel wool (0000 grade) with mineral spirits. Always test first and proceed with extreme caution.
Adding Protection Without Altering the Finish
To provide protection and enhance the existing finish without stripping, applying a thin coat of high-quality paste wax is an excellent option. Use a soft, lint-free cloth to apply the wax evenly over the surface, working in small sections. Allow the wax to dry to a haze (usually 15-30 minutes), then buff it vigorously with a clean, soft cloth. This will create a beautiful, subtle sheen that protects the wood and adds depth to the finish, all while preserving the precious patina.
Mistakes to Avoid When Restoring Antique Furniture
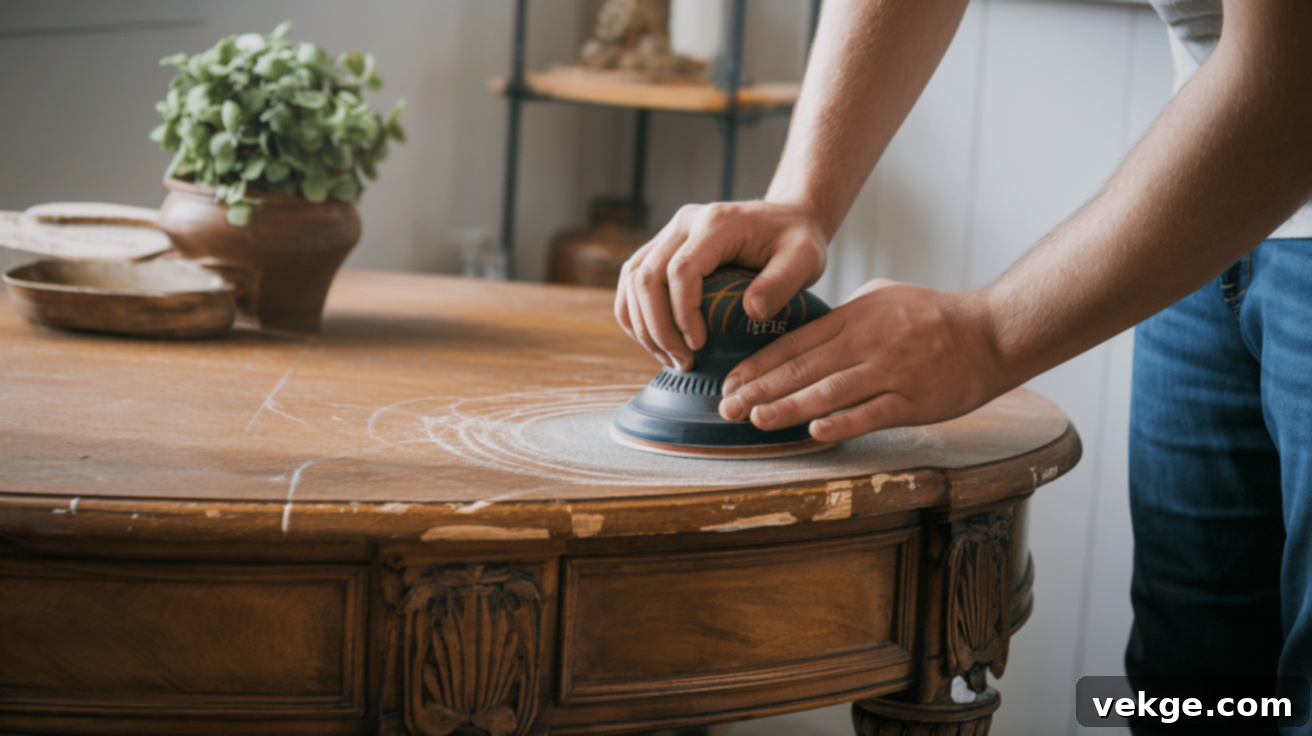
Restoring antique furniture is a delicate art, and common missteps can easily devalue a piece or ruin its historical integrity. Being aware of these pitfalls can save you time, effort, and the antique itself.
1. Mistakes in Sanding and Stripping
One of the most common and damaging mistakes is aggressive or improper sanding. Using sandpaper that is too coarse (e.g., 60 or 80-grit) or applying too much pressure can quickly cut through delicate old wood, especially thin veneers. Always start with a finer grit (like 120-grit for initial smoothing, or even 180-grit if the surface isn’t too rough) and increase to finer grits gradually. Hand sanding in the direction of the wood grain is crucial; power sanders, while fast, can easily remove too much material or leave swirl marks.
Chemical strippers, while effective, can be overly harsh. Using a stripper that’s too strong for the specific finish or leaving it on for too long can burn or bleach the wood, leading to irreversible discoloration. Always test a small, hidden area first to gauge its effect. Opt for the gentlest stripper available, follow instructions meticulously, and work in a well-ventilated area to avoid inhaling fumes. Never use metal tools to scrape off stripper, as they will scratch the softened wood beneath.
A critical consideration is veneer. Many antique pieces are veneered, meaning a thin layer of decorative wood is glued over a less attractive core. Veneer is extremely fragile and can be easily sanded through, revealing the underlying core wood, which destroys the piece’s aesthetic and historical value.
2. Choosing the Wrong Finish
The choice of finish is paramount. Applying a modern, thick polyurethane finish to a piece from the 18th or 19th century can drastically alter its appearance, giving it a “plastic-like” sheen that looks out of place and detracts from its antique charm. Historically, many antiques were finished with shellac, varnish, or oil, which allowed the wood to breathe and develop a rich patina.
For most antiques, oil-based products (like boiled linseed oil or Danish oil) or shellac offer a more historically appropriate and natural look. These penetrate the wood, enhancing its color and grain without creating a thick surface film, allowing the piece’s age and character to remain visible. Paste wax is also an excellent option for a soft, authentic glow.
Another pitfall is applying incompatible finishes. For instance, putting a water-based finish over an oil-based one without proper preparation can lead to peeling, cracking, and a generally poor result. Always research the original type of finish and try to match it or choose a compatible alternative.
3. Over-Refinishing
Perhaps the biggest mistake is the impulse to make an antique look brand new. Not every scratch, ding, or sign of wear needs to be perfectly “fixed.” These minor imperfections are often referred to as “character marks” or “patina,” and they tell the story of the piece’s life and use. For many collectors and enthusiasts, these signs of age contribute significantly to an antique’s charm and authenticity, often increasing its value rather than detracting from it.
When possible, preserving the original finish, even if it has some flaws, is generally preferred over a complete strip and refinish. Full stripping should be considered a last resort, only undertaken when the original finish is severely deteriorated beyond repair or significantly obscures the beauty of the wood.
Instead of a total overhaul, focus on the least invasive interventions first: thorough cleaning, minor structural repairs, targeted touch-ups, and the application of a protective wax or oil. Often, a piece simply needs to be cleaned, nourished, and polished to reveal its inherent beauty without erasing its history.
4. Impatience and Rushing Steps
Restoration is a process that requires patience. Rushing steps, such as not allowing glues or finishes to fully dry between coats, can lead to disastrous results. Incomplete drying can cause tackiness, poor adhesion, blushing, or uneven finishes. Always adhere to manufacturer drying times and, if possible, allow extra time, especially in humid conditions. Patience ensures professional, lasting results.
Conclusion
Embarking on antique furniture restoration is a journey that demands skill, patience, and a deep appreciation for history. The rewards, however, are immeasurable. The true essence of successful restoration lies in finding the perfect balance: enhancing the furniture’s aesthetic and functional appeal while meticulously preserving its unique narrative and the valuable patina that tells its story.
Approach each project with thoughtful deliberation. Before commencing any work, invest time in thoroughly understanding your piece, its history, and its specific needs. Often, a gentle, conservative approach yields far superior results than drastic, irreversible alterations. Remember, every scratch, faded mark, and subtle imperfection contributes to the furniture’s character and authenticity. The ultimate goal is to clean, stabilize, and rejuvenate without erasing these precious signs of age.
Restoring antique furniture is not merely about fixing wood; it’s about honoring craftsmanship, celebrating enduring design, and extending the life of a piece that has witnessed generations. It’s a tangible way to connect with the past and create future heirlooms. What antique piece are you currently bringing back to life? Share your project and restoration story in the comments below! We’d love to hear about your experiences and discoveries.
Frequently Asked Questions About Antique Furniture Restoration
How Do I Know if a Piece is Worth Restoring?
Consider several factors: its structural integrity (solid wood construction, sturdy joints), the presence of maker’s marks or a known brand (indicating potential monetary value), its historical period (older pieces often hold more value), and its condition. Most importantly, consider its personal or sentimental meaning to you. Even if an item doesn’t have high market value, if it’s cherished, it’s worth restoring.
Can I Restore Antique Furniture Without Stripping It?
Absolutely, and often, this is the preferred approach! Begin with a thorough cleaning using mild soap and water or specialized wood cleaners like Murphy Oil Soap. For sticky residue, WD-40 or mineral spirits can be effective. Minor scratches can be touched up with stain markers or wood repair crayons. Dry wood can be rejuvenated with boiled linseed oil or Danish oil. A final application of paste wax will protect and enhance the existing finish, preserving the valuable patina.
What Tools are Essential for Furniture Restoration?
A basic toolkit should include soft, lint-free cloths, fine-grit sandpaper (120, 180, 220, 320), wood glue (PVA type), small natural bristle brushes, 0000-grade steel wool, and essential hand tools like screwdrivers, a hammer, and clamps. For finish work, you’ll want wood filler, wood stain, and your chosen protective top coat (e.g., paste wax, shellac, or polyurethane). Safety gear like gloves and eye protection are also crucial, especially when working with chemical strippers.
How Do I Deal with Water Rings or Heat Marks on Antique Furniture?
Water rings and heat marks can often be removed without major refinishing. For fresh, light marks, sometimes simply rubbing them with a soft cloth and a dab of mayonnaise, petroleum jelly, or non-gel toothpaste can work. For more stubborn marks, a gentle abrasive like a mixture of baking soda and a few drops of water (to form a paste) or very fine steel wool (0000 grade) lightly dampened with mineral spirits can be used. Always test in an inconspicuous area, rub gently with the grain, and immediately wipe clean and polish afterward.
Is It Better to DIY Restoration or Hire a Professional?
For valuable, rare, or complex pieces (e.g., those with intricate carvings, extensive veneer damage, or museum quality), hiring a professional antique conservator is highly recommended. Their expertise ensures the preservation of historical integrity and value. For simpler projects, like cleaning, minor repairs, or applying a new finish to a less valuable piece, DIY restoration can be a rewarding and cost-effective option, provided you do thorough research and proceed with caution and patience.
