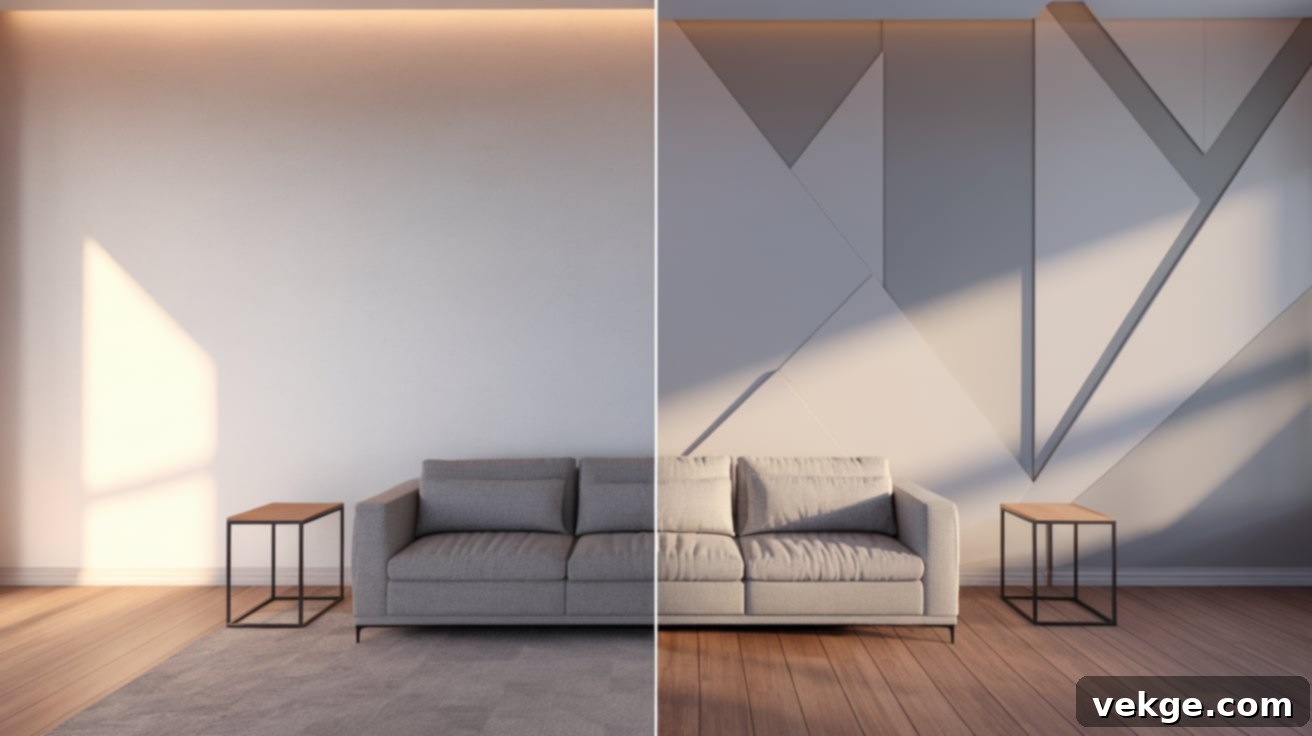
Transform Your Home: The Ultimate Guide to Stunning Geometric Wall Designs
Are you eager to infuse your living space with unparalleled character and modern flair? Geometric wall designs are the answer, effortlessly turning ordinary walls into captivating focal points. This increasingly popular trend allows homeowners to dramatically enhance their interiors, bringing a fresh, dynamic energy to any room without the need for extensive, costly renovations.
A thoughtfully executed geometric wall design goes far beyond mere aesthetics; it profoundly influences the perception and atmosphere of a room. It strategically adds visual depth, making smaller spaces feel expansive and open. Moreover, it serves as a powerful statement of your unique style, creating a personalized touch that elevates your home’s overall decor. From vibrant, painted patterns to sophisticated three-dimensional wood installations, the versatility of geometric designs means there’s a perfect option to match every aesthetic preference and budget.
This comprehensive guide is your essential resource for mastering the art of creating your own geometric accent wall. We will delve into critical design considerations, provide clear step-by-step instructions for various methods, and share invaluable expert tips to ensure your project is a resounding success. Whether you’re a seasoned DIY enthusiast or embarking on your very first home decorating adventure, prepare to unlock your creativity and transform your walls into works of art.
Understanding the Appeal of Geometric Wall Designs
1. What Exactly Are Geometric Wall Designs?
Geometric wall designs represent a beautiful synergy of mathematics and art, bringing structured elegance directly onto your walls. These captivating patterns are constructed using fundamental shapes such as squares, triangles, hexagons, and lines, arranged to create visually striking and harmonious compositions. The beauty of these designs lies in their adaptability, allowing them to complement an incredibly diverse range of interior styles, from minimalist modern to eclectic bohemian.
The use of geometric patterns in design is not a new phenomenon; it boasts a rich history dating back to ancient civilizations. These timeless motifs were integral to the architecture, textiles, and art of cultures worldwide, appreciated for their inherent order and aesthetic balance. Today, geometric patterns have experienced a vibrant resurgence in contemporary home decor, where their clean lines and distinct shapes are utilized to make bold, impactful statements that resonate with modern sensibilities.
Contemporary geometric wall designs span a wide spectrum of complexity. You can opt for simple, repetitive patterns that offer a calming rhythm, or venture into more intricate, custom arrangements that push creative boundaries. While some homeowners prefer the classic appeal of a hexagon grid for its structured elegance, others embrace the freedom of mixing various shapes and orientations to forge a truly unique, one-of-a-kind visual narrative that reflects their individual personality.
2. Key Benefits of Incorporating Geometric Accent Walls
Introducing a geometric accent wall is one of the most effective and transformative ways to revitalize a room’s atmosphere without embarking on major construction or extensive remodeling. It instantly establishes a powerful focal point, drawing the eye and serving as a natural conversation starter, making your space more engaging and memorable.
Beyond their aesthetic charm, these designs possess a remarkable ability to manipulate spatial perception. Strategically chosen geometric patterns can make smaller rooms feel considerably more spacious and open by skillfully creating an illusion of depth and movement. For instance, patterns with vertical lines can guide the eye upward, making ceilings appear taller, while horizontal or expanding patterns can visually widen a narrow room. The right pattern doesn’t just decorate; it redefines the room’s dimensions.
Furthermore, each geometric design serves as a canvas for self-expression, telling a unique story about the homeowner’s personal style and artistic preferences. You have complete creative control to select colors, shapes, and arrangements that perfectly align with your personality, complement your existing decor, and evoke the precise mood you wish to cultivate in your home. This level of customization ensures your accent wall is not just a trend, but a genuine reflection of you.
3. Trending Geometric Designs This Year
The world of interior design is constantly evolving, and geometric patterns are no exception. This year, there’s a distinct leaning towards minimalist yet impactful designs. Simple patterns characterized by clean, crisp lines are gaining significant traction, favored for their ability to create sophisticated looks without overwhelming the space. A popular choice involves elegant two-tone designs, often utilizing varying shades of the same color (e.g., a lighter and darker gray) to create subtle contrast and sophisticated depth.
Another prominent trend is the shift from small, intricate patterns to bolder, large-scale designs. Homeowners are increasingly opting for walls featuring generously sized triangles, diamonds, or oversized abstract shapes. These larger elements make a powerful, confident statement, providing a modern aesthetic that feels impactful yet uncluttered and refined.
Perhaps one of the most exciting trends involves the harmonious blending of straight lines with organic curves. This innovative combination introduces an element of fluidity and movement into the otherwise structured geometric landscape. The interplay between rigid lines and soft curves creates a dynamic visual interest, adding complexity and sophistication while maintaining overall balance and a contemporary feel. This approach offers a fresh take on geometric design, appealing to those who desire a touch of softness within a structured framework.
Choosing the Right Method for Your Space and Style
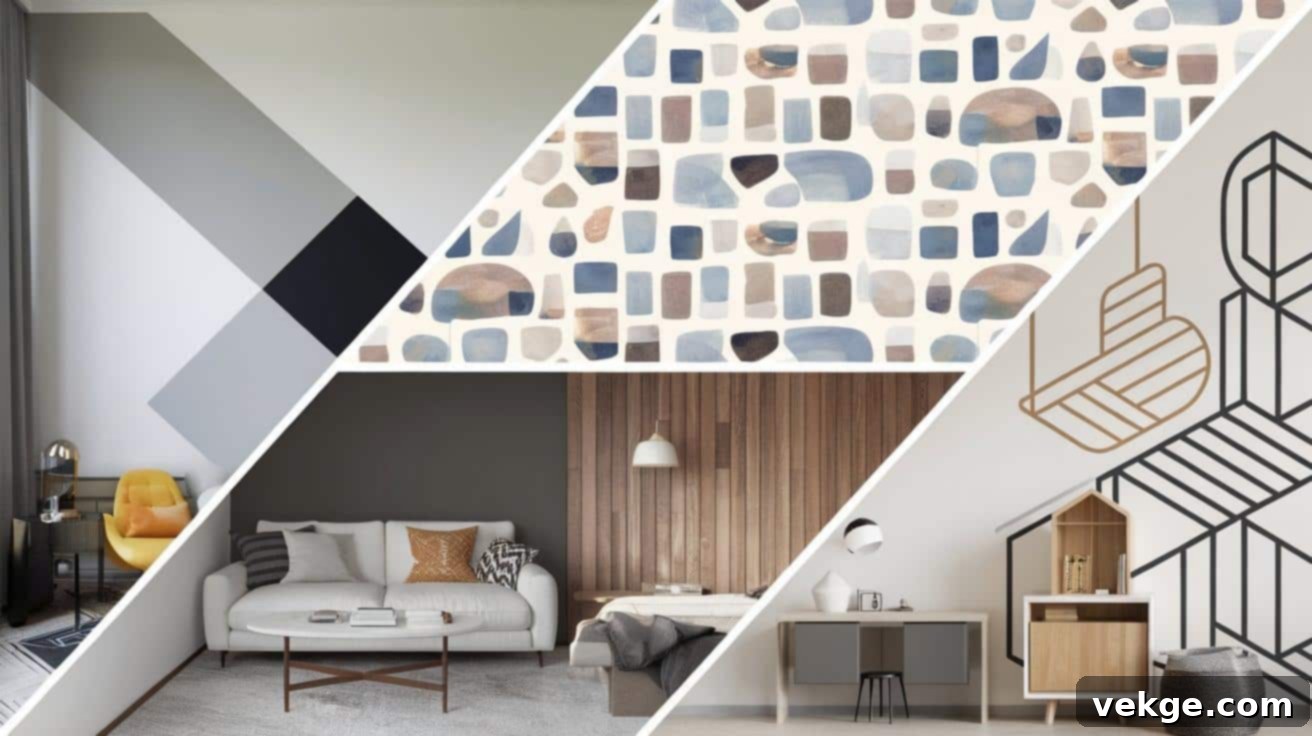
Comparison of Popular Methods for Geometric Wall Designs
When it comes to creating your geometric masterpiece, several methods offer distinct advantages depending on your preferences and skills. Painting geometric designs is a highly accessible and cost-effective option, requiring only basic tools and offering unparalleled control over color selection and pattern execution. While it demands steady hands, careful masking, and a good amount of patience, the low material cost makes it an attractive choice for many DIYers. The outcome is a truly bespoke design, perfectly tailored to your vision.
Wallpaper presents a more straightforward installation for complex patterns and comes in two primary types: peel-and-stick and pre-pasted. Peel-and-stick wallpaper is particularly well-suited for renters or those who like to frequently change their decor, as it can be easily removed without causing damage to the wall surface. Traditional pre-pasted wallpaper offers a more permanent solution with a wider range of textures and finishes, providing a durable and impactful design.
For those seeking immediate gratification and minimal effort, decals and murals are excellent choices. These self-adhesive options provide a quick and clean way to add geometric flair. They are ideal for accentuating smaller areas, testing a design concept before committing to paint, or adding a temporary splash of pattern. Decals come in various shapes and sizes, from simple repeats to intricate custom designs.
Finally, wood accent walls elevate geometric design by adding tangible texture and three-dimensional depth through raised patterns. This method typically involves a higher investment in materials and requires more specialized tools and DIY skills for cutting and installation. However, the resulting three-dimensional design creates a luxurious, lasting impact that can add significant architectural interest and warmth to a room.
Critical Factors to Consider for Your Project
Selecting the ideal method for your geometric wall project involves careful consideration of several practical factors:
- Skill Level: Your existing DIY expertise should guide your choice. Beginners might find adhesive decals or removable peel-and-stick wallpaper to be a forgiving starting point, offering great results with minimal specialized skills. More experienced DIYers, comfortable with power tools and precise measurements, can confidently tackle intricate painted patterns or ambitious wood installations.
- Budget Planning: A clear budget will help narrow down your options significantly. Here’s a general cost breakdown:
- Paint Projects: Typically the most budget-friendly, ranging from $50 to $200, primarily covering paint, tape, and basic tools.
- Wallpaper: Costs can vary widely based on quality and design, from $100 to $500 for a standard accent wall. Designer options can be higher.
- Decals: A highly affordable and flexible option, usually costing between $30 and $150, depending on size and complexity.
- Wood Accent Walls: The most significant investment due to material costs and tools, ranging from $200 to $800 or more for a feature wall.
- Time Commitment: Different methods require varying amounts of time. A painted geometric design, including prep and drying time, might span 2-3 days. Wallpaper installation can often be completed in 1-2 days. Decals offer near-instant gratification, taking only a few hours. A complex wood accent wall, however, could easily require a full weekend or more, especially for cutting and precise fitting.
- Renter vs. Homeowner: If you’re renting, prioritizing temporary and reversible options is crucial. Removable wallpaper and decals are perfect choices as they leave no lasting marks. Homeowners have the freedom to choose any method, considering their long-term vision for the space and potential future resale value.
- Room Function and Environment: The specific room matters. A bathroom, for instance, requires materials that can withstand humidity and moisture, making certain paints or vinyl wallpapers more suitable. In bedrooms or living rooms, where conditions are typically more stable, you have a broader range of options, including more delicate materials or intricate wood designs.
DIY Geometric Wall Tutorial: A Step-by-Step Guide
Materials and Tools Needed for a Painted Geometric Wall
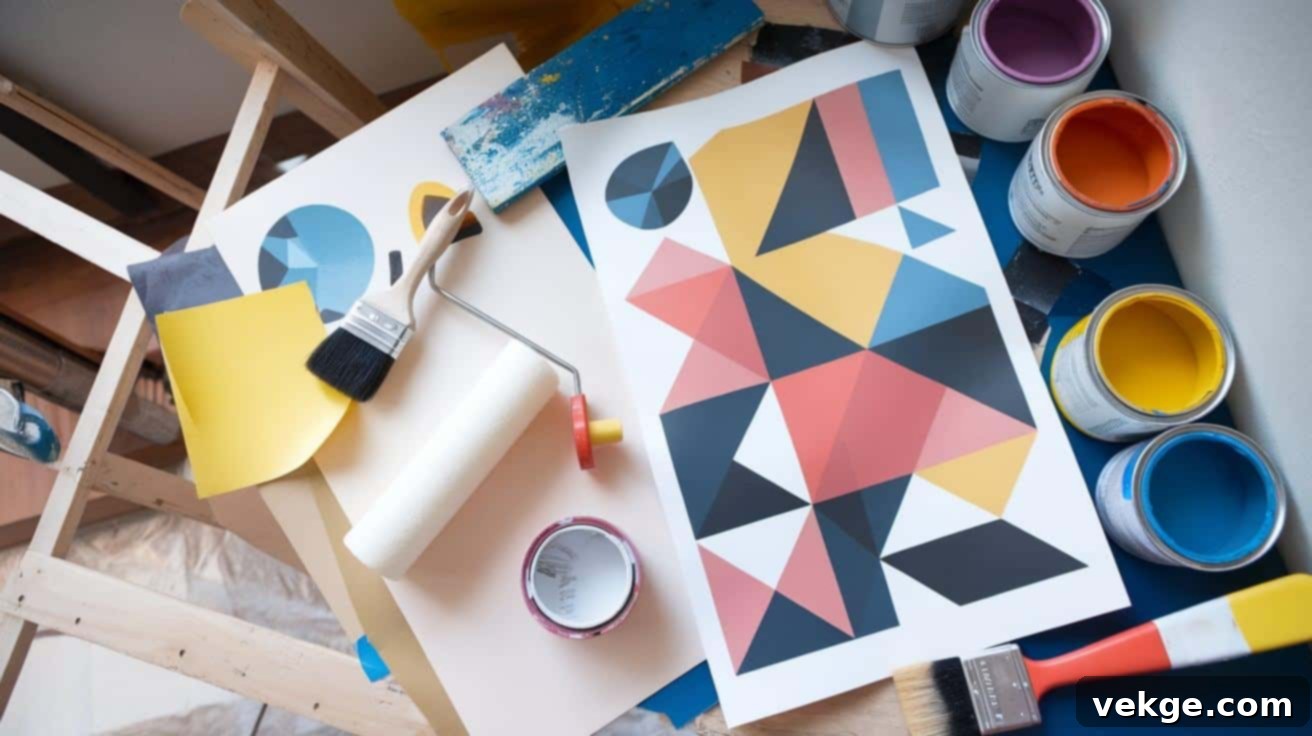
Embarking on your painted geometric wall project requires a thoughtful collection of quality materials and tools to ensure a professional finish. Start by gathering essential painting supplies: high-quality paint brushes for cutting in, and rollers with appropriate naps for smooth application. Critical basic tools include painter’s tape (choose a medium-tack tape to prevent surface damage), a reliable level (a laser level can be a game-changer for long, straight lines), a measuring tape, and pencils for making light, erasable marks on the wall.
The choice of paint is paramount to your final results. Invest in paint with excellent coverage and durability. Consider using different finishes for added interest – matte for a sophisticated look, or satin/eggshell for easier cleaning. Always purchase sample sizes first to test your color choices directly on your wall in various lighting conditions. This crucial step helps confirm your selections and avoids costly mistakes.
Detailed Step-by-Step Guide to Creating Your Geometric Accent Wall
STEP 1: Thorough Wall Preparation
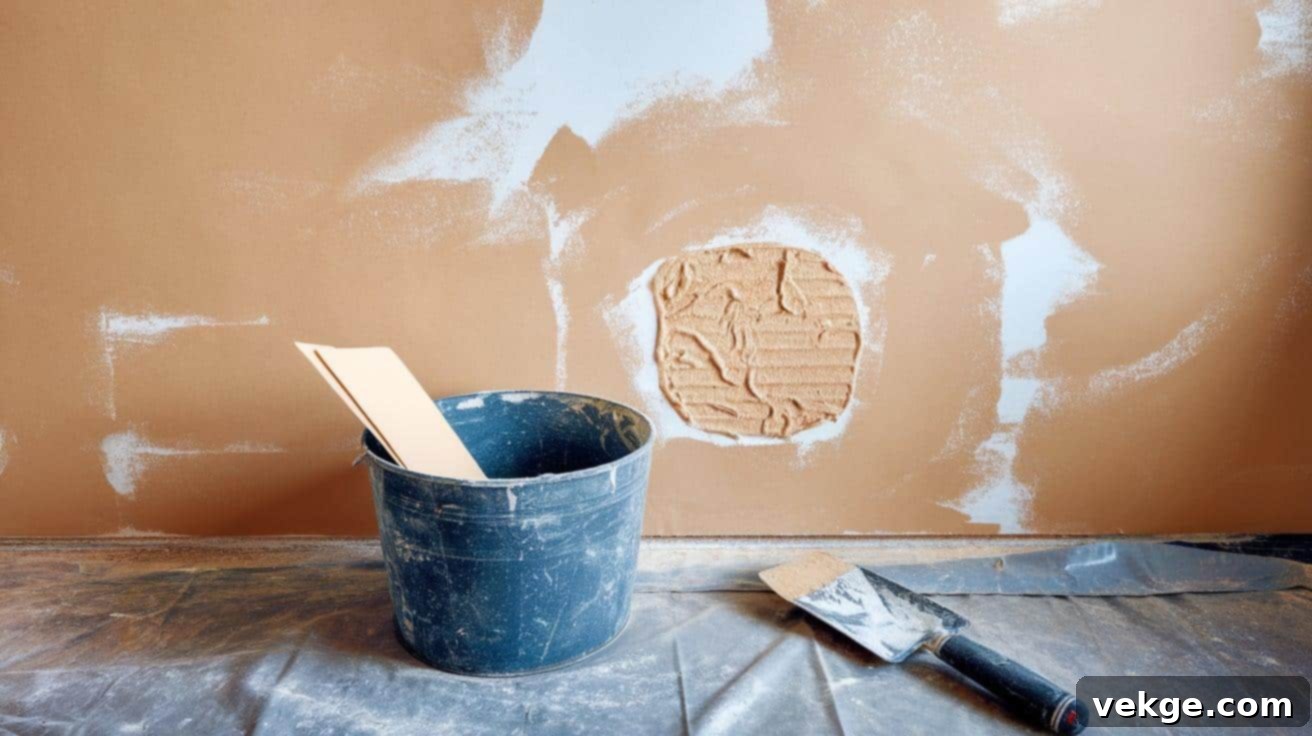
Proper preparation is the foundation of any successful paint project. Begin by ensuring your wall is immaculately clean. Wipe it down thoroughly with a mixture of mild soap and water to remove any dust, grime, or oils that could impede paint adhesion. Allow the wall to dry completely. Next, meticulously inspect the surface for any imperfections. Fill any holes, cracks, or dents with spackling compound, ensuring a perfectly smooth, even surface. Once the compound is dry, sand the patched areas until they are flush with the rest of the wall, then wipe away any sanding dust. Finally, apply a high-quality primer. A good primer creates a uniform base, helps the paint adhere better, and ensures a more consistent, vibrant color application, particularly when changing drastically from a dark to light color, or vice-versa.
STEP 2: Meticulous Design Planning
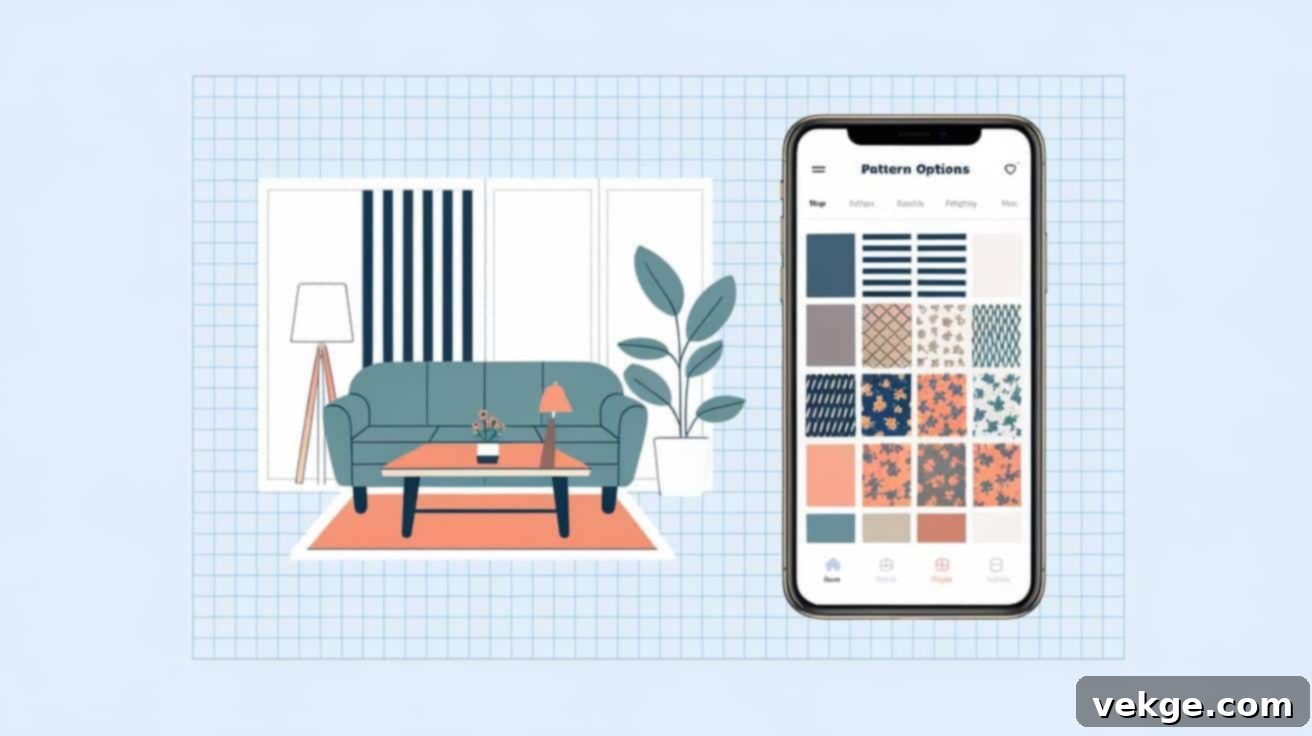
Before touching your wall, meticulously plan your geometric pattern. Start by sketching your design on paper, experimenting with various arrangements, shapes, spacing, and angles. Graph paper can be incredibly useful here for maintaining accurate measurements and proportionality. For more advanced planning, take clear photos of your room and use basic photo editing apps (or specialized design apps) to virtually “paint” different patterns onto the images. This digital preview allows you to visualize how various designs will look in your actual space, helping you make confident choices and avoid potential regret or costly rework.
STEP 3: Precision Pattern Creation on the Wall
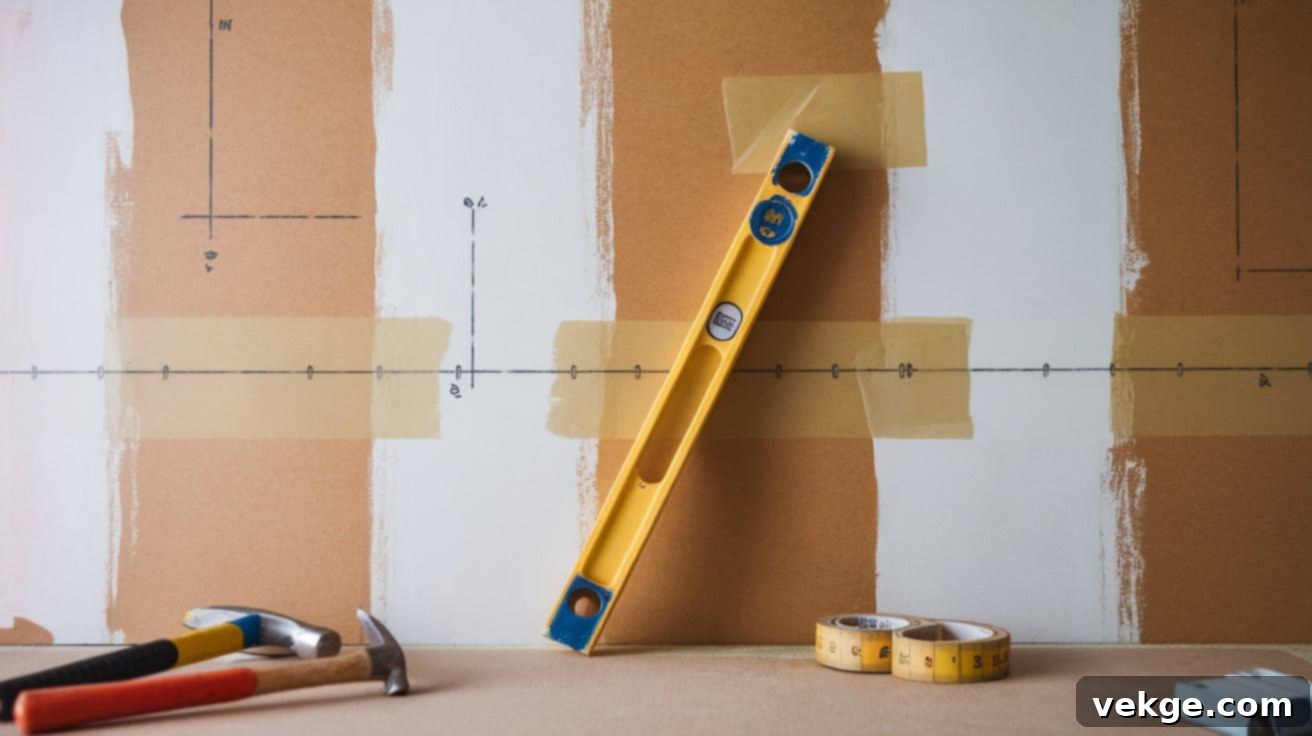
With your design finalized, it’s time to transfer it to the wall. Begin by finding the center of your wall or a key anchor point, as working outward from the center often helps maintain pattern balance and symmetry. Using a long level and a light pencil, gently mark your initial lines. Keep these lines very faint so they can be easily covered by paint or erased if needed. Carefully apply painter’s tape along your pencil marks, pressing firmly along all edges with your fingers or a credit card to create a tight seal and prevent paint bleeding. Before proceeding, double-check all angles and lines with your level to ensure perfect straightness and precision. This meticulous taping is crucial for achieving crisp, professional-looking lines.
STEP 4: Expert Painting Techniques
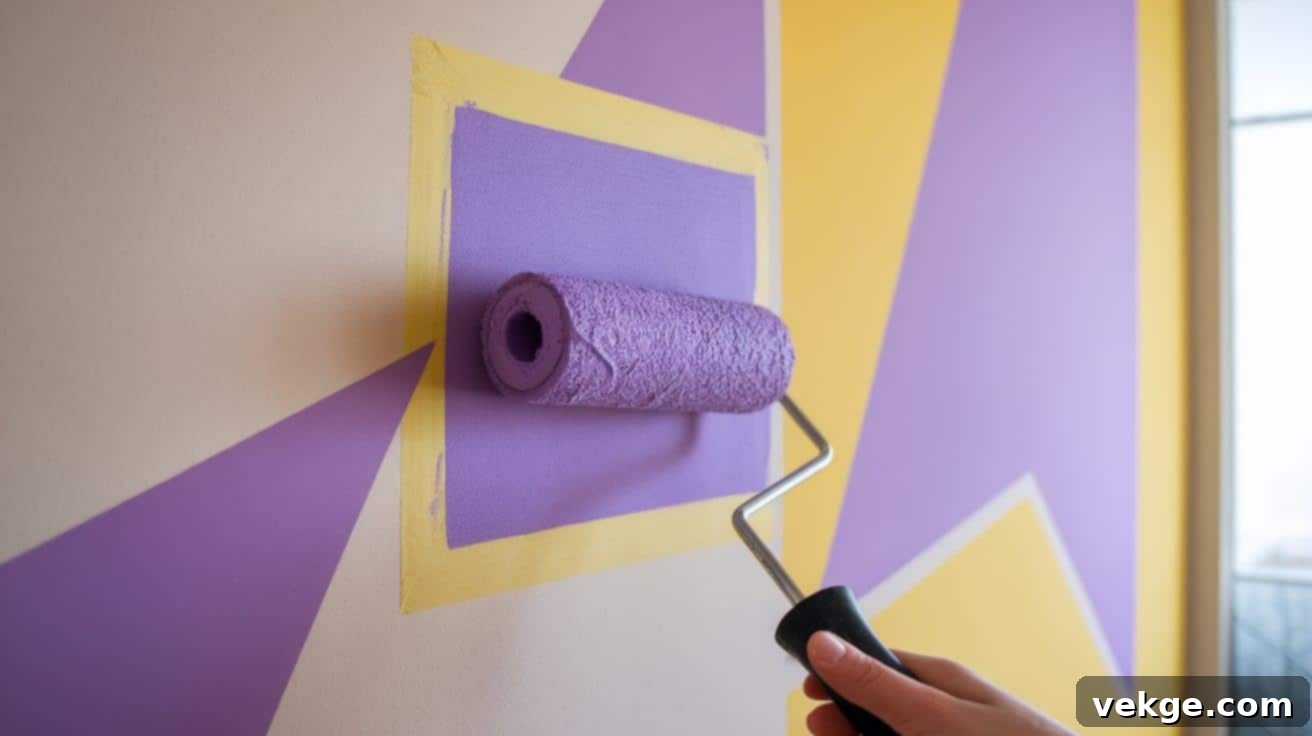
When painting, always move your brush or roller away from the tape edges. This technique pushes the paint towards the sealed edge rather than under it, significantly reducing the chance of bleeding. Apply paint in light, even coats rather than attempting to achieve full coverage with one thick layer. Thin coats dry faster, reduce drips, and create a smoother, more uniform finish. Allow the first coat to dry almost completely before applying a second coat. Depending on your paint color and quality, a third coat might be necessary to achieve rich, opaque coverage. Consistent application ensures cleaner lines and a professional overall appearance.
STEP 5: The Finishing Touches
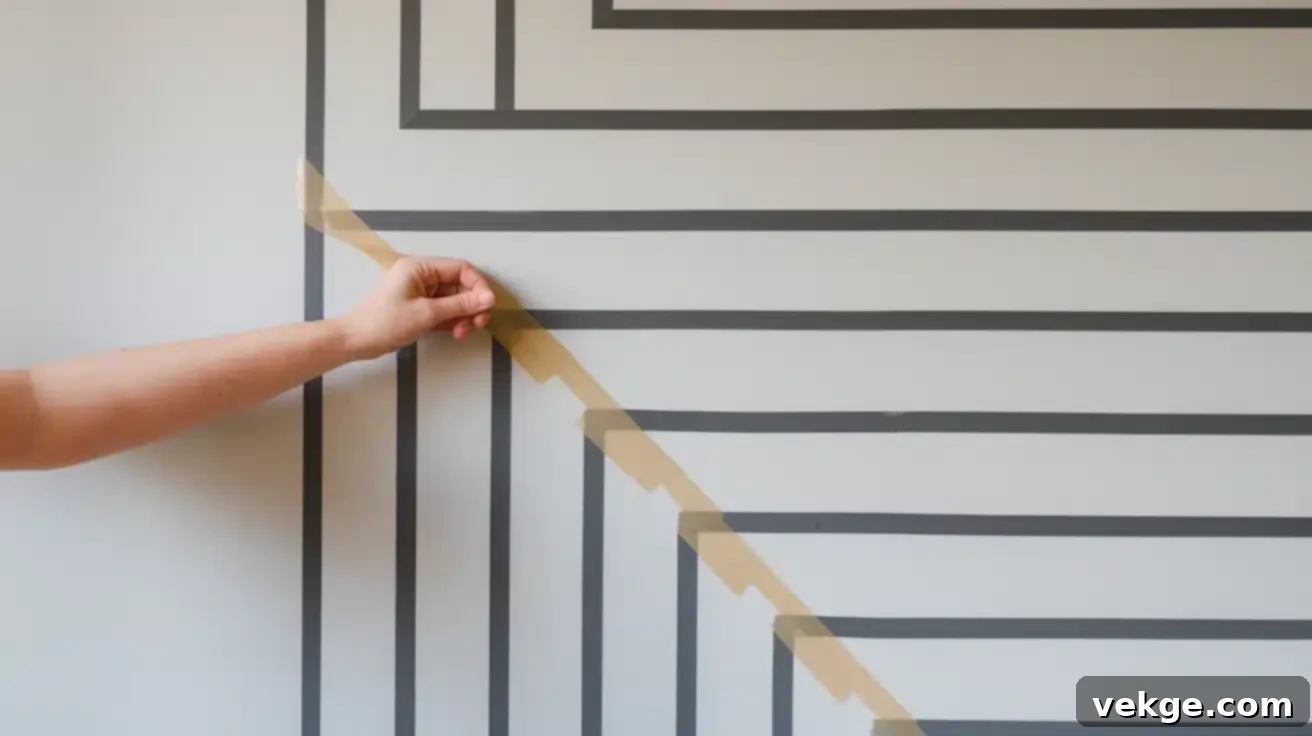
Timing is everything for tape removal. For the cleanest, sharpest lines, remove the painter’s tape while the paint is still slightly damp but not wet enough to smudge. If the paint dries completely, it can form a skin over the tape, causing the paint to peel along with the tape. Gently pull the tape at a slow, consistent 45-degree angle away from the painted surface. After the paint has fully cured (this can take several hours to a day), meticulously inspect your geometric wall for any small imperfections, such as minor bleeds or uneven spots. Small artist brushes or cotton swabs can be used with a touch of base wall color or accent color to meticulously fix any minor errors, ensuring a flawless final result.
Troubleshooting Common Issues During Your DIY Project
Even with careful planning, minor issues can arise. Knowing how to address them can save your project:
- Paint Bleeding Under Tape: This is a common problem and almost always occurs when the painter’s tape isn’t properly sealed. To prevent this, after applying the tape, run a putty knife or credit card firmly along all edges to create a tight seal. A pro tip: paint a thin layer of your base wall color (the color of the wall underneath the tape) over the tape edges first. Let it dry. If any bleeding occurs, it will be with the base color, creating a seal that the accent color can’t penetrate.
- Uneven or Wavy Lines: This often results from stretching the tape during application or not using a level consistently. To maintain better control and prevent stretching, cut long pieces of tape into smaller, manageable sections. Always re-check your lines with a level multiple times before painting. A laser level can provide perfectly straight lines across long distances.
- Color Differences Between Sections: If different sections of the same color appear inconsistent, it usually means the paint wasn’t thoroughly mixed or you applied an uneven number of coats. Always stir your paint thoroughly before and during use. Ensure you apply the same number of coats (e.g., two or three) to every section of that particular color for uniform opacity and hue.
A List of 5 Inspiring Geometric Wall Design Ideas
1. Dynamic Two-Tone Diagonal Stripes
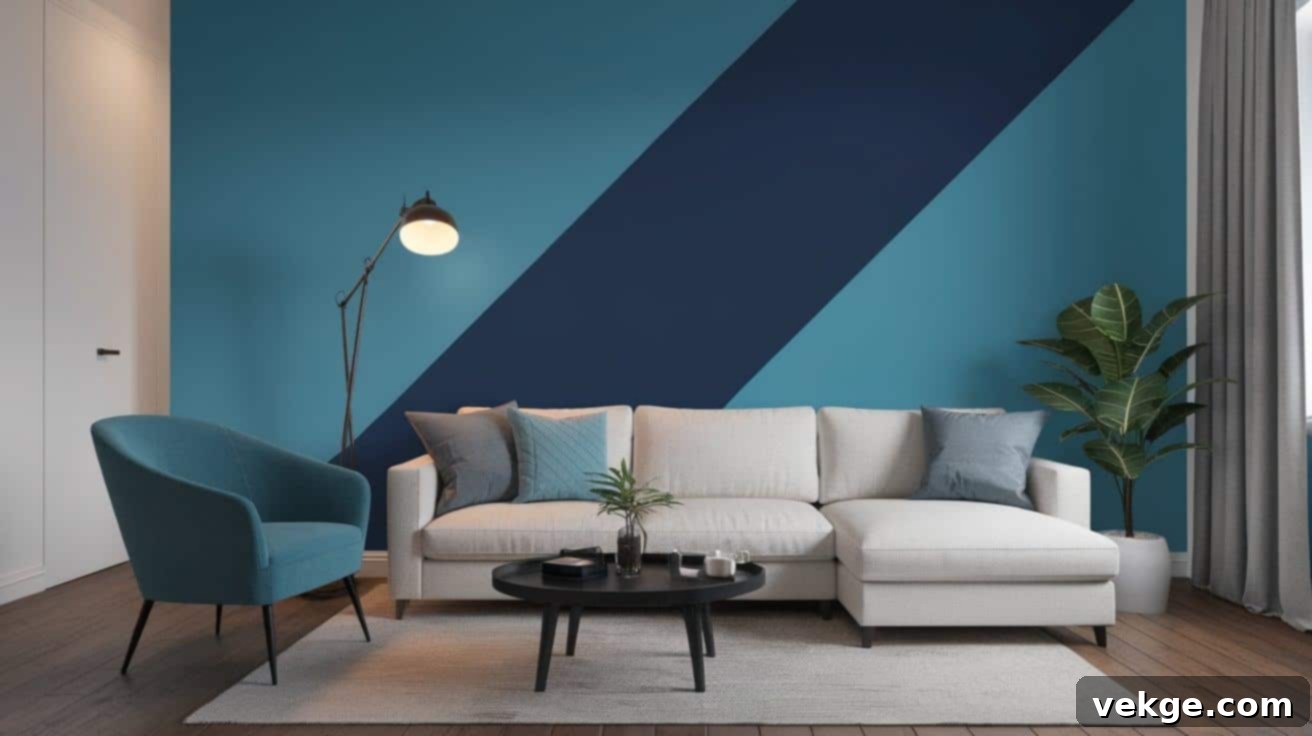
Inject contemporary elegance and vibrant energy into your space with bold diagonal stripes. Choosing two complementary shades, perhaps a soft gray and a crisp white, or a deep navy and a lighter blue, creates a modern and visually dynamic effect. This design is exceptionally versatile, perfect for energizing living rooms, home offices, or hallways that benefit from a clean, yet striking aesthetic. The diagonal lines naturally draw the eye, making the room feel more expansive and engaging.
2. Grand Oversized Hexagon Patterns
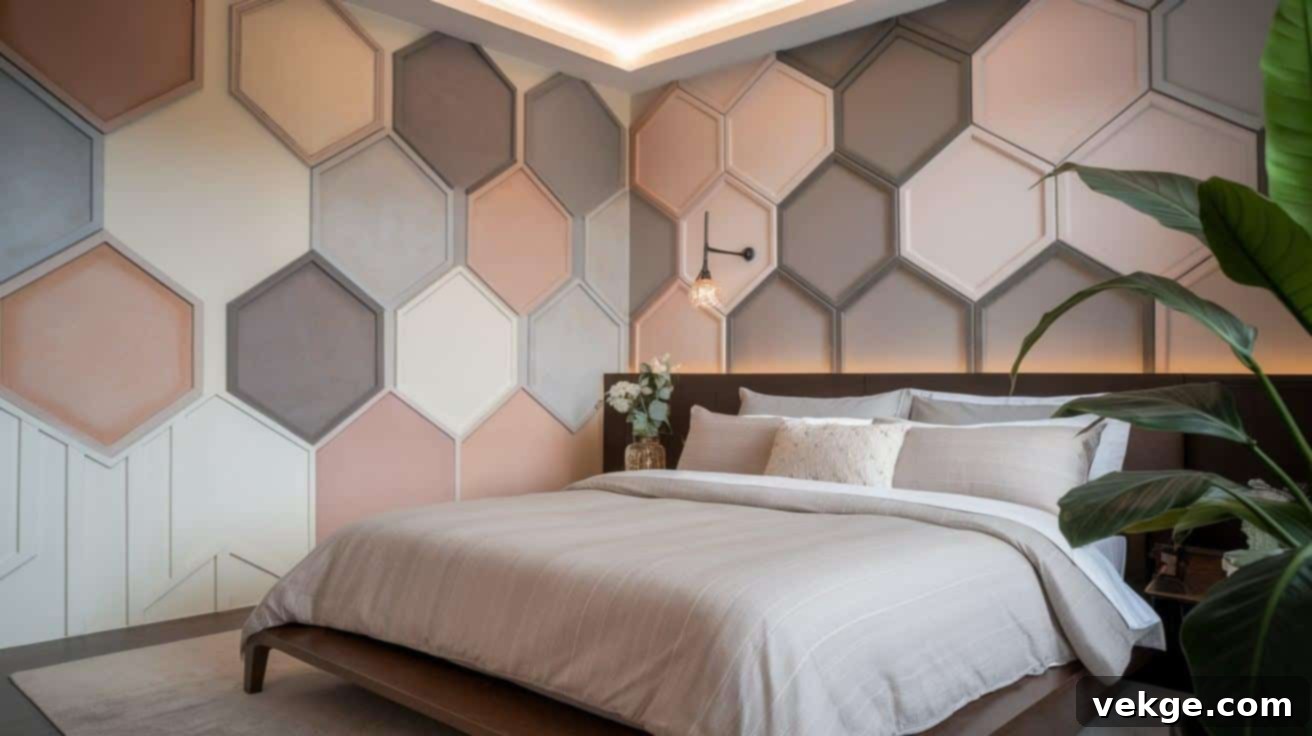
Oversized hexagon patterns instantly impart a sense of modern dignity and architectural interest to any accent wall. The six-sided shape offers a pleasing geometric balance that feels both contemporary and timeless. When rendered in neutral tones like soft creams, light grays, or subtle pastels, these hexagons create a sophisticated backdrop that works beautifully in bedrooms, dining areas, or even spacious entryways. The large scale ensures the design makes a statement without overwhelming the room, providing a calming yet chic visual texture.
3. Captivating 3D Cube Illusion
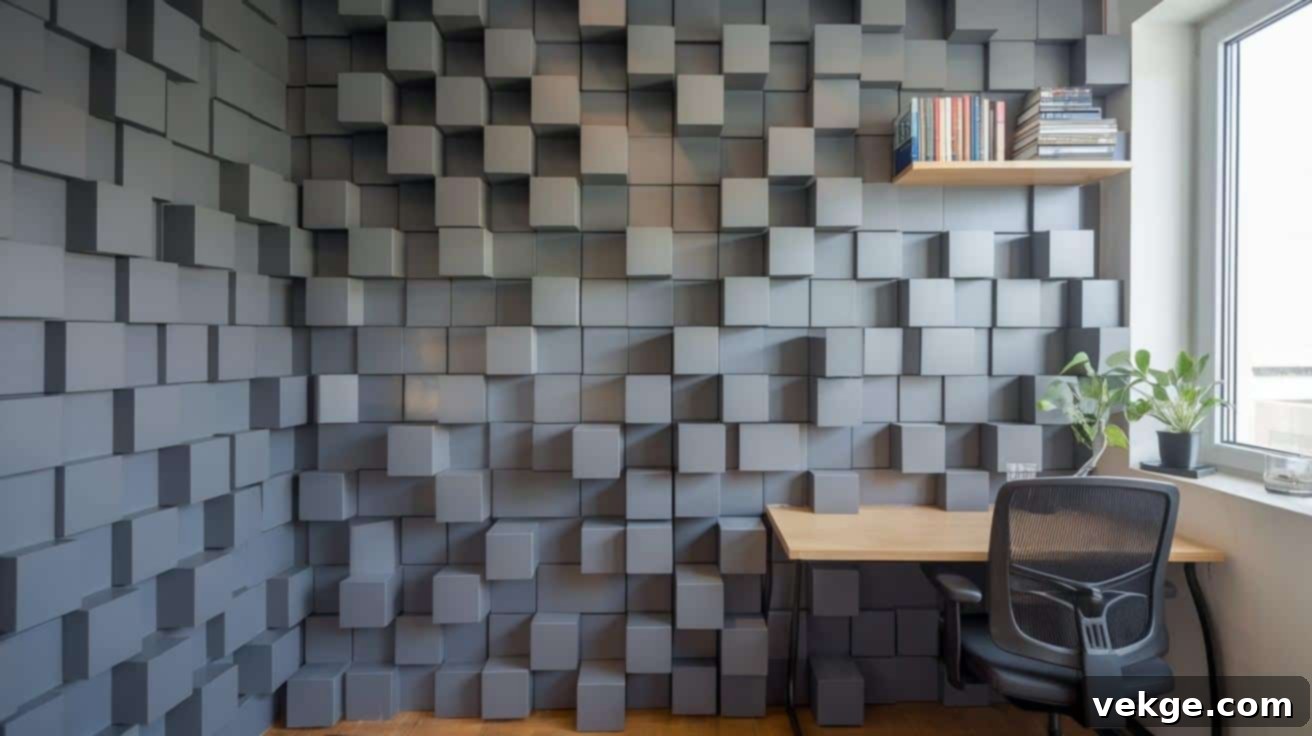
For a truly mesmerizing effect, consider the 3D cube illusion. This clever design technique employs three distinct shades of the same color—a light, a medium, and a dark tone—to create a powerful optical illusion of depth and three-dimensionality. It makes the cubes appear to pop out from the wall, adding incredible architectural interest. This design is particularly impactful in smaller spaces like home offices, reading nooks, or even a powder room, where it can add a unique, eye-catching dimension and a touch of playful sophistication that sparks conversation.
4. Playful Asymmetrical Triangles
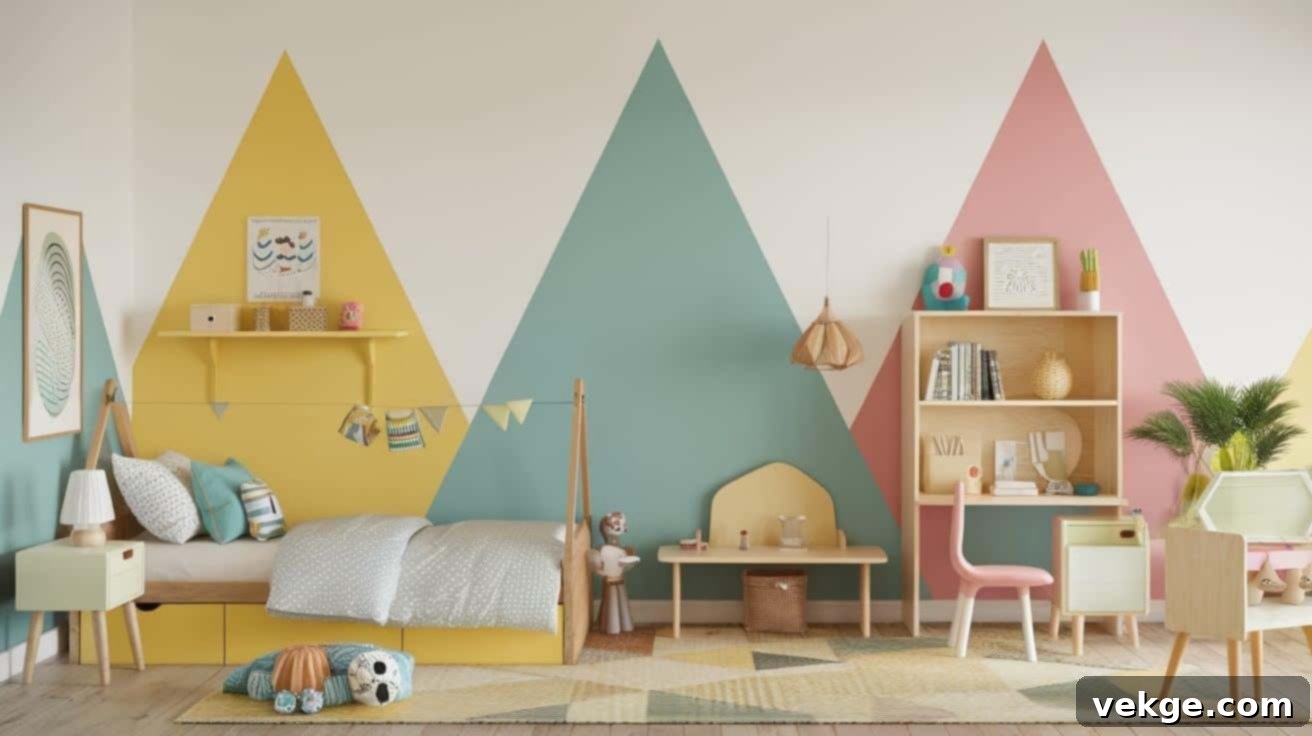
Embrace a spirit of creativity and fun with asymmetrical triangles. This dynamic design features triangles of varying sizes and orientations, often painted in a vibrant palette, to create a lively and energetic focal point. The lack of rigid symmetry adds a playful, modern edge that can transform any room into an exciting visual landscape. This design excels in kids’ rooms, playrooms, or creative studios, offering a modern, fun, and stimulating aesthetic that encourages imagination and joy.
5. Serene Circular Geometry Mix
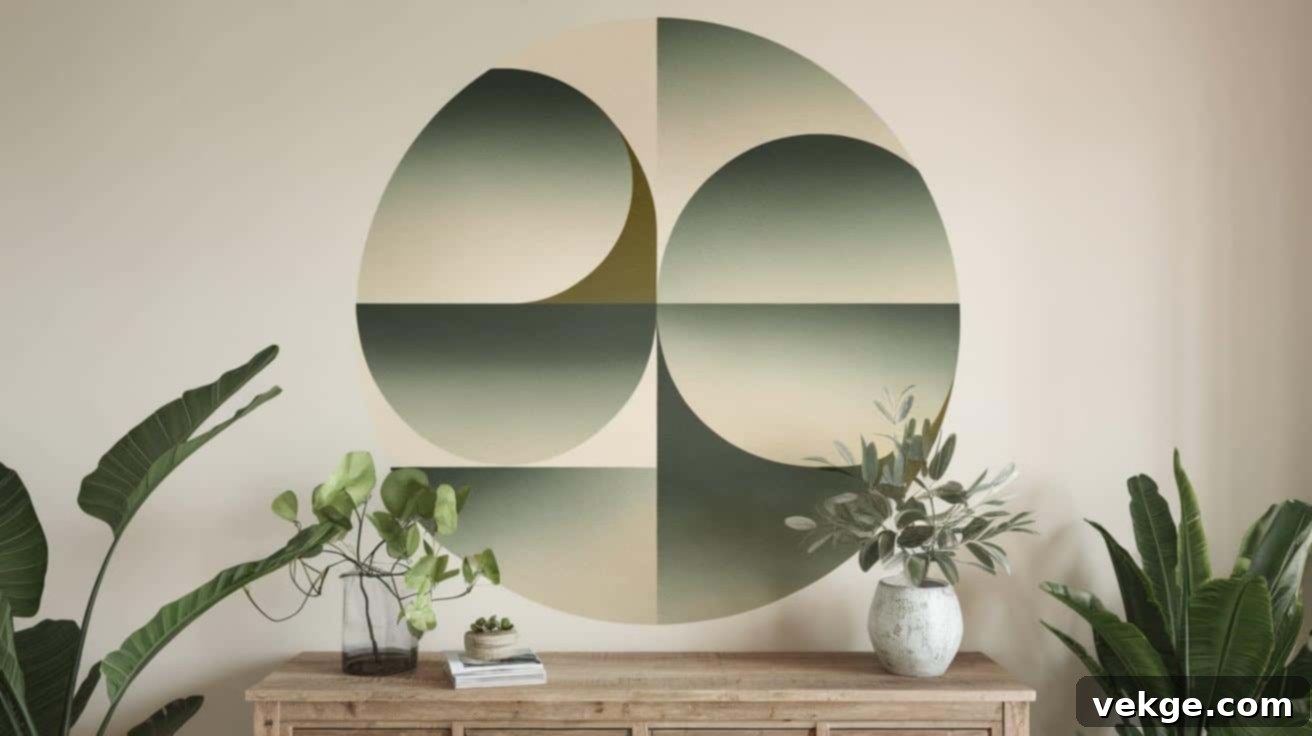
Break away from linear patterns with the softness and fluidity of circular geometry. This design features concentric circles, overlapping rings, and curved shapes, often rendered in a palette of soft, gradient tones. The gentle curves and subtle color transitions create a relaxing, yet visually engaging effect that feels both modern and organic. This pattern is ideally suited for entryways, dining rooms, or living areas where you desire to create a welcoming, harmonious, and sophisticated atmosphere that encourages calm and conversation.
Maintaining the Beauty of Your Geometric Wall
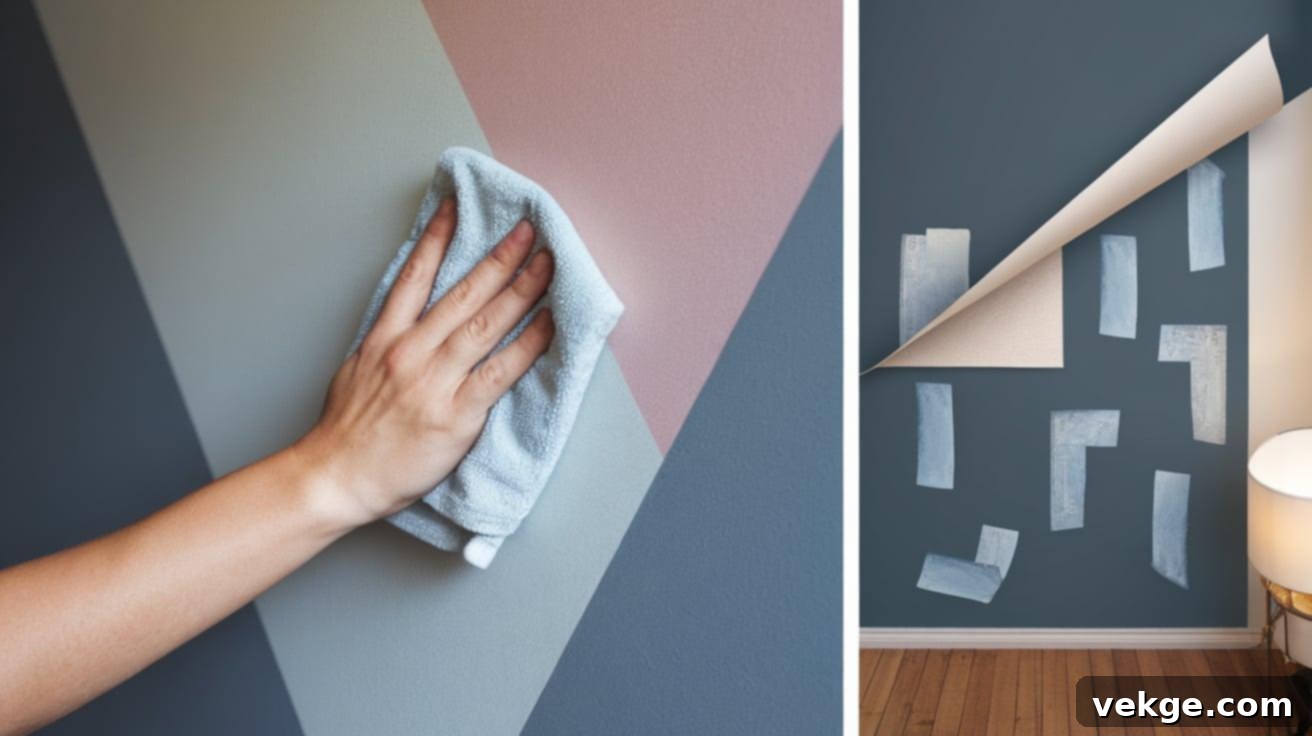
Once your geometric wall design is complete, proper maintenance is key to preserving its beauty and longevity. For paint-based designs, regular cleaning is essential to keep the colors vibrant and the lines crisp. Use a soft, microfiber cloth lightly dampened with mild soap and water to gently wipe away dust, smudges, and minor marks. Avoid abrasive cleaners or harsh scrubbing, as these can damage the paint finish and color.
The specific cleaning method for your painted wall will largely depend on the paint finish used:
- Flat/Matte Paint: This finish offers a sophisticated, non-reflective look but is more delicate. It typically requires only very gentle spot cleaning with a barely damp cloth. Excessive rubbing can cause burnishing or sheen changes.
- Eggshell/Satin Paint: These finishes offer a slight sheen and are more durable than flat paint. They can withstand light scrubbing and are generally easier to clean, making them a practical choice for higher-traffic areas.
- Semi-Gloss/Gloss Paint: Highly durable and reflective, these finishes are the easiest to clean and stand up well to regular washing with soap and water, making them ideal for kitchens, bathrooms, or children’s rooms.
If you used wallpaper, future removal will depend on its type. Peel-and-stick versions are designed for easy removal; simply pull a corner at a gentle angle to lift it cleanly from the wall, usually without leaving residue or damage. Traditional, pre-pasted, or non-pasted wallpapers, however, often require a wallpaper removal solution or a steamer to loosen the adhesive. Always test any removal product in an inconspicuous area first to ensure it doesn’t harm the wall underneath.
For stunning wood accent walls, maintenance is relatively simple. Regular dusting with a microfiber cloth is usually sufficient to keep it looking pristine. Additionally, it’s a good practice to periodically check for any loose pieces of wood or trim, perhaps every few months, and re-secure them promptly with adhesive or small finishing nails to prevent further damage or detachment.
Budgeting and Project Planning for Your Geometric Wall
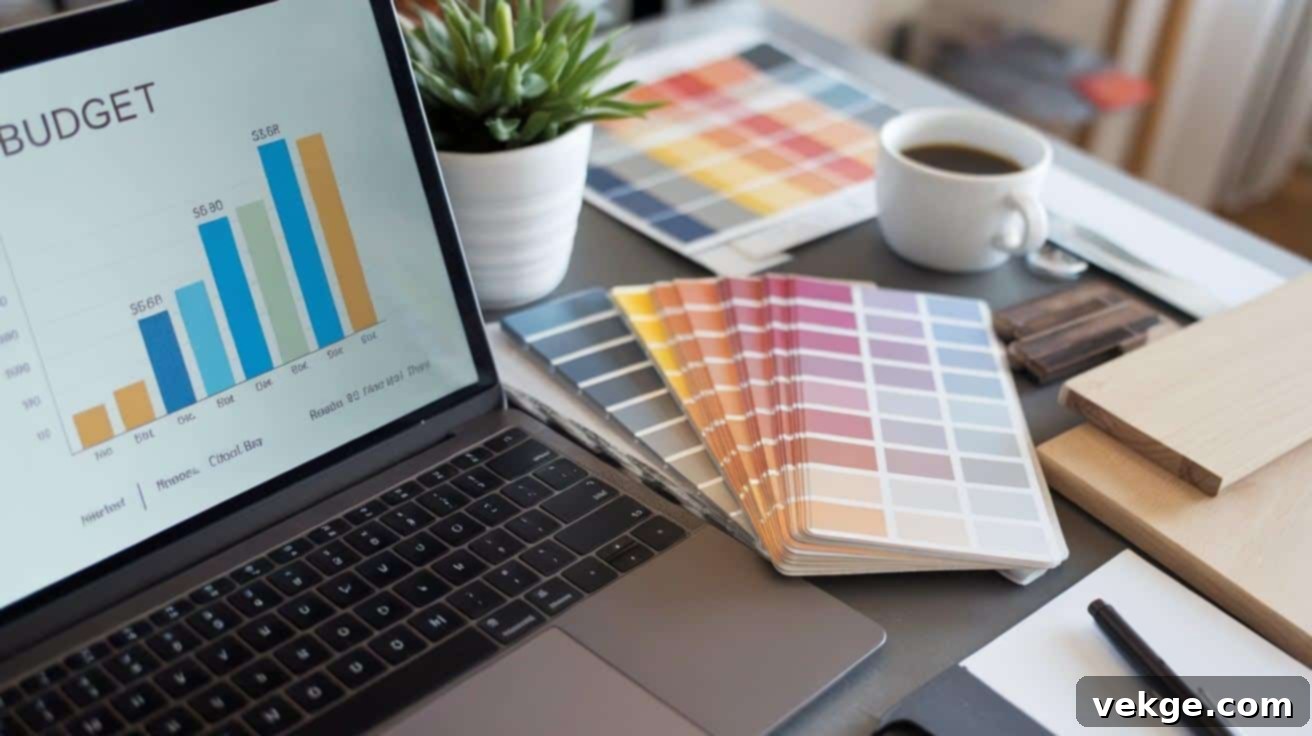
1. Detailed Cost Estimates
Accurate budgeting is crucial for a smooth project. Here’s a more detailed breakdown of potential costs:
| CATEGORY | ITEM | COST ESTIMATE (Approximate) |
|---|---|---|
| PAINT PROJECTS | 1. Paint (per gallon, high-quality) | $30–$60 |
| 2. Painter’s Tape (per roll, various widths) | $5–$15 | |
| 3. Brushes and Rollers (quality set) | $20–$50 | |
| 4. Basic Tools (level, measuring tape, spackle, drop cloths) | $30–$60 | |
| Total for a single accent wall: | $85–$185 (excluding primer if needed) | |
| WALLPAPER PROJECTS | 1. Standard Wallpaper (per square foot) | $1–$3 |
| 2. Designer/Specialty Patterns (per square foot) | $5–$15 | |
| 3. Installation Tools (smoother, utility knife, paste brush/roller) | $25–$60 | |
| Total for a single accent wall (e.g., 100 sq ft): | $125–$1560 (depending on paper choice) |
Note: These are estimates and can vary based on brand, region, and specific material choices. Remember to factor in primer, sandpaper, and potential repair materials for wall prep.
2. Effective Time Management
Efficient time management can significantly reduce stress and improve project outcomes. Most geometric wall projects can be broken down into these manageable phases:
- Planning and Design Conception: 2-4 hours (sketching, app usage, color selection)
- Wall Preparation: 2-3 hours (cleaning, patching, sanding, priming; allow drying time between steps)
- Pattern Layout & Taping: 2-4 hours (precise measuring, marking, and tape application)
- Painting or Installation: 4-8 hours (actual painting/wallpapering, including drying time for multiple coats)
- Finishing Touches & Cleanup: 1-2 hours (tape removal, minor touch-ups, tidying up)
Breaking the project into smaller, focused tasks prevents overwhelm and minimizes errors. Whenever possible, plan your work during daylight hours, as natural light provides the best visibility for color accuracy and precise line work. Also, consider recruiting a friend to help with larger walls or complex patterns, as an extra pair of hands can make a significant difference.
3. Utilizing Planning Tools for Success
To keep your project on track, embrace simple yet effective planning tools. A basic checklist, detailing each step from preparation to cleanup, is invaluable. Write down every task and check it off as you complete it; this provides a clear sense of progress and ensures no critical steps are missed.
Leverage technology to streamline your design process. Many smartphone and tablet applications are available to assist with pattern design, color selection, and even virtual room previews. Apps like “ColorSnap” by Sherwin-Williams or “Room Planner” allow you to experiment with different looks before committing to paint. Many popular options offer free versions that are more than sufficient for basic planning and visualization.
Embracing Eco-Friendly and Sustainable Options
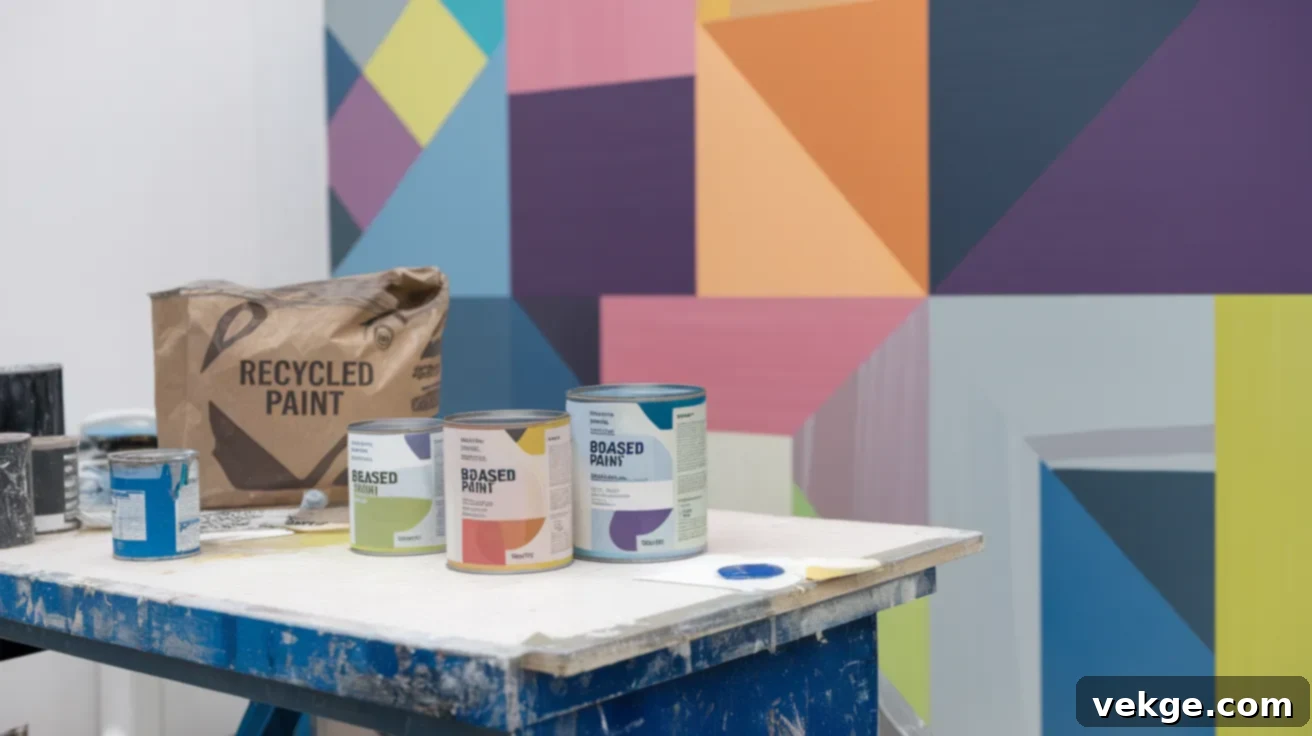
As environmental awareness grows, incorporating sustainable choices into your home decor projects has become increasingly important. When creating your geometric wall, there are several ways to make eco-conscious decisions without compromising on style or quality.
Sustainable Materials for Your Project
Opting for water-based paints is a significant step towards a more eco-friendly project. These paints are formulated with fewer volatile organic compounds (VOCs) and solvents, meaning they release significantly fewer harmful chemicals and odors into the air, both during and after application. This contributes to healthier indoor air quality for your family and pets.
Furthermore, actively seek out paint brands that demonstrate a commitment to sustainability, particularly those utilizing recycled packaging. Many forward-thinking companies are now packaging their paints in containers made from post-consumer recycled materials, reducing waste and supporting a circular economy. Some even offer paints made with recycled content.
Prioritizing Low VOC Products for Health and Environment
The choice of low VOC paints is paramount for protecting indoor air quality. VOCs are chemicals emitted as gases from various solids or liquids, and they can have adverse short-term and long-term health effects. Using low VOC products drastically reduces the emission of these compounds, which can help prevent common issues like headaches, nausea, and respiratory irritation that can occur during and after painting. This is especially important for households with children, elderly individuals, or those with respiratory sensitivities.
Beyond synthetic options, the market for natural paint alternatives has expanded and improved dramatically. Modern clay and milk-based paints, for instance, offer excellent coverage, a beautiful matte finish, and minimal environmental impact. These paints are often made from renewable resources and contain natural pigments, providing a truly sustainable and non-toxic option for your geometric wall design, without sacrificing performance or aesthetic appeal.
Final Thoughts on Your Geometric Wall Journey
Creating a geometric wall design is more than just a decorating project; it’s a deeply rewarding endeavor that allows you to infuse your living space with personality, modern style, and a sense of unique artistry. With a diverse array of options ranging from simple, elegant painted patterns to intricate, textural wood installations, there is undoubtedly a method that perfectly aligns with your DIY skills, aesthetic vision, and financial budget.
The key to a successful project lies in careful planning, selecting high-quality materials, and approaching each step with patience and attention to detail. Remember, the ultimate success of your geometric wall often depends less on having perfect, professional-level skills and more on your willingness to be meticulous, take your time, and enjoy the creative process.
Feeling inspired and ready to embark on your geometric wall project? We encourage you to start with a design that feels manageable, perhaps in a smaller room or on a less prominent wall, to build your confidence. Document your progress with photos, and don’t be afraid to make small adjustments or correct minor imperfections along the way. Every DIY journey involves learning, and your unique touches will only add to the character of your finished wall.
We are incredibly excited to see your geometric wall creations come to life! Please share your photos, experiences, and any innovative tips you discovered in the comments section below. Your inspiring stories and beautiful designs can serve as a wonderful source of motivation for others in our community who are eager to try their hand at this transformative home decor trend.
Frequently Asked Questions (FAQs) About Geometric Wall Designs
What Type of Wood is Best for a Geometric Accent Wall?
For creating a geometric accent wall with wood, lightweight and easily workable materials like plywood, MDF (Medium-Density Fiberboard), or even common pine furring strips are highly recommended. These materials are cost-effective, readily available, and can be easily cut, shaped, and installed by DIYers. They also take paint or stain exceptionally well, allowing you to perfectly match them to your desired color scheme and existing decor. For a more rustic or natural look, reclaimed wood or thin wood planks can also be used, but may require more advanced cutting and finishing techniques.
How Can I Create a Geometric Wall Design Without Painting?
If painting isn’t an option or preference, there are several fantastic alternatives to achieve a stunning geometric wall. You can utilize adhesive wallpaper or peel-and-stick murals that come in a vast array of geometric patterns and colors, offering quick and mess-free installation. Removable vinyl decals are another excellent choice, allowing you to create custom patterns with ease. For added texture and a three-dimensional effect, consider installing lightweight wood panels, decorative wall tiles (like self-adhesive foam or PVC panels), or even fabric panels cut into geometric shapes. These methods are particularly ideal for renters or those who enjoy frequently changing their decor without permanent alterations.
Can Geometric Wall Designs Be Effectively Used in Small Spaces?
Absolutely, geometric wall designs are remarkably effective in small spaces and can even make them feel larger and more open. The key is strategic pattern and color selection. In confined areas, opt for subtle patterns with clean lines and lighter, more muted colors. Designs that draw the eye upwards (like vertical stripes or patterns with a strong vertical emphasis) can make ceilings appear higher. Conversely, patterns that expand horizontally can make a narrow wall seem wider. Avoid overly busy or high-contrast patterns in small rooms, as these can sometimes make the space feel more cramped. A well-chosen geometric design in a small room adds depth, character, and a sophisticated touch without overwhelming the space.
