Craft Your Perfect Display: The Ultimate Guide to Building a DIY Magnetic Board
Imagine walking into a room where every loose note, important reminder, and cherished photo has its own designated spot – neatly arranged and easily accessible. No more scattered papers or forgotten memos. This organized dream can become your reality with a custom magnetic board. Far more than just a functional item, a DIY magnetic board offers a canvas for your creativity and a practical solution for decluttering any space.
Building your own magnetic board might sound like a challenging task, but rest assured, it’s a rewarding project well within your reach. This comprehensive guide will walk you through every step of the process, transforming what seems complex into a straightforward and enjoyable endeavor. From selecting the ideal materials to assembling a sturdy frame and adding personalized touches, we cover everything you need to know.
You’ll discover which metals offer the strongest magnetic pull, learn how to construct a robust frame that complements your décor, and uncover techniques to ensure your board looks professionally finished and perfectly integrated into any room. Whether you’re a complete beginner looking for a simple project or a seasoned DIY enthusiast ready for a more intricate build, this guide offers tailored advice and detailed instructions.
By the time you finish reading, you’ll possess all the essential knowledge and confidence required to create a truly useful, aesthetically pleasing, and highly durable magnetic board. Get ready to enhance your home or office with a personalized organizational tool that reflects your style and keeps your important items in plain sight.
Understanding Magnetic Boards: Your Custom Organization Solution
What Is a Magnetic Board?
At its core, a magnetic board is a versatile home and office accessory that combines a metal surface with a supportive frame, typically made of wood. It serves as an interactive display area where magnets can hold notes, photos, artwork, and other lightweight items. Its adaptable design makes it suitable for a multitude of environments, from a bustling home office or a creative playroom to a functional kitchen or a vibrant classroom.
Unlike traditional cork boards, magnetic boards offer a clean, pin-free solution, preventing damage to your cherished items. They can be mounted on any wall, providing an instant visual hub to showcase collections, keep track of daily tasks, or simply create an ever-changing display of inspiration and memories. The beauty of a DIY board lies in its ability to be perfectly tailored to its intended use and location.
Benefits of Crafting Your Own Magnetic Board:
- Significant Cost Savings: Crafting your own magnetic board is considerably more budget-friendly than purchasing a pre-made one from a retail store. You can procure all necessary materials, such as sheet metal and lumber, from common home improvement centers, local hardware stores, or specialized metal supply shops, often at a fraction of the cost. These savings can be substantial, especially for larger boards or if you plan to make multiple units.
- Complete Customization and Personalization: The DIY approach grants you unparalleled creative control. You get to select every detail to perfectly match your space and aesthetic preferences. This includes:
- Precise Sizing: Design a board that perfectly fits a specific wall area, whether it’s a small nook or a large accent wall.
- Wood Finish: Choose from a wide array of stains, paints, or natural finishes to complement your existing furniture and décor.
- Frame Style: Opt for a sleek modern frame, a rustic reclaimed wood look, or a classic profile to align with your interior design.
- Hardware Placement: Decide on the optimal position for hanging hardware, ensuring stability and ease of installation in your chosen spot.
- Unique Features: Add shelves, hooks, or integrated lighting for enhanced functionality.
- A Fulfilling Personal Project: Beyond the practical benefits, building a magnetic board is a deeply satisfying personal project. It allows you to express your creativity and develop new skills. These personalized boards are ideal for a myriad of uses, including:
- Showcasing Collections: Display magnets, postcards, or small souvenirs from your travels.
- Children’s Artwork: Proudly exhibit your kids’ drawings and crafts without using tape or damaging walls.
- Office Organization: Keep important documents, to-do lists, and reminders visible and organized.
- Kitchen Convenience: Hold recipes, grocery lists, or meal plans right where you need them.
- Craft Room Tidiness: Organize small tools, fabric swatches, or inspiration notes for your creative endeavors.
- Study Aids: Create interactive learning tools or vision boards for personal goals.
Materials and Tools Required for Your DIY Magnetic Board

Before you begin your project, gathering the right materials and tools is crucial. Thoughtful selection will ensure your magnetic board is not only functional but also durable and aesthetically pleasing.
1. Magnetic Materials: The Core of Your Board
Sheet Metal Selection:
- Galvanized Steel: This is unequivocally the best choice for magnetic boards. Galvanized steel is highly magnetic, allowing magnets to adhere strongly, and its zinc coating provides excellent resistance to rust and corrosion, ensuring longevity.
- Important Note on Aluminum: Absolutely avoid aluminum. Despite its metallic appearance, aluminum is a non-ferromagnetic metal, meaning magnets will not stick to it. Using aluminum will render your magnetic board useless.
- Recommended Gauge: A 16-gauge galvanized steel sheet (approximately 1/16-inch or 1.6mm thick) offers an ideal balance of strength, rigidity, and manageability. Thicker gauges (e.g., 14-gauge) are even sturdier but heavier and harder to cut, while thinner gauges (e.g., 20-24 gauge) are lighter and easier to work with but may be more prone to bending or warping, especially for larger boards. You can typically purchase these sheets cut to size from metal supply stores or hardware stores.
2. Framing Materials: Defining Your Board’s Look
Wood Options for Your Frame:
- 1×4 Boards (10ft length): These are excellent for creating a substantial and robust frame, offering a classic look. Common wood types like pine are affordable and easy to work with. For a more premium finish, consider oak or maple.
- 1x2x6 Wood Strips: Ideal for a more minimalist or sleek frame design. These lighter strips are good for smaller boards or if you prefer a less bulky aesthetic.
- Pre-made Frames: For beginners or those seeking to save time and effort, purchasing a pre-made picture frame is an excellent option. Ensure the frame is deep enough to accommodate the metal sheet and any backing material. You might need to remove the glass and original backing.
- Reclaimed Wood: For a rustic or unique aesthetic, consider using reclaimed wood. Just ensure it’s structurally sound and free from excessive warping or pests.
3. Additional Supplies: The Finishing Touches
Screws for Assembly:
- 3/4-inch Pan Head Screws: These are perfect for attaching the metal sheet to the wooden frame. The pan head provides a wider surface area for a secure hold without countersinking, and the shorter length prevents them from piercing through the front of the frame.
- 1-1/4 inch Kreg Screws (or equivalent wood screws): Essential for constructing the frame itself, especially if using a Kreg Jig for pocket holes. If opting for corner braces, standard wood screws of appropriate length will suffice.
Hardware for Stability and Hanging:
- Corner Braces: Metal corner braces provide significant structural integrity to your frame, reinforcing the joints. They are particularly useful if you’re not using pocket holes.
- Heavy-duty Picture Hangers: Since magnetic boards, especially larger ones with a steel sheet, can be quite heavy, invest in hangers rated for at least 75 pounds. D-rings or sturdy wire hangers are good options. For very large boards, a French cleat system offers superior support.
- Cardboard Backing: If you’re using a pre-made frame, a piece of sturdy cardboard or thin plywood can be useful as a backing layer behind the metal sheet, providing extra stability and ensuring the metal sits snugly.
- Wood Glue: For extra strong frame joints, apply wood glue before screwing the pieces together.
4. Tools Needed: Your Workshop Essentials
Essential Tools:
- Miter Saw or Regular Hand Saw: For precise, clean cuts on your wood framing pieces. A miter saw offers unparalleled accuracy for angle cuts, which are crucial for snug frame corners.
- Power Drill/Driver: Indispensable for pre-drilling pilot holes and driving screws quickly and efficiently.
- Tape Measure: For accurate measurements of your metal sheet and wood pieces – “measure twice, cut once!”
- Clamps: Essential for holding wood pieces securely in place while you cut, drill, or assemble, ensuring stability and safety.
- Screwdriver Set: For manual adjustments or if you prefer hand-tightening.
- Sandpaper: Various grits (e.g., 120-grit for initial shaping, 220-grit for a smooth finish) for preparing your wood frame.
- Safety Glasses: Always wear these when cutting, drilling, or sanding to protect your eyes from debris.
Optional Tools for Enhanced Quality and Ease:
- Kreg Jig: This specialized tool allows you to create “pocket holes,” which are angled screw holes that result in incredibly strong and hidden joints for your frame, giving it a very clean, professional look.
- Power Sander: Speeds up the sanding process significantly, especially for larger frames or if you want a very smooth finish.
- Awl or Center Punch: Useful for marking precise screw locations on both wood and metal, preventing drill bits from slipping.
- Stud Finder: Crucial for safely mounting heavy boards by locating wall studs.
- Level: Ensures your board hangs perfectly straight on the wall.
Choosing the Right DIY Magnetic Board Project for You
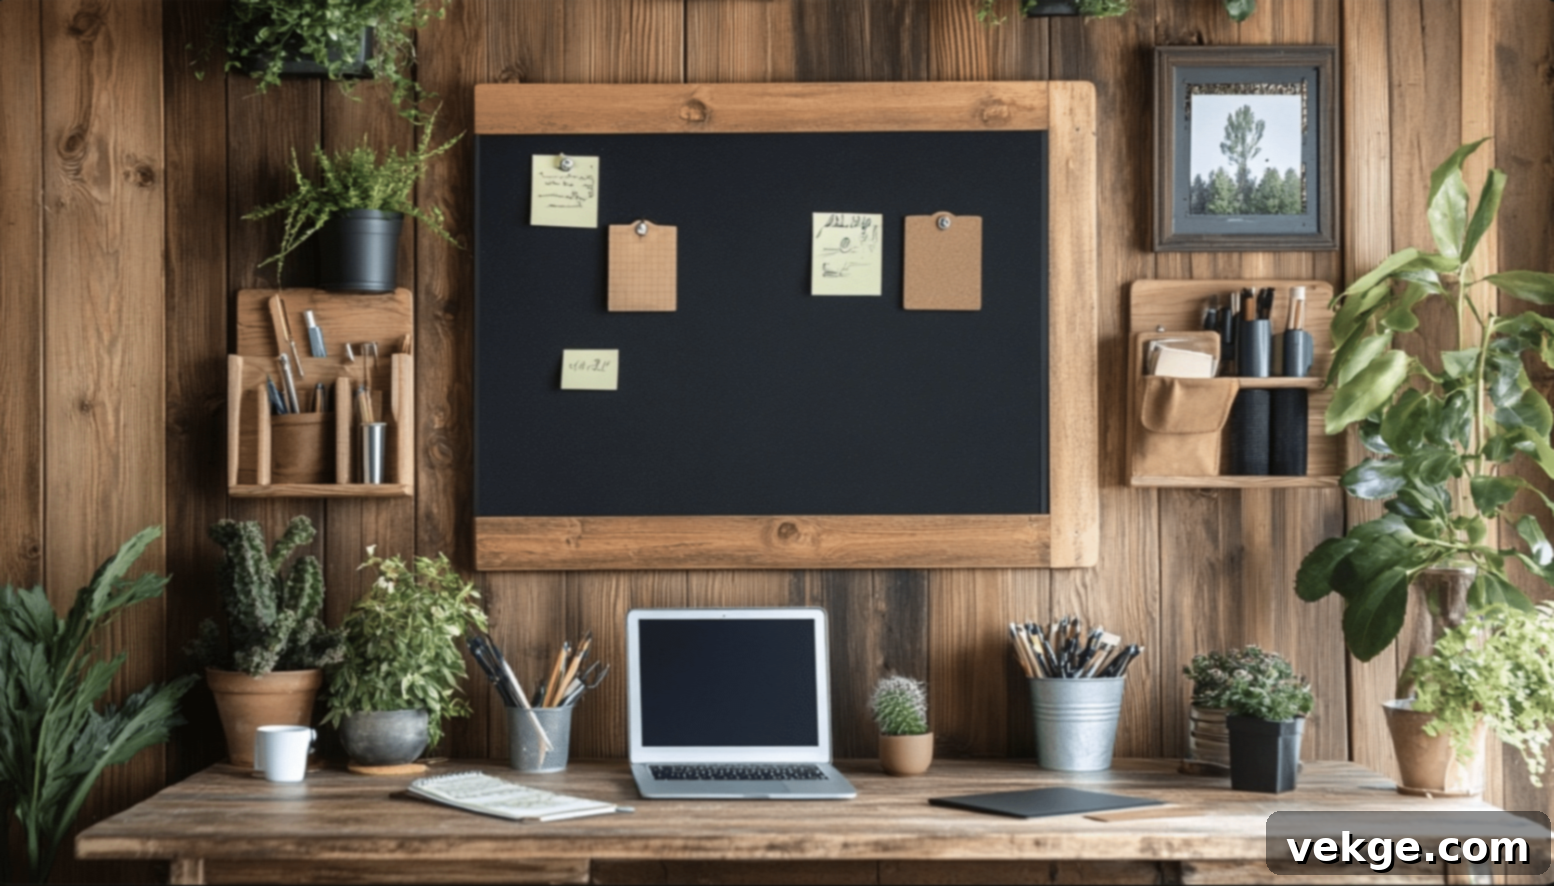
The beauty of a DIY project is its adaptability. Depending on your current skill level, the tools you have available, and your desired outcome, a magnetic board can range from a quick, simple assembly to a more detailed, custom build. Taking a moment to consider these factors will help you choose the most suitable approach for your first (or next) magnetic board.
If you’re new to DIY projects or have limited tools, starting with the pre-made frame method is highly recommended. This approach significantly reduces the number of cuts and assembly steps required, making it an excellent entry point. You simply adapt an existing frame to hold your metal sheet, saving time and simplifying the process. It’s a fantastic way to gain confidence before tackling more complex builds.
For more skilled builders, or those looking to expand their woodworking abilities, making a custom frame from scratch offers greater design freedom. You can opt for sturdy corner braces for visible reinforcement or use a Kreg Jig to create hidden pocket holes for a seamless, professional finish. These methods require more specialized tools and a bit more time, but they provide ultimate control over the board’s dimensions, strength, and aesthetic.
Beyond your skill level, consider the intended placement and purpose of your board. A magnetic board for a child’s room, for instance, needs to be exceptionally secure, mounted at a lower height for easy access, and perhaps designed with rounded edges for safety. An office board, on the other hand, might prioritize size and robust construction to hold numerous documents, or feature integrated shelves for supplies. A kitchen board could benefit from moisture-resistant finishes and proximity to prep areas.
Your personal style and existing decor are also vital considerations. Do you prefer the raw, industrial look of exposed metal framed by natural wood, a modern minimalist design with a sleek painted frame, or a rustic farmhouse appeal with distressed wood? The choice of wood, finish, and frame thickness will all contribute to the overall aesthetic. Don’t hesitate to experiment with different paints, stains, or even decorative molding to truly match your room’s ambiance.
Lastly, always factor in your budget. A basic board utilizing a pre-made frame will naturally cost less in terms of materials and tools. Building a frame from scratch, while potentially costing more upfront due to tool purchases (like a miter saw or Kreg Jig), can be a worthwhile investment if you plan to undertake multiple DIY projects in the future. Remember that the long-term value of a custom-built, durable item often outweighs the initial cost differences.
The size of your designated space will also guide your choice. Small apartments or tight wall sections might benefit from compact boards made with standard pre-made frames. Larger walls or specific functional requirements, such as a full-sized display for a craft room, will likely necessitate a custom-sized board that you build yourself, allowing for precise dimensions and optimal use of space.
A Step-by-Step DIY Guide to Building Your Magnetic Board
STEP 1: Gather Your Supplies and Plan Your Design
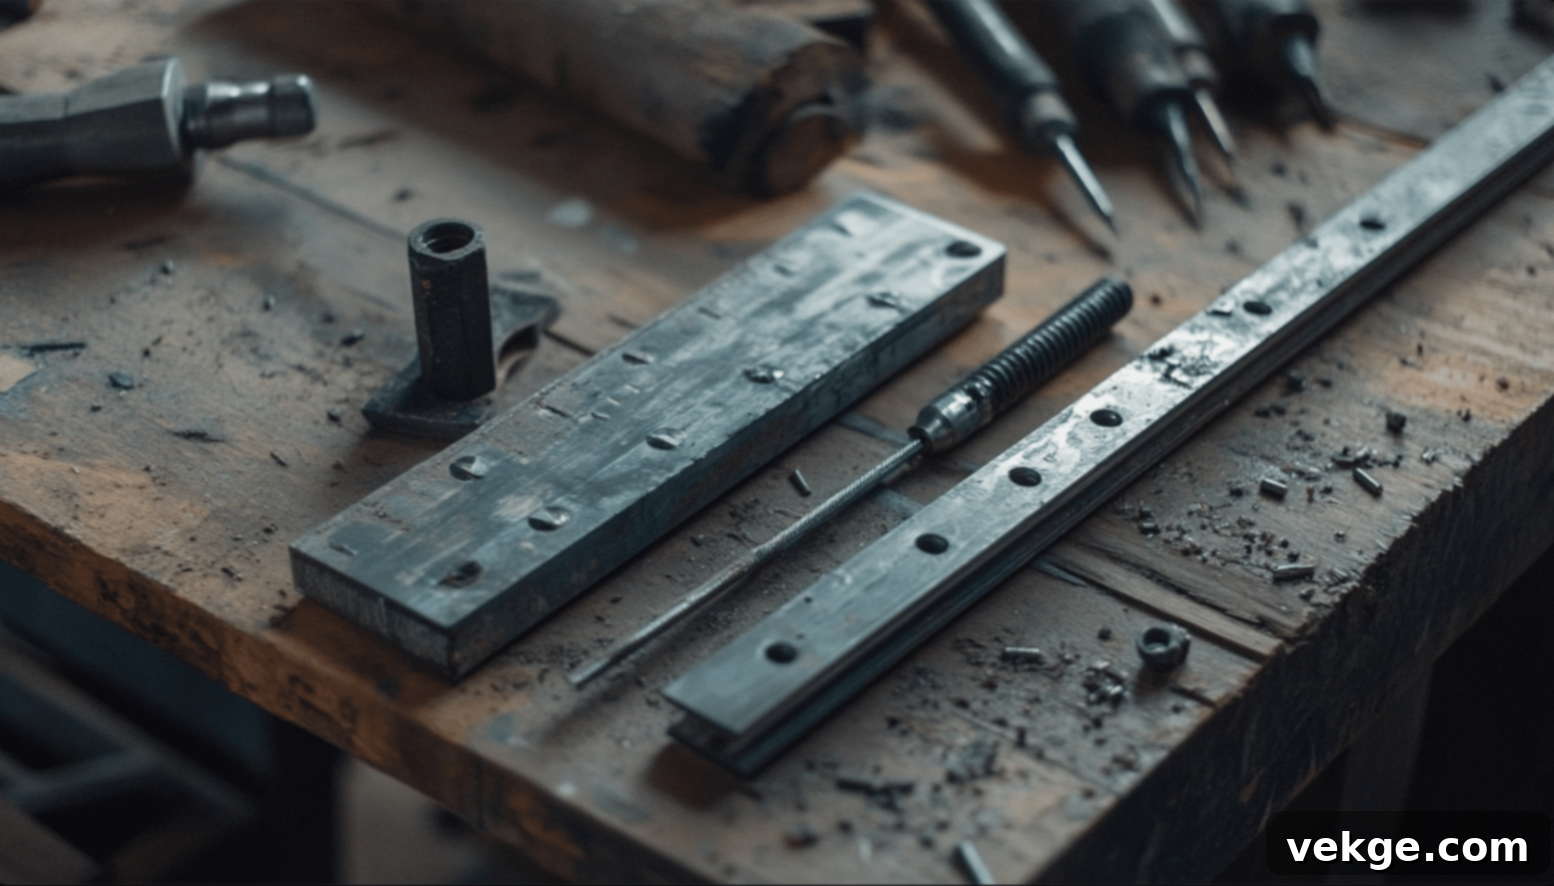
Before any cutting or assembly begins, a meticulous planning phase is essential. First, decide on the exact dimensions of your desired magnetic board. This will dictate the size of your galvanized steel sheet and the length of your wood framing pieces. Remember, the metal sheet will form the active display area, and the frame will surround it.
Make a comprehensive list of all required materials: your chosen galvanized steel sheet, the specific wood for your frame (e.g., 1×4 pine boards), the appropriate screws (3/4-inch for metal, 1-1/4 inch for the frame), and heavy-duty picture hangers. Since magnetic boards can accumulate significant weight with magnets and items, always opt for hangers rated for at least 75 pounds to ensure safe and secure mounting. Don’t forget your essential tools: a reliable drill, a saw (miter saw for precision), a tape measure, clamps, and sandpaper. Double-check your measurements and gather everything in your workspace before proceeding.
STEP 2: Prepare Your Frame Pieces with Precision
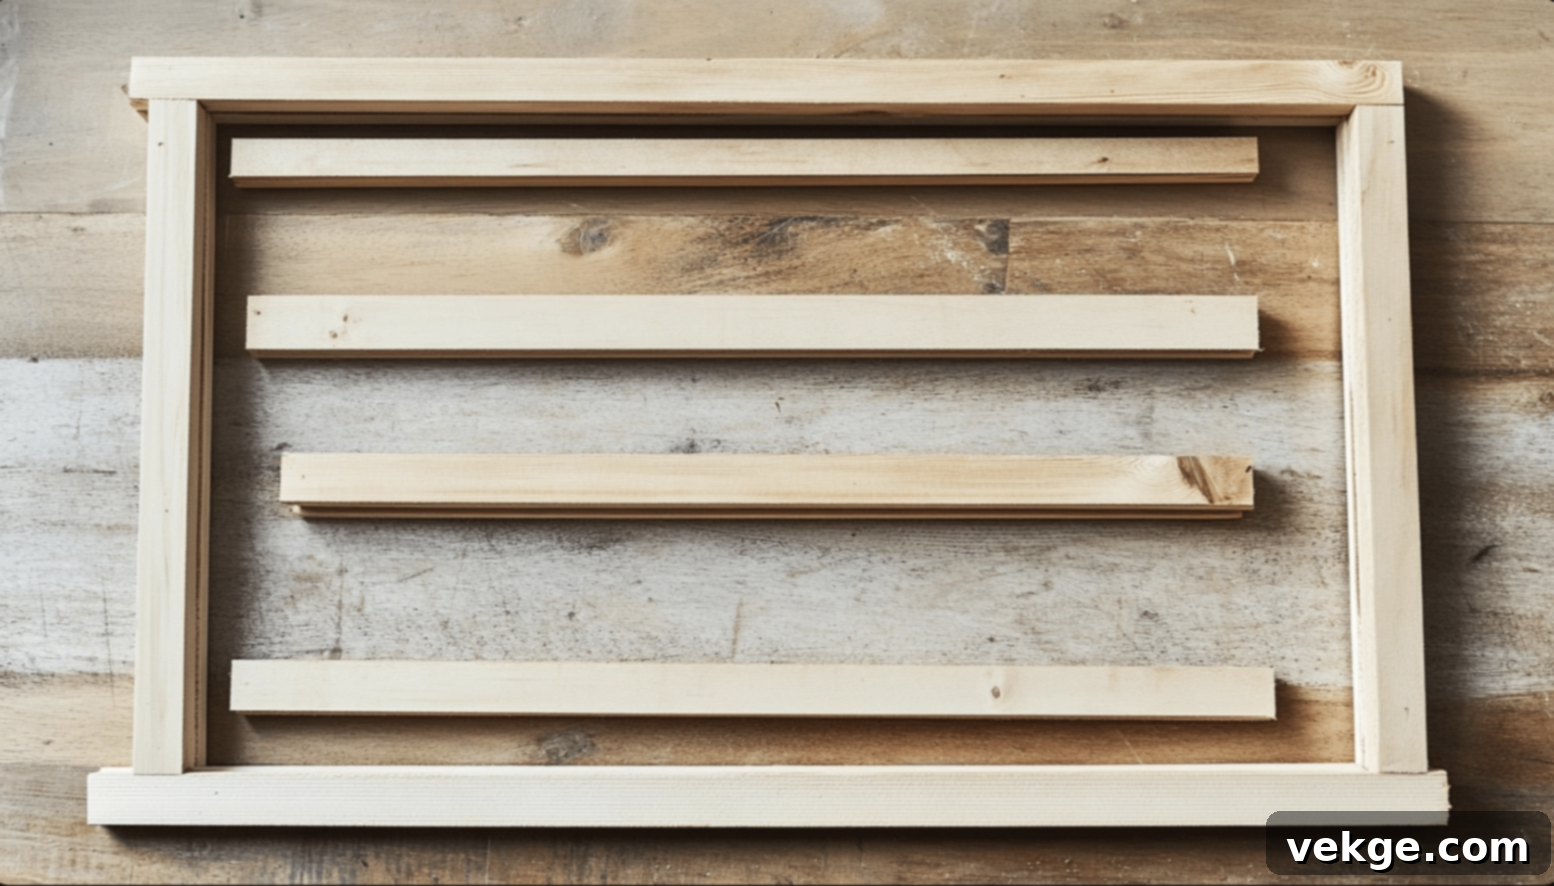
This step focuses on cutting and refining your wood frame components. Using your pre-determined measurements, carefully cut your wood boards to size. You’ll need two pieces that match the length of your metal sheet and two pieces that match its width. For a professional finish, consider cutting the ends at a 45-degree miter angle, which creates seamless, strong corner joints when assembled. If mitering is too complex, straight butt joints reinforced with corner braces are a perfectly viable alternative.
Once cut, sand all the wood pieces thoroughly. Start with a medium-grit sandpaper (around 120-grit) to smooth any rough edges or imperfections, then follow with a finer grit (220-grit) for a silky-smooth finish. This not only prevents splinters but also prepares the wood beautifully for staining or painting. Before moving on, lay out all the pieces and dry-fit them together to ensure they form a perfect rectangle and all joints align snugly.
STEP 3: Assemble the Frame with Strength
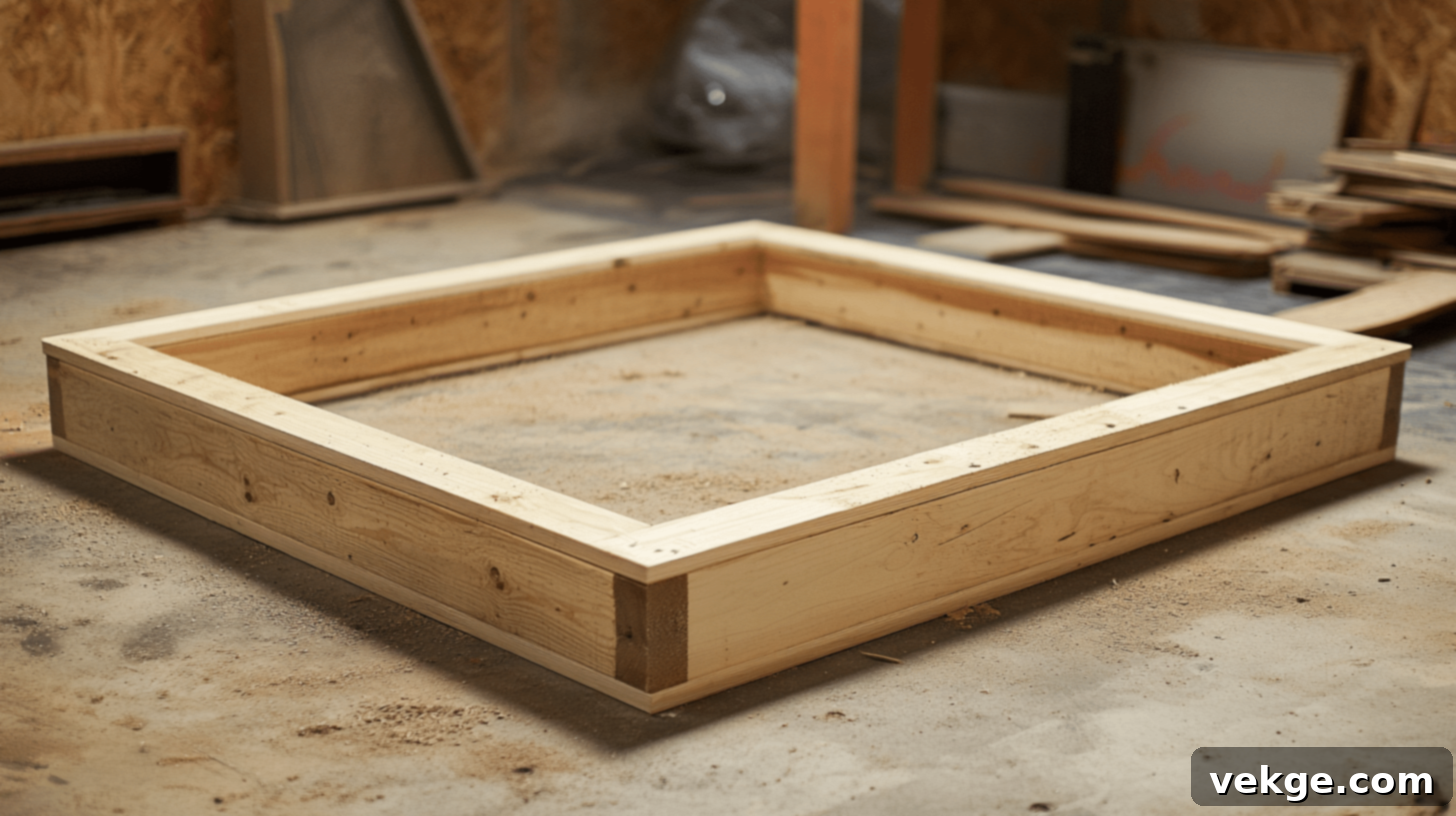
Now it’s time to bring your frame together. You have a couple of primary options for joining your frame pieces, each offering distinct advantages. If you’re using corner braces, position them securely at each corner on the back of the frame. Mark your screw spots precisely with an awl, then drill small pilot holes to prevent the wood from splitting as you drive in the screws. Ensure the corners are perfectly square using a carpenter’s square before tightening everything down.
Alternatively, for a cleaner, hidden joint, use a Kreg Jig to create pocket holes. Drill the pocket holes on the underside or back edge of the frame pieces, then apply wood glue to the joint surfaces before clamping and driving in the Kreg screws. Whichever method you choose, make sure your joints are tight and flush. Wood glue, applied before screwing, will significantly enhance the strength and longevity of your frame.
STEP 4: Securely Integrate the Metal Sheet
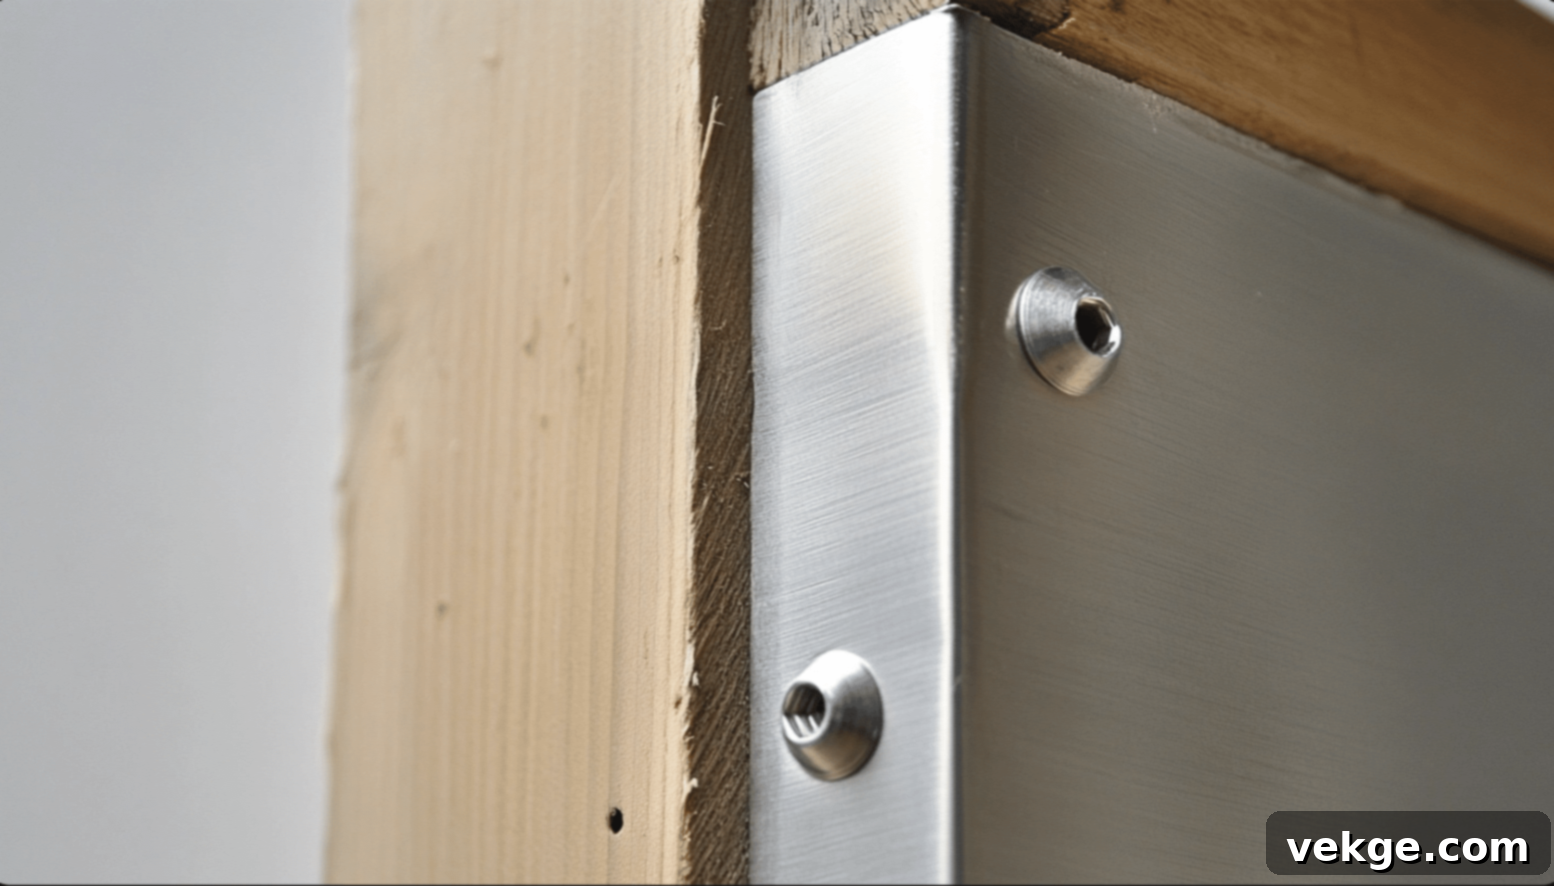
With your frame assembled, it’s time to add the magnetic surface. Carefully place your galvanized steel sheet onto the back of the wooden frame, ensuring it is centered and flush with the frame’s edges. Use clamps if necessary to hold it firmly in position. This step requires precision to ensure a flat and stable surface.
Next, mark the locations where you will attach the screws. Start with the four corners, approximately 1 inch from each edge, then add additional marks every 6-8 inches along all sides. Before driving the screws, it is crucial to drill pilot holes through the metal sheet first. Use a drill bit specifically designed for metal (or a general-purpose bit for thin metal) that is slightly smaller than your screw’s diameter. After drilling through the metal, continue drilling into the wood frame, but be careful not to drill all the way through to the front of the frame. This prevents the metal from warping and makes screw insertion much easier.
STEP 5: Finalize the Attachment and Ensure Stability
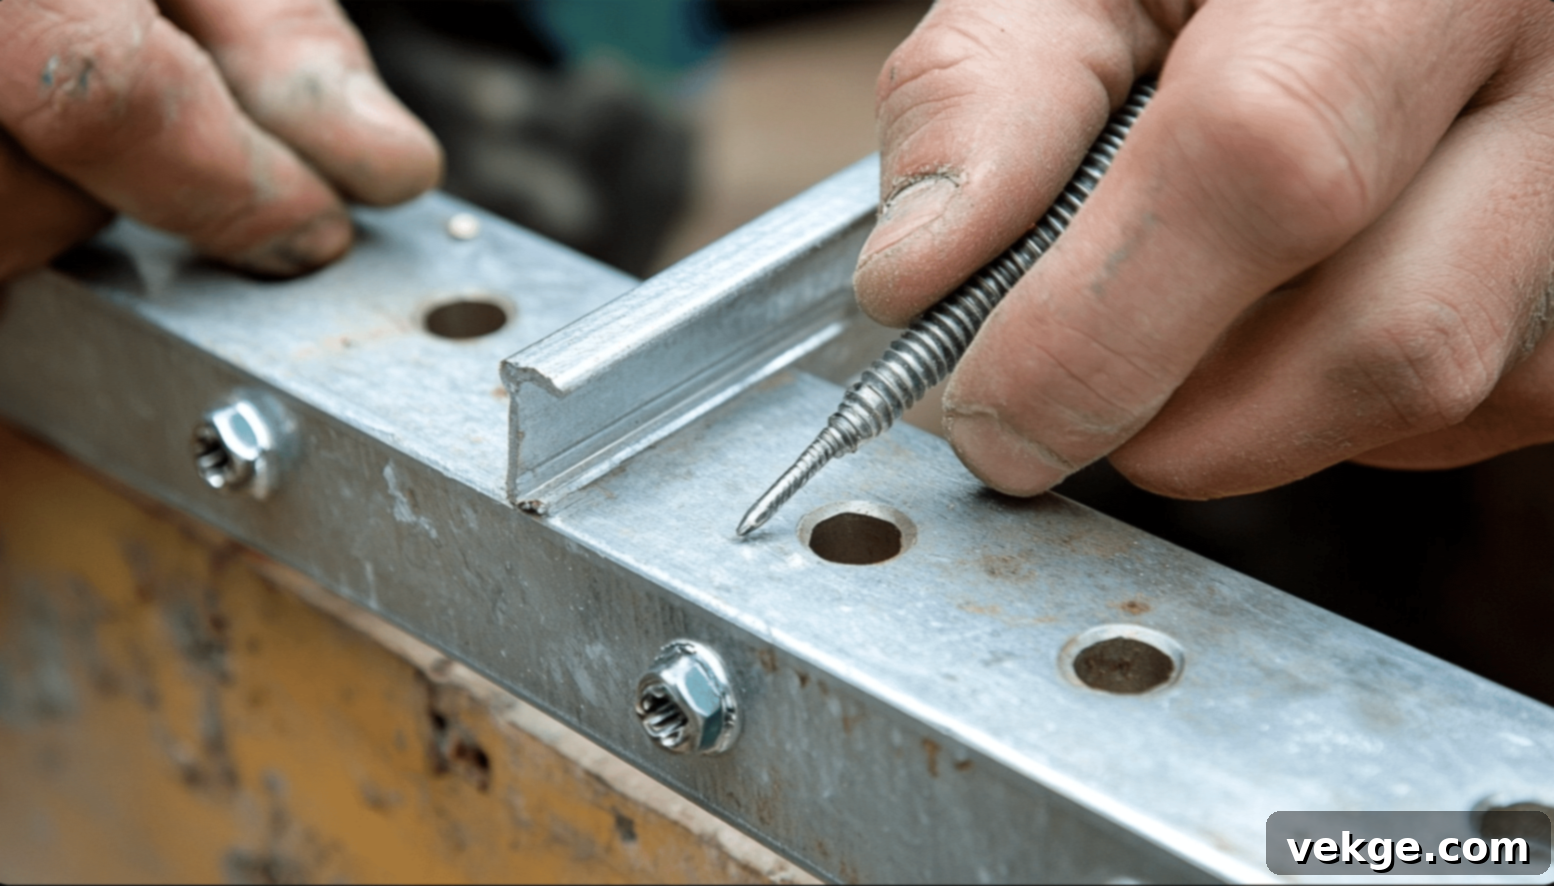
Once all your pilot holes are drilled, it’s time to fully secure the metal sheet to the frame. Using your 3/4-inch pan head screws, carefully drive them through the pre-drilled holes in the metal and into the wooden frame. Work your way around the entire perimeter of the board, spacing the screws evenly to maintain consistent pressure. This even distribution is key to keeping the metal perfectly flat and preventing any bowing or warping. Be mindful not to over-tighten the screws, as this could potentially bend the metal or strip the wood. A snug fit is sufficient. A final check to ensure all edges are flush and the metal surface is firm will complete this step.
STEP 6: Add Robust Hanging Hardware
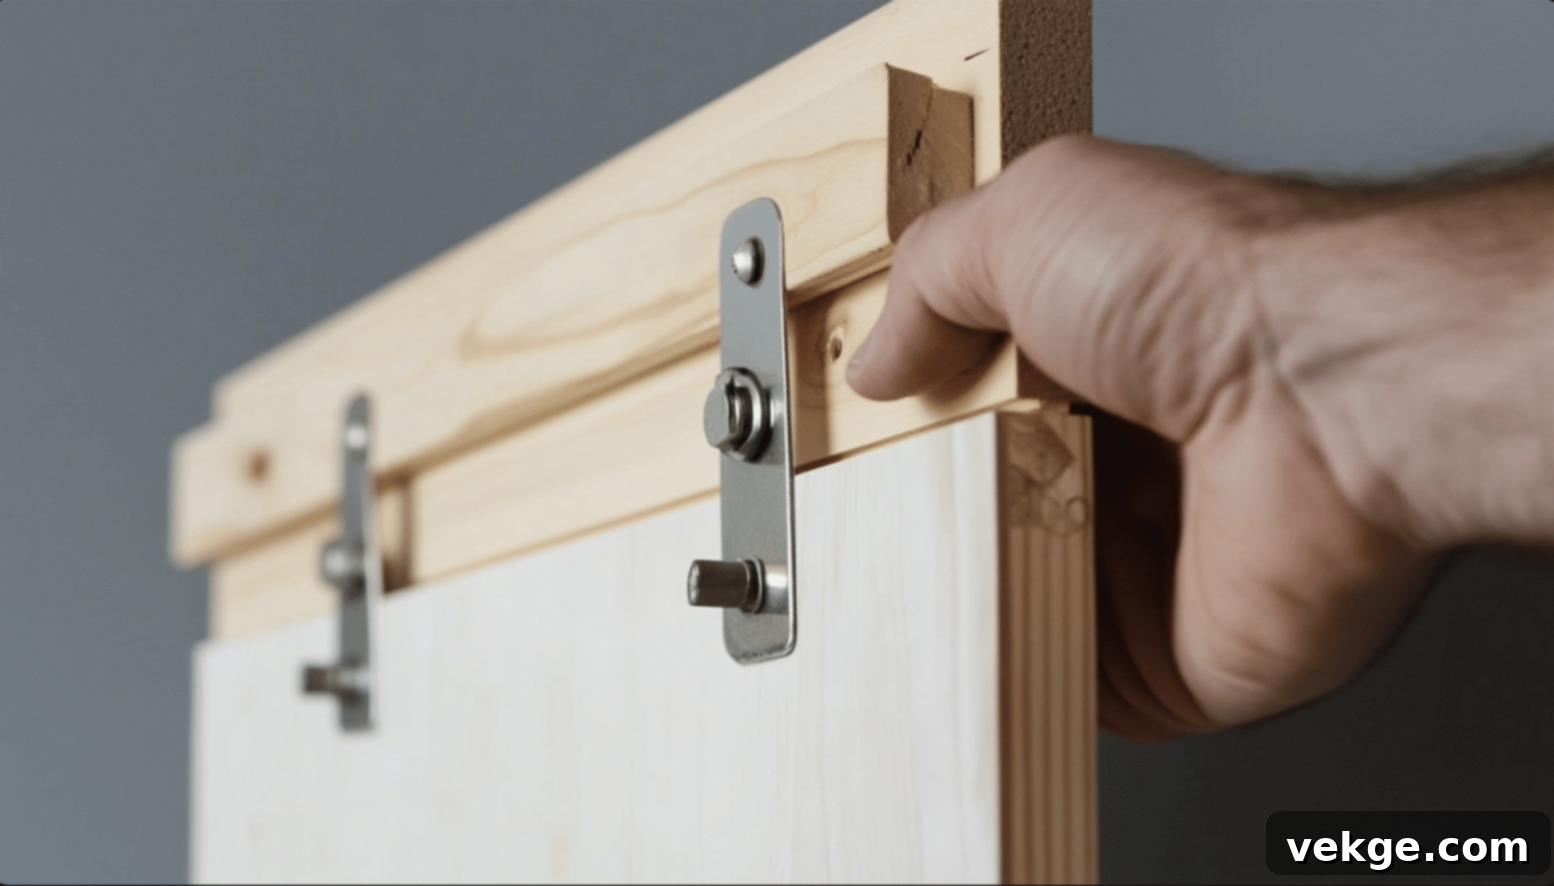
The final assembly step is to attach the hanging hardware to the back of your newly constructed magnetic board. Given the potential weight of a finished board (especially a larger one made with steel), robust hardware is non-negotiable for safety. Position your heavy-duty picture hanger(s) on the top back edge of the frame, ensuring it is perfectly centered for balance. Use a level to guarantee a straight hang.
For larger or heavier boards, it is highly recommended to use two hangers, placed equidistant from the center. This distributes the weight more evenly across the frame and makes the board more stable when hung. Mark your screw holes, drill pilot holes (if necessary for the hanger’s screws), and then securely attach the hardware. Double-check that all screws are firmly in place. Your custom DIY magnetic board is now ready for its grand debut!
Video Tutorial for Visual Learners
For a detailed visual guide and additional tips, check out this insightful video tutorial by the CKLN Family on YouTube.
Customization and Personalization: Make It Uniquely Yours
One of the most exciting aspects of building a DIY magnetic board is the limitless potential for customization. This is where your personal style truly shines, allowing you to create a piece that is not just functional but also a true reflection of your aesthetic preferences.
1. Enhance with Color and Finish:
- Staining: Applying a wood stain is an excellent way to make your frame seamlessly blend with or beautifully contrast your existing room decor. Dark walnut stains offer a rich, classic, and warm look that works well in traditional or modern rustic settings. Lighter stains, like natural oak or clear coats, highlight the wood’s natural grain for a minimalist feel.
- Painting: If you prefer a bolder statement or want to match specific color schemes, painting the frame is ideal. Always remember to sand the wood thoroughly first, then apply a coat of high-quality primer. This ensures proper paint adhesion and a smooth, even finish. After the primer, apply two thin coats of your chosen paint color for optimal coverage and durability. Consider matte, semi-gloss, or high-gloss finishes to achieve different effects.
2. Explore Diverse Frame Styles:
- Classic Simplicity: Plain wood frames, whether stained or painted, offer a timeless appeal that suits many spaces. You can vary the visual impact by selecting different wood types, from affordable pine to elegant cherry or exotic hardwoods.
- Thickness Matters: The thickness (depth and width) of your frame profoundly influences its appearance. Thicker frames (e.g., 1×4 boards) create a more substantial, gallery-like presence, perfect for larger boards or a focal point. Thinner frames (e.g., 1×2 strips) lend themselves to a more modern, delicate, and understated aesthetic.
- Decorative Moldings: For a more ornate or traditional look, consider adding decorative wood molding to the outer edge of your frame. This can elevate the board from simple utility to a piece of architectural interest.
3. Integrate Extra Features for Enhanced Functionality:
- Small Shelves: For office boards, integrated small shelves can be invaluable for holding pens, markers, or even a small plant.
- Hooks: In a kitchen, strategically placed hooks can hold measuring spoons, oven mitts, or keys. In an entryway, they can be perfect for leashes or light coats.
- Clips and Holders: Classroom boards can benefit from small clips to display student work, while craft room boards might feature mini containers for beads or other small supplies.
- Chalkboard/Cork Sections: Combine materials! Integrate a small section of chalkboard paint or corkboard within the frame for additional note-taking or pinning options.
- Integrated Lighting: For a truly sophisticated look, consider adding LED strip lighting behind the frame for a soft glow or small spotlights to illuminate items on the board.
4. Play with Different Sizes and Orientations:
- Compact Boards: Small magnetic boards (e.g., 12×18 inches) are perfect for tight spaces like above a desk for quick notes, next to a phone for messages, or as a small spice rack in the kitchen.
- Medium Boards: Sizes like 24×36 inches fit nicely in children’s rooms for artwork displays or in hallways for family photos and schedules.
- Large Statement Pieces: For offices, craft rooms, or living areas, a large board (e.g., 36×48 inches or even bigger) can serve as a stunning focal point, acting as an expansive idea board, gallery wall, or collaborative workspace.
- Orientation: Decide whether a portrait or landscape orientation best suits your wall space and intended use.
5. Explore Metal Surface Options:
- Raw Metal Look: Keeping the galvanized steel surface plain and exposed provides a modern, industrial, or minimalist aesthetic that can be quite striking.
- Painted Metal: You can paint the metal surface itself using specialized metal-friendly paints. Ensure the paint is thin enough and suitable for magnetic surfaces; thick or heavily textured paints might reduce magnetic adhesion. Rust-preventative paints can also add an extra layer of protection and color.
- Fabric or Wallpaper Overlay: For a unique look, you can adhere a thin layer of fabric or wallpaper over the metal sheet before framing. Choose thin materials that won’t significantly block the magnetic pull. Test a magnet on your chosen material first.
6. Optimal Placement Tips:
- Office Boards: Position them at eye level when seated or standing for effortless readability and access to documents. Consider placing them near your primary workspace.
- Children’s Boards: Mount them lower on walls, where little hands can easily reach and interact with their displayed artwork or learning materials. Ensure it’s very securely mounted.
- Kitchen Boards: Ideal near prep areas or the refrigerator, but keep them away from direct heat sources (like ovens) and excessive moisture to preserve the frame and prevent potential rust.
- Living Areas: Place boards where they can serve as a decorative element, complementing other wall art, or in a high-traffic area for family communication.
Safety and Maintenance: Ensuring Longevity and Safe Use

Building and maintaining your DIY magnetic board safely ensures it remains a functional and beautiful addition to your space for years to come. Adhering to best practices in construction, mounting, and ongoing care is crucial.
1. Safe Building Practices: Prioritizing Your Well-being
- Eye Protection: Always wear safety glasses when cutting wood, drilling metal, or performing any task that might produce flying debris.
- Hand Safety: Keep your hands and fingers clear of saw blades and drill bits. Use clamps to secure workpieces, allowing you to keep your hands at a safe distance.
- Workspace: Work in a well-lit, uncluttered area with ample space to move around. Ensure proper ventilation, especially if painting, staining, or using adhesives.
- Tool Usage: Read and understand the operating manuals for all power tools before use. Never force a tool; let it do the work.
- Metal Edges: Be cautious of sharp edges on the cut metal sheet. Consider filing or sanding them down slightly before assembly, or wear thick gloves.
2. Safe Mounting: Securing Your Investment
- Locate Studs: Whenever possible, hang your magnetic board by screwing directly into wall studs. Use a stud finder to accurately locate them. This provides the most secure anchoring for heavy items.
- Avoid Drywall Anchors (for heavy boards): For heavier magnetic boards, never rely solely on standard drywall anchors. If studs aren’t available, use heavy-duty toggle bolts or molly bolts designed for significant weight loads.
- Check Weight Ratings: Always ensure your chosen hanging hardware (picture hangers, wire, French cleat) is rated for a weight significantly higher than the estimated total weight of your finished board, including a generous allowance for items attached with magnets.
- Use a Level: Always use a spirit level to ensure your board is perfectly horizontal when mounted, preventing an uneven appearance and potential shifting.
3. General Board Care: Keeping It Pristine
- Dusting: Clean your magnetic board regularly with a soft, dry microfiber cloth to remove dust and light smudges.
- Spot Cleaning: For tougher marks or fingerprints on the metal surface, use a slightly damp cloth (with water or a mild, non-abrasive cleaner) and then immediately dry the surface thoroughly to prevent water spots or potential rust.
- Protect Wood: Keep water and excessive moisture away from the wooden frame to prevent warping, staining, or damage to the finish. Use furniture polish on stained frames occasionally.
4. Metal Surface Care: Maintaining Magnetic Power and Appearance
- Rust Prevention: While galvanized steel is rust-resistant, prolonged exposure to high humidity or moisture can eventually lead to rust spots, especially if the protective coating is scratched. If you notice any rust beginning to form, clean and treat the spot immediately with a rust remover and consider applying a clear protective sealant.
- Scratch Prevention: Use magnets with smooth, coated backings to prevent scratching the metal surface. Avoid dragging rough or unpolished magnets across the board.
- Avoid Harsh Chemicals: Do not use abrasive cleaners or steel wool on the metal surface, as this can scratch the finish and compromise its rust resistance.
5. Frame Care: Preserving Structural Integrity
- Joint Inspection: Every few months, visually inspect the frame joints to ensure they remain tight and secure. Look for any widening gaps between the wood pieces or between the metal sheet and the frame.
- Tighten Screws: If you notice any loose joints or wobbling, gently tighten the screws. Avoid over-tightening, which can strip the wood or cause splitting. If a screw hole is stripped, you may need to relocate the screw slightly or use a wood filler.
- Re-finishing: Over time, wood finishes can fade or get scratched. You can re-sand and re-stain or repaint your frame to refresh its look and protect the wood.
6. Common Problems and Troubleshooting: Quick Fixes
- Magnets Not Sticking Well: This usually indicates weak magnets. Invest in stronger magnets, such as neodymium magnets, especially if you plan to hold multiple layers of paper or heavier items.
- Board Tilting or Uneven: Check the hanging hardware and wall anchors. Ensure they are level and securely fastened to the wall. The wall itself might be uneven, requiring shims behind the board.
- Loose Corner Joints: If corner joints become loose, gently re-tighten existing screws. If that doesn’t work, consider adding new, slightly longer screws at a different angle or reinforcing with small corner brackets on the back.
- Metal Warping: If the metal sheet starts to bow, it might be due to uneven screw tension. Loosen all screws slightly, flatten the metal, and then re-tighten them gradually and evenly around the perimeter. Adding more screws (if there are wide gaps) can also help.
Fun Facts Related to Magnets: A World of Invisible Forces

While we use magnets every day for practical purposes like our DIY boards, the world of magnetism is full of fascinating phenomena and historical significance. Let’s explore some intriguing facts:
Fact #1: Earth’s Natural Magnetism
Our entire planet is, in essence, a giant magnet! The Earth’s core, composed mainly of superheated liquid iron and nickel, generates a powerful magnetic field through its convection currents. This colossal natural magnetic field extends far into space, forming a protective shield known as the magnetosphere. This shield is vital for life on Earth, as it deflects harmful charged particles from the sun (solar wind) and cosmic rays, preventing them from stripping away our atmosphere and irradiating the surface. It’s also what makes compasses work, pointing to the Earth’s magnetic north pole.
Fact #2: Ancient Discoveries and Practical Uses
The earliest known discovery of natural magnets dates back over 2,000 years to ancient Greece and China. These naturally occurring magnetic rocks, rich in magnetite, were called “lodestones” (meaning “way stone” or “leading stone”). The Chinese were among the first to harness this property, developing rudimentary compasses for navigation as early as the 4th century BC. Early sailors would float pieces of lodestone on wood in a bowl of water, observing how they consistently pointed in a specific direction, thereby guiding their voyages across vast oceans. This simple invention revolutionized exploration and trade.
Fact #3: Temperature’s Impact on Magnetism
The strength of a magnet is not absolute; it can be significantly affected by temperature. When a magnet is heated beyond a certain point, known as its “Curie temperature,” it permanently loses its magnetic properties. This happens because the intense thermal energy disrupts the alignment of the magnetic domains within the material, causing them to randomize. Different magnetic materials have different Curie temperatures. For instance, common refrigerator magnets have a relatively low Curie temperature compared to stronger neodymium magnets. This phenomenon is why powerful magnets are often used in industrial applications that require temperature control, and why you should generally keep your magnets away from extreme heat sources.
Fact #4: Animals with a Magnetic Sense
The Earth’s magnetic field isn’t just useful for human navigation; many animals possess a remarkable ability called magnetoreception, allowing them to sense and utilize magnetic fields for their own survival. Sea turtles, for example, use the Earth’s magnetic field as a global positioning system, guiding them across thousands of miles of ocean during their epic migrations. Certain bird species, like robins and homing pigeons, have tiny magnetic particles (magnetite crystals) in their beaks or eyes, which act as internal compasses, helping them orient themselves and find their way during long migratory journeys. Other animals, including some fish, insects, and even cows, are believed to have some form of magnetic sense.
Fact #5: Magnets in Modern Medicine
In the realm of modern medicine, magnets play a crucial and life-saving role. One of the most prominent applications is in Magnetic Resonance Imaging (MRI) scanners. These incredibly powerful machines use strong magnetic fields and radio waves to generate detailed images of organs, soft tissues, bone, and virtually all other internal body structures. Unlike X-rays, MRI scans do not use ionizing radiation, making them a safer diagnostic tool. By detecting the subtle magnetic properties of water molecules in the body, MRI machines help doctors visualize abnormalities, diagnose diseases (such as cancer, stroke, and joint injuries), and monitor treatment progress without invasive surgery. They represent a non-invasive window into the human body, transforming diagnostic capabilities.
Expenses and Cost Considerations for Your DIY Magnetic Board
Understanding the financial outlay for your magnetic board project is essential for effective budgeting. The costs can vary significantly based on your chosen materials, the tools you already own, and the complexity of your design. Here’s a detailed breakdown to help you plan your investment:
| EXPENSE CATEGORY | DETAILS AND CONSIDERATIONS | ESTIMATED COST RANGE |
|---|---|---|
| 1. Basic Materials Cost |
Metal sheet: Galvanized steel sheet (cut to size, 16-gauge). Prices depend heavily on size and local market. Wood for frame: 1×4 or 1×2 lumber (pine is generally cheapest, hardwoods more expensive) or a pre-made picture frame. Pre-made frames can save on cutting tools but might offer less customization. |
$35 – $80 (for a medium-sized board) |
| 2. Tool Investment |
Essential Tools: Drill, saw (hand saw is cheapest, miter saw for precision), tape measure, clamps, screwdriver, sandpaper. If you own these, your cost is $0. Optional/Advanced Tools: Kreg Jig, power sander, stud finder. These increase initial outlay but improve project quality and efficiency for future projects. |
$0 – $150+ (depending on existing tools and new purchases) |
| 3. Optional Add-ons & Finishing |
Wood stain/paint: For customizing your frame’s appearance. Additional hardware: Extra corner braces, specialty screws, decorative hangers. Magnets: High-quality neodymium magnets are recommended for optimal holding power. Wood glue: For stronger frame joints. |
$20 – $60 |
| 4. Money-Saving Tips |
Discounted Metal Cuts: Ask local metal supply shops for off-cuts or remnants, which are often sold at a reduced price. Sales on Frames: Look for sales on pre-made frames at craft or home goods stores. Share Tools: Borrow tools from friends, family, or local tool libraries instead of buying them outright. Reclaimed Wood: Utilize free or low-cost reclaimed wood for a unique, rustic frame. |
Significant Savings Possible |
| 5. Long-term Value & Savings |
Comparison to Store-bought: A comparable store-bought magnetic board can easily cost $100-$300 or more, especially for larger or custom sizes. DIY provides substantial savings. Skill Development: The tools and skills acquired can be applied to countless other home improvement and craft projects, offering long-term value beyond this single board. |
$50 – $200+ in Savings (compared to retail) |
| 6. Project Cost by Skill Level (Estimate) |
Beginner (Pre-made Frame): Lower material and tool cost if you adapt an existing frame or buy a cheap one. Intermediate (Custom Frame, Basic Tools): Requires buying lumber and possibly a hand saw/drill if you don’t have them. Advanced (Custom Frame, Advanced Tools): Higher initial tool investment (e.g., miter saw, Kreg Jig) but yields professional results and future project capability. |
$50 – $200+ (from simplest to most complex) |
Final Words: Embrace Your Inner Maker
Embarking on the journey to create your own DIY magnetic board is more than just a craft project; it’s an empowering step towards taking control of your space organization and infusing it with personal style. With just a few basic tools and readily available materials from your local hardware store, you possess the capability to construct a highly functional and beautiful piece that perfectly aligns with your specific needs and aesthetic vision.
This project, while requiring a few hours of focused effort, yields an incredibly useful item that is built to last for years. It offers a tangible sense of accomplishment and the satisfaction of knowing you’ve created something with your own hands. If you’re new to the world of DIY, starting with simpler methods, such as adapting a pre-made frame, is an excellent way to build confidence. As your skills grow, you can then progressively tackle more complex designs, pushing the boundaries of your creativity and craftsmanship.
Regardless of the method you choose, always prioritize secure construction and proper mounting. A well-built board is a safe and durable board. Your finished magnetic display can serve as a cherished showcase for family photos, a dynamic hub for important notes and reminders, a vibrant gallery for children’s artwork, or a functional organizer for your home office. Take pride in selecting the right metal, constructing a solid frame, and adding any personalized extras that make it uniquely yours. With proper care and attention, your custom magnetic board will remain a strong, useful, and beloved fixture in your home or office for countless years to come.
Frequently Asked Questions (FAQs) About DIY Magnetic Boards
What Thickness of Metal Sheet Is Best for a DIY Magnet Board?
For most DIY magnet boards, a metal sheet thickness ranging from 16 to 20 gauge is generally recommended. A 16-gauge (approximately 1/16-inch or 1.6mm) galvanized steel sheet offers excellent rigidity and durability, providing a very sturdy surface that resists bending and securely holds stronger magnets. A 20-gauge (approximately 1mm) sheet is slightly thinner and lighter, making it easier to handle and cut, while still being robust enough for most household magnets. Avoid anything thinner than 24-gauge for larger boards, as it might be too flimsy and prone to warping.
What Types of Magnets Work Best for Homemade Boards?
For homemade magnetic boards, neodymium magnets are undoubtedly the best choice. These “rare-earth” magnets are incredibly strong for their size, providing a powerful and secure hold even through several layers of paper, cardstock, or thin fabric. While standard ceramic or ferrite magnets will work, neodymium magnets offer superior performance and allow you to use smaller, more discreet magnets. You can find them in various shapes and sizes, from tiny discs to powerful blocks, suitable for different display needs.
Are There Ways to Make Portable or Movable Magnetic Boards?
Absolutely! Magnetic boards can be designed with portability in mind. Here are a few ideas:
- Lightweight Backing: Construct your board using a thinner gauge metal and a lighter wood frame (e.g., 1×2 strips or a pre-made frame) and attach it to a lightweight but rigid backing like foam board or thin plywood.
- Integrated Handles: Design the frame to include sturdy handles on the sides or top, similar to a tray, for easy carrying.
- Folding Design: For larger portable boards, consider a multi-panel folding design, where two or more magnetic panels are hinged together, allowing the board to collapse for transport and storage.
- Easel Mounted: Instead of wall-mounting, attach your magnetic board to a portable easel (like those used for whiteboards or art displays) for easy repositioning in a room or transport between locations.
- Wheeled Base: For very large or heavy boards meant for collaborative spaces, consider mounting the board on a custom-built frame with locking wheels.
