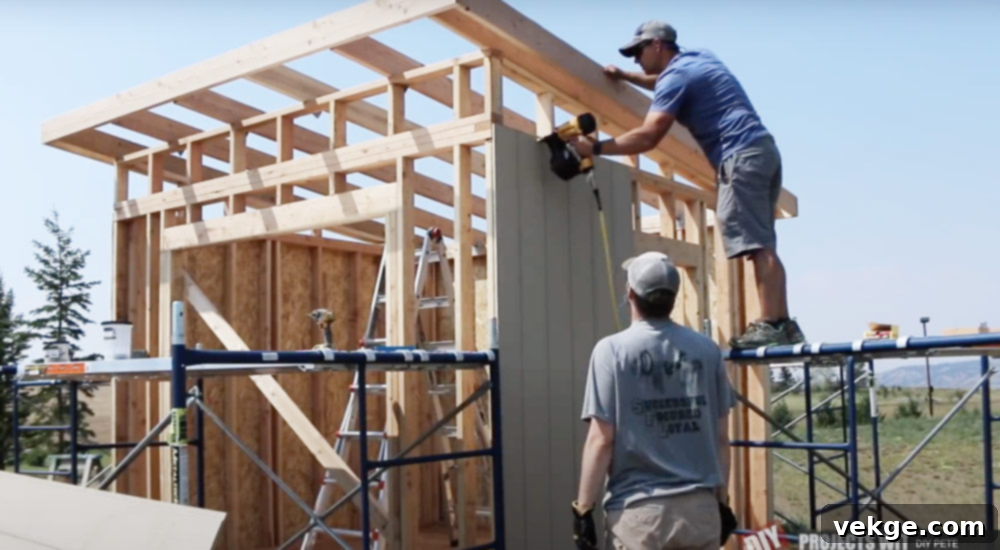
The Ultimate Guide to Lean-To Shed Roof Pitch: Design, Build, and Avoid Mistakes
Embarking on a shed construction project, especially when it involves designing and building a roof, can be both exciting and challenging. One of the most critical decisions you’ll face is determining the ideal lean-to shed roof pitch. This single choice profoundly impacts your shed’s ability to withstand harsh weather conditions like rain and snow, its structural integrity, and even its overall aesthetic appeal. As someone who has built numerous shed roofs, I can attest that getting the pitch right from the outset makes the entire building process smoother, more efficient, and ultimately, leads to a more durable structure.
This comprehensive guide is designed to equip you with all the essential information you need. We’ll explore what “pitch” truly means in the context of roofing, walk you through practical methods for measuring it, and help you identify the optimal range for your specific needs. Furthermore, we’ll delve into how crucial factors such as your local climate, the type of roofing materials you choose, and any existing building codes will influence your decision. I’ll also share valuable insights from my own experiences, highlighting common pitfalls to avoid, ensuring your lean-to shed roof stands strong for years to come.
If you’re aiming to construct a simple, robust, and long-lasting shed roof, you’ve come to the right place. This is precisely the kind of detailed, practical information I wished I had access to when I first started my own shed-building journey.
What is a Lean-To Shed Roof and Why Choose It?
A lean-to shed roof, also frequently referred to as a “skillion roof,” is characterized by its distinctive single-sloped design that tilts uniformly in one direction. Unlike more complex roof structures, it presents a single, flat surface devoid of peaks, ridges, or intricate angles. This design means one side of the roof is inherently higher than the other, a feature specifically engineered to facilitate efficient water and snow runoff, preventing accumulation and potential damage.
Compared to a traditional gable roof, which features two sloping sides that converge at a central ridge, a lean-to roof offers remarkable simplicity in both design and construction. This straightforwardness translates directly into several significant advantages: it typically requires fewer materials, reduces construction time, and simplifies the framing process, making it an excellent choice for DIY enthusiasts and those seeking cost-effective solutions. While a flat roof might appear even simpler, its lack of significant slope often leads to water pooling, potential leaks, and maintenance headaches. The lean-to design, with its inherent slope, expertly addresses these concerns, ensuring superior drainage and debris management, thereby prolonging the life of your shed.
The versatility of lean-to roofs makes them suitable for a wide array of shed types, from simple garden storage units to workshops, providing a clean, modern aesthetic that complements various architectural styles.
Choosing the Right Roof Pitch for Your Lean-To Shed
The roof pitch is arguably the most critical dimension of your lean-to shed roof. It’s essentially a measure of your roof’s steepness, expressed as the amount of vertical rise for every 12 inches of horizontal run. This measurement directly dictates how effectively your roof will shed rain and snow, resist wind uplift, influence internal ventilation, and contribute to the shed’s overall visual character.
Understanding Minimum and Ideal Pitch Options
When selecting your pitch, material compatibility and weather resistance are paramount. For instance, if you plan to use standard asphalt shingles, you’ll generally require a minimum 3/12 pitch. This means the roof rises 3 inches vertically for every 12 inches it extends horizontally. Any slope less than 3/12 with asphalt shingles risks water pooling, which can lead to premature shingle deterioration, leaks, and structural water damage over time. This 3/12 pitch is widely considered the lowest permissible slope for most shingle types to ensure adequate drainage.
However, to ensure superior water runoff, enhanced structural longevity, and fewer long-term maintenance issues, an ideal lean-to shed roof pitch typically falls within the 4/12 to 6/12 range. This sweet spot offers an excellent balance between functional efficiency—allowing rain and melting snow to run off quickly—and an appealing, balanced appearance that isn’t excessively steep. A 4/12 pitch provides a noticeable slope, while a 6/12 pitch offers even better drainage, making it suitable for areas with moderate to heavy precipitation without significantly increasing material costs or construction complexity.
Steeper Pitches and Their Trade-Offs
Opting for a steeper pitch, such as 7/12 or even higher, offers distinct advantages, particularly in regions prone to heavy snowfall. A steeper slope encourages snow to slide off more rapidly, reducing the load on your roof structure and minimizing the risk of ice dam formation. Additionally, a higher pitch can create a more dramatic aesthetic and potentially allow for better attic ventilation or even limited overhead storage space within the shed.
However, these benefits come with several important considerations:
- Increased Height: A steeper pitch means a taller overall structure, which could impact local zoning regulations or aesthetic preferences.
- Higher Material Costs: Steeper roofs require more roofing materials (shingles, sheathing) and often longer rafter spans, leading to increased expenses.
- Enhanced Structural Support: The engineering for steeper pitches may necessitate additional bracing or larger lumber for rafters to ensure stability, especially in high-wind areas.
- Construction Difficulty: Working on a steeper roof can be more challenging and may require additional safety measures during installation.
For most standard shed builds, unless you’re in an area with genuinely extreme snow loads or require significant overhead clearance, a pitch exceeding 6/12 might be an over-engineered and unnecessary expense.
Key Factors That Affect Your Lean-To Roof Pitch Decision
Several critical elements will influence your final lean-to shed roof pitch selection. Understanding these factors will ensure your shed is not only functional but also compliant and durable:
- Local Climate and Weather Conditions: This is perhaps the most influential factor. In areas experiencing heavy rainfall, a steeper pitch (e.g., 5/12 or 6/12) is highly recommended to ensure rapid water runoff and prevent pooling. For regions with significant snowfall, an even steeper pitch (6/12 or higher) actively encourages snow to shed, minimizing dangerous snow loads and the potential for ice dams. Conversely, in dry, arid climates, a lower pitch might be acceptable as drainage is less of a concern. Strong winds also factor in; very steep roofs can sometimes catch more wind, requiring more robust fastening.
- Local Building Codes and Regulations: Before commencing any construction, always consult your local building department. Many municipalities have specific minimum roof pitch requirements, especially for certain roofing materials, to ensure structural safety and longevity. There might also be restrictions on overall shed height or proximity to property lines, which a very steep pitch could impact. Failing to comply can result in fines, demolition orders, or issues with future property sales.
- Roofing Materials Compatibility: Different roofing materials have distinct pitch requirements. While metal roofing systems are incredibly versatile and can often be installed on very low slopes (e.g., 1/12 or 2/12) due to their interlocking design and large panels, traditional asphalt shingles necessitate a steeper angle (minimum 3/12). Other materials like wood shakes or tiles often require even higher pitches (typically 4/12 or more) to ensure proper water shedding and prevent moisture ingress. Always check the manufacturer’s specifications for your chosen material.
- Intended Shed Use and Design Aesthetic: Consider how you plan to use your shed. If it’s purely for basic storage, a moderate pitch is often sufficient. However, if you envision a workshop, a potting shed, or a space where you’ll spend considerable time, a taller pitch might be beneficial for improved head clearance, better natural light penetration through taller windows, and enhanced ventilation, which is crucial for air quality and comfort. Aesthetically, a steeper pitch can give a shed a more substantial, traditional look, while a lower pitch offers a more modern, minimalist profile.
How to Accurately Measure Roof Pitch
Understanding and accurately measuring roof pitch is fundamental to your shed project. Here’s a straightforward method you can use:
- Establish a Horizontal Line: On the bottom edge of a rafter (or a piece of scrap wood held level against the rafter), measure out exactly 12 inches horizontally. A carpenter’s square or a level can help ensure this line is perfectly horizontal.
- Measure the Vertical Rise: At the 12-inch mark you just created, measure straight up vertically from the bottom edge of the rafter to its top edge. Ensure your measurement tool is perfectly plumb (straight up and down).
- Determine Your Pitch: That vertical measurement, in inches, is your roof’s rise. So, if you measured 4 inches vertically, your roof has a 4/12 pitch.
For added convenience and precision, you can also leverage modern technology. Many free roof pitch finder apps are available for smartphones, using your phone’s accelerometer to determine pitch. Alternatively, numerous online roof pitch calculators allow you to input dimensions to quickly determine the ideal pitch for your project.
Essential Tools and Materials List for Building Your Lean-To Roof
Having the right tools and materials on hand before you start will make the construction process much more efficient and safer. Here’s a comprehensive list:
- Circular Saw: Your workhorse for cutting rafters, precisely forming birdsmouth notches, and trimming plywood sheathing.
- Jigsaw: Perfect for cleaning up intricate birdsmouth cuts where a circular saw might overcut.
- Hacksaw: Useful for small, precise cuts or trimming metal components if needed.
- Carpenter Square: Indispensable for marking pitch angles, ensuring square cuts, and general layout.
- Framing Square: Crucial for marking the heel and seat cuts on your rafters for birdsmouth notches.
- Tape Measure: Essential for all layout, marking, and cutting measurements.
- Pencil/Marker: For clearly marking all your cuts and measurements on lumber.
- Framing Nailer: Speeds up the process of attaching rafters, blocking, and plywood sheathing.
- Drill: For driving screws, particularly for fascia boards and hurricane ties.
- Chalk Line: To create straight lines on plywood sheathing, ensuring nails hit the rafters accurately.
- Clamps (Bar Clamps): For securely holding fascia boards and rafters in place during installation, especially when working alone.
- Ladders: Absolutely necessary for safe and comfortable access to the roof during construction.
- Screwdriver Bit / Impact Driver: For efficiently driving longer screws, like 3-inch screws, into lumber.
- 2x6x16 Lumber: (or appropriate length for your shed size) For main roof rafters. Always cut to precise length, e.g., 14′ for a 10×10 shed with overhangs.
- 2×6 Lumber: For fascia boards, cut to fit the front and back of your shed, e.g., 12′.
- 2×6 Blocking Pieces: Cut to fit snugly between rafters; may need slight ripping to adjust size.
- Plywood Sheets: For roof sheathing (typically ½” or 5/8″ thick) to provide a solid base for roofing materials.
- Hurricane Ties: Essential for securely attaching rafters to the top plate of your shed walls, providing uplift resistance.
- 3-Inch Screws: For robustly attaching fascia boards and overhang rafters.
- Nails: Various types for your framing nailer (e.g., 3-inch for framing, smaller for sheathing).
- Temporary Braces: Small blocks or scraps of wood to support fascia boards during installation.
- Chalk: For refilling your chalk line.
Step-by-Step Guide: How to Build a Lean-To Shed Roof
Building a lean-to shed roof is a rewarding process, and following these steps will help ensure a sturdy and well-constructed result. Remember to prioritize safety at all times when working with tools and at height.
Step 1: Cut the Rafters to Size
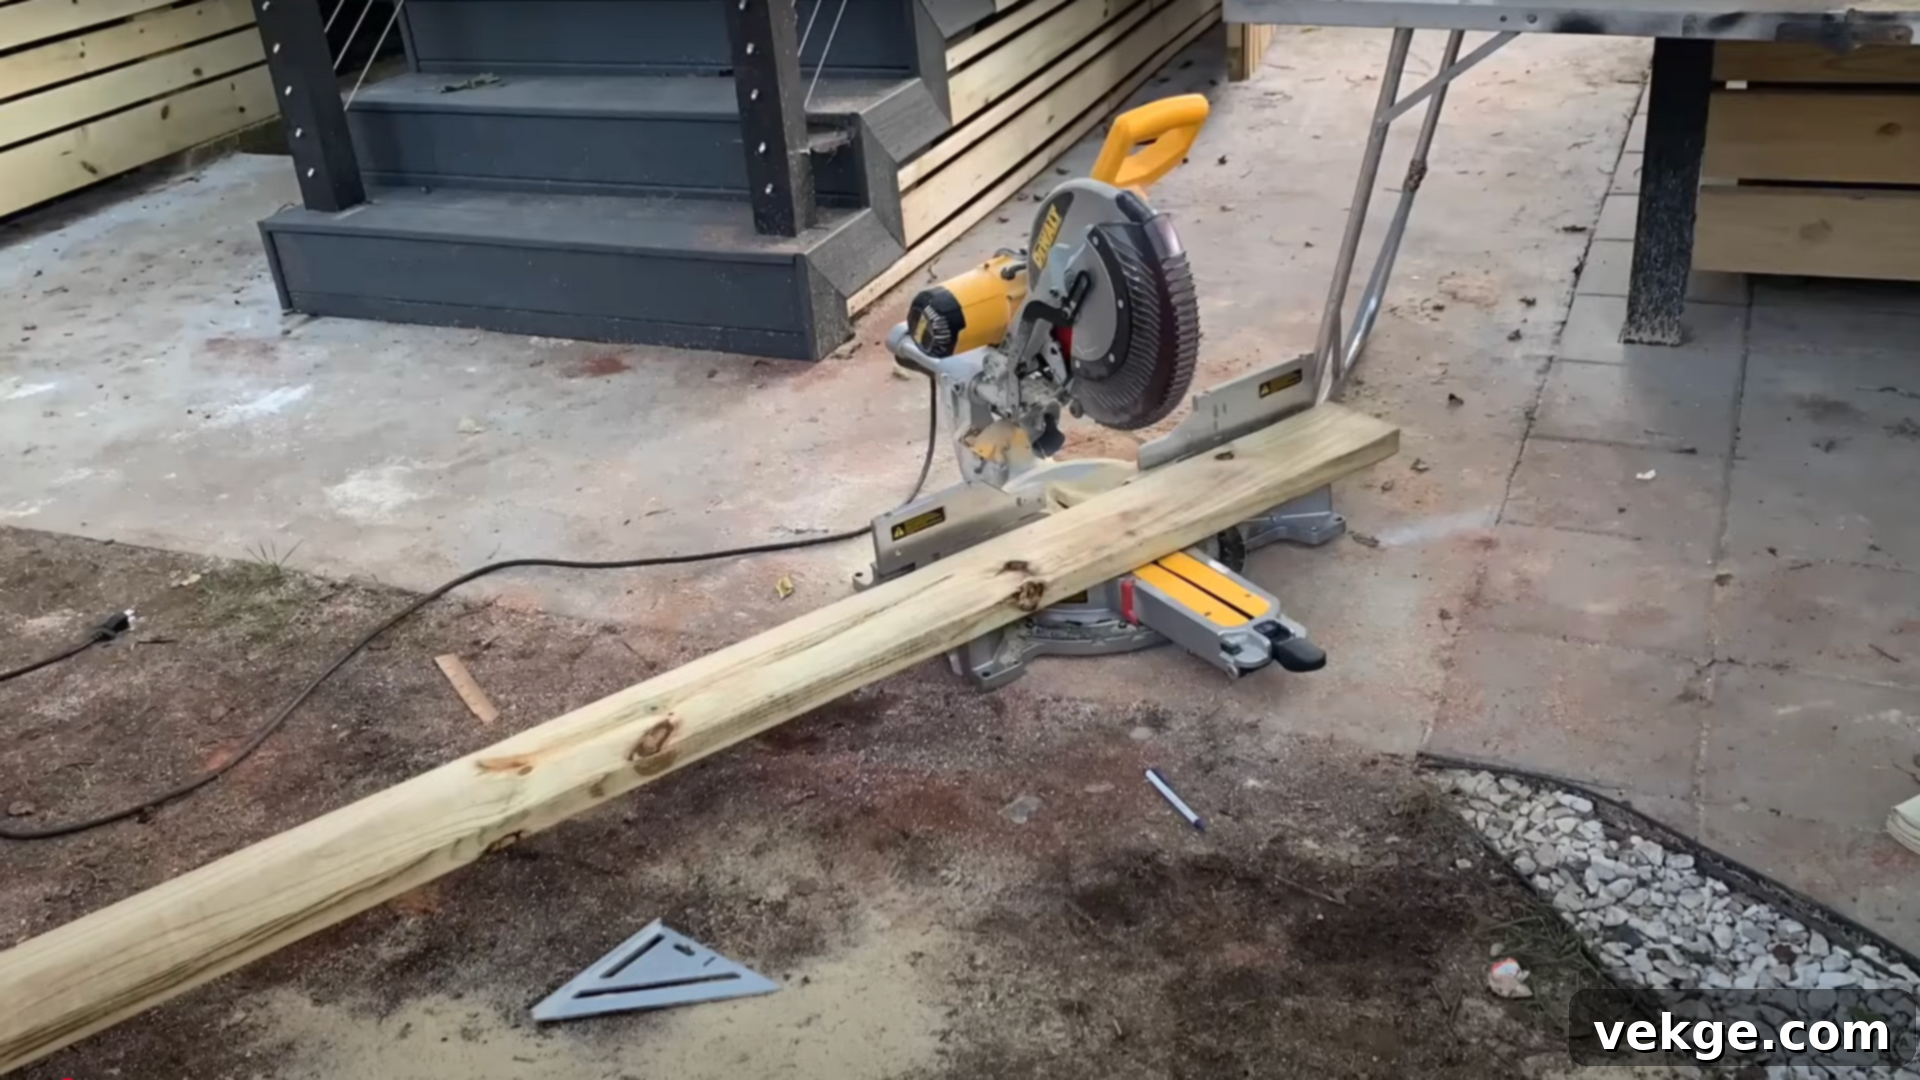
Begin by accurately measuring and cutting your main rafters. The length of your rafters will depend on your shed’s width, the chosen roof pitch, and the desired front and back overhangs. For example, a 14-foot rafter might be ideal for a 10×10 shed that incorporates a 3-foot front overhang and a 1-foot back overhang. It’s crucial to calculate the exact length required. Once you have the first rafter cut perfectly, use it as a precise template to mark and cut all subsequent rafters. This ensures consistency and accuracy across your entire roof structure. Determine your rafter spacing, typically 12 to 16 inches on center, based on local codes and snow load requirements.
Step 2: Create Birdsmouth Cuts for Stability
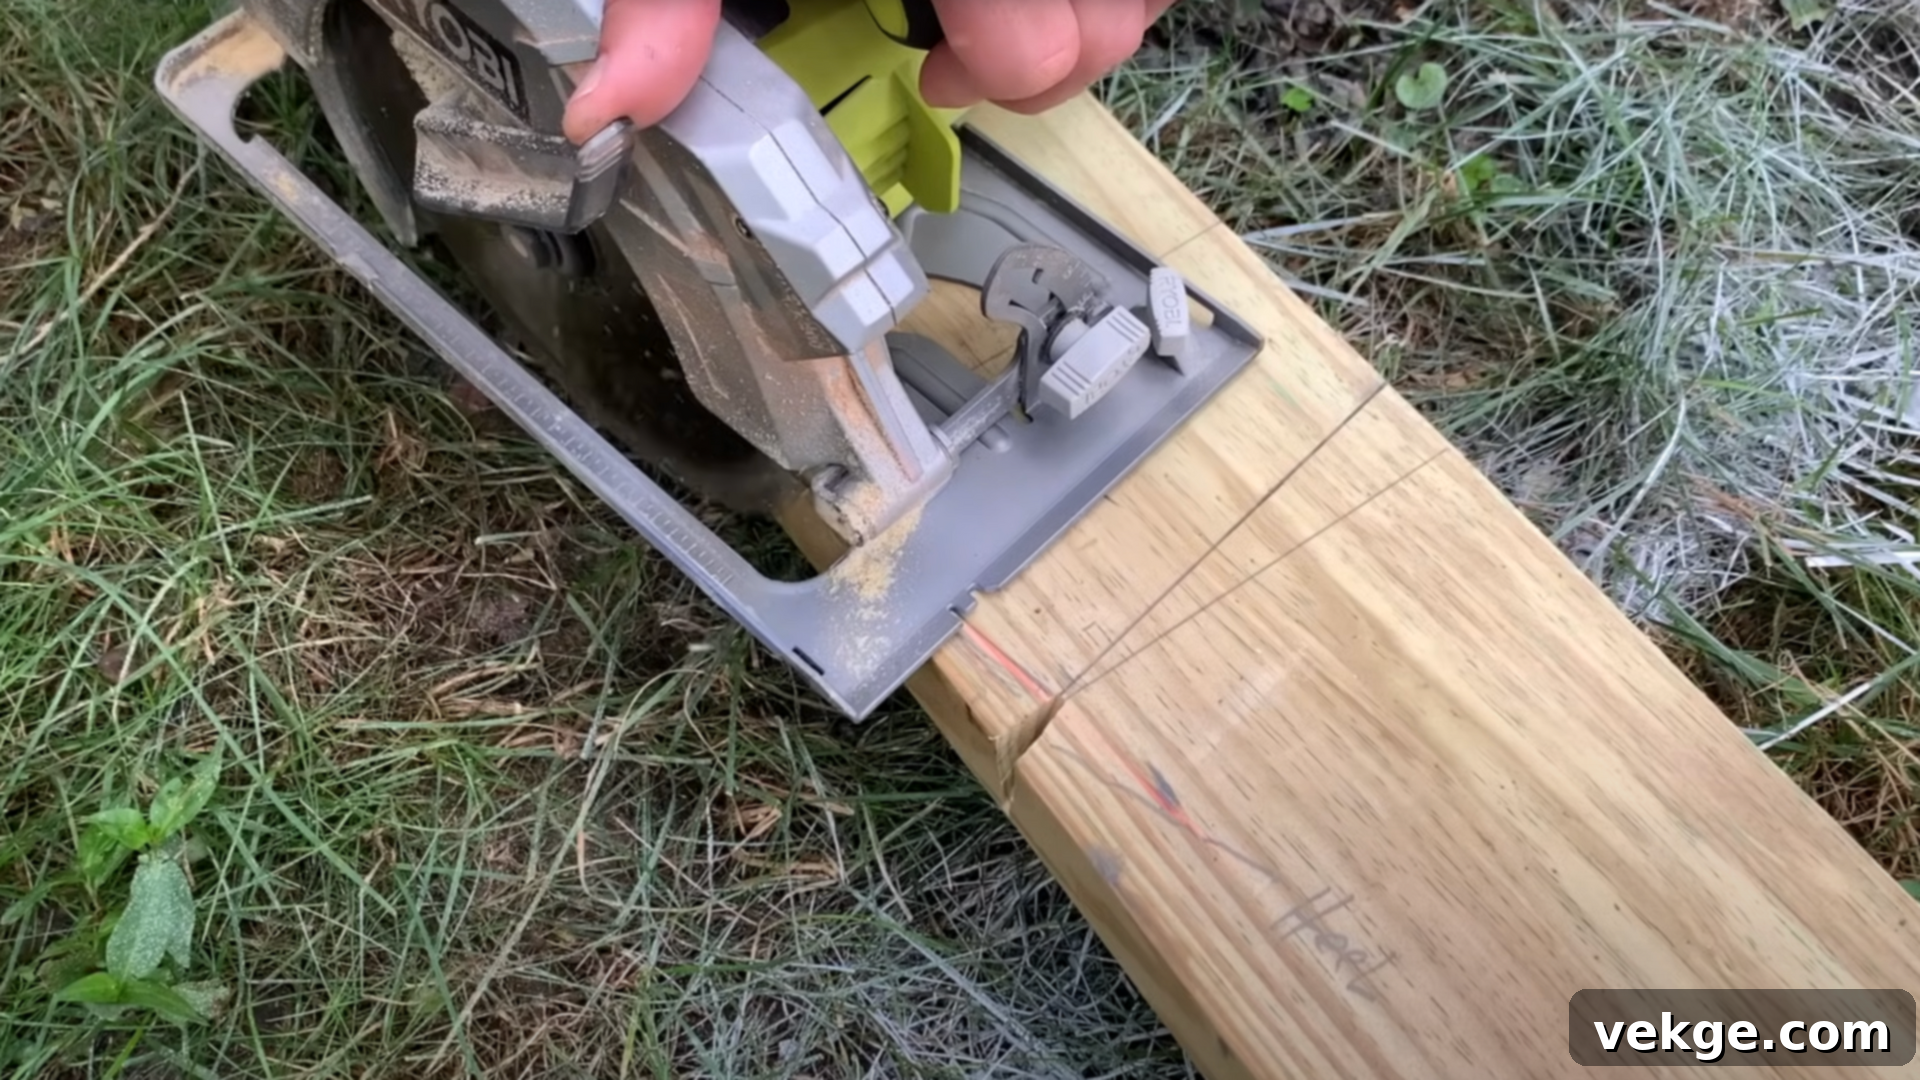
The birdsmouth cut is a crucial joint that allows your rafters to sit securely and level on the shed’s top plates. Using a carpenter’s square and framing square, carefully mark the “heel” (the vertical cut) and the “seat” (the horizontal cut) on each rafter, according to your chosen roof pitch (e.g., a 2/12 pitch as demonstrated in the video). The seat cut should perfectly match the width of your shed’s top plate. Make these cuts with a circular saw, being careful not to overcut past your marks. Finish and clean up the cuts precisely using a jigsaw or a handsaw for a snug fit. This ensures even load distribution and prevents the rafters from shifting.
Step 3: Install the Main Rafters
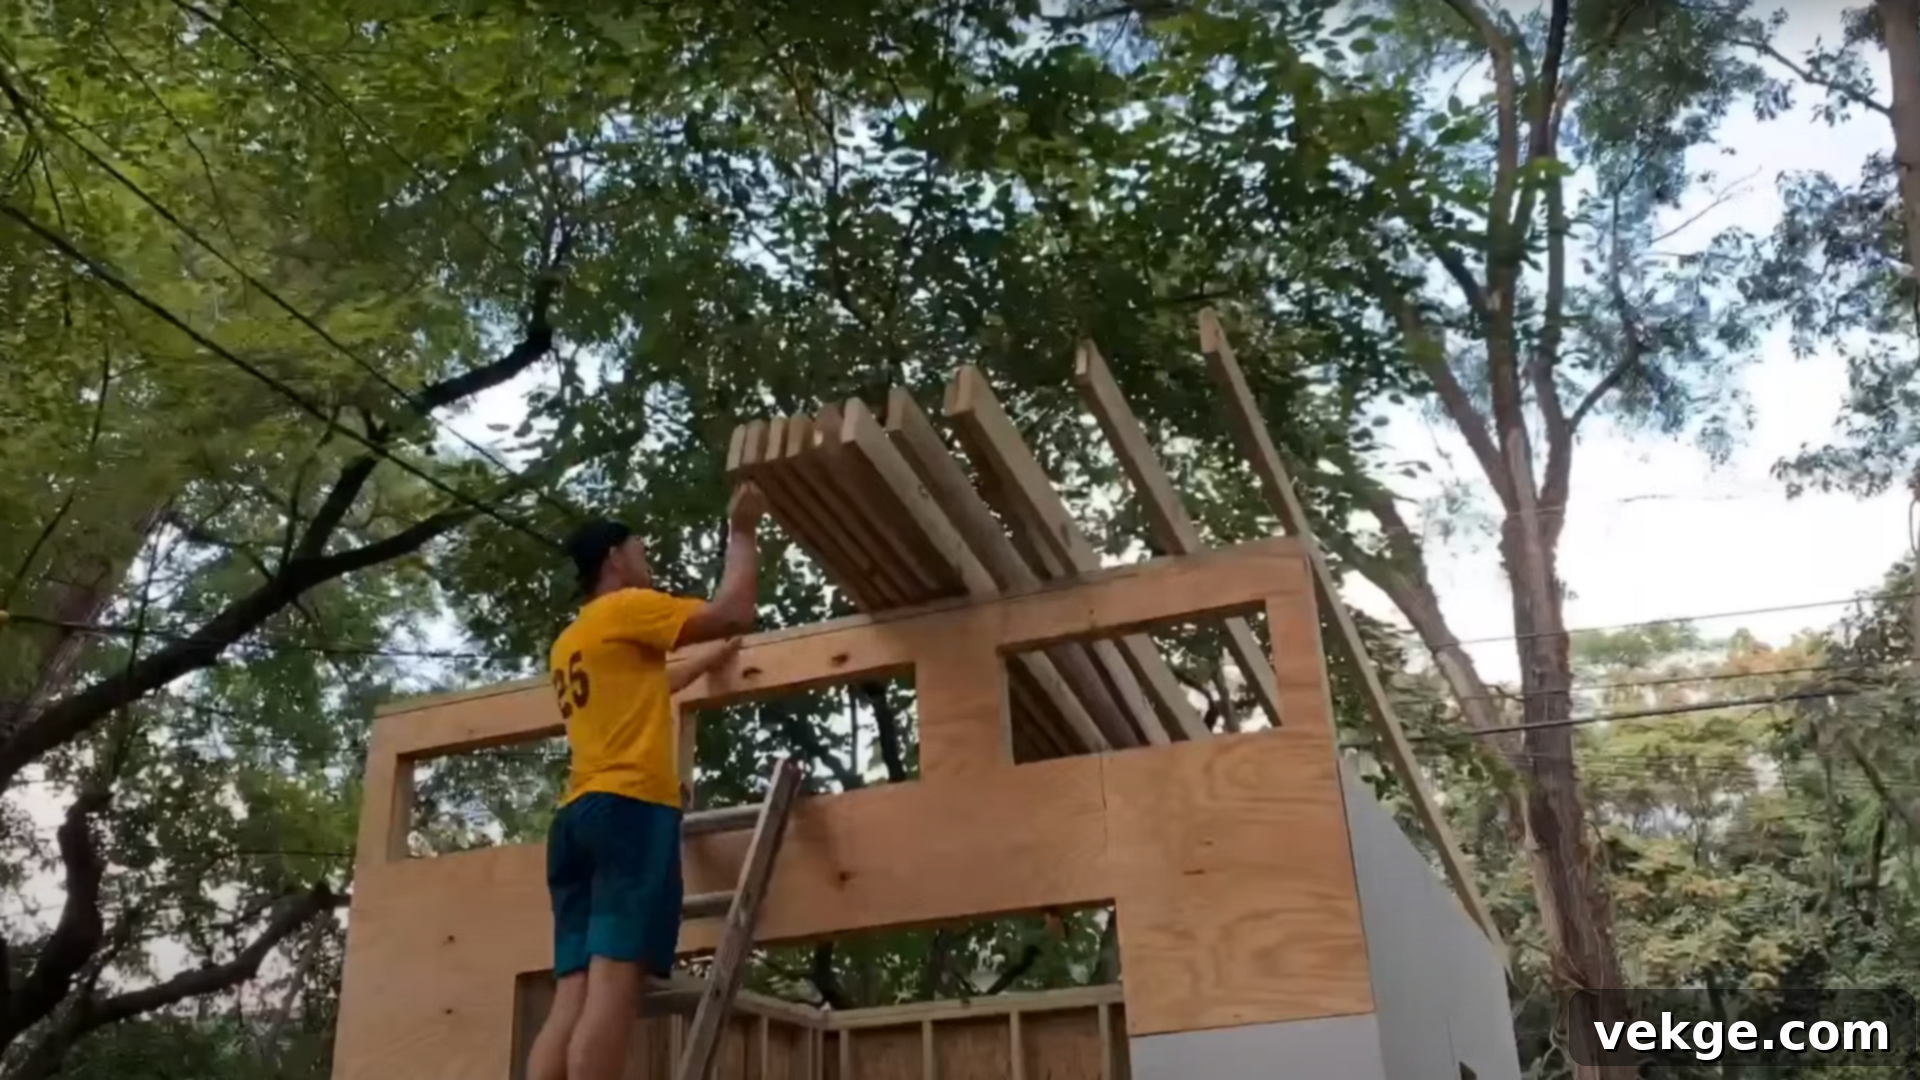
With your rafters cut and notched, it’s time for installation. Begin by marking the precise spacing of your rafters on the shed’s top walls (e.g., 16 inches on center). Carefully lift each rafter into position, ensuring the birdsmouth notch sits perfectly on the top plate. Temporarily tack each rafter in place using a framing nailer to hold them steady. Once all rafters are correctly positioned and aligned, secure them permanently. This involves attaching heavy-duty hurricane ties (also known as rafter ties) from the rafter to the top plate. These ties are vital for providing structural stability and resistance against wind uplift, which can be a significant concern in many areas.
Step 4: Add Blocking for Strength and Pest Control
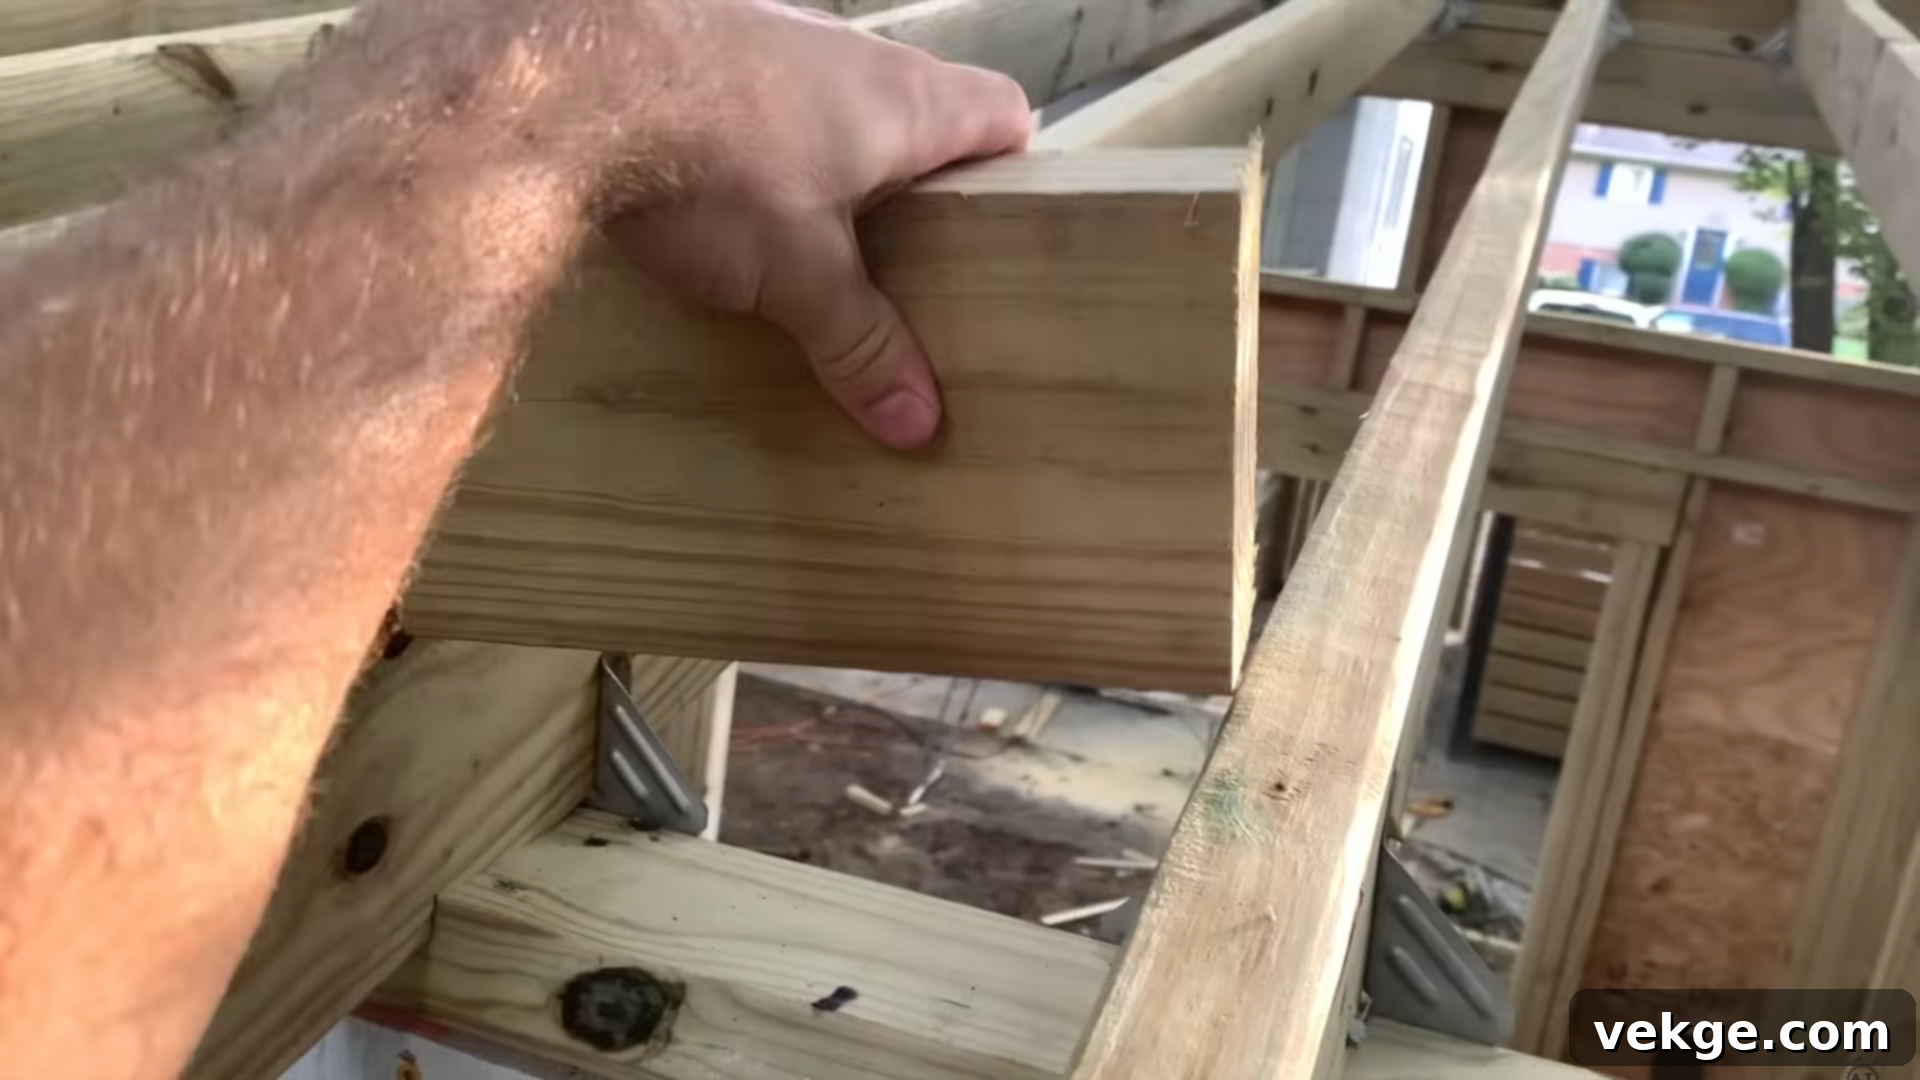
Blocking plays a dual role: it significantly strengthens the overall roof frame and helps prevent pests from entering your shed. Cut small pieces of 2×6 lumber to fit snugly between each rafter. These blocks should be trimmed down slightly so they sit just below the top edge of the rafters, creating a continuous plane for the sheathing. Nail them securely in place between the rafters. This not only adds rigidity and prevents the rafters from twisting but also closes off any potential entry points for rodents, insects, and birds, ensuring your shed remains a secure, sealed environment.
Step 5: Attach Fascia Boards and Side Rafters for Overhangs
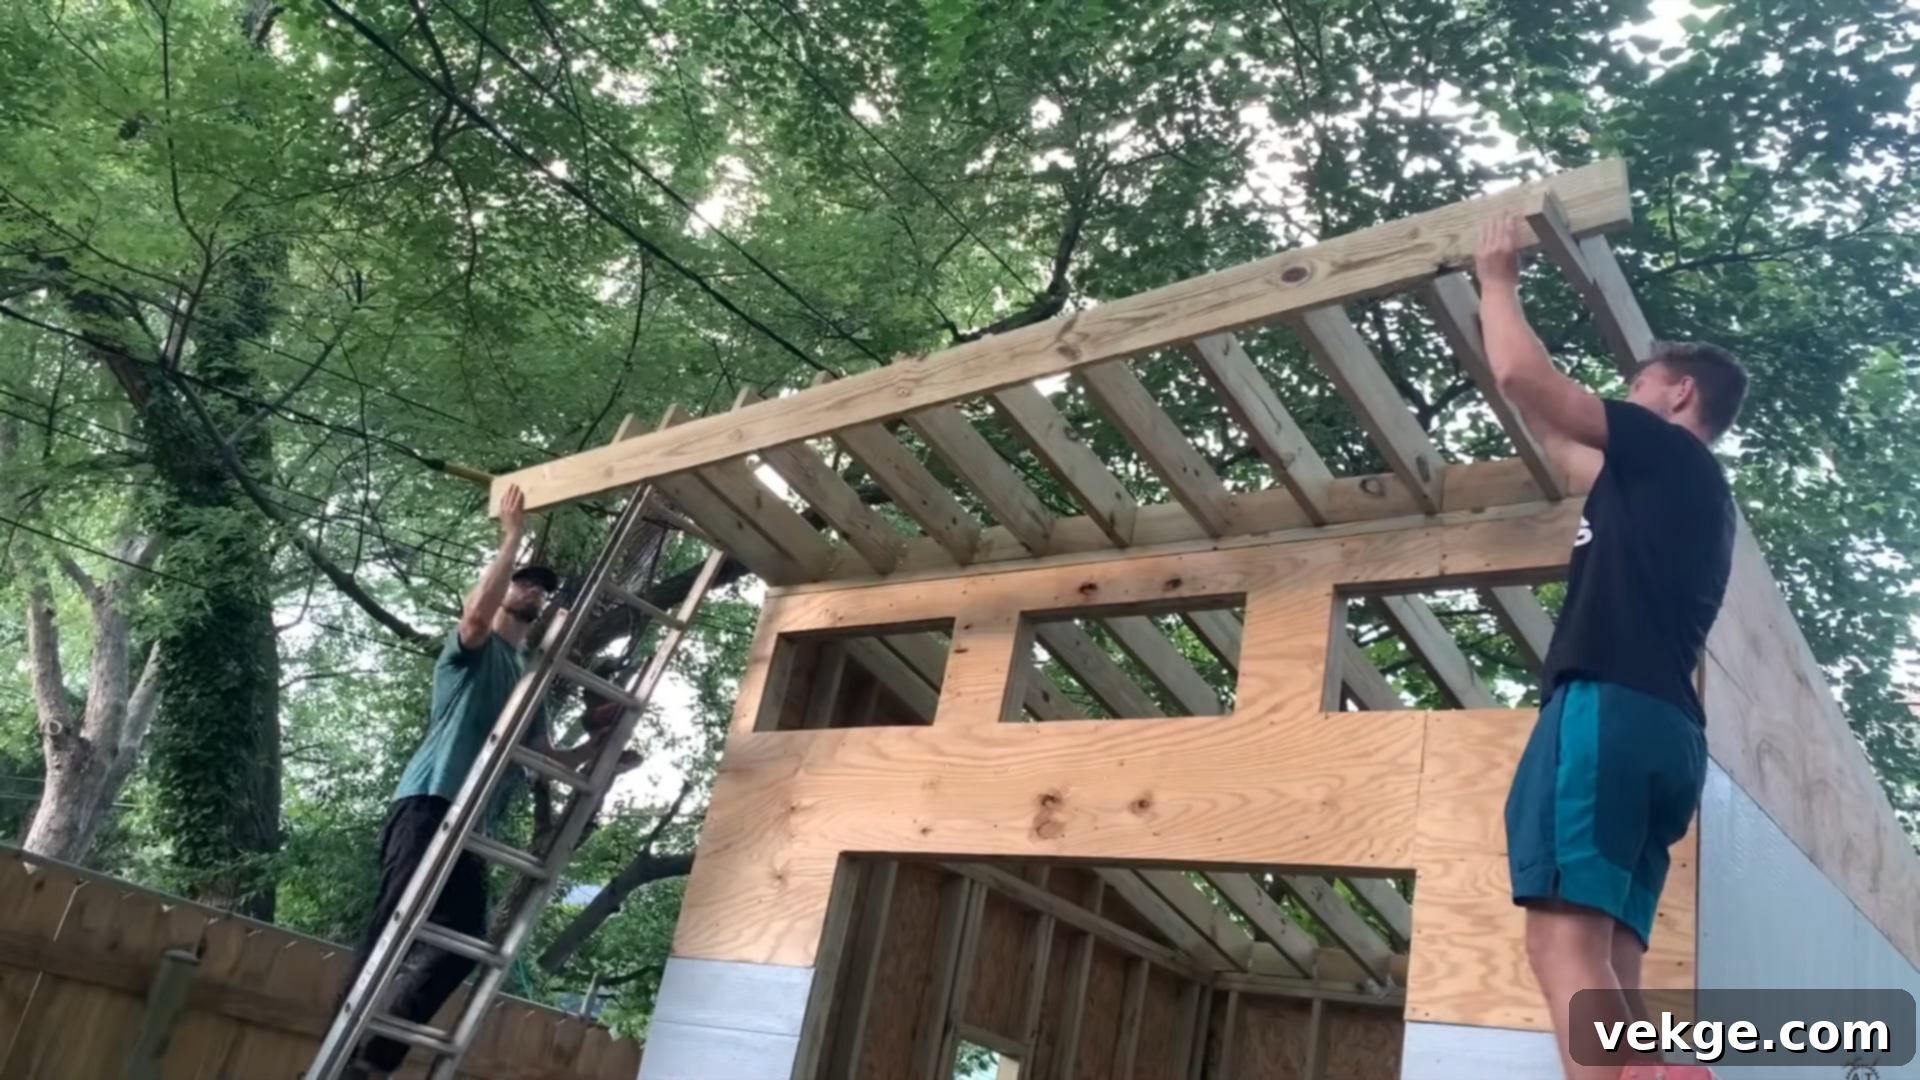
Fascia boards provide both a finished look and protection for the rafter ends. Attach the fascia boards to the front and back ends of your rafters, ensuring a consistent and even overhang. Use clamps to hold them firmly in place while you secure them with 3-inch screws. Next, install a side rafter on each end of the roof, extending beyond the main structure to create the desired side overhangs. These side rafters should be flush with the top of the main rafters. Add small blocking pieces between these side rafters and the outermost main rafters to provide additional support and create a solid edge for your sheathing. This step is critical for protecting the shed walls from water runoff.
Step 6: Install Plywood Sheathing for Your Roof Deck
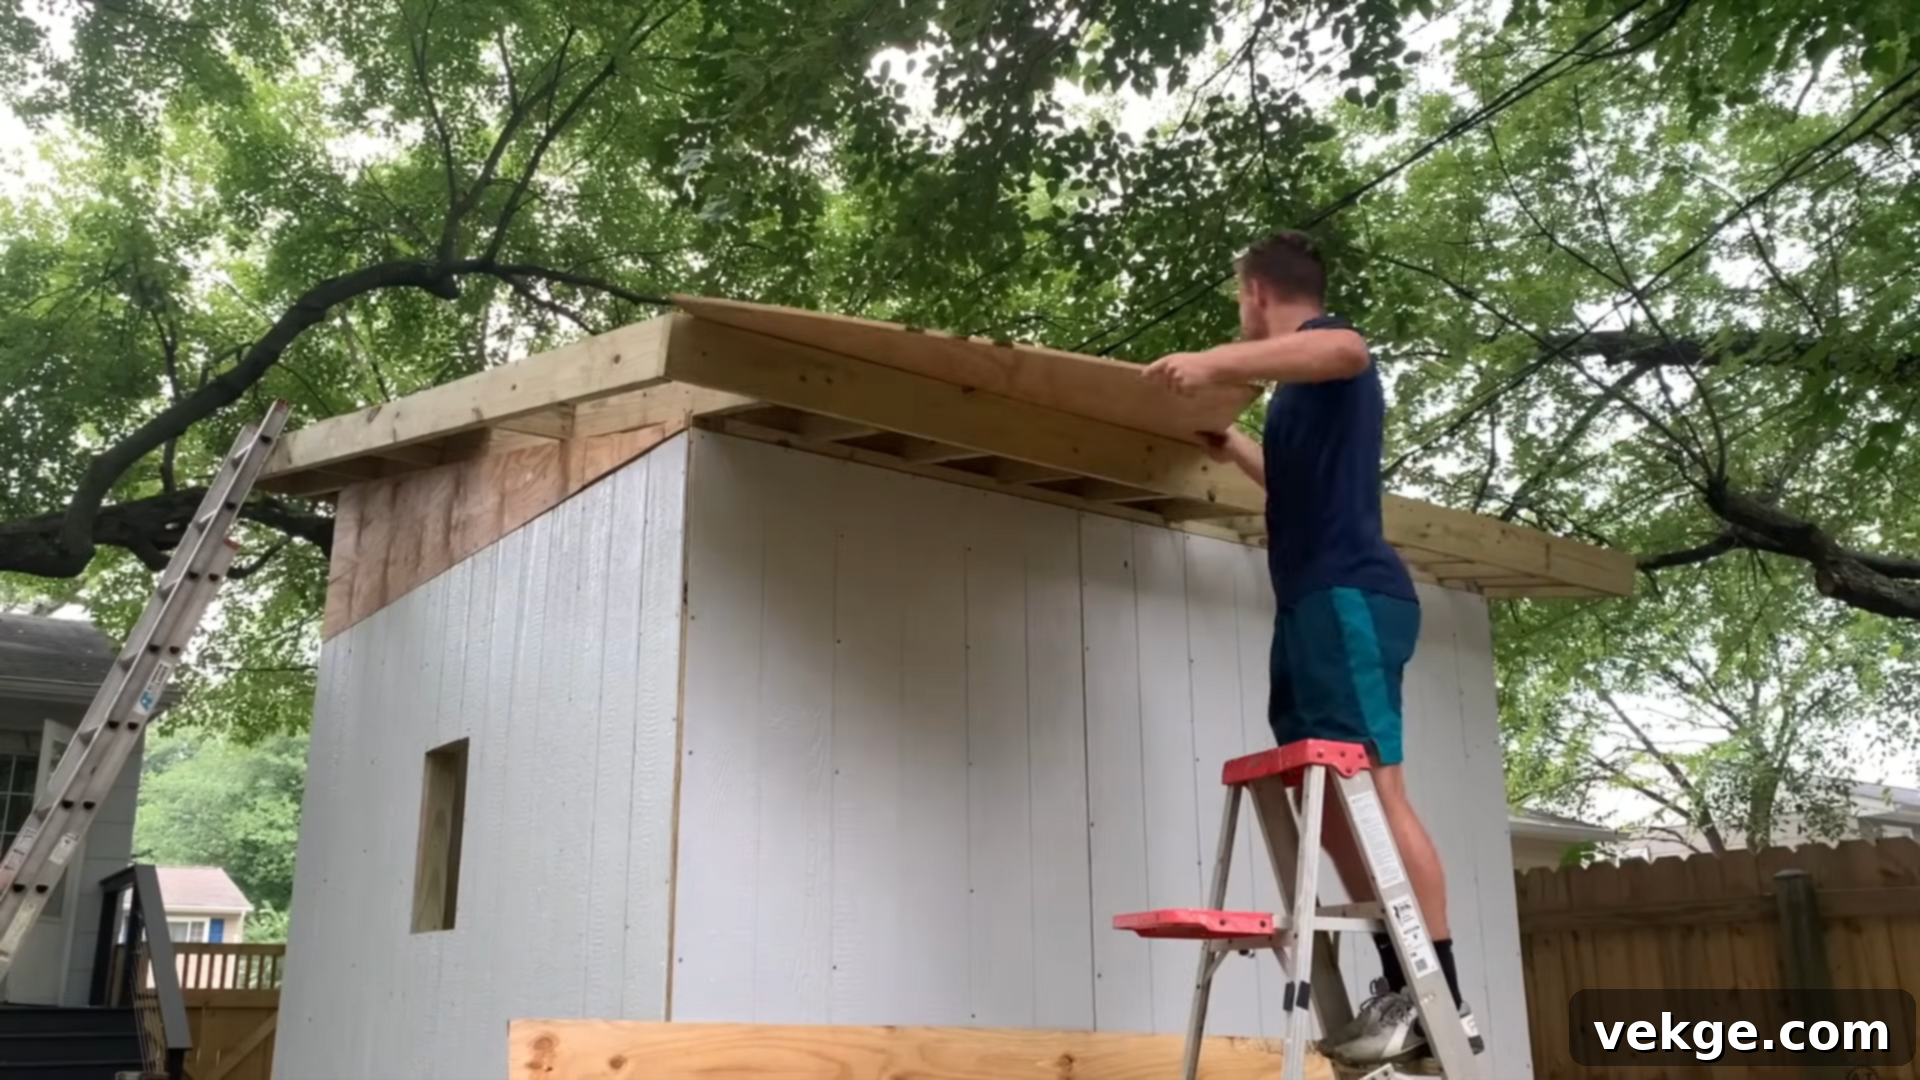
The plywood sheathing forms the solid deck for your final roofing material. Begin laying your plywood sheets across the rafters, ensuring that each plywood edge lands precisely in the center of a rafter for proper support. Use a chalk line to mark the exact locations of the rafters underneath the plywood. This guides your nailing, ensuring that every nail firmly secures the plywood to the framing. Drive nails at regular intervals (typically every 6 inches along edges and every 12 inches in the field of the sheet) into each rafter. Make sure to leave small expansion gaps (typically 1/8 inch) between plywood sheets to allow for material movement. Once all the sheathing is securely in place, your lean-to shed roof is fully framed and ready for the chosen roofing material, such as shingles, metal, or EPDM.
For a visual demonstration and clearer understanding of this entire process, watch the helpful YouTube video below:
Code and Permitting Considerations for Your Shed Roof
Before any nail is hammered or any foundation is poured, it’s absolutely crucial to investigate your local building rules and permit requirements. Even for seemingly minor projects like a backyard shed, compliance is key to avoiding costly delays, fines, or even demolition orders.
Slope and Height Limits
Local building codes frequently include specific minimum roof pitch requirements, especially when certain roofing materials like asphalt shingles are used, to guarantee proper water drainage and structural longevity. Beyond pitch, your locality might impose limits on the overall height of your shed or the height of individual walls to adhere to zoning restrictions or preserve neighborhood aesthetics. If your lean-to design features a tall front wall, double-check that this height remains within the permissible limits. Additionally, be aware of setback requirements that dictate how close your roofline can be to property lines, fences, or existing structures on your own or neighboring properties.
Attaching to an Existing Building
If your lean-to shed is designed to connect directly to an existing structure, such as your house or garage, the complexity of the project increases significantly. Such an attachment typically requires the installation of specialized flashing (e.g., step flashing and counter flashing) at the connection point to create a watertight seal, preventing water intrusion into both structures. Furthermore, you may need additional structural bracing to ensure the connection is robust enough to handle various loads (snow, wind) and accommodate thermal expansion and contraction without causing damage. It’s highly probable that altering the exterior of a permanent structure will necessitate a building permit and potentially an inspection from local authorities to ensure structural integrity and safety.
Snow Load and Rainfall Rules by Region
Environmental conditions play a major role in roof design. In regions that experience significant snowfall, your roof will almost certainly require a steeper pitch to promote snow shedding and prevent excessive weight accumulation. This might also entail specifying larger or more closely spaced rafters to meet the required snow load ratings. Conversely, coastal areas or regions with persistently heavy rainfall may mandate specific types of underlayment, water-resistant barriers, or enhanced drainage systems to combat moisture penetration. Always review and strictly adhere to the local requirements for snow load, wind resistance, and rainfall before finalizing your lean-to shed roof plan. Utilizing materials and designs rated for your specific climate is vital to prevent premature wear, leaks, and potential structural sagging over time.
Common Mistakes in Lean-To Shed Roof Construction and How to Avoid Them
Even with a relatively simple lean-to shed roof, overlooking certain details can lead to significant problems down the line. Learning from common mistakes can save you time, money, and frustration.
- Underestimating Roof Load Capacity: This is a critical safety issue. Using rafters that are too thin, too widely spaced, or made from an insufficient grade of lumber can lead to roof sagging, structural failure, or even collapse, especially under heavy snow, strong winds, or the weight of roofing materials.
How to Avoid: Always consult a rafter span chart (readily available online or in building code handbooks) to correctly size your rafters based on your shed’s span, chosen wood species, and expected snow/wind loads. Maintain appropriate rafter spacing, typically 12 or 16 inches on center, and ensure your framing lumber meets or exceeds local code requirements. - Skipping Flashing or Inadequate Edge Sealing: Failing to install proper flashing where the roof meets a wall (if applicable) or neglecting to seal roof edges and fasteners can create direct pathways for water to seep into the shed structure. This leads to wood rot, mold growth, compromised insulation, and damage to the shed’s contents.
How to Avoid: Always install appropriate metal flashing at any point where the roof adjoins a vertical wall. Use high-quality roofing felt or synthetic underlayment across the entire roof deck, overlapping according to manufacturer specifications. Ensure all fasteners (nails/screws) are properly sealed, and apply a drip edge around the entire perimeter of the roof to direct water away from the fascia and walls. - Choosing the Wrong Pitch for Your Climate and Materials: A roof pitch that is too flat for your local weather conditions or chosen roofing material is a recipe for disaster. A low pitch in a rainy climate can cause water to pool, while in a snowy region, it can lead to dangerous snow accumulation and ice dam formation, which forces water under shingles.
How to Avoid: Carefully match your roof pitch to your local climate (steeper for heavy rain/snow). Always adhere to the minimum pitch requirements specified by the manufacturer of your chosen roofing material (e.g., asphalt shingles typically need a minimum 3/12 pitch, while metal roofs can handle lower slopes). - Forgetting Overhangs or Drip Edges: Without sufficient overhangs or a properly installed drip edge, rainwater will run directly down the shed’s walls, saturating the siding, paint, and potentially compromising the foundation. This accelerates material degradation and can lead to costly repairs.
How to Avoid: Design your lean-to shed roof with at least a 6-inch to 1-foot overhang on all sides. Install a drip edge along the eaves and rake edges of the roof; this metal flashing helps direct water cleanly off the roof and away from the shed walls and foundation, protecting your investment.
Conclusion: Building a Resilient Lean-To Shed Roof
You now possess a clear and comprehensive understanding of how lean-to shed roof pitch functions, why it’s so critical, and the various factors that influence your design choices. I sincerely hope this detailed guide has provided you with the confidence and knowledge needed to move forward successfully with your shed construction project.
Remember, the success of your lean-to roof hinges on careful planning and execution. Take your time during the initial layout phase, precisely calculate your dimensions, and create one perfectly cut rafter to serve as an infallible template for the rest. Most importantly, thoughtfully select a roof pitch that is ideally suited for your specific local weather conditions and the type of roofing material you intend to use.
Making this single, well-informed decision at the outset will undoubtedly save you from a myriad of potential problems, headaches, and costly repairs further down the line. I’ve personally witnessed entire shed builds go awry, experiencing leaks, structural issues, and premature deterioration, simply because this fundamental step was overlooked or rushed.
If you’re planning to tackle more shed-related projects in the near future, feel free to explore my other posts. They’re designed to break down complex topics into clear, actionable steps, without any unnecessary fluff. Happy building!
