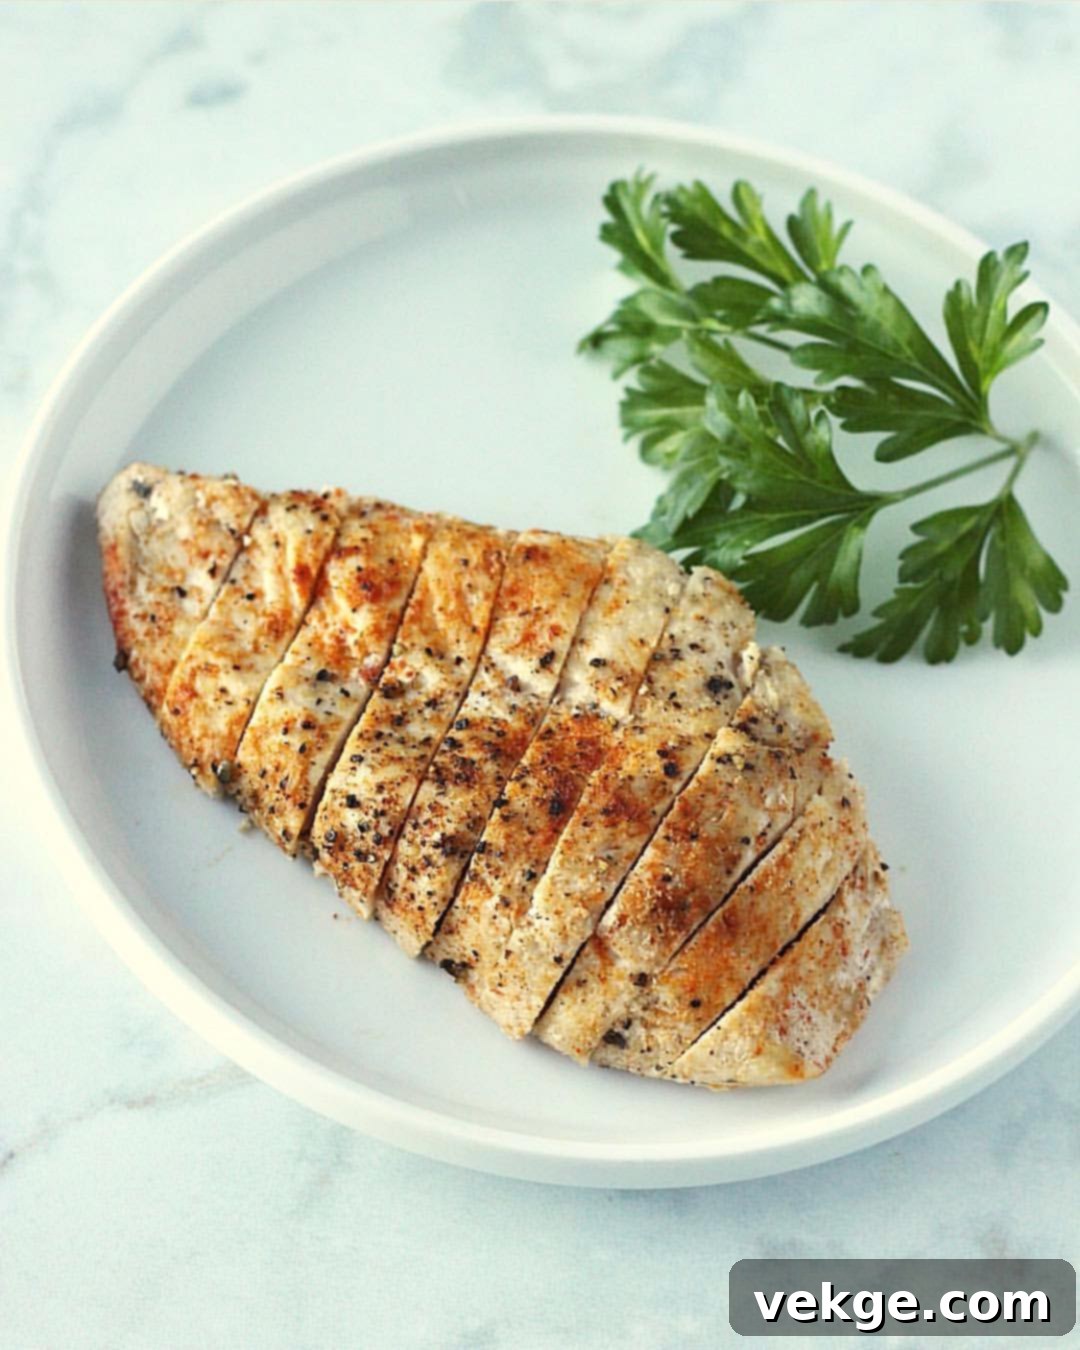
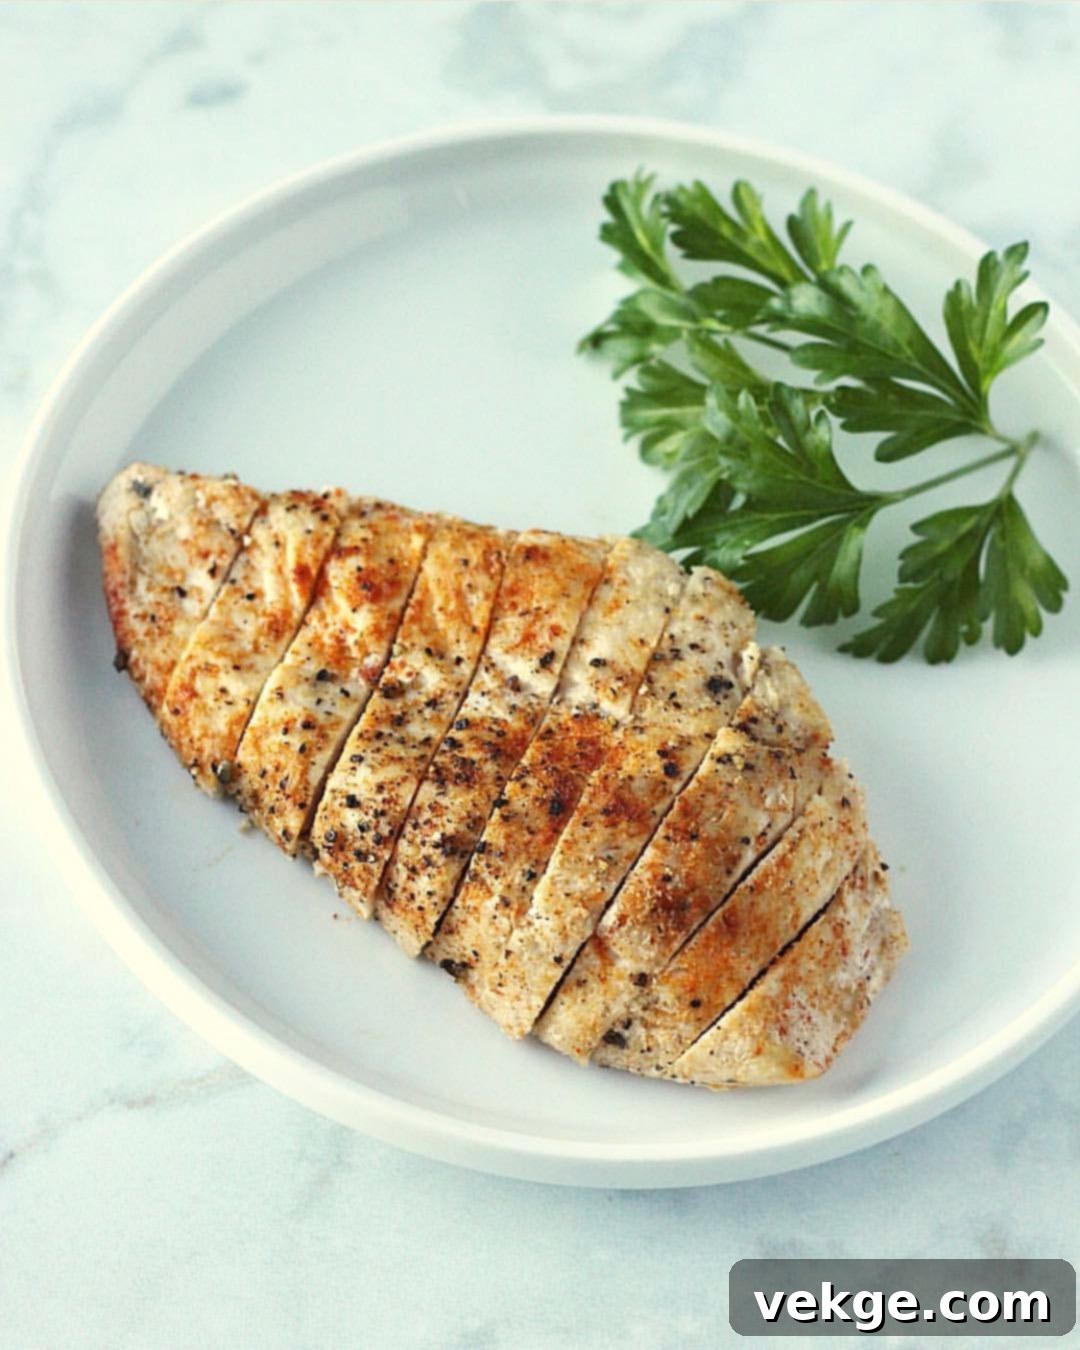
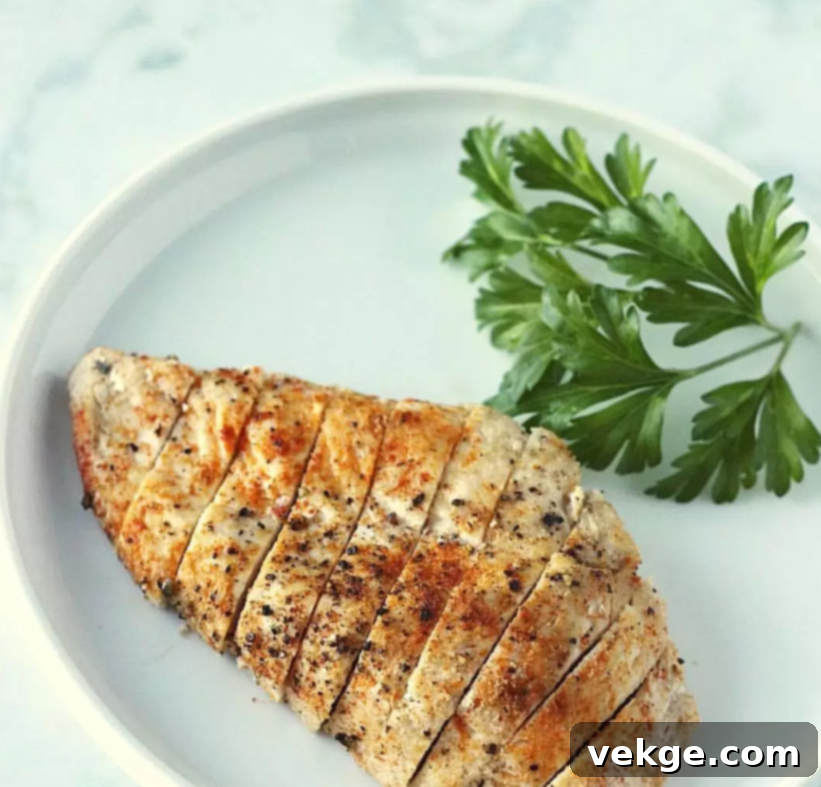
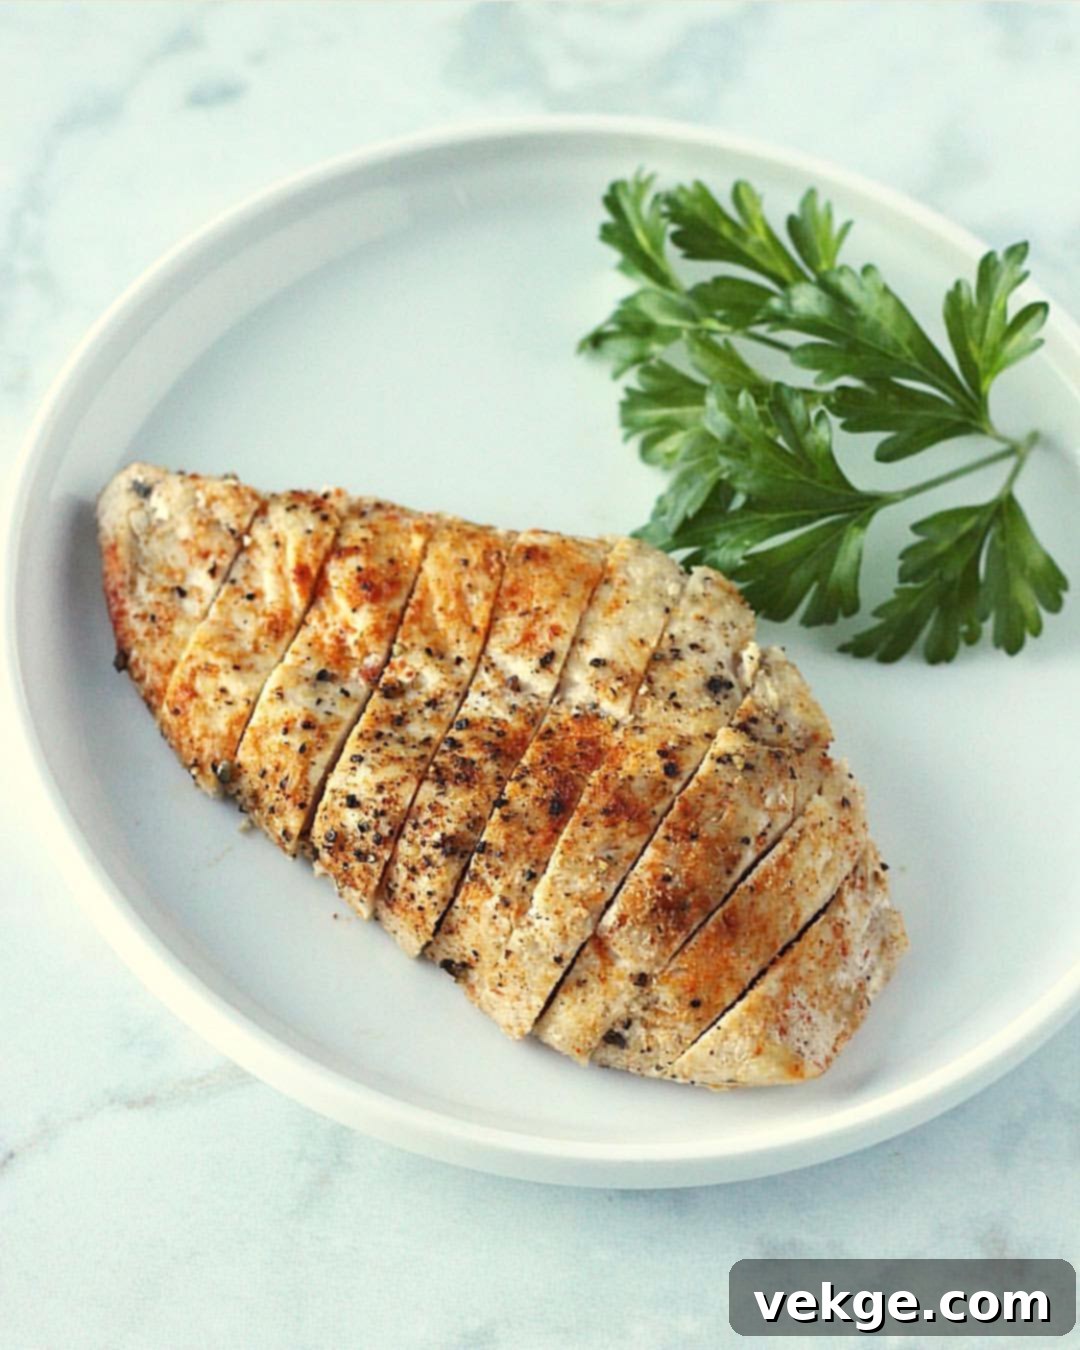
Perfectly Baked Chicken Breast: Juicy, Tender, and Versatile for Any Meal
Are you searching for a reliable chicken recipe that consistently delivers juicy, incredibly tender, and perfectly flavored results? This baked chicken breast recipe is about to become your new kitchen essential. It’s more than just a meal; it’s a versatile protein foundation that can effortlessly adapt to countless dishes. Whether you need a simple, healthy dinner, an efficient component for your meal prep, or a flavorful addition to salads, pasta dishes, sandwiches, or tacos, this method guarantees success every single time. Bid farewell to dry, bland chicken and prepare for a succulent experience that will elevate your home cooking.
Achieving impeccably cooked chicken—moist on the inside with a beautifully seasoned exterior—is a goal for many home cooks. This recipe accomplishes exactly that with minimal effort and maximum satisfaction. It utilizes a straightforward approach: basic pantry ingredients combined with a high-heat baking technique. This combination effectively locks in moisture and develops a rich, savory flavor profile. Best of all, with a total time of under 30 minutes, it’s an ideal solution for busy weeknights or whenever you require a quick, nutritious protein boost without compromising on taste or quality.

The Indispensable Tool for Perfect Chicken: A Food Thermometer
Before we delve into the step-by-step instructions, let’s highlight the single most critical investment for ensuring consistently perfect chicken: a reliable food thermometer. If you don’t already possess one, now is the opportune moment to acquire it. These affordable devices, often available for as little as $10-$15 online, are absolute game-changers in the kitchen. They empower you to precisely measure the internal temperature of your meat, confirming it reaches the safe and optimal 165°F (74°C) without the risk of overcooking.
Gone are the days of guesswork or the unfortunate necessity of slicing into your chicken to inspect its doneness, only to lose all those precious, flavorful juices. A quick, accurate reading from a digital thermometer will guarantee a perfectly juicy outcome every single time, safeguarding you from dry, rubbery chicken and potential food safety concerns. It’s a modest initial outlay that yields substantial returns in terms of your culinary confidence and the elevated quality of every chicken dish you prepare.

Mastering the Ultimate Baked Chicken Breast: Your Go-To Recipe
This section details my absolute favorite and most reliable method for baking chicken breasts. It’s an incredibly simple technique that consistently delivers outstanding results: chicken that is remarkably juicy, wonderfully tender, and bursting with flavor. By meticulously following these steps, you will effortlessly create a versatile protein that is perfectly suited for any meal throughout the week, minimizing fuss while maximizing deliciousness.

Baked Chicken Breast
Print
Pin
Rate
Ingredients
-
2-4
boneless, skinless chicken breasts (approx. 1.5 – 2 lbs total) -
1-2
tablespoons
avocado oil, extra virgin olive oil, or melted unsalted butter -
1
teaspoon
kosher salt (or to taste) -
½
teaspoon
freshly ground black pepper (or to taste) -
1
teaspoon
garlic powder -
½
teaspoon
paprika (smoked paprika adds a wonderful depth of flavor) - Optional: Pinch of onion powder, dried oregano, or a touch of chili powder for a slight kick.
Instructions
- Step 1: Prepare the Chicken Breasts. Begin by ensuring your chicken breasts are completely thawed. Using paper towels, thoroughly pat them dry on all sides. This crucial step removes surface moisture, which is essential for proper browning and achieving a more desirable texture on the outside of the chicken.
- Step 2: Oil and Season Generously. Lightly brush each chicken breast evenly with your chosen oil (avocado, olive) or melted butter. This not only helps the seasonings adhere effectively but also contributes to a beautiful golden-brown crust during baking. Proceed to sprinkle your selected seasonings—salt, black pepper, garlic powder, and paprika—generously over both sides of each chicken breast, ensuring full coverage for maximum flavor penetration.
- Step 3: Bake to Golden Perfection. Arrange the seasoned chicken breasts in a single layer within a glass baking dish or on a sturdy baking sheet. Preheat your oven to a high temperature of 450°F (232°C). Once preheated, bake the chicken for approximately 18-20 minutes. For chicken breasts that are particularly thick, an additional few minutes may be necessary. The most critical aspect of this stage is to ensure the internal temperature of the thickest part of the chicken reaches 165°F (74°C), which you’ll confirm with your food thermometer. Vigilantly avoid overbaking, as this is the primary culprit behind dry, tough chicken.
- Step 4: The Essential Resting Period. Immediately after removing the chicken from the oven, cover the baking dish tightly with aluminum foil. Allow the chicken to rest undisturbed for 5-10 minutes before you begin slicing or serving it. This resting period is absolutely vital for achieving an incredibly moist and tender final product. It provides time for the muscle fibers to relax and for the juices, which have migrated to the center during cooking, to redistribute throughout the entire piece of meat. Cutting into the chicken prematurely will cause these valuable juices to escape, leaving your chicken significantly drier.
Notes
Ensuring Even Thickness: If your chicken breasts possess significant variations in thickness, a simple technique can improve cooking uniformity. Gently pound the thicker sections of the chicken to an approximate even thickness of about 1 inch using a meat mallet, the bottom of a heavy skillet, or a rolling pin. This ensures that all parts cook at a similar rate, preventing thinner areas from drying out while thicker portions are still reaching their desired internal temperature.
Expert Tips for Achieving the Juiciest Baked Chicken Breast Every Time
While the recipe above is foolproof, incorporating these additional tips will further enhance your results, ensuring your baked chicken breasts are consistently tender, moist, and flavorful.
- Always Pat Your Chicken Dry: This seemingly minor step is monumental. Excess moisture on the chicken’s surface will cause it to steam in the oven rather than develop a beautiful, flavorful brown crust. A dry surface promotes better browning and crispiness.
- Embrace High Heat: Baking chicken at a robust 450°F (232°C) is key. The high temperature creates a delicious sear on the exterior of the chicken quickly, while simultaneously cooking the interior rapidly, thereby minimizing the time it has to lose moisture and dry out.
- Avoid Overcrowding the Baking Dish: It’s crucial to leave ample space between each chicken breast on your baking sheet or dish. Overcrowding can significantly lower the pan’s temperature and create steam, leading to chicken that steams instead of baking and browning properly. Use multiple pans if necessary.
- Ensure Uniform Thickness: If your chicken breasts are noticeably uneven in thickness, take a moment to gently pound the thicker sections. Aim for a consistent thickness of about 1 inch across the entire piece. This critical step ensures even cooking throughout, preventing any parts from drying out while others are still raw.
- The Mandatory Resting Period: As emphasized in the recipe, allowing the chicken to rest after baking is non-negotiable for achieving truly juicy results. This period enables the muscle fibers to relax and reabsorb the flavorful juices that have moved towards the center during cooking. Skipping this step leads to dry chicken.
- Consider Marinating for Enhanced Flavor & Moisture: While this recipe is excellent on its own, a quick 30-minute marinade can add an extra layer of moisture and infuse more flavor. Simple marinades using yogurt, buttermilk, or a basic vinaigrette work wonders if you have the foresight and time.
- Infuse Aromatics: For an extra dimension of flavor, strategically place sliced lemons, whole garlic cloves, or fresh herbs (such as sprigs of rosemary or thyme) directly into the baking dish alongside your chicken breasts. These aromatics will infuse the chicken with their fragrant essence as it bakes.
- Don’t Skimp on Seasoning: Chicken breasts are relatively lean and can be bland if not seasoned adequately. Don’t be shy with your salt, pepper, and other chosen spices. A well-seasoned exterior contributes significantly to the overall flavor profile.
Creative and Versatile Serving Suggestions for Your Baked Chicken
The beauty of this perfectly baked chicken breast lies in its incredible versatility. Once cooked, it transforms into a culinary blank canvas, ready to be incorporated into a vast array of dishes. Here are just a few inspiring ideas to make the most of your delicious chicken:
- A Classic & Wholesome Dinner: Serve your tender chicken alongside a medley of roasted seasonal vegetables (think broccoli florets, asparagus spears, or diced sweet potatoes) and a healthy grain such as fluffy quinoa or wholesome brown rice for a complete and satisfying meal.
- Elevate Your Salads: Slice, dice, or shred the cooled baked chicken and toss it into your favorite salad greens. It’s a fantastic protein boost for a crisp Caesar salad, a hearty Cobb salad, or a vibrant Mediterranean chicken salad bursting with fresh ingredients.
- Delectable Pasta Dishes: Cut the chicken into strips or bite-sized cubes and toss it with your preferred pasta. Pair it with a rich pesto, a creamy Alfredo sauce, a robust marinara, or a light lemon-garlic sauce for a quick and incredibly satisfying dinner.
- Hearty Sandwiches & Wraps: Shred or thinly slice the chicken to create mouthwatering chicken salad sandwiches, robust and filling wraps packed with fresh veggies, or even a gourmet chicken panini with melted cheese and your favorite spreads.
- Flavorful Tacos & Burrito Bowls: For a Tex-Mex twist, season your chicken with additional taco spices (as suggested in the notes!) and use it as the savory protein base for homemade tacos, generously stuffed burritos, or vibrant grain bowls layered with rice, black beans, fresh salsa, and creamy avocado.
- Quick & Easy Stir-Fries: Dice the cooked chicken into bite-sized pieces and add it to your favorite stir-fry vegetables. Finish with a savory stir-fry sauce and serve over rice or noodles for an Asian-inspired meal in minutes.
- Comforting Soups & Stews: Shred any leftover baked chicken to add body, texture, and a significant protein boost to comforting dishes like classic chicken noodle soup, hearty chicken and rice soup, or any of your favorite savory stews.
- Efficient Meal Prep: Maximize your week by baking a larger batch of chicken breasts at the beginning. Portion them out into airtight containers for quick, healthy lunches and dinners throughout the week, significantly reducing your cooking time during busy days.
Frequently Asked Questions About Baking Chicken Breast
- Can I use frozen chicken breasts for this recipe?
- No, this recipe is specifically designed for thawed chicken breasts. Baking chicken from a frozen state will result in very uneven cooking, significantly longer cook times, and often leads to a dry exterior while the interior struggles to cook thoroughly. Always ensure your chicken is completely thawed in the refrigerator before proceeding with the recipe.
- What should I do if my chicken breasts are unusually thick?
- If your chicken breasts exceed approximately 1 inch in thickness at their thickest point, it’s highly recommended to gently pound them. Use a meat mallet or the flat side of a heavy pan to lightly flatten the thicker parts until the entire breast achieves a more uniform thickness. This crucial step ensures even cooking, preventing thinner sections from drying out before the thicker portions are fully cooked.
- How can I tell if my chicken is done if I don’t have a thermometer?
- While a food thermometer is unequivocally the best tool for accuracy, if one is unavailable, you can make a small, discreet cut into the thickest part of the chicken breast. The juices should run clear, and the meat itself should appear opaque white throughout, with no pink remaining. However, relying on this method can cause valuable juices to escape, potentially leading to a drier result. For consistently juicy chicken, investing in a thermometer is truly worthwhile.
- Is this recipe suitable for bone-in, skin-on chicken breasts?
- This particular recipe and its timings are optimized for boneless, skinless chicken breasts. Bone-in, skin-on chicken will necessitate a longer cooking duration and may require a slightly lower oven temperature to ensure thorough cooking without burning the skin. If you opt to use bone-in, skin-on cuts, be prepared to adjust cooking times accordingly and rely heavily on a meat thermometer to confirm doneness.
- What is the best way to store baked chicken?
- Cooked chicken breast should be stored promptly in an airtight container within the refrigerator. It remains fresh and safe to consume for 3-4 days, making it an excellent component for your weekly meal preparation.
- How should I reheat leftover baked chicken to keep it juicy?
- To reheat baked chicken without drying it out, you have a few options. You can gently warm it in the microwave (use short intervals). For superior results, slice the chicken and briefly reheat it in a skillet with a small splash of broth or water. Alternatively, place it in a foil-covered dish and bake at a low temperature of 300°F (150°C) until just heated through.
Conclusion: Your New Essential Chicken Recipe Awaits
This perfectly baked chicken breast recipe is, without exaggeration, a culinary revelation. It offers an incredibly simple, remarkably fast, and consistently reliable method for achieving juicy, tender, and flavorful chicken every single time. By diligently following these straightforward steps and leveraging the accuracy of a food thermometer, you will not only master a fundamental cooking technique but also unlock a world of exciting culinary possibilities.
From hassle-free weeknight dinners to efficient and delicious meal preparation, this baked chicken will undoubtedly become an indispensable staple in your kitchen. Say a definitive goodbye to dry, uninspiring chicken and embrace a flavorful, healthy protein that you will eagerly incorporate into an endless array of beloved dishes. Happy cooking, and enjoy the consistently perfect results!
