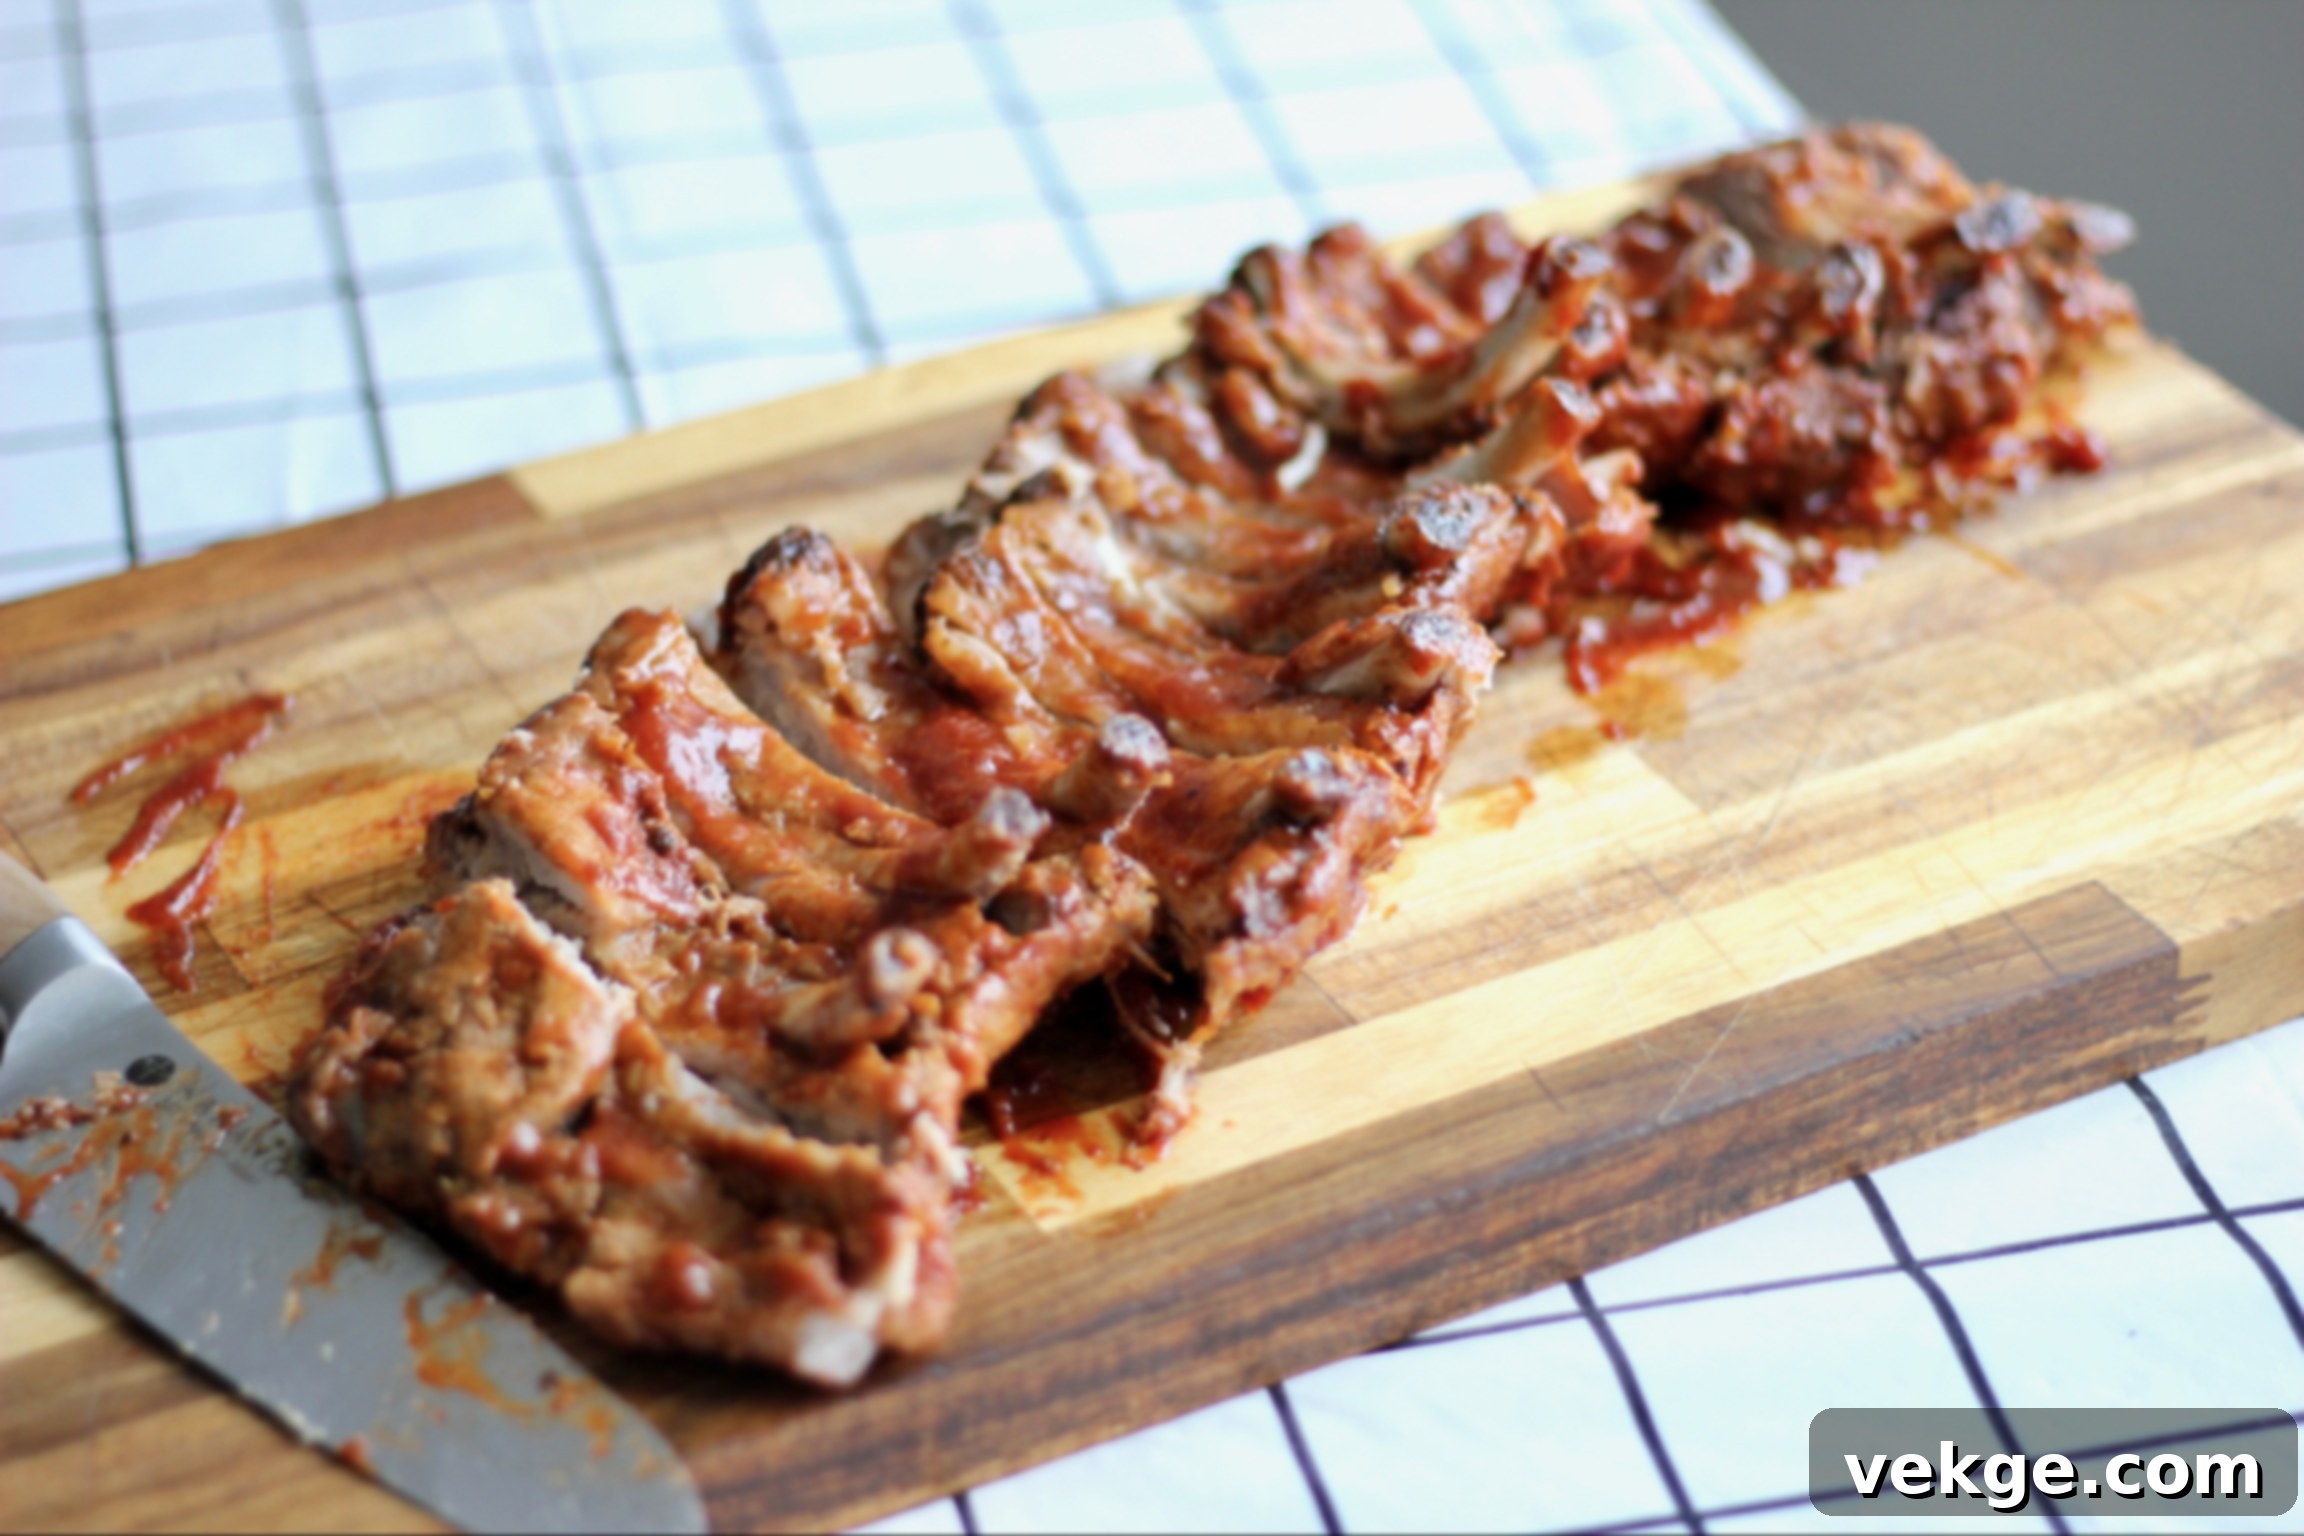
Welcome to a culinary journey that promises to transform your perception of homemade ribs! For decades, my kitchen has been the heart of family meals, a place where traditional recipes are cherished and new ones eagerly embraced. Yet, a truly special moment recently unfolded – my 14-year-old son, the undisputed meat enthusiast of our family, took the lead and taught me his perfected recipe for oven-baked ribs. This wasn’t just a cooking lesson; it was a revelation! These ribs are nothing short of spectacular: generously coated with an irresistible dry rub, patiently baked low and slow in the oven for hours until they reach an unparalleled fall-off-the-bone tenderness, and finally basted with the most delectable, semi-homemade barbecue sauce. Forget the smoker or the grill; this recipe proves that truly exceptional ribs are well within reach right in your home oven. Prepare to amaze your family and friends with this simple yet profoundly flavorful method that delivers restaurant-quality results every single time.
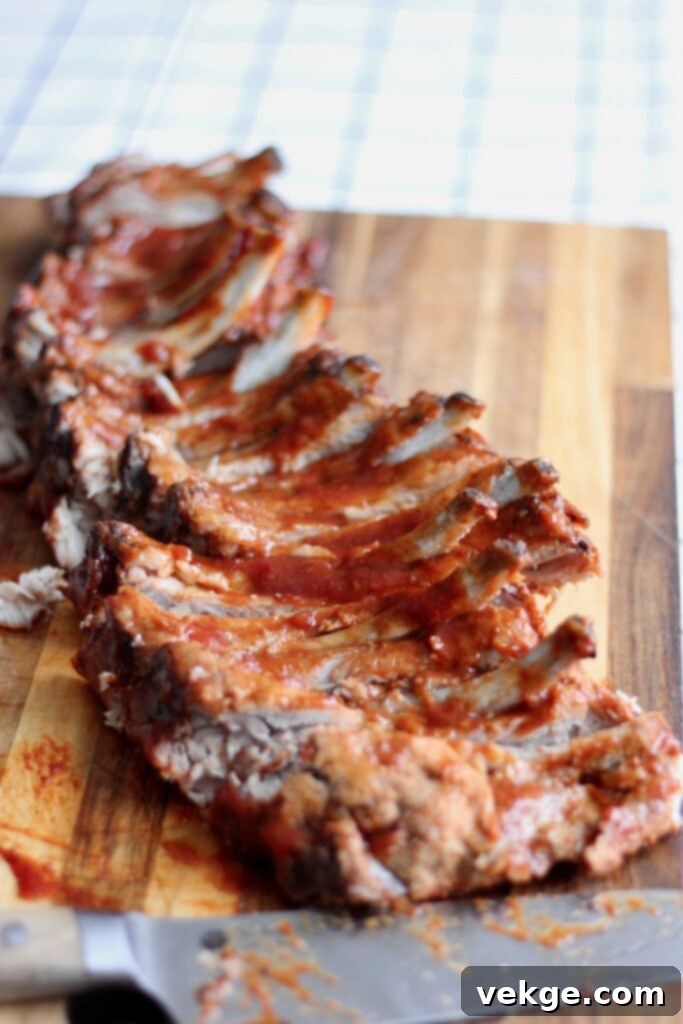
Essential Ingredients for Truly Tender Oven-Baked Ribs
Crafting the perfect oven-baked ribs begins with selecting the right components. From the cut of meat to the blend of spices and the finishing sauce, each element plays a crucial role in achieving that desired tender, flavorful outcome. Let’s delve into what you’ll need to create these culinary masterpieces.
Choosing the Right Ribs: Pork Back Ribs for Perfection
The foundation of this incredible recipe is a rack of meaty pork back ribs, often also referred to as baby back ribs. It’s important to understand that these are distinct from spare ribs or short ribs, and substituting other cuts in this particular recipe is not recommended due to their vastly different cooking characteristics and fat content. Pork back ribs are leaner and more tender than spare ribs, and they cook more quickly and consistently, making them ideal for achieving that signature fall-off-the-bone texture in the oven. When selecting your ribs, look for racks that have a good amount of meat covering the bones, with some visible marbling but not excessive fat. A typical rack weighs between 1.5 to 2.5 pounds. You can often find them pre-packaged at your local butcher or grocery store. If they come in a full slab, you might want to cut them into halves or thirds for easier handling on your baking sheet, though they can certainly be cooked whole.
The Secret to Flavor: A Delectable Rib Rub
The dry rub is the backbone of flavor for these ribs, creating a seasoned crust that locks in moisture and infuses every bite with savory goodness. To prepare this irresistible seasoning blend, you will need the following:
- 3 Tablespoons brown sugar
- 2 teaspoons salt
- 2 teaspoons paprika
- 1 teaspoon black pepper
- 1 teaspoon garlic powder
- 1 teaspoon onion powder
- 2 tablespoons yellow mustard
Many home cooks have inquired if the mustard can be omitted from the rub. My unequivocal answer is: please don’t! While it might seem counterintuitive to add mustard to a rib rub, especially if you’re not a fan of its sharp flavor, its role here is purely functional rather than flavor-dominant. The mustard acts as an exceptional binder, ensuring that all the dry spices adhere perfectly to the surface of the ribs, creating an even, flavorful coating. Moreover, during the slow cooking process, the mustard flavor completely mellows and disappears, leaving behind only a subtle tang and an incredibly delicious, seasoned crust. Even my husband, who professes to despise mustard, raved about these ribs, completely unaware of its presence in the rub. Trust me on this one; the mustard is a silent hero in this recipe!
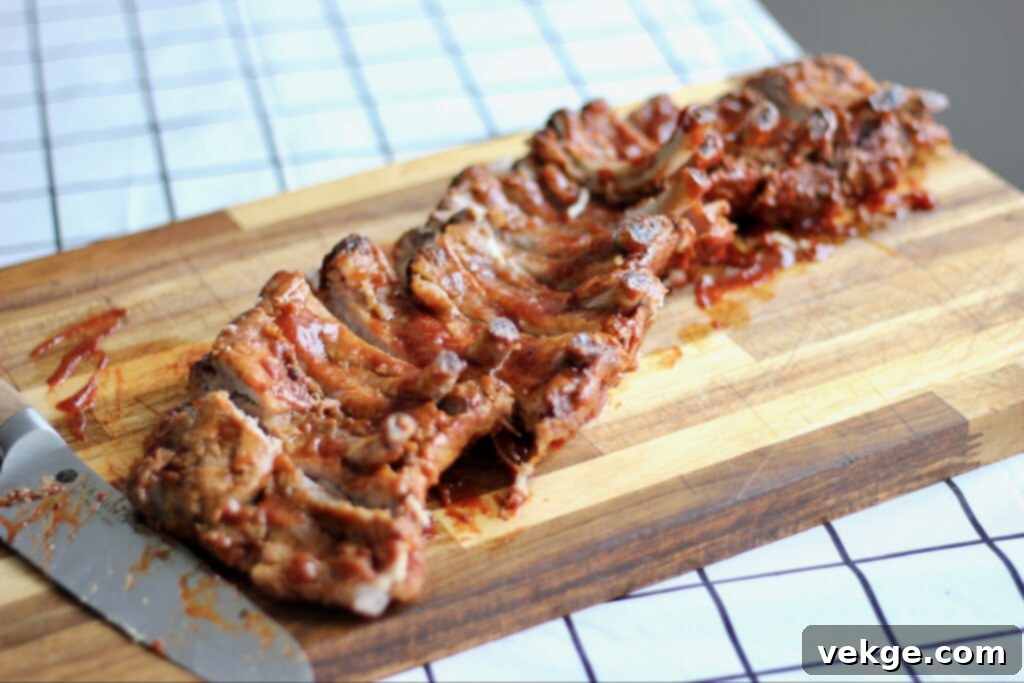
Crafting the Perfect Glaze: Semi-Homemade Barbecue Sauce
My son has a knack for culinary creativity, especially when it comes to sauces. He loves to combine a foundational homemade sauce with a touch of store-bought barbecue sauce to achieve a depth of flavor that’s both complex and incredibly satisfying. This “semi-homemade” approach allows for personalization while still leveraging the convenience of a ready-made product. For this delightful basting sauce, you’ll need:
- 1/2 cup ketchup
- 3 Tablespoons brown sugar
- 1 Tablespoon apple cider vinegar
- 1 teaspoon honey
- 1 teaspoon garlic powder
- 1 teaspoon paprika
- 1 teaspoon salt
- 1/2 teaspoon black pepper
- 1/3 cup high-quality store-bought barbecue sauce (for added depth and a perfect finish)
Each ingredient in this sauce contributes to its harmonious balance. Ketchup provides a rich, tangy base, while brown sugar and honey add sweetness and help create that beautiful caramelized glaze. Apple cider vinegar introduces a bright, acidic note that cuts through the richness of the pork, and the blend of spices ties all the flavors together, complementing the dry rub beautifully. The addition of a good store-bought barbecue sauce at the end acts as a flavor booster, adding an extra layer of smoky, savory goodness that makes the final glaze truly irresistible.
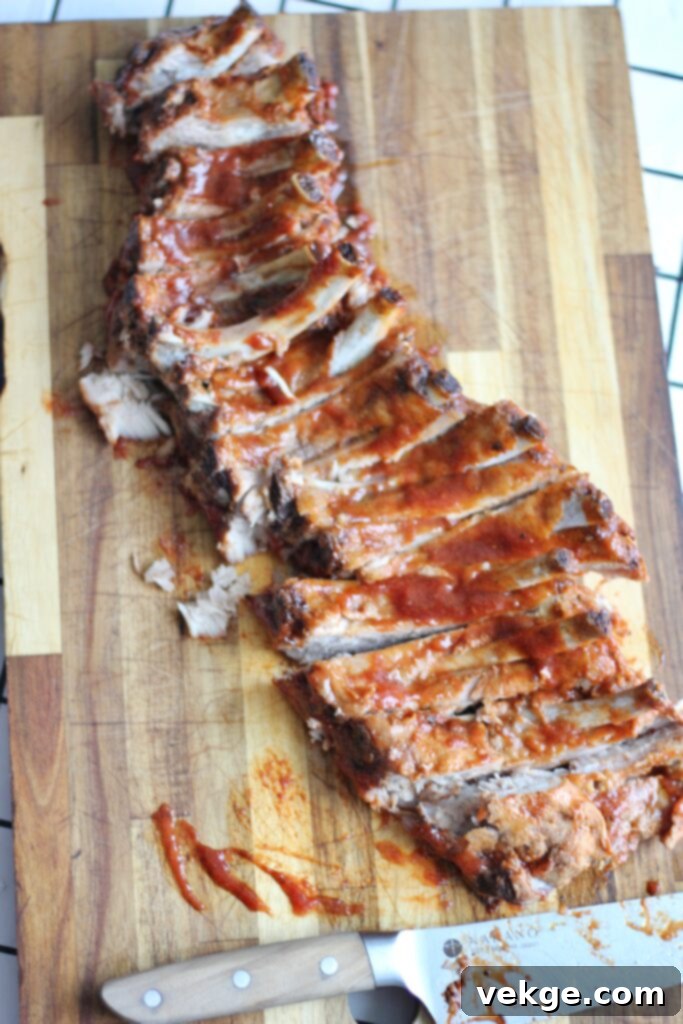
Recipe Yield and Scaling Suggestions
This recipe is perfectly portioned for a single rack of ribs, which typically serves 2-3 people, depending on appetites and side dishes. However, these ribs are so incredibly delicious and utterly addictive that they tend to disappear remarkably fast! When planning for a family dinner or a gathering, it’s always a good idea to err on the side of making more than you anticipate needing. You can easily double or even triple the ingredients for both the rub and the sauce to accommodate a larger crowd. Simply ensure you have enough baking sheets and oven space to cook multiple racks simultaneously without overcrowding. Trust me, leftovers are a rare occurrence with these ribs, but on the off chance you do have some, they reheat beautifully!
How to Achieve Fall-Off-The-Bone Ribs in Your Oven
The thought of making tender, succulent ribs often conjures images of elaborate smokers or backyard grills. However, I am here to dispel that myth and reveal a culinary secret: all you truly need to create unbelievably delicious, fall-off-the-bone ribs is your everyday kitchen oven! The magic lies in understanding the principles of low and slow cooking, a technique that allows the meat to become incredibly tender and flavorful without drying out.
Mastering the Low and Slow Method
The key to exceptionally tender ribs is patience and a consistent, low cooking temperature. High heat will shock the meat, causing it to seize up and become tough, no matter how long it cooks. By baking the ribs at a lower temperature for an extended period, you allow the tough collagen in the meat to slowly break down into gelatin. This transformation is what gives the ribs their characteristic melt-in-your-mouth texture, ensuring they are moist, juicy, and literally falling off the bone. This gentle cooking method also gives the dry rub ample time to permeate the meat, infusing it with deep, complex flavors that wouldn’t be possible with faster, higher-heat cooking.
Preparation is Key: Setting Up Your Ribs for Success
This recipe truly shines with meaty pork back ribs. Proper preparation ensures that the rub adheres well and the ribs cook evenly.
To begin, prepare your work surface by laying out two large pieces of heavy-duty aluminum foil, overlapping them in a criss-cross pattern. This double layer provides a secure wrap and makes cleanup a breeze. Place the rack of ribs in the center of the foil, meaty side up.
The most crucial step in rib preparation is removing the membrane from the bony side. This thin, silverskin layer doesn’t break down during cooking and can make the ribs tough and difficult to chew. To remove it, slide a butter knife or the handle of a spoon under the membrane at one end of the rack. Once you have a small section lifted, grip it firmly with a paper towel (this provides excellent traction) and slowly peel it away from the bones. It should come off in one large piece. Don’t worry if it tears; simply grab another section and continue peeling until it’s completely gone. This step is non-negotiable for tender ribs!
In a small bowl, combine all the ingredients for the rib rub until well mixed. Now, generously spread the yellow mustard over both sides of the ribs, ensuring a thorough and even coating. Don’t be shy; massage it into every crevice. Then, sprinkle half of the spice mixture over one side of the ribs, gently rubbing it into the meat. Flip the rack and repeat the process with the remaining spice mixture on the other side, making sure every surface is coated evenly. This generous application ensures maximum flavor penetration.
Once seasoned, tightly wrap the ribs in the aluminum foil, creating a sealed packet. Ensure there are no gaps or openings that could allow steam to escape. For extra security and to prevent any leaks, wrap the entire packet again with a second layer of foil. This double-foiling method creates a mini-steaming environment within your oven, guaranteeing ultra-moist and tender results.
The Baking Process: Low and Slow Perfection
With your ribs perfectly prepped and wrapped, it’s time for them to enter the oven. Place the foil-wrapped ribs on a sturdy baking sheet (to catch any potential drips and for easier transfer) and bake in a preheated oven at a consistent 275 degrees Fahrenheit (135 degrees Celsius) for 2.5 to 3 hours. The exact time can vary slightly depending on the thickness of your ribs and your oven’s calibration. You’re looking for extreme tenderness at this stage, where the meat barely clings to the bone.
Baste, Glaze, and Finish for Irresistible Flavor
Once the initial baking time is complete, carefully remove the baking sheet from the oven. It’s time for the magic of the sauce! Unwrap the foil from the ribs, being cautious of the hot steam that will escape. Discard the excess liquid accumulated in the foil, as this liquid can dilute your final sauce. Now, generously brush your semi-homemade barbecue sauce over both sides of the ribs, ensuring every inch is coated with that glossy, flavorful glaze. Use all of your sauce for this step; you want a thick, delicious layer.
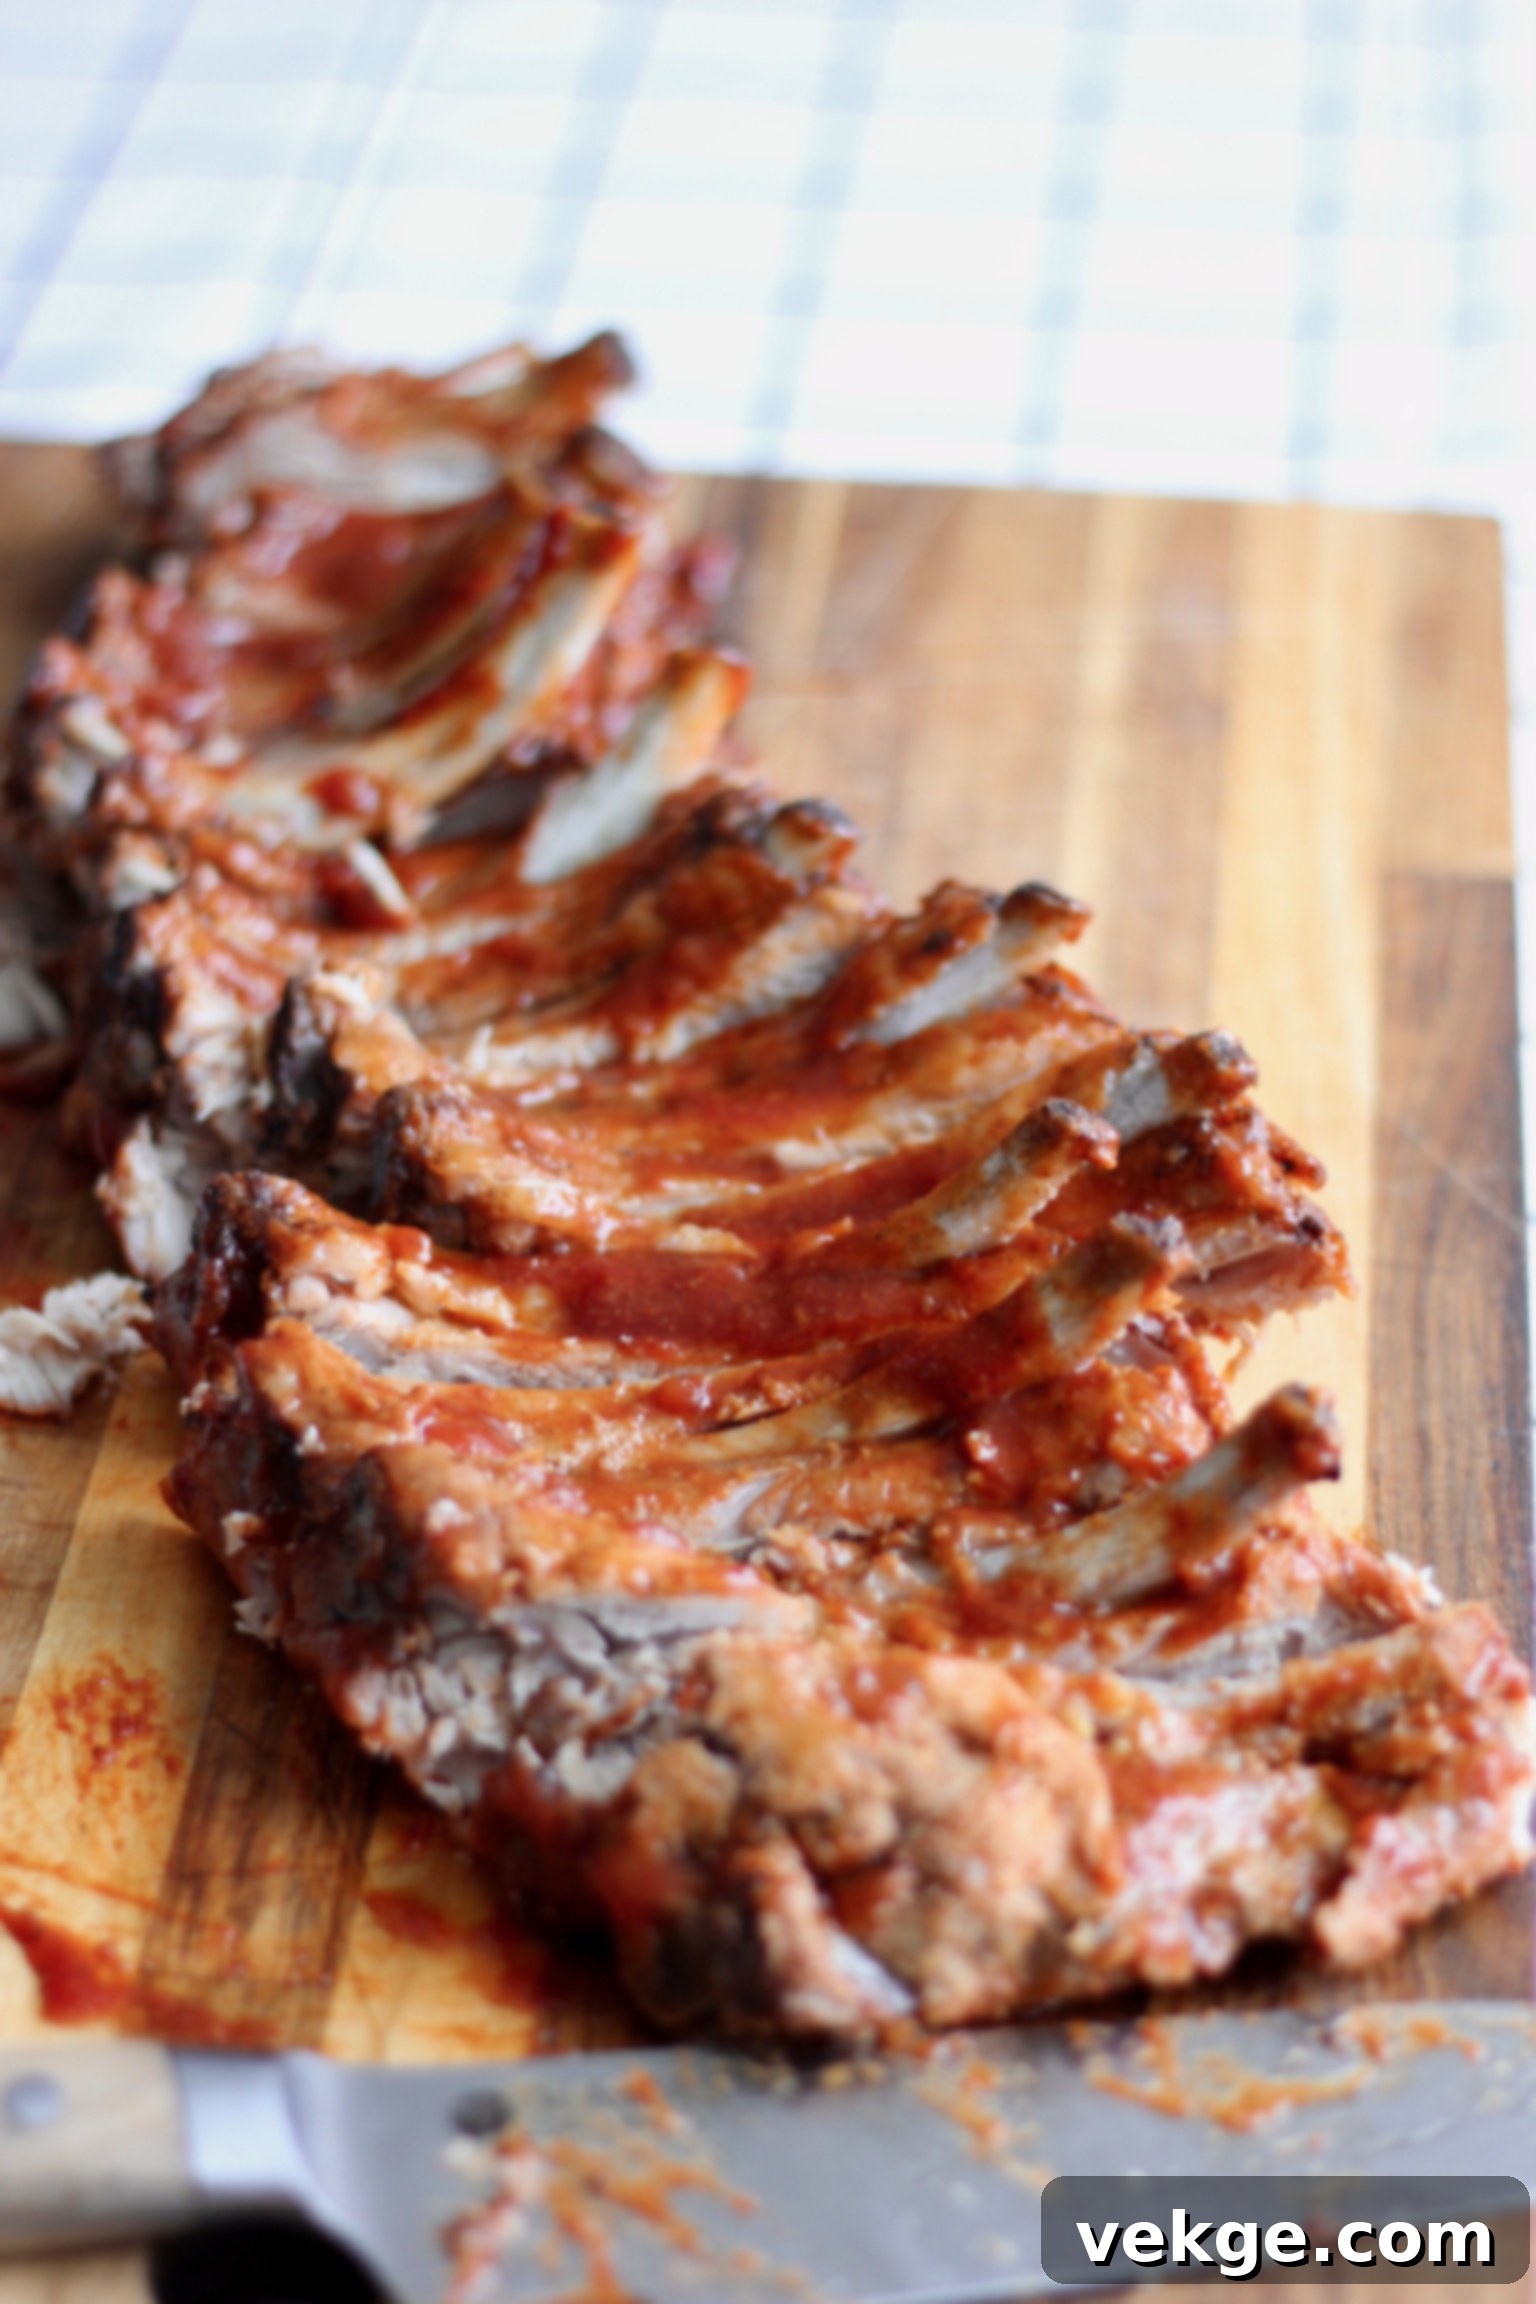
Return the sauced ribs to the oven, this time uncovered, for approximately 10 to 15 minutes. This final baking phase allows the barbecue sauce to caramelize and thicken, creating that sticky, irresistible crust that everyone loves. Keep a close eye on them during this stage to prevent burning, as the sugar in the sauce can brown quickly. Your ribs should now be beautifully glazed, incredibly tender, and bursting with flavor!
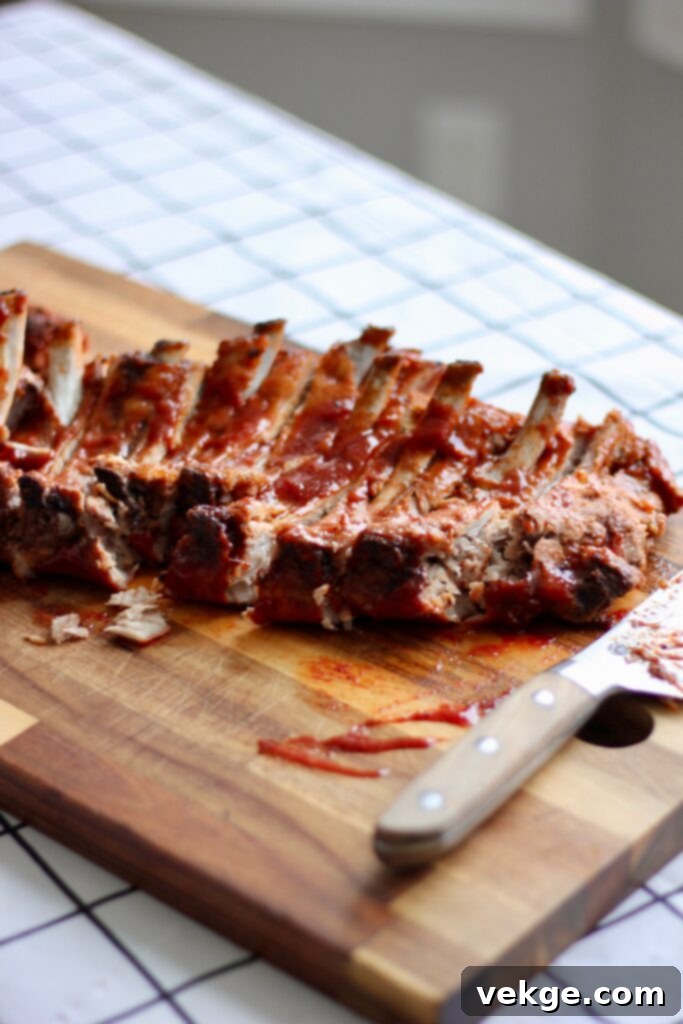
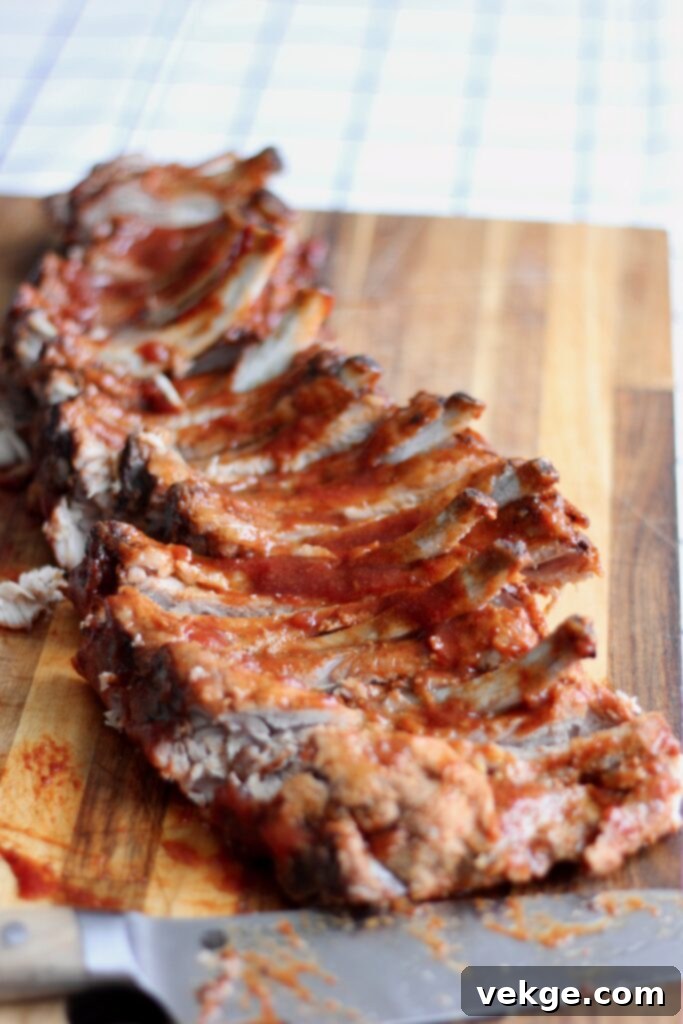
Before serving, add a final touch of barbecue sauce to the top of your perfectly cooked ribs if desired, enhancing their visual appeal and taste. Slice between the bones, serve immediately, and prepare for rave reviews!
Perfect Pairings: What to Serve with Oven-Baked Ribs
These magnificent oven-baked ribs are a showstopper on their own, but pairing them with complementary side dishes elevates any meal into a memorable feast. Whether you’re hosting a casual Sunday dinner or a festive backyard barbecue, these ribs are sure to be a crowd-pleaser, leaving everyone begging for the recipe. Here are some fantastic suggestions to complete your meal:
For a sophisticated Sunday dinner or an elegant gathering, consider serving these tender ribs with:
- Parmesan Garlic Asparagus: The crisp-tender texture and savory notes of asparagus provide a wonderful contrast to the rich ribs.
- Roasted Smashed Potatoes: Crispy on the outside, fluffy on the inside, these potatoes are the perfect comforting accompaniment.
If you’re planning a lively backyard barbecue or a summer party, these ribs shine alongside vibrant and fresh sides:
- Mexican Street Corn Dip and crispy tortilla chips: A zesty and creamy dip that adds a burst of fresh flavor.
- My favorite Pasta Salad: A versatile and refreshing side that’s always a hit at gatherings.
- This yummy Simple Fruit Salad: A light and sweet counterpoint that cleanses the palate.
Other excellent side dish options include creamy coleslaw, baked beans, corn on the cob, or a simple green salad with a tangy vinaigrette. The possibilities are endless, ensuring there’s a perfect pairing for every occasion.
More Delicious Meat Recipes to Explore
While my son might be crowned the resident “meat master” for his incredible rib recipe, I do have a few other noteworthy meat dishes that have become family favorites. If you’re looking to expand your repertoire of hearty and satisfying meals, these recipes are definitely worth a try:
Instant Pot Chuck Roast
Baked Chicken Breast
Salsa Verde Shredded Beef
HAPPY COOKING!
I sincerely hope that you and your loved ones enjoy this oven-baked ribs recipe as much as my family and I do. It’s a true testament to how simple techniques can yield extraordinary results. If you’d like to follow along with more of my culinary adventures, find daily inspiration, and discover new recipes, please connect with me on Instagram. I love seeing your creations!
Follow me on Instagram @AMBERSKITCHEN
Easy Oven-Baked Ribs
Pin Recipe
Rate This Recipe
10 minutes
3 hours
3 hours 10 minutes
Ingredients
- 1 rack meaty pork back ribs
Rib Rub
- 3 Tablespoons brown sugar
- 2 teaspoons salt
- 2 teaspoons paprika
- 1 teaspoon pepper
- 1 teaspoon garlic powder
- 1 teaspoon onion powder
- 2 tablespoons yellow mustard
Semi-Homemade BBQ Sauce
- 1/2 cup ketchup
- 3 Tablespoons brown sugar
- 1 Tablespoon apple cider vinegar
- 1 teaspoon honey
- 1 teaspoon garlic powder
- 1 teaspoon paprika
- 1 teaspoon salt
- 1/2 teaspoon pepper
- 1/3 cup store-bought bbq sauce (plus more for topping)
Instructions
- Acquire a rack of meaty pork back ribs.
- Lay two large sheets of aluminum foil criss-cross on your work surface and place the ribs in the middle.
- Carefully remove the thin membrane from the bony side of the ribs for optimal tenderness.
- Generously spread mustard onto both sides of the ribs, rubbing it in thoroughly.
- Evenly spread all of the seasoning mixture onto both sides of the ribs, ensuring a good coating by rubbing it into the meat.
- Wrap the seasoned ribs tightly in the aluminum foil, ensuring no gaps. Then, wrap again with a second layer of foil for a secure seal. Place the wrapped ribs on a baking sheet and bake at 275 degrees Fahrenheit (135°C) for 2.5 to 3 hours.
- Once baked, carefully unwrap the ribs. Discard any accumulated liquid. Brush the prepared semi-homemade barbecue sauce onto both sides of the ribs. Return the uncovered ribs to the oven for an additional 10-15 minutes to allow the sauce to caramelize.
- For an extra glossy finish, add a little more barbecue sauce to the top before serving. Slice and enjoy your perfectly tender, flavorful ribs!
