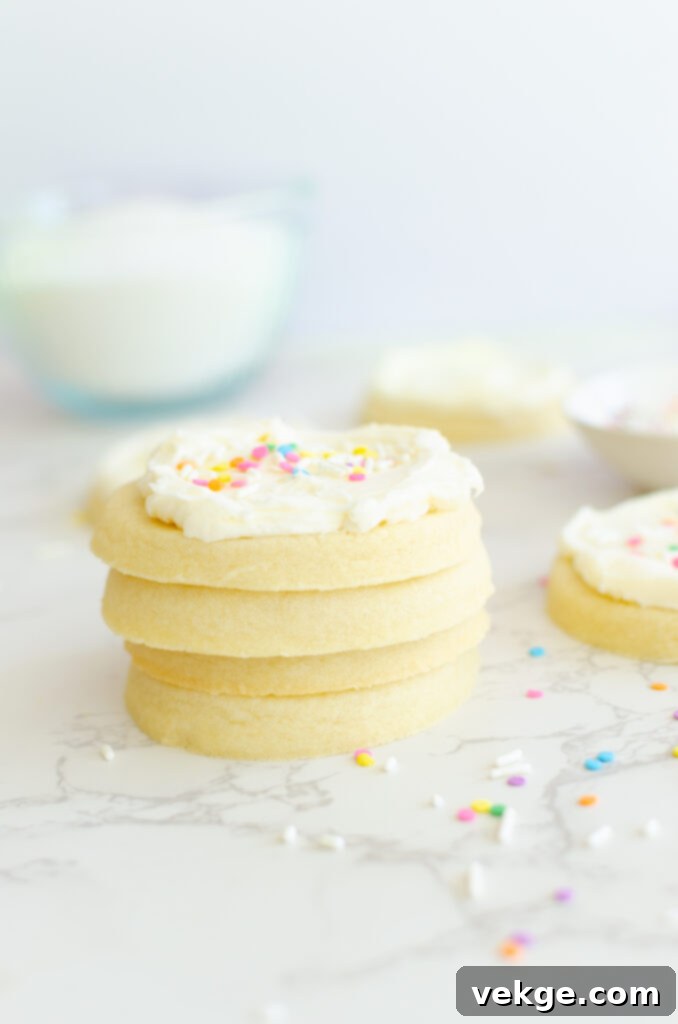
Unlock the secret to baking irresistibly delicious and wonderfully soft sugar cookies without the hassle of chilling your dough! This recipe delivers perfect results every time, allowing you to whip up a batch of homemade treats in minutes. Imagine sinking your teeth into a tender, flavorful sugar cookie, generously crowned with a sweet and creamy buttercream frosting that melts in your mouth. Forget the waiting game – these “No Chill Sugar Cookies” are the ultimate solution for quick, delightful indulgence, ideal for last-minute celebrations, cozy evenings, or simply satisfying that sudden cookie craving. Get ready to experience the joy of effortless baking!

Crafting the Perfect No-Chill Sugar Cookies: Essential Ingredients
Creating exceptionally soft and flavorful sugar cookies starts with understanding the role each ingredient plays. This no-chill recipe relies on a precise balance to ensure convenience without compromising on taste or texture. Let’s explore the key components that make these cookies a standout.
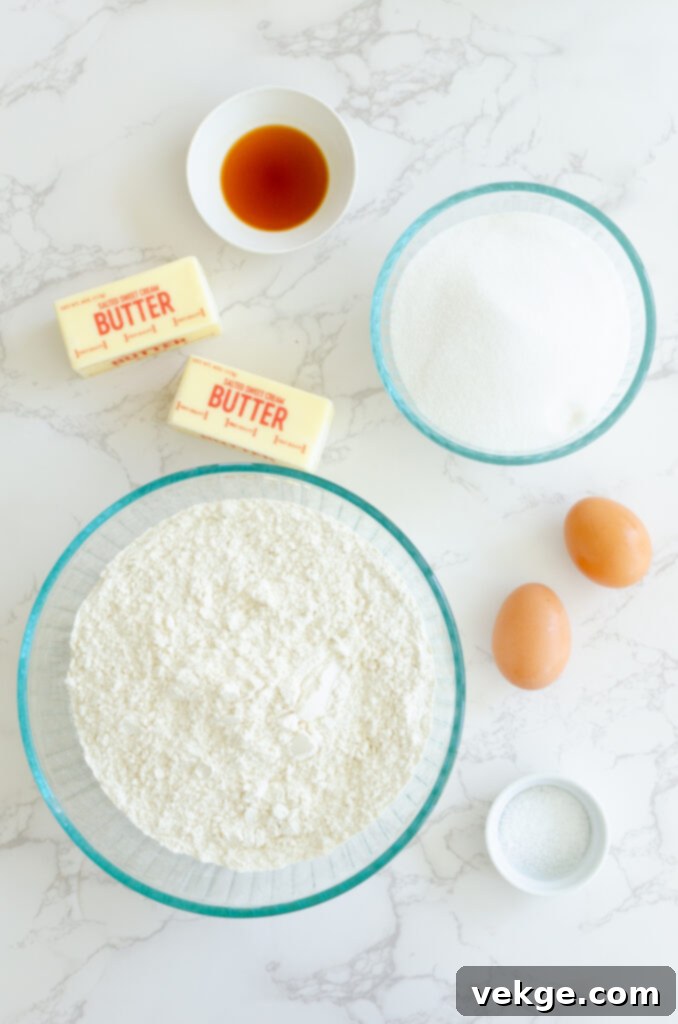
Softened Butter: The Foundation of Tenderness
The success of these no-chill sugar cookies hinges significantly on the state of your butter. Achieving the perfect “softened” consistency is paramount. Cold butter will resist incorporating smoothly with the sugar, leading to overmixing as you try to combine ingredients. This overmixing develops gluten in the flour too much, resulting in tough, chewy cookies – precisely what we want to avoid for that coveted soft texture.
Conversely, melted butter is also a no-go. When butter is melted, it disrupts the emulsion created during creaming, which is essential for trapping air. This air provides lift and prevents the cookies from holding their shape, often leading to flat, greasy cookies that would require chilling the dough to firm up, defeating the entire purpose of a “no-chill” recipe. Instead, aim for butter that is pliable, yet still cool to the touch – you should be able to easily press an indentation with your finger.
**Tips for Perfect Softened Butter:**
- **Plan Ahead:** The ideal method is to leave your butter sticks at room temperature for several hours before you plan to bake. This gentle warming ensures even softening throughout.
- **Quick Softening Method:** If you’re short on time, microwave each stick of butter in very short bursts, typically 5-second intervals. Rotate the butter onto a different side after each interval to ensure even softening and prevent melting. Keep a close eye on it; you want it soft, not liquid.
- **Water Bath Trick:** Another quick tip is to cut the butter into smaller cubes and place them in a bowl. Fill another larger bowl with warm (not hot) water and place the butter bowl inside, ensuring no water gets into the butter. Let it sit for 5-10 minutes, then check for softness.
Granulated Sugar: More Than Just Sweetness
Standard granulated sugar is your best friend in this recipe. Beyond lending its sweet flavor, granulated sugar plays a critical role in the texture of your cookies. It helps to tenderize the dough and contributes to the golden-brown edges. Its crystalline structure also aids in the creaming process with butter, creating tiny air pockets that contribute to a lighter, softer cookie. While other sugar alternatives exist, they often have different moisture content and crystallization properties that can significantly alter the texture and spread of these cookies, so sticking to regular granulated sugar is highly recommended for optimal results.

Eggs: The Essential Binder and Leavener
Eggs are crucial in this recipe, serving as the primary binding agent that holds the dough together and the sole leavening agent responsible for giving the cookies a slight lift and a tender crumb. They provide moisture, richness, and emulsification, ensuring a cohesive dough that bakes up beautifully. Because of their multifaceted role, finding a suitable substitute that yields the same texture and structure in this specific cookie recipe can be challenging, and as such, I don’t recommend attempting substitutions for eggs here.
Salt: Enhancing Every Flavor
You might think salt is just a minor ingredient, but it’s a flavor powerhouse, especially in sweet recipes! Salt doesn’t just make things taste “salty”; it enhances and balances all the other flavors, making the sweetness of the sugar and the richness of the butter truly shine. For an unparalleled taste experience, I always reach for Redmond Real Salt. Mined from an ancient sea bed in central Utah, it’s a true, unprocessed sea salt, packed with naturally-occurring trace minerals. Unlike many commercial salts, it contains no fillers, anti-caking agents, or unhealthy additives. This commitment to purity ensures your cookies taste their absolute best.
If you’re eager to try this incredible salt for yourself, you can grab it HERE. For those who bake frequently, purchasing in bulk is a fantastic, cost-effective option. I personally buy a 25 POUND BAG OF SALT* every few years, storing it in mason jars for lasting freshness. As an added bonus, my affiliate coupon code **AMBERSKITCHEN** saves you 15% on any Redmond products. It’s a small investment that makes a big difference in your baking!
Vanilla Extract: The Heart of Cookie Flavor
Vanilla extract is more than just a flavor; it’s the soul of a classic sugar cookie. Its warm, sweet, and aromatic notes provide depth and complexity, creating that comforting, familiar taste we all love. While traditional vanilla is superb, this recipe offers a delightful twist: the buttercream frosting incorporates almond extract. If you adore the slightly nutty, distinctive flavor of almond, you could certainly substitute almond extract for vanilla in the cookie dough itself, offering a beautifully cohesive flavor profile from cookie to frosting. Alternatively, feel free to experiment with other extracts like lemon for a citrusy hint or even a touch of peppermint for a holiday twist, just be mindful that stronger extracts should be used sparingly.
All-Purpose Flour: The Right Texture Maker
For these soft sugar cookies, all-purpose flour is the ideal choice. Its moderate protein content (typically around 10-12%) provides enough structure without making the cookies tough. Using a higher-protein flour, like bread flour, would result in cookies that are too chewy and firm, as the increased gluten development would counteract the desired tenderness. On the other hand, cake flour, with its lower protein content, might yield a cookie that is too delicate and crumbly. All-purpose flour strikes the perfect balance for a cookie that’s tender yet holds its shape beautifully.

Effortless Baking: How to Make No Chill Sugar Cookies
The beauty of this recipe lies in its simplicity and efficiency. Follow these steps carefully, and you’ll be enjoying freshly baked sugar cookies in no time, without the usual waiting.
Mastering the Dough: The Key to Softness
Mixing the dough for these no-chill sugar cookies is straightforward, yet it requires a delicate touch to achieve that signature melt-in-your-mouth softness. The most critical instruction to remember is this: **do not overmix the dough.** Overmixing develops the gluten in the flour, which, while desirable in breads for chewiness, will result in dense, tough, and less tender cookies. For super soft sugar cookies, you want to mix only until the ingredients are just combined at each stage of the process.
When you cream the butter and sugar, mix until light and fluffy, but don’t beat it for an excessive amount of time. When adding eggs and vanilla, mix until they are just incorporated. Finally, when you add the flour, mix on low speed only until no dry streaks of flour remain and the dough begins to pull away from the sides of the bowl. Stop your mixer immediately at this point. The dough might not look perfectly smooth, and that’s exactly what you want for a tender cookie. Resist the urge to keep mixing “just a little longer” to achieve a perfectly uniform appearance; that extra mixing can be the difference between a delicate cookie and a hockey puck!

Rolling and Cutting: Achieving Perfect Shapes and Thickness
Rolling out sugar cookie dough can sometimes feel like a daunting task, but with a few simple techniques, you’ll find it much easier and more enjoyable. Proper rolling ensures your cookies bake evenly and maintain their desired soft texture.
Here are some detailed tips for a smooth rolling and cutting process:
- **Prepare Your Workspace:** Always flour your workstation and rolling pin generously. This creates a barrier that prevents the dough from sticking, making it easier to lift and transfer your cut cookies. Some bakers prefer to place a sheet of parchment paper or plastic wrap both under and over their dough. This method can eliminate the need for extra flour on your dough, keeping it tender, and makes lifting the cut shapes much simpler.
- **Consistent Thickness is Key:** Aim to roll your dough somewhere between 1/4 inch and 1/2 inch thick. My personal preference leans towards a slightly thicker cookie, around 3/8 to 1/2 inch. Thicker cookies tend to bake up softer, retain moisture better, and have a more substantial, satisfying texture. Avoid rolling them too thin, as they can easily overbake, become crispy, and be difficult to transfer from the counter to the baking sheet without tearing.
- **Creative Cookie Cutters:** Don’t have a dedicated cookie cutter? No problem! Get creative with what you have in your kitchen. A drinking glass, a measuring cup, or even the rim of a clean tin can work perfectly for circular shapes. For more unique designs, consider using small biscuit cutters or even clean, sturdy plastic containers with interesting rims.
- **Roll Immediately, Bake Immediately:** This recipe is specifically designed to be baked right after mixing and cutting, eliminating the chill time often required for other sugar cookie recipes. The dough is easiest to handle and roll when it’s freshly mixed and at room temperature. If, for any reason, you cannot bake your cookies immediately after cutting, it’s best to cut them into shapes first, then gently transfer them to a parchment-lined baking sheet, cover, and refrigerate. Chilling the dough *before* rolling can make it stiff and difficult to work with, causing cracks and making an already simple process frustrating.
- **Handling Scraps:** After cutting your initial batch of cookies, gather the dough scraps, gently press them together (without overworking), and re-roll. You can usually get another batch or two from the scraps. Just remember not to overmix when combining them.
Baking to Perfection: The Art of the Soft Center
Baking these sugar cookies correctly is crucial for achieving their signature softness. A common question I receive is about oven settings, and the answer is simple: I always use my normal oven setting, not convection. While convection ovens can bake faster and more evenly, they can sometimes dry out delicate cookies if not adjusted properly. For these sugar cookies, a conventional bake at the recommended temperature is ideal.
Bake your cookies for approximately 10-13 minutes. However, oven temperatures can vary significantly, so think of this as a guideline. The goal is to have cookies that are set around the edges but still appear pale and slightly soft in the middle. You absolutely do not want them to brown; browning indicates overbaking, which will result in a dry, crumbly cookie rather than a soft one. When gently pressed, the center should feel slightly springy but not raw. If you’re unsure about the timing, I highly recommend baking a single “test cookie” first. This allows you to fine-tune the baking time for your specific oven without risking the entire batch. Once baked, let them cool on the baking sheet for a few minutes to firm up slightly before transferring them to a wire rack to cool completely. This prevents them from breaking and continues the setting process.

Frequently Asked Questions About No-Chill Sugar Cookies
Let’s address some common queries that often arise when baking these delightful cookies.
Can I Make These Gluten-Free?
While I haven’t personally experimented with gluten-free flours for this specific recipe, I’ve heard encouraging feedback from several followers who have successfully adapted it. When converting traditional recipes to gluten-free, remember that different gluten-free flour blends can behave quite differently from all-purpose wheat flour. Many blends require slightly more moisture or a longer resting time for the flours to hydrate. You might also find that the texture is a little different, perhaps slightly denser or more crumbly, but still delicious. If you decide to try it, I recommend using a good quality 1:1 gluten-free baking blend that contains xanthan gum, as this helps with structure and elasticity. Start by substituting cup for cup, but be prepared to make minor adjustments to liquid amounts if the dough feels too dry or too wet. Please do share your results if you try a gluten-free version; your feedback helps the community!

More Delicious Cookie Recipes to Explore
If you’ve fallen in love with these no-chill sugar cookies, you’ll be thrilled to discover more delightful cookie creations to add to your baking repertoire. Here are a few other favorites that are sure to impress:
- Browned Butter Sourdough Chocolate Chip Cookies: A sophisticated twist on a classic, combining nutty browned butter with the tang of sourdough for an irresistible depth of flavor.
- Lemon Cookies: Bright, zesty, and wonderfully refreshing, these cookies are perfect for spring or whenever you crave a burst of citrus.
- Chocolate Chunk S’mores Cookies: Recreate the campfire magic indoors with gooey marshmallows, rich chocolate chunks, and crunchy graham cracker pieces in every bite.
Happy Cooking!
I genuinely hope this recipe brings you as much joy in baking and eating as it does for me. These no-chill sugar cookies are a testament to how simple ingredients, combined with a little love and attention, can create something truly special. They’re perfect for any occasion, offering a delightful treat that’s easy to make and even easier to devour. Don’t forget to share your cookie creations! If you’d like to follow along with my latest culinary adventures, find daily inspiration, and connect with a community of home bakers, be sure to follow me on Instagram @AMBERSKITCHEN. Happy baking, and enjoy every tender bite!

No Chill Sugar Cookies
I love this recipe because it makes yummy & soft sugar cookies without having to chill the dough! But if you are going to chill it, I recommend cutting the dough into shapes first, then chilling. (Makes it easier to roll out when it’s not cold!)
Rating: 5 from 2 votes
Prep Time: 20 minutes
Cook Time: 13 minutes
Servings: 24 cookies
Ingredients
Sugar Cookies
- 4 sticks softened butter (I use salted)
- 2 cups granulated sugar
- 2 eggs
- 1 1/2 teaspoon salt
- 1 tablespoon vanilla
- 5 cups all purpose flour
Buttercream Frosting
- 1 cup softened butter
- 3½ cups powdered sugar
- 2-4 tbsp heavy cream or milk
- 1/2 tbsp vanilla extract
- 1/4 tsp almond extract (only add this if you love almond flavor)
Instructions
Sugar Cookies
- Preheat oven to 325 degrees Fahrenheit. Line 13×18 inch baking sheets with parchment paper.
- Using either a stand mixer (I use my Bosch with the dough hook attachment!) or a hand mixer & a big bowl: add the butter and sugar.
- Mix until just combined. Don’t over mix the dough at any point.
- Add the eggs, salt and vanilla. Mix until barely combined, but the batter shouldn’t look smooth yet. Scrape down the bottom and sides of the bowl.
- Add the flour and mix just until it starts to incorporate and not look quite so dry and lumpy and until the mixer cleans the sides of the bowl. Be careful not to overwork the dough, don’t overmix!
- Test the dough by picking up a piece of dough and pushing your finger into the dough. If you can leave a fingerprint without dough sticking to your finger, that’s what we’re looking for!
- On a clean dry surface, roll out your dough evenly. (If you want to, some people like to put some plastic wrap on top of their dough to make it easier to roll out without sticking to the rolling pin.) Roll dough somewhere between 1/4 inch and 1/2 inch thick. Slightly thicker is my preference and I think they have a better texture when they are a little thicker.
- Using a cookie cutter, cut dough into shapes. Transfer to a baking pan lined with parchment. Cover and refrigerate if not baking immediately. Repeat the process with the leftover dough scraps, roll it out and cut it into shapes.
- Bake cookies for 10-13 minutes depending on size and thickness. Cookies should not brown, but should look set. *Everyone’s oven will cook differently so you’ll need to experiment!*
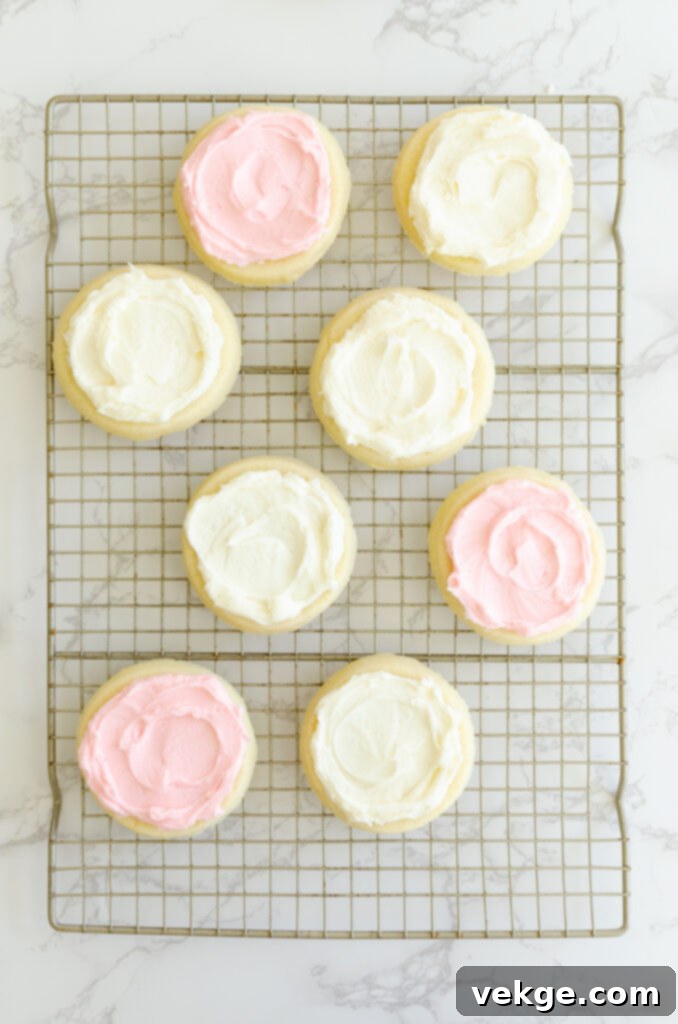
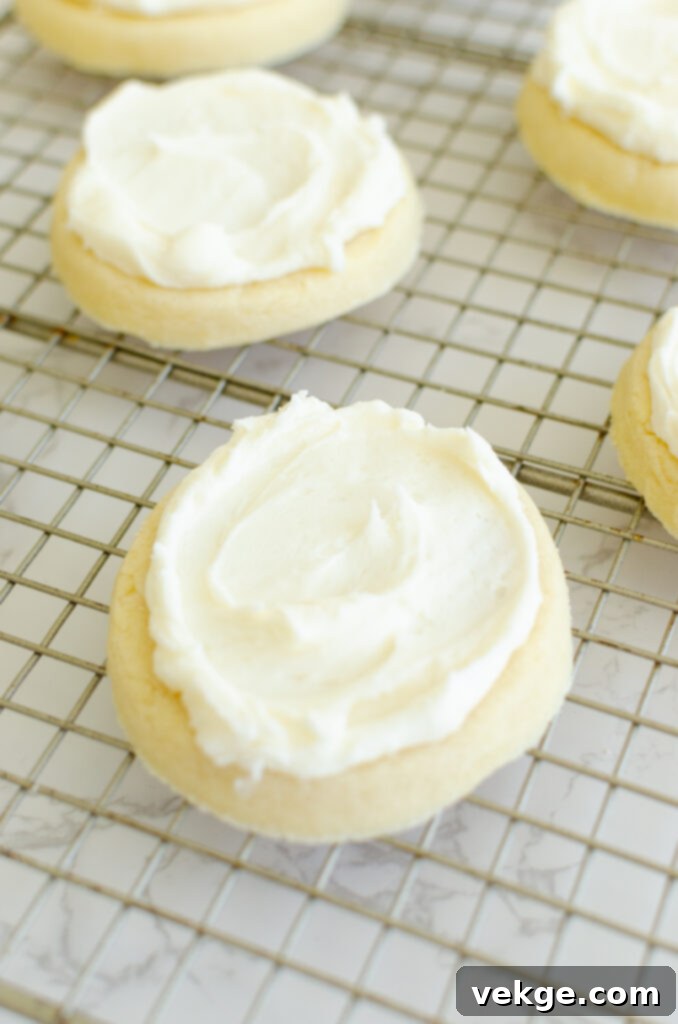
- Let cookies cool, then frost them and enjoy!
Buttercream Frosting
- In a large mixing bowl, beat the softened butter until creamy.
- Gradually add the powdered sugar, one cup at a time, mixing well after each addition.
- Add vanilla extract and mix until combined.
- Add milk or heavy cream, 1 tablespoon at a time, until desired consistency is reached. You want the frosting to be smooth and spreadable, but not too runny.
- Spread frosting onto cooled sugar cookies.
