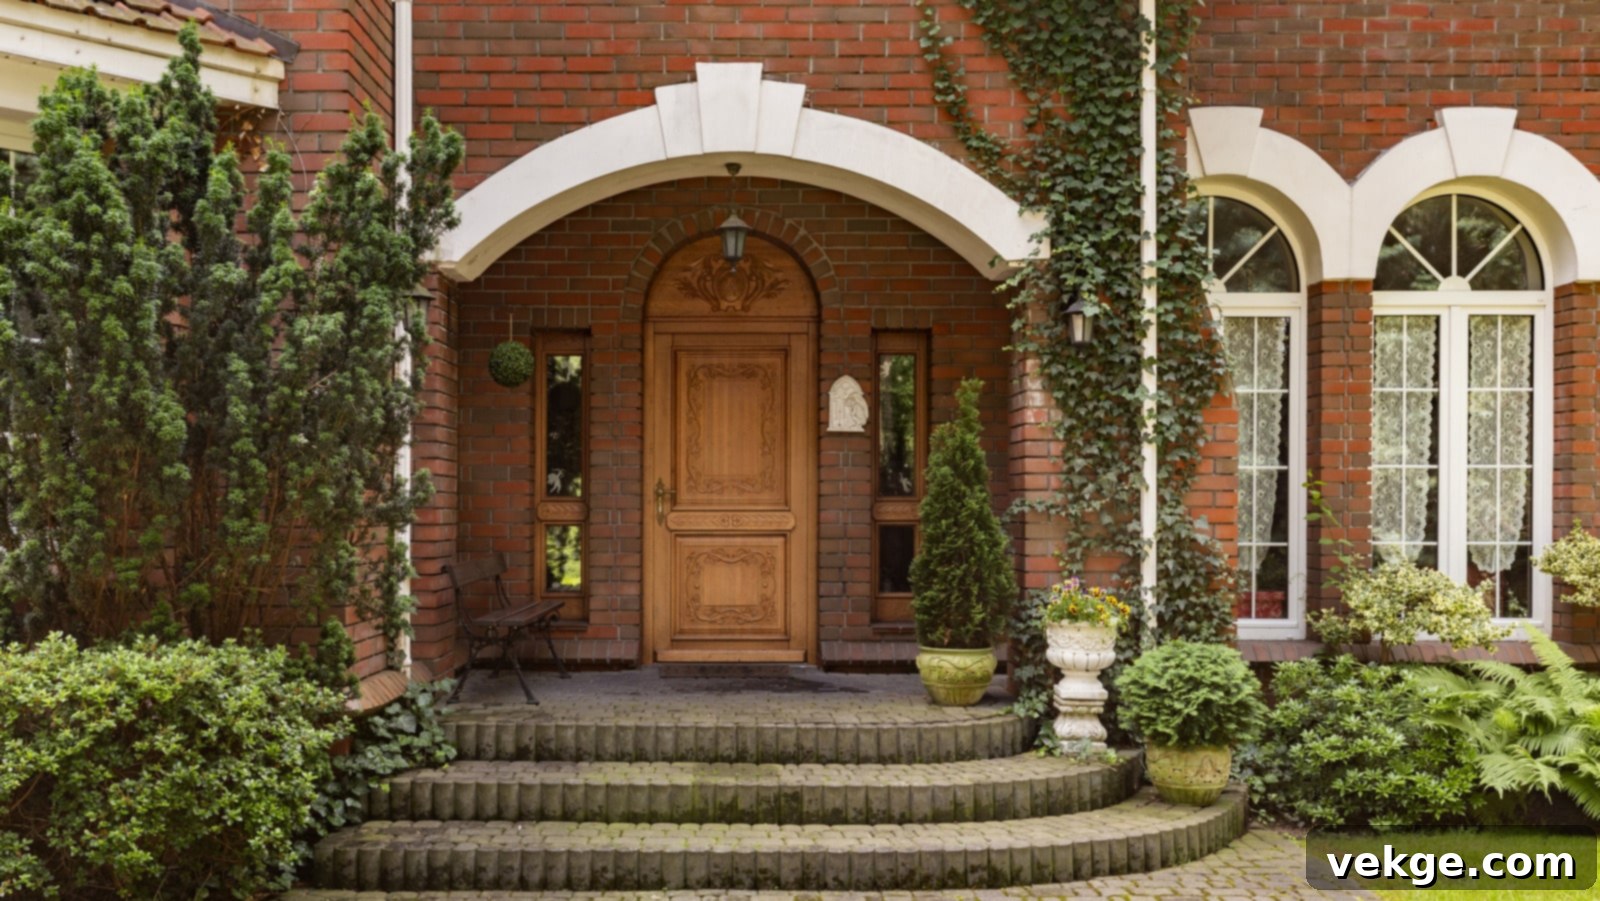
DIY Arched Doorway Installation: A Step-by-Step Guide to Transform Your Home with Elegance
Arched doorways are more than just architectural features; they are statements of timeless elegance and design sophistication. Introducing an arched doorway can instantly elevate the aesthetic appeal of any room, transforming an ordinary passage into a captivating focal point that draws the eye and adds character. While the prospect of enhancing your home with such a charming element is undeniably exciting, the installation process might initially seem like a formidable undertaking for the average homeowner.
However, with meticulous planning, precise execution, and the right set of tools, installing an arched doorway can be a highly rewarding DIY project. This comprehensive guide is designed to demystify the process, breaking it down into manageable steps that empower you to achieve a stunning, professional-looking result. By following our detailed instructions, you’ll not only add a touch of architectural beauty to your living space but also gain the satisfaction of having crafted it yourself. Prepare to transform your home with a beautiful, custom-built arched entryway that will be admired for years to come.
Essential Materials and Tools for Your Arched Doorway Project
Successful arched doorway installation hinges on having the correct materials and tools readily available. This section outlines everything you’ll need to ensure a smooth, safe, and efficient project. Investing in quality tools and materials from the outset will save you time and effort, ultimately contributing to a superior finish.
- Safety Gear: Your safety is paramount. Always wear appropriate personal protective equipment (PPE).
- Safety Goggles: Essential for protecting your eyes from dust and debris during cutting and sanding.
- Work Gloves: Protect your hands from splinters, sharp edges, and chemical contact with adhesives.
- Dust Masks or Respirator: Crucial for preventing inhalation of sawdust and drywall compound particles, especially in enclosed spaces.
- Measuring and Marking Tools: Accuracy is key to a perfectly symmetrical arch.
- Tape Measure: For all your primary dimensioning needs.
- Spirit Level or Laser Level: To ensure everything is perfectly plumb and level.
- Pencil: For marking cuts and outlines.
- Arch Template: While optional, a template crafted from paper, cardboard, or thin plywood will greatly simplify creating a consistent and aesthetically pleasing arch curve. This is invaluable for guiding your cutting tools.
- Structural Materials: The foundation of your new arch.
- Wooden Boards: Select high-quality, stable wood such as plywood (minimum 3/4 inch thickness for rigidity) or MDF (medium-density fiberboard) for crafting the arched frame. These materials are ideal for holding their shape and providing a smooth surface for finishing.
- Cutting Tools: For shaping your arch with precision.
- Jigsaw: Excellent for cutting intricate curves and achieving the desired arch shape.
- Router (Optional but recommended for smoother edges): Can be used with a template to create perfectly smooth, consistent arch curves.
- Utility Knife or Saw: For removing existing trim or making initial cuts in drywall.
- Adhesion and Fasteners: To secure the arch firmly in place.
- Construction Adhesive: A heavy-duty adhesive designed to create a strong, permanent bond between the wooden arch and the wall structure.
- Nails or Screws: For mechanically reinforcing the arch’s attachment to wall studs. Use appropriate lengths to ensure secure fastening without penetrating too deep.
- Finishing Materials: To achieve a seamless, professional look.
- Drywall Compound (Joint Compound): Essential for filling gaps, seams, and screw/nail holes, creating a smooth transition between the arch and existing walls.
- Sandpaper: Various grits (e.g., 80-grit for shaping, 120-grit for smoothing, 220-grit for fine finishing) for refining edges and preparing surfaces for paint.
- Primer: To seal the wood and drywall compound, ensuring better paint adhesion and a uniform finish.
- Paint: Choose a high-quality interior paint that complements your home’s existing color scheme for a cohesive and polished look.
- Paint Brushes and Rollers: For applying primer and paint smoothly.
- Work Support and Securing Tools:
- Sawhorses: Provide a stable, elevated work surface for safely cutting and shaping your wooden arch.
- Nail Gun or Cordless Drill/Driver (with appropriate bits): For quickly and securely fastening the arch with nails or screws.
- Hammer: For minor adjustments or traditional nailing if a nail gun isn’t available.
- Stud Finder: To locate wall studs, ensuring you attach the arch to solid structural elements.
Step-By-Step Installation Guide for Your Arched Doorway
Step 1: Measuring and Planning Your Archway
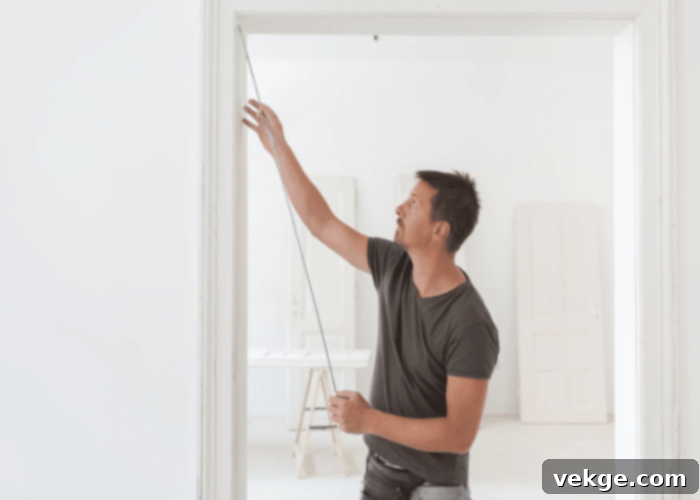
The foundation of a successful arched doorway project lies in precise measurements and thorough planning. This initial step is critical to ensure your arch fits perfectly and looks symmetrical.
- Begin by carefully measuring the dimensions of your existing doorway opening. Note down the exact height and width. Consider if you want the arch to start at the top of the existing frame or lower down for a more dramatic effect.
- Next, design your arch. You can freehand a curve on a large piece of paper or cardboard, or use a string and pencil to draw a perfect arc. Alternatively, consider purchasing a pre-made arch template. This template will guide you in cutting the wooden arch to your desired shape and size, ensuring consistency and symmetry. Mark the exact points where the arch will begin and end on the vertical sides of the doorway.
- Double-check all your measurements. An error here can lead to significant issues later in the installation process.
Step 2: Cutting the Arch Frame
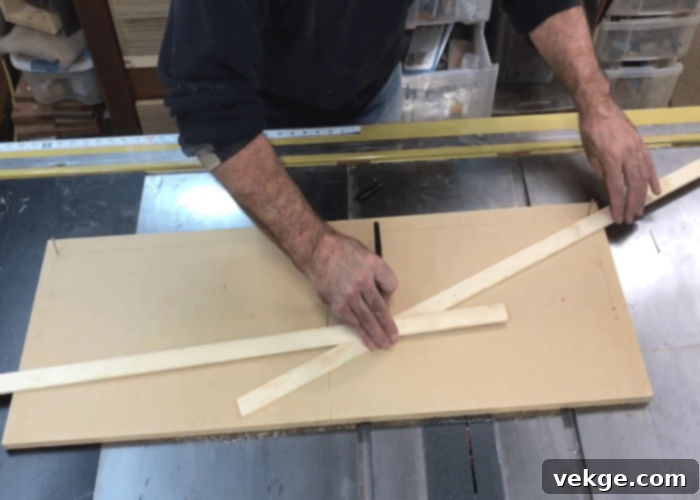
Precision is paramount in this step, as the quality of your cut will directly impact the final appearance of your arched doorway. Take your time to ensure clean, smooth lines.
- Place your chosen wooden board (plywood or MDF) securely on sawhorses. A stable work surface is essential for safe and accurate cutting. Clamp the wood if necessary to prevent movement.
- Carefully transfer your arch template design onto the wooden board using a pencil. Ensure the outline is clear and precise.
- Using a jigsaw or router, slowly and carefully cut along the marked outline. For jigsaws, use a fine-tooth blade designed for smooth cuts in wood. Take consistent, steady strokes, allowing the tool to do the work. If using a router, attach the template to the wood and guide the router along its edge for a perfectly smooth curve.
- Once cut, use sandpaper (starting with a coarser grit like 80 or 100, then moving to finer grits like 120 or 220) to smooth out any rough edges or imperfections on the arch. This will create a polished surface ready for finishing.
Step 3: Preparing the Doorway Opening
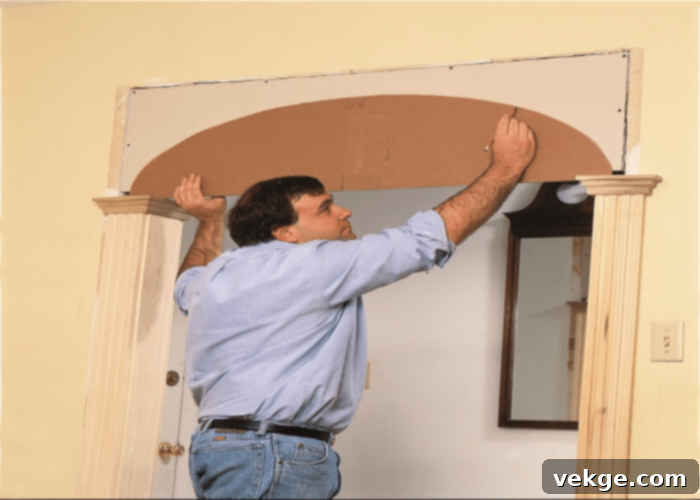
This stage involves preparing the existing doorway to seamlessly accommodate your new arched design. Proper preparation ensures structural integrity and a clean installation.
- If there’s an existing door, remove it from its hinges. Then, carefully remove the existing door frame and any trim. This might involve prying off trim pieces and then using a reciprocating saw to cut through nails holding the frame. Be mindful of electrical wiring or plumbing that might be hidden within the wall.
- Once the opening is clear, hold your newly cut wooden arch in place against the wall opening. Use a pencil to trace the exact outline of the arch onto the wall. Verify that the arch is perfectly centered and level using your spirit level.
- Using a utility knife to score drywall or a saw for wood, carefully cut along the marked arch outline on the wall. This creates the recess where your wooden arch frame will sit flush with the wall surface. Clean out any debris.
Step 4: Attaching the Arched Frame
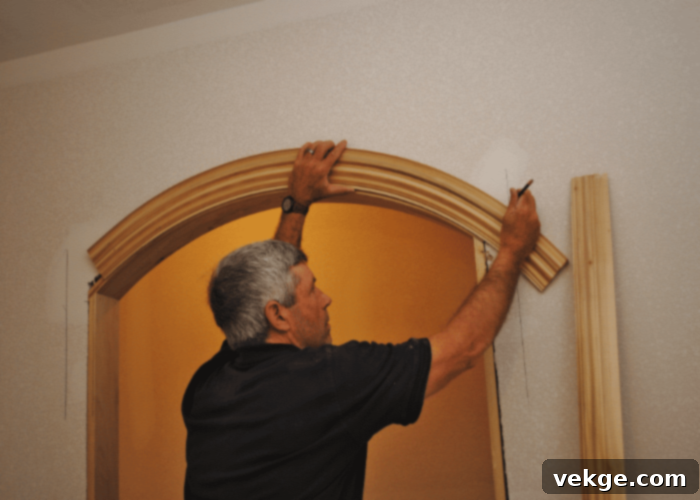
Securing the arch correctly is vital for its stability and longevity. A combination of adhesive and mechanical fasteners will ensure a robust installation.
- Apply a generous bead of construction adhesive to the back surface of the wooden arch, ensuring good coverage, especially along the edges. This adhesive provides a strong bond and helps minimize future movement.
- Carefully position the wooden arch into the prepared doorway opening, aligning it precisely with the cut-out on the wall. Press it firmly into place to allow the adhesive to grip.
- To reinforce the attachment and provide immediate stability, use nails or screws to fasten the arch to the wall studs. A stud finder will help you locate these studs. Space fasteners every 6-8 inches along the arch, ensuring they penetrate securely into the framing. Use a nail gun for efficiency or a drill/driver for screws.
- Allow the construction adhesive to cure for the recommended time, as specified by the manufacturer’s instructions. This might take several hours, during which you should avoid disturbing the arch.
Step 5: Applying the Finishing Touches
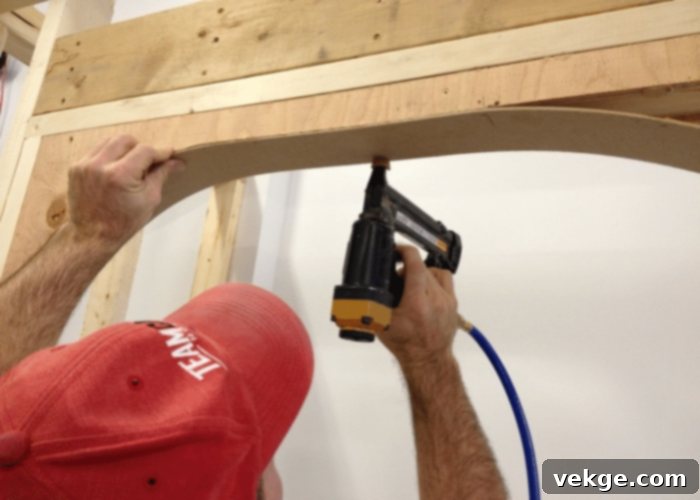
This step brings your archway to life, ensuring a smooth, seamless transition and a professional, aesthetically pleasing appearance.
- Using a putty knife, apply drywall compound to fill any gaps, seams, or screw/nail holes between the arch and the wall. Feather out the compound smoothly to blend with the surrounding surfaces. Allow the first coat to dry completely.
- Once dry, sand the patched areas with fine-grit sandpaper (e.g., 150 or 220-grit) until they are perfectly smooth and blend seamlessly. You might need to apply a second thin coat of compound and sand again to achieve a flawless finish.
- Apply a coat of primer to the entire wooden arch and all patched drywall areas. Primer ensures that the paint adheres properly and provides a uniform base, preventing splotches and improving the durability of your paint finish.
- Once the primer is dry, apply your chosen paint. Apply thin, even coats, allowing each layer to dry thoroughly according to the paint manufacturer’s instructions before applying the next. This multi-coat approach ensures a consistent, professional-looking finish and deep color saturation.
Step 6: Reinstalling the Door (If Applicable)
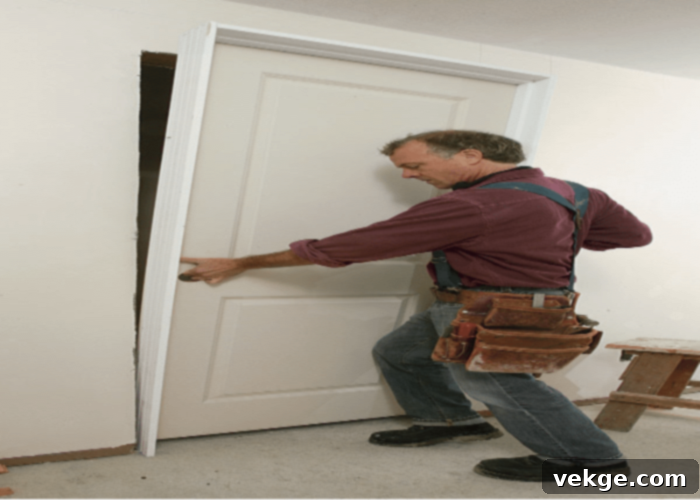
If your arched doorway is designed to retain a functioning door, this step restores its practicality while showcasing your new architectural feature.
- Ensure that all paint and finishes have completely dried and cured before proceeding.
- Carefully reattach the door to its hinges, ensuring proper alignment. If new hardware is needed, install it now.
- Open and close the door several times, making any necessary adjustments to the hinges or frame to ensure it operates smoothly within the newly created arched opening. The door should swing freely without binding or catching.
Step 7: Final Inspection and Enjoyment

With the hard work behind you, it’s time for the ultimate satisfaction of admiring your completed project.
- Take a step back and thoroughly scrutinize your newly installed arched doorway from various angles. Look for any minor imperfections, unaddressed gaps, or inconsistencies in the finish.
- Make any final, necessary adjustments. This might include touching up paint, applying a bit more compound to a tiny pinhole, or sanding a barely visible bump. The goal is to ensure the doorway not only looks impeccable and perfectly integrated but also functions exactly as you envisioned. Your attention to detail here will make all the difference in the final, professional look.
- Finally, take pride in your craftsmanship! You’ve successfully transformed a standard opening into an elegant architectural feature.
Conclusion: Embrace the Elegance of Your DIY Arched Doorway
What once seemed like a daunting home improvement task—installing an arched doorway—is now a tangible achievement, a testament to your vision and effort. By meticulously following each step outlined in this comprehensive guide, you have confidently undertaken and completed a project that significantly enhances the charm and character of your home.
The journey from a simple concept to a stunning reality showcases your craftsmanship and keen design sensibilities. Remember that success in such endeavors is rooted in precision, unwavering attention to detail, and a steadfast commitment to safety throughout the entire process. With a blend of dedication and patience, you have not only installed an arched doorway but have created a bespoke architectural element that will serve as a continuous source of admiration within your home’s interior. Enjoy the timeless beauty and sophisticated ambiance your new archway brings to your living space!
