Ultimate Guide to Spray Painting Wood Furniture for a Flawless Finish
Transforming old wood furniture or adding a vibrant touch to new pieces doesn’t have to be a daunting task. If you’ve been contemplating giving a wooden item a fresh look but feel unsure about the process, spray paint might be your perfect solution. It’s known for its speed, ease of use, and the remarkably smooth, factory-like finish it can achieve when applied correctly. Whether you’re breathing new life into a beloved antique chair, adding a pop of color to a simple bookshelf, or customizing a raw wood project, a fresh coat of spray paint can make an astonishing difference.
This comprehensive guide is designed to walk you through every essential step in clear, straightforward language. We’ll cover everything from meticulous surface preparation to selecting the ideal spray paint and applying it flawlessly, all while minimizing stress and common pitfalls. Crafted with beginners in mind, you won’t feel overwhelmed. Just take your time, follow these instructions diligently, and get ready to enjoy impressive, professional-looking results on your wood painting projects.
Can You Spray Paint Wood? Understanding Compatibility and Preparation
Yes, absolutely! Wood is an excellent surface for spray paint, offering versatility for countless DIY projects. However, the secret to a successful, long-lasting finish lies in proper preparation. The way you prepare the wood directly impacts how well the paint adheres, its durability, and the final appearance. Different types of wood surfaces require specific preparatory steps:
- Raw wood: Untreated and unpainted wood is highly porous. It requires thorough sanding to create a smooth surface and a good quality primer to seal the pores. This prevents the paint from soaking in unevenly, which can lead to blotchy patches and excessive paint consumption. Primer also helps create a uniform base for the topcoat color.
- Painted wood: If your wood item already has a layer of paint, you’ll need to clean it thoroughly and lightly sand the surface. Cleaning removes any dirt, grime, or oils, while light sanding (often called ‘scuff sanding’) creates a slightly rough texture that helps the new spray paint adhere better. This prevents peeling and ensures a smooth, consistent finish.
- Varnished or Stained wood: Similar to painted wood, varnished or stained surfaces need cleaning and light sanding. The goal is to dull the glossy finish and create ‘tooth’ for the primer and paint to grab onto. For particularly shiny or slick finishes, a deglosser can also be used in conjunction with or instead of light sanding, though sanding generally provides superior adhesion.
- Treated wood: This category includes wood that has been pressure-treated or chemically treated (like some outdoor lumber). These treatments can sometimes resist paint adhesion unless the wood is properly primed. Allow treated wood to dry out completely for several months before painting, then clean and apply an oil-based primer specifically designed for treated wood to ensure optimal adhesion and prevent bleeding of chemicals.
Essential Supplies: What You’ll Need to Get Started
Before you embark on your spray painting journey, gathering all your necessary supplies will make the process much smoother and more efficient. Here’s a basic list of items you’ll want to have on hand, along with a brief explanation of why each is important:
- Spray paint (specifically for wood): The star of the show! Choose a paint that explicitly states it’s suitable for wood surfaces. Consider the finish (matte, satin, gloss) and color carefully.
- Primer (optional but highly recommended): Primer creates a uniform base, improves paint adhesion, blocks stains from bleeding through, and can even reduce the number of topcoats needed, especially for raw or dark wood.
- Sandpaper (fine-grit and medium-grit): Essential for smoothing surfaces, removing imperfections, and creating ‘tooth’ for the paint to adhere. Medium-grit (e.g., 120-150) for initial smoothing, fine-grit (e.g., 220) for a final, silky finish.
- Drop cloth or plastic sheeting: Protects your floors, grass, or surrounding area from overspray. It’s much easier to lay down protection than to clean up paint mist later.
- Painter’s tape (if needed): For masking off areas you don’t want painted, such as hardware, glass, or contrasting sections. High-quality painter’s tape prevents bleed-through and leaves crisp lines.
- Tack cloth or microfiber cloth: Critical for removing all sanding dust before painting. A tack cloth has a slightly sticky surface that picks up fine dust particles, ensuring a clean surface. A clean, dry microfiber cloth can also work well.
- Safety gear (mask, gloves, goggles): Your personal protection is paramount. A respirator mask protects your lungs from fumes, goggles shield your eyes from paint particles, and gloves keep your hands clean and chemical-free.
- Clear topcoat (optional but often beneficial): A clear protective layer that enhances durability, protects the paint from scratches, moisture, and UV damage, and can adjust the final sheen. Highly recommended for frequently used items.
- Cleaner/Degreaser (e.g., mild soap, vinegar, or dedicated degreaser): For thoroughly cleaning the wood surface of dirt, grime, and oils before sanding and painting.
- Stir stick (for liquid paint, not spray): Not directly needed for spray paint, but good to remember if combining with brush-on primer.
Step-by-Step Guide: How to Spray Paint Wood for Professional Results
Spray painting wood isn’t inherently difficult, but adhering to the correct sequence of steps makes a monumental difference in the final outcome. A meticulously clean and smooth surface is the foundation for superior paint adhesion and long-lasting durability. With the right tools, a bit of patience, and careful application, you can achieve even coverage without unsightly drips, runs, or rough patches. Let’s break down the process one step at a time, ensuring you feel confident and prepared as you move through your project.
Step 1: Prepare Your Workspace and Ensure Safety
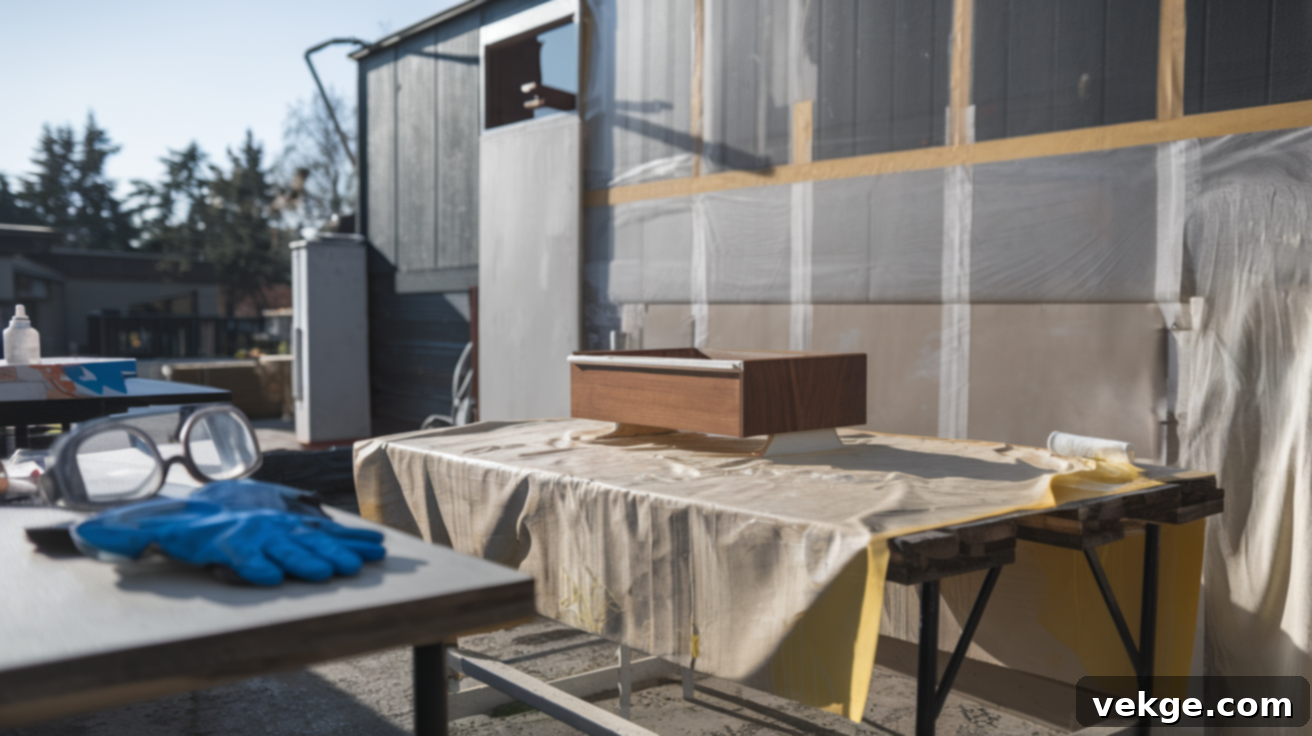
Selecting the right environment for spray painting is crucial for both your health and the quality of your finish. Choose an open area where air moves freely and continuously. Painting outdoors on a calm, low-humidity day is generally ideal. If outdoor painting isn’t feasible, work in a well-ventilated indoor space. Open windows wide, use an exhaust fan to draw fumes out, and consider setting up a box fan to circulate air away from your work area. Proper ventilation prevents the buildup of harmful fumes and helps the paint dry and cure correctly.
Before you start, lay down a large drop cloth, old sheets, or plastic sheeting to thoroughly protect your floor, ground, or surrounding surfaces from overspray. Spray paint mist travels further than you might think. Use painter’s tape to secure the edges of your drop cloth and to mask off any adjacent areas or parts of your furniture piece that you absolutely do not want painted (e.g., hinges, hardware, or specific design elements). This preparatory step ensures easy cleanup and protects your property.
Your personal safety is paramount. Always wear a respirator mask (not just a dust mask) to protect your lungs from inhaling fine paint particles and strong chemical fumes. Goggles are essential to keep paint out of your eyes, and gloves will protect your hands from paint and solvents. Taking these precautions safeguards both your long-term health and keeps your immediate workspace safe and tidy.
Step 2: Thoroughly Clean the Wood Surface
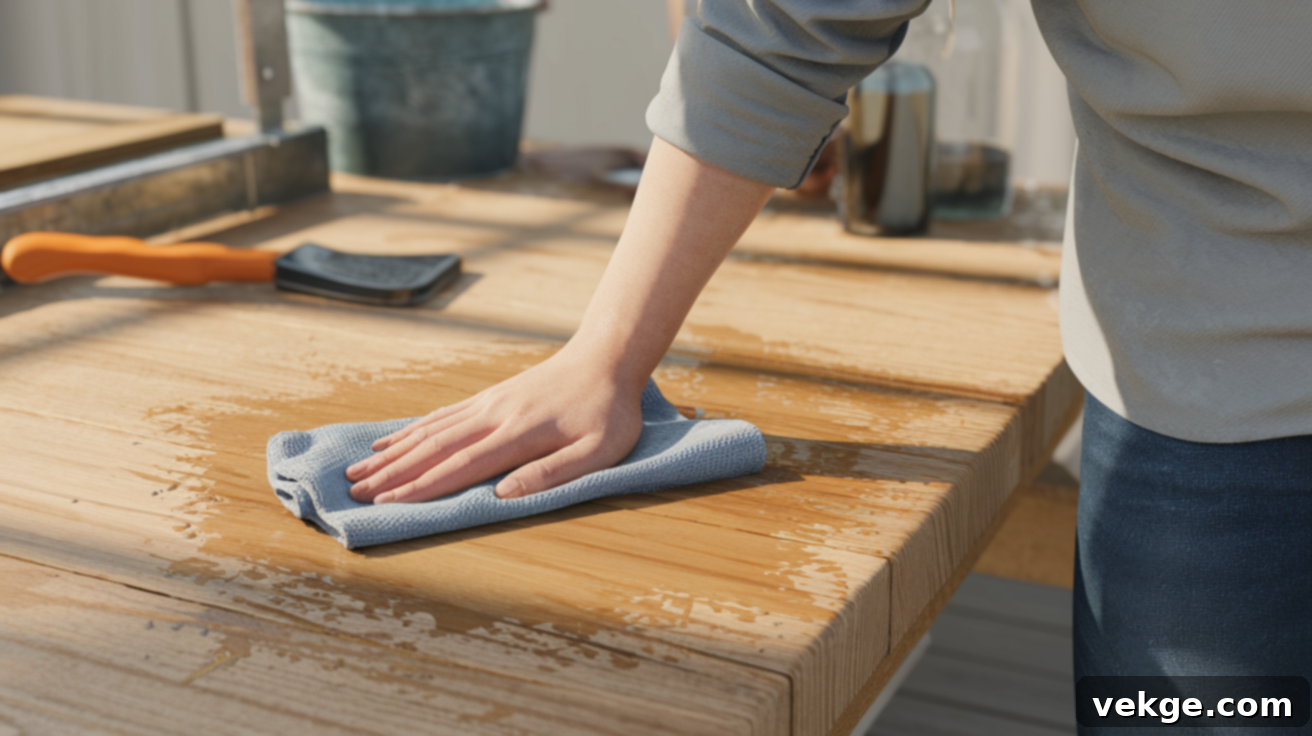
A clean surface is non-negotiable for proper paint adhesion. Use a damp cloth to meticulously wipe away all traces of dust, dirt, grime, and cobwebs. For any stubborn, sticky spots, grease, or oily residues, use a mild all-purpose cleaner, a diluted solution of mild dish soap and water, or a small amount of vinegar mixed with water. For heavily soiled items, dedicated degreasers available at hardware stores can be very effective.
After cleaning, allow the wood surface to dry completely. Any moisture left on the wood can interfere with paint adhesion, leading to bubbling, peeling, or an uneven finish. Ensure every crevice and corner is dry before proceeding to the next step. This seemingly simple step is fundamental; paint simply will not stick well to a dirty or damp surface, making all subsequent efforts less effective.
Step 3: Sand the Wood for Optimal Adhesion and Smoothness
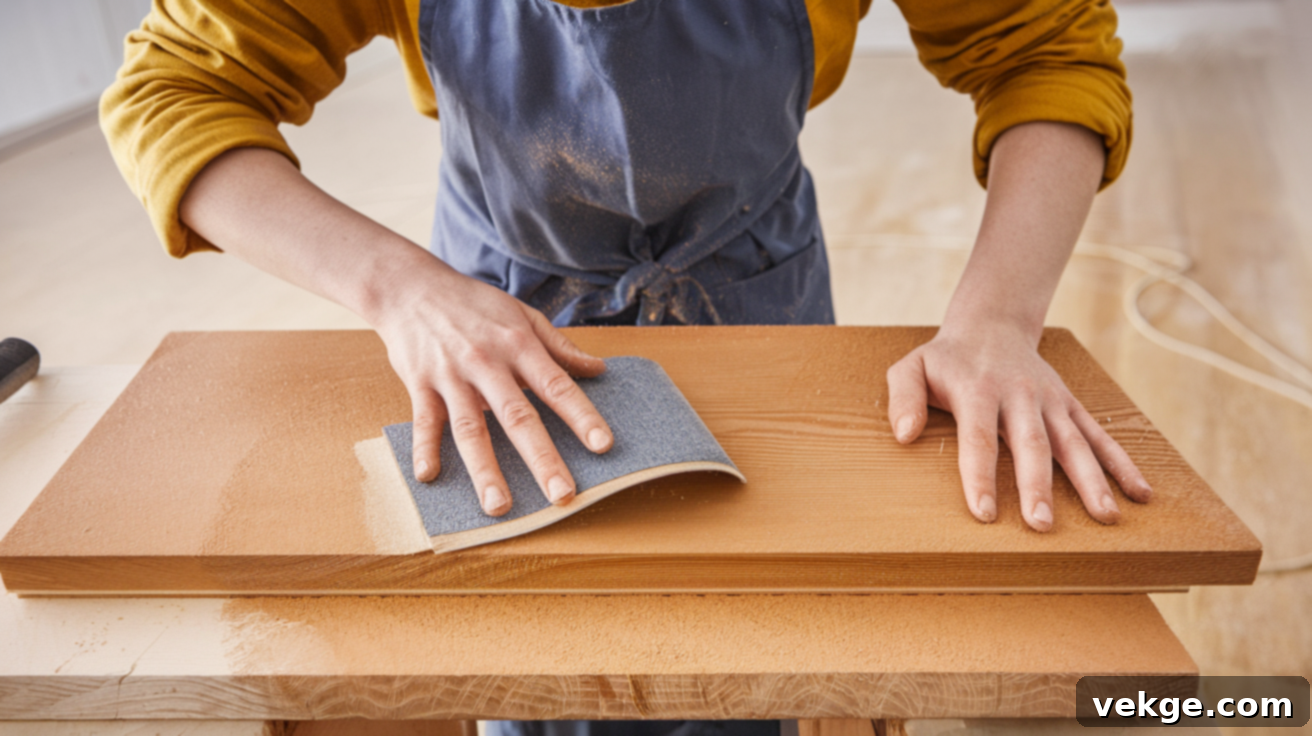
Sanding is a critical step that ensures the paint adheres strongly and results in a smooth, professional-looking finish. For most projects, you’ll want to start with a medium-grit sandpaper, such as 120 or 150-grit. This grit is effective for removing minor imperfections, old peeling paint, existing scratches, or smoothing out any rough patches on raw wood. Apply even pressure and sand thoroughly over the entire surface, being careful not to over-sand in one spot.
Once you’ve addressed the initial rough spots, switch to a finer-grit sandpaper, typically 220-grit. This fine grit will smooth out any sanding marks left by the coarser paper and create a silky-smooth texture perfect for painting. Always sand in the direction of the wood grain. Sanding against the grain can create noticeable scratches that will show through the finished paint job. Pay special attention to edges and corners, ensuring they are equally smooth.
After completing your sanding, it’s absolutely crucial to remove all sanding dust. This fine dust, if left on the surface, will create a gritty texture under the paint and prevent proper adhesion. Use a tack cloth, which is specifically designed to pick up fine dust particles, or a clean, dry microfiber rag. Wipe down the entire surface meticulously, ensuring no dust remains. Don’t skip or rush this step—it significantly impacts the quality and longevity of your final painted piece.
Apply Primer (Highly Recommended for Durability)
Applying a quality primer is a step that often gets overlooked but can dramatically improve the final look and durability of your spray-painted wood. Primer helps the paint adhere much better, resulting in a stronger, more even color. It also serves as a barrier, blocking potential stains (like wood tannins, previous dyes, or watermarks) from bleeding through and discoloring your new paint color. This is especially important for old, dark wood, or wood that has been previously stained.
Choose a primer specifically formulated for spray application and compatible with wood. Look for “stain-blocking” or “bonding” primers for the best results, particularly if dealing with raw, previously stained, or problematic wood. Apply the primer in light, even coats, just as you would the spray paint, following the manufacturer’s instructions on the can. Ensure the entire surface is covered evenly.
Allow the primer to dry fully according to the time recommended on the can before applying any topcoat. Rushing this step can lead to adhesion issues. While technically optional, primer is almost always a good idea, providing a professional foundation for your paint.
Step 4: Choose the Right Spray Paint for Your Project
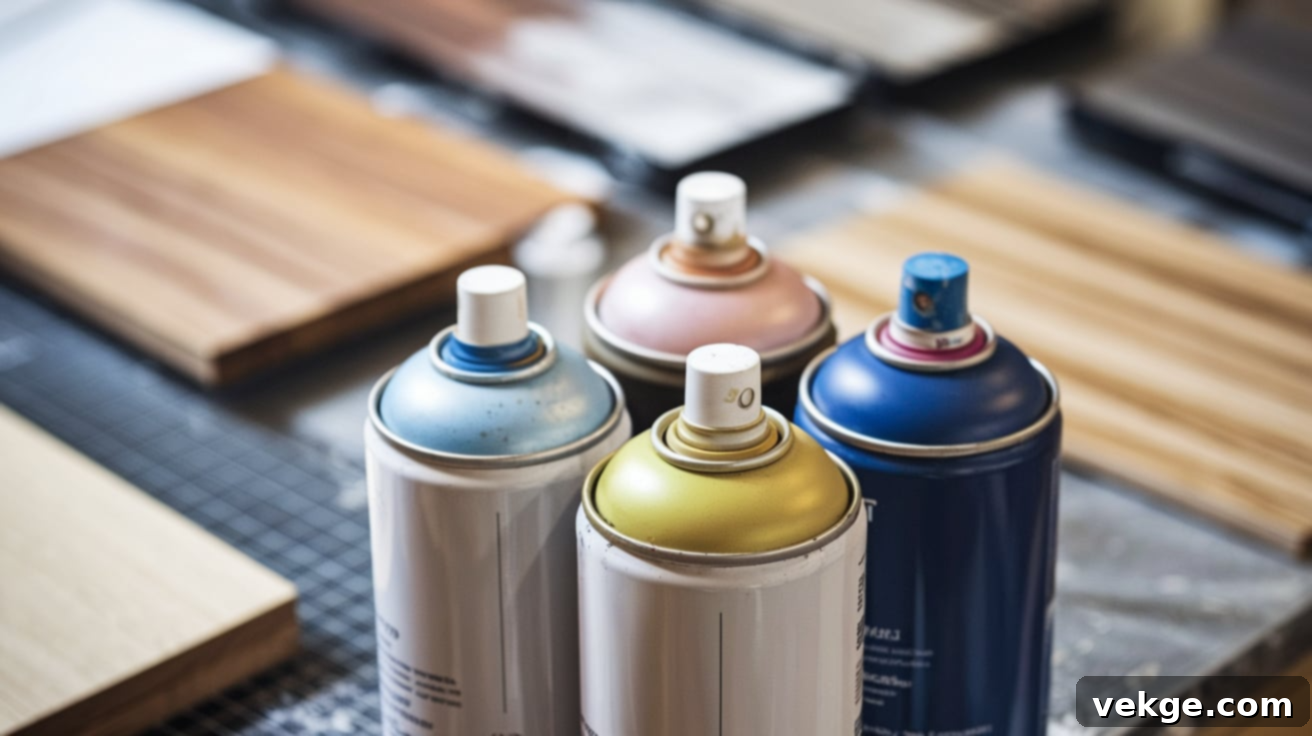
The market offers a wide variety of spray paints, so selecting the right one for your wood project is key. Always read the label carefully to ensure the paint is suitable for wood. Different types of spray paints offer unique properties and finishes:
- Enamel spray paint: Known for drying to a hard, durable, and often glossy finish. Enamel paints are excellent for items that will see a lot of wear and tear, providing a tough, protective layer. They offer good resistance to chipping and abrasion.
- Acrylic spray paint: These are typically water-based, dry quickly, and are easier to clean up with soap and water (before curing). They offer good color retention and are often less odorous than oil-based enamels, making them suitable for indoor projects.
- Chalk spray paint: This type provides a beautiful, ultra-matte, velvety finish, perfect for achieving a distressed or vintage look on furniture. Chalk paint often requires a protective wax or clear coat to ensure durability.
- Paint + Primer in One: A convenient option that combines the benefits of both. While effective for less demanding projects or already prepped surfaces, for raw or problematic wood, a dedicated primer followed by paint generally yields superior results.
Beyond paint type, spray paints come in various finishes: matte (no sheen), satin (subtle sheen), semi-gloss (noticeable sheen), and high-gloss (very shiny). Your choice depends entirely on the aesthetic you desire for your piece. Also, consider whether your project is for indoor or outdoor use; outdoor paints contain UV inhibitors and are more resistant to weather elements, ensuring long-lasting color and protection.
Step 5: Master the Art of Applying Spray Paint Evenly
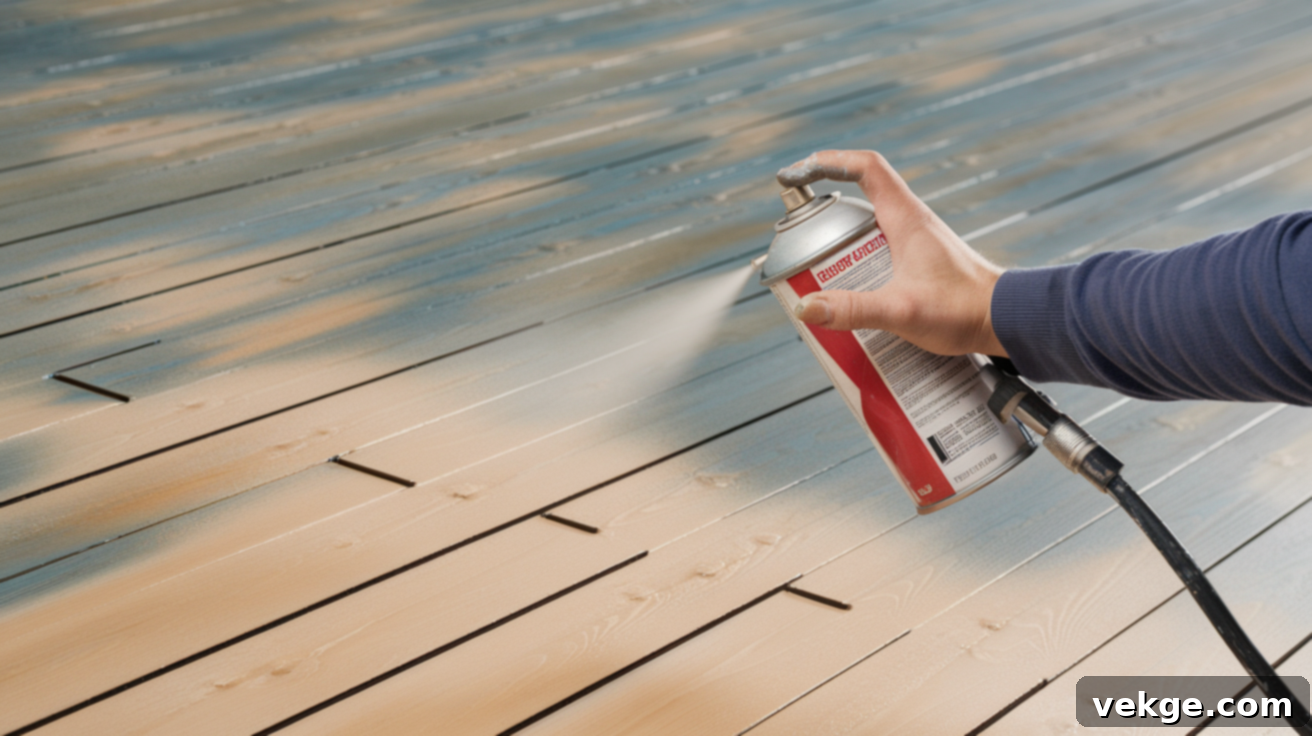
Proper application technique is what separates a novice finish from a professional one. Before you begin spraying, shake the can vigorously for at least one minute after you hear the mixing ball rattling. This ensures the pigments are thoroughly mixed, providing consistent color and preventing clogging. Throughout your painting session, pause occasionally to shake the can again.
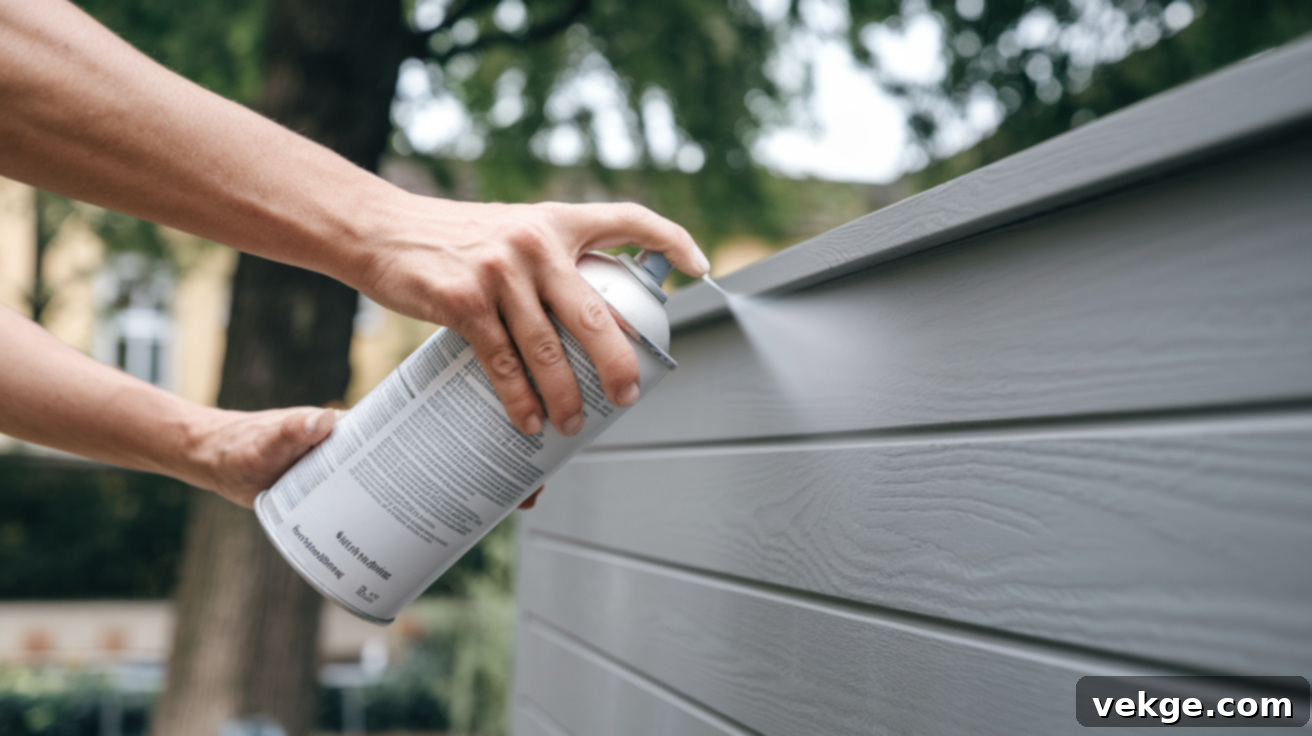
Hold the spray can upright and maintain a consistent distance of 8 to 12 inches away from the surface of the wood. This distance is crucial for achieving even coverage and preventing drips. If you hold it too close, the paint will be too thick and likely run; too far, and you’ll get a dusty, uneven texture.
Apply the paint using long, sweeping, even strokes. Start spraying just before you reach the edge of the object and release the nozzle just after you pass the other edge. Move your entire arm steadily across the wood, rather than just flicking your wrist, to ensure consistent movement. Overlap each stroke slightly (by about 30-50%) to eliminate thin spots and achieve seamless coverage. Avoid staying in one spot for too long, as this is a primary cause of drips and runs.
Begin with a very light, thin coat. This “tack coat” provides a sticky surface for subsequent layers to adhere to. Allow this first coat to dry according to the manufacturer’s instructions (often 10-15 minutes, but check the can). Then, apply two or three additional light coats, allowing each coat to dry to the touch before applying the next. Light coats are always superior to one heavy coat. Heavy coats take significantly longer to dry, are much more prone to dripping, running, and developing an uneven texture, and can even compromise the overall durability of the finish. Patience at this stage will be richly rewarded.
Step 6: Apply a Clear Protective Topcoat (for Enhanced Durability)
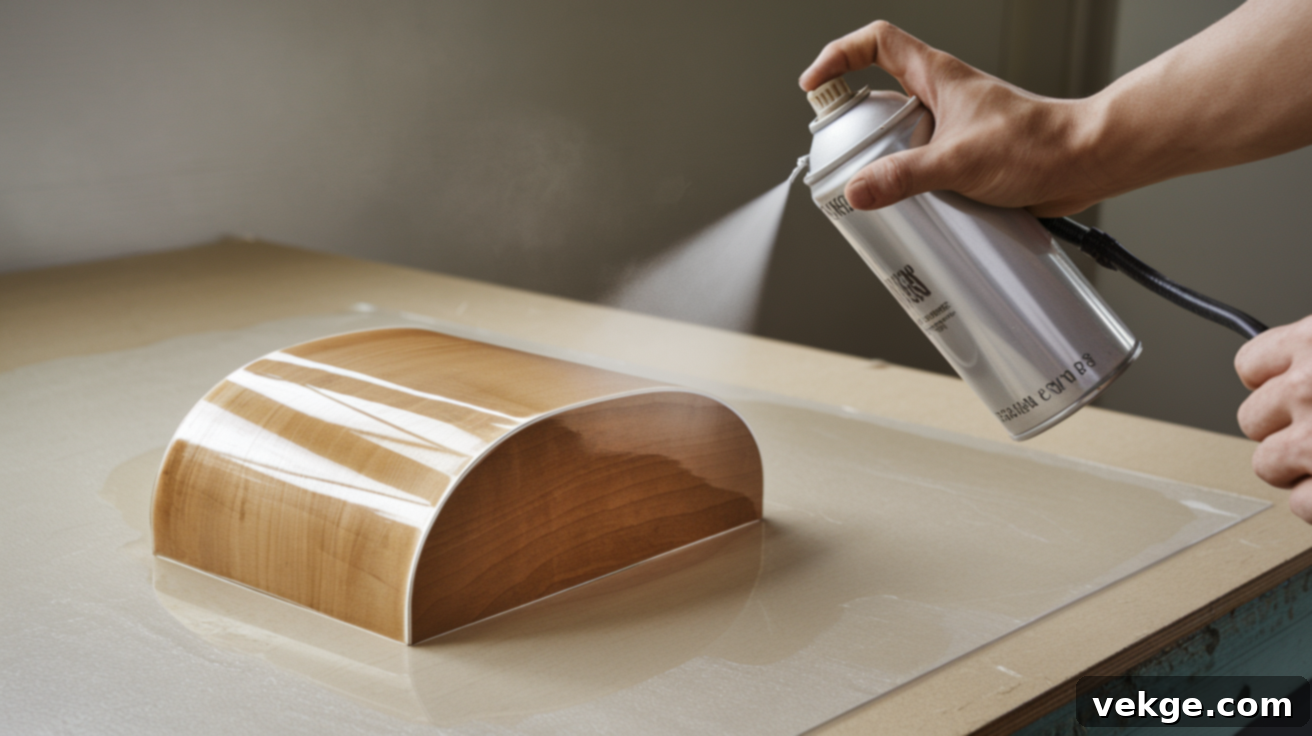
Once your final color coat has been applied and looks perfectly even and is thoroughly dry to the touch, consider adding a clear topcoat. This step, while optional, is highly recommended for items that will experience frequent handling, moisture, or general wear and tear, such as tables, chairs, shelving, or outdoor furniture. A topcoat provides an invaluable layer of protection, guarding against scratches, scuffs, moisture damage, and even UV fading (especially for outdoor pieces).
Common options for clear spray topcoats include spray-on polyurethane (available in various sheens), spray lacquer, or acrylic clear sealers. Each offers different levels of durability and finish characteristics. When choosing, always ensure that the topcoat is compatible with the specific type of spray paint you used. Incompatible products can lead to bubbling, peeling, or a cloudy finish.
Apply the clear topcoat in the same manner as the paint: multiple light, even coats, allowing each layer to dry completely according to the manufacturer’s instructions before applying the next. Typically, two light coats of a clear topcoat are sufficient to provide robust protection and enhance the longevity of your spray-painted piece.
Step 7: Allow the Paint to Cure Fully for Maximum Hardness
This is arguably the most overlooked, yet critical, step in the entire painting process. Even if your spray paint feels dry to the touch within minutes or hours, it has not yet fully cured. “Curing” is a chemical process where the paint hardens all the way through, achieving its maximum durability and resistance to damage. The surface may feel dry, but it’s still soft and susceptible to dents, scratches, and impressions.
Curing times vary significantly based on the type of paint, the number of coats applied, humidity levels, and ambient temperature. While some paints may cure in 24-48 hours, others, especially those with thicker films or enamel formulations, can take several days or even up to a week or more to fully harden. Always consult the specific instructions on your spray paint can for recommended curing times.
During the curing period, it is essential to avoid placing objects on the newly painted surface or subjecting it to heavy use. Rushing this stage can result in permanent dents, scuffs, or even complete peeling of the paint, undoing all your hard work. Give your project the time it needs to cure completely, and you’ll be rewarded with a durable, long-lasting finish that stands up to daily life.
Tips for a Smooth, Even, and Durable Finish:
- Layering is Key: Always opt for several light coats instead of one heavy one. This is the golden rule for preventing drips, ensuring even coverage, and promoting better adhesion and durability.
- Mind the Environment: Avoid painting in conditions of high humidity, extreme heat, or direct sunlight. High humidity can cause paint to dry slowly or blush (turn cloudy), while extreme heat can make paint dry too quickly, leading to unevenness or poor adhesion. Aim for moderate temperatures and low humidity.
- Keep the Nozzle Clear: A clogged nozzle can lead to sputtering and uneven spray patterns. If your nozzle starts to clog, turn the can upside down and spray briefly until only clear propellant comes out. If this doesn’t work, remove the nozzle and clean it with mineral spirits or a fine pin. Some cans even come with extra nozzles.
- Consistent Motion: Maintain a consistent distance and speed with your arm movement. Practice on a piece of cardboard first to get a feel for the spray pattern and your technique.
- Rotate Your Project: Whenever possible, rotate the item you’re painting. This allows you to spray from different angles and ensures all surfaces receive even coverage, minimizing missed spots.
- Temperature of Can: For best results, ensure your spray paint can is at room temperature (around 70°F/21°C). Cold cans can lead to poor atomization and an uneven spray pattern.
Can You Spray Paint Wood Without Sanding? What You Need to Know
The question of whether you can successfully spray paint wood without sanding is a common one, especially for those looking for a quicker project. The short answer is: sometimes, but with caveats. The viability of skipping sanding largely depends on the current condition of the wood surface and the type of paint you choose.
Some modern spray paints are formulated with advanced adhesion properties, often labeled as “paint and primer in one.” These products are designed to bond to various smooth, non-porous surfaces without extensive sanding. They can be a good option for quick updates on surfaces that are already clean, smooth, and in good condition (e.g., lightly varnished wood that isn’t chipped or peeling, or laminate furniture). These are ideal for projects where you prioritize speed and convenience over absolute maximum durability.
Another alternative to traditional sanding is using a liquid deglosser or “liquid sander.” This chemical solution works by dulling glossy finishes and creating a slightly tacky surface, which helps new paint adhere. It’s applied by simply wiping it onto the surface, requiring less effort and creating no dust, making it an attractive option for intricate pieces or when working indoors. Always follow the product instructions carefully and ensure good ventilation when using chemical deglossers.
However, it’s crucial to understand that while these methods can work, they generally do not provide the same level of long-term adhesion and durability as proper sanding. If the wood surface is rough, has existing chips, peeling paint, deep scratches, or significant imperfections, a quick but thorough sanding is almost always worth the extra time and effort. Sanding physically abrades the surface, creating an ideal ‘tooth’ for the paint to grip onto, which results in a much stronger bond and a longer-lasting, more professional-looking finish. For high-traffic items or pieces you want to last for years, sanding is rarely a step to skip.
Common Challenges When Spray Painting Wood & How to Fix Them
Even with careful preparation, you might encounter a few common issues when spray painting. Knowing how to identify and fix them will help you achieve a flawless finish:
- Blotchy or uneven finish: This is often caused by inconsistent spray distance or speed.
- Fix: Ensure you maintain a steady distance of 8-12 inches and move your arm in long, even, overlapping passes. Practice on cardboard first. If dried, a light sanding and re-application of a thin coat might resolve it.
- Bubbling or cracking (crazing): This usually occurs if you apply the paint too thickly, spray over uncured layers, or if there’s a compatibility issue between paint types (e.g., oil over water-based primer without proper dry time).
- Fix: Allow each coat to dry fully. For existing bubbles/cracks, let it cure completely, sand down the affected area smooth, and then re-prime and re-paint with light coats.
- Sticky surface after drying: This indicates the paint hasn’t fully dried or, more likely, hasn’t fully cured. High humidity can also prolong drying/curing times.
- Fix: Allow significantly more time for curing, ideally in a well-ventilated area with moderate humidity. Avoid touching or using the item until it is no longer sticky.
- Runs or drips: The most common sign of applying too much paint in one spot or holding the can too close.
- Fix: If wet, wipe gently with a brush or cloth if possible. If dry, let the paint cure fully, then lightly sand down the drip with fine-grit sandpaper until smooth. Clean the dust and re-coat with very light, even sprays.
- Rough or sandy texture: Often caused by dust settling on wet paint, or spraying from too far away (called ‘overspray dust’ or ‘dry spray’).
- Fix: Ensure your workspace is dust-free. If dry spray, try moving the can slightly closer (but not too close to cause drips). If dried, a very light sanding with 400-grit sandpaper can sometimes smooth it out, followed by a tack cloth and another light coat.
Project-Specific Tips for Optimal Results
- Furniture (tables, dressers, chairs): These items often experience a lot of use. Therefore, thorough cleaning, light sanding, and a high-quality primer are highly recommended for optimal paint adhesion and longevity. A durable clear topcoat is almost essential to protect against daily wear and tear.
- Small decor items (frames, figurines, decorative boxes): For intricate or multi-sided pieces, using a turntable or a lazy Susan can be a game-changer. This allows you to rotate the item easily, ensuring you can reach all sides and angles evenly without touching the wet paint, resulting in more consistent coverage.
- Outdoor wood (planters, fences, garden furniture): The elements are harsh on outdoor pieces. Always use a spray paint specifically formulated for outdoor use, as these contain UV inhibitors and are designed to resist moisture, fading, and mildew. A weather-resistant clear topcoat (e.g., exterior-grade polyurethane) will further enhance durability and protection against sun, rain, and temperature fluctuations.
Safety Tips and Responsible Cleanup Practices
Spray paint products can release strong fumes and contain volatile organic compounds (VOCs). Your health and safety should always be the top priority. As mentioned earlier, always work in a space with excellent fresh air circulation – ideally outdoors or in a well-ventilated area with fans and open windows. Always wear appropriate personal protective equipment, including a fitted respirator mask (rated for organic vapors), protective eyewear (goggles), and chemical-resistant gloves to keep yourself safe from inhaling fumes, eye irritation, and skin contact.
- Children and Pets: Keep spray paint cans, wet projects, and any related chemicals far away from children and pets. The fumes and contents can be harmful if inhaled or ingested.
- Fire Safety: Spray paints are highly flammable. Work away from open flames, sparks, and direct heat sources. Do not smoke while painting.
- Proper Can Disposal: Empty spray paint cans should be disposed of according to your local waste management regulations, as they often contain residual chemicals and propellants. Do not puncture or incinerate cans.
- Cleaning Up Overspray: For any accidental overspray on hard, non-painted surfaces, a quick wipe with mineral spirits, paint thinner, or rubbing alcohol (test in an inconspicuous area first) can often remove it if caught while wet. For dried overspray, gentle scraping with a plastic razor blade may be necessary. Always use appropriate cleaning agents for the type of paint used.
Conclusion: Your Journey to Perfect Spray Painted Wood
You’ve now navigated through all the fundamental aspects of spray painting wood, from meticulous surface preparation and understanding different wood types, to choosing the right spray paint, mastering application techniques, and even troubleshooting common problems. This comprehensive guide aims to eliminate the guesswork from your painting projects, providing you with clear, simple, and actionable steps that you can confidently follow.
Remember, achieving perfect results isn’t always about getting it flawless on the very first try. It’s about building confidence with each project, learning from experience, and feeling more comfortable and capable every time you pick up that spray can. A little time invested in proper preparation, careful application, and patient curing goes a very long way, especially when your goal is a durable, beautiful finish that lasts.
Embrace the satisfaction of transforming a piece of wood into something new and exciting with the magic of spray paint. If you’re eager to explore more creative paint ideas, discover additional DIY how-to guides, or delve into product comparisons to further enhance your skills, be sure to check out the other insightful blogs and resources available on our site. There’s always plenty more to learn, try, and create!
