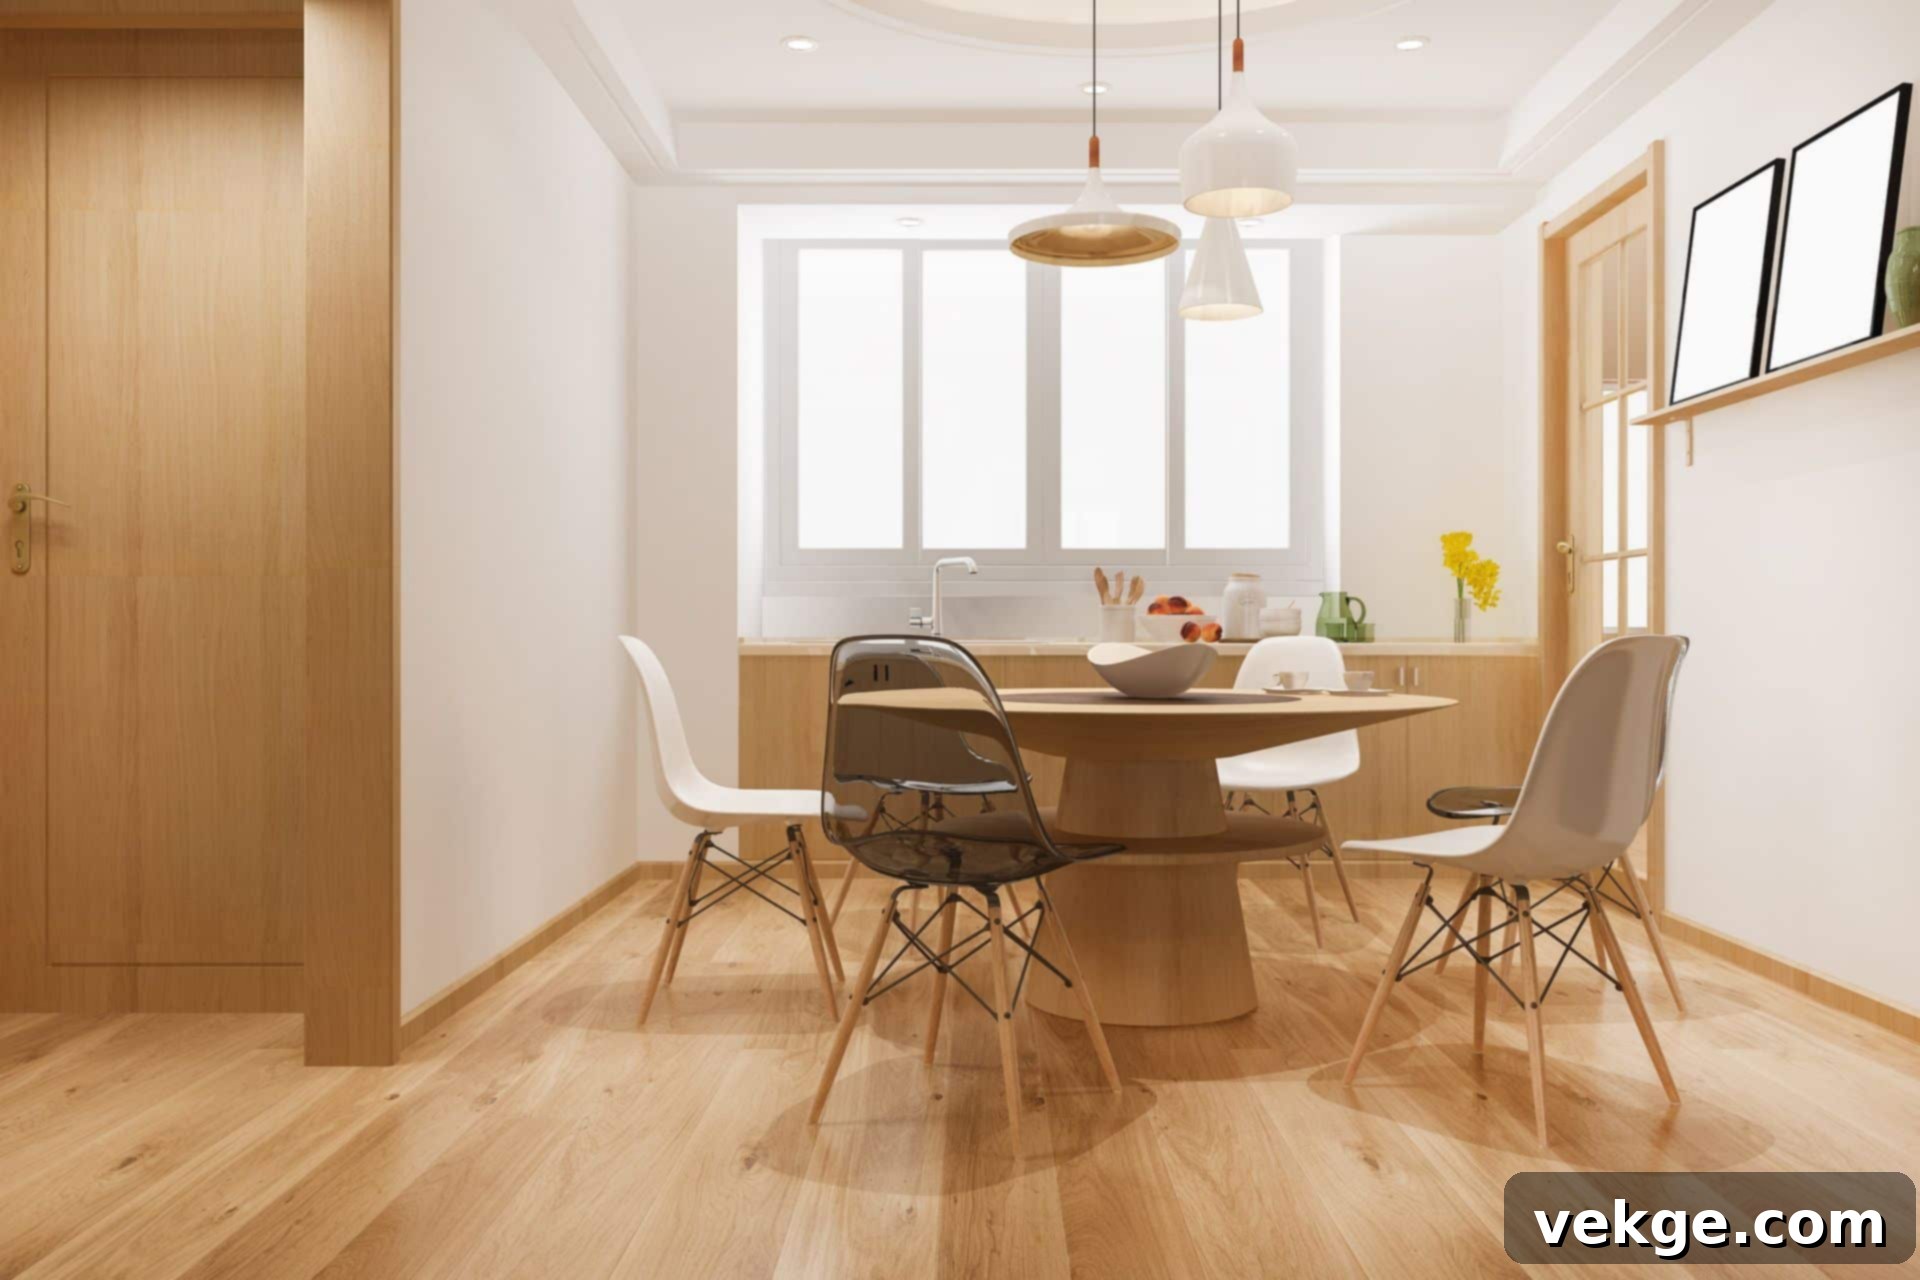
Elevate Your Home with Herringbone Tiles: A Comprehensive Guide to Patterns, Installation, and Design Excellence
Herringbone tiles have an illustrious history, gracing interiors with their distinctive zigzag pattern since the grandeur of the Roman Empire. This classic design continues to be a staple in modern homes, offering a blend of timeless sophistication and unparalleled durability. Far from being a fleeting trend, herringbone flooring stands out for its enduring appeal and practical benefits, making it one of the most sought-after floor designs today.
Beyond its aesthetic charm, one of the most significant qualities of herringbone flooring is its inherent durability and ease of maintenance. When properly installed, it creates a robust surface that can withstand heavy foot traffic and daily wear, promising longevity. Furthermore, its structured pattern gives a remarkably neat and organized appearance to any room, contributing to a sense of spaciousness and refined elegance.
While the prospect of installing herringbone tiles can sometimes seem daunting, often perceived as a tricky endeavor, especially for intricate patterns, the process is far from impossible. With the right guidance, a bit of careful preparation, and a commitment to precision, homeowners and DIY enthusiasts alike can achieve spectacular results. This comprehensive guide aims to demystify the process, exploring different herringbone tile patterns, offering expert tips to enhance your tiling experience, and providing a step-by-step guide to successfully integrating these beautiful tiles into your home design.
Discovering Diverse Herringbone Flooring Patterns
The choice of flooring significantly impacts the overall aesthetic and feel of a home. Herringbone patterns, with their characteristic V-shape arrangement, offer a dynamic visual interest that can transform any space. Understanding the variations available is key to selecting the perfect design for your next interior adventure. Here are some popular herringbone flooring patterns that can elevate your home:
1. Single Herringbone Pattern
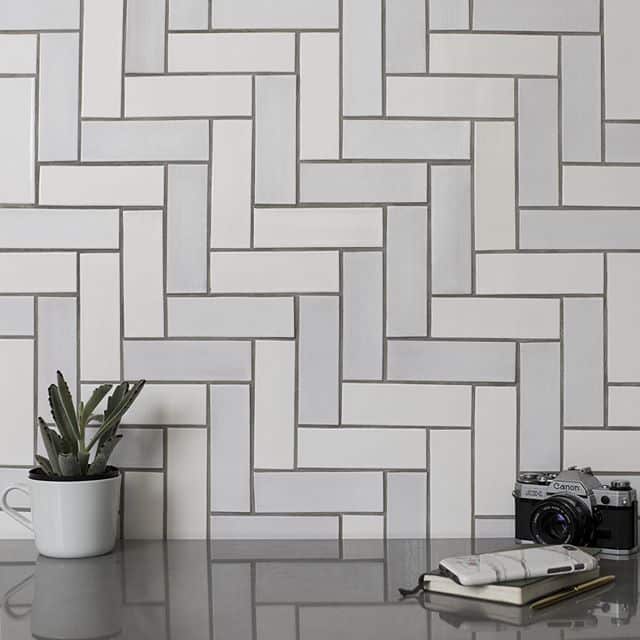
As its name implies, the single herringbone pattern features a consistent, uniform design across the entire floor. Each tile is laid at a 45-degree angle to the adjacent tile, creating a continuous series of V-shapes. This pattern is often considered the most traditional and, in many cases, can be more straightforward and relatively less expensive to install compared to more complex variations. It adds a touch of understated sophistication and classic elegance, making it suitable for a wide range of interior styles, from contemporary to more traditional settings. The single herringbone pattern is particularly effective in smaller rooms where its repetitive nature can create an illusion of depth and movement without overwhelming the space.
2. Double Herringbone

The double herringbone pattern takes the classic design a step further by arranging two tiles side-by-side to form each segment of the “V.” This creates a bolder, wider pattern that is visually striking and adds a sense of grandeur to any room. By doubling the width of each “V,” this design tends to give a more spacious and expansive feel to the interior, making it exceptionally popular among interior designers for larger areas or open-plan living spaces. The increased visual weight of the double herringbone can also complement more robust furniture or architectural features, creating a cohesive and luxurious look. While it may require slightly more material and a bit more meticulous planning during installation, the dramatic impact it delivers is often well worth the extra effort.
3. Diagonal Herringbone Pattern

In the diagonal herringbone tiling pattern, the entire herringbone layout is rotated, so the “V” shapes run diagonally across the room, typically at a 45-degree angle to the walls. This orientation creates an incredibly dynamic and unique visual effect, often making rooms feel larger and more open. The diagonal flow draws the eye across the space, adding movement and a modern twist to the traditional herringbone. Due to the angles involved in cutting and laying tiles against the perimeter walls, this pattern may demand more careful tile placement, precise measurements, and additional time and effort during installation. However, the sophisticated and distinctive look it imparts to your space can be truly transformative, offering an elegant focal point and a strong design statement.
4. Other Creative Herringbone Patterns
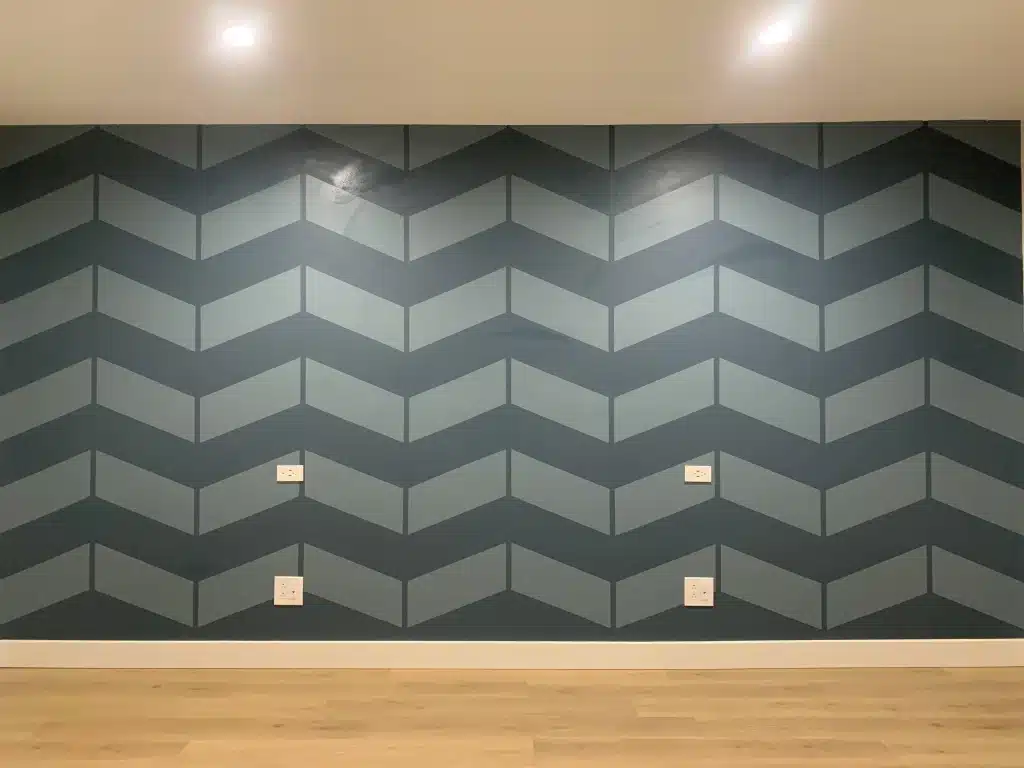
Beyond these classic and famous designs, the versatility of herringbone tiles allows for numerous other creative patterns and customization options. Designers often experiment with varied tile sizes, contrasting materials, and imaginative color schemes to produce truly unique installations. Among these, ombre patterns are increasingly common, utilizing tiles that transition from dark to light shades (or vice-versa) to create a gradient effect. This approach can add significant depth and a bold, artistic flair to the space, making the floor or wall a striking feature. Other variations include using different grout colors to either highlight or subtly blend the herringbone pattern, incorporating large format tiles for a modern, expansive feel, or even mixing different types of tiles, such as wood-look porcelain and stone, to create intricate, bespoke designs. The possibilities are truly endless when you begin to explore the creative potential of herringbone tiling.
Essential Tips for Working with Herringbone Tiles
Herringbone tiles are undeniably a classic and enduring trend in flooring and wall coverings. They are celebrated for being timeless, exceptionally durable, and relatively low maintenance, making them an excellent investment for any home. However, to achieve that coveted flawless finish and ensure the longevity of your installation, there are several crucial considerations and best practices to keep in mind. Approaching your herringbone project with these expert tips will help you navigate potential challenges and ensure a stunning result.
1. Precise Placement of The Tiles is Paramount
The most critical aspect of a successful herringbone installation is ensuring that each tile is placed at the correct and consistent angle. The entire beauty of the herringbone pattern relies on the precise alignment of these “V” shapes. If tiles are even slightly off-angle, the floor can quickly appear messy, crooked, and unprofessional, detracting significantly from the intended sophisticated look. It’s advisable to perform a dry-lay first to visualize the pattern and make any necessary adjustments before applying adhesive. Use a reliable reference line, such as a chalk line snapped across the room, as your guiding principle for every tile placement to maintain uniformity and precision.
2. Choosing the Right Size of Tiles for Your Space
The size of the tile plays a pivotal role in the overall appearance and feel of your herringbone pattern. A general rule of thumb for optimal herringbone aesthetics is that the tile’s length should be at least double its width, ideally a ratio where the height is divisible by its width (e.g., 2×8, 3×12, 4×16 inches). This ratio allows for the creation of sharp, distinct “V” shapes. Furthermore, carefully consider the room’s dimensions when selecting tile size. In a smaller room, large-sized herringbone tiles can make the space feel cramped and overwhelming, while excessively small tiles in a large room might create a busy or cluttered appearance. Proportion is key; larger tiles often suit more expansive areas, while smaller tiles can enhance intimacy in compact spaces.
3. Invest in and Use the Correct Saw
Achieving clean, crisp cuts is absolutely essential for a professional-looking herringbone pattern, especially around the perimeter of the room or intricate corners. Therefore, investing in a good-quality wet saw with a diamond blade should be a top priority for your tiling project. A high-quality saw ensures smooth, chip-free edges, which are critical for tight grout lines and a polished finish. Before starting, always ensure the saw is well-maintained, with no loose bolts, and is sturdy enough to handle the workload. Practice on a few scrap pieces of tile to get comfortable with the cutting process and achieve consistent results, as inaccurate cuts will compromise the entire pattern.
4. The Indispensable Role of Spacers
To achieve a consistent and uniform look throughout your herringbone installation, the diligent use of tile spacers is not just recommended, it’s absolutely necessary. Spacing is paramount in working with herringbone tiles to ensure that your grout lines are even and symmetrical. Inconsistent spacing can quickly ruin the visual integrity of the pattern, making it appear haphazard. Choose high-quality spacers that are uniform in size and appropriate for the desired grout line width. Employing spacers diligently during the laying process will help maintain perfect alignment, contribute to a professional aesthetic, and greatly simplify the subsequent grouting stage.
5. Prepare Your Subfloor Meticulously
Before laying a single tile, ensure your subfloor is perfectly clean, dry, level, and structurally sound. Any imperfections, such as bumps, dips, or cracks, will telegraph through your finished tile work, leading to an uneven surface and potential tile cracking. Proper subfloor preparation, including patching, leveling compounds, and ensuring rigidity, is foundational to a successful and durable herringbone tile installation. This often overlooked step is crucial for the longevity and aesthetic appeal of your flooring.
A Step-by-Step Guide to Using Herringbone Tiles in Your Home
Now that you have a clearer understanding of the various herringbone tile patterns and crucial tips for working with them, it’s time to delve into the practical steps of how to incorporate these beautiful tiles into your home. While it requires precision and patience, following these steps will empower you to create a stunning and durable herringbone floor or wall.
1. Meticulous Planning of the Process
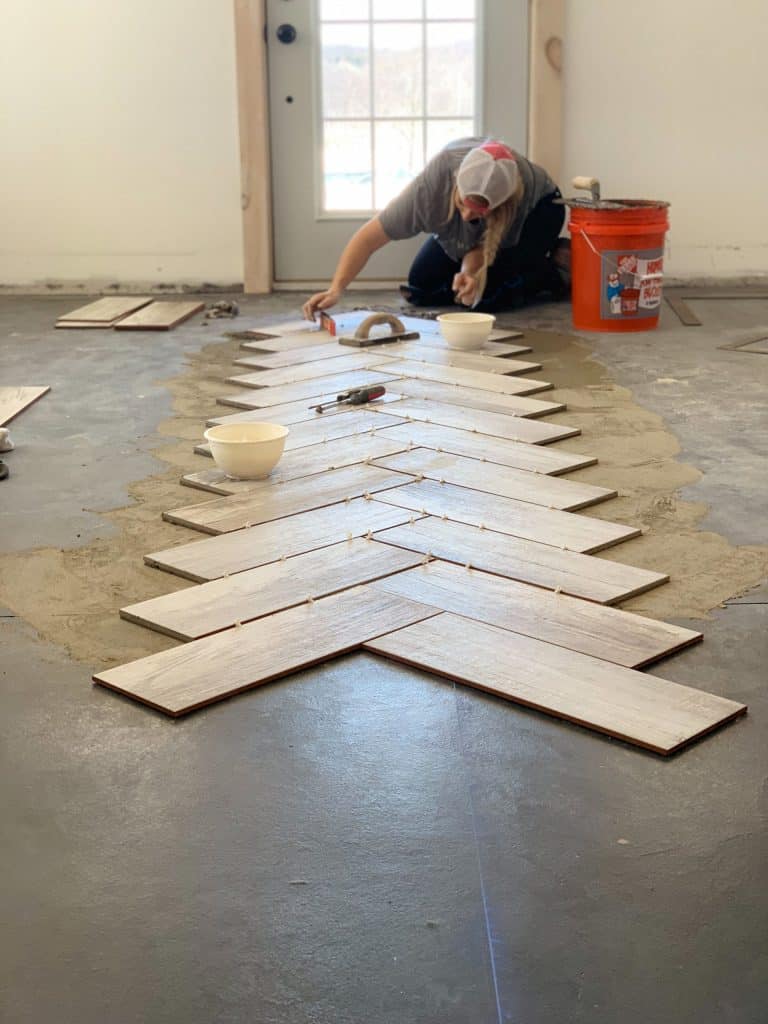
Given that herringbone tiling is all about the meticulous placement of each individual tile, it is absolutely essential to create a detailed framework and plan beforehand. Begin by dry-laying your tiles in a small section to visualize the pattern and determine your starting point. It is widely advised to begin laying tiles from the center of the room, or from a central reference line, and then work outwards towards the corners and walls. This approach helps ensure symmetry and minimizes the appearance of any slight inconsistencies that might arise from starting at an edge. Snap chalk lines to guide your initial rows and ensure your herringbone pattern remains perfectly straight and aligned throughout the entire installation. Also, calculate your tile needs carefully, accounting for potential waste from cuts.
2. Accurately Marking Tiles That Require Cuts
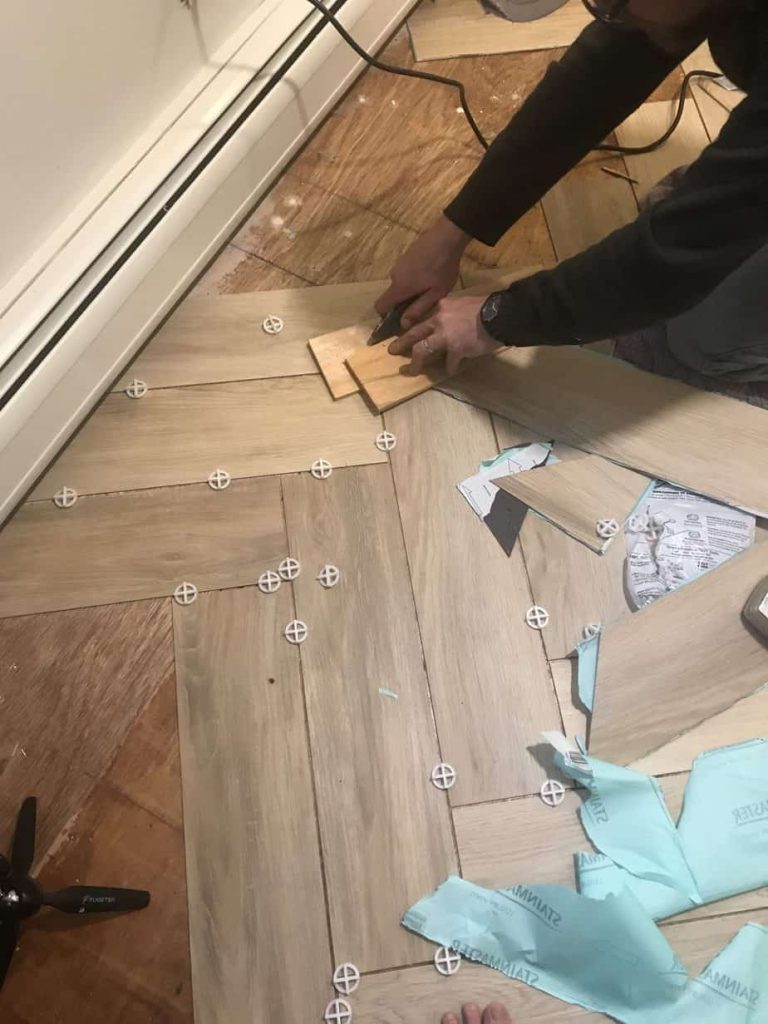
Not all tiles will require cutting, but a significant portion, particularly those at the edges, corners, or around obstructions, will. To ensure efficiency and minimize waste, it’s crucial to accurately mark the tiles that need to be cut before you begin laying. Use a pencil or marker to clearly indicate cut lines on the face of the tiles. For complex angles, consider creating a template from cardboard or scrap material. Marking tiles in advance helps you batch your cuts, saving time and ensuring precision. This step not only helps you save valuable time during the installation process but also significantly reduces the amount of leftover or wasted tiles, making your project more cost-effective.
3. Applying Adhesives with Care
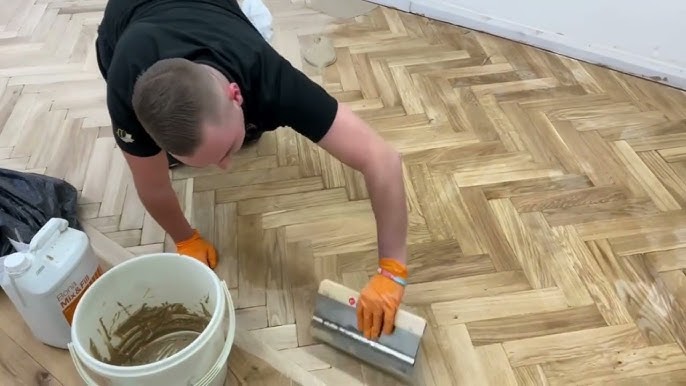
Once your layout is planned and cuts are marked, it’s time to apply the adhesive. Using a notched trowel, spread a consistent layer of tile adhesive (thin-set mortar) over a small, manageable section of your subfloor. Avoid spreading adhesive over too large an area at once, as it can begin to set or “skin over” before you have a chance to lay tiles, which will compromise the bond. The size of the notched trowel should correspond to the type and size of your tiles, ensuring adequate coverage. Don’t be hasty; apply the adhesive carefully and evenly, ensuring consistent ridges. This even application is crucial for strong adhesion and for achieving a level tile surface without hollow spots.
4. Laying the Tiles Systematically
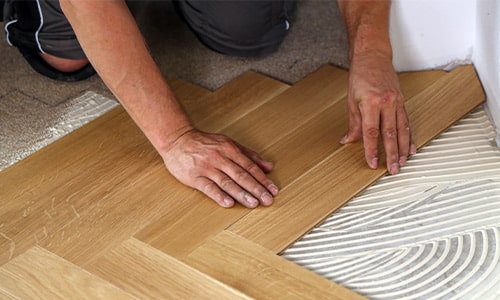
With the adhesive spread, begin laying your tiles. Carefully press each tile firmly into the adhesive, gently twisting it to ensure full contact and to embed it securely. Immediately insert your chosen spacers to maintain uniform grout lines. It’s highly recommended to use a level frequently as you lay tiles, ensuring that each tile is perfectly flat and aligned with its neighbors. A rubber mallet can be used to gently tap tiles into place and ensure a consistent surface. Start working with smaller sections, completing the herringbone pattern row by row, gradually covering the entire area. Remember to begin from your predetermined center point and move outwards, maintaining adherence to your chalk lines. Regularly wipe away any excess adhesive that squeezes up between tiles with a damp sponge before it dries.
5. Grouting and Finishing Touches
Once all tiles are laid and the adhesive has fully cured (typically 24-48 hours, depending on the product and conditions), it’s time to grout. Choose a grout color that complements your tiles and pattern. Mix the grout according to the manufacturer’s instructions to achieve a consistent, workable paste. Using a rubber grout float, spread the grout diagonally across the tiles, pressing it firmly into all the grout lines. Work in small sections, then wipe away excess grout from the tile surface with a damp sponge, rinsing the sponge frequently. Allow the grout to haze over, then buff the tiles clean with a dry cloth. For certain types of tiles or in wet areas like bathrooms, applying a grout sealer after the grout has fully cured (usually several days) is crucial to protect against moisture and stains, ensuring the long-term beauty and integrity of your herringbone installation.
Following these detailed steps carefully and in the abovementioned manner will empower you to create the herringbone pattern of your dreams, adding lasting beauty and value to your home. If you’re specifically looking to learn about tiling particular areas, our previous blog on herringbone tiles on the bathroom floor offers a comprehensive look into this specific subject, providing even more targeted insights.
Conclusion: Embracing the Timeless Appeal of Herringbone Tiles
Incorporating herringbone tiles into your interior design is an exceptional way to inject a significant dose of elegance, sophistication, and timeless charm into your living spaces. The enduring popularity of this pattern, stretching back through centuries, is a testament to its powerful aesthetic appeal and versatility. Beyond their captivating visual effect, using these tiles in your home offers a myriad of advantages, including their remarkable durability, their ability to provide diverse custom design options, and their inherent classic beauty that never goes out of style.
It’s a common misconception that laying herringbone tiles is an overly tedious, complex, and exceptionally effort-intensive process. While it’s true that it demands careful consideration and attention to minor details to ensure uniformity and precision, this doesn’t equate to it being overwhelmingly difficult or requiring specialist skills beyond the reach of a dedicated homeowner. The intricate pattern does require more planning and precise cuts compared to a simple grid layout, but with the right tools, a clear understanding of the steps, and a methodical approach, the process is entirely manageable.
With the comprehensive guidance provided in this article—covering everything from understanding different patterns to essential preparation tips and a detailed installation walkthrough—herringbone tiles can be installed successfully with just a few key considerations firmly in mind. The perceived difficulty often deters many, but by breaking down the project into manageable steps and focusing on precision, you can achieve professional-quality results that will enhance your home’s aesthetic for years to come. So, if you’ve been contemplating using these magnificent tiles in your home, rest assured that you can utilize them fearlessly and confidently embark on your tiling project.
We are always eager to hear about your home improvement journeys and experiences. Don’t hesitate to comment below and share your views, tips, or finished herringbone projects with us! Your insights could inspire others.
