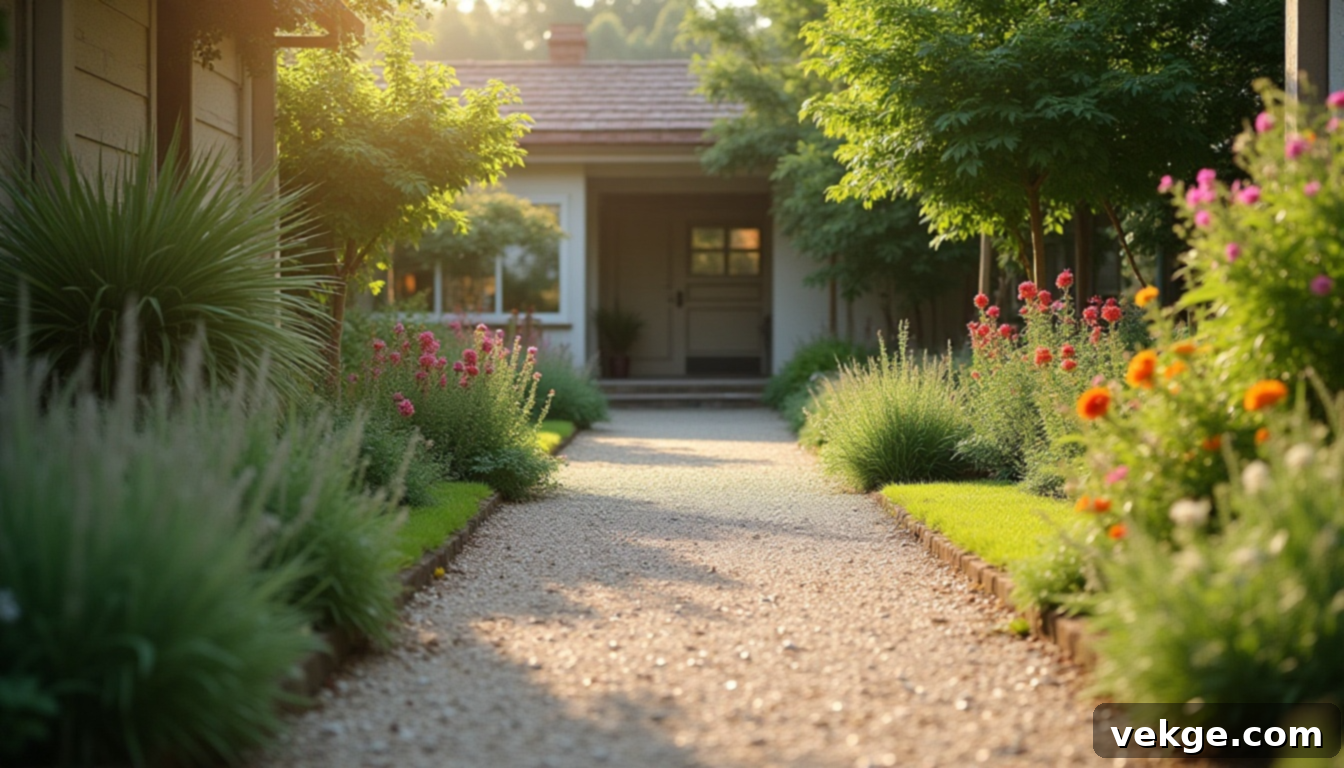
Transform Your Yard: 17 Cheap & Easy DIY Garden Path Ideas for a Beautiful Outdoor Space
Creating a beautiful and functional garden path doesn’t have to be a daunting or expensive task. Many homeowners dream of defining their outdoor spaces, connecting different areas of the garden, or simply avoiding muddy shoes, but feel limited by budget or perceived complexity. I understand the challenge; I’ve navigated the same path of wanting a finished, inviting yard without overspending.
That feeling of an unfinished yard, where walking meant soggy shoes or trampled grass, inspired me to explore practical, budget-friendly solutions. This comprehensive guide is the culmination of my experience – I’ve tested various materials, identified what truly lasts, and learned which shortcuts aren’t worth taking. My goal is to empower you with simple, effective, and affordable strategies to create the garden path you’ve always wanted.
Inside, you’ll discover proven material tips, smart techniques for keeping weeds at bay, and creative design approaches that make a significant impact without a hefty price tag. Get ready to transform your outdoor space into a charming, functional, and aesthetically pleasing haven.
What to Know Before You DIY a Garden Path
Embarking on a DIY garden path project is exciting, but a little foresight goes a long way. Taking the time to plan thoroughly before you begin can save you considerable time, effort, and money in the long run. Thoughtful preparation ensures your path is not only visually appealing but also durable, safe, and perfectly suited to your garden’s unique conditions.
Things to Consider for Your DIY Garden Path
Before you even think about materials, let’s review some foundational aspects that will guide your project choices and ensure its success.
- Soil Type and Terrain: Your garden’s foundation plays a critical role. If you have heavy clay soil, it retains moisture, potentially leading to drainage issues and material shifting. Sandy soil, on the other hand, drains quickly but may require more compaction for stability. Steep slopes introduce challenges like erosion and material displacement, possibly necessitating steps, terracing, or retaining edges to maintain a stable path. Understanding your soil helps you prepare the base correctly for longevity.
- Local Weather Conditions: Climate profoundly impacts path durability. In areas with heavy rainfall, proper drainage is paramount to prevent water pooling, which can erode your path or create slippery surfaces. Consider installing a slight slope or even a simple French drain in problematic spots. For regions with freezing and thawing cycles, materials that can withstand frost heave are crucial to prevent cracking and shifting over time.
- Path’s Purpose: Clarify the primary function of your path. Is it purely for decorative appeal, gently guiding the eye through a flower bed? Or is it a high-traffic route used daily by family members, pets, or even for moving garden equipment? Decorative paths can be more delicate, while functional paths demand robust, stable materials capable of withstanding constant foot traffic, heavy loads, and varying weather conditions.
- Who Will Use This Path? The users of your path should heavily influence your material selection. If children will be running and playing, opt for smooth, non-slip surfaces. Elderly individuals require stable, even paths free of tripping hazards. Pets might dig, scratch, or track mud, so choose materials that are resilient and easy to clean. Considering everyone’s needs ensures the path is safe and enjoyable for all.
Tools and Supplies You Might Need
Most DIY garden path projects are surprisingly low-tech. You’ll likely find that you already own many of the necessary tools. For larger projects or specific material choices, a few additional items might be beneficial.
- Basic Tools: A sturdy shovel for digging and moving earth, a rake for leveling and spreading materials, a good pair of gardening gloves to protect your hands, a spirit level (or a long straight edge with a small level) to ensure your path is even, and a wheelbarrow to easily transport heavy materials like gravel, sand, or mulch are generally all you need for successful ground preparation and material installation.
- Ground Prep Materials:
- Weed Barrier Fabric: This crucial layer acts as a physical barrier, preventing weeds and grass from pushing up through your path materials. It allows water and nutrients to pass through while stifling unwanted growth.
- Stable Base Layer: Depending on your path material and soil, you’ll need a base. Sand provides an excellent leveling and cushioning layer, particularly for pavers or stepping stones. Gravel (such as crushed aggregate) offers superior drainage and compaction, creating a very stable foundation for most paths. In some cases, simply well-compacted soil can suffice, especially for lighter-use paths or those made with woodchips or mulch.
Where to Shop Smart for Garden Path Materials
Finding the right materials at the best price is key to a budget-friendly DIY project. Here are some reliable places to source your supplies:
- Home Depot / Lowe’s: These home improvement giants are excellent for purchasing bulk materials like gravel, sand, mulch, and various types of edging (metal, plastic, or stone). Their competitive pricing and availability of large quantities make them ideal for foundational supplies.
- Walmart: For basic garden tools, work gloves, and sometimes even smaller bags of mulch or stepping stone molds, Walmart can offer very budget-friendly options, especially if you’re looking for convenience or smaller quantities.
- Amazon: An online treasure trove for specialized items. You’ll find a wide selection of stepping stone molds (for custom designs), solar path lighting, creative decorative touches, and even specific types of weed barrier fabric that might not be readily available locally.
- Local Nurseries/Landscaping Suppliers: Don’t overlook local businesses! They often have a wider variety of specific types of stone, gravel, and mulch, sometimes at better bulk prices, and can offer valuable local advice.
- Reclaimed Materials: Check local demolition sites (with permission!), online marketplaces like Craigslist or Facebook Marketplace, and architectural salvage yards for recycled bricks, concrete slabs (urbanite), or old pavers. These can be incredibly cost-effective and add unique character.
- Arborists/Tree Services: Many arborists are happy to drop off free wood chips, which are perfect for natural garden paths. This is an extremely cost-effective and eco-friendly option.
Cheap DIY Garden Path Ideas You Should Try!
You absolutely don’t need a massive budget to create a garden path that is both attractive and highly functional. With a bit of creativity, some elbow grease, and basic tools, these easy DIY ideas can help you shape and define your garden, enhancing its beauty and usability without incurring significant costs. Each option offers unique aesthetic and practical benefits, ensuring there’s a perfect solution for every style and need.
1. Pea Gravel with Edging
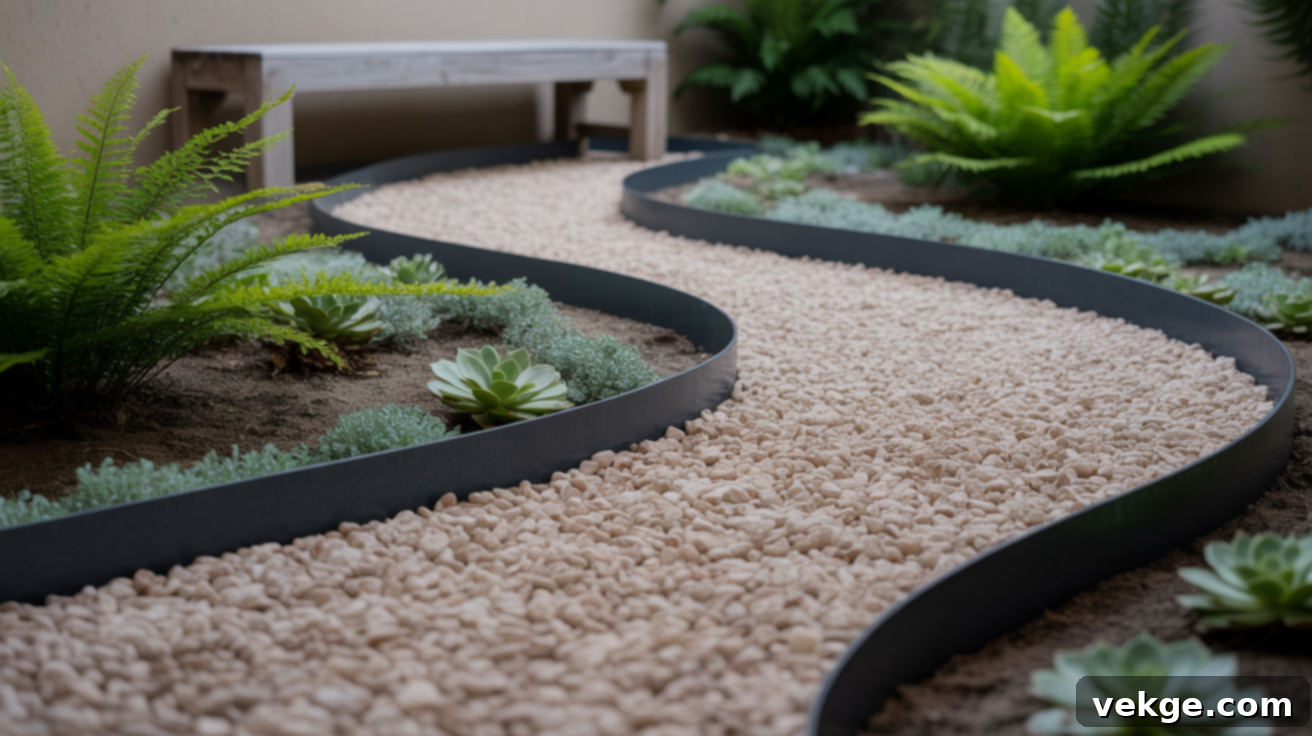
Pea gravel, comprised of small, rounded stones, is a classic choice for a reason. When neatly framed with metal, plastic, or even brick edging, it creates a clean, modern aesthetic that seamlessly integrates into almost any garden style, from contemporary to traditional. The satisfying crunch underfoot adds a sensory element, and its neutral color palette ensures the path is subtle yet intentional. This option is cost-effective, drains well, and is relatively easy to install after proper ground preparation with a weed barrier and compacted base layer.
2. Mulch Over Cardboard
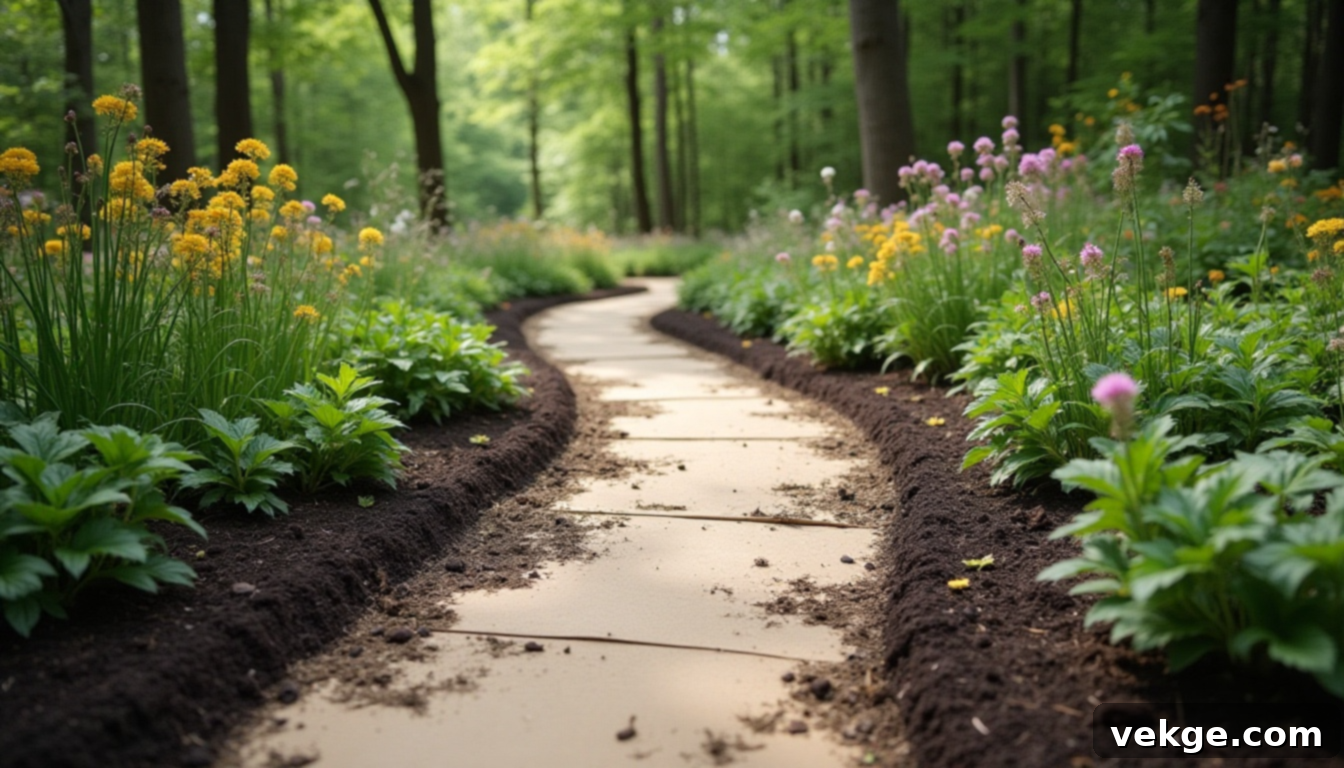
For a soft, natural, and highly eco-friendly path, layers of organic mulch spread over cardboard are an excellent choice. The cardboard acts as a biodegradable weed barrier, suppressing unwanted growth while slowly breaking down to enrich your soil. Mulch paths blend smoothly into garden beds and naturalized spaces, giving your yard a cozy, woodland feel. It’s incredibly budget-friendly, often utilizing free or inexpensive wood chips, and provides a cushioned surface that adds warmth and texture to every corner of your garden.
3. Concrete Stepping Stones
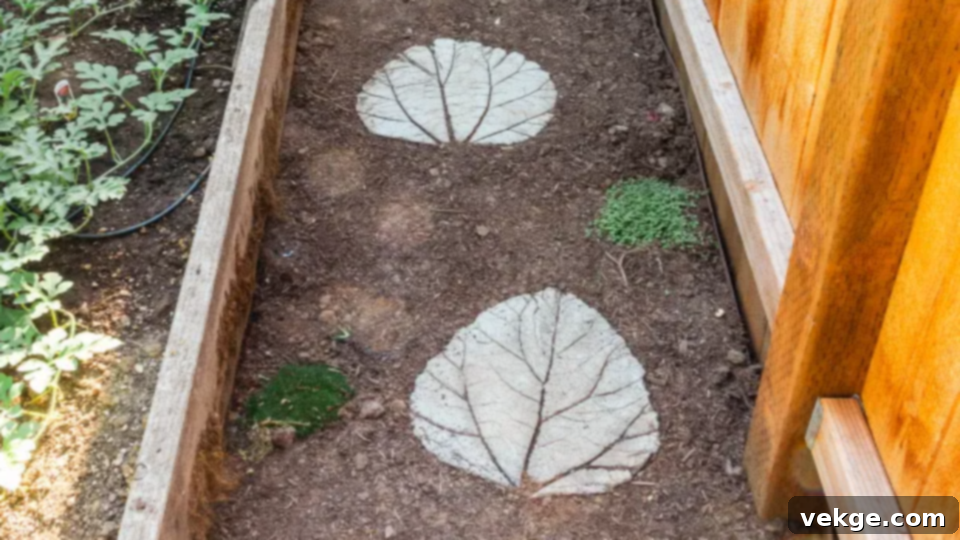
Simple concrete stepping stones, whether store-bought or DIY-poured, offer a charming handmade touch. Spaced artfully across grass or a bed of gravel, they create an inviting rhythm as you walk. You can choose to keep them plain for a minimalist look or personalize each one with embedded treasures like sea glass, mosaic tiles, or handprints for a truly unique path. This method is cost-effective as it requires minimal materials for the path itself, and individual stones are easy to replace if damaged.
4. Woodchip Trails from Free Arborist Drops
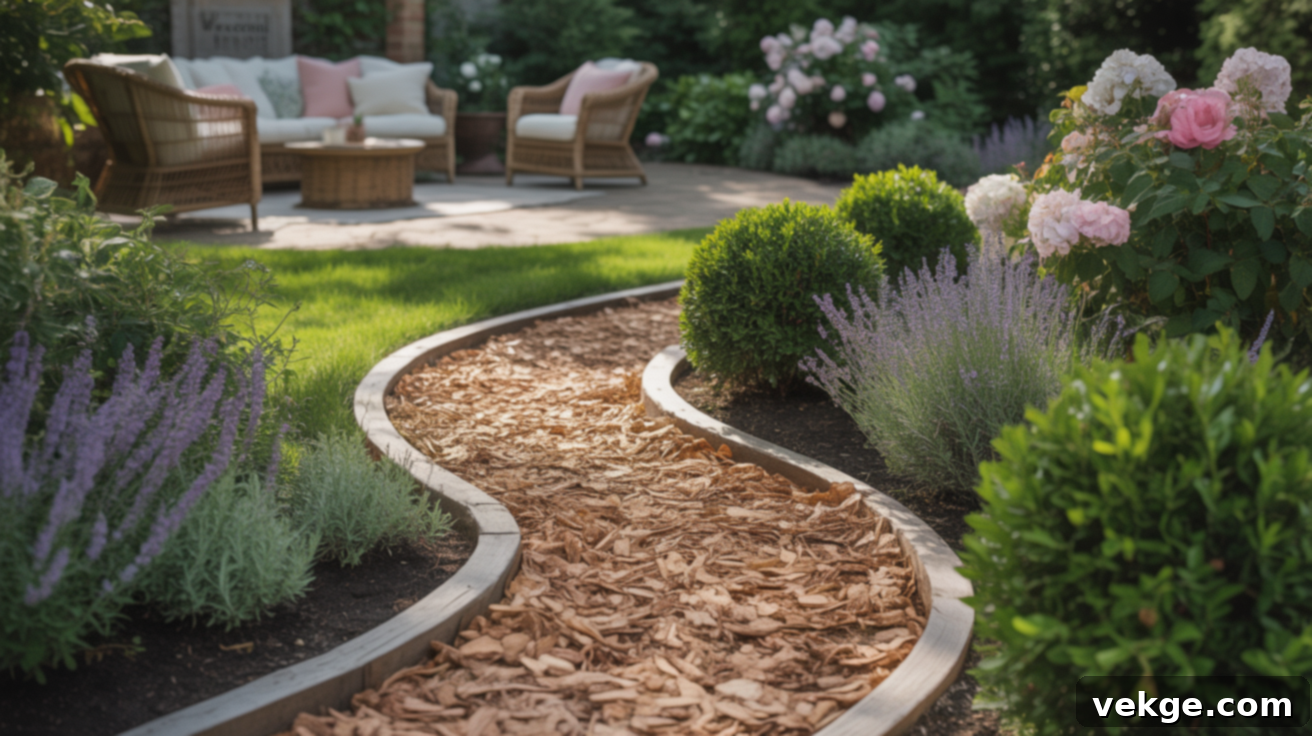
For a truly natural and incredibly cheap option, consider woodchip trails. Loose woodchips, often available for free from local arborists or tree services, can be scattered along winding paths, instantly creating a forest-like ambiance in your backyard. The springy surface feels wonderful underfoot, making casual strolls through shaded areas much more inviting. Woodchips also suppress weeds, retain moisture, and break down over time, enriching your garden soil. Lay them over a weed barrier for best results, especially if you anticipate heavy rain.
5. Recycled Brick Pathway
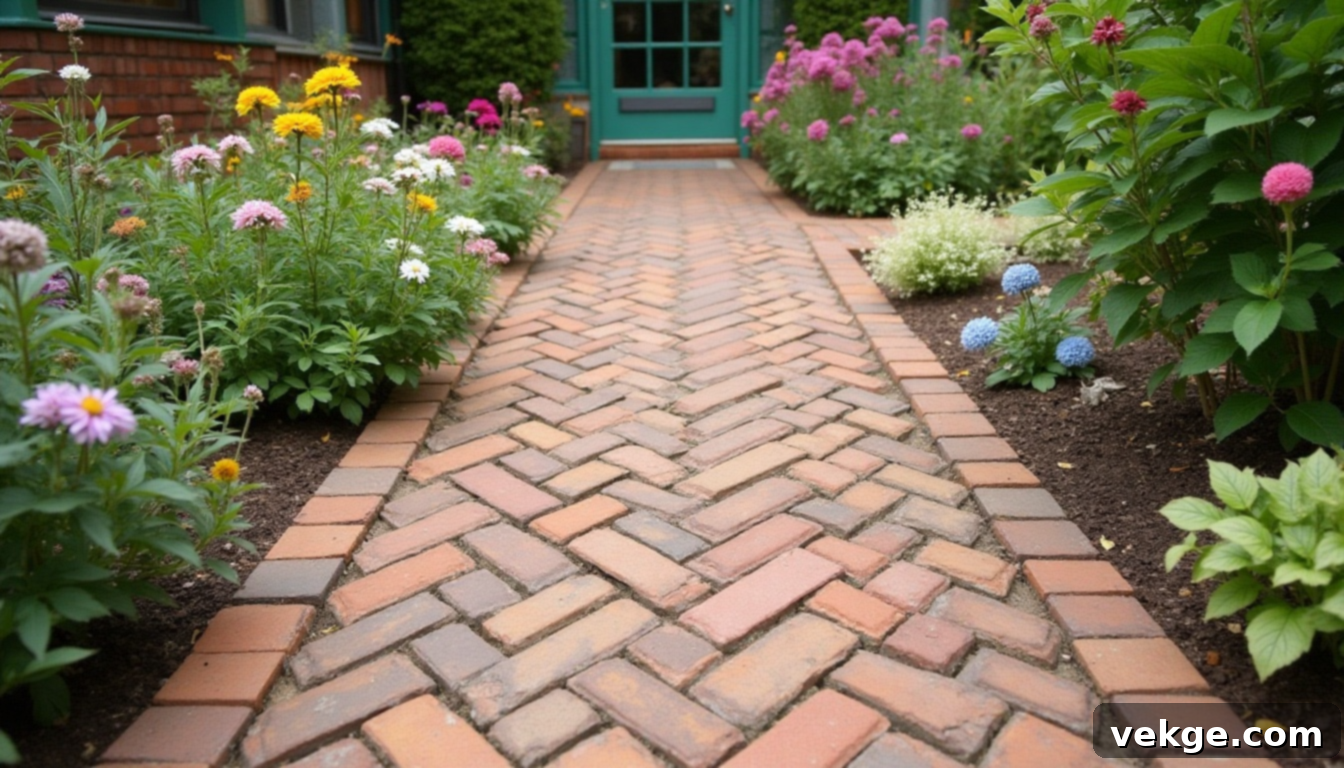
A path constructed from old, recycled bricks offers an undeniable charm and a timeless, timeworn appearance that looks as if it has always been a part of your garden. Bricks can be laid in various patterns, from simple running bonds to more intricate herringbone designs, adding character and visual interest. The mix of colors and textures from reclaimed bricks adds a unique, grounded feel to every section. Sourcing bricks from demolition sites or online marketplaces can make this a very budget-friendly and sustainable choice, providing a durable and sturdy surface.
6. Poured Concrete Slabs in Molds
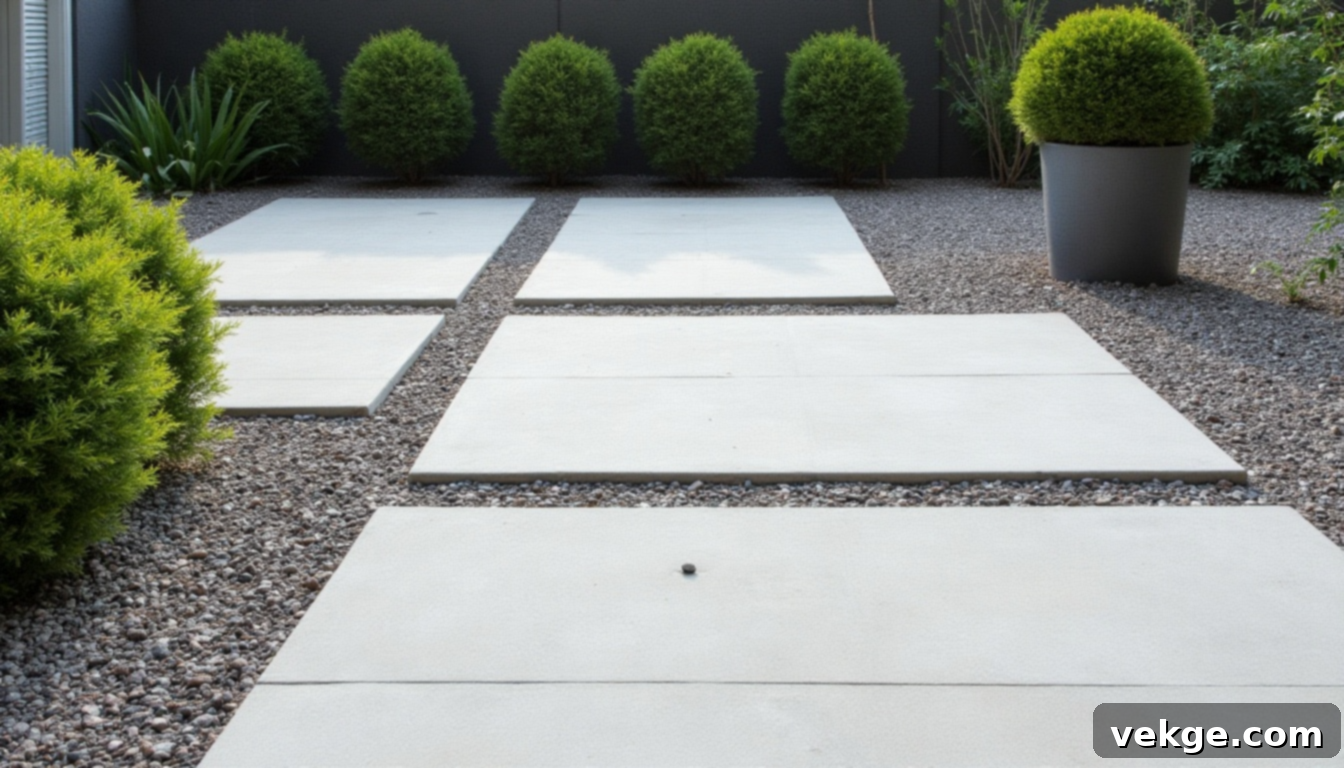
For a modern, minimalist, or even zen-inspired garden, poured concrete slabs nested between mulch or gravel can create a stunning effect. While mixing and pouring your own concrete is a more involved DIY process, requiring careful measurement and curing, the result is a robust, sturdy, and highly intentional path. You can use reusable molds to achieve uniform shapes or create unique, organic forms. This method offers excellent durability and a sleek finish that complements contemporary garden designs.
7. Pallet Wood Plank Path
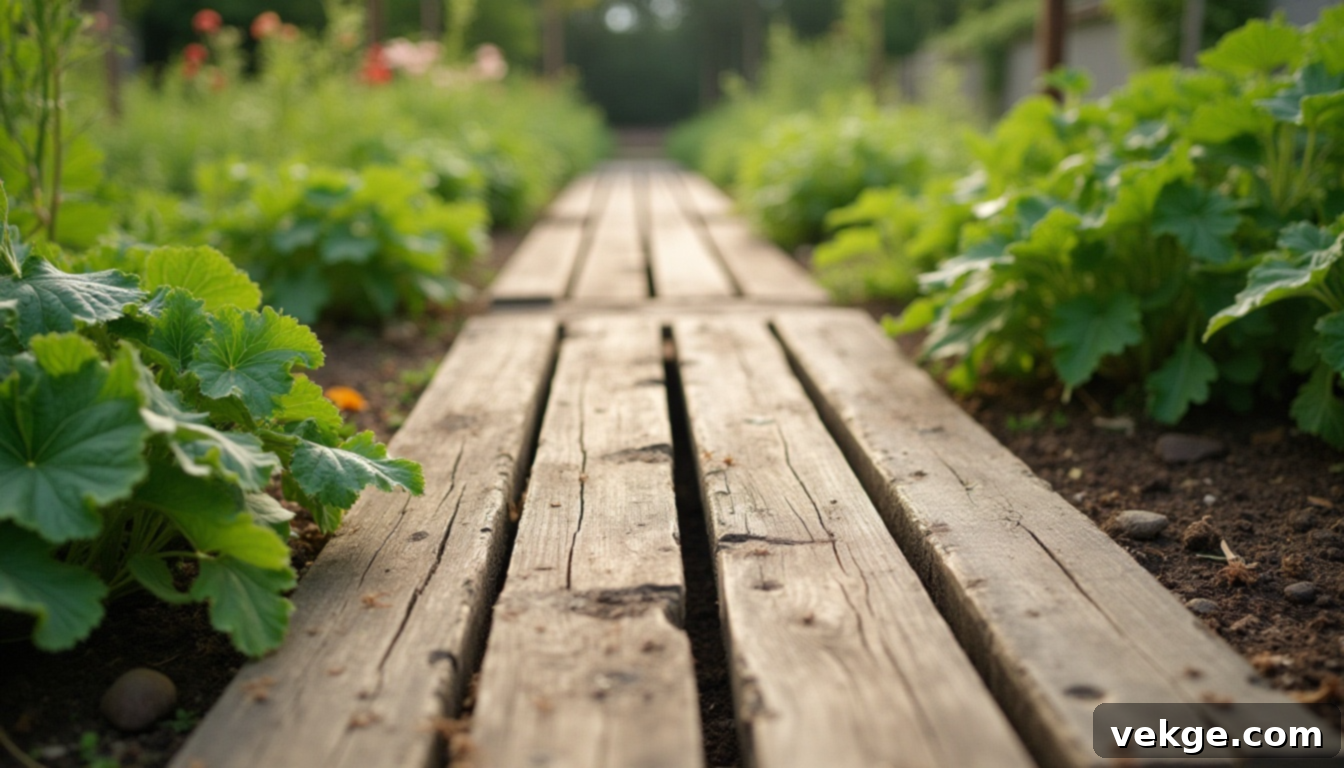
Reclaimed pallet wood offers a rustic, cost-effective solution for garden paths, blending naturally into veggie beds, cottage gardens, or even alongside a shed. With a bit of effort in disassembling, cutting, and treating the pallet boards (for weather resistance and longevity), you can lay them end-to-end to form a charming walkway. The worn wood grain adds texture and a laid-back, homegrown vibe, making each plank unique. Ensure the wood is free from harmful chemicals and properly treated for outdoor use to maximize its lifespan.
8. Roll Out Wooden Pathway Mats
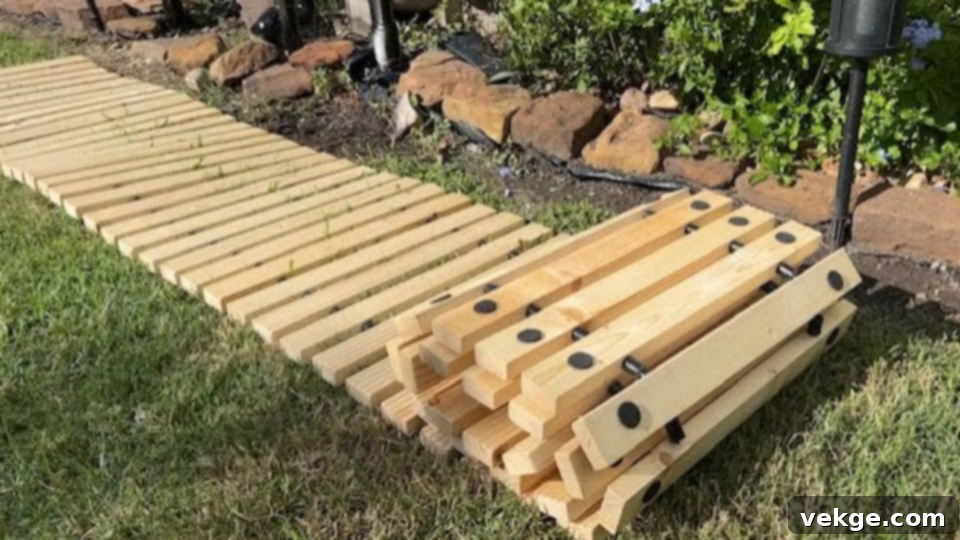
If you’re looking for an instant, temporary, or highly flexible path solution, roll-out wooden slat mats are ideal. These pre-assembled mats, often made from cedar or pressure-treated wood, roll out like rugs to bring immediate structure to your yard. They’re excellent for temporary setups, defining muddy zones, or providing a quick walkway for events. Their best feature is their portability – they can be picked up, moved, or stored whenever needed, making them perfect for renters or those who like to frequently reconfigure their garden layout.
9. Crushed Stone and Flagstone Mix
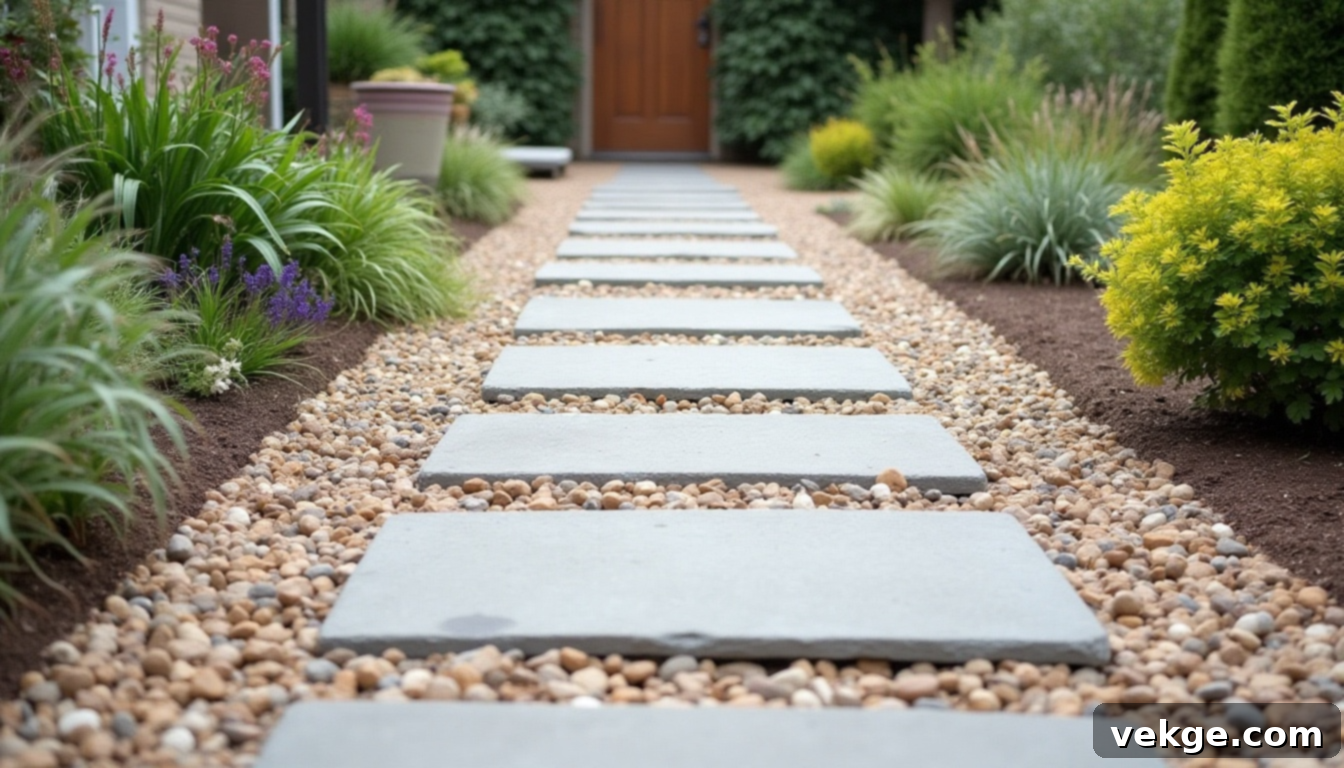
For a path that feels both relaxed and refined, combine the natural beauty of flagstones with a bed of crushed stone. Flagstones, with their irregular shapes and earthy tones, are set into a compacted base of smaller crushed stone, creating an organic, patchwork appearance. The blend of textures allows the walkway to stand out as a feature without feeling overly formal. This method provides excellent drainage, a stable walking surface, and a sophisticated aesthetic that enhances any garden setting, offering a custom look at a DIY price.
10. DIY Mosaic Tile Stepping Stones
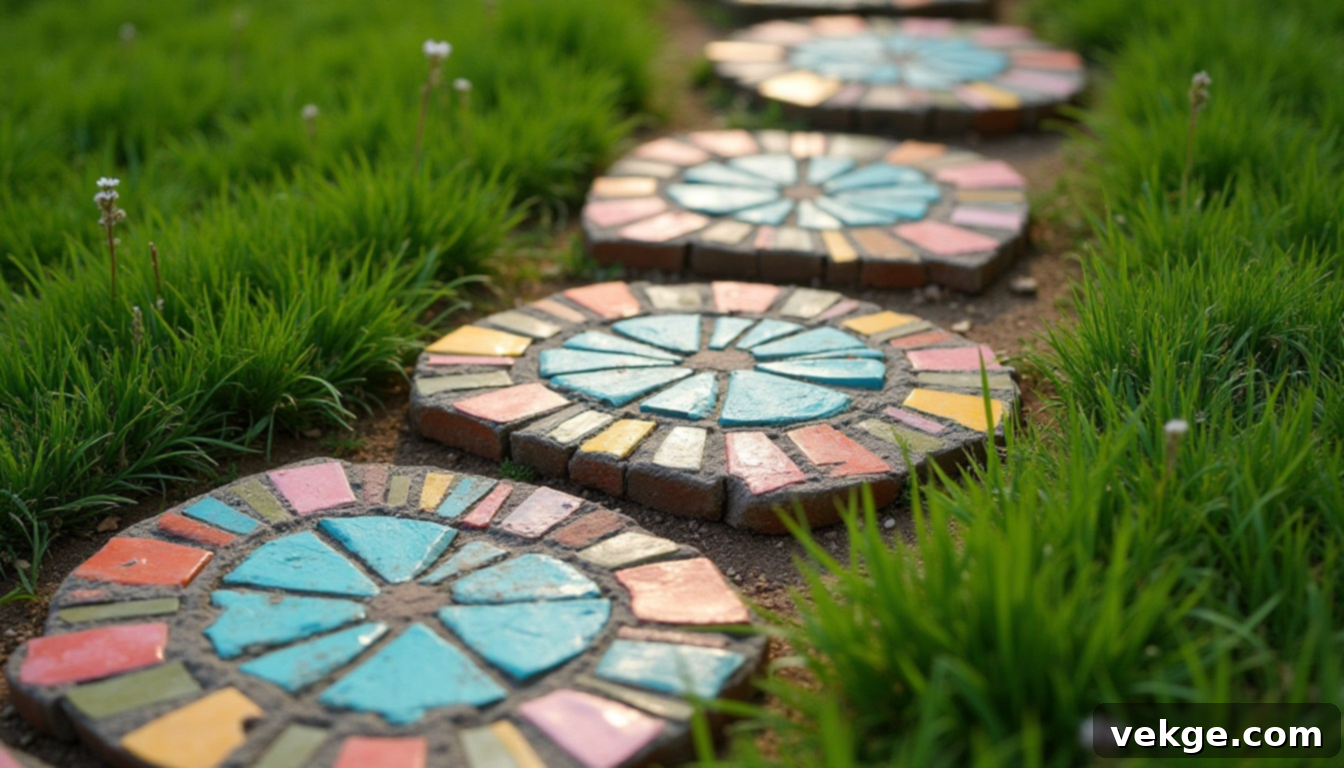
Unleash your artistic side by creating DIY mosaic tile stepping stones. Bits of broken tile, old dishes, colorful glass, or even pebbles can be pressed into fresh concrete stepping stones (either store-bought blanks or homemade). Each stone transforms into a unique piece of art, adding playful and highly personal touches to your garden path. This is a fantastic upcycling project, utilizing materials that might otherwise be discarded, and it’s especially fun and engaging to make with children, turning your path into a collaborative masterpiece.
11. Reclaimed Slate Tiles
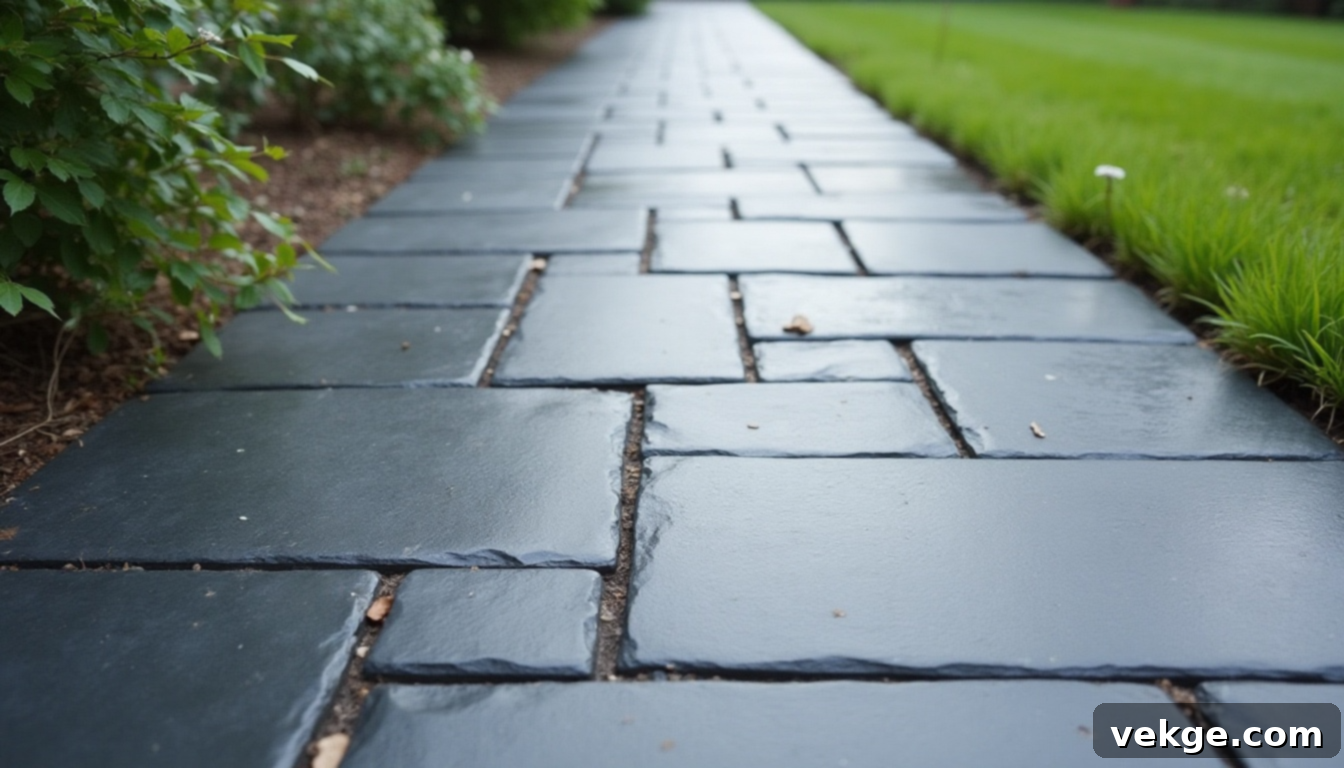
Reclaimed slate tiles, salvaged from old roofs, flooring, or renovation projects, offer a touch of natural elegance at a fraction of the cost of new materials. Their characteristic flat, clean lines and natural color variations (grays, greens, purples) can be pieced together like a puzzle to form a sophisticated path. Slate is incredibly durable and weather-resistant, providing a smooth walking surface. When sourced sustainably, these tiles bring a polished look to your garden without losing its organic charm, making a striking and long-lasting statement.
12. Plastic Interlocking Pavers
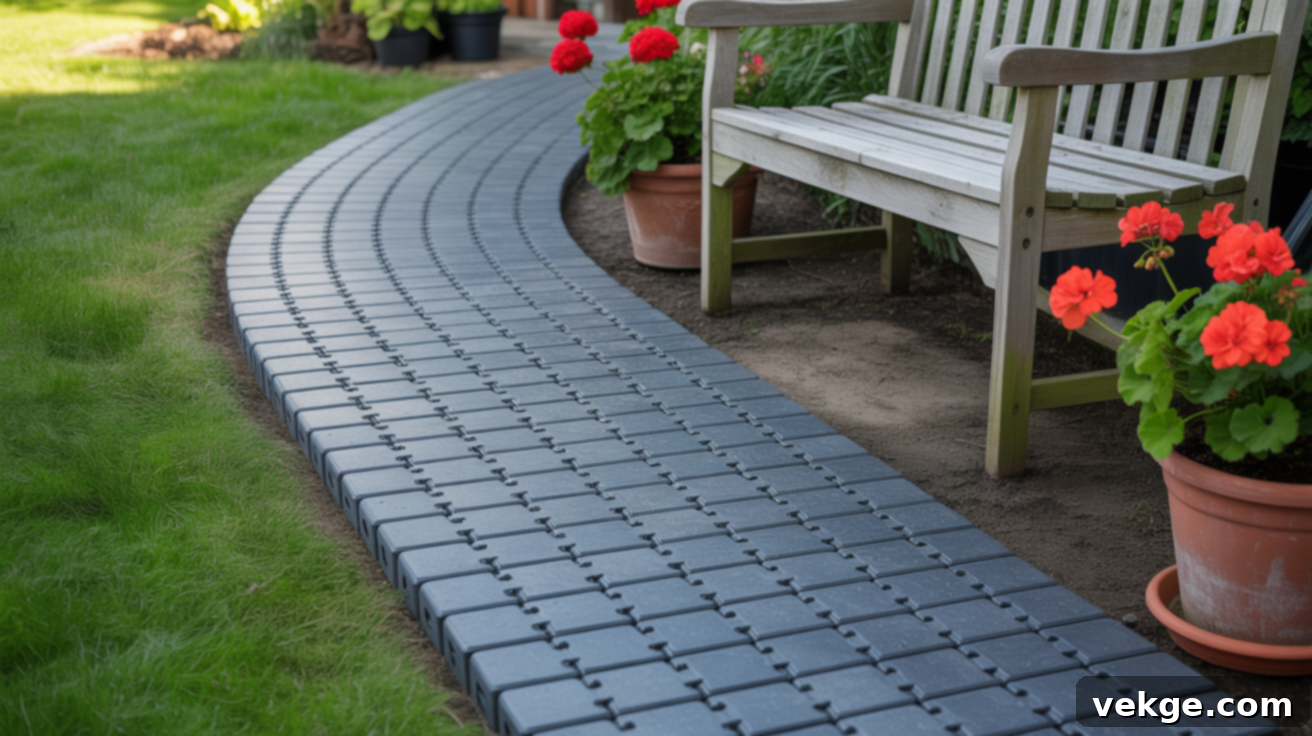
For quick installation and a surprisingly sleek result, plastic interlocking pavers are an excellent modern solution. These snap-together units can be laid down rapidly over a prepared base, forming a uniform and stable pathway. Many designs mimic the look of natural stone or brick, providing an attractive finish without the weight or installation complexity of traditional pavers. The smooth, even surface is particularly practical for pushing wheelbarrows, garden carts, or even strollers, making them highly functional for active gardens.
13. Old Paver Leftovers in Mixed Layout
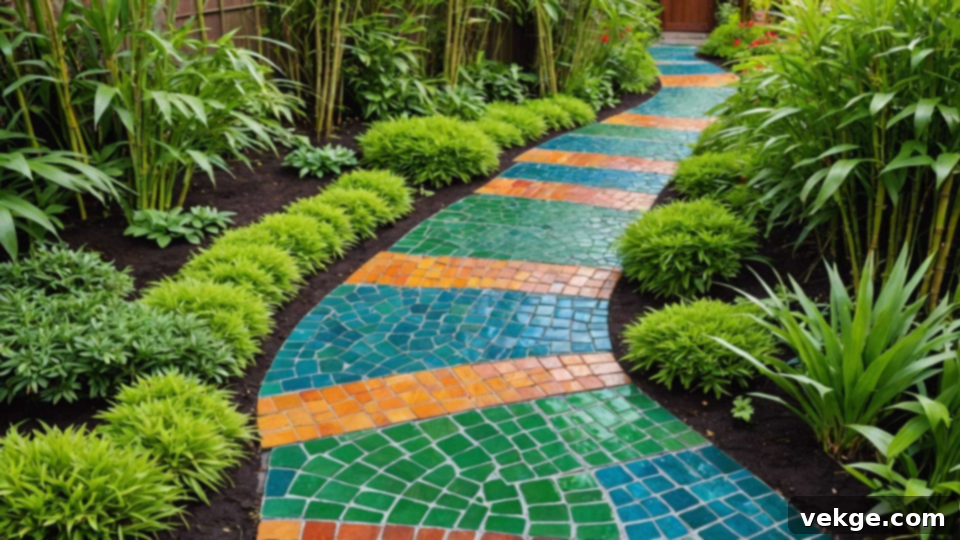
If you have a collection of mismatched pavers from previous projects, don’t let them go to waste! Combining these old paver leftovers in a mixed layout can create a uniquely charming and character-filled path. The irregular shapes, varying sizes, and diverse shades come together to form a delightful patchwork that feels casual, creative, and incredibly personalized. This is one of the most budget-friendly options, as it repurposes materials you already possess, adding an unexpected artistic flair to your garden design.
14. River Rock with Sand Filler
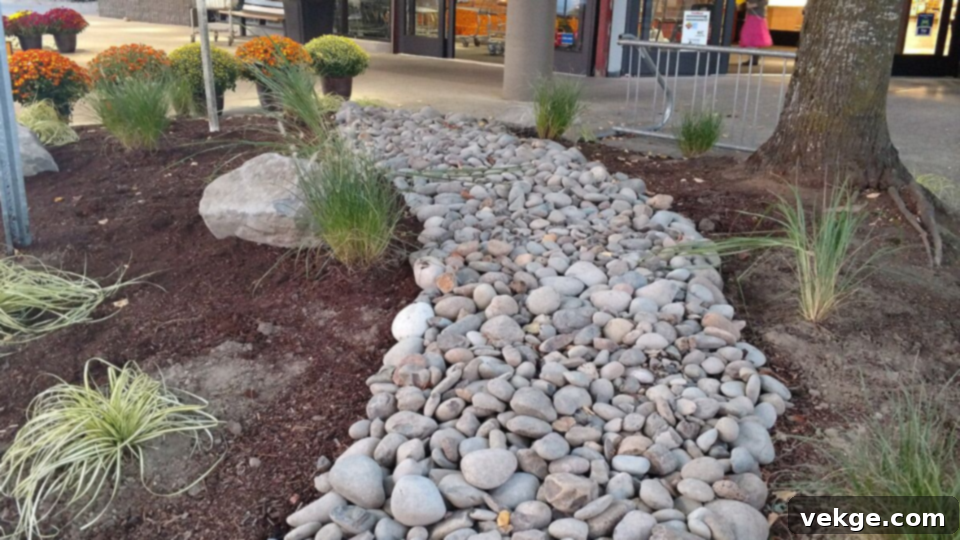
Rounded river rocks, set into a compacted bed of sand, lend a soft, natural, and almost Zen-like edge to your yard. The smooth, varied stones create a gentle, organic texture, and their colors can shift subtly with the weather, revealing new depths after rain. Walking barefoot on river rocks can even feel like a little backyard massage. This path is particularly effective in areas where good drainage is needed, or around water features. A solid weed barrier beneath the sand is highly recommended to prevent growth between the rocks.
15. Grass Walkway
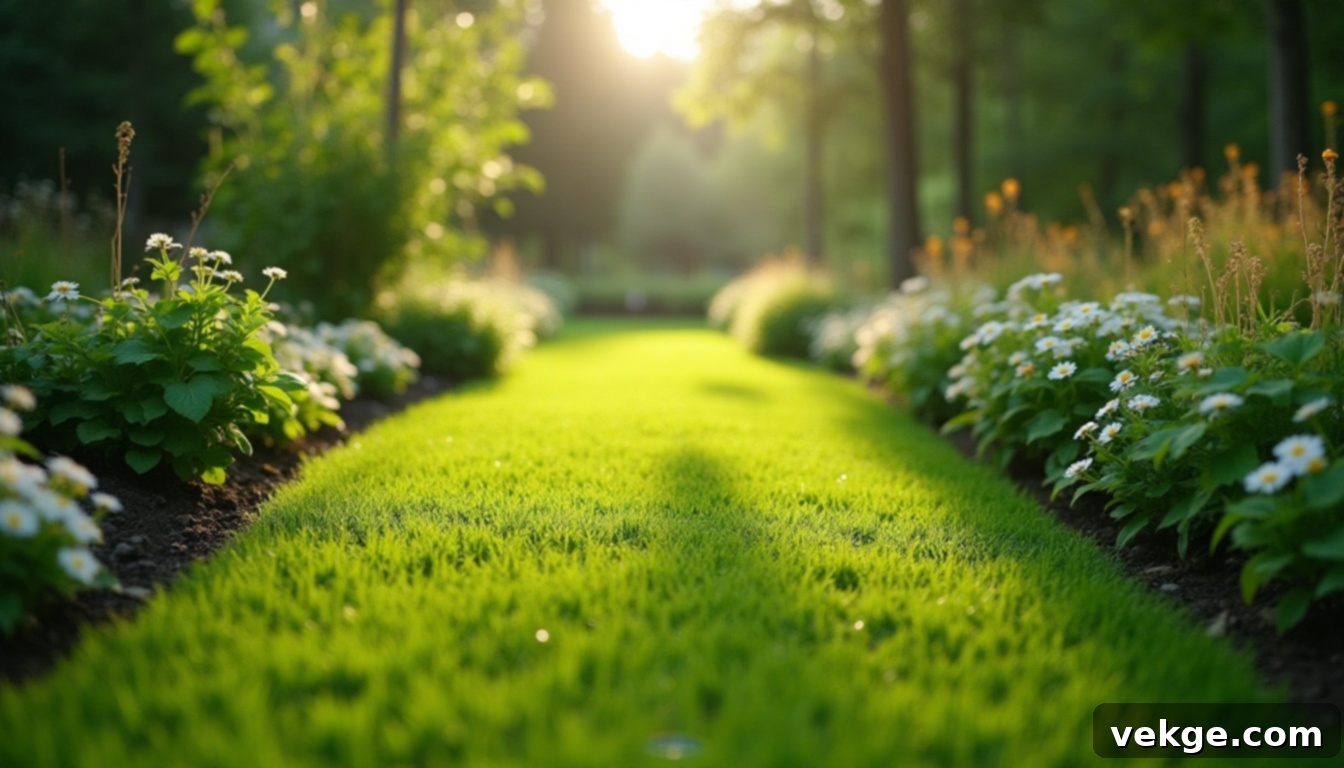
Sometimes, the simplest path is the most effective. A lush, well-maintained grass walkway adds an unparalleled natural charm to any garden. Soft underfoot and seamlessly blending with surrounding greenery, it’s an effortless and eco-friendly path idea that enhances the landscape’s inviting appeal. While the material cost is minimal (just seed or sod), remember that a grass path does require ongoing maintenance, including regular mowing, watering, and occasional edging to keep its defined shape and pristine look. It’s perfect for less-frequented areas or as a soft transition.
16. Broken Concrete “Urbanite” Path
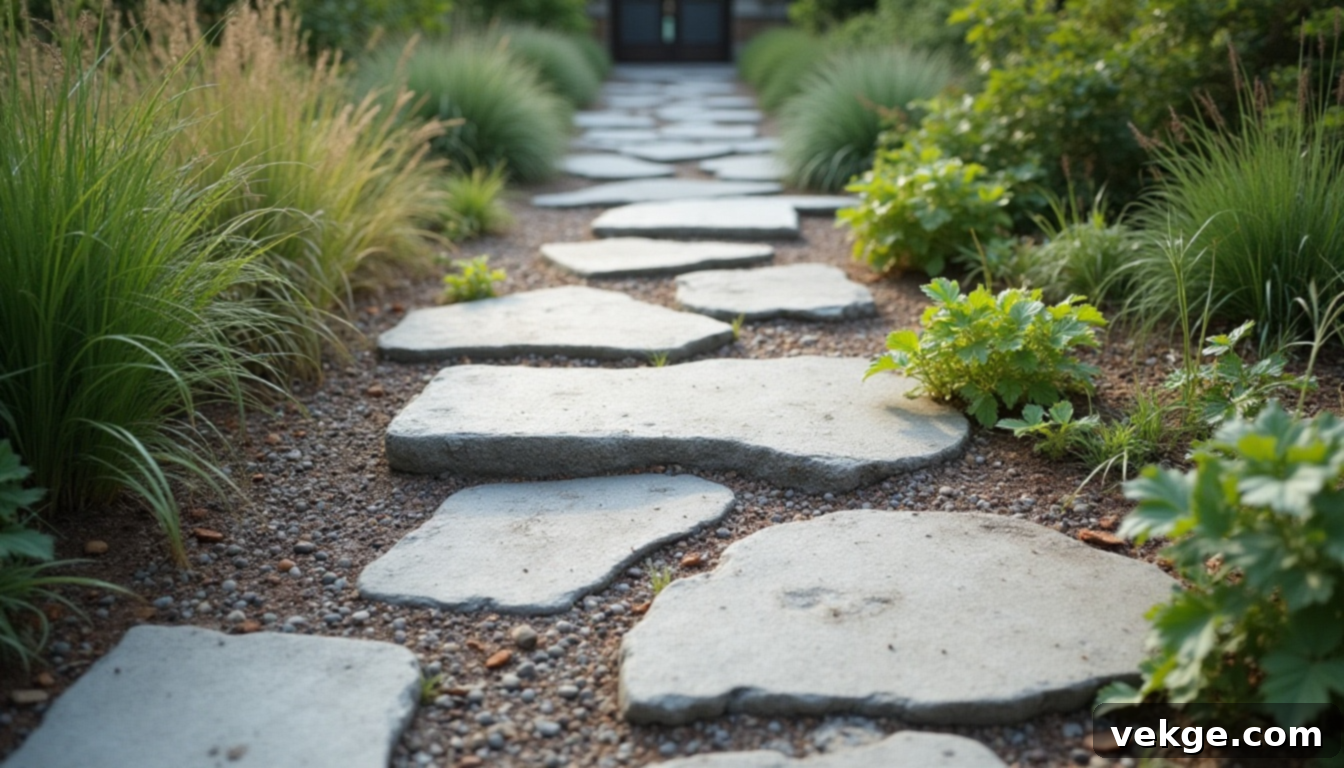
For a rugged, industrial, and highly sustainable path, consider repurposing chunks of broken concrete, often referred to as “urbanite.” Salvaged from old sidewalks, patios, or construction waste, these irregular pieces can be fitted together much like flagstone, creating a unique and eco-friendly walkway. The jagged edges and varying textures bring a strong, urban-inspired look to the yard, perfect for modern or minimalist landscapes. Urbanite is incredibly durable and, best of all, often free or very low-cost to acquire, embodying the spirit of resourceful DIY.
17. Garden Paths with Painted Rocks for Kids

Involve the whole family in creating a whimsical and colorful garden path with painted rocks! Smooth, flat rocks (collected or purchased) can be transformed into vibrant works of art using outdoor-grade paint. These cheerful, brightly colored rocks, arranged as stepping stones or bordering a simple path, turn a plain walkway into a creative play space and a rotating gallery of outdoor art. This idea is incredibly budget-friendly, highly customizable, and a fantastic way to engage children in garden design, making the path a truly personal and joyful element of your yard.
Each of these path ideas brings something distinct to your garden, whether it’s unique texture, a burst of color, enhanced comfort, or exceptional durability. The best part is that every option keeps your budget and time commitments in mind, proving that a beautiful garden path is truly within reach for any DIY enthusiast.
Quick Material Comparison Table
To help you choose the best and most appropriate material for your specific garden path project, use this concise table. It compares the general look, required effort for installation, and ongoing upkeep needs of some of the most popular and budget-friendly DIY path materials.
| Material | Best Use Case | Skill Level | Maintenance Needs |
|---|---|---|---|
| Pea Gravel | Clean, modern, or traditional spaces; areas needing good drainage. | Easy | Medium (raking, occasional refreshing) |
| Mulch | Natural, woodland gardens; temporary paths; eco-conscious projects. | Easiest | High (regular topping up, raking) |
| Stepping Stones | Versatile garden pathways; decorative accents; low-traffic areas. | Easy | Low (occasional leveling, cleaning) |
| Pallet Wood | Rustic or farmhouse yards; vegetable garden access. | Moderate (disassembly, treatment) | Medium (periodic treatment, checking for rot) |
| Recycled Brick | Historic or charming gardens; durable, semi-formal paths. | Moderate (leveling, setting) | Low (occasional weeding between gaps) |
| Grass Walkway | Soft, natural appeal; eco-friendly; less-frequented paths. | Easy (if already grass) | High (mowing, edging, watering) |
Maintenance and Troubleshooting for Your Garden Path
A well-built garden path is designed for longevity, but even the most durable materials benefit from a little ongoing care. With consistent attention throughout the year, your pathway will remain safe, attractive, and tidy. Here’s how to effectively handle the most common issues that can arise over time, ensuring your investment truly lasts.
What to Do After Heavy Rain
Rain is a natural part of any outdoor environment, but its effects on your path need careful monitoring to prevent long-term damage:
- Inspect for Persistent Puddles: After a significant rainfall, observe your path. Any puddles that remain for more than 24 hours often indicate a spot with poor drainage or an insufficient base layer. Addressing these areas might involve adding more compacted gravel beneath the path material or creating a very slight grade to encourage water runoff.
- Brush Displaced Materials Back: Rain can easily wash away lighter path materials like mulch or pea gravel. Before these materials harden or are washed away entirely, use a rake or broom to gently brush them back into place. This maintains the path’s integrity and prevents uneven surfaces.
- Clear Debris: Heavy rain can bring down leaves, small branches, and wash dirt onto your path. Promptly pick up or sweep away this debris. Allowing organic matter to accumulate can lead to slippery surfaces, encourage weed growth, and potentially cause decay of wooden path elements.
- Allow Drying Before Use: While it might be tempting to use your newly cleaned path immediately, try to wait until the ground has thoroughly dried. Walking on soggy ground can compress or shift your path materials, leading to unevenness, sinking, or damage to the base layer.
With just a bit of regular, proactive attention, your garden path will remain attractive, functional, and largely hassle-free. A few minutes of maintenance now can save you hours of more extensive repairs later, allowing you to fully enjoy a neat, safe, and inviting walkway season after season.
Effective Weed Prevention Tips
Weeds are the arch-nemesis of a tidy garden path, but with a few strategic measures, you can keep them at bay:
- Start with a Weed Barrier: This is arguably the most critical step. Laying down high-quality landscape fabric directly on the prepared soil, beneath gravel, mulch, woodchips, or even pavers, creates a formidable physical barrier that blocks weeds from growing up through your path surface. Ensure it overlaps at seams and is secured with landscape staples.
- Fill All Gaps Tightly: For paths made of stepping stones, bricks, or pavers, it’s essential to fill all joints and gaps as tightly as possible. Use polymeric sand (which hardens when wet), fine gravel, or even regular sand. This tight filling blocks sunlight, preventing weed seeds from germinating in the crevices and making it harder for established weeds to take root.
- Check Regularly for New Growth: Make it a habit to walk your path weekly. Spotting and pulling small weeds when they are young and their root systems are shallow is far easier than battling mature, deeply rooted plants. Early detection is your best friend in weed control.
- Edge Your Path Clearly: Installing borders or edging (metal, plastic, wood, or stone) clearly separates your path from surrounding grass or garden beds. This physical barrier helps prevent grass and other garden weeds from creeping into your pathway from the sides, maintaining a crisp, clean line.
- Avoid Wide Spaces Between Stones: While a spaced-out stepping stone path can be visually appealing, wide gaps between materials provide ample room and sunlight for weeds to grow. If you prefer spaced stones, consider filling the gaps with a dense ground cover plant or a thick layer of mulch/gravel over a weed barrier to minimize open soil.
Conclusion
Congratulations! You now possess all the essential knowledge and a wealth of creative ideas needed to construct a beautiful, durable, and highly functional garden path without emptying your wallet. These 17 cheap DIY garden path ideas conclusively demonstrate that you absolutely do not need expensive materials, professional landscapers, or advanced skills to dramatically enhance your outdoor living space.
The key to success lies in choosing an idea that genuinely resonates with your personal style and suits your garden’s specific needs. Don’t feel pressured to tackle an entire long path at once; often, the best approach is to start small. Test out a short section or a single material first to get a feel for the process and ensure you’re happy with the outcome before committing to the full project. Most of these DIY endeavors can be completed in just a weekend or two, and the rewarding results will last for years to come.
Remember, the most effective path is one that seamlessly integrates with your lifestyle and fits comfortably within your budget. When installed correctly, simple, readily available materials like mulch, pea gravel, or recycled elements can perform just as well, and often offer more character, than elaborate, costly pavers. Embrace the journey of DIY; the satisfaction of stepping onto a path you’ve created yourself is truly unmatched.
Ready to discover even more ways to elevate your outdoor areas? Check out our other blogs for additional inspiring projects and practical tips to make your garden dreams a reality.
Frequently Asked Questions About DIY Garden Paths
What’s the cheapest option that still looks good?
Among the most budget-friendly and aesthetically pleasing options are a mulch path laid over cardboard, especially if you can get free woodchips from local arborists. This method is incredibly cost-effective, eco-friendly, and creates a soft, natural look. Similarly, paths made from recycled bricks or broken concrete (“urbanite”) can be sourced for very little money and add a unique, charming, or rugged character without spending much at all.
Can I build a path without digging?
Absolutely! Several excellent options allow you to create a garden path with minimal or no digging. You can simply lay stepping stones directly on your grass, creating an informal and inviting walkway. Roll-out wooden pathway mats offer an instant, temporary, and no-dig solution. Another popular method is a mulch path over cardboard, which involves layering materials directly on the existing ground after removing any large debris, effectively smothering weeds without extensive excavation.
Which materials are safest for kids and pets?
When selecting materials for a path that will be frequently used by children and pets, safety and comfort are paramount. Opt for smooth, flat, and stable materials. Mulch and woodchips provide a soft, forgiving surface that’s gentle on bare feet and paws. Smooth, well-set stepping stones (ensuring they don’t wobble) are also a good choice. Avoid sharp, jagged materials like certain types of crushed gravel that could hurt bare feet or paws. Uneven or loosely set concrete edges should also be avoided to prevent trips and falls.
