How to Build a Durable Gravel Shed Base: Your Complete DIY Guide
Are you tired of common shed problems like leaning structures, rotting floors, or persistent water accumulation underneath? Often, the root cause lies not with the shed itself, but with an inadequate foundation. Investing time in building the right gravel base can prevent these issues, ensuring your shed remains stable and dry for many years to come.
This comprehensive guide will walk you through every essential step. We’ll cover everything from selecting the best types of gravel to determining the ideal depth and width for your foundation. Whether your yard is perfectly flat or presents a challenging slope, you’ll find clear, step-by-step instructions to construct a robust, moisture-resistant, and perfectly level shed base that truly endures.
You don’t need to spend a fortune or hire expensive professionals. With some fundamental tools, a bit of effort, and the right guidance, you can confidently build a stable, worry-free foundation for your shed, guaranteeing its longevity and protecting your valuable belongings.
Why a Gravel Base is the Smart Choice for Your Shed Foundation
When embarking on a shed building project, choosing the right foundation is paramount. A well-constructed base is crucial for maintaining your shed’s structural integrity, keeping it dry, and ensuring it remains level over time. Among the various options available, gravel consistently stands out as one of the most effective, economical, and DIY-friendly choices.
While gravel may seem unassuming, its performance as a shed foundation is exceptionally reliable. It’s a top recommendation for both first-time shed builders and seasoned DIY enthusiasts. Let’s delve into the specific benefits that make gravel an excellent solution for your shed base needs.
Key Benefits of Choosing Gravel for Your Shed Foundation
- Superior Drainage: Gravel’s porous nature allows water to flow freely through it, preventing pooling and moisture buildup directly beneath your shed. This essential feature protects your shed’s floor joists from rot and keeps the interior dry, even during heavy rain.
- Cost-Efficiency: Compared to other foundation types, gravel is significantly more affordable to purchase and transport. Its straightforward installation process also means you save money by not needing professional labor or specialized equipment.
- Exceptional Longevity and Durability: Gravel is a highly resilient material that doesn’t degrade, crack, or warp over time, unlike concrete which can be prone to cracking due to freeze-thaw cycles. A properly installed gravel base provides enduring support, maintaining its integrity for decades.
- Easy DIY Installation: Building a gravel shed base is a manageable project for most homeowners. With basic tools and a free weekend, you can successfully construct a stable foundation, giving you a rewarding sense of accomplishment and further cost savings.
- Flexibility and Adaptability: A gravel base can be easily adjusted or expanded if your needs change. It’s also an excellent choice for sites with challenging drainage or minor ground imperfections, offering more flexibility than rigid concrete slabs.
Gravel vs. Concrete vs. Plastic: Which Shed Base is Right for You?
Understanding the differences between common shed base types is crucial for making an informed decision. Here’s a comparison of gravel, concrete, and plastic bases, highlighting their respective advantages and disadvantages.
| Base Type | Pros | Cons |
|---|---|---|
| Gravel | Excellent drainage, low-cost, easy to repair, DIY-friendly, prevents rot | Requires excavation and proper leveling, needs framing to contain gravel |
| Concrete Slab | Extremely strong and stable, ideal for very heavy sheds or garages, permanent | High cost, requires professional skills/equipment, difficult to move, prone to cracking, poor drainage |
| Plastic Grid System | Lightweight, very fast to install, minimal digging, good for smaller sheds | Can be expensive per square foot, less stable on very soft ground, not suitable for large or heavy structures, drainage depends on underlying material |
For most residential sheds, a gravel base offers the optimal balance of performance, durability, ease of installation, and cost-effectiveness, making it a popular choice for homeowners seeking a reliable foundation.
Top Gravel Options for a Strong and Stable Shed Base
Selecting the correct type of gravel is essential for constructing a robust and well-draining shed foundation. The best gravel options are those that compact well, allow for excellent water percolation, and provide a firm, level surface. The leading choices for shed foundations typically include #57 stone, ¾” clean stone, and crusher run.
1. #57 Stone (Washed Stone)
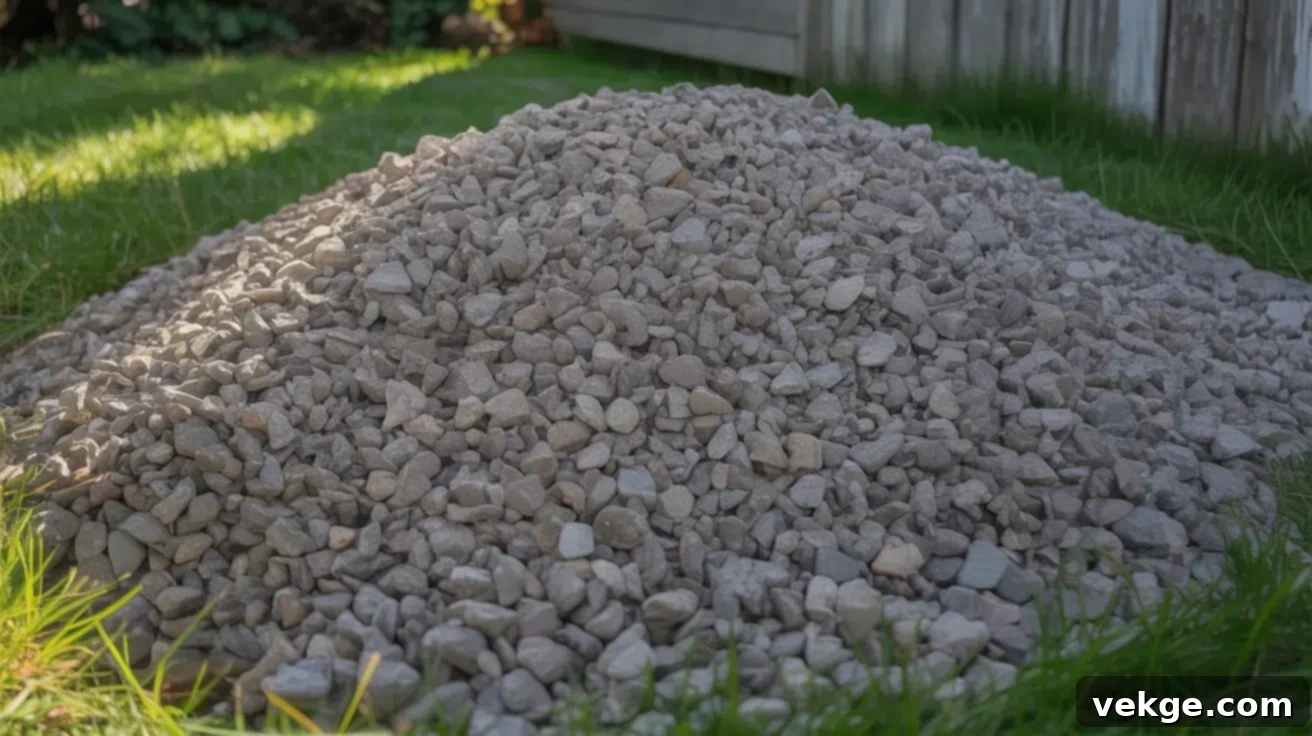
#57 stone, often referred to as washed stone, consists of small, angular crushed stones, typically ranging from ½ inch to 1 inch in size, similar to the size of a nickel. This aggregate is washed to remove fine particles and dust, which significantly enhances its drainage capabilities.
Its angular shape allows the stones to interlock when compacted, creating a very stable and firm base without forming a solid, impermeable layer. This open structure ensures water passes through easily, effectively preventing moisture buildup and keeping your shed’s underside dry. #57 stone is widely regarded as one of the premier choices for shed foundations due to its ideal balance of stability and drainage.
2. ¾” Clean or Washed Stone
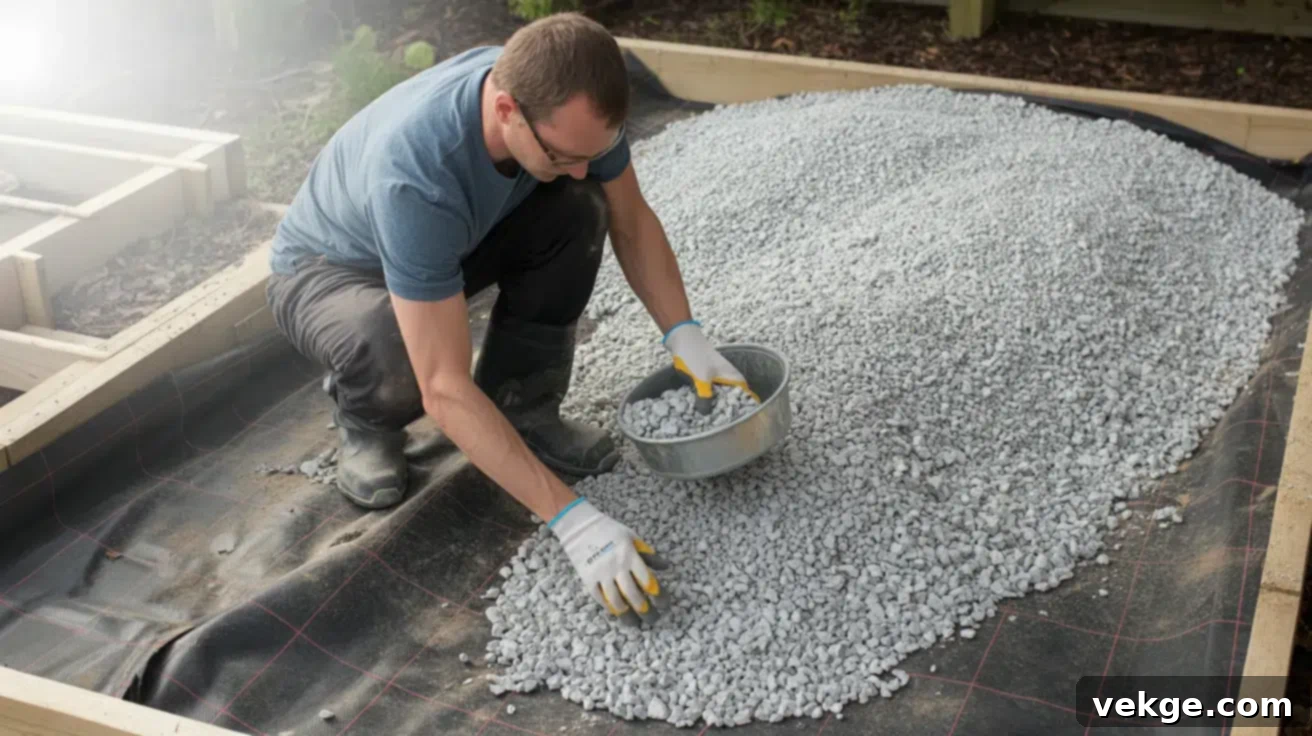
Similar to #57 stone, ¾” clean or washed stone undergoes a screening and washing process to eliminate dirt, dust, and other fine particles. This ensures that the gravel remains permeable, allowing water to drain efficiently without clogging or compacting excessively into a solid mass. The consistent ¾-inch size provides uniform support.
This type of gravel is particularly well-suited for sheds requiring excellent drainage and a consistently flat, even base. Its clean, interlocking nature prevents shifting and settling, making it a remarkably safe and steady choice for a wide range of small to medium-sized sheds, especially in areas prone to heavy rainfall.
3. Crusher Run (With Compaction)
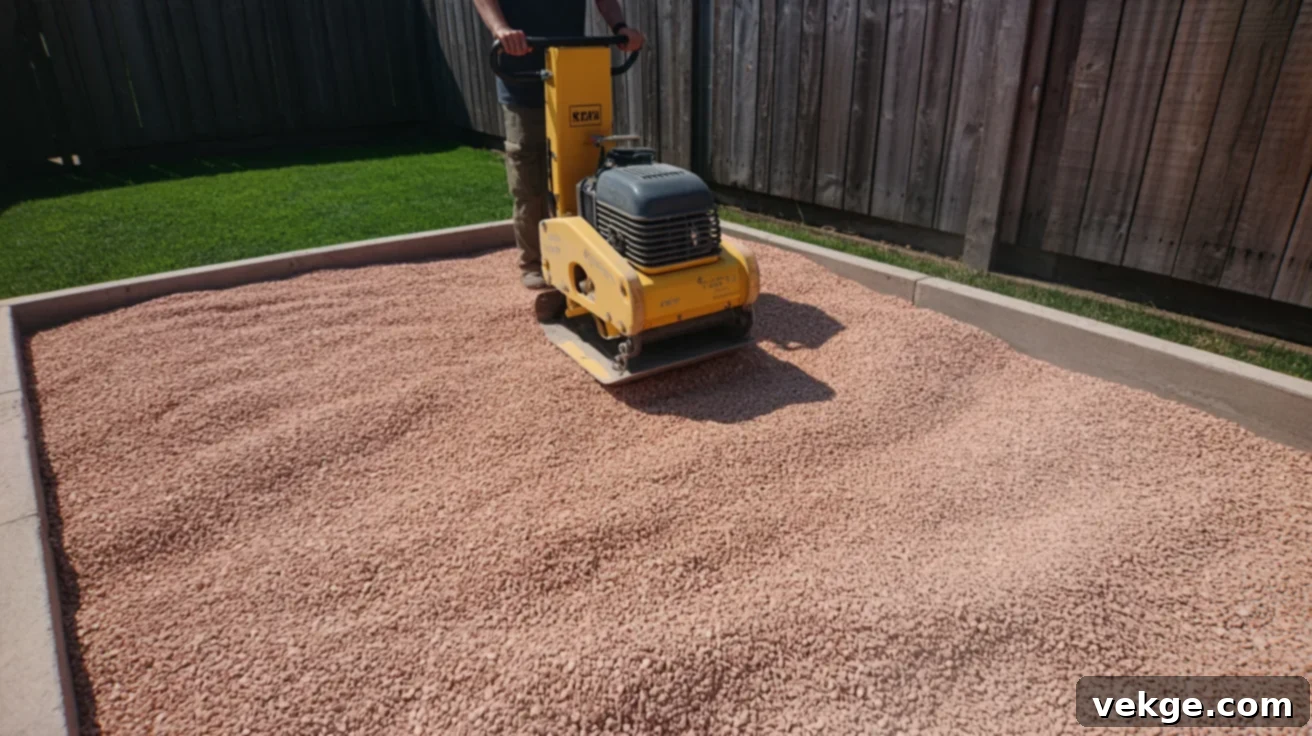
Crusher run, also known as “dense grade aggregate” or “item #4,” is a blend of crushed stone ranging in size from large pieces down to fine stone dust. This unique composition is designed to compact tightly when vibrated or rolled, allowing the finer particles to fill the voids between the larger stones. The result is an exceptionally strong, dense, and remarkably smooth surface that locks together almost like concrete.
It’s an ideal choice if you require superior strength and plan to store heavy equipment, vehicles, or a significant amount of weight within your shed. However, for optimum performance, it is crucial to compact crusher run thoroughly. Proper compaction is key to preventing future shifting, settling, or unevenness, ensuring a long-lasting and incredibly sturdy foundation.
Step-by-Step Guide: How to Build a Gravel Shed Base
Building a durable gravel shed base is a straightforward DIY project when approached with a clear plan and the right tools. By following these steps, you can create a professional-grade foundation that will serve your shed well for years.
Tools and Materials Needed for Your Shed Base Project
- Gravel: Choose one of the recommended types (e.g., #57 stone, ¾” clean stone, or crusher run). Use an online gravel calculator to accurately estimate the quantity needed based on your base dimensions.
- Shovel: Essential for digging out the base area and efficiently moving gravel.
- Rake: For spreading gravel evenly across the excavated area and ensuring a consistent layer depth.
- Wheelbarrow: Indispensable for hauling significant amounts of gravel from your delivery point to the shed site.
- Level (Long Spirit Level or Laser Level): Critical for frequently checking the flatness and evenness of your excavated ground and subsequent gravel layers.
- Tamper or Plate Compactor: A hand tamper is suitable for smaller bases, while a rented plate compactor is highly recommended for larger projects to achieve optimal compaction and stability.
- Heavy-Duty Weed Barrier Fabric: To prevent weed growth through your gravel base and to separate the gravel from the soil, improving drainage.
- Wooden Boards or Edging Material: Typically pressure-treated 4×4 or 2×6 lumber, or concrete blocks, to create a perimeter frame that contains the gravel and defines the base area.
- Measuring Tape: For accurate measurements of your shed and foundation layout.
- Stakes and String Line: For marking out the perimeter of your shed base precisely.
- Utility Knife: To cut the weed barrier fabric to size.
- Safety Gear: Work gloves, safety glasses, and sturdy boots are essential for protection during digging and gravel handling.
Step 1: Preparing the Site and Excavation
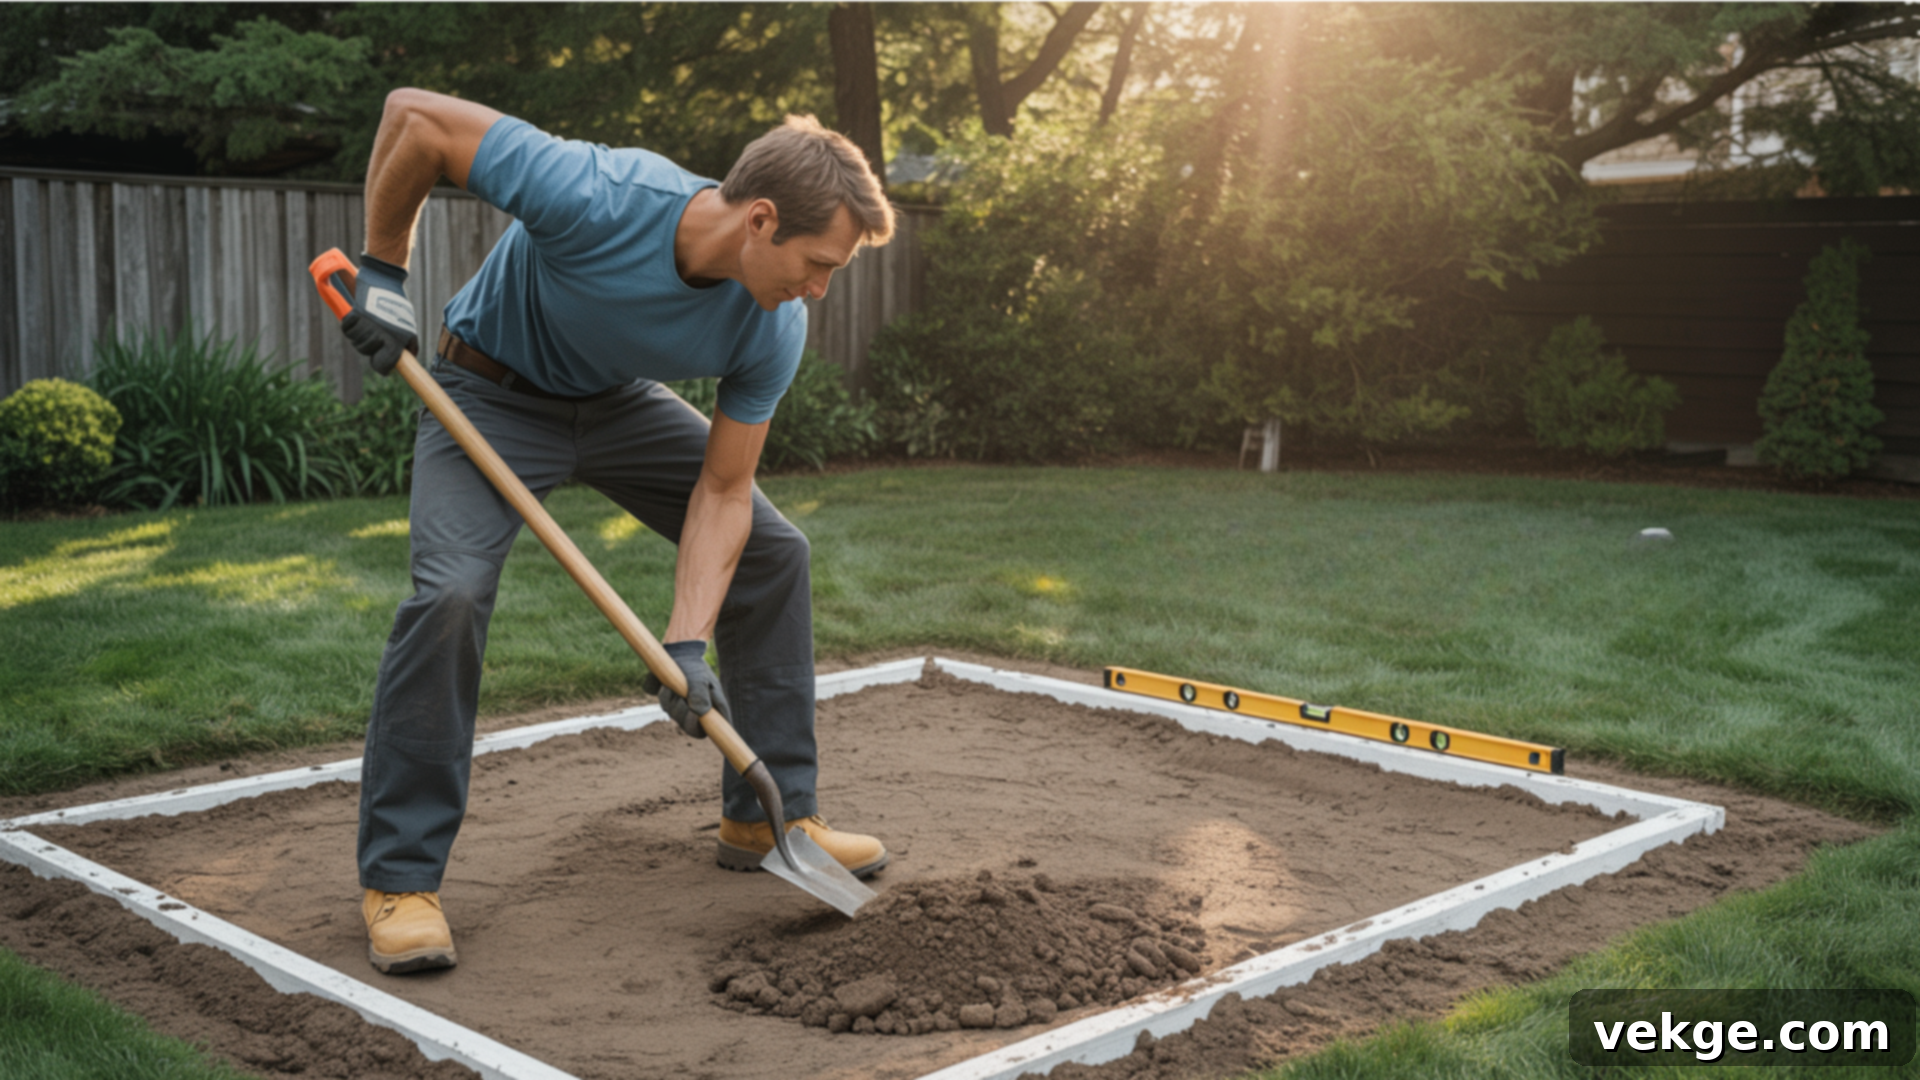
Begin by choosing the ideal location for your shed. Once selected, meticulously clear the area of all grass, roots, rocks, and any other debris. Measure the exact footprint of your shed and then expand these dimensions by at least 1 foot on all sides to create your base area. Use stakes and a string line to accurately mark this perimeter.
Next, use your shovel to excavate the marked area to a depth of 4 to 6 inches. For larger or heavier sheds, or if your soil is particularly soft, you may consider digging 8 to 12 inches deep for enhanced stability. Double-check all measurements to ensure your excavated area is perfectly square and appropriately sized – a base that’s too small will undermine your shed’s stability. Once excavated, smooth out the bottom of the trench, remove any loose soil, and compact the sub-base firmly. Finally, lay down the heavy-duty weed barrier fabric, overlapping edges by at least 6-12 inches to prevent any plant growth from compromising your base.
Step 2: Installing and Compacting the Gravel Layers
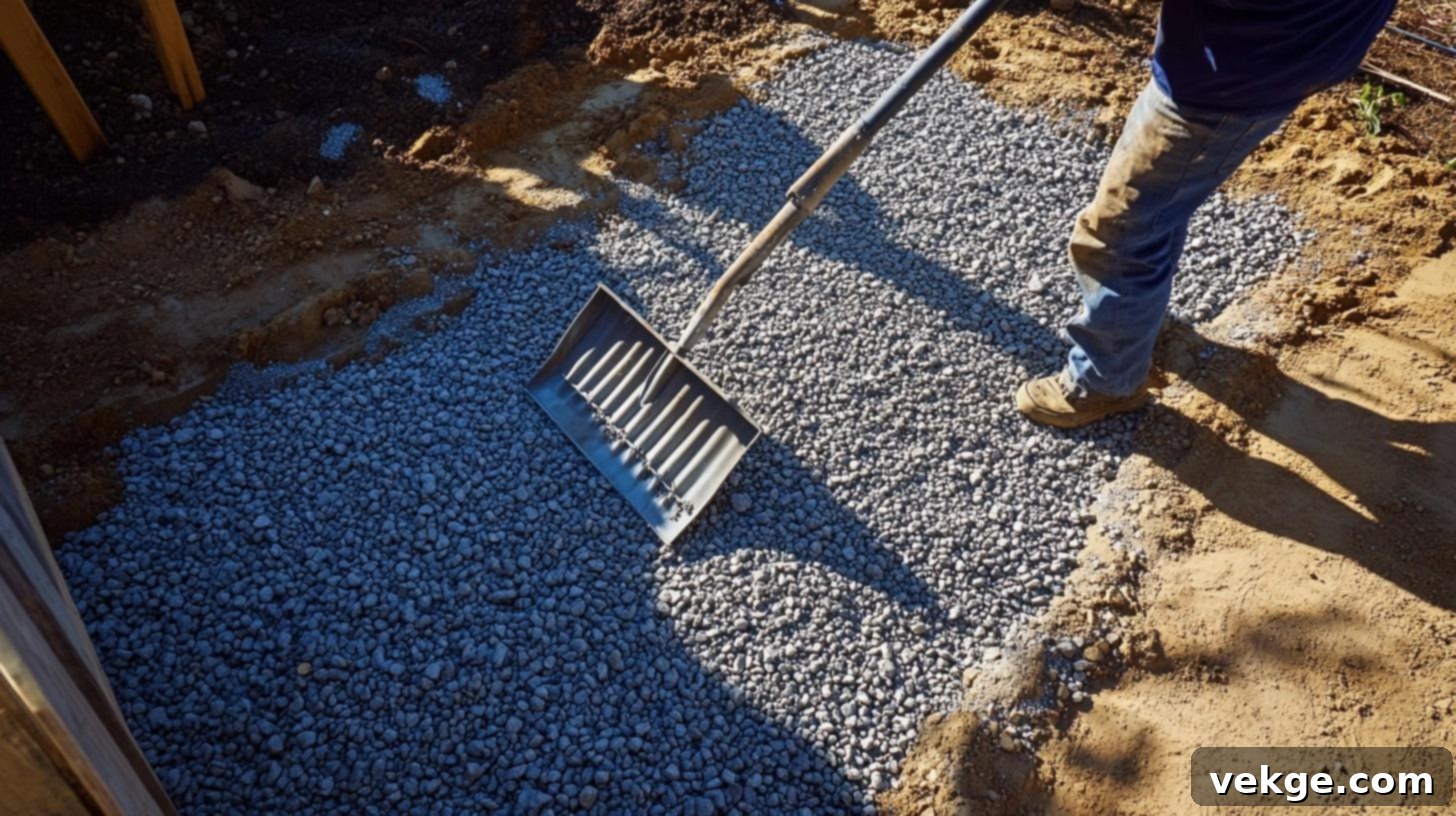
With the site prepared and the weed barrier in place, you can now begin adding the gravel. It’s crucial to lay the gravel in thin, even layers, typically no more than 2 inches deep at a time. Use a rake to spread each layer uniformly across the entire base area.
After spreading a layer, use a hand tamper or a rented plate compactor to thoroughly compact the gravel. Walk over the entire surface multiple times with the compactor, ensuring each section is firmly pressed down. Repeat this process – spreading a 2-inch layer of gravel, then compacting it – until you reach your desired total base depth. As you work, frequently use your level to check for flatness. For optimal drainage, ensure the top layer of gravel has a very slight, barely perceptible slope (about 1/8 inch per foot) away from where your shed doors will be, directing water away from the structure.
Step 3: Addressing Sloped Yards for a Level Base
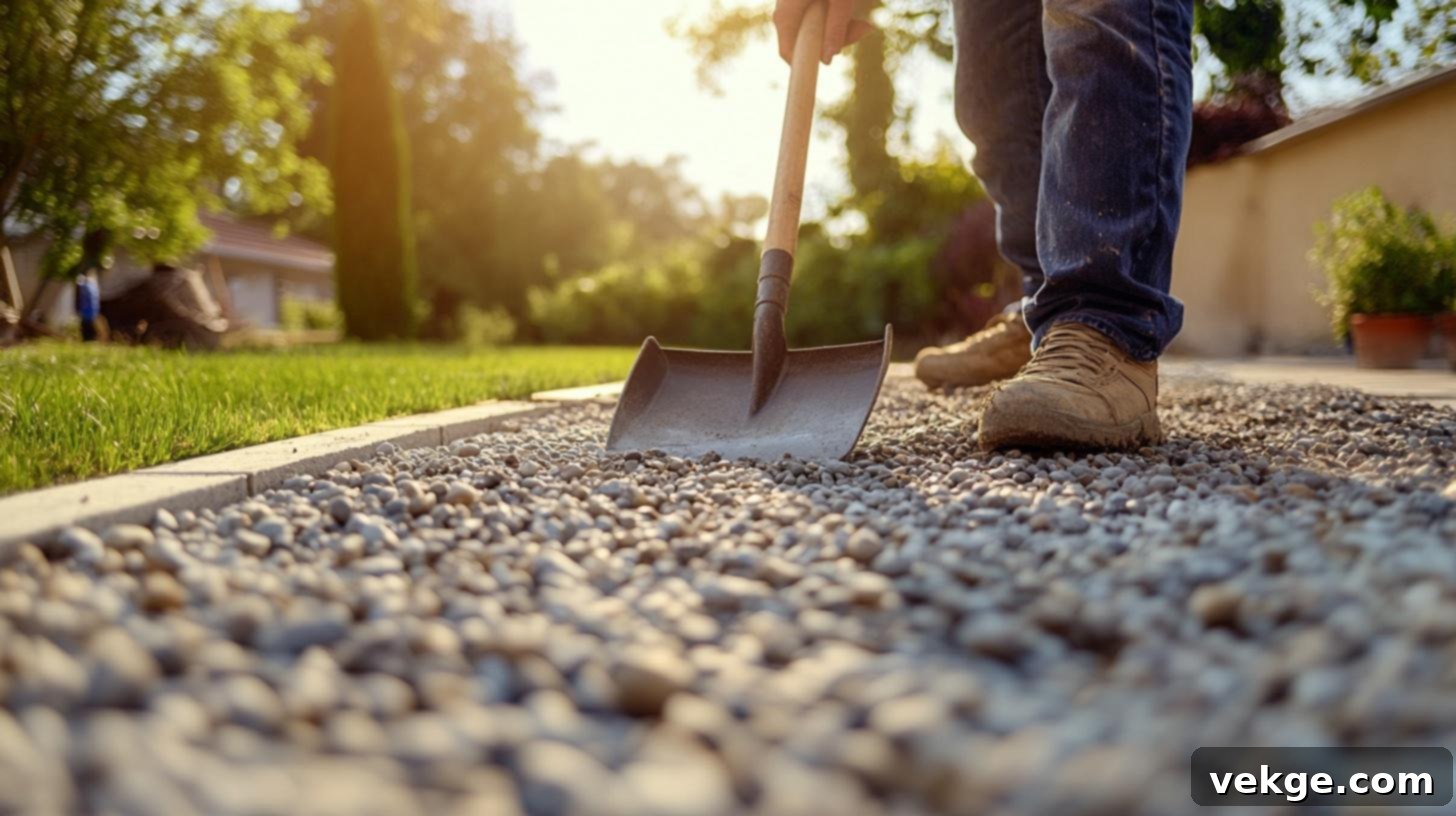
If your yard is not perfectly flat, building a level shed base requires a bit more planning. On a sloped site, you’ll need to dig deeper on the higher side of the slope, effectively cutting into the high ground, until the entire base area is perfectly level. Once excavated and leveled, install robust timber edging (such as pressure-treated 4x4s) or concrete retaining blocks around the perimeter. This framing will act as a retaining wall on the lower side of the slope, preventing the gravel from migrating downhill.
You may need to add extra gravel to the lower side to bring it up to level with the higher, excavated side. For particularly steep slopes, constructing a more substantial retaining wall might be necessary. Throughout this process, continuously use a long level and a string line stretched between stakes to accurately check your work and ensure the base remains perfectly level across all dimensions.
Step 4: Framing the Base and Final Level Checks
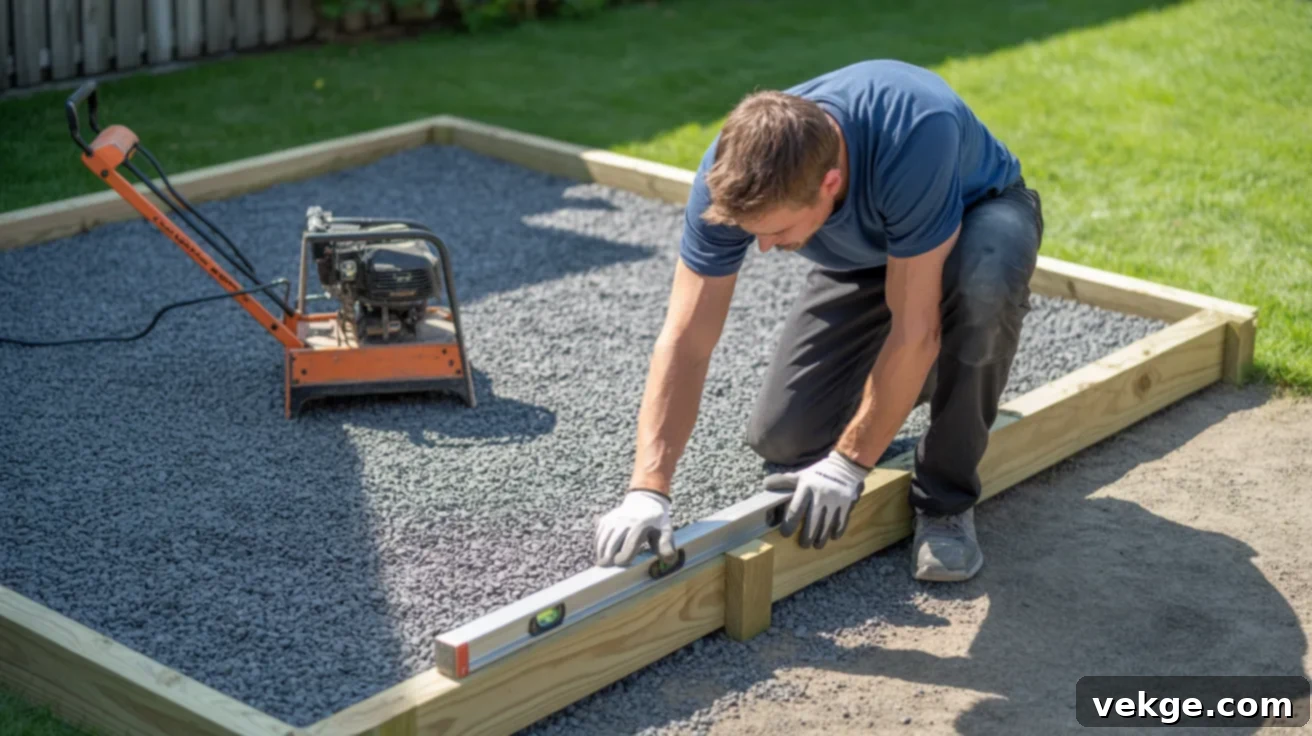
Once all the gravel layers have been added and compacted to your desired depth, it’s time to install the permanent edging or frame around the base. This frame, typically made of pressure-treated lumber or landscape timbers, serves to permanently contain the gravel and maintain the integrity of your foundation. Secure the frame corners with screws or spikes and ensure it is perfectly square by measuring diagonals – they should be equal.
After installing the edging, perform a final, meticulous check of the entire gravel surface with your level. Check from side to side, front to back, and diagonally. If you find any low spots, add a small amount of gravel, spread it evenly, and compact it again until the entire surface is perfectly flat and firm. This final check is crucial to ensure your base is truly ready, dry, stable, and strong enough to support your shed for years without issues.
Step 5: The Final Look of Your Completed Gravel Base
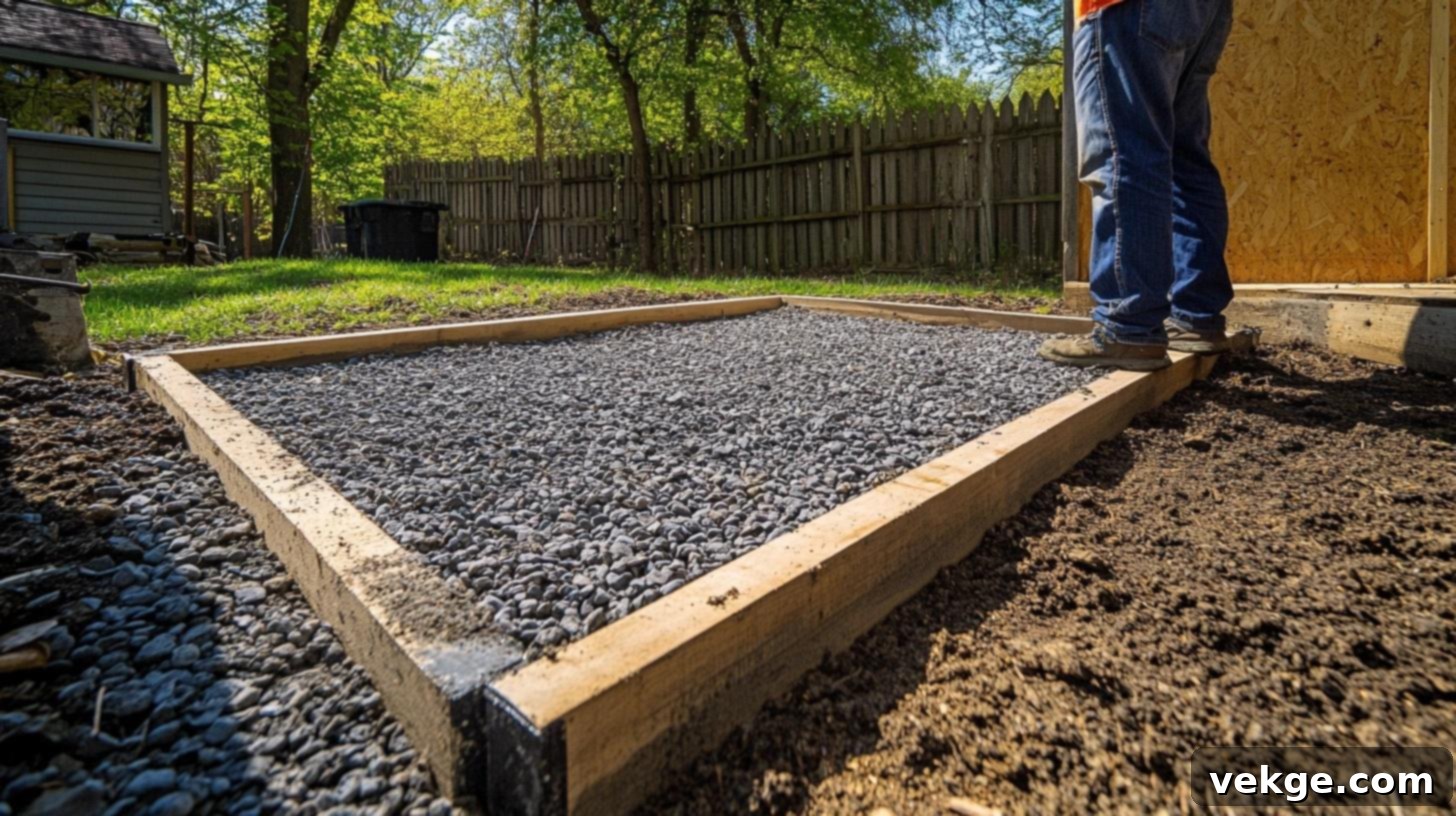
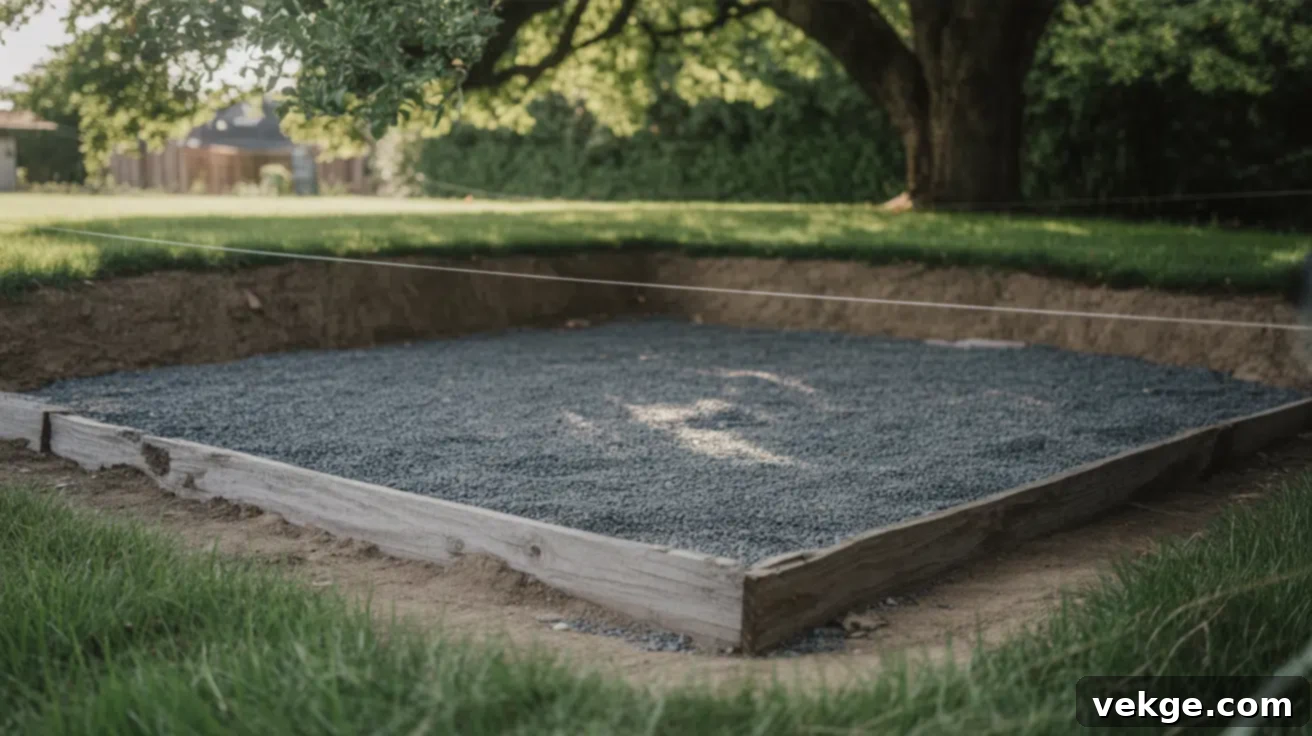
Take a moment to inspect your finished gravel base. It should present a perfectly level, firm, and neatly framed surface. The gravel should be tightly compacted, leaving no soft spots or areas where loose stones can easily shift. Confirm that the slight slope for water drainage (away from the shed’s future entry point) is present and effective. The weed barrier should be completely covered and tucked under the edging.
Your completed gravel base should look clean, solid, and ready for your shed installation. You’ve successfully created a foundation that will prevent sinking, shifting, and moisture-related problems, ensuring your shed stands strong and dry for its entire lifespan. This sturdy base is the secret to a long-lasting, problem-free shed.
How Deep and Wide Should Your Gravel Base Be for Optimal Support?
Getting the dimensions of your gravel base precisely right is a critical factor in your shed’s long-term stability and overall lifespan. An undersized or too-shallow base can quickly lead to structural problems, uneven settling, and moisture issues. Here’s how to correctly determine the ideal depth and width for your shed’s foundation.
Standard Dimensions for Most Residential Sheds
For the majority of small to medium-sized residential sheds (e.g., garden sheds, storage sheds), the excavated base should be approximately 4 to 6 inches deep. This depth provides ample space for sufficient gravel layers to ensure proper drainage, effective compaction, and robust stability without excessive excavation. It’s a good balance for average soil conditions and shed weights.
Regarding width, it’s always recommended to extend your gravel base beyond the exact footprint of your shed. A good rule of thumb is to add at least 1 foot of extra width on each side of the shed. For instance, if your shed measures 8×10 feet, your gravel base should be at least 10×12 feet. This additional perimeter provides several critical benefits, as detailed below.
Recommendations for Heavier Structures and Challenging Soils
If you plan to use your shed for storing heavy tools, machinery, equipment, or even as a small workshop that will house vehicles, you’ll need a more substantial foundation. For such heavy-duty applications, a base depth of 8 to 12 inches is highly recommended. This increased depth allows for more gravel, creating a thicker, denser pad that can withstand greater loads and distribute weight more effectively.
Additionally, for heavier structures, consider using stronger gravel types like crusher run, which provides superior support and compaction. Deeper bases are also beneficial if your local soil is particularly soft, unstable, or frequently saturated with water, as they help prevent the shed from sinking or settling unevenly over time.
Width and Perimeter Guidelines for Enhanced Durability
The recommendation to make your gravel base wider than your shed (at least 12 inches extra on all sides) serves several important purposes:
- Improved Drainage: The wider perimeter ensures that any rainwater shedding off your shed’s roof falls onto the gravel, where it can quickly drain away, rather than saturating the soil directly adjacent to your shed’s foundation. This keeps the immediate area dry and reduces the risk of splash-back onto the shed walls.
- Edge Protection: The extended gravel helps protect the bottom edges of your shed from moisture and splash damage, which can lead to rot or premature wear.
- Enhanced Airflow: An adequately wide gravel base promotes better airflow underneath the shed, further mitigating moisture buildup and reducing the potential for mold, mildew, and rot.
- Containment: The extra width provides a stable border for your gravel containment system (wooden edging or blocks), preventing the gravel from spreading out and losing its structural integrity.
By adhering to these depth and width guidelines, you’ll establish a foundation that is not only stable but also resilient against environmental factors, significantly extending the life and usability of your shed.
Wrapping Up: Your Path to a Perfect Shed Base
Building the right gravel base for your shed is arguably the most crucial step in its construction. A properly installed foundation makes an immense difference in how long your shed lasts, how well it withstands various weather conditions, and how effectively it protects your valuable contents from moisture and instability.
Now that you’re equipped with comprehensive knowledge—from selecting the ideal gravel type and calculating the precise dimensions, to executing each construction step and understanding common pitfalls to avoid—you are fully prepared to embark on your shed base project with confidence. Remember, patience and attention to detail throughout the process will pay off immensely.
Take your time, meticulously follow the steps outlined in this guide, and you will achieve a sturdy, dry, and perfectly level foundation that ensures your shed remains safe, solid, and reliable for decades. If you’re seeking a simple, highly cost-effective, and incredibly durable solution for your shed’s foundation, gravel is undeniably the smart way to go.
Bookmark this guide for future reference, share it with friends who are considering a shed project, and get ready to build a shed base you can genuinely count on for exceptional performance and longevity.
