The Ultimate Homemade Rosemary Bread: Soft, Flavorful, and Irresistibly Chewy
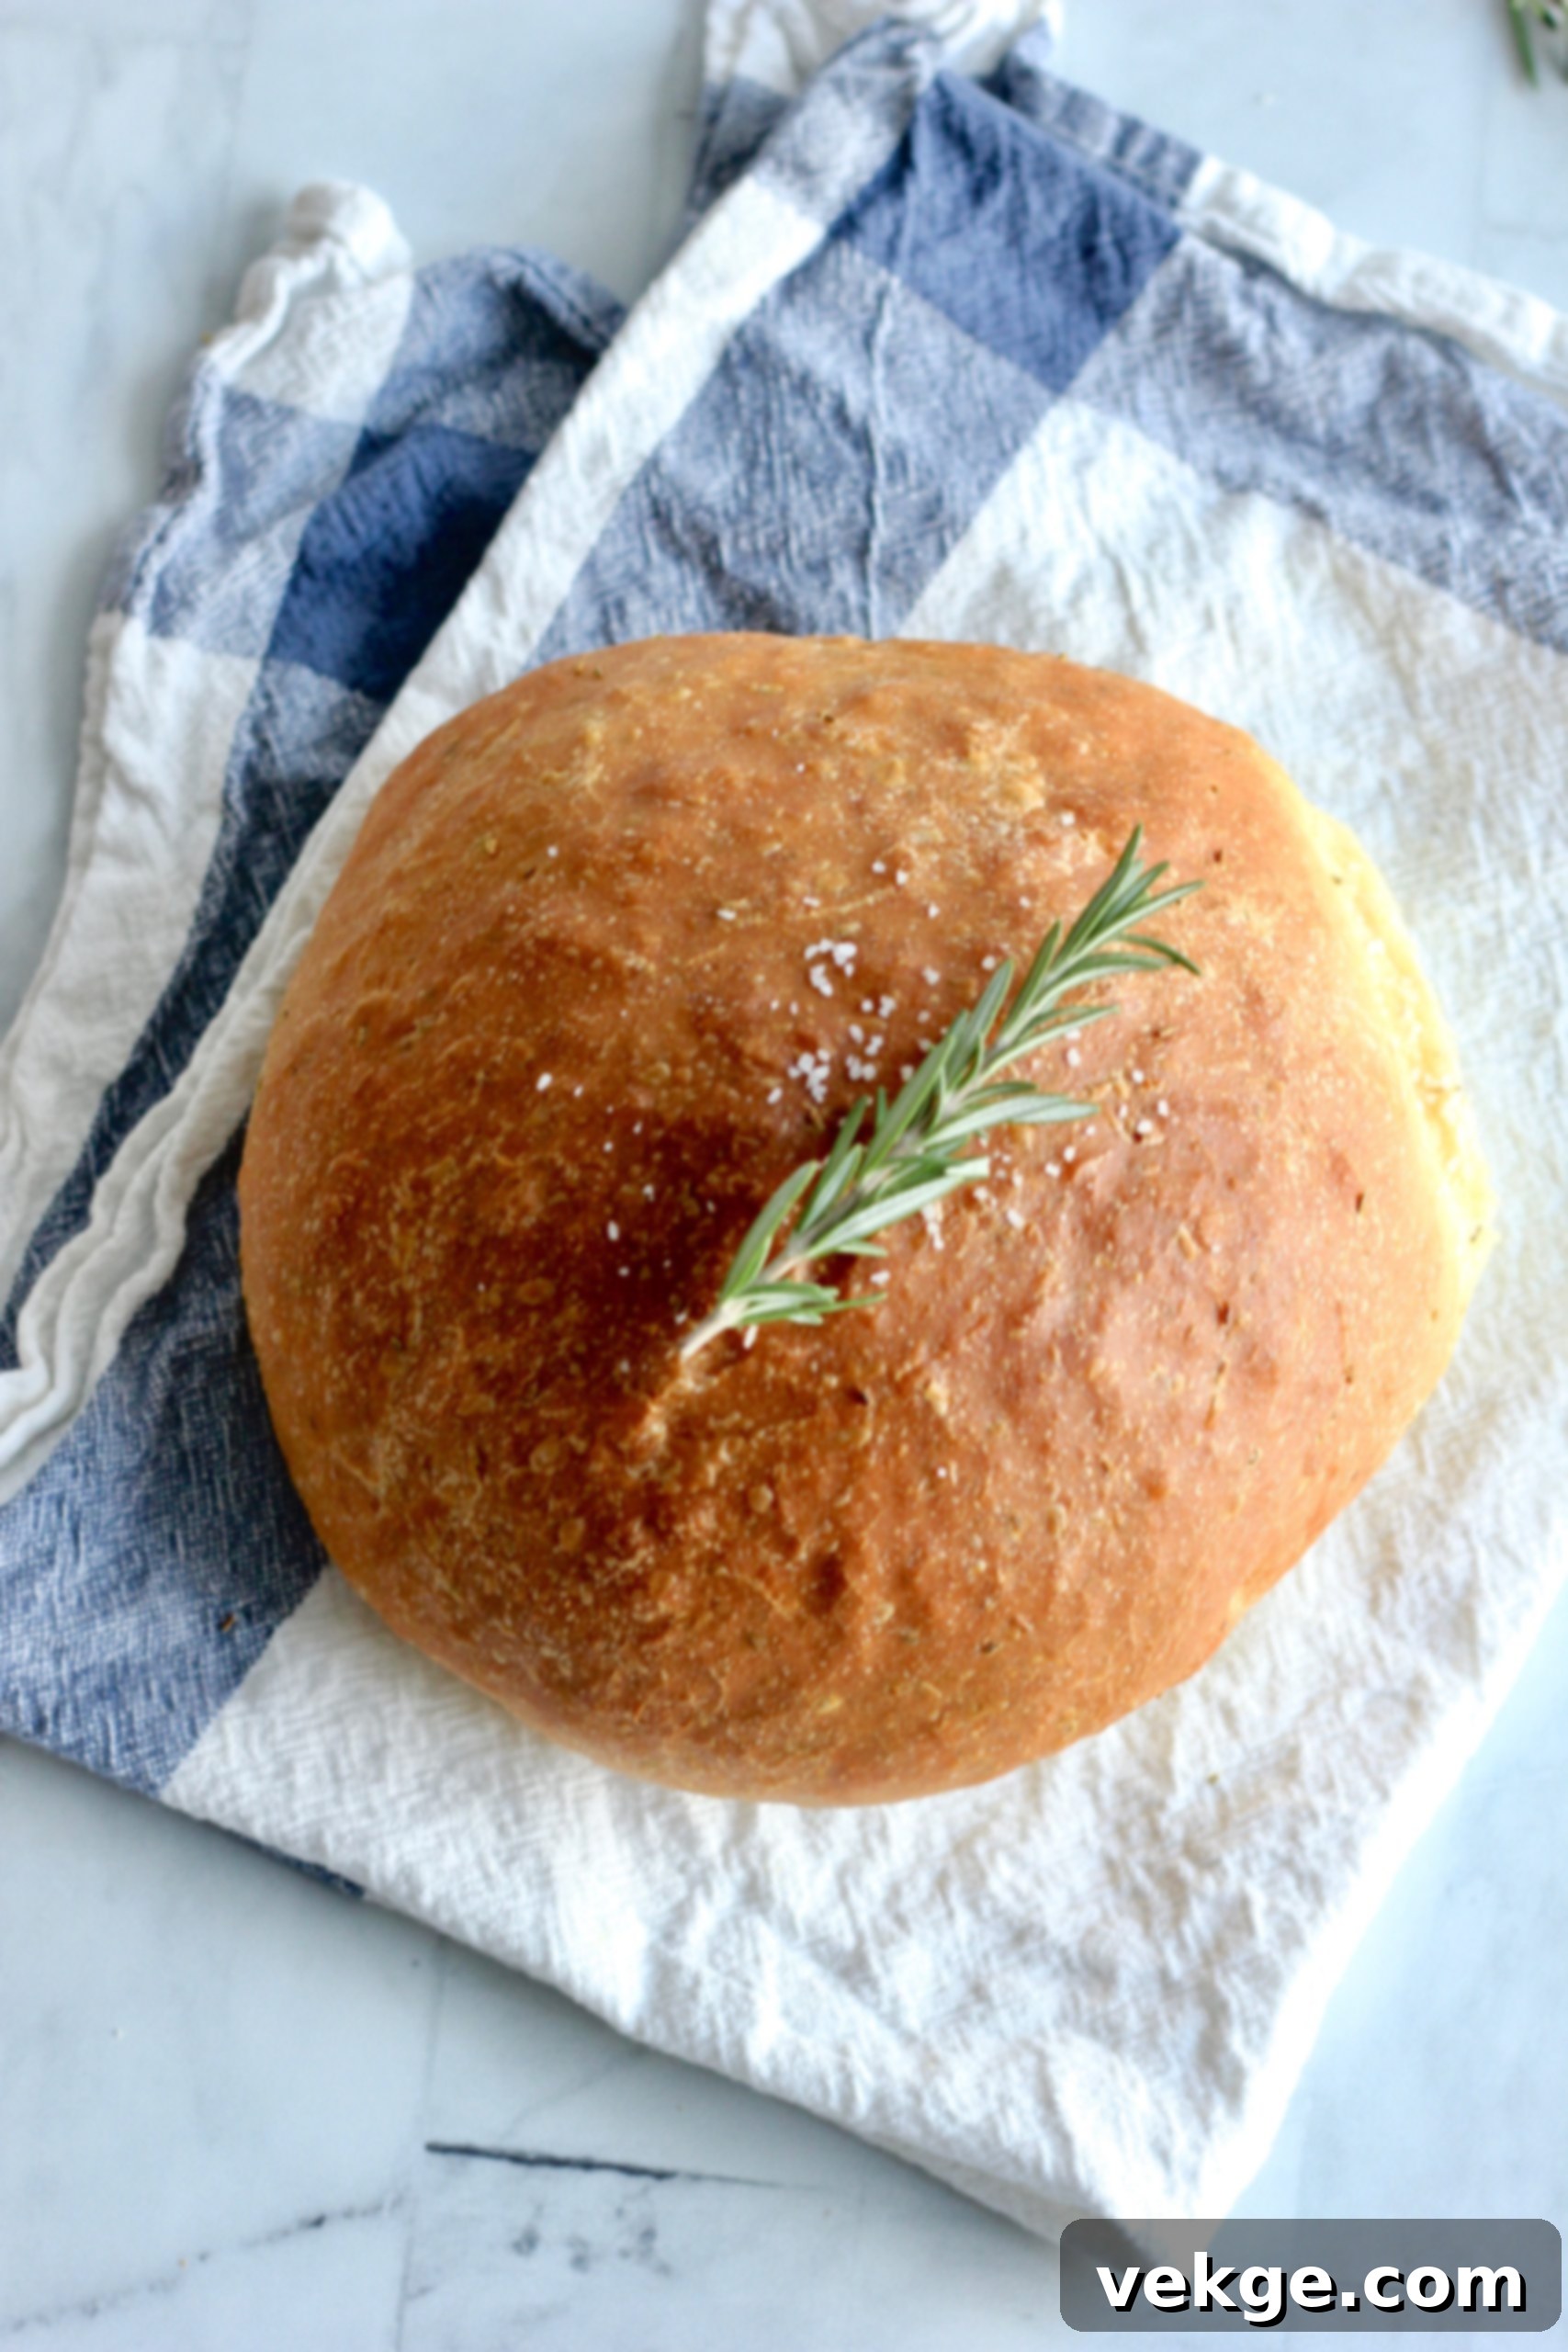
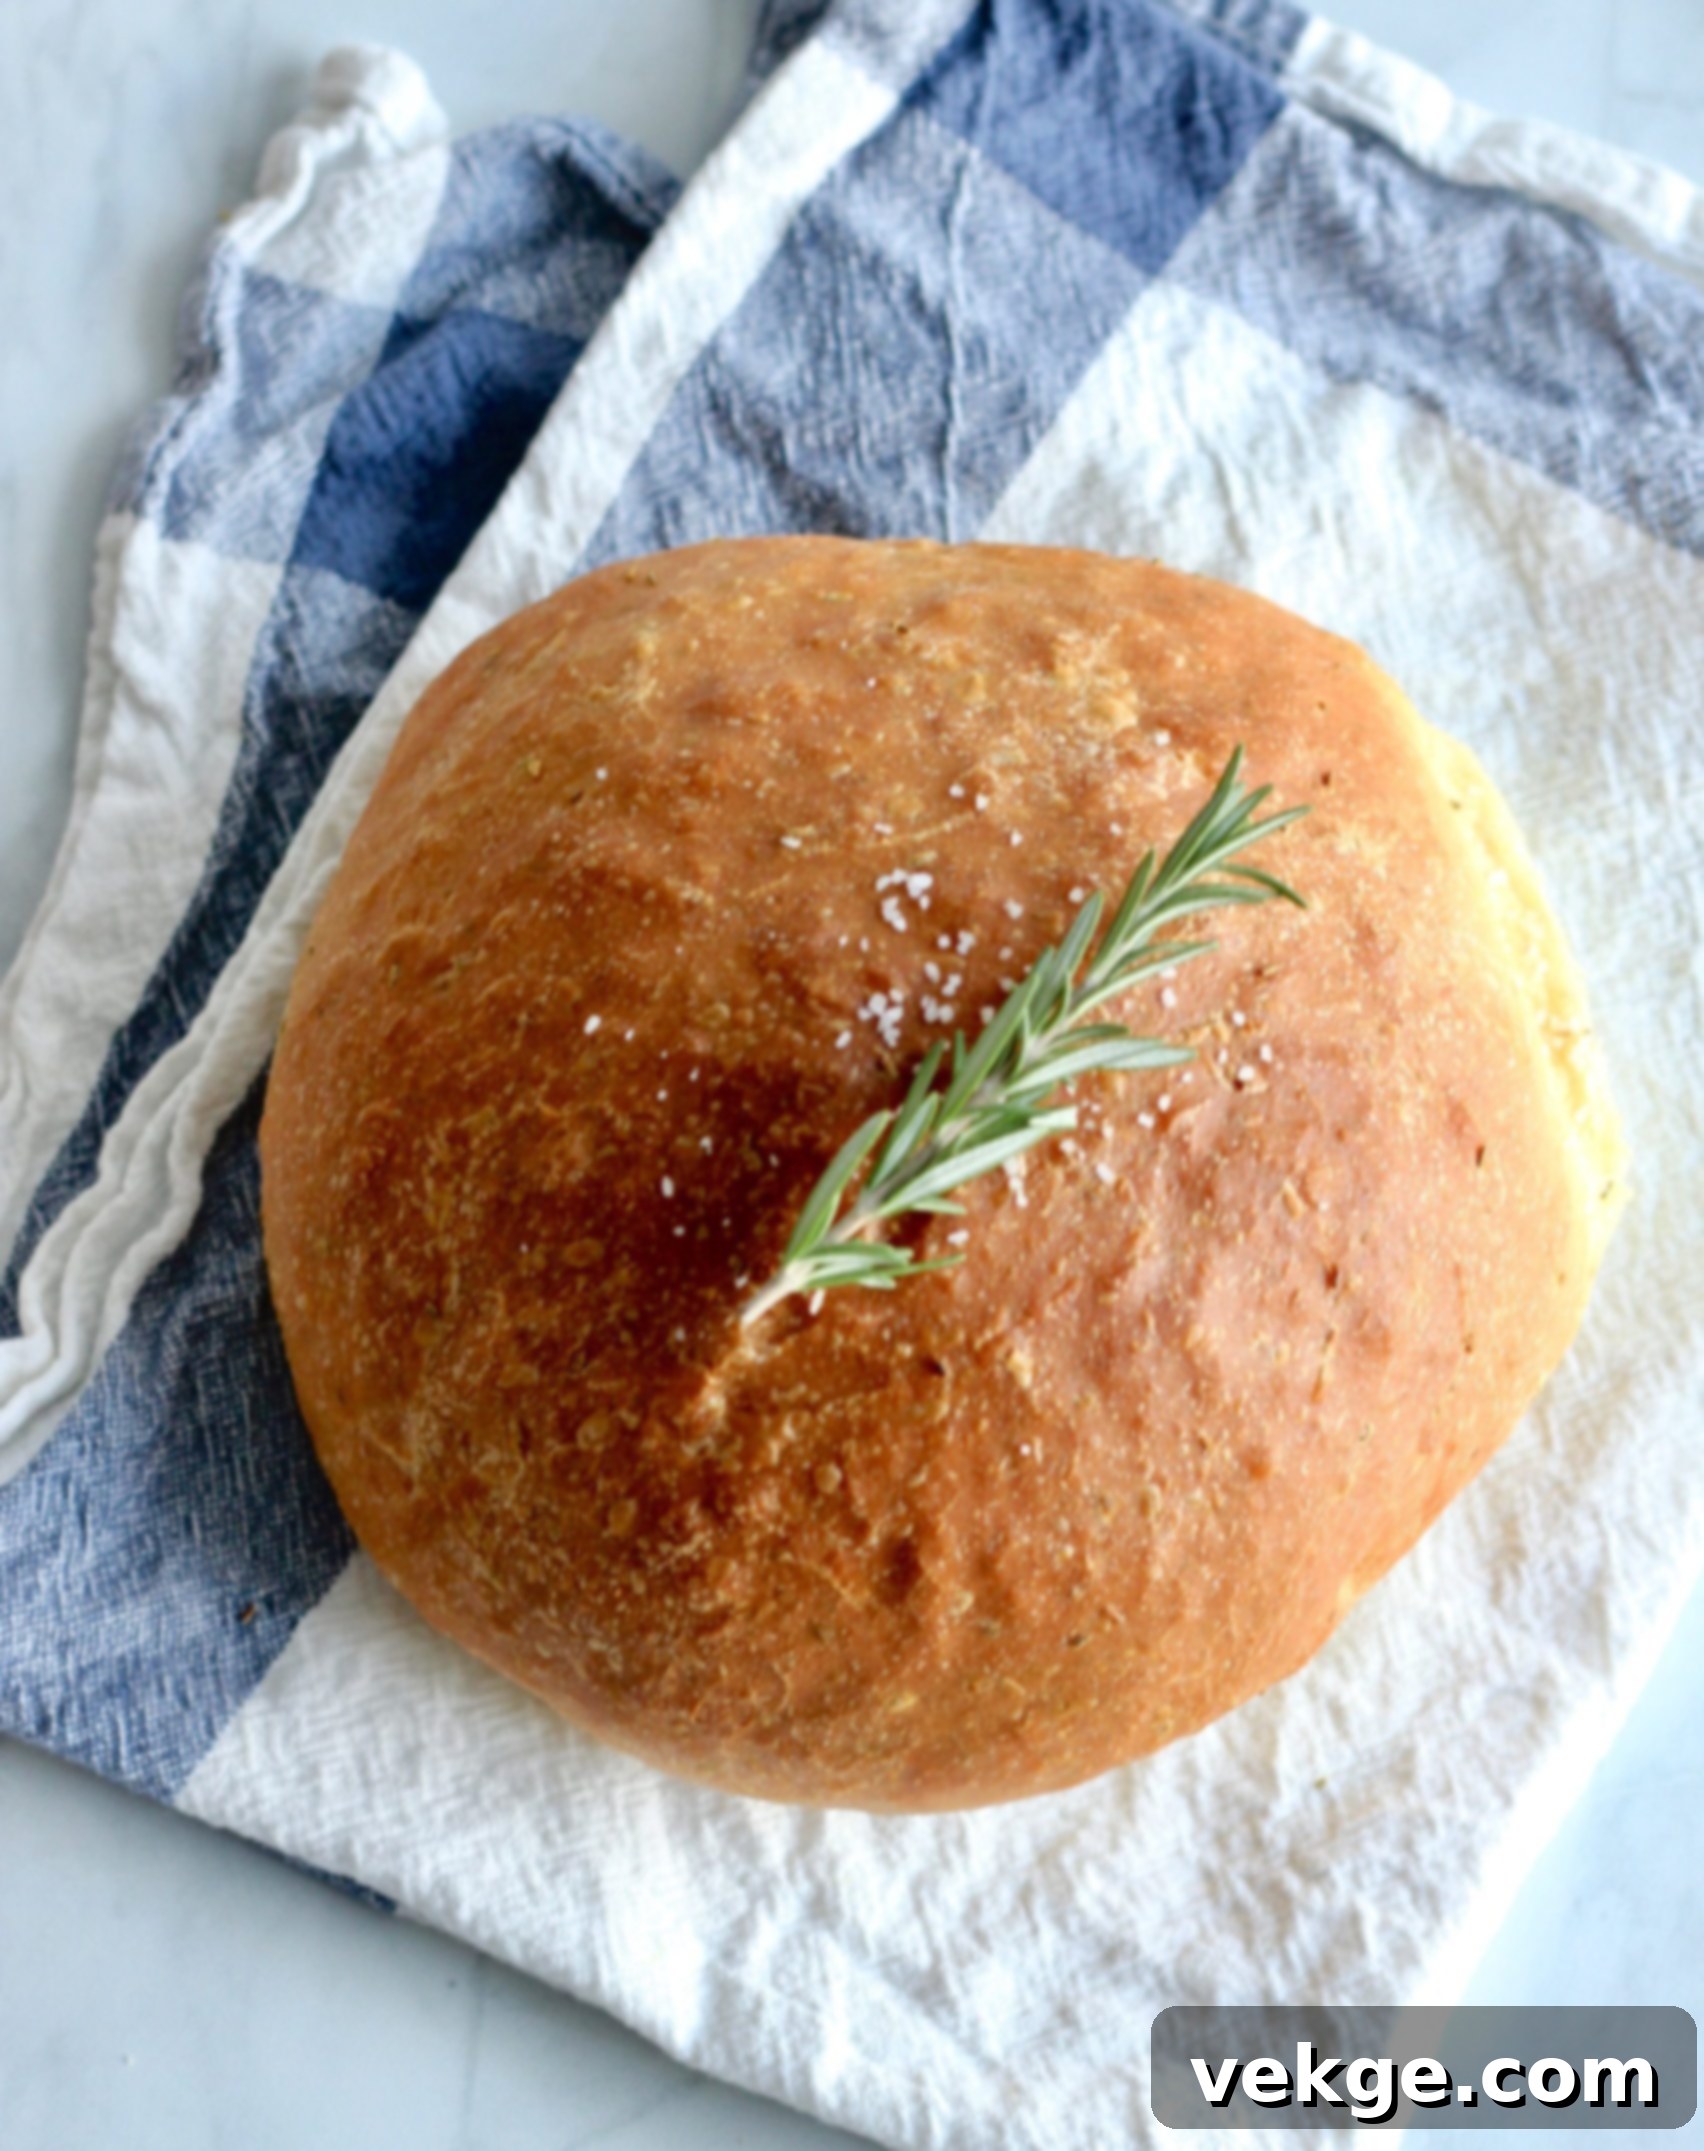
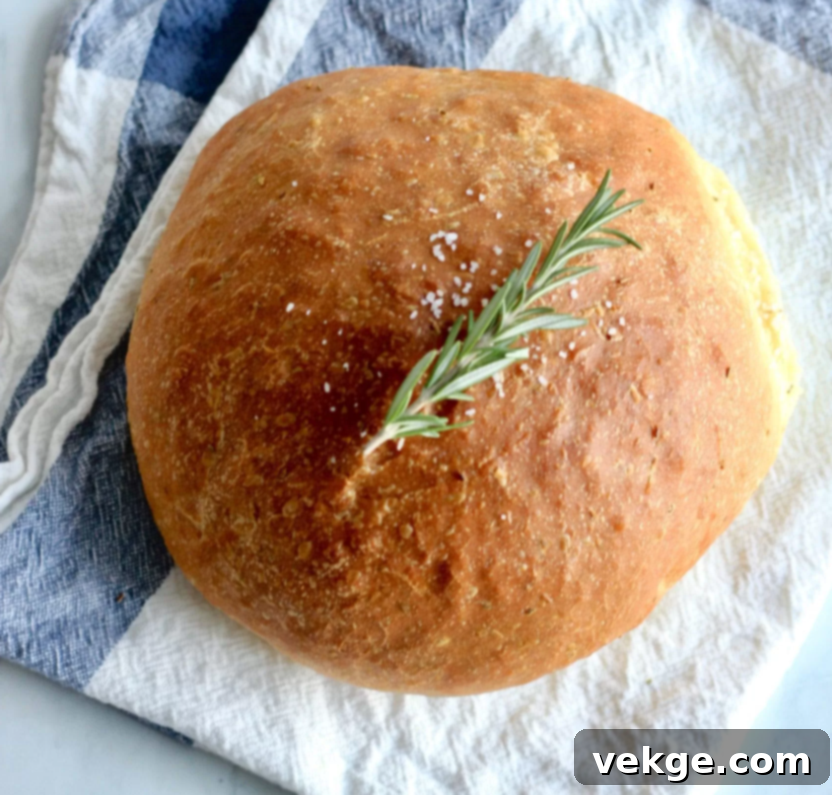
There are few culinary delights that stir the soul quite like a perfectly baked loaf of bread. For me, the love affair with carbohydrates is profound, and this Rosemary Bread stands as a monumental testament to that passion. Imagine slicing into a loaf where the interior is as incredibly soft and airy as a cloud, providing an unparalleled melt-in-your-mouth experience. Then, your teeth meet the crust—a golden-brown masterpiece, infused with the rich, aromatic essence of olive oil, offering just the right amount of delightful chew. It’s not just good; it’s an experience that elevates simple ingredients into something truly extraordinary.
This recipe isn’t merely about baking bread; it’s about crafting a moment of pure comfort and satisfaction. The process itself, from the initial bubbling of the yeast to the intoxicating aroma that fills your kitchen as it bakes, is deeply rewarding. And the result? A versatile, fragrant bread that is perfect for any occasion, whether it’s accompanying a hearty meal, serving as an elegant appetizer, or simply enjoyed on its own with a drizzle of your finest olive oil. Get ready to impress yourself and your loved ones with this incredible homemade creation!

Why This Homemade Rosemary Bread Recipe Will Become Your New Favorite
What makes this Rosemary Bread so exceptionally beloved? It begins with the careful balance of ingredients, each playing a crucial role in achieving its signature texture and taste. The secret to its cloud-like interior lies in proper yeast activation and a precise kneading technique, ensuring a light and airy crumb that practically dissolves in your mouth. But it’s the crust that truly sets it apart. The generous application of high-quality extra virgin olive oil not only gives it a beautiful, crisp golden hue but also infuses every bite with a deep, Mediterranean richness, perfectly complementing the earthy, fragrant notes of fresh or dried rosemary.
Many bread recipes can seem intimidating, especially for those new to baking. However, this Rosemary Bread recipe is designed for accessibility without compromising on gourmet quality. Even if you consider yourself a novice baker, the clear, step-by-step instructions provided will guide you to a triumphant result. The profound satisfaction of pulling a warm, fragrant loaf from your own oven, knowing you created something so utterly delicious from scratch, is an unparalleled joy. This isn’t just a recipe; it’s an invitation to rediscover the simple, profound pleasure of homemade baking, delivering an authentic flavor that store-bought alternatives simply cannot match.
View this post on Instagram
A post shared by Amber (@amberskitchen)
The Irresistible Combination: Rosemary and Olive Oil in Homemade Bread
Rosemary, with its fragrant, pine-like aroma and slightly peppery, resinous taste, is a culinary herb that elevates ordinary bread into something truly special. When finely chopped and baked into the dough, it releases its essential oils, permeating the entire loaf with a delightful scent and flavor that is both rustic and refined. This robust herb pairs exquisitely with the fruity, slightly peppery notes of high-quality extra virgin olive oil, which is a cornerstone of Mediterranean cuisine and crucial to this bread’s character.
The olive oil contributes not only to the bread’s distinctive golden crust and pleasant chewiness but also plays a vital role in maintaining its moist and tender crumb. It helps create those wonderful little pockets within the bread that define its cloud-like texture. Beyond its incredible flavor contribution, rosemary also boasts various health benefits, including antioxidant and anti-inflammatory properties. Incorporating it into your homemade bread means you’re not just enjoying a delicious treat but also adding a touch of natural goodness to your diet. The harmonious combination of these two Mediterranean staples creates a bread that is deeply satisfying, remarkably sophisticated in its simplicity, and incredibly nourishing.

Essential Tips for Baking Perfect Rosemary Bread Every Time
Achieving bakery-quality bread at home is entirely within your reach, and these expert tips will help ensure your Rosemary Bread turns out perfectly every single time. Baking bread, while seemingly complex, becomes an enjoyable and predictable process when you understand a few fundamental principles. Pay close attention to the details, especially regarding your ingredients and the environment, and you’ll be rewarded with fantastic results.
Mastering Yeast Activation and Flour Incorporation
- Proofing the Yeast: This initial step is critical for a good rise. Ensure your water is “very warm”—meaning it should feel like warm bathwater or the ideal temperature you’d use for a baby bottle, typically between 105-115°F (40-46°C). Too hot, and it kills the yeast; too cold, and it won’t activate properly. Your yeast mixture should become noticeably foamy and bubbly after about 10 minutes. If it doesn’t, your yeast might be old or the water temperature was off, and it’s best to start again to avoid disappointment.
- Don’t Over-flour: This is arguably the biggest mistake many home bakers make, leading to dense, dry bread. The dough should be tacky and stretchy but not sticky. During mixing, it will start to pull away from the sides of the bowl, but it should still feel soft and pliable. Resist the urge to keep adding more flour once the dough reaches this consistency, even if it feels a little “wet.” Trust the process; a slightly softer dough often yields a lighter, more tender bread.
- The Art of Kneading: Kneading is crucial for developing the gluten structure in the dough, which gives bread its characteristic chewiness and ability to hold its shape. Whether you knead by hand or use a stand mixer (a Bosch is recommended for efficiency), ensure you knead for the full recommended time. A well-kneaded dough will be smooth, elastic, and pass the “windowpane test”—where you can gently stretch a small piece of dough thin enough to see light through it without it tearing.
Optimal Proofing and Baking Techniques for Superior Texture
- First Rise (Bulk Fermentation): This allows the yeast to work its magic, developing deep flavors and significant volume. A warm, draft-free place is ideal for this stage. Patience is key here; don’t rush this step. Allow the dough to truly double in size, which typically takes about 90-120 minutes.
- Shaping and Second Rise (Proofing): Once the first rise is complete, gently deflate the dough, divide it, and shape it into your desired loaves. The second rise, or proofing, prepares these individual loaves for their final transformation in the oven. Again, give it ample time—around 60-90 minutes—until the dough is noticeably puffy and springs back slowly when gently poked.
- The Olive Oil Brush: The generous application of extra virgin olive oil, both before the first bake and after a short baking period, contributes significantly to the bread’s exceptional crust. It helps achieve that desirable deep golden-brown color and delicious crispness, while simultaneously ensuring the interior remains moist and succulent.
- Coarse Salt Finish: A final sprinkle of coarse salt (like sea salt or kosher salt) before the bread returns to the oven adds a delightful textural contrast and brilliantly enhances all the flavors of the bread, making each bite even more memorable.
Rosemary Bread: A Versatile Delight for Any Occasion
Once you’ve mastered this incredible Rosemary Bread, you’ll discover countless delightful ways to incorporate it into your meals. It’s truly a versatile staple that can elevate almost any culinary experience, transforming ordinary dishes into something extraordinary. Its aromatic profile and wonderful texture make it a fantastic companion to a wide array of flavors. Here are some of our favorite serving suggestions to inspire you:
- The Perfect Companion to Soups and Stews: There’s nothing quite as comforting and satisfying as dipping a thick slice of warm, crusty rosemary bread into a hearty lentil soup, a rich tomato bisque, or a comforting beef stew. The bread’s robust flavor and sturdy texture stand up beautifully to savory broths and chunky ingredients, making it ideal for soaking up every last drop.
- An Exquisite Side for Pasta Dishes: Move beyond plain garlic bread! This rosemary bread makes an exquisite accompaniment to any Italian meal. Use it to sop up delicious sauces from your favorite pasta dishes, whether it’s a classic marinara, a creamy Alfredo, a vibrant pesto, or a hearty Bolognese. Its unique flavor profile complements and enhances the pasta.
- A Star on Charcuterie or Cheese Boards: Impress your guests by featuring elegant slices of this artisanal bread on your next charcuterie or cheese board. Its sophisticated flavor pairs wonderfully with a variety of cheeses, from sharp cheddars to creamy brie, as well as cured meats, fresh fruits, and gourmet spreads.
- The Ultimate Base for Sandwiches and Paninis: Transform your everyday sandwich into a gourmet experience. Slice the bread thinly for elegant crostini appetizers or thicker for a substantial panini filled with your favorite ingredients like grilled chicken, roasted vegetables, fresh mozzarella, and pesto.
- Simply Enjoyed with Olive Oil and Balsamic: For a true taste of the Mediterranean, serve warm slices with a small dish of high-quality extra virgin olive oil for dipping. Adding a splash of aged balsamic vinegar to the olive oil creates an even more profound flavor experience that highlights the bread’s simple goodness.
- Elevated Breakfast Toast: Even as morning toast, this bread is a revelation. Lightly grilled or toasted, then topped with creamy avocado, perfectly poached eggs, or even just high-quality butter and your favorite jam, it transforms a simple breakfast into a memorable start to your day.
Recipe: Rosemary Bread

Rosemary Bread
A wonderfully soft and chewy rosemary bread, boasting a perfect olive oil-infused crust. Ideal for any meal, appetizer, or simply enjoyed on its own with a good dip.
Print Recipe |
Pin Recipe |
Rate This Recipe
Course: Breads
Prep Time: 30 minutes
Cook Time: 20 minutes
Rising time: 2 hours
Total Time: 2 hours 50 minutes
Servings: 4 loaves
Ingredients
- 2 cups very warm water (the same temp you would use to fill a baby bottle)
- 5 tsp active dry yeast
- 4 tsp sugar
- 3 T dried rosemary (or 1/3 cup fresh)
- 2 tsp salt
- 8 T extra virgin olive oil, divided (2 T in the dough, the rest used to brush the dough loaves twice and the baking pan)
- 4 1/2 to 5 1/2 cups all-purpose flour
- 1/2 tsp coarse salt
Instructions
- In a large mixing bowl, or a stand mixer (I recommend a Bosch), combine the warm water, yeast, and sugar. Mix briefly then cover and let the yeast dissolve, allowing it to bloom for 10 minutes until foamy.
- Add the rosemary, salt, and 2 Tablespoons of the olive oil. Begin mixing while gradually adding the flour, cup by cup.
- Continue adding flour until the dough starts to pull away from the bowl. If using a mixer, watch for when the dough gathers on one side. The dough should be tacky, stretchy, yet not stick excessively to your fingers, indicating it has enough flour. Remember: DON’T ADD TOO MUCH FLOUR! A slightly softer dough yields a lighter bread.
- Knead the dough thoroughly for 7-8 minutes in a stand mixer, or about 15 minutes by hand, until it is smooth and elastic.
- Place the dough in a lightly oiled bowl, cover it, and let it rise in a warm, draft-free place until doubled in size, which will take approximately 90-120 minutes.
- On a lightly floured surface, gently turn the dough out of the bowl and divide it into four equal portions. For each piece of dough, form it into a round ball by gently stretching the dough down and tucking the seams neatly into the bottom of the ball. Repeat with all 4 pieces.
- Prepare two baking sheets or jelly roll pans by brushing each generously with 1 Tablespoon of olive oil. Place two rounds of shaped dough onto each baking sheet. Drizzle and lightly brush an additional 2 Tablespoons of olive oil, divided among the dough rounds (approximately 1/2 tablespoon per round).
- Cover the dough rounds lightly and let them rise again until doubled in size, typically about 60-90 minutes.
- Preheat your oven to 400° F (200° C). Bake the loaves for 10 minutes. Remove them from the oven, and brush each loaf with another 1/2 Tablespoon of olive oil (totaling 2 Tablespoons for all four loaves). Sprinkle evenly with 1/2 teaspoon coarse salt. Return to the oven and bake for an additional 10-15 minutes, or until golden brown and cooked through. Enjoy your homemade Rosemary Bread!
Storing Your Homemade Rosemary Bread for Maximum Freshness
To preserve the exquisite flavor and soft texture of your freshly baked Rosemary Bread, proper storage is key. Once completely cooled, store the bread at room temperature in an airtight container, a clean bread bag, or a traditional bread box. It will maintain its wonderful quality and freshness for 2-3 days. For longer storage, this bread freezes beautifully. You can freeze the whole loaf, or slice it first for convenience. Wrap the bread tightly in plastic wrap, then encase it in a layer of aluminum foil to prevent freezer burn. It will keep well in the freezer for up to 3 months. To enjoy, simply thaw at room temperature or warm gently in a preheated oven for that irresistible fresh-baked taste and aroma.
Common Questions About Baking Rosemary Bread
Baking bread can sometimes feel like a delicate science, and it’s natural to have questions. Here are answers to some common inquiries about making this delicious Rosemary Bread:
- Can I use fresh rosemary instead of dried? Absolutely! The recipe suggests 1/3 cup fresh rosemary if you prefer. Fresh herbs often impart a more vibrant and pungent flavor, which can be delightful in bread. Just make sure to chop it finely.
- What if my dough doesn’t rise? The most common culprits for a lack of rise are inactive yeast (always check the expiration date on your yeast package) or water that’s either too hot or too cold. Ensure your water is consistently between 105-115°F (40-46°C) when proofing the yeast. If it doesn’t foam, start with new yeast.
- Can I make this bread ahead of time? Yes, you can prepare the dough and let it have its first rise (bulk fermentation) in the refrigerator overnight. The cold temperature slows down the yeast activity, developing more flavor. Just be sure to bring it to room temperature for about an hour before shaping and continuing with the second rise.
- What kind of flour is best for this recipe? All-purpose flour works perfectly for this recipe, providing a good balance of structure and tenderness. If you desire a slightly chewier texture, you can experiment with bread flour, which has a higher protein content.
- My crust isn’t as golden/chewy as I’d like. What can I do? Ensure you’re brushing generously with olive oil both before and during baking. Also, make sure your oven temperature is accurate (an oven thermometer can help). Baking on a preheated baking stone or steel can also enhance crust development.
Embrace the Joy of Baking: Your Kitchen, Your Bakery
Baking bread is more than just a culinary task; it’s a therapeutic and deeply satisfying experience that engages all your senses. The aroma of fresh bread wafting through your home is an instant mood booster, creating an atmosphere of warmth, comfort, and hospitality that is truly unparalleled. This Rosemary Bread recipe is a fantastic entry point into the rewarding world of artisanal baking, offering a delightful journey from simple, humble ingredients to a show-stopping loaf that will earn you rave reviews.
Each step, from the initial mixing and the rhythmic kneading to the patient rising and the final golden bake, is an act of creation and a testament to the magic that happens when a few basic components come together with care. So, gather your ingredients, clear your counter, and prepare to embark on a delightful baking adventure. This Homemade Rosemary Bread promises to deliver not just a delicious treat, but also the immense satisfaction that comes from sharing something truly special, made with your own hands. Enjoy every soft, chewy, and aromatic bite – it’s a taste of pure homemade bliss!