Burst Pipe Emergency? Your Comprehensive Guide to Immediate Action, Repair, and Prevention
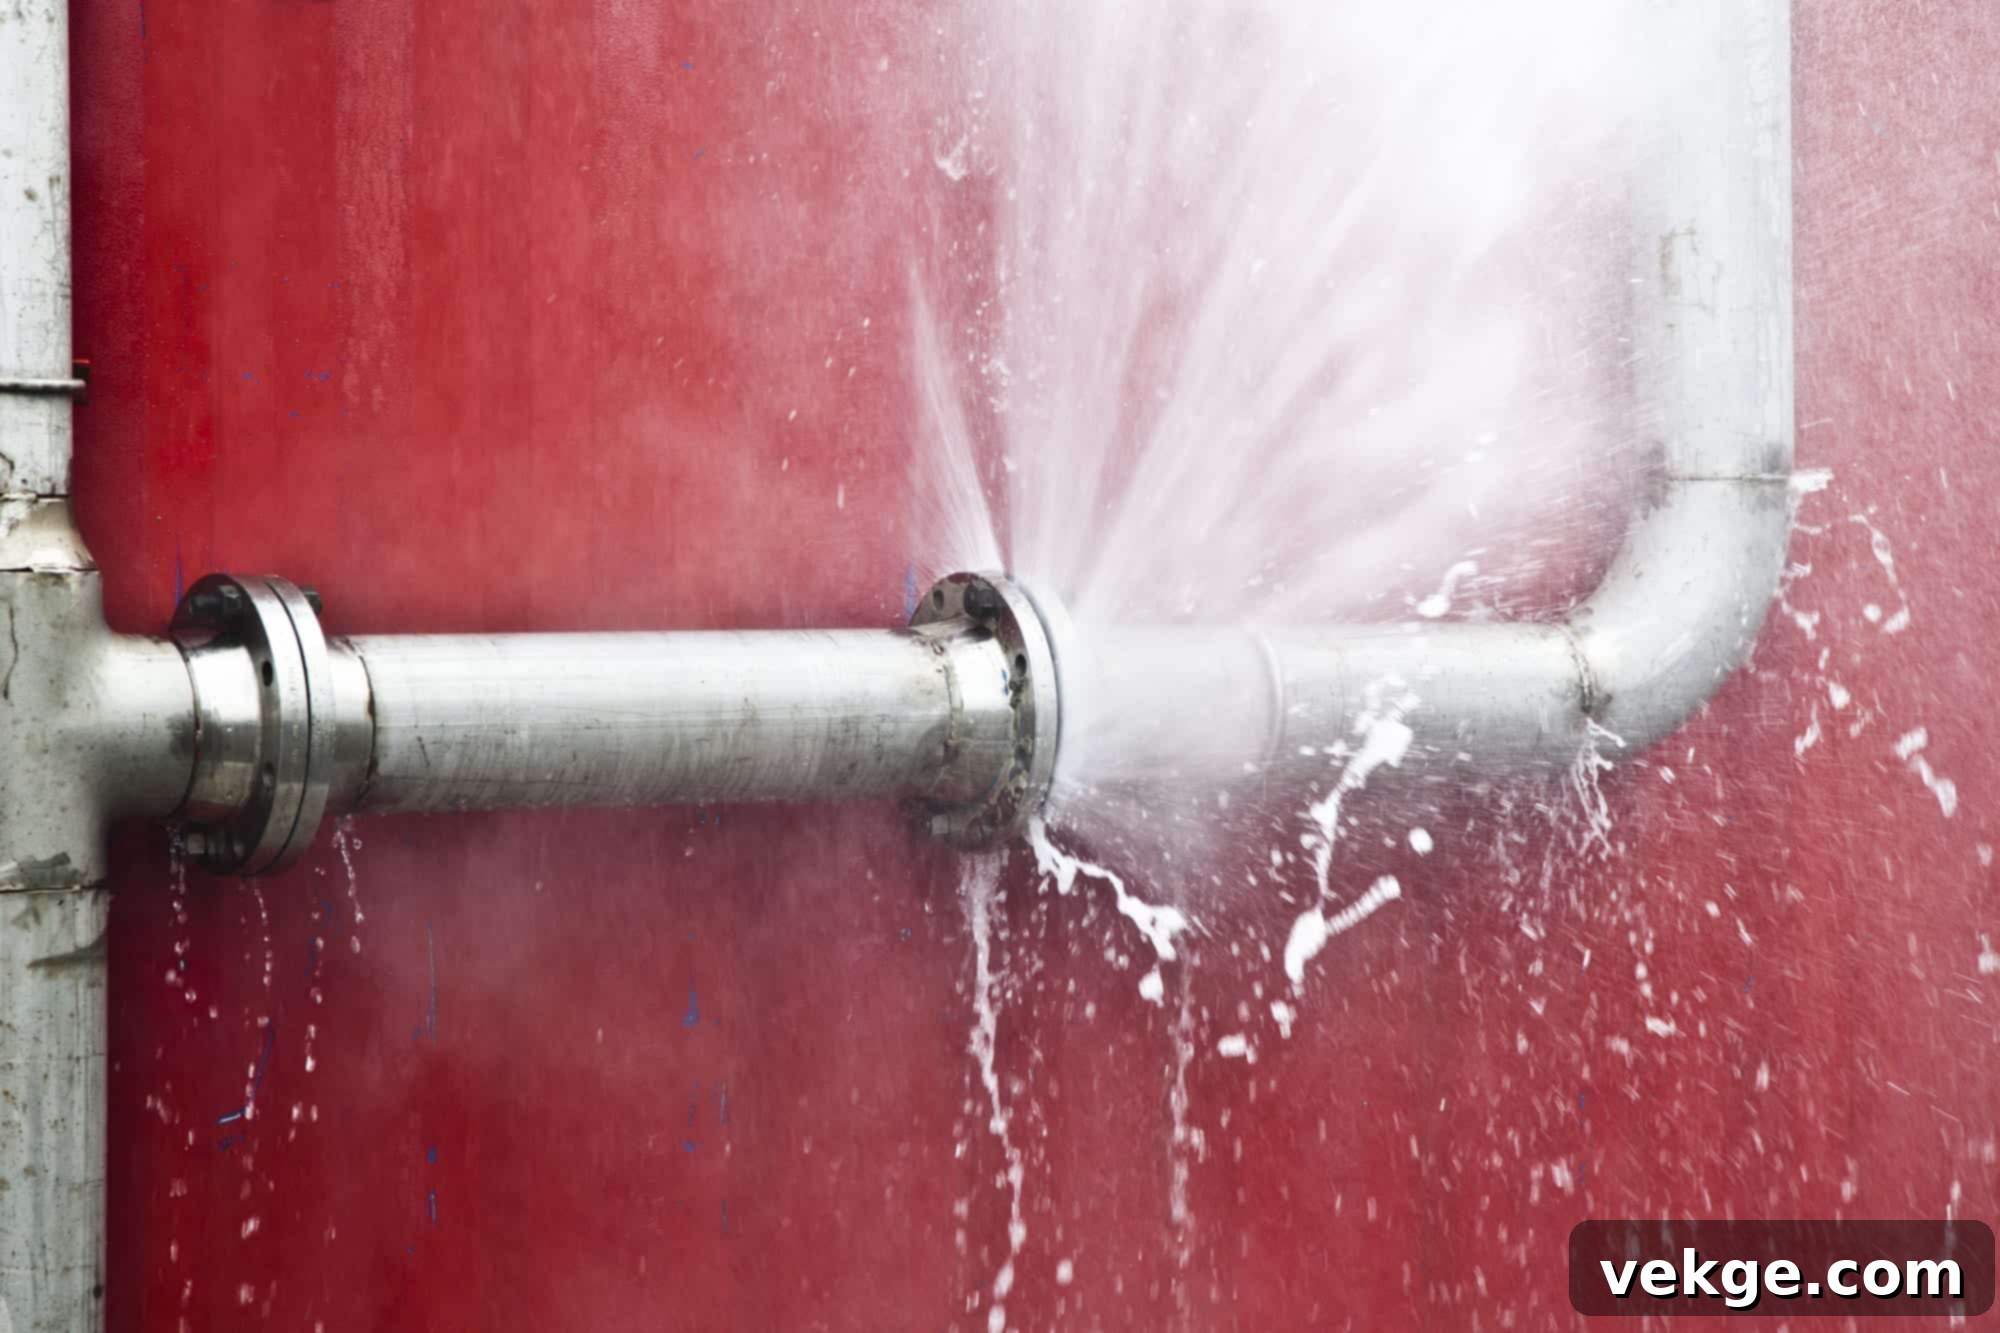
A burst pipe is undoubtedly one of the most stressful and damaging plumbing emergencies a homeowner can face. Picture this: a sudden torrent of water gushing into your living space, quickly saturating carpets, damaging furniture, and threatening the structural integrity of your home. This nightmare scenario, often a result of frigid winter temperatures, an aging plumbing system, or even accidental damage, demands immediate and decisive action. Swift response is not just recommended; it’s absolutely critical to minimize extensive water damage, mitigate potential health hazards like mold growth, and avoid astronomical burst pipe repair and replacement costs.
This comprehensive guide is designed to empower you with the knowledge and steps needed to navigate a burst pipe crisis effectively. We’ll delve into the most common culprits behind these disruptive incidents, arm you with crucial immediate actions to take the moment disaster strikes, explore reliable temporary fixes, and most importantly, outline proactive, long-term solutions to fortify your home against future plumbing disasters. By understanding these principles, you can transform a potential catastrophe into a manageable challenge, safeguarding your property and peace of mind.
Understanding the Root Causes: Why Pipes Burst

A deep understanding of the underlying issues that can compromise your pipe system or lead to a catastrophic burst is your first line of defense. By recognizing these common causes, homeowners can implement preventive and proactive measures to protect their most valuable asset. Here are the primary reasons why pipes give way:
Freezing Temperatures: The Silent Destroyer
This is arguably the most common cause of burst pipes, especially in colder climates. Water has a unique property: it expands as it freezes. When temperatures drop below freezing, water inside exposed pipes can turn into ice. This expansion creates immense pressure—far exceeding the pipe’s design limits—leading to cracks or outright bursts. Areas most vulnerable include unheated or poorly insulated spaces such as basements, attics, crawl spaces, garages, and exterior walls where pipes are exposed to the elements.
Aging and Deteriorating Pipes: Time Takes Its Toll
Like any component of your home, pipes have a lifespan. Over decades, plumbing materials can deteriorate due to rust, metal corrosion, mineral buildup, and general wear and tear. Older homes, particularly those with galvanized steel or polybutylene pipes, are highly susceptible. Galvanized steel pipes, for instance, are prone to internal corrosion that weakens their structure, making them brittle and highly susceptible to bursting under pressure. Even copper pipes can develop pinhole leaks or corrode over time, especially in areas with aggressive water chemistry.
Excessive Water Pressure: A Hidden Hazard
While good water pressure is desirable, excessive pressure can strain your plumbing system beyond its capabilities. Pipes are manufactured to withstand a specific range of pressure, typically between 40 and 60 pounds per square inch (PSI). When the water pressure consistently exceeds this limit, perhaps due to a faulty pressure regulator or a municipal supply issue, it puts undue stress on pipe joints, seals, and the pipe material itself, significantly increasing the risk of a burst. High pressure can also damage appliances connected to your water lines.
Persistent Blockages: The Internal Pressure Cooker
Clogs and blockages aren’t just an inconvenience; they can be a precursor to a burst pipe. When a blockage forms within a pipe—often from accumulated grease, hair, food particles, or foreign objects—it creates a dam. Water continues to flow into the pipe behind the obstruction, causing pressure to build up. If this pressure becomes too great, the pipe can rupture at its weakest point. This is particularly common in drain lines but can also occur in supply lines if mineral deposits accumulate.
Poor Installation: A Flawed Foundation
The quality of plumbing installation plays a critical role in its longevity and reliability. Improperly installed pipes are far more prone to failure. This can include pipes that are not adequately secured, leading to vibrations and stress; joints that are inadequately sealed, creating weak points; or pipes subjected to undue stress due to poor layout, insufficient support, or sharp bends. Substandard materials or incorrect pipe sizing can also lead to premature failure.
Invasive Tree Roots: Nature’s Intruders
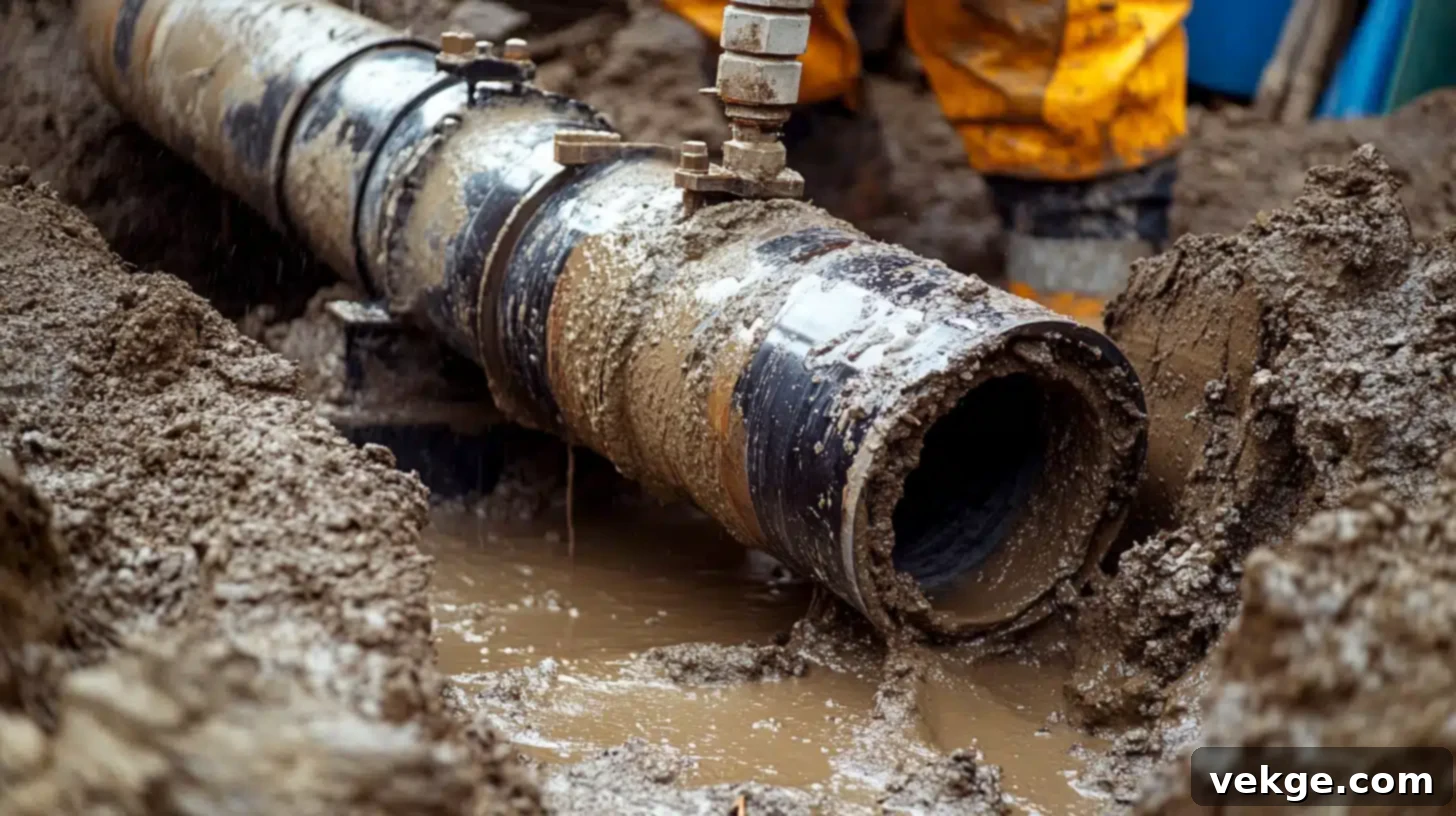
For underground pipes, especially sewer and main water lines, tree roots pose a significant threat. Drawn to the moisture and nutrients within pipes, roots can infiltrate tiny cracks or loose joints. As these roots grow and expand, they exert immense pressure on the pipe, eventually causing it to crack, burst, or completely collapse. This issue is more prevalent with older, weaker pipes made from clay or cast iron but can affect any buried line.
Accidental Physical Damage: Unforeseen Impacts
Pipes can also burst due to direct physical trauma. This might occur during home renovations, such as drilling into a wall where a water line is concealed, or during exterior landscaping or construction activities that disturb buried pipes. Even a heavy impact or sudden shift in the ground can weaken a pipe’s structure, making it vulnerable to bursting under normal operating pressure.
Harmful Chemical Drain Cleaners: Corrosive Solutions
While marketed as a quick fix for clogs, the frequent or improper use of harsh chemical drain cleaners can inflict long-term damage on your pipes, particularly older metal ones. The corrosive chemicals in these products generate heat and can eat away at the pipe material, thinning its walls and weakening its integrity over time. This makes the pipe much more susceptible to bursting, especially when combined with other factors like high pressure or aging.
Immediate Actions to Take When a Pipe Bursts
When you discover a burst pipe, panic is a natural reaction, but quick and informed action can dramatically minimize water damage and protect your home. Knowing precisely what to do in the first few minutes can save you thousands in repairs and prevent long-term issues. Here’s a detailed guide to taking control of the situation:
1. Shut Off the Main Water Supply – Act Instantly!
This is the single most critical step. As soon as you identify a burst pipe and see water gushing, your absolute first priority is to stop the flow. Locate your home’s main water shut-off valve and turn it off immediately. This valve is typically found near your water meter in the basement, crawl space, utility closet, or outside along the perimeter of your home. Familiarize yourself with its location *before* an emergency strikes, as every second counts. Turning off the main supply will halt all water flow into your property, preventing further flooding and damage.
2. Drain the Remaining System – Relieve Pressure
Once the main water supply is off, there will still be water remaining in the pipes under pressure. To relieve this pressure and minimize any additional leakage from the burst point or other vulnerable areas, open all faucets (both hot and cold) in your home, starting with the highest floor and working your way down. Also, flush all toilets. This will allow any residual water to drain out of the system, reducing stress on the damaged pipe.
3. Turn Off Electricity – Safety First!
Water and electricity are an extremely dangerous combination. If the burst pipe is near any electrical outlets, appliances, fuse boxes, or light fixtures, or if water has spread to areas with electrical components, immediately go to your main electrical panel and turn off the electricity supply to the affected areas. If you are unsure which circuits are affected, it’s safest to switch off the main breaker for the entire house. This precaution is vital to prevent electrocution risks and potential electrical fires.
4. Contain and Remove the Water – Damage Control
Once the water flow has stopped, focus on containing and removing the standing water as quickly as possible. Use every available material at your disposal: buckets, towels, mops, and a wet/dry vacuum. The faster you remove the water, the less time it has to seep into floors, walls, and foundations, which can lead to structural damage and mold. Move valuable items, furniture, and electronics out of the flooded area to prevent further loss. Lifting furniture onto blocks or aluminum foil can prevent water damage to legs and permanent carpet stains.
5. Call a Professional Plumber – Expert Intervention
While some DIY plumbing maintenance tasks are manageable, a burst pipe is a complex issue that almost always requires the specialized skill, knowledge, and expertise of a licensed and experienced professional plumber. Do not attempt extensive repairs yourself unless you are a qualified professional. Contact a reputable local plumber immediately. They have the tools and training to accurately assess the damage, perform the necessary repairs safely and effectively, and provide crucial advice on preventing future incidents, ensuring your plumbing system is restored to optimal condition.
6. Document the Damage – For Insurance Claims
Before any major cleanup or repair begins, thoroughly document the damage. Take numerous detailed photos and videos of the affected areas, including the burst pipe itself, flooded rooms, damaged ceilings, walls, flooring, furniture, and any personal belongings. This documentation is absolutely crucial for your insurance claim. Comprehensive evidence ensures that you have a strong case and receive adequate compensation for all necessary repairs, replacements, and potential temporary living expenses if your home becomes uninhabitable.
7. Begin the Drying Out Process – Prevent Mold
Time is of the essence when it comes to drying out your home after a flood. Mold can begin to develop within just 24-48 hours in damp conditions, posing significant health risks and requiring extensive remediation. To expedite the drying process, use fans, dehumidifiers, and open windows (if outdoor humidity is low) to promote air circulation. If possible, consider renting industrial-strength fans and dehumidifiers. You might also need to remove wet insulation, drywall, and other porous materials that cannot be thoroughly dried, as they are prime breeding grounds for mold.
Temporary Repairs for Burst Pipes: Buying You Time

While waiting for your professional plumber to arrive, implementing a temporary repair can significantly mitigate further water damage and help contain the leak. These fixes are not permanent solutions and should never replace a professional repair, but they can effectively buy you precious time:
Pipe Repair Clamps: A Specialized Solution
Pipe repair clamps are purpose-built for temporarily sealing small holes or cracks in pipes. Ensure you have the correct size clamp for your pipe’s diameter. Position the rubber gasket directly over the burst area and secure the clamp tightly using a wrench or screwdriver. These clamps provide a firm, leak-resistant seal and are often the most effective temporary fix.
Rubber Patch and Hose Clamps: A DIY Alternative
If you don’t have a dedicated pipe clamp, a piece of rubber (such as from an old bicycle inner tube, a section of garden hose, or even a thick piece of weatherstripping) can serve as a makeshift patch. Wrap the rubber tightly around the burst section of the pipe, ensuring it completely covers the damaged area. Then, secure the rubber in place with two or more hose clamps, tightening them firmly on either side of the leak. This method creates significant compression to reduce water flow.
Epoxy Putty: For Smaller Leaks and Cracks
Epoxy putty is a two-part adhesive that, when mixed, forms a strong, waterproof seal. It’s particularly effective for smaller pinhole leaks or hairline cracks. Knead the putty thoroughly until it’s pliable and a uniform color, then firmly apply it directly to the burst area. Mold the putty around the pipe to ensure full coverage and allow it to cure according to the manufacturer’s instructions. This creates a hard, temporary barrier against the leak.
Duct Tape or Electrical Tape: A Last Resort
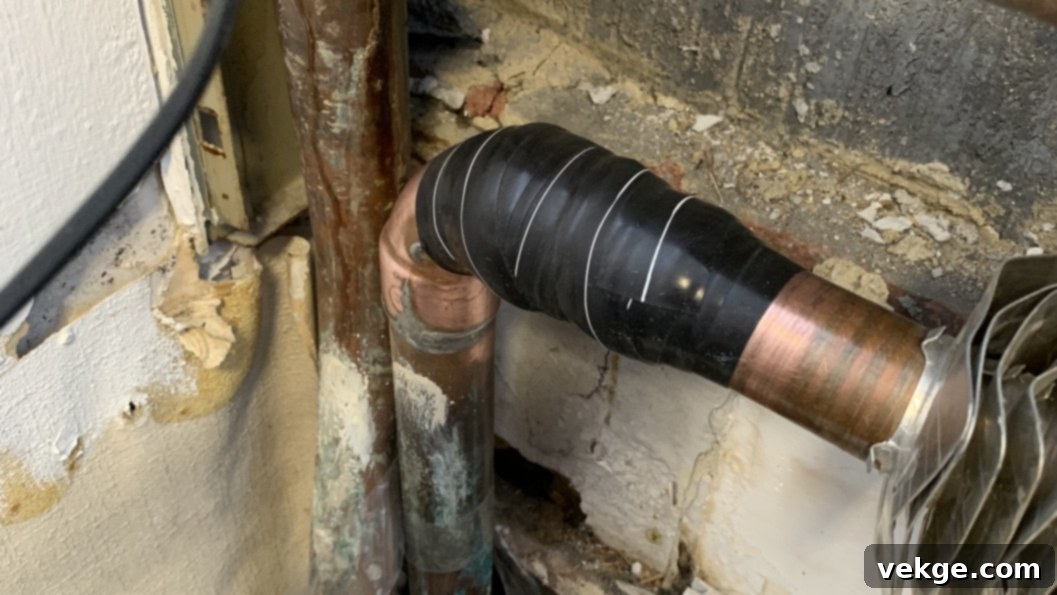
While not ideal or highly durable, a generous application of heavy-duty duct tape or electrical tape can provide a very temporary, last-resort solution for a small leak. Tightly wrap multiple layers of tape around the burst pipe, overlapping each layer significantly to build up thickness and pressure. While it won’t stop a major gush, it might slow a drip or minor seep enough to prevent further immediate damage until professional help arrives.
Long-Term Burst Pipe Repair and Prevention Solutions
Once the immediate crisis is under control and temporary fixes are in place, the focus must shift to implementing robust, long-term solutions. These strategies are crucial not only for fully repairing the existing damage but also for significantly reducing the risk of experiencing similar plumbing emergencies in the future. Proactive measures are key to protecting your home and investment:
Schedule Regular Plumbing Inspections: Catch Problems Early
The most effective preventative measure is consistent, professional oversight. Schedule annual plumbing inspections with a qualified plumber. During these inspections, a professional can meticulously check for potential issues that homeowners might miss, such as minor leaks, signs of corrosion, weakening pipe joints, mineral buildup, and excessive water pressure. Identifying and addressing these small problems early can prevent them from escalating into major, costly burst pipe incidents.
Consider Burst Pipe Replacement and Upgrades: Modernize Your System
If your home still features outdated or highly susceptible pipe materials like galvanized steel, lead, or polybutylene, consider a comprehensive pipe replacement. Modern plumbing materials such as PEX (cross-linked polyethylene) and copper are far more durable, flexible, corrosion-resistant, and less prone to bursting. PEX, in particular, has excellent freeze resistance, expanding rather than bursting when water freezes within it. While an investment, repiping can drastically enhance the longevity and reliability of your plumbing system.
Insulate Exposed Pipes: Your Best Defense Against Freezing
Proper insulation is paramount, especially for pipes located in unheated areas like basements, attics, crawl spaces, and exterior walls. Use foam pipe sleeves, heat tape, or fiberglass insulation to protect these vulnerable sections. For pipes in exterior walls, ensuring adequate wall cavity insulation is also crucial. During periods of extreme cold, maintaining your thermostat at a minimum of 55°F (13°C) throughout your entire home (even when you’re away) can prevent pipes from freezing. Additionally, consider opening cabinet doors under sinks on exterior walls to allow warmer air to circulate around pipes, and for severe cold snaps, letting faucets drip slowly can relieve pressure and prevent freezing.
Install a Water Pressure Regulator: Maintaining Balance
If your home experiences consistently high water pressure (above 60-70 PSI), installing a pressure reducing valve (PRV) or regulator is an essential long-term solution. A PRV maintains optimal and safe pressure levels (ideally between 40 and 60 PSI) throughout your plumbing system. This not only significantly extends the lifespan of your pipes by reducing stress but also protects water-using appliances from premature wear and tear.
Fix Leaks Promptly: No Leak is Too Small to Ignore
Even a seemingly minor drip or slow leak can indicate a weakening point in your plumbing system and can quickly escalate into a major burst. Make it a habit to regularly inspect under sinks, around water heaters, washing machines, and in basements or crawl spaces for any signs of moisture, water stains, or dripping. Addressing these small leaks immediately prevents them from developing into more severe issues that could compromise the pipe’s integrity and lead to a burst.
Upgrade Plumbing Fixtures: Enhanced Safety Features
Modern plumbing fixtures often incorporate advanced safety features that contribute to a more resilient system. For instance, installing frost-free hose bibs on the exterior of your home prevents water from freezing in the spigot and backing up into the interior pipes. Upgrading to high-quality faucets and showerheads can also reduce wear and tear on your overall plumbing system, contributing to its longevity.
Embrace Smart Home Technology: Early Detection and Automation
For unparalleled peace of mind and proactive protection, consider integrating smart home technology into your plumbing system. Smart water leak detectors can be placed in vulnerable areas (e.g., under sinks, near water heaters) to immediately alert you via your smartphone at the first sign of moisture. Even more advanced systems include automatic shut-off valves that can detect an abnormal flow of water and automatically shut off the main water supply to your home, preventing extensive damage even when you are away. These intelligent systems are especially beneficial for frequent travelers, owners of vacation homes, or anyone wanting an extra layer of protection.
Protect Your Pipes with Proactive Plumbing System Maintenance
Dealing with a burst pipe demands not only swift, decisive action to minimize immediate damage but also a commitment to effective, long-term solutions to prevent its recurrence. By understanding the common causes, knowing exactly what to do in an emergency, and implementing a robust maintenance and upgrade strategy, you can significantly reduce your home’s vulnerability to future plumbing disasters. Regular inspections, timely replacements of aging pipes, thorough insulation, proper pressure regulation, prompt leak fixes, fixture upgrades, and the integration of smart home technologies collectively create a resilient plumbing system. This proactive approach ensures lasting peace of mind, safeguarding your property, and maintaining a well-functioning home for years to come.
