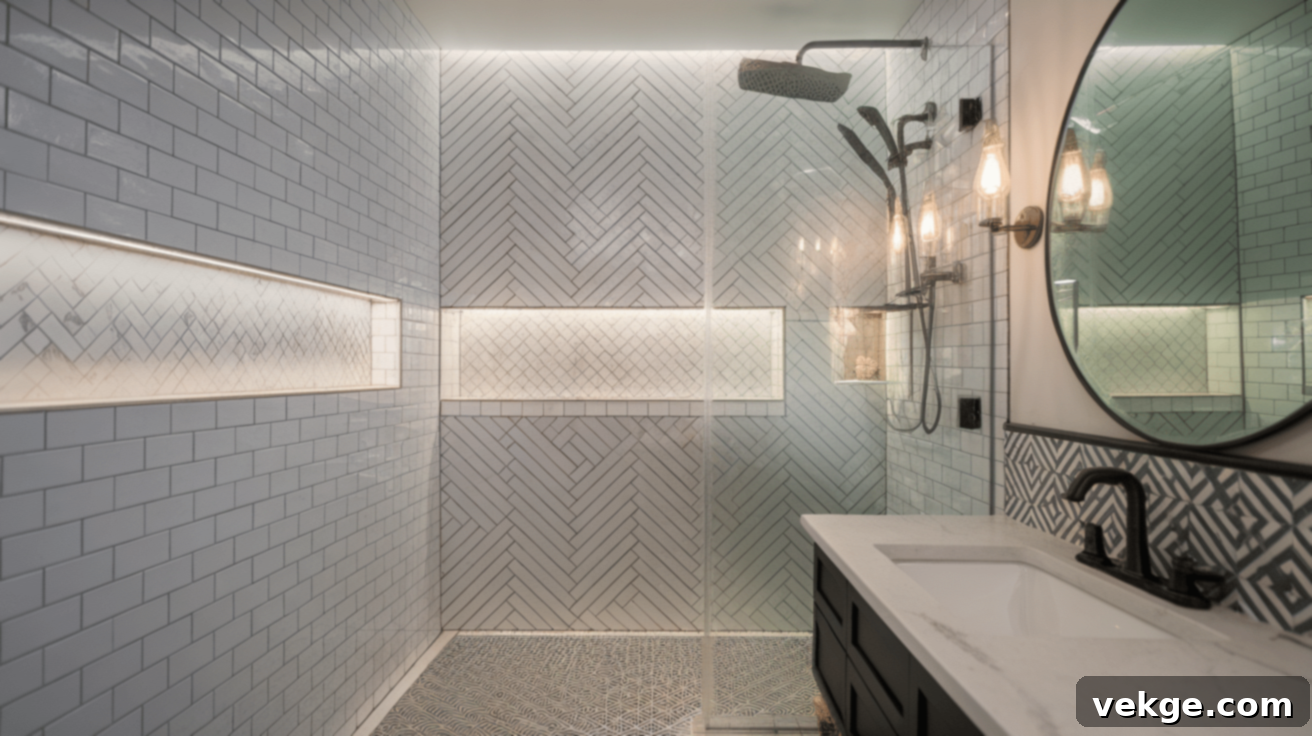
Transform Your Bathroom: 30+ Stunning Shower Tile Patterns for Every Style
Embarking on a bathroom renovation, especially designing your shower space, offers an exciting opportunity to infuse personality and style into your home. Among the most impactful decisions you’ll make are your shower tile patterns. These patterns aren’t just aesthetic choices; they can profoundly influence the perception of space, light, and the overall ambiance of your bathroom.
This comprehensive guide delves into a diverse world of shower tile patterns, ranging from timeless classics like subway and herringbone to contemporary trends such as fish scale and intricate geometric designs. We’ll explore each pattern’s unique characteristics and how it can elevate your shower’s aesthetic.
Beyond design, we’ll also cover the essential practical considerations: choosing the best tile materials for durability and water resistance, crucial installation techniques for a lasting finish, and vital maintenance tips to keep your tiles looking pristine for years to come. Whether you’re planning a complete bathroom overhaul or simply refreshing your shower area, these expert ideas will equip you to create a space that is both beautifully stylish and perfectly functional for your daily routine.
Why Shower Tile Patterns Matter for Your Bathroom Design
Shower tile patterns are far more than mere decorative elements; they are fundamental design tools that can dramatically reshape your bathroom’s feel and function. The way you arrange tiles can visually expand a small space, draw attention to architectural features, or even add a playful, artistic touch that reflects your unique personality. The choice of pattern affects not only the visual appeal but also the practical aspects of maintenance and long-term durability of your shower.
When selecting a pattern, it’s crucial to consider the tile material itself. Different materials possess distinct characteristics that may complement or conflict with certain layouts. For instance, highly variegated natural stone might be best showcased in a simpler pattern, while a solid-colored ceramic tile could be ideal for a complex geometric design.
The size of your shower space is another critical factor. Large, expansive showers can effectively utilize bold patterns or oversized tiles without feeling cluttered, creating a grand statement. Conversely, smaller bathrooms often benefit from simpler, less overwhelming designs, or patterns that visually elongate the walls or expand the floor area, making the space appear larger and more open.
Ultimately, your personal taste should guide your decision. The chosen pattern should harmonize with the overall aesthetic you envision for your bathroom – whether that’s a minimalist sanctuary, a luxurious spa-like retreat, or a vibrant, eclectic space. The right tile arrangement has the power to transform an ordinary shower into the stunning focal point of your entire bathroom, making it a true reflection of your style and an enjoyable space for daily use.
Types of Tile Patterns for Shower Walls: Your Ultimate Inspiration Guide
The pattern you select for your shower tiles is a pivotal design decision that can entirely redefine the ambiance and visual appeal of your bathroom. Working in tandem with your chosen tile’s color, texture, and finish, the pattern contributes significantly to the final, cohesive look. From time-honored arrangements to cutting-edge contemporary designs, here’s a detailed exploration of popular tile patterns to inspire your ideal shower space.
1. Subway Tile Pattern
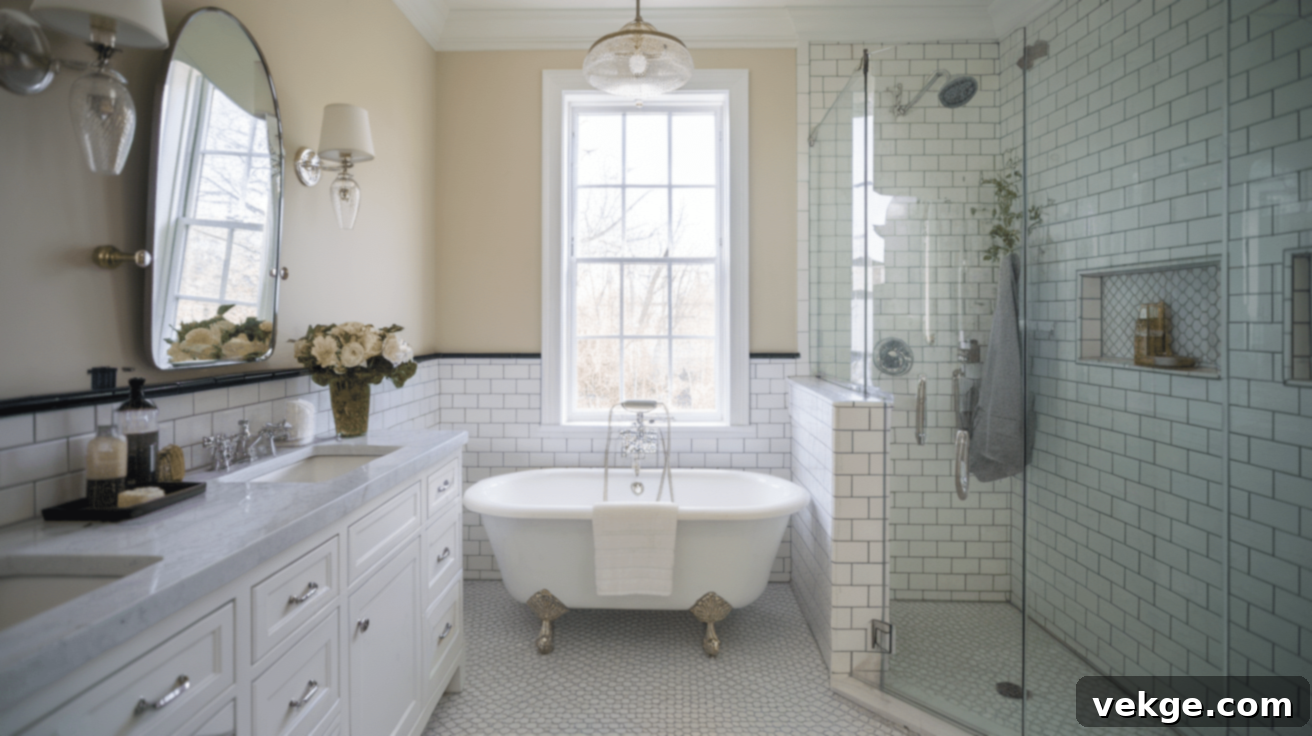
The subway tile pattern is a quintessential classic, featuring rectangular tiles arranged horizontally with a 50% offset, where the vertical joints align in the middle of the tiles above and below. Its enduring popularity stems from its incredible versatility, seamlessly adapting to a wide range of bathroom styles, from vintage and traditional to ultra-modern designs. This pattern is known for its clean lines and simple elegance, making walls appear wider and creating a sense of spaciousness. While the standard horizontal offset is most common, subway tiles can be arranged in various orientations (e.g., vertical, herringbone) to achieve slightly different effects while maintaining their foundational, crisp aesthetic.
2. Herringbone Pattern
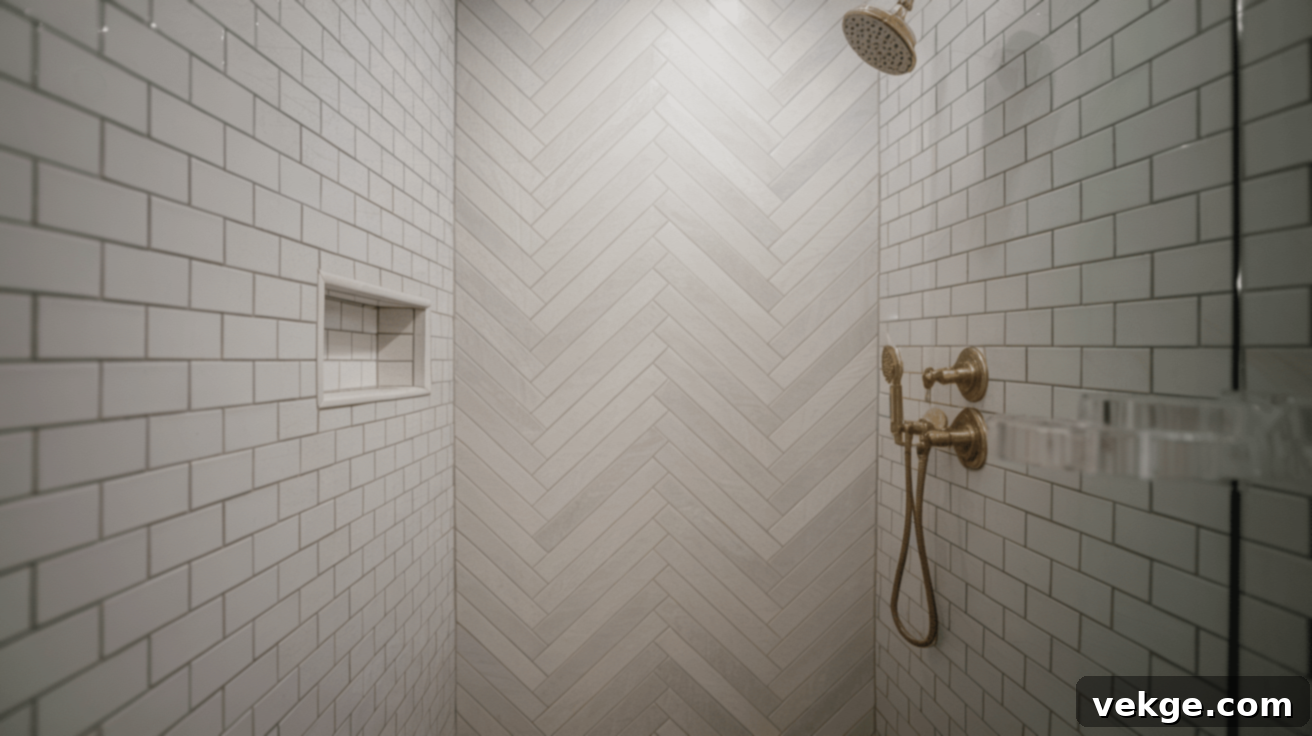
Distinguished by its distinctive zigzag layout, the herringbone pattern involves rectangular tiles laid at a 45-degree angle to create an eye-catching V-shape. This dynamic arrangement introduces a sense of movement and visual flow to shower walls, adding sophistication without appearing overly busy. Herringbone works beautifully with a variety of tile sizes, and its directional quality can cunningly make a smaller shower area feel more expansive by creating an illusion of depth and added space. It’s frequently employed as a striking focal point, particularly in contemporary and transitional bathroom designs.
3. Chevron Pattern
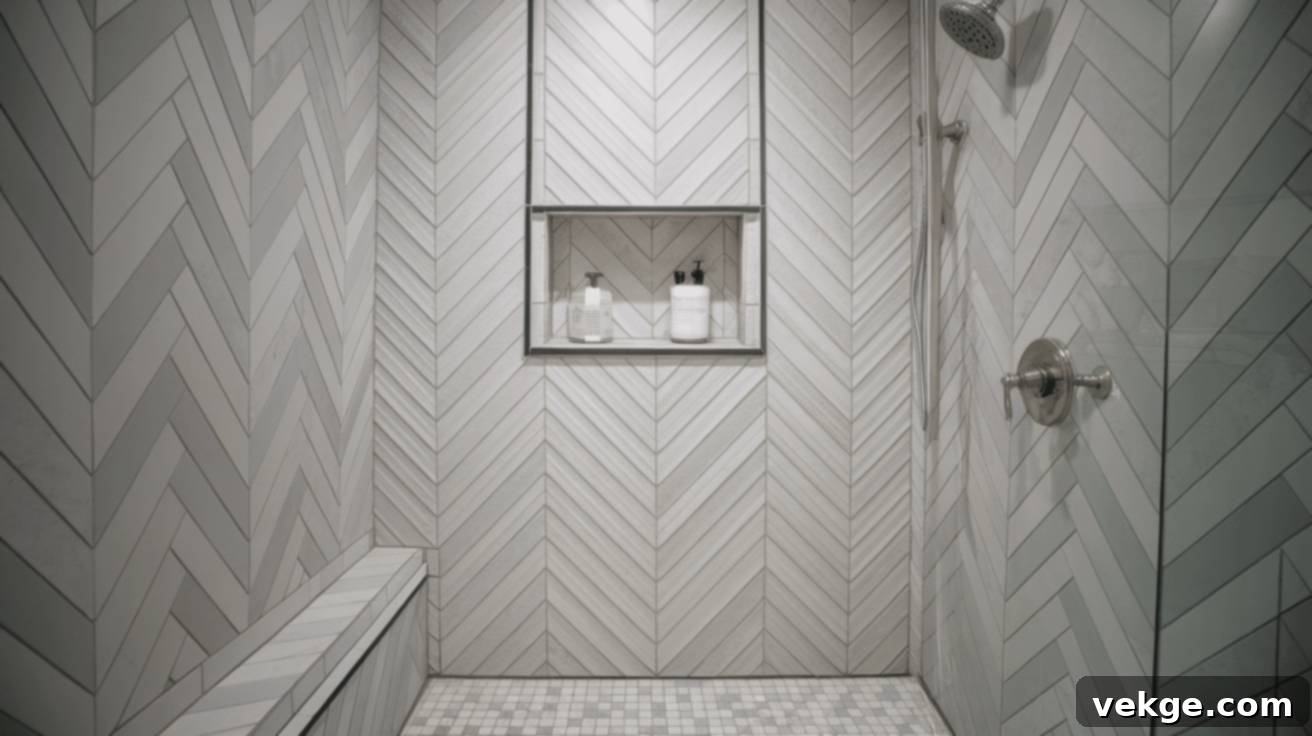
While often confused with herringbone, the chevron pattern creates a sharper, more defined V-shape due to the tiles being cut at an angle. When perfectly aligned, the ends of the tiles meet to form crisp, continuous points, creating strong, impactful lines that instantly capture attention. This pattern injects a bold, geometric element into shower walls and is particularly effective when combined with a contrasting grout color, which further emphasizes its distinctive, angular shape and adds a contemporary edge to the design.
4. Basketweave Pattern
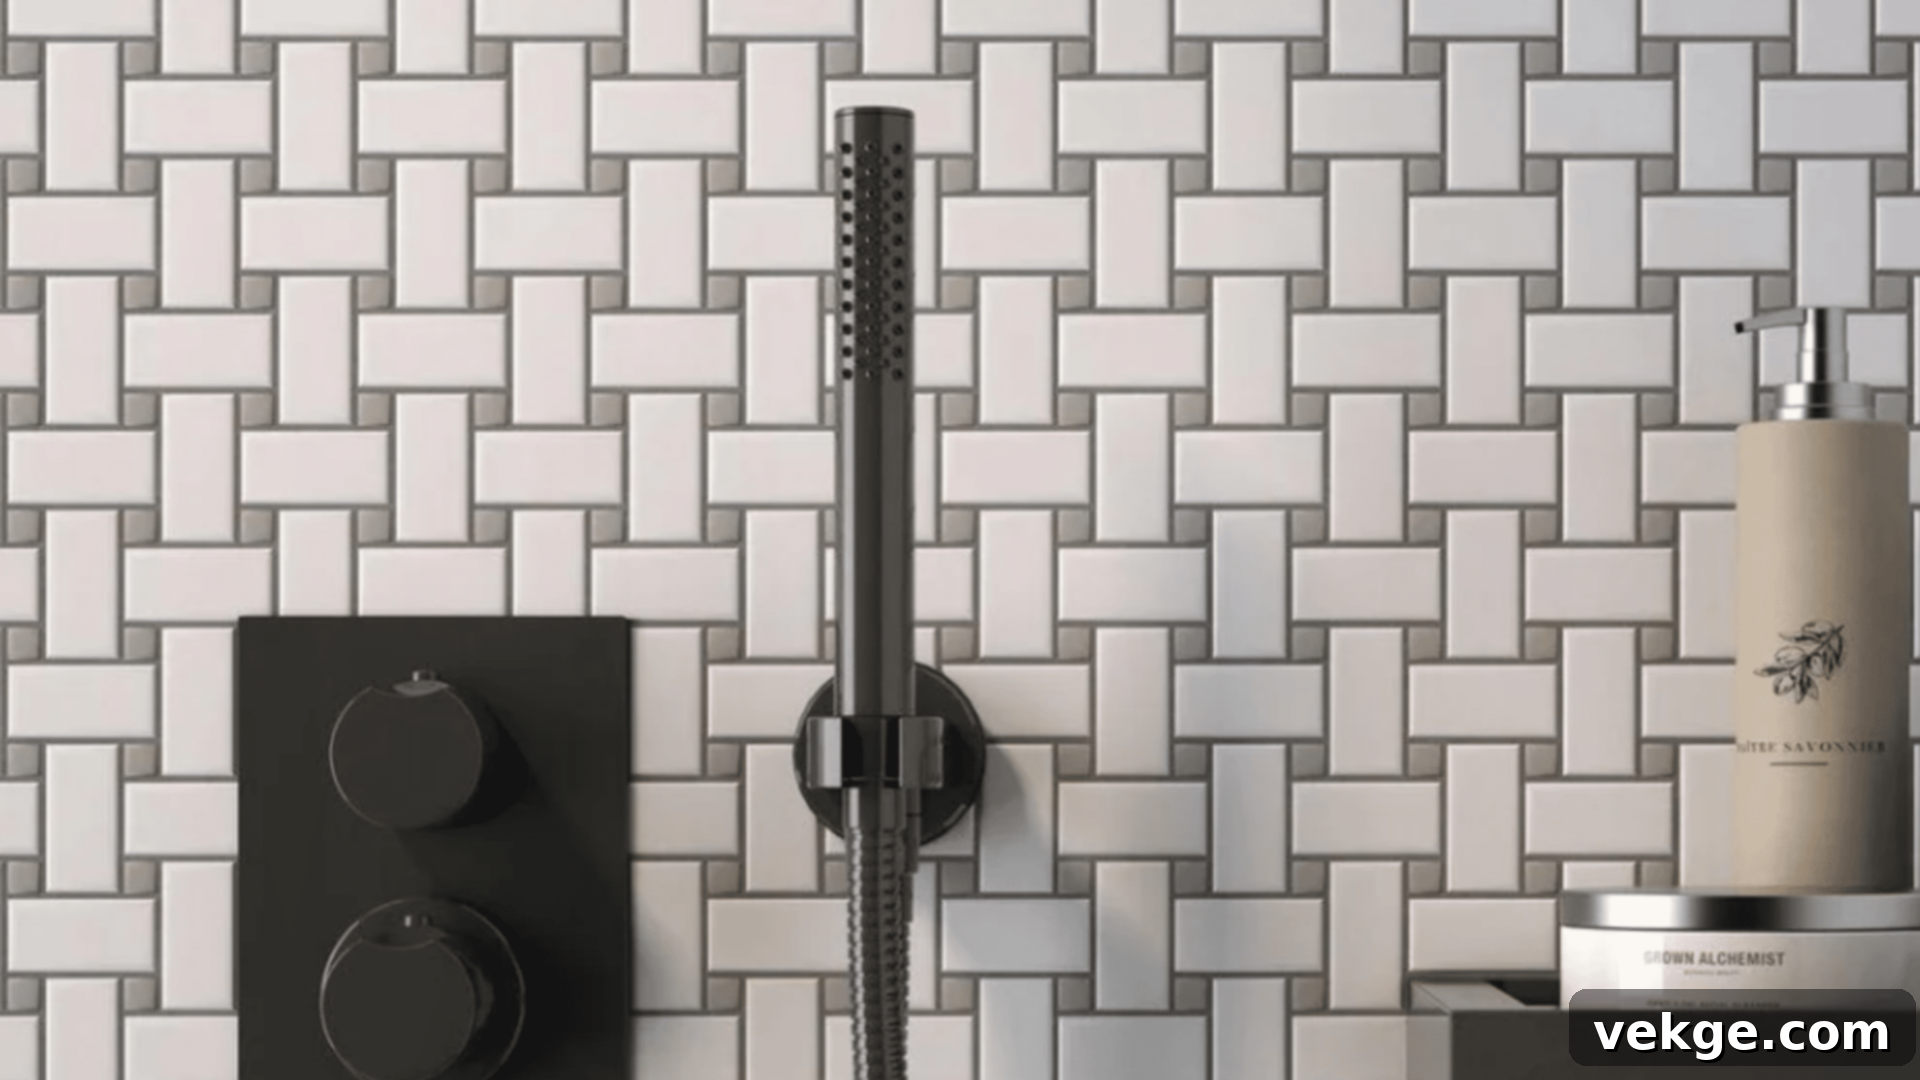
The basketweave pattern beautifully replicates the intricate appearance of woven baskets by alternating pairs of tiles in perpendicular vertical and horizontal orientations. This interwoven arrangement creates a captivating sense of texture and depth on shower walls, offering a refined and classic aesthetic. Basketweave is a natural fit for traditional and vintage-inspired bathrooms, but it can also introduce a nuanced layer of interest to more modern styles, especially when executed with understated white or neutral-toned tiles, allowing the texture to be the primary focus.
5. Vertical Stack
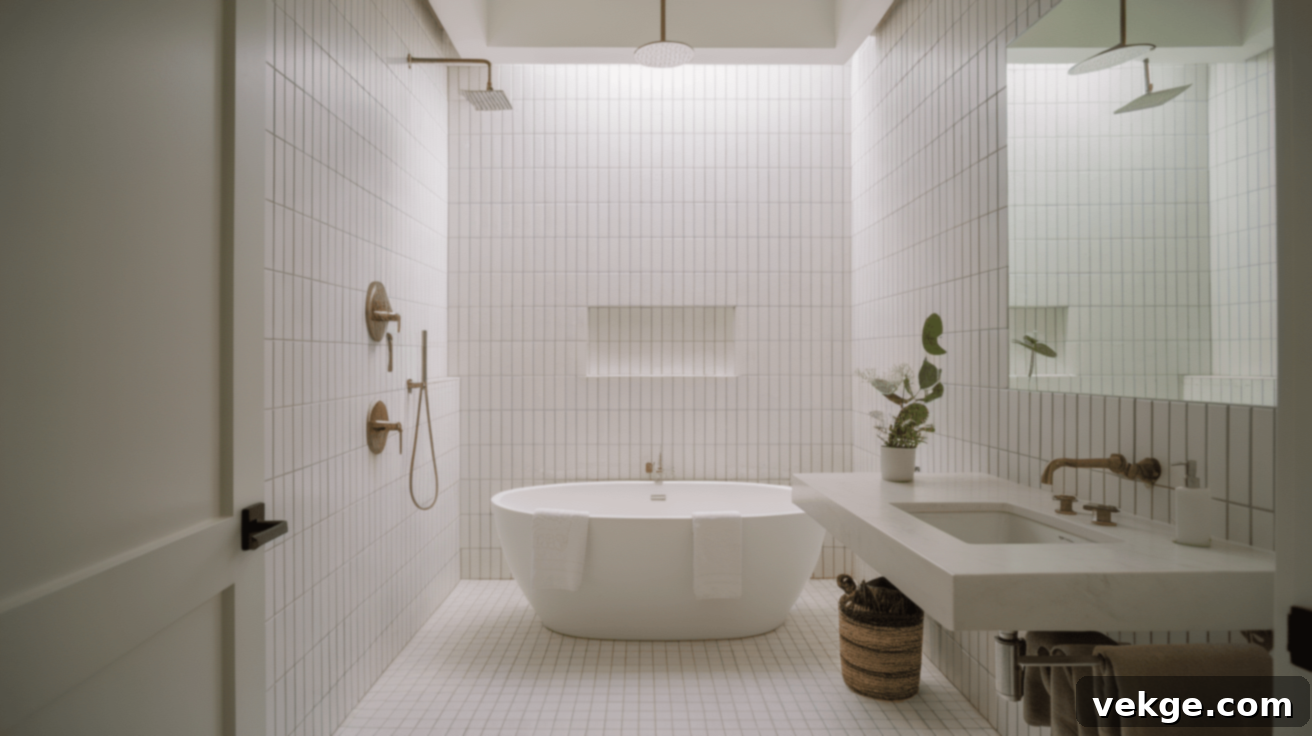
For a clean, minimalist approach, the vertical stack pattern arranges rectangular tiles in perfectly straight, unbroken columns from floor to ceiling. This straightforward layout creates strong vertical lines that naturally draw the eye upwards, making ceilings appear higher and the shower space feel more open and expansive. The inherent simplicity of vertical stacking is ideal for highlighting tiles with unique textures, subtle color variations, or intricate finishes, as the pattern itself does not compete for visual attention, allowing the tile’s inherent beauty to shine through.
6. Diagonal Layout
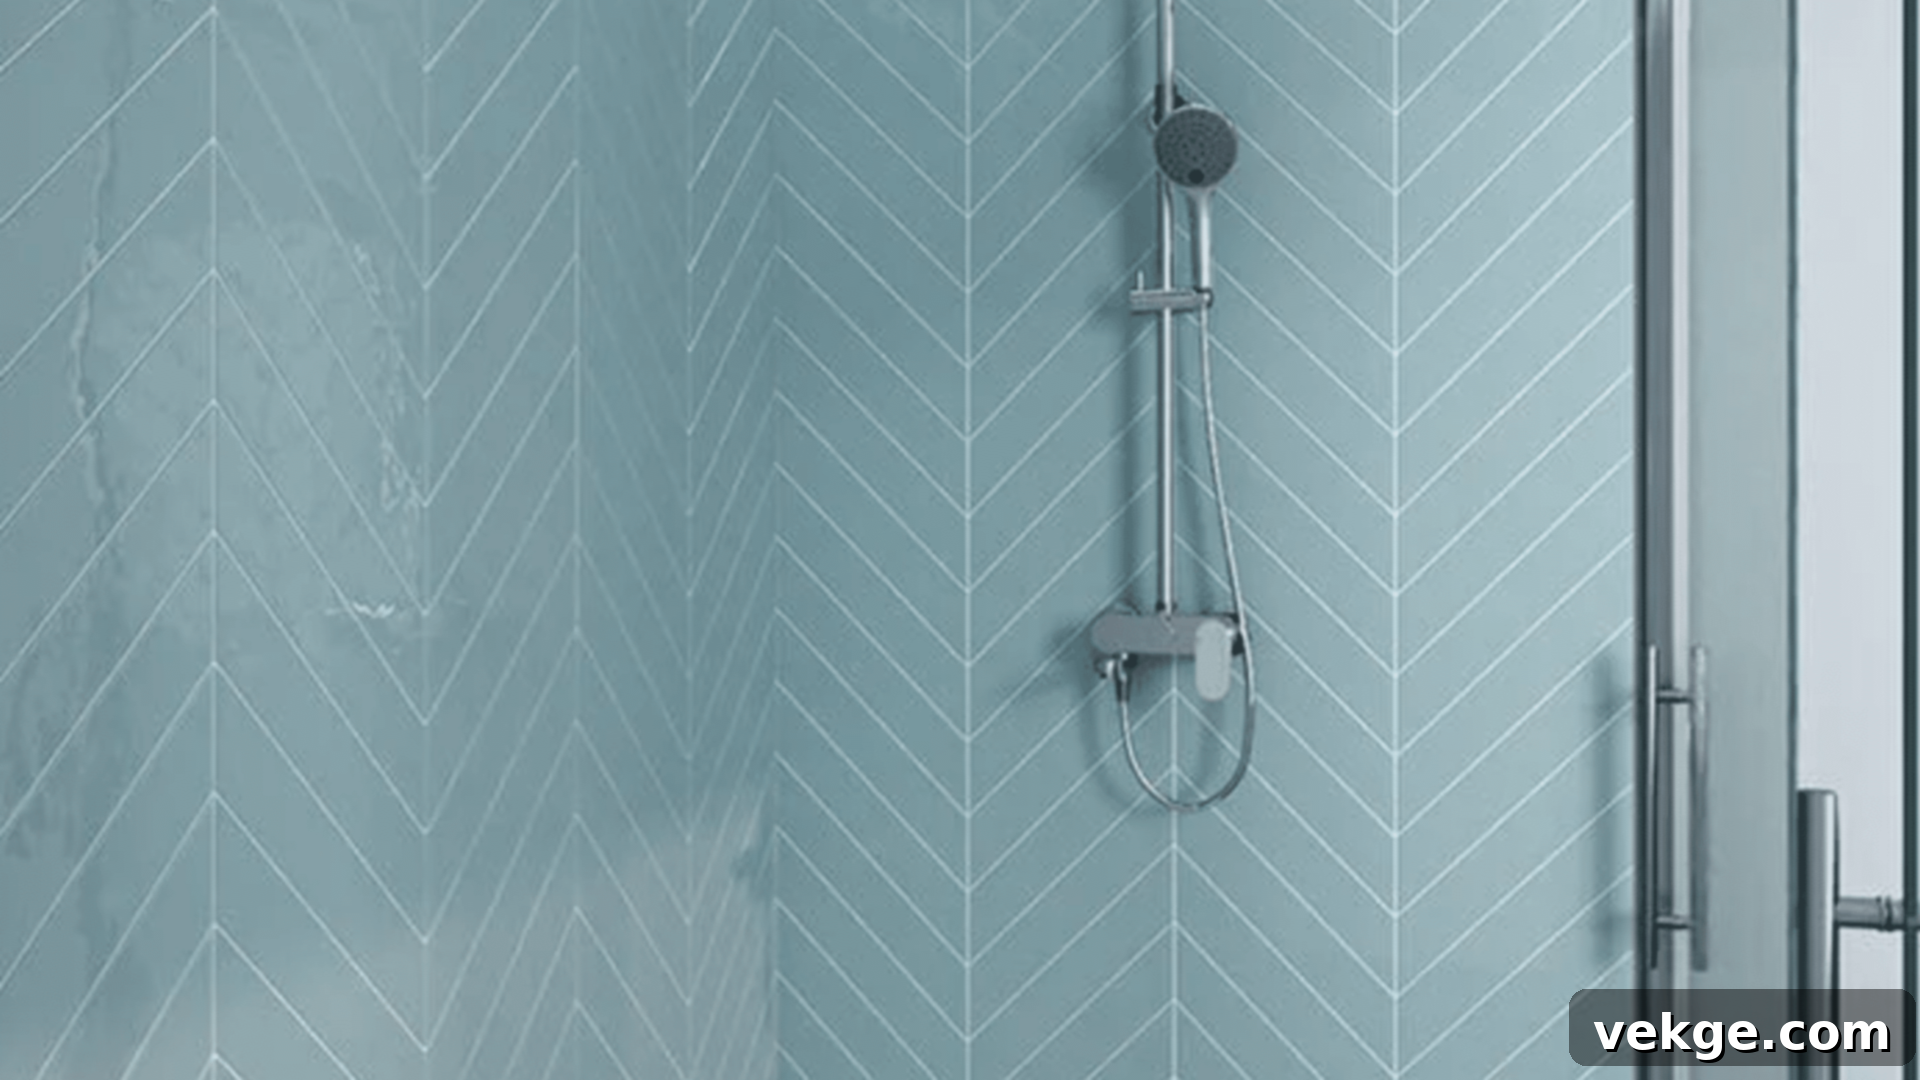
The diagonal layout transforms standard square or rectangular tiles by installing them at a 45-degree angle relative to the floor and walls. This dynamic, angled placement creates a visually engaging pattern that can make smaller spaces feel significantly larger by altering the perceived dimensions of the room. It also adds a unique energy and a touch of sophistication to the overall design. This versatile layout works effectively in showers of any size and has the ability to make even the most ordinary tiles appear more intentional, custom, and thoughtfully designed.
7. Grid or Square Layout
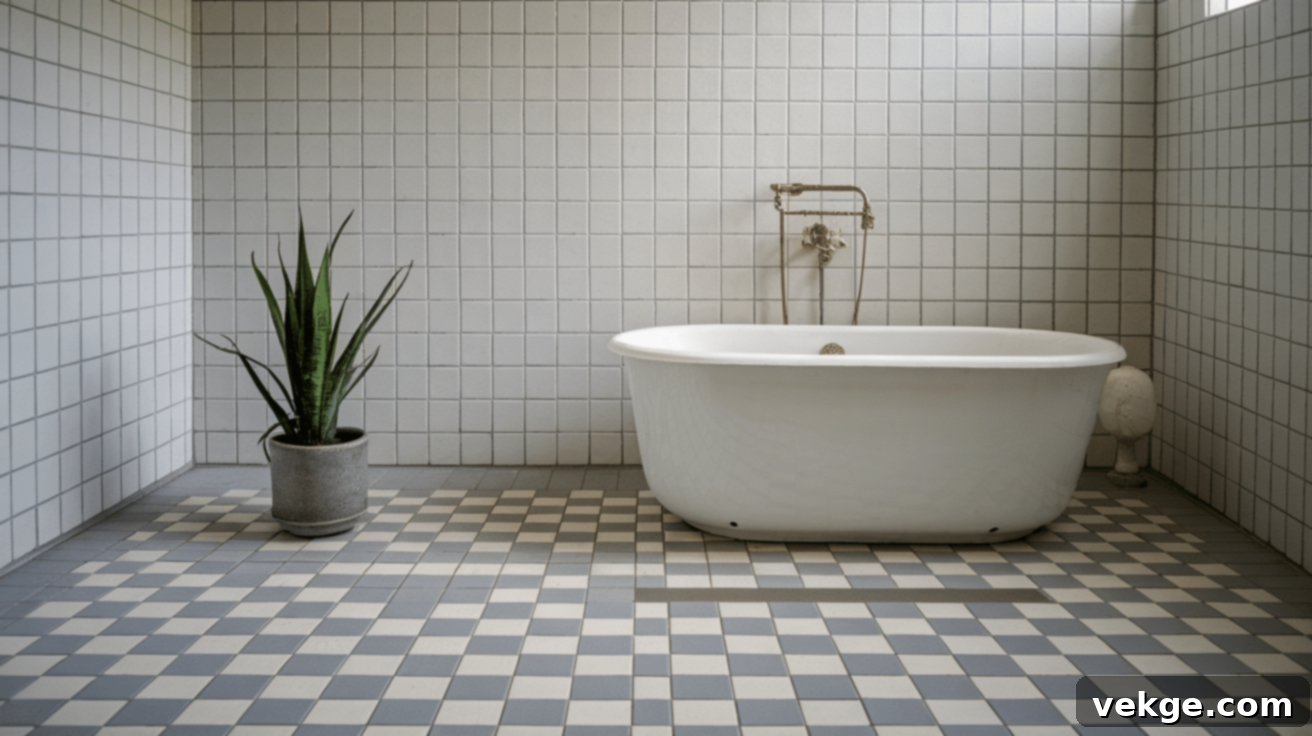
The grid or square layout is one of the most fundamental and universally appealing tile patterns. It involves arranging square tiles in perfectly even rows and columns with all joints precisely aligned, creating a clean, orderly, and highly organized aesthetic that is visually calming. The simplicity of this pattern makes it an excellent choice for showcasing tiles with strong colors, bold patterns, or intricate textures, as the grid arrangement itself remains understated and does not detract from the inherent beauty or design of the tiles themselves. It’s a timeless choice for a minimalist or contemporary look.
8. Brick Layout
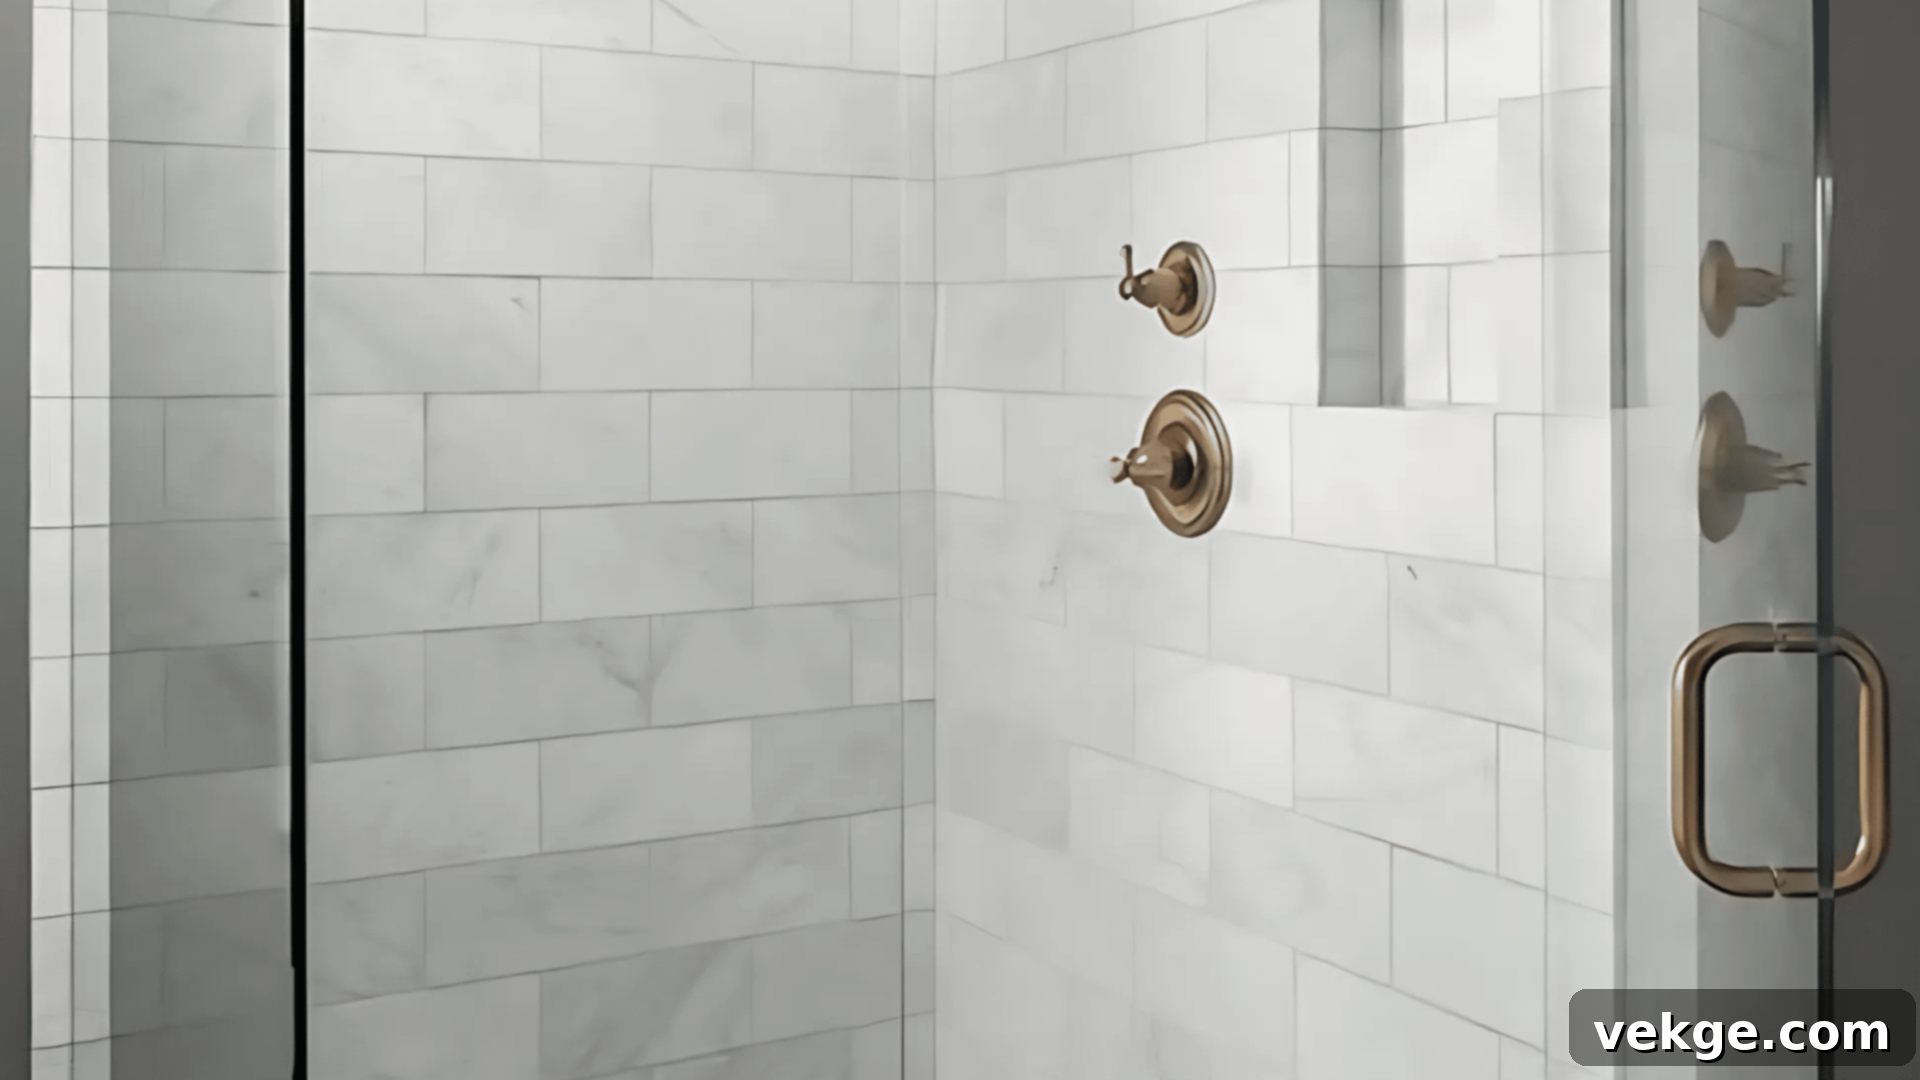
Closely related to the subway pattern but often associated with a more robust, rustic feel, the brick layout involves staggering tiles in each row, typically with a 50% offset, mimicking the classic appearance of a brick wall. While commonly used with rectangular tiles, it can also be adapted for square tiles to achieve a similar staggered effect. This pattern creates a balanced, stable, and incredibly timeless look. The brick pattern has consistently proven its versatility across nearly every bathroom style, establishing itself as a reliably safe and perpetually stylish choice for homeowners seeking a classic and enduring aesthetic.
9. Offset Pattern
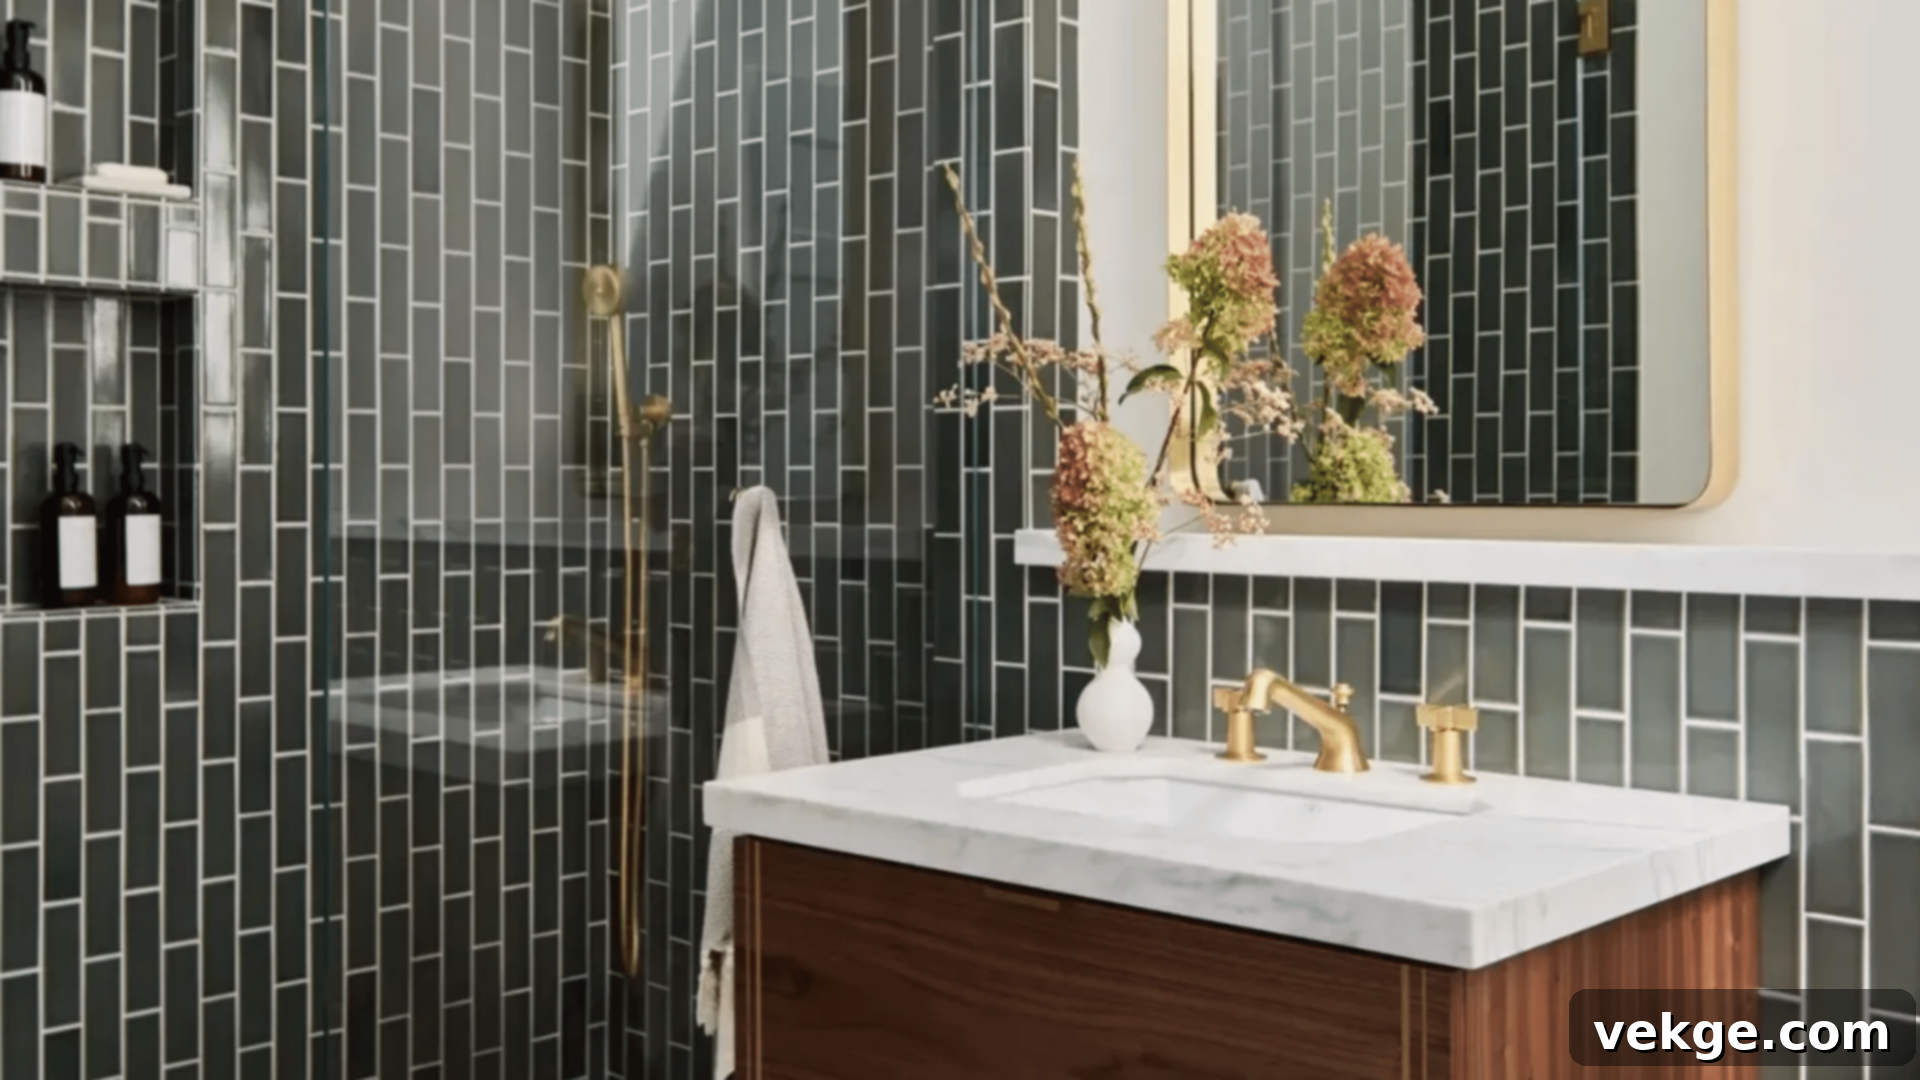
The offset pattern introduces a subtle variation to traditional staggering, where each row of tiles is shifted by a specific fraction (often 1/3 or 1/4) of the tile length, rather than the more common half-tile offset. This nuanced change results in a more organic, less rigid, and slightly more random appearance, all while maintaining a clear sense of order and structure. It’s particularly effective for minimizing the visibility of slight size discrepancies often found in handmade or artisanal tiles. This pattern imparts a gentle sense of movement and visual interest to shower walls without being overtly dynamic, offering a refined and understated look.
10. Mixed Pattern
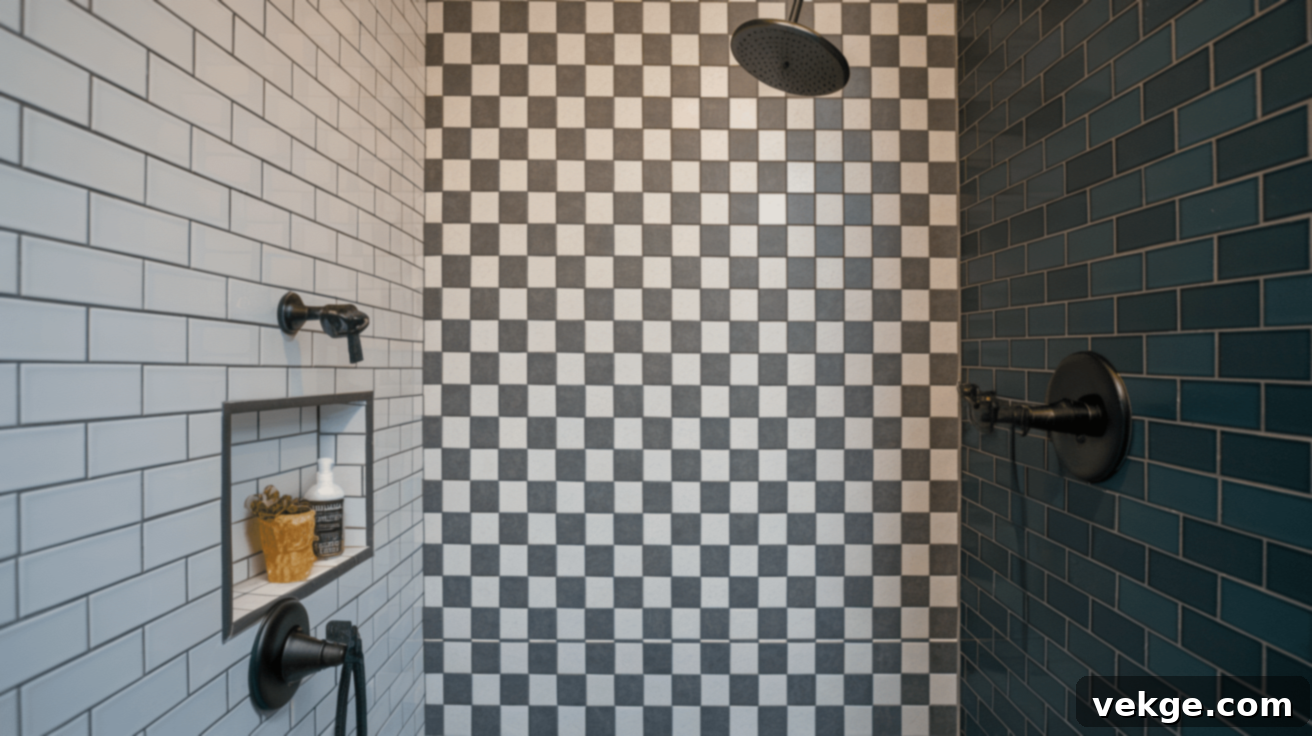
The mixed pattern approach is a testament to creative design, combining different tile sizes, shapes, or even colors within the same installation to craft a truly unique and customized aesthetic. This could involve juxtaposing large-format tiles with delicate mosaics, or blending distinct patterns in separate, defined areas of the shower. This technique allows for unparalleled personal expression, enabling you to highlight specific zones within the shower (such as a niche or a central panel) while simultaneously creating a rich, layered, and deeply customized look that reflects your individual style and vision.
11. Mosaic Tiles
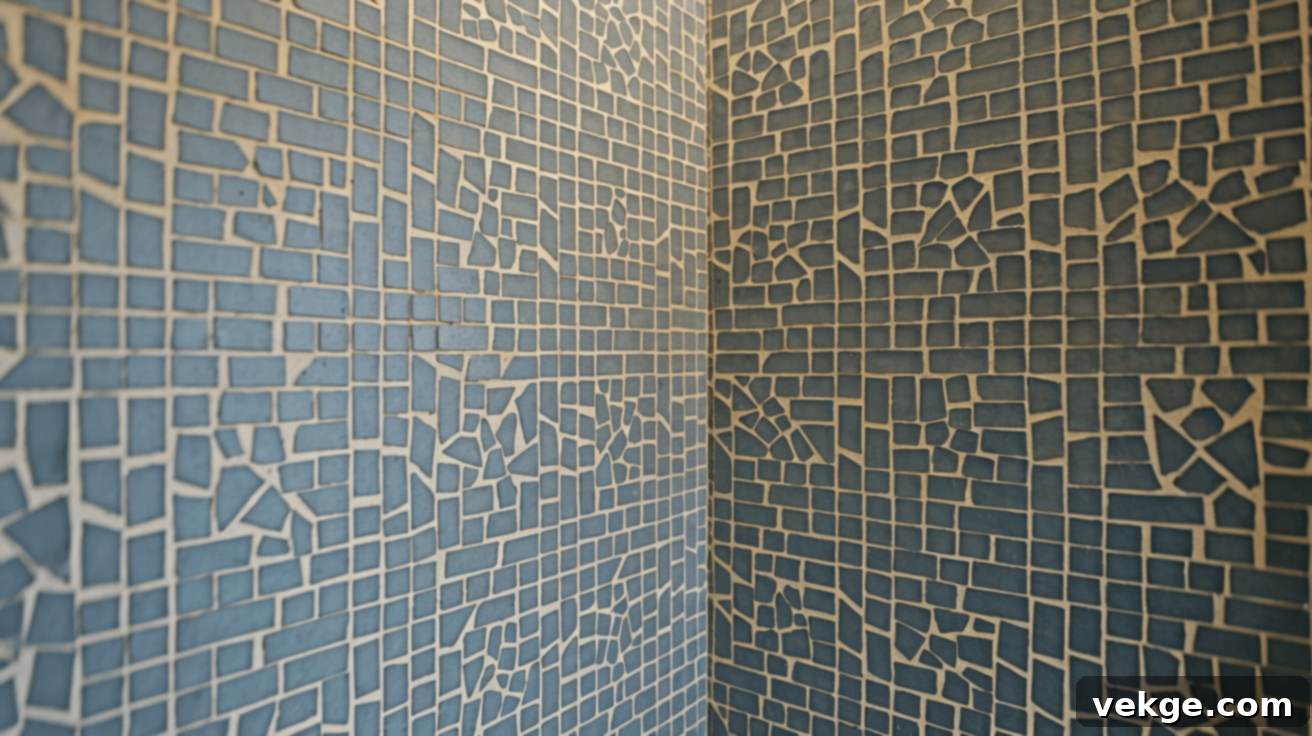
Mosaic tiles, typically tiny (often 2 inches or smaller), are pre-arranged on mesh backing, simplifying installation and enabling the creation of incredibly detailed and intricate patterns. These versatile tiles can form elaborate pictures, subtle color gradients, or captivating textural effects across shower walls. Their numerous grout lines offer excellent slip resistance, making them a practical and beautiful choice for both shower floors and accent walls. Mosaic sections can serve as exquisite borders or striking feature walls, or even cover entire shower areas for a truly immersive and decorative experience.
12. Large Format Tiles
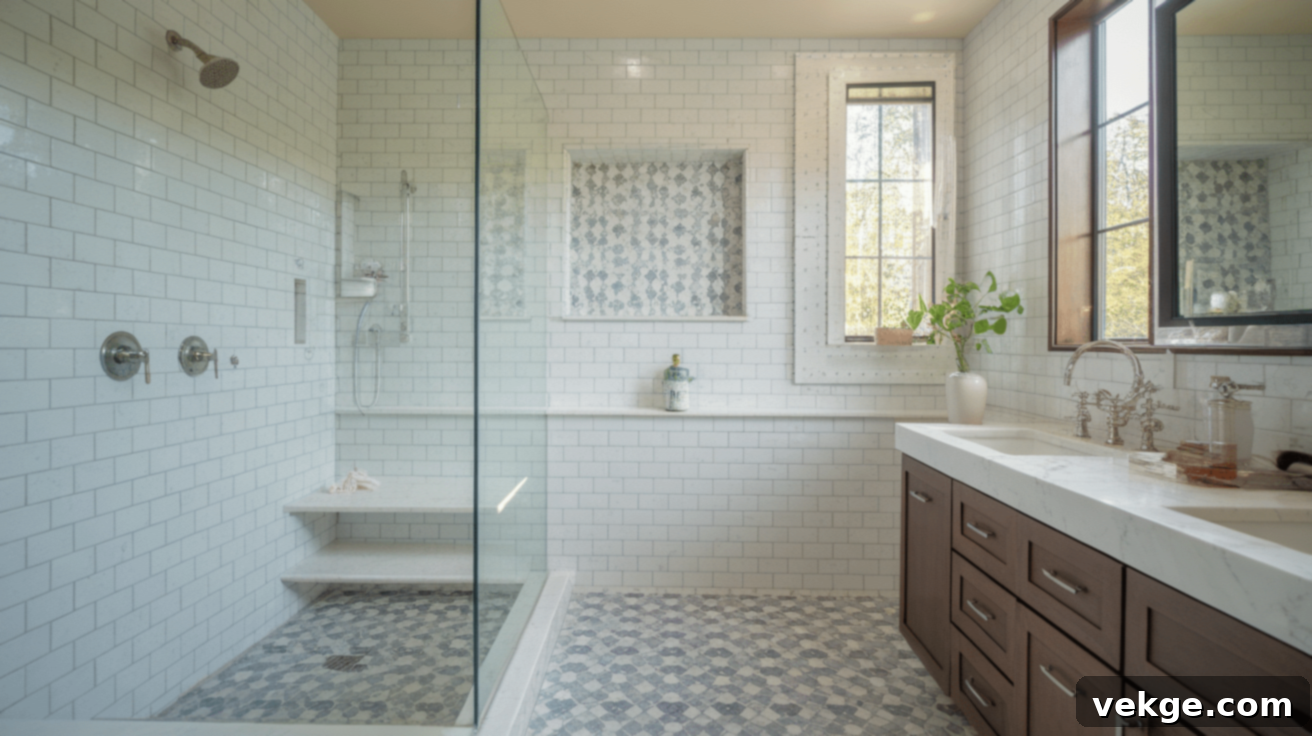
Large format tiles, often measuring 12×24 inches or significantly larger, are celebrated for their ability to create a sleek, contemporary, and expansive look with minimal grout lines. The reduced number of grout lines not only lends a continuous and clean aesthetic but also makes small showers appear more spacious and contributes to easier maintenance. While their installation demands meticulous planning and a perfectly flat substrate, the impressive result is a sophisticated, uninterrupted surface that elegantly highlights the inherent beauty and texture of the tile material, offering a luxurious and modern feel.
13. Hexagonal Tile Pattern
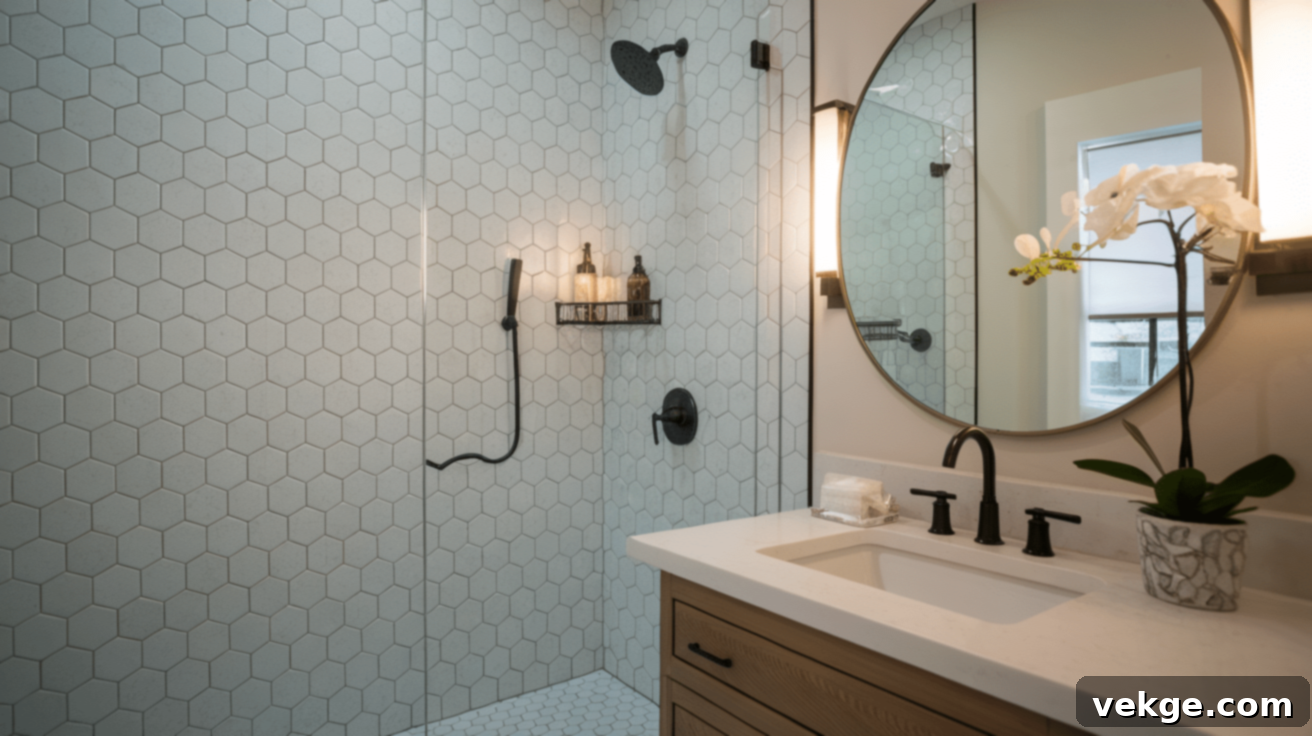
These distinctive six-sided tiles create a captivating honeycomb pattern that effortlessly blends classic charm with contemporary flair. Hexagonal tiles introduce unique visual interest without overwhelming the space, making them suitable for both traditional and modern bathroom designs. The inherent geometry of the pattern naturally draws the eye and performs exceptionally well with both solid colors and subtly patterned tiles. This makes hexagonal tiles an excellent choice for feature walls, accent strips, or even entire shower surrounds, adding a touch of sophisticated character.
14. Penny Tiles
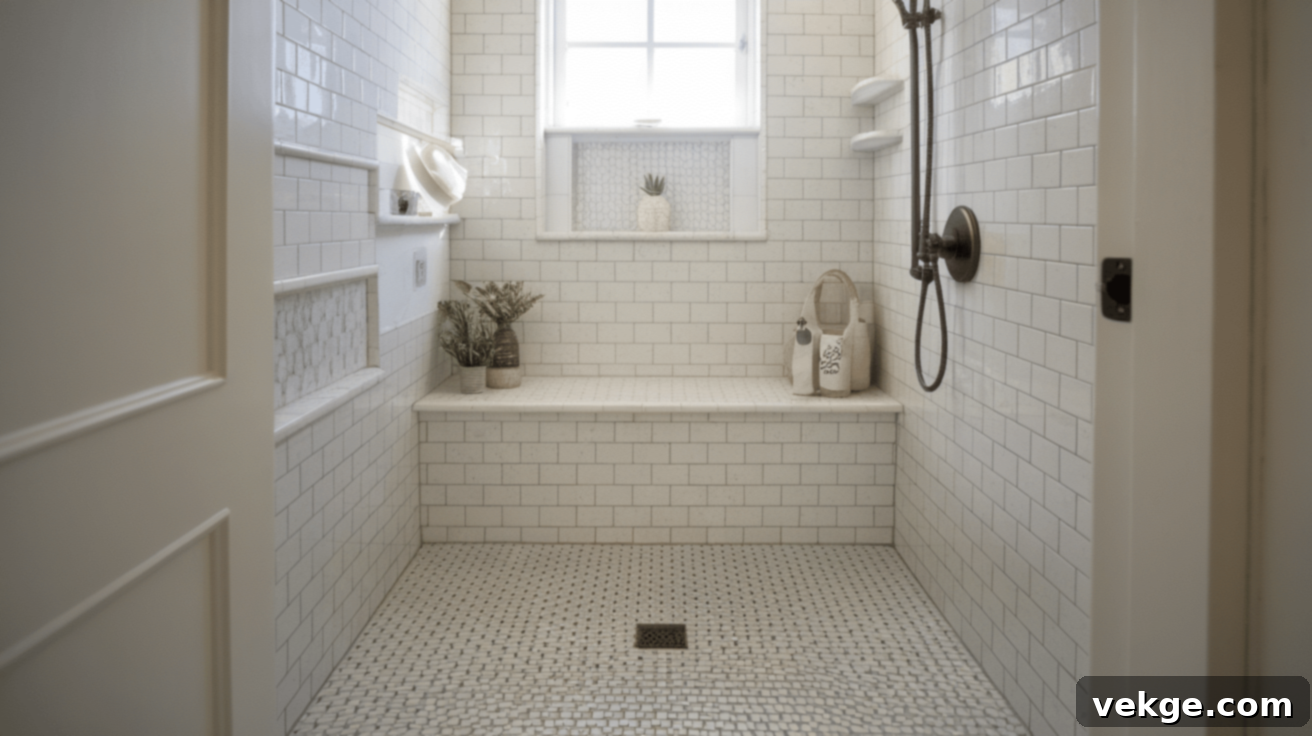
Named for their small, circular, coin-like shape, penny tiles create a dense, dotted pattern that evokes a charming sense of vintage history. These diminutive tiles have been a popular choice since the early 20th century, bringing a unique, tactile quality to shower spaces. On floors, their numerous grout lines provide excellent slip resistance when wet, making them a practical and safe option. Penny tiles create a busy yet pleasing pattern that works particularly well in smaller showers, for accent areas, or as a textured counterpoint to larger, simpler tiles. The many grout lines also aid in water drainage, further enhancing their functionality.
15. Diamond Pattern
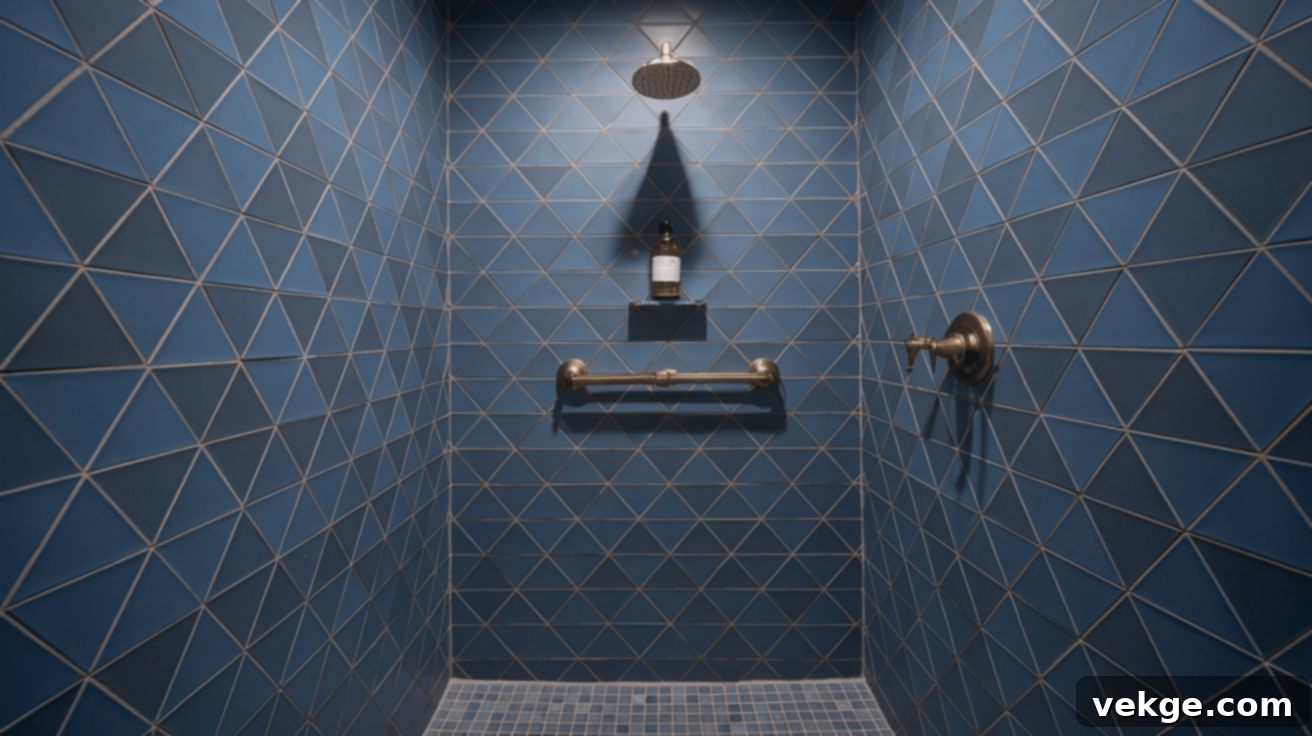
The diamond pattern is achieved by rotating standard square tiles 45 degrees, transforming them into a striking diamond shape. This angular layout adds dynamic movement and can visually expand spaces without being overly bold or distracting. Diamond patterns are particularly effective with solid-colored tiles, as the pattern itself becomes the star, making a standard tile selection appear more deliberate and thoughtfully designed. While frequently found in classic and traditional bathroom settings, their geometric appeal also allows them to integrate beautifully into modern and contemporary designs, offering a touch of refined elegance.
16. Arabesque Pattern
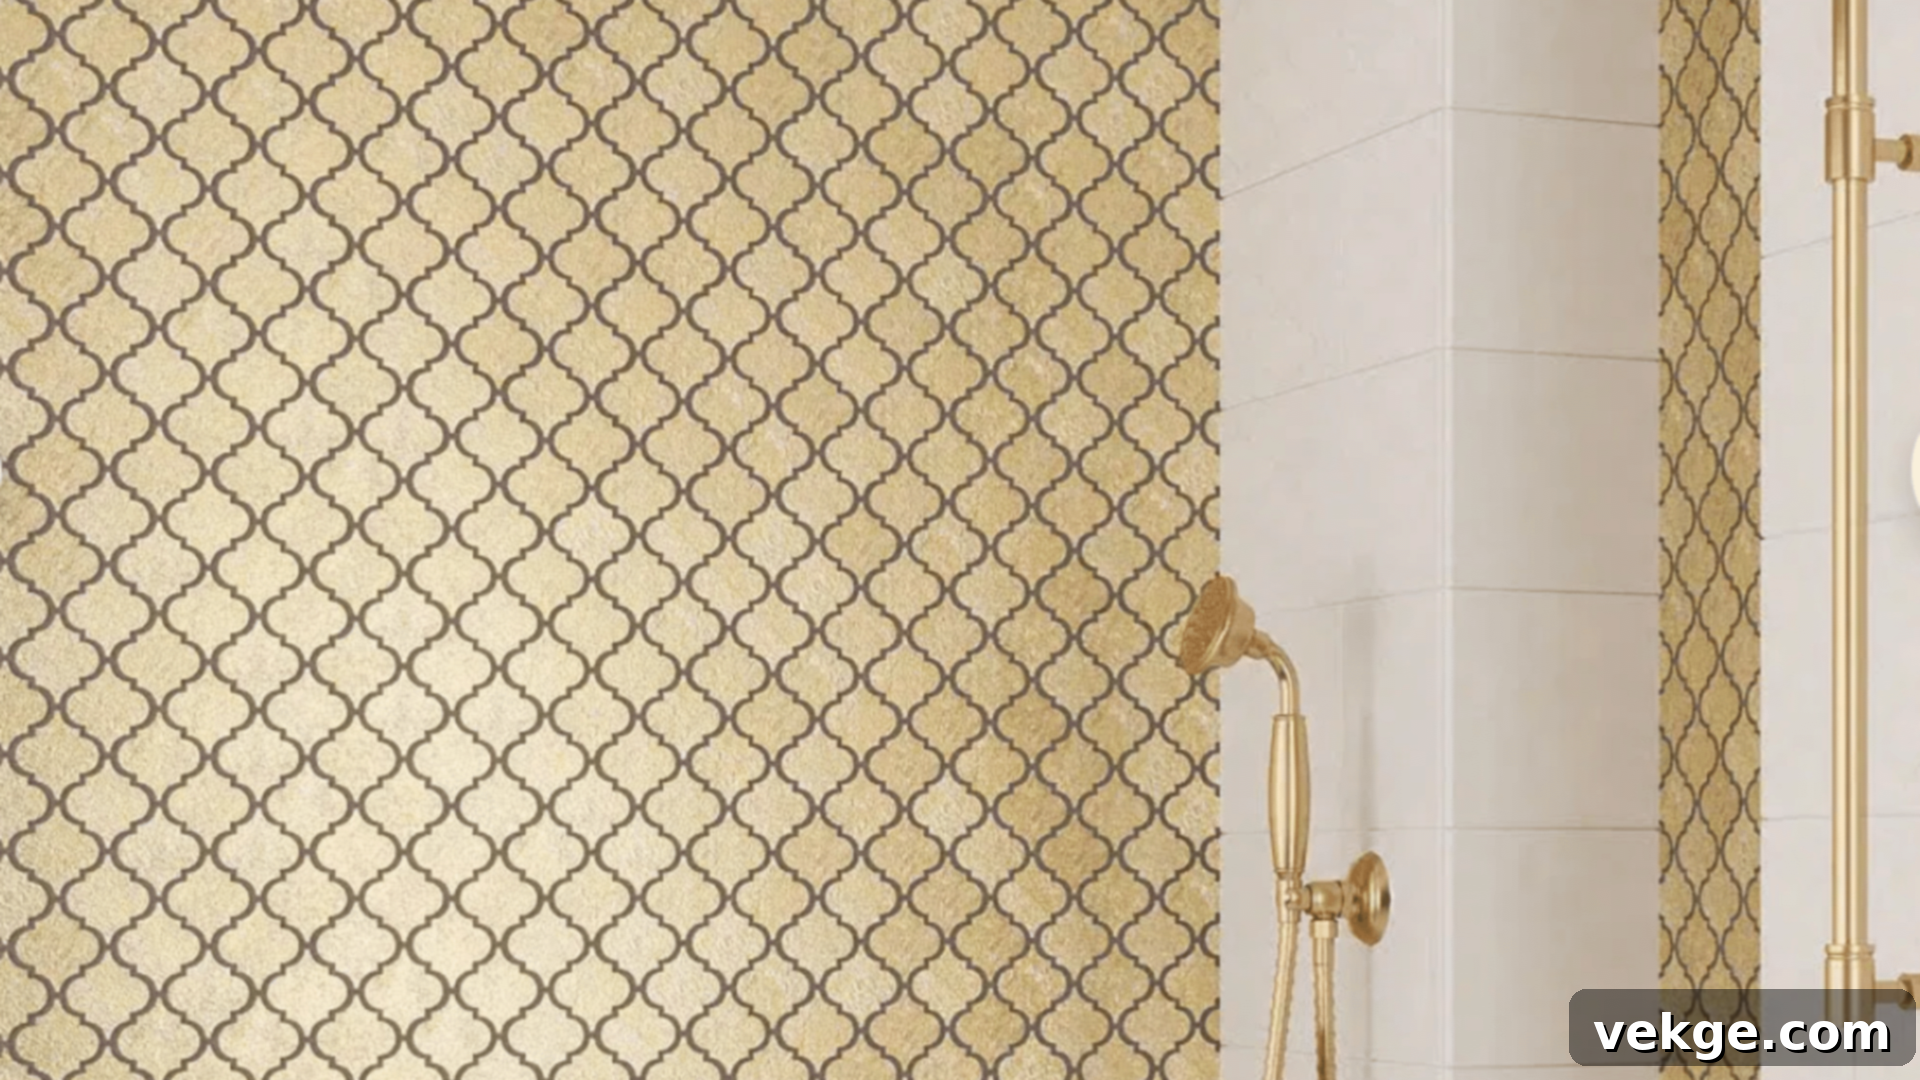
Inspired by intricate Middle Eastern designs, Arabesque tiles feature elegant, curved, and flowing shapes. Their distinctive, graceful outlines create a gentle, interconnected pattern that stands out with unique sophistication without being overwhelming. Arabesque tiles are an exquisite choice for a feature wall, an accent strip, or a decorative panel within showers, adding an artistic and luxurious touch. They pair exceptionally well with simpler, more understated surrounding tiles, allowing their special, organic shape to remain the undisputed focal point of the design.
17. Fish Scale Tiles
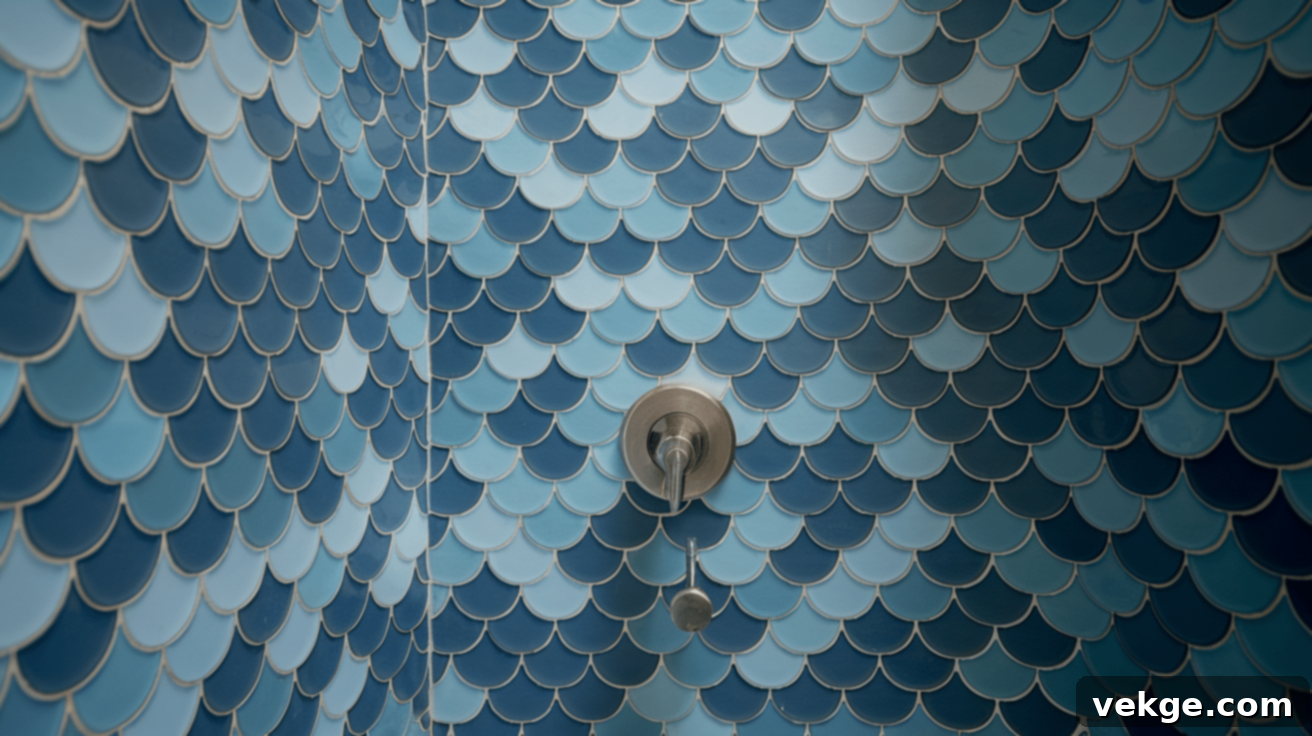
Fish scale tiles, characterized by their beautiful overlapping, fan-like shape, create a captivating wavy and flowing pattern that is inherently perfect for shower areas. Their organic form naturally evokes the imagery of water and movement, making them an exceptionally fitting choice for bathrooms. Fish scale tiles offer immense design flexibility and can be arranged in a myriad of color patterns, from monochrome to vibrant gradients. They look remarkably striking whether used to cover an entire shower enclosure or strategically placed as elegant accent pieces, bringing a unique, serene, and aquatic feel to the space.
18. Retro Grid Pattern
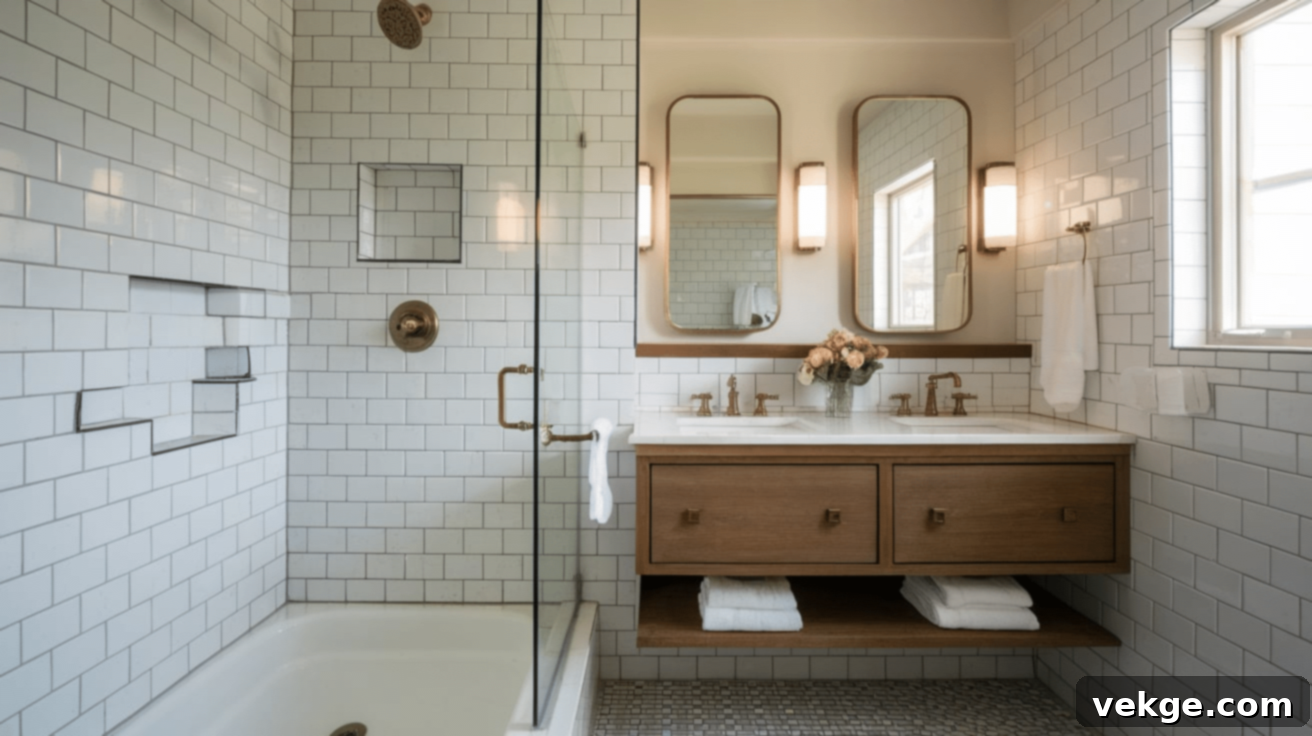
The retro grid pattern utilizes small square tiles, typically 1-2 inches in size, arranged in a straight, orderly grid, often with a contrasting grout color. This classic pattern is reminiscent of stylish bathrooms from the mid-20th century, yet it continues to feel fresh and relevant in contemporary design. The small size of these tiles and their numerous grout lines provide excellent traction in wet environments, making them a practical and aesthetically pleasing choice for both shower floors and walls, especially for those looking to evoke a nostalgic yet chic ambiance.
19. Zigzag Tiles
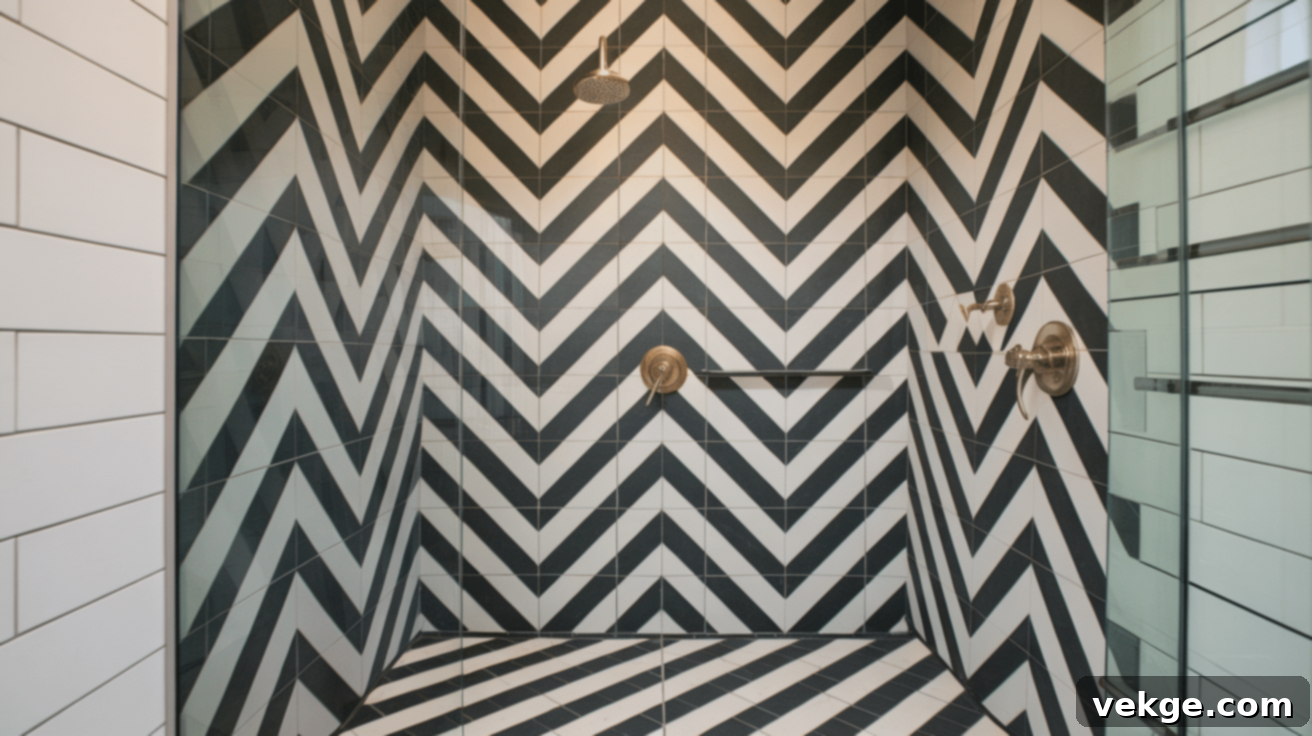
Unlike the more refined V-shapes of chevron or herringbone, zigzag tiles feature distinct angled edges that fit together to form continuous, jagged, and energetic lines. This pattern creates sharp angles and strong directional movement, injecting vitality and a modern edge into shower walls. This bold and dynamic pattern is most effectively utilized as an accent wall or a prominent decorative band rather than covering the entire shower space, as its intensity could otherwise overwhelm the area. It’s perfect for adding a playful yet sophisticated touch.
20. Wave Pattern
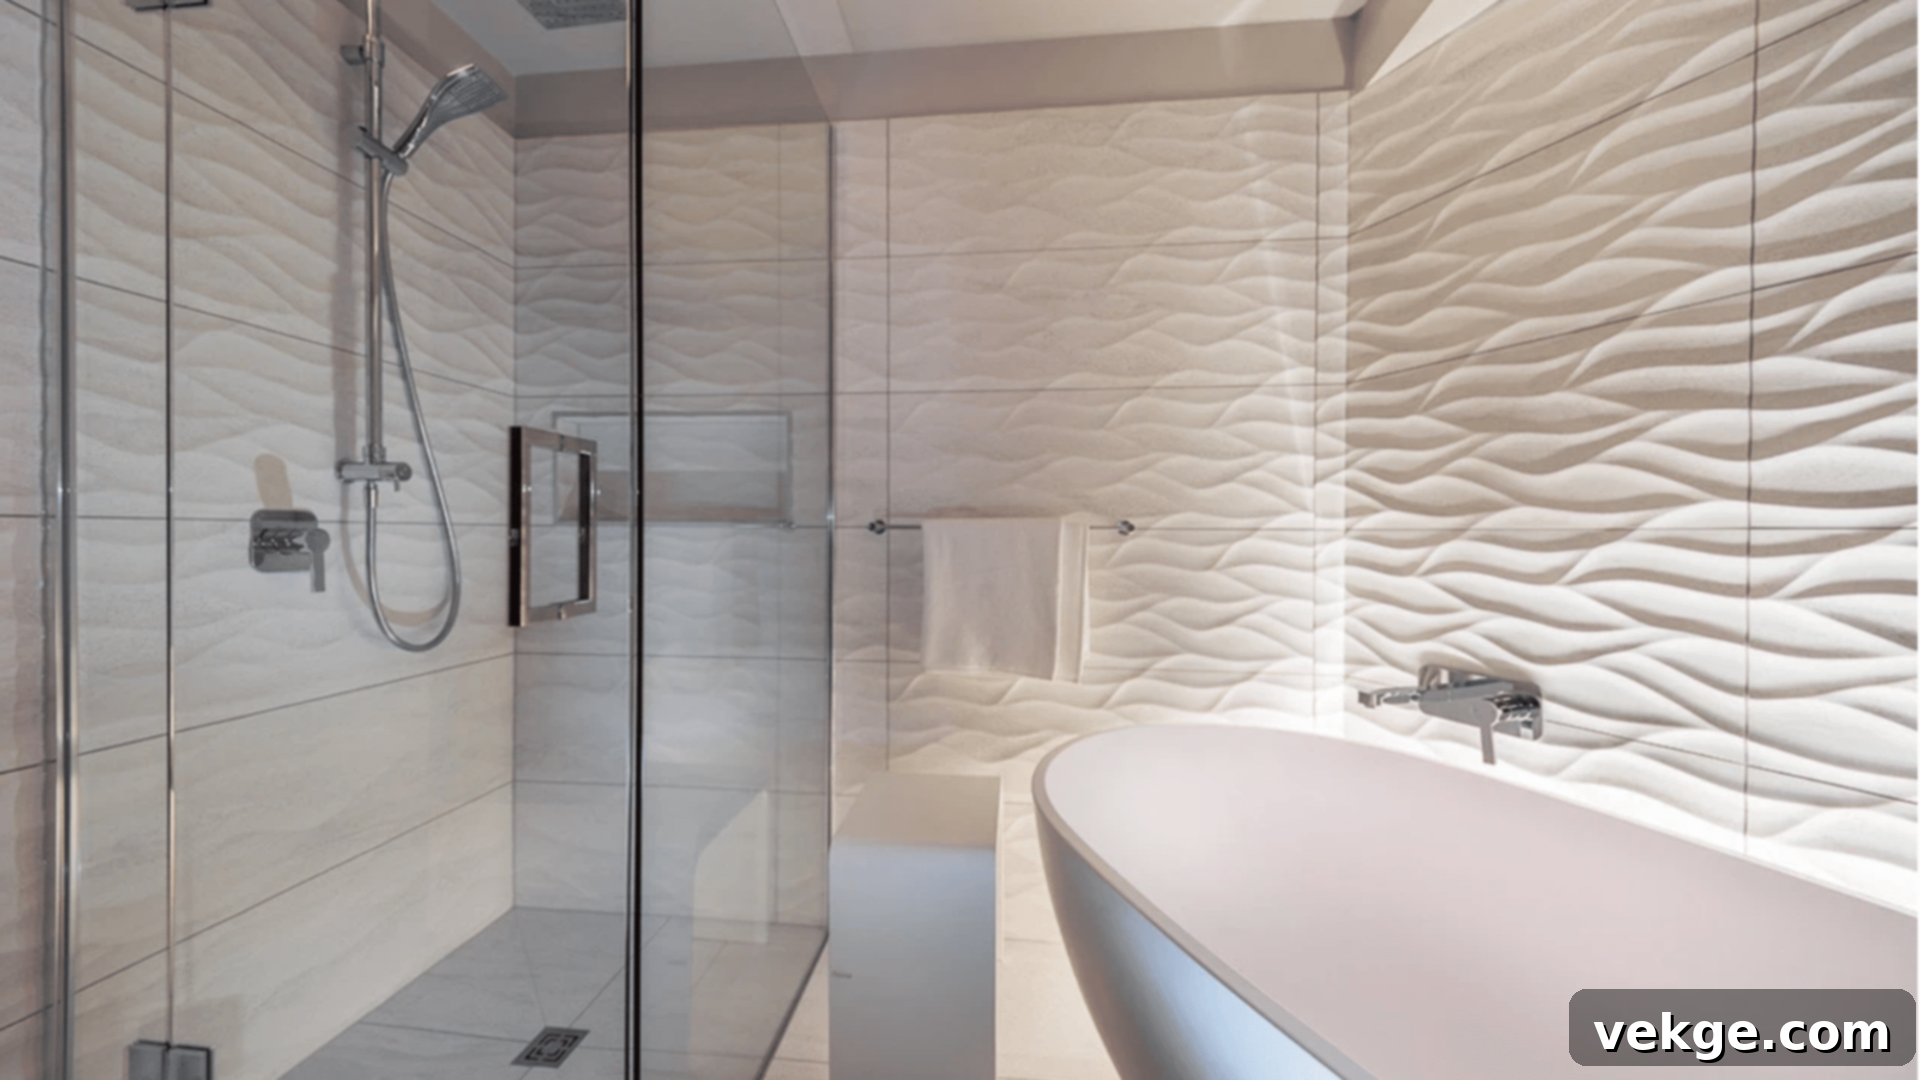
Achieved with specialized curved or undulating tiles, the wave pattern creates a fluid, water-like effect on shower walls, bringing a profound sense of calm, tranquility, and relaxation to the bathroom environment. The gentle, organic curves beautifully connect to the inherent water theme of showers. Wave patterns can be subtle and serene or bold and dramatic, depending on the chosen tile colors, textures, and whether they are used throughout the entire shower or strategically placed as a captivating accent, truly enhancing the spa-like atmosphere.
21. Mixed Materials Pattern
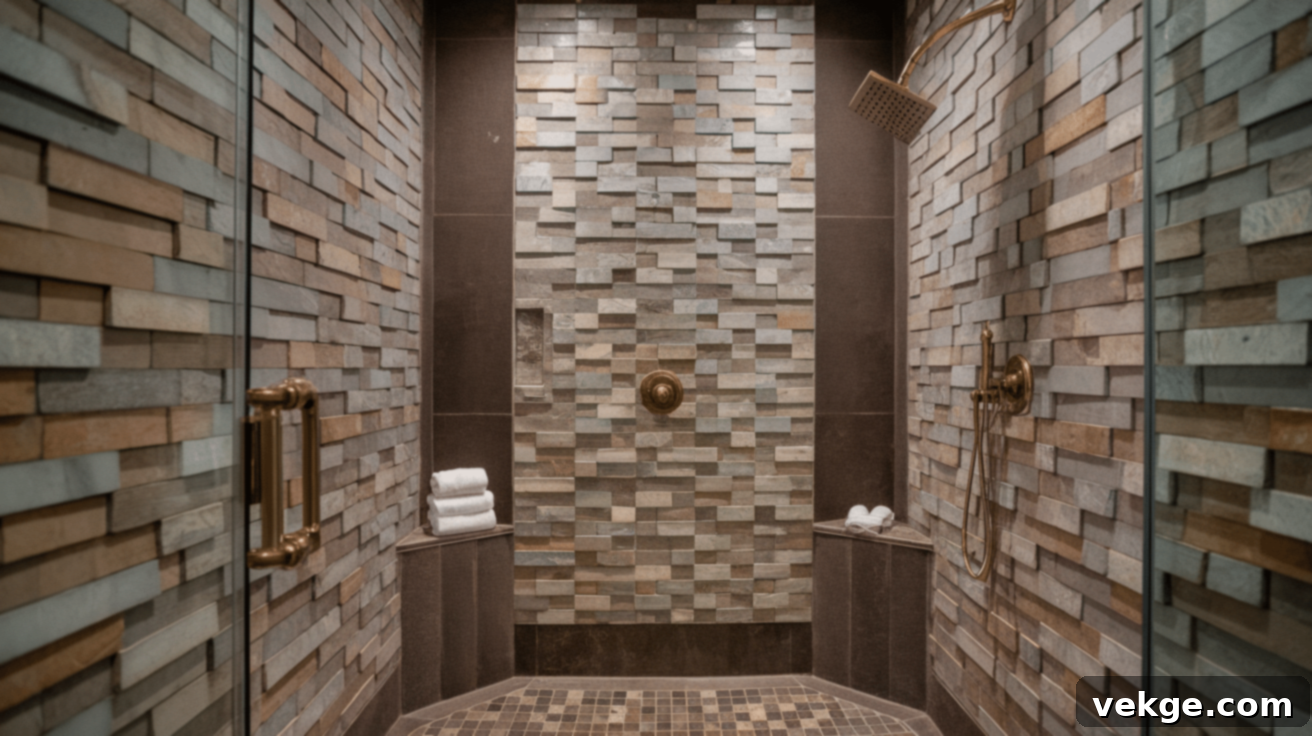
The mixed materials pattern involves combining different tile materials—such as lustrous glass with textured natural stone, or smooth porcelain with metallic accents—within the same installation. This deliberate contrast in textures, finishes, and sometimes even colors, creates remarkable depth, visual intrigue, and a high-end, bespoke feel. Mixed materials can effectively highlight specific areas of the shower, delineate zones, or create visually interesting bands of texture that elegantly break up expansive tiled surfaces, adding unparalleled richness and sophistication to the overall design.
22. Tumbled Stone Tile Pattern
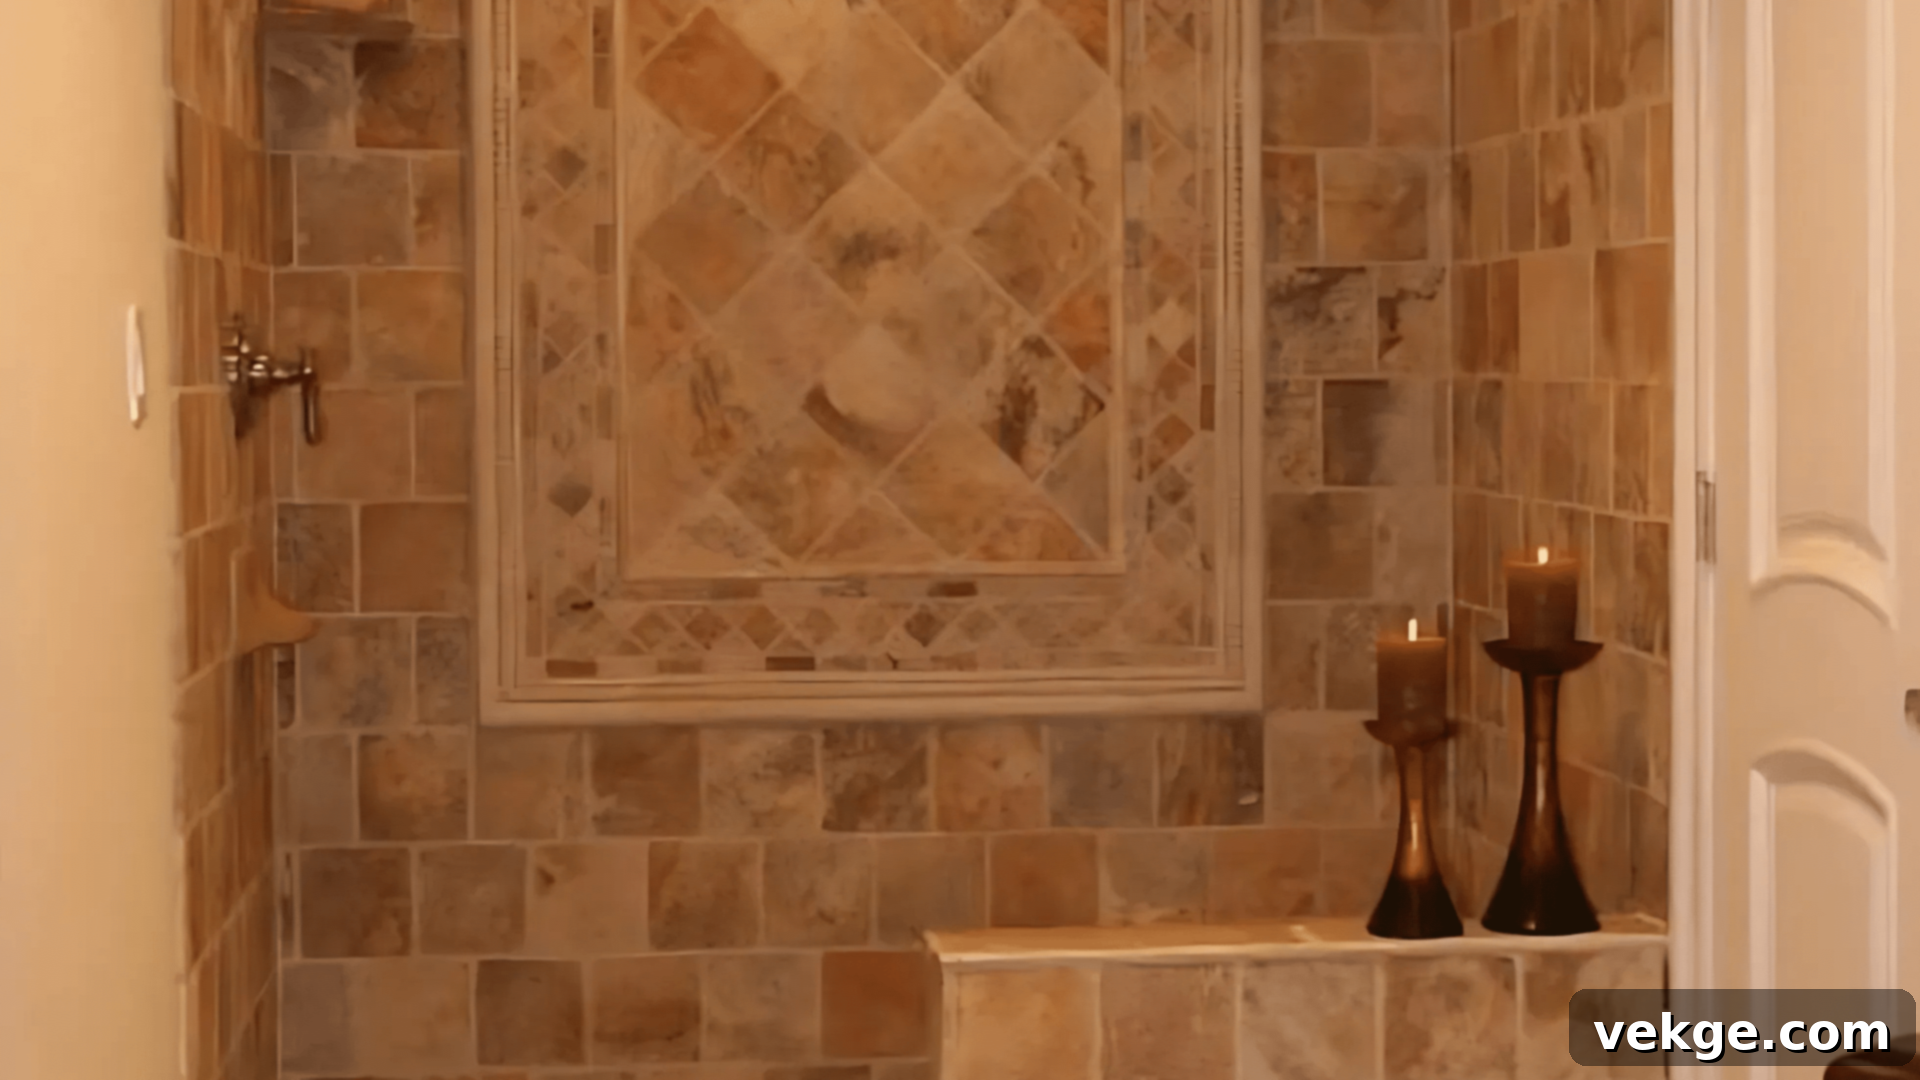
Tumbled stone tiles are characterized by their naturally weathered appearance, featuring soft, rounded edges and subtle surface variations that create a warm, rustic, and lived-in aesthetic. Typically installed in a classic brick or a more organic random pattern, tumbled stone introduces an earthy, organic quality to showers, evoking a connection to nature. The varied, slightly uneven surface provides excellent natural traction when wet and is also adept at camouflaging water spots more effectively than smoother, highly polished tiles, making it both beautiful and practical for a natural, spa-like feel.
23. Custom Patterns
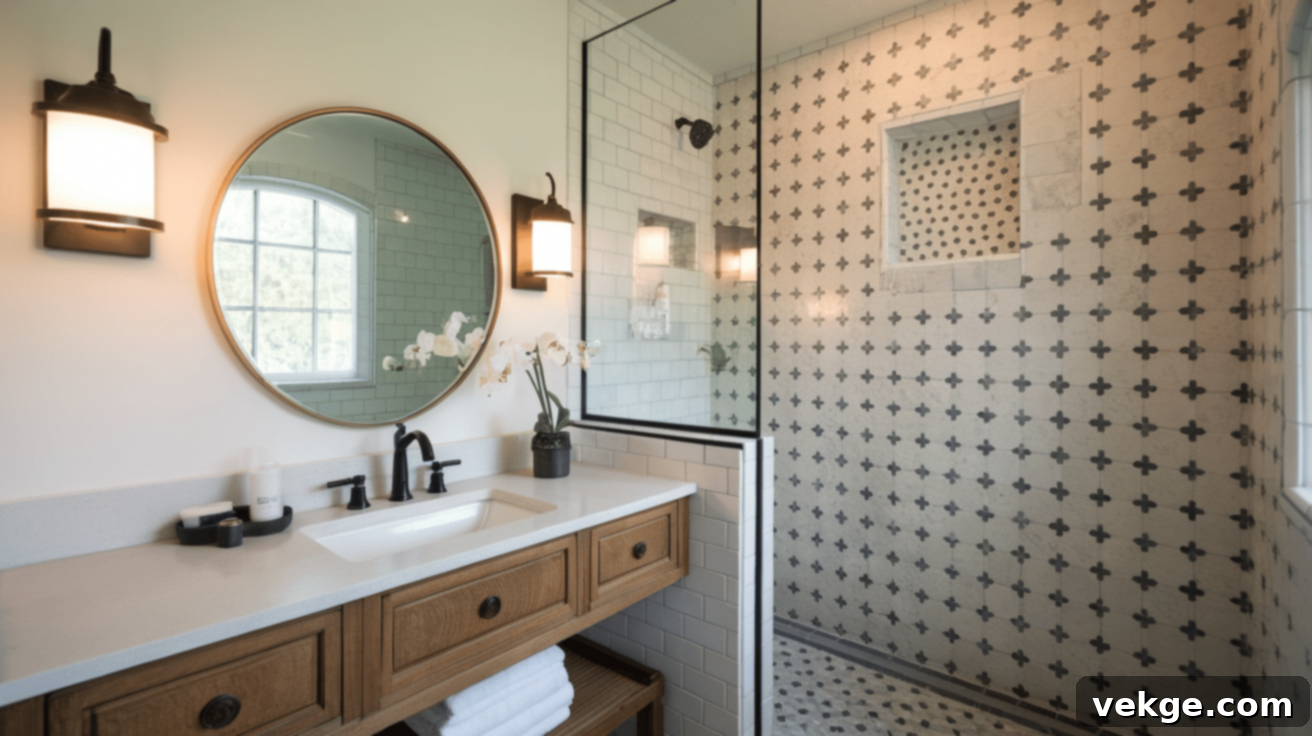
Custom tile patterns represent the pinnacle of personalization, offering one-of-a-kind designs meticulously crafted specifically for your unique shower space. These bespoke creations might involve special tile cuts, intricate inlaid designs, elaborate murals, or tiles arranged to form meaningful pictures, logos, or motifs. Custom patterns provide an unparalleled avenue for personal expression, allowing you to incorporate cherished symbols, specific color palettes, or artistic visions into your daily routine. While often more complex and demanding in terms of installation, the result is a truly unique, breathtaking, and deeply personal shower experience that stands as a work of art.
24. Stacked Tile Pattern
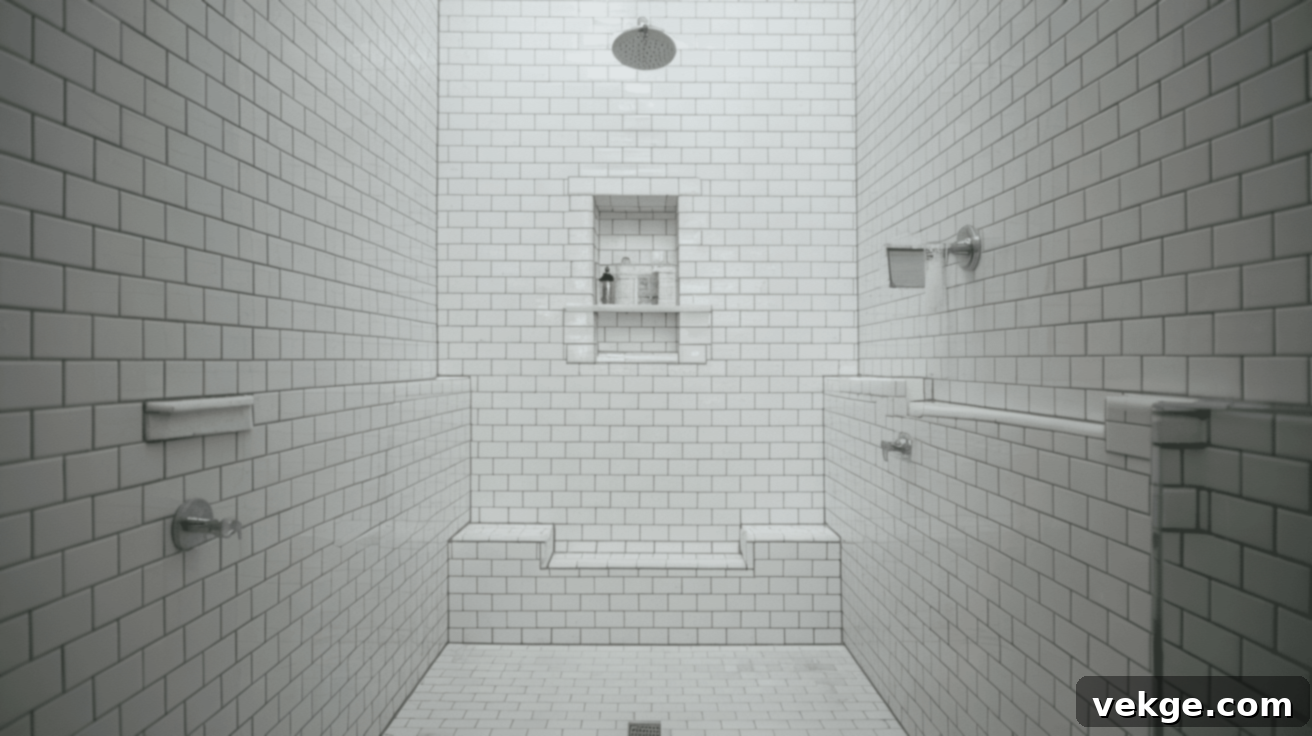
The stacked tile pattern features tiles aligned in perfectly straight, unbroken columns and rows, with all joints meticulously aligned horizontally and vertically. This precise arrangement results in an exceptionally clean, ordered, and minimalist aesthetic that conveys a profound sense of calm and contemporary sophistication. Stacked patterns are particularly effective with tiles that boast interesting textures, subtle patterns, or unique finishes, as the straightforward layout allows these inherent tile qualities to truly shine without any additional visual distractions or competing elements, creating a sleek and modern backdrop.
25. Triangular Tiles
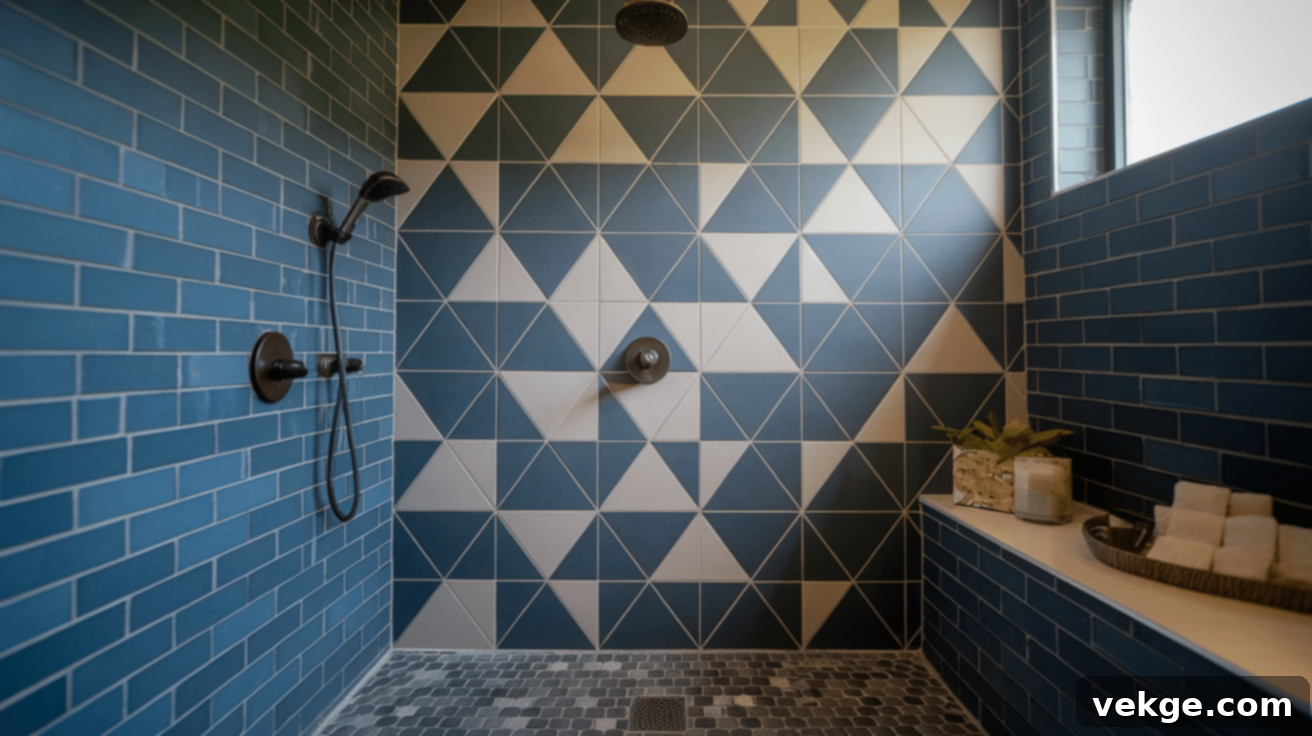
These distinctive three-sided tiles introduce a dynamic pattern of sharp points and angles, injecting vibrant energy and geometric intrigue into shower walls. Triangular tiles offer immense versatility, allowing for countless arrangement possibilities to create diverse effects—from orderly, repeating rows to mesmerizing starburst or kaleidoscope patterns. They infuse bathrooms with a distinctly modern, geometric sensibility and work exceptionally well as bold accent pieces or integrated alongside more standard tile shapes, adding an avant-garde touch and architectural interest to the space.
26. Vertical Stripes
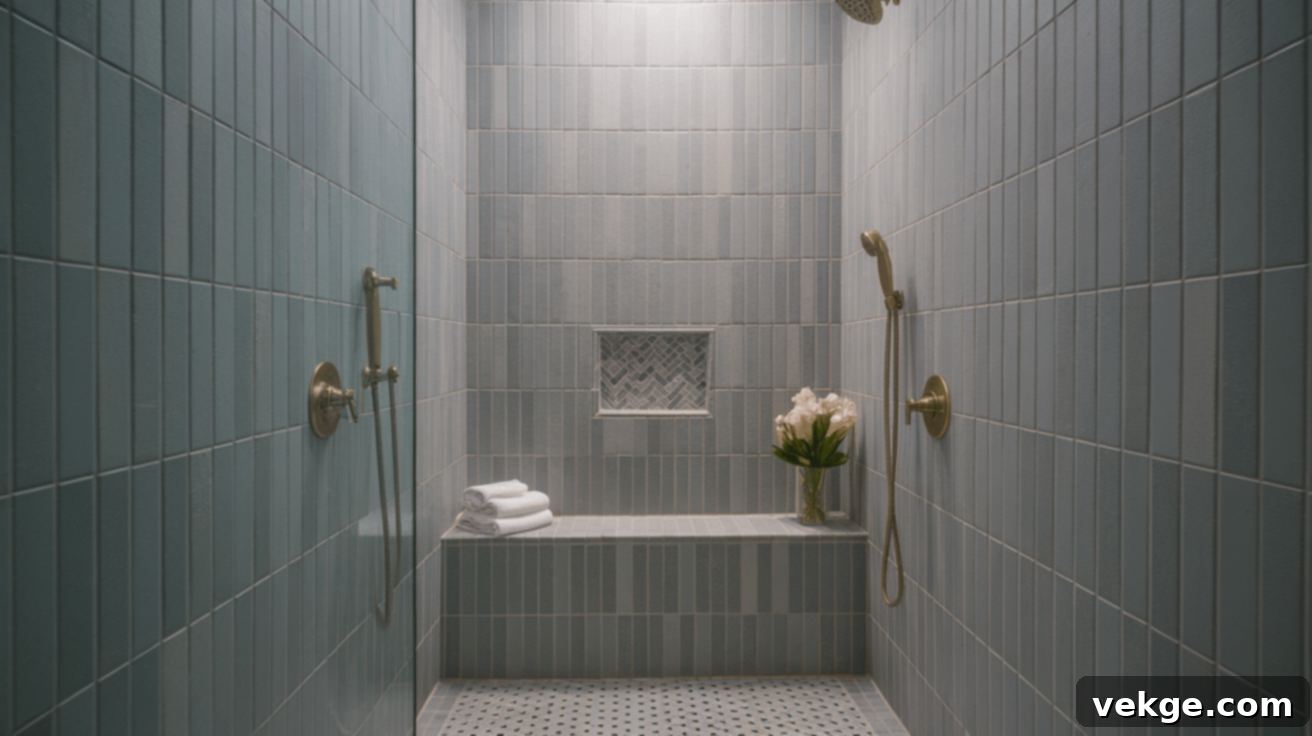
Utilizing long, narrow tiles placed in perfectly straight vertical lines, the vertical stripes pattern is a clever design trick that visually elongates walls, making ceilings appear significantly higher and creating a more expansive, open feel in smaller shower spaces. This arrangement brings a strong sense of order and contemporary elegance. Vertical stripes are particularly effective when paired with tiles that possess subtle color variations, contrasting textures, or a slight shimmer, as these elements can add desirable depth and visual interest to the clean, commanding lines, enhancing the sophisticated appeal.
27. Large Subway Tiles
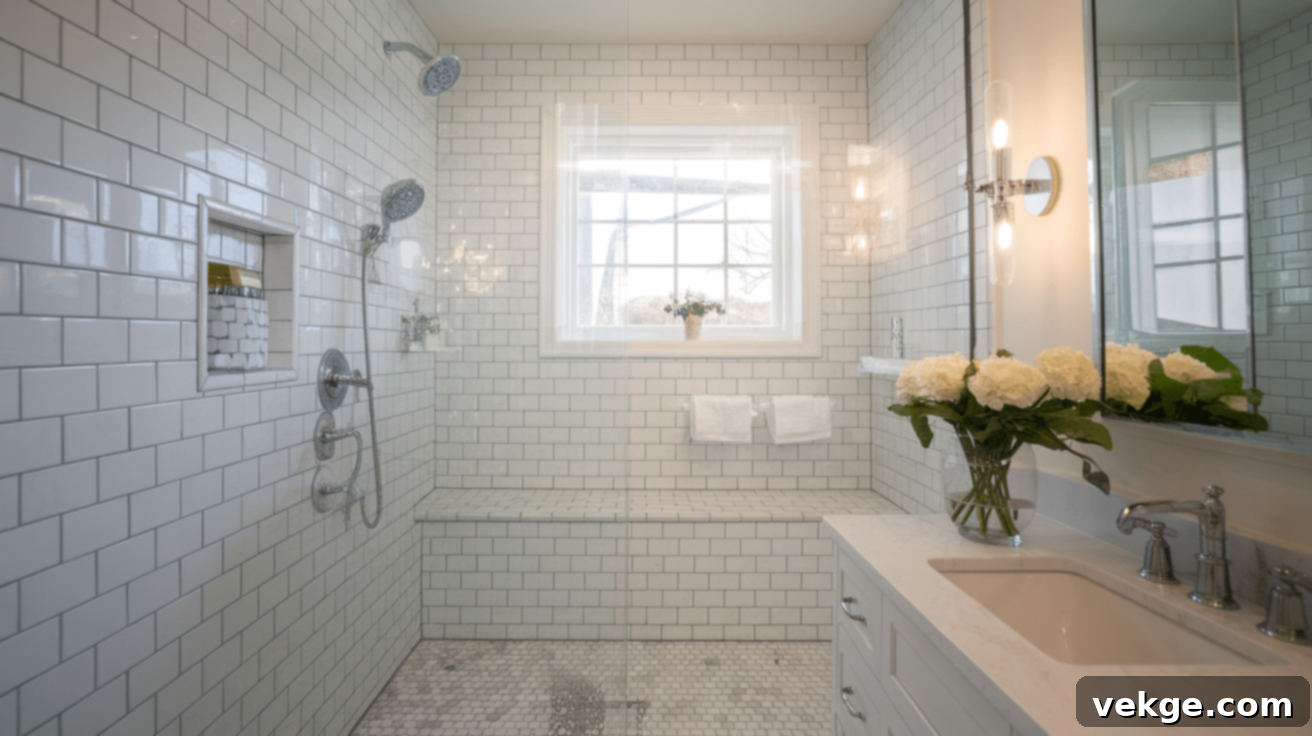
Large subway tiles are a modern reimagining of the classic subway tile, typically measuring 4×12 inches or even larger, as opposed to the traditional 3×6 inch dimensions. The increased size inherently means fewer grout lines, which contributes to a cleaner, more contemporary, and seamless aesthetic. While maintaining the familiar and beloved brick-like staggered pattern, large subway tiles scale up the design for a fresh, updated take that is particularly well-suited for bigger shower spaces, offering a sense of modern grandeur and simplified elegance.
28. Marble Effect Tiles
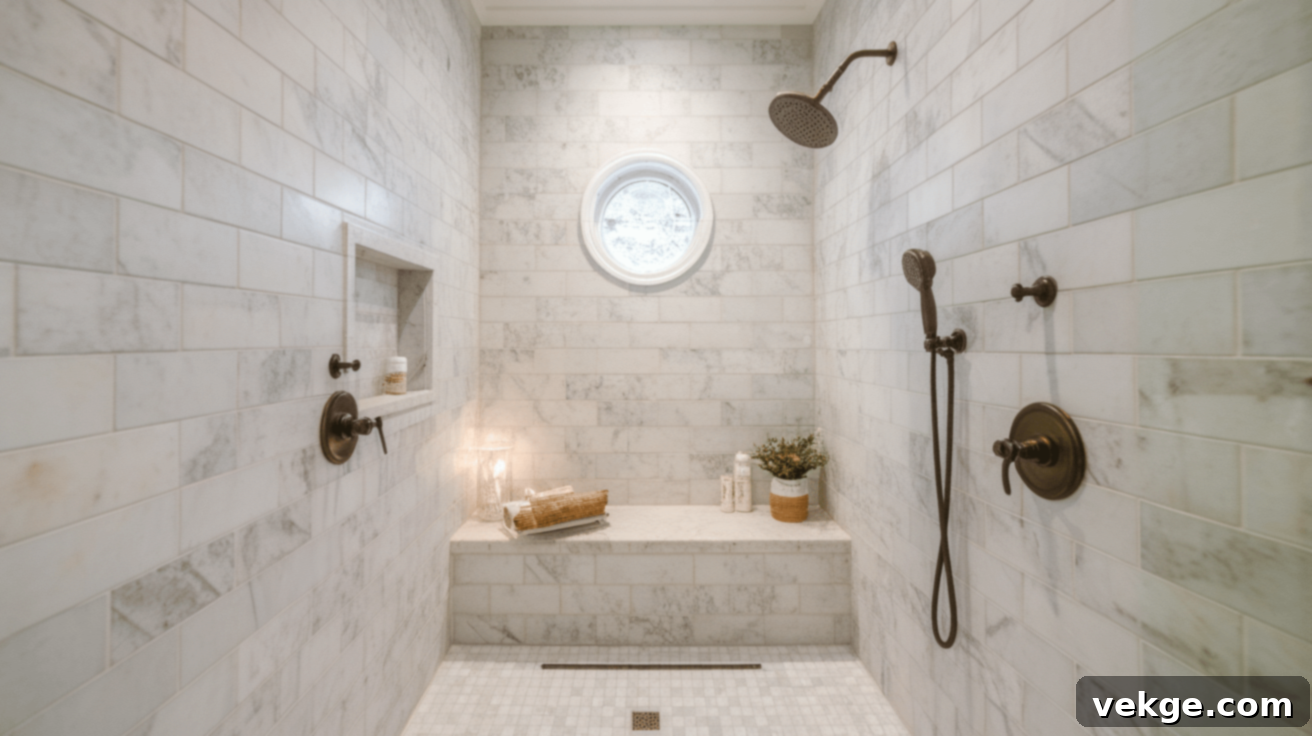
Marble effect tiles, crafted from high-quality porcelain or ceramic, expertly mimic the luxurious appearance of natural marble with their intricate swirling patterns, delicate veining, and sophisticated color variations. When installed thoughtfully, these tiles can create a stunning, flowing, and visually connected look across shower walls, emulating the seamless beauty of natural stone slabs. They offer the prestigious, high-end aesthetic of real marble combined with superior durability, enhanced water resistance, and significantly less maintenance, making them an ideal and practical choice for wet areas that demand both beauty and resilience.
29. Wood-Look Tile Patterns
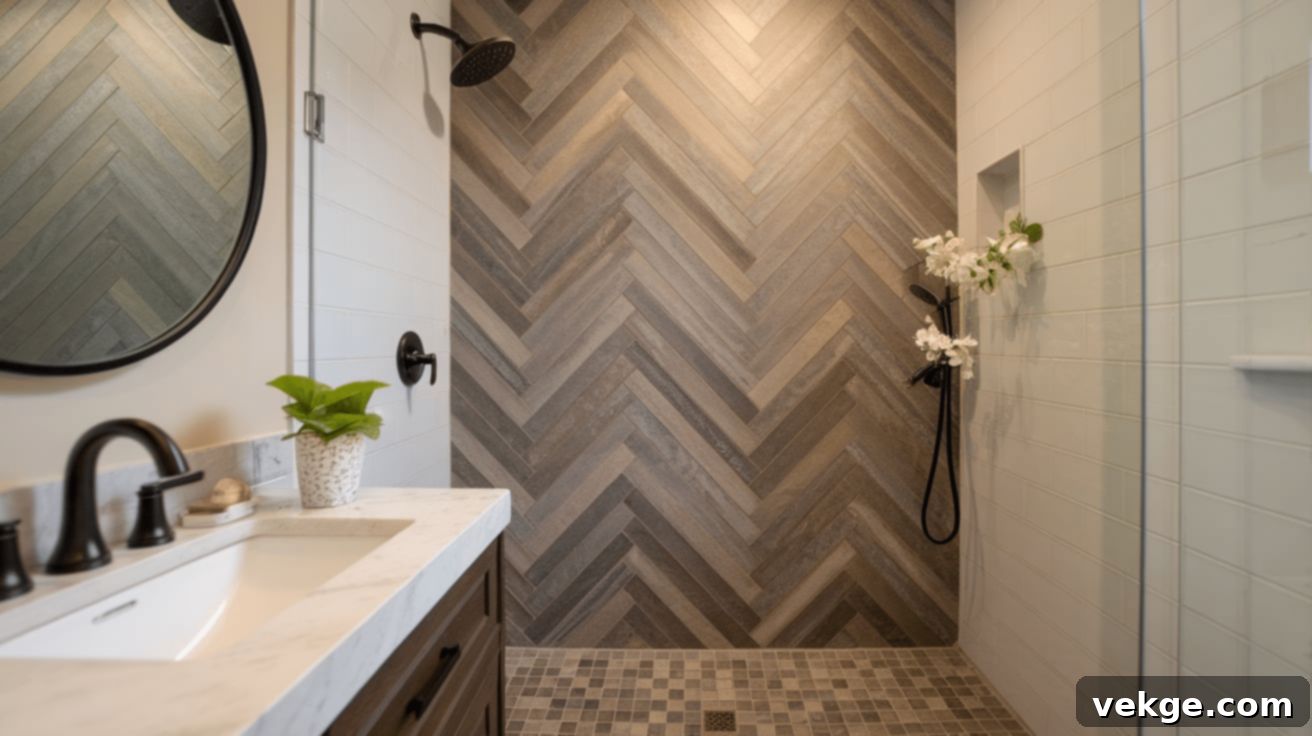
Wood-look tiles, typically made from ceramic or porcelain, masterfully replicate the authentic appearance and texture of natural wood planks, bringing a unique sense of warmth, coziness, and organic beauty to shower spaces. Just like real wood, these planks can be arranged in various captivating patterns, including classic herringbone, simple straight planks, or staggered layouts. Wood-look tiles offer the inviting, natural aesthetic of timber without any of the maintenance challenges or susceptibility to water damage associated with actual wood in wet environments, making them an exceptionally practical, durable, and visually appealing choice for creating a serene, natural bathroom retreat.
30. Geometric Tiles
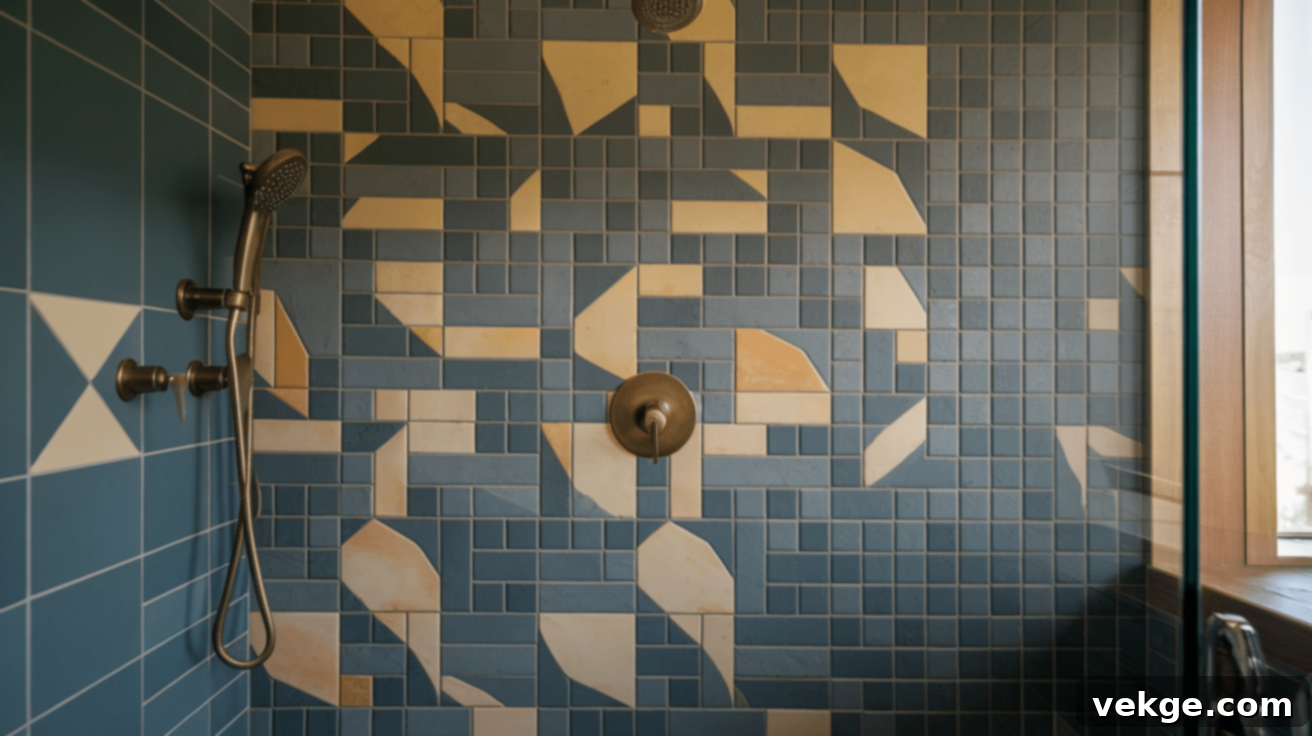
Geometric tiles are characterized by their diverse and intriguing shapes—such as octagons, stars, interlocking forms, or more complex tessellations—which, when assembled, create eye-catching and artistic patterns. These tiles infuse shower walls with a contemporary, architectural, and artistic quality without necessarily being overly flashy. Their unusual shapes inherently draw attention, allowing them to serve as a stunning main feature or a distinctive accent area. When employed with simple, monochromatic color schemes, the captivating shapes themselves become the undisputed stars of the design, offering a bold and modern statement.
31. Mixed Sizes
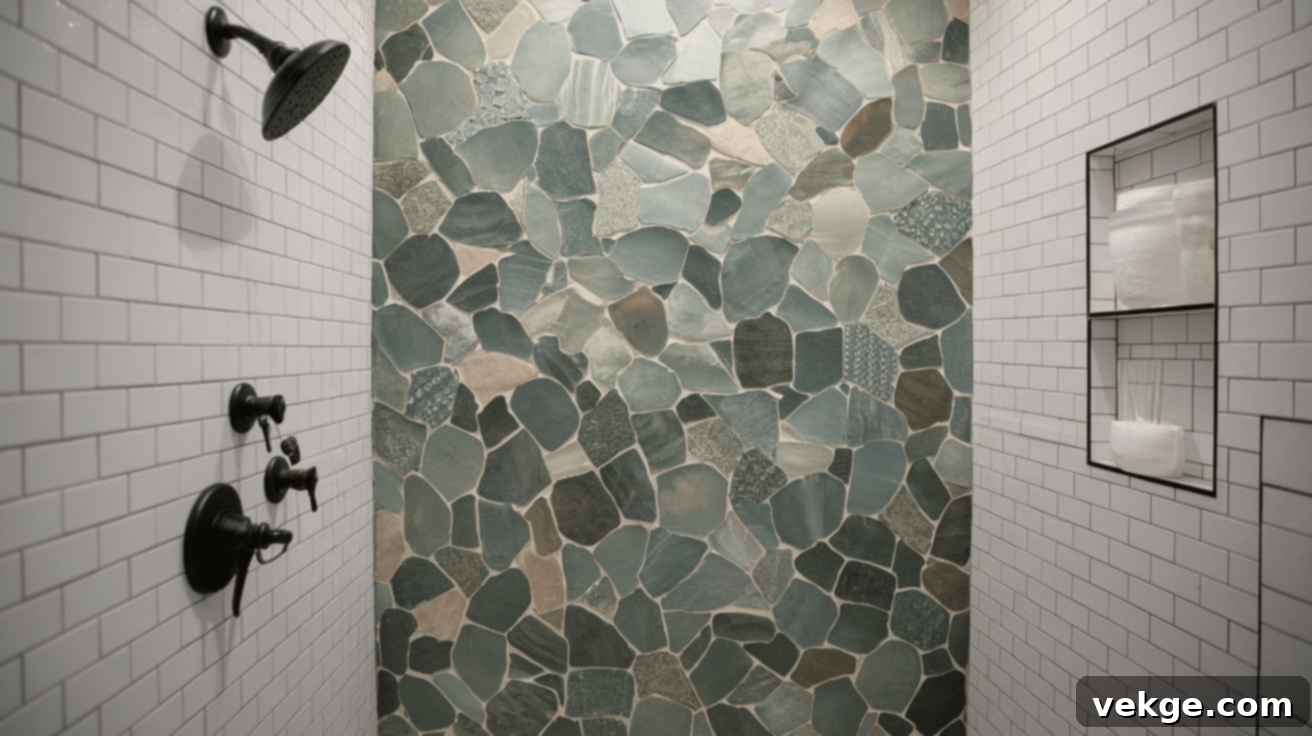
The mixed sizes approach involves thoughtfully combining tiles of different dimensions and proportions within the same installation, creating a varied, dynamic, and visually interesting surface. This technique is particularly effective for breaking up large, monolithic shower walls, adding architectural interest, or strategically drawing attention to specific areas or features. This method yields the most cohesive and aesthetically pleasing results when the tiles share similar colors, textures, or materials, ensuring a sense of unity and harmony despite the diverse sizes, resulting in a sophisticated and custom-designed look.
Choosing the Right Material for Your Shower Tile Pattern
Beyond the visual appeal of the pattern, the material of your shower tiles plays a critical role in their long-term performance, durability, and maintenance requirements. The unique properties of different materials directly impact how well they withstand constant water exposure, how easily they can be cleaned, and their overall lifespan. Selecting the optimal material is crucial to ensure your chosen tile pattern not only looks stunning but also functions flawlessly and remains beautiful for many years.
Ceramic vs. Porcelain for Shower Walls
Ceramic tiles are a popular, cost-effective choice, known for being easier to cut and install, which can be advantageous for complex patterns. However, they are generally more porous than porcelain, meaning they absorb more water, which is a significant consideration in continuously wet environments like showers. While suitable for walls with proper waterproofing, their porosity requires careful sealing if unglazed.
Porcelain tiles, by contrast, are fired at much higher temperatures, resulting in a denser, harder, and significantly more water-resistant material. Their low water absorption rate makes them an excellent and highly recommended choice for showers, as they handle moisture and humidity exceptionally well and offer superior longevity. Although porcelain tiles typically have a higher initial cost, their enhanced durability, resistance to staining, and minimal maintenance often make them the better long-term value for shower installations, ensuring enduring beauty and performance.
Natural Stone vs. Glass Tiles in Showers
Natural stone tiles (such as marble, granite, travertine, or slate) bring unparalleled beauty, unique veining, and a rich, organic aesthetic to shower walls. Each tile is inherently distinct, creating a truly bespoke and natural effect. However, natural stone is porous and requires diligent, regular sealing to prevent water penetration, staining, and mold growth. Without proper sealing, stone can be susceptible to etching from acidic cleaners. Despite the maintenance, its timeless elegance is unmatched.
Glass tiles are celebrated for their ability to reflect light, adding a captivating brilliance and spaciousness to showers. They are completely non-porous and therefore entirely waterproof, making them an ideal material for wet areas. Available in an extensive palette of colors and finishes, glass tiles are perfect for creating stunning accent areas, decorative borders, or entire shimmering walls. While they offer superb water resistance, glass can be more prone to showing water spots and requires careful cleaning to maintain its pristine shine. On floors, glass tiles can also be very slippery, so they are generally recommended for wall applications only.
How to Mix and Match Materials for Impact
Thoughtfully combining different materials can introduce incredible depth, texture, and visual interest into your shower design. A common and effective strategy is to use a durable, water-resistant material like porcelain for the majority of your shower walls, then introduce accents of glass, natural stone, or even metallic tiles in specific areas such as niches, shampoo shelves, or as decorative border strips. To ensure a cohesive and harmonious look, it’s crucial to coordinate colors and tones across the different materials.
When mixing, always prioritize materials that perform best in wet environments for the main coverage. Also, consider the thickness of the materials; using tiles of similar thickness will simplify installation and result in a smoother, more professional finish. Begin by selecting one primary material that sets the foundation, then carefully integrate accent materials to create balance, contrast, and visual appeal, ensuring each material enhances the overall design rather than competing with it.
Expert Tips for Flawless Shower Tile Installation
Before enthusiastically diving into the process of laying your chosen tile pattern, it’s paramount to understand that proper planning and meticulous preparation are the cornerstones of a successful and enduring shower tile project. Investing the necessary time and effort to prepare your space and gather the correct materials will proactively prevent future headaches, costly repairs, and ensure your beautifully chosen tile pattern not only looks impeccable on day one but also maintains its stunning appearance and integrity for many years to come.
Preparation and Planning are Key
Begin with a meticulously clean, level, and, most importantly, fully waterproofed substrate. If your walls are not already cement-backer board, ensure it’s installed correctly, as standard drywall is not suitable for wet areas. Precise measurements are critical; calculate your tile needs carefully and always purchase at least 10% extra tiles to account for cuts, potential mistakes, and future repairs. Before mixing any adhesive, meticulously plan your layout on paper, marking center points to minimize awkward small cuts at the edges. A crucial step is to dry-lay your tiles on the floor first; this allows you to visualize the pattern, adjust spacing, and ensure a balanced, aesthetically pleasing arrangement before committing them permanently to the walls.
Choosing the Right Adhesive for Wet Areas
For shower installations, it is absolutely essential to use only waterproof thin-set mortar specifically formulated for wet environments. Standard mastic adhesives are not designed to withstand constant moisture exposure and will inevitably fail, leading to tile loosening and potential water damage. Always mix small batches of thin-set that can be realistically used within 30 minutes to prevent premature drying and ensure optimal adhesion. Select the correct notched trowel size for your specific tiles; larger tiles with greater surface area require deeper notches to achieve proper thin-set coverage and firm bonding. Adhering to manufacturer guidelines for mixing and application is crucial for success.
Proper Sealing for Longevity
Once the grout has fully cured (typically 2-3 days, depending on the product and humidity), applying a high-quality sealer is a vital step to protect your entire shower installation. Natural stone tiles, cement tiles, and all grout lines (regardless of tile type) are porous and absolutely require sealing to prevent water penetration, staining, and the growth of mold or mildew. Use a penetrating sealer for natural stone tiles, which absorbs into the material, and a surface sealer for grout lines, creating a protective barrier. Apply sealer carefully with a small brush or applicator specifically designed for grout lines. Plan to reseal your shower every 1-2 years, or as recommended by the sealer manufacturer, to maintain its optimal water resistance and aesthetic appeal.
Maintenance and Care for Lasting Beauty
Consistent and proper care is fundamental not only for preserving the aesthetic beauty of your shower tiles but also for significantly extending their lifespan. Regular maintenance plays a crucial role in preventing common issues such as mold growth, grout deterioration, and stubborn staining, which can quickly diminish the appeal of even the most stunning tile pattern, making it appear worn and dated. By adopting a few simple habits and a proactive approach, you can effortlessly maintain the fresh, sparkling look of your shower for many years to come, ensuring it remains a clean and inviting space.
- Weekly Cleaning: Clean tiles weekly using a gentle, pH-neutral cleaner specifically formulated for your particular tile material. Harsh chemicals can damage grout and tile surfaces.
- Daily Shower Spray: After each use, apply a daily shower spray to help prevent the accumulation of soap scum, mineral deposits, and mildew, drastically reducing the need for deep cleaning.
- Grout Line Maintenance: Clean grout lines monthly with a soft-bristled brush and an appropriate grout cleaner. For tougher stains, consider a steam cleaner. Avoid abrasive brushes that can damage grout.
- Avoid Harsh Cleaners: Steer clear of acidic cleaners (like vinegar or lemon-based products) on natural stone tiles, as these can cause irreversible etching and dull the stone’s finish. Always check cleaner compatibility.
- Regular Resealing: Reapply grout sealer annually (or bi-annually for high-traffic showers) to maintain its water resistance and protect against stains and mildew.
- Microfiber Cloths: Use soft microfiber cloths for drying and cleaning delicate tile surfaces to prevent scratching, especially on glossy or polished tiles.
- Ensure Ventilation: Always use proper ventilation (an exhaust fan) during and after showers to reduce humidity, which is a primary driver of mold and mildew growth. Allow the fan to run for at least 15-20 minutes after showering.
- Drain Maintenance: Regularly remove hair and debris from shower drains to prevent blockages and potential water backup, which can lead to standing water and increased mold risk.
- Professional Deep Cleaning: For showers that experience heavy daily use or if you notice stubborn buildup, consider a professional deep cleaning once a year to restore their original luster and hygiene.
Conclusion: Crafting Your Perfect Shower Sanctuary
The journey of selecting the right shower tile pattern is a transformative one, impacting both the visual appeal and the functional efficiency of your bathroom. The pattern you ultimately choose has the power to make your space feel more expansive, highlight specific architectural elements, and, most importantly, beautifully reflect your personal taste and lifestyle. By thoroughly understanding the myriad of options available and how each pattern interacts with various materials, you are empowered to design a shower that will not only remain stunning for years but also perfectly cater to your practical needs.
Never hesitate to let your personal preferences guide your decisions when exploring shower tile patterns. This is your intimate personal space, a sanctuary you will use and enjoy every single day. The most successful design is one that consistently brings you joy, comfort, and a sense of tranquility each time you step into your shower. Trust your judgment, embrace your unique style, and select the pattern that resonates most deeply with you.
For more inspiring content on home improvement and design ideas, be sure to explore other valuable blogs and resources available on our website. Your dream bathroom is just a tile pattern away!
Frequently Asked Questions About Shower Tile Patterns
Is it better to stack or stagger shower tiles?
Both stacked and staggered tile patterns offer distinct aesthetic advantages, and the “better” choice truly depends on your desired style. Stacked tiles create a sleek, modern, and minimalist look with their perfectly aligned grout lines, which can emphasize the linearity of a space. Conversely, staggered tiles (like the classic subway or brick pattern) offer a more traditional, textured, and dynamic appearance. From a structural perspective, staggering tiles can also be beneficial as it helps to distribute stress and can sometimes minimize the appearance of minor imperfections or lippage between tiles, providing a slightly more forgiving and structurally stable layout.
What is the 1/3 rule for tile?
The 1/3 rule for tile is a common recommendation, particularly for longer rectangular tiles, when creating an offset or staggered pattern. Instead of offsetting each row by exactly half the tile’s length (a 50% offset, typical for subway), the 1/3 rule suggests offsetting each subsequent row by only one-third of the tile’s length. This subtle shift helps to prevent an optical illusion known as “lippage” (where one tile edge is slightly higher than its neighbor) and reduces the likelihood of bowing in the center of longer tiles. It creates a more random and natural-looking staggered pattern while maintaining greater structural integrity and a smoother surface.
What is the correct order to tile a shower?
The correct and most efficient order for tiling a shower generally proceeds as follows to ensure proper water shedding and a clean finish:
- Walls First: Always start with the shower walls. Begin tiling the back wall, then move to the side walls. For each wall, work your way up from the bottom, leaving a small gap at the very bottom for the floor tiles to tuck into later. This ensures that any cuts are at the top or bottom edges, where they are less noticeable or covered by trim.
- Corners and Niches: Tile inside any niches or decorative insets on the walls as you go, ensuring a seamless transition.
- Floor Last: Once all wall tiling (and grouting, if you’re working quickly) is complete and the walls are sufficiently cured, then proceed to tile the shower floor. This ensures that wall tiles overlap the floor tiles, directing water into the drain and preventing it from seeping underneath wall tiles.
Always ensure your substrate is properly waterproofed before any tiling begins, and allow adequate drying time between steps, especially for thin-set and grout.
