Ultimate Guide to Building a Modern Garden Shed: Tips for a Functional & Durable Outdoor Space
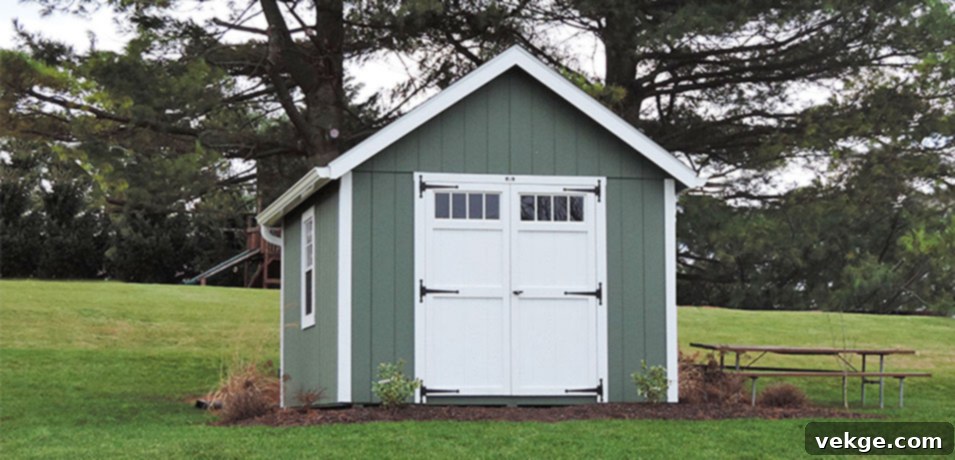
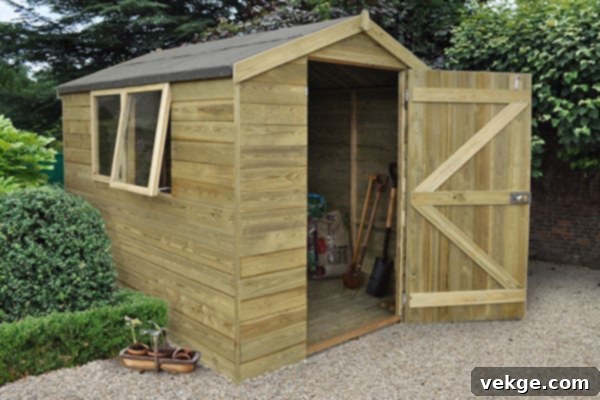
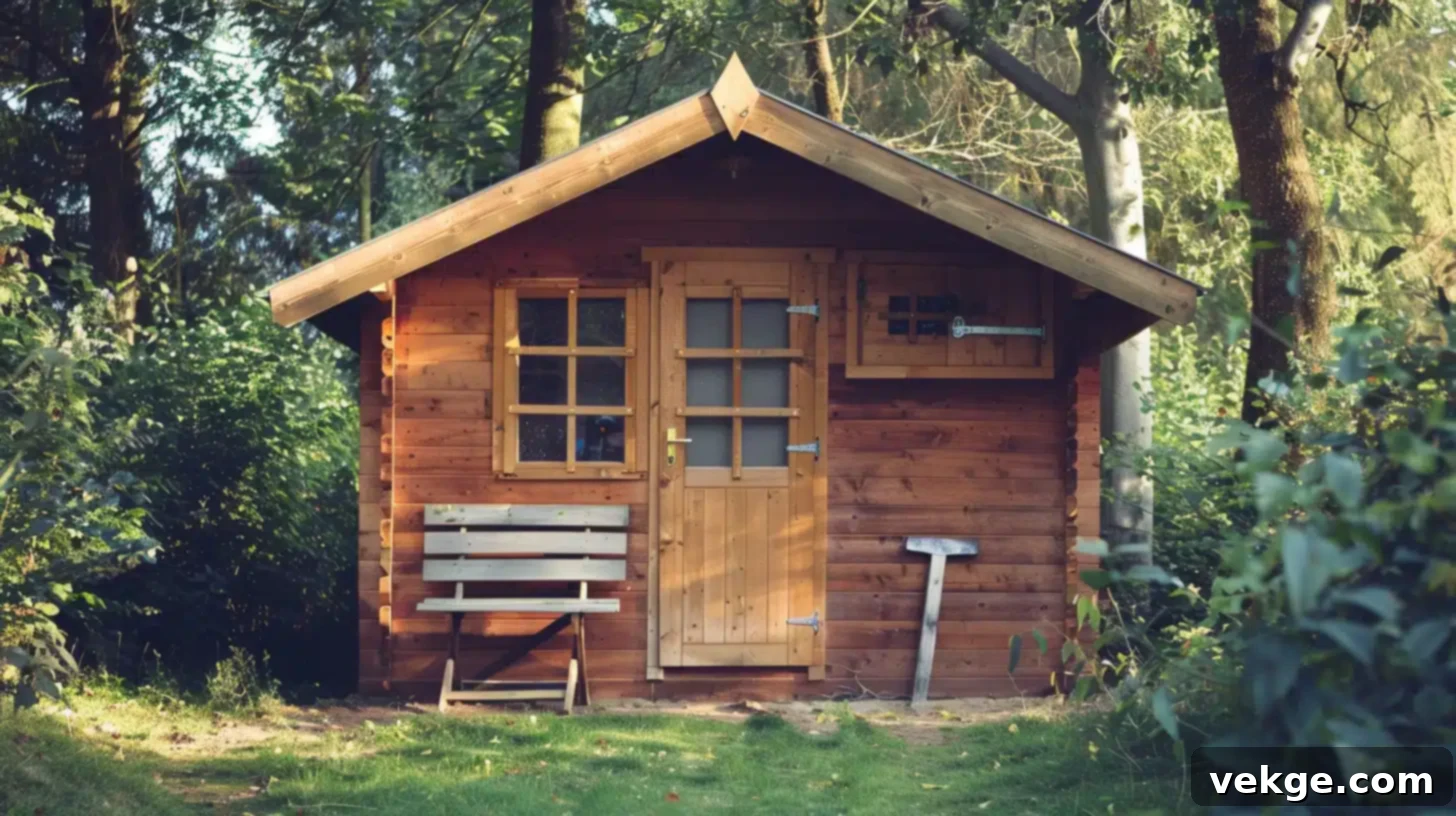
Gone are the days when garden sheds were relegated to being mere unsightly boxes at the far end of the yard, destined to house only rusty tools and forgotten Christmas decorations. Today, a modern garden shed is an extension of your home, a versatile space that can significantly enhance your outdoor living experience. Far from being just simple storage units, contemporary sheds can be anything from a tranquil retreat or a dedicated workspace to a robust storage solution that blends seamlessly with your garden’s aesthetic.
Elevate your outdoor game and unlock the full potential of your backyard by building a handy, high-quality shed. Whether you’re a seasoned DIY enthusiast or a first-time builder, constructing a shed that perfectly meets your needs requires careful planning and execution. By following these five essential tips, you can build a better, more functional, and more durable shed that will serve you for years to come.
1. Determine the Optimal Size for Your Garden Shed

While sheds offer immense versatility, their footprint is not infinite. The very first and most crucial step in your shed-building journey is to precisely define its size. This involves not only determining the overall dimensions but also considering internal partitions, the placement and size of windows, and the type and number of doors. Planning for space is the critical element that underpins all subsequent decisions. Don’t feel overwhelmed by this initial decision; a well-built shed can always be repurposed if its primary function evolves over time.
To accurately determine the appropriate size, begin by envisioning its primary purpose. Will it be a sanctuary for gardening tools, a dedicated art studio, a quiet home office, or a robust workshop? Having a clear purpose in mind will guide your sizing and layout choices, ensuring the finished shed truly meets your expectations. Consider not only what you plan to store or do now but also potential future needs. Here are some general guidelines to help you define the perfect dimensions for your new outdoor structure:
Small Storage Shed (Up to 4 Square Meters)
If your primary need is for compact storage, a shed of up to 4 square meters (approximately 2×2 meters or 6×6 feet) will likely suffice. This size is ideal for keeping essential gardening tools, a few bicycles, or seasonal decorations neatly organized and out of the elements. Its compact footprint makes it perfect for smaller gardens where space is at a premium.
- Examples: Push lawnmower, hand gardening tools, weed trimmers, small compost bin, two bicycles, holiday decorations, small workbench for light tasks.
- Ideal For: Homeowners with minimal storage needs or small backyard spaces.
Medium Storage or Hobby Shed (4-10 Square Meters)
For more extensive storage requirements, including larger equipment, or if you envision a small, functional workspace, a shed between 4 to 10 square meters (approximately 2×3 meters to 3×3 meters or 6×10 feet to 10×10 feet) offers greater versatility. This size allows for shelving units, pegboards, and enough floor space to comfortably move around.
- Examples: Ride-on lawn tractor, larger gardening equipment (rototillers, power washers), multiple bicycles, a dedicated potting bench, small woodworking area, storage for outdoor furniture cushions.
- Ideal For: Avid gardeners, hobbyists, or those needing a bit more space than basic storage.
Large Workshop or Extensive Storage Shed (10-20 Square Meters)
If your plans involve creating a substantial workshop, storing very large equipment, or accommodating multiple workbenches and extensive storage solutions, a shed between 10 to 20 square meters (approximately 3×4 meters to 4×5 meters or 10×13 feet to 13×16 feet) will be necessary. This size provides ample room for serious projects and comprehensive organization.
- Examples: Full woodworking or metalworking shop, large power tools, ATVs, kayaks, significant quantities of building materials, dedicated craft space with multiple stations.
- Ideal For: Serious DIYers, small business owners, or those with extensive outdoor gear and equipment.
Extra-Large Multi-Purpose Shed (20+ Square Meters)
For those looking to create a truly multi-functional space, such as a home office, an art studio, a gym, or even a small guest room, an extra-large shed of 20 square meters or more (approximately 4×5 meters or larger, or 13×16 feet and up) is recommended. This allows for a fully functional living or working environment, complete with furniture, amenities, and potentially even plumbing or electricity.
- Examples: Home office, art studio, music room, yoga studio, backyard pub, dedicated home gym, small guesthouse, large hobby workshop with multiple zones.
- Ideal For: Those seeking to significantly expand their living space or establish a separate professional workspace in their backyard.
Remember to check local building codes and HOA regulations, as size restrictions may apply, especially for larger structures. Planning for adequate head room and ensuring easy access with wide doors for larger items are also critical considerations.
2. Choose the Perfect Location for Your Garden Shed
The location of your garden shed is arguably the second most vital factor, directly impacting its functionality, accessibility, and longevity. The “perfect” spot will largely depend on the type of shed you’re building and its intended use. Careful consideration here can save you a lot of hassle and maximize the shed’s utility.
For instance, if you’re building a traditional garden shed for tools and supplies, it makes sense to place it where it’s most accessible for your gardening activities. Positioning it near your main garden beds or planting areas will save you countless steps. If it’s a workshop, consider its proximity to your home for electricity access or privacy. For a relaxation retreat, a secluded, shaded spot might be ideal.
Once you’ve identified the best general area, the next step is meticulous site preparation. Begin by clearing the chosen spot of any existing structures, dense undergrowth, rocks, or debris. The ground must be as level as possible to ensure structural stability for your shed. Uneven ground can lead to foundation issues, warped frames, and door/window alignment problems over time. Furthermore, ensure the location has excellent drainage. Avoid placing your shed at the lowest point in your yard where rainwater naturally collects, as this can lead to moisture damage, rot, and pest infestations. If drainage is a concern, consider adding a French drain or building up the area with gravel.
Other factors to consider include:
- Sun Exposure: For a workshop or potting shed, ample natural light is beneficial. For general storage, a shadier spot might help keep temperatures down in summer.
- Access: Ensure there’s enough clearance around the shed for maintenance, painting, and easy access with wheelbarrows or larger equipment.
- Utilities: If you plan to add electricity or water, choose a location that minimizes the cost and complexity of running utilities.
- Aesthetics: Consider how the shed will look from your home or other areas of your garden. Does it complement the existing landscape?
- Permit Requirements: Some municipalities have setback requirements from property lines or other structures.
A well-chosen and properly prepared location will significantly enhance the shed’s functionality, ensure its longevity, and contribute positively to your entire garden landscape.
3. Strategic Material Choice for Durability and Security

The materials you select for your shed are paramount to its durability, security, maintenance requirements, and overall aesthetic appeal. While traditional wooden sheds offer a classic look and are customizable, combining various materials can significantly enhance the shed’s performance and longevity. Modern shed construction often involves a strategic mix of materials to leverage their individual strengths.
Primary Shed Structure Materials:
- Wood: Offers a classic, customizable aesthetic. Requires regular maintenance (painting, staining) to prevent rot and pest damage. Great for a natural look.
- Metal (Steel or Aluminum): Highly durable, fire-resistant, and low maintenance. Can be prone to condensation without proper insulation. Offers excellent security.
- Plastic/Resin: Lightweight, easy to assemble, and maintenance-free. Best suited for smaller sheds and basic storage, as they may not be as robust as wood or metal.
Enhanced Security and Longevity with Steel Doors:
When it comes to the entry point, the choice of door material is critical for both security and long-term performance. Consider using a steel door for improved shed protection. Steel is renowned as one of the toughest and most resilient materials available on the market. Unlike wood, it does not warp, crack, or swell due to moisture or extreme temperature fluctuations, ensuring consistent performance over time. Steel doors require minimal maintenance, typically just an occasional wipe down, and can withstand harsh weather conditions, deterring pests and potential intruders. Furthermore, steel doors are often designed for quick and easy installation, providing a robust and secure barrier for your valuable stored items.
Durable and Functional Windows:
For windows, aluminum sliding shed windows are an excellent choice, offering a perfect blend of durability, low maintenance, and functionality. Aluminum frames are resistant to rust, corrosion, and rot, making them ideal for outdoor environments. Their sliding mechanism allows for excellent ventilation, which is crucial for preventing humidity buildup inside the shed and protecting its contents. They also provide natural light, reducing the need for artificial lighting during the day.
Additional Material Considerations:
- Flooring: Pressure-treated plywood is a common and durable choice for shed floors, especially when supported by a robust foundation. For heavy-duty use or workshops, a concrete slab might be preferable.
- Insulation: Depending on the shed’s purpose (e.g., workshop, office), consider insulating the walls, roof, and floor with rigid foam boards or fiberglass batting to regulate temperature and protect sensitive items.
- Fasteners: Use exterior-grade, corrosion-resistant screws and nails to ensure the structural integrity of your shed in various weather conditions.
By thoughtfully incorporating these materials, you can significantly maximize the value, functionality, and lifespan of your shed, transforming it into a more versatile and secure space.
4. Build a Robust, Raised Foundation for Longevity
When envisioning a garden storage shed, the last thing you want is a nightmarish image of rodents, insects, or moisture damage. Unfortunately, if your shed isn’t constructed on a solid, properly raised foundation, that nightmare could become a reality. Building a foundation that elevates your shed at least two inches off the ground is absolutely crucial. This elevation serves as the primary defense against a host of environmental threats, protecting your investment from rot, pest infestations, and erosion caused by heavy rains or ground moisture.
A raised foundation ensures proper air circulation beneath the shed, preventing moisture from wicking up into the wooden structure and significantly reducing the risk of mildew and rot. It also creates a barrier that makes it much harder for rodents and other unwanted creatures to enter. Beyond protection, a robust foundation maintains the structural integrity of the shed over time, preventing settling, warping, and ensuring doors and windows continue to operate smoothly.
Common Types of Raised Foundations:
- Concrete Slab Foundation: This is arguably the most durable and stable option, ideal for larger, heavier sheds or those intended as workshops. A concrete slab provides a solid, level, and impermeable base. It requires significant preparation, including excavation, leveling, and pouring concrete, often best left to professionals or experienced DIYers. It offers excellent protection against moisture and pests but is the most permanent and expensive option.
- Gravel Base with Skids: A popular and more economical option for small to medium-sized sheds. This involves creating a level bed of gravel over a weed barrier, topped with pressure-treated wooden skids (beams) that the shed floor rests on. The gravel provides excellent drainage, and the skids elevate the shed, allowing for air circulation. This foundation is relatively easy to install and offers good protection.
- Concrete Pier or Post and Beam Foundation: For sheds built on uneven terrain or those requiring maximum elevation, concrete piers (sonotubes) or posts are an excellent choice. These involve digging holes below the frost line, filling them with concrete to create stable support points, and then building a wooden beam structure on top to support the shed. This method ensures good air circulation and adapts well to sloped sites, though it requires precise leveling.
Regardless of the type you choose, proper site preparation, including leveling the ground and ensuring adequate drainage, is paramount. A well-executed foundation is the bedrock of your shed’s longevity and performance, making it an investment that truly pays off in the long run.
5. Optimize with Durable Metal Roofing Panels
The roof is your shed’s first line of defense against the elements, and choosing the right material is critical for long-term protection. Metal roofing panels have emerged as an excellent choice, offering superior durability, longevity, and low maintenance compared to traditional roofing materials like asphalt shingles. They provide robust protection against rain, snow, hail, and UV radiation, making them a smart investment for any garden shed.
When it comes to installation, a key tip to save both time and money is to order pre-cut metal roofing sheets. Instead of laboriously cutting large panels with a circular saw and carbide blade – a task that can be dangerous, messy, and prone to error – you can procure panels precisely tailored to your shed’s dimensions. Pre-cut metal roofing panels can be ordered in the exact length you need, often available in a wide array of colors and profiles (like corrugated, standing seam, or R-panel) to match your shed’s aesthetic or blend with your home.
It’s important to note that specialized roofing panels can take a few weeks to arrive, depending on your supplier and location. Therefore, be sure to order them well in advance as part of your initial project planning. During installation, pay close attention to the overhangs, ensuring the panels extend sufficiently over the fascia boards to direct water away from the shed walls and foundation. Proper fastening with appropriate screws and seals is also crucial to prevent leaks and ensure wind resistance.
Benefits of Metal Roofing Panels:
- Exceptional Durability: Metal roofs can last 40-70 years, significantly outlasting asphalt shingles.
- Weather Resistance: Highly resistant to severe weather, including high winds, heavy snow, hail, and fire.
- Low Maintenance: Requires very little upkeep once installed, typically just occasional cleaning.
- Energy Efficiency: Many metal roofs are energy-efficient, reflecting solar radiant heat and helping to keep your shed cooler in summer.
- Eco-Friendly: Often made from recycled content and are 100% recyclable at the end of their lifespan.
- Variety: Available in numerous styles, colors, and finishes to complement any architectural design.
For detailed instructions on installing roofing panels, including flashing and trim details, you can read more here. Investing in a quality metal roof will provide lasting peace of mind and superior protection for your garden shed.
Final Notes and Important Considerations for Your Shed Project
Embarking on any outdoor DIY project, especially one as substantial as building a shed, requires careful preparation and adherence to best practices. One of the most crucial pieces of advice, often learned the hard way, is to always check the weather forecast before starting. Building during extreme heat can be exhausting and dangerous, while working in heavy rain can compromise materials and complicate construction. Aim for clear, mild weather to ensure a smoother and safer building process.
Beyond the five core tips, here are a few additional points to consider:
- Permits and Regulations: Before breaking ground, always check with your local municipality and homeowner’s association (HOA) for any required building permits, setback rules, or design restrictions. Ignoring these can lead to costly fines or the forced removal of your shed.
- Tooling Up: Ensure you have the right tools for the job, including safety gear. A well-stocked toolbox will make the process more efficient and safer.
- Safety First: Always prioritize safety. Wear appropriate personal protective equipment (PPE) like gloves, safety glasses, and hearing protection. Be mindful of power tools and elevated work.
- Ventilation: Even if not used as a living space, proper ventilation is essential for any shed. Vents prevent humidity buildup, which can lead to mold, mildew, and damage to stored items.
- Finishing Touches: Don’t forget the aesthetics. Paint, trim, and landscaping around the shed can greatly enhance its integration into your garden. Consider adding shelving, hooks, and organizers inside to maximize utility.
For additional practical tips and step-by-step guidance on building a storage shed, you can explore resources like this comprehensive guide.
By diligently following these five essential tips – determining the right size, choosing an optimal location, selecting durable materials, building a robust foundation, and opting for efficient roofing – you can construct a superior shed that not only meets but exceeds your needs. Your new garden shed will not just be a storage unit; it will be a valuable and beautiful addition that enhances your garden’s functionality, aesthetics, and overall appeal. Happy building, and enjoy your new, perfectly designed outdoor space!
