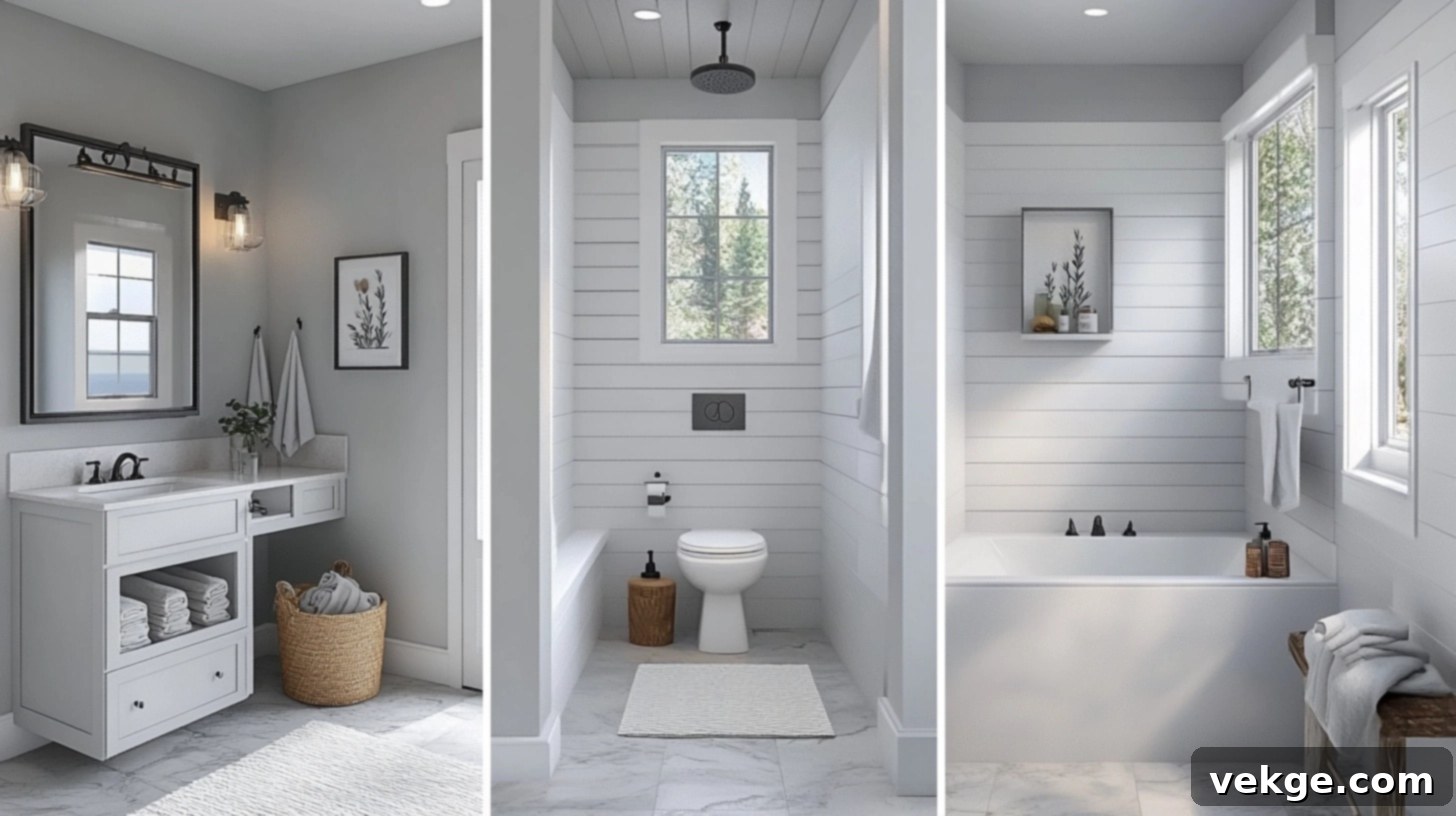
Transform Your Bathroom with Shiplap: The Ultimate Guide to Design, Installation, and Maintenance
Imagine stepping into a bathroom that once felt bland and uninspired, now radiating warmth, character, and a touch of timeless charm. This isn’t just a daydream; it’s the power of shiplap. Last spring, I witnessed Sarah’s small bathroom undergo such a transformation. Her dated space, previously lacking personality, became a breathtaking sanctuary, all thanks to the carefully chosen and expertly installed shiplap that now adorns its walls.
The secret lies in shiplap’s unique ability to elevate ordinary walls into a captivating feature. Each board, with its distinct profile and subtle shadow lines, contributes to a narrative of sophisticated design. From the rustic appeal of historic farmhouses to the sleek, minimalist aesthetics of modern urban lofts, this incredibly versatile wall treatment instantly imbues any room with a unique sense of identity and personality.
However, it is in bathrooms where shiplap truly distinguishes itself. This often-overlooked space, a functional necessity, can be transformed into anything from a cozy, intimate cocoon for unwinding to a bright, spa-like retreat for rejuvenation. Shiplap provides an architectural foundation that supports diverse design visions, making it an ideal choice for anyone looking to make a significant impact on their bathroom’s ambiance and style.
Why Shiplap Changes Everything in Bathroom Design

Having installed shiplap in countless bathrooms over the years, I’ve consistently been amazed by the new possibilities each project unveils. The subtle shadow line between individual boards is more than just a decorative feature; it creates a depth and dimension that no ordinary paint color can ever hope to replicate. This linear pattern naturally guides the eye, often making smaller bathrooms feel significantly more expansive and open.
Beyond its visual trickery, shiplap offers a crucial element often missing in modern bathrooms: warmth. Unlike cold, hard tile, shiplap introduces a comforting, inviting texture that transforms otherwise sterile spaces into welcoming, retreat-like environments. It’s a material that brings organic appeal and a tactile quality that enriches the overall atmosphere.
Consider shiplap as a versatile canvas for your bathroom’s aesthetic. Whether you opt for a crisp, bright white finish to achieve that classic coastal or farmhouse look, or prefer to leave it in its natural wood state for a rustic, organic warmth, shiplap adapts seamlessly. It integrates with virtually any style while simultaneously adding significant architectural interest. This adaptability is particularly vital in bathrooms, spaces that must fluidly transition from providing an invigorating start to the day to offering a calming haven for relaxation in the evening. Shiplap handles this duality with grace, making it an indispensable element for modern bathroom renovations.
Pros and Cons of Shiplap in Bathrooms: Weighing Your Options
Before committing to a shiplap transformation, it’s wise to consider both its advantages and disadvantages. This balanced perspective recently helped one of my clients confidently make the perfect choice for their master bathroom remodel. Each aspect below plays a different role and should be evaluated based on your specific space, lifestyle, and aesthetic preferences.
| Aspect | PROS | CONS |
|---|---|---|
| Visual Impact | • Creates instant architectural interest with distinct lines and shadow gaps • Adds significant depth and texture, elevating plain walls • The linear pattern can make small spaces feel noticeably larger and more open |
• Can feel visually overwhelming or busy in exceptionally small bathrooms or if too many walls are covered • The pronounced pattern might clash with existing strong design elements or preferences • Effectiveness can be limited by irregular or severely damaged wall conditions, requiring more extensive prep |
| Installation | • Generally DIY-friendly for those with basic carpentry skills, reducing labor costs • Excellent for covering minor wall imperfections, such as uneven drywall or old plaster • Provides a quick and dramatic visual transformation compared to other wall treatments |
• Requires precise measurements and careful cutting for a professional finish • May necessitate specialized tools like a miter saw or nail gun, incurring initial costs • Time-intensive prep work, including stud finding and layout planning, is crucial for success |
| Durability | • Long-lasting and resilient when properly sealed and maintained • Easy to touch up minor scuffs or damage with paint or sealant • Can be repainted multiple times to refresh the look without full replacement |
• Susceptible to moisture damage (warping, swelling, rot) if not adequately sealed and protected • Boards may warp or cup over time if exposed to high humidity without proper acclimation and sealing • Requires regular maintenance, especially in high-moisture environments, to preserve its integrity |
| Versatility | • Harmonizes effortlessly with a wide range of interior design styles, from farmhouse to contemporary • Can be painted any color or stained to highlight natural wood grains • Offers multiple installation patterns (horizontal, vertical, diagonal) for varied effects |
• Becomes a permanent fixture once installed, making removal or significant changes challenging • While timeless, certain applications or finishes might date over a long period • Installation patterns and board sizes can be limited by the bathroom’s existing layout and dimensions |
| Cost | • Often more budget-friendly than extensive tiling projects, especially for DIYers • DIY installation significantly reduces labor costs, making it an accessible upgrade • A well-executed shiplap installation can genuinely increase home value and appeal |
• Quality, moisture-resistant shiplap materials can be more expensive than basic drywall finishes • Professional installation adds substantial labor costs, negating some of the savings compared to DIY • Requires ongoing maintenance costs for sealants, paint, and potential repairs over time |
| Maintenance | • Relatively simple cleaning routines, typically involving wiping with a damp cloth • Easy spot repairs for small blemishes or nail holes • Can be easily refreshed and revitalized with a new coat of paint, extending its lifespan |
• Regular re-sealing is essential, particularly in high-splash zones or areas of high humidity • Constant vigilance is needed to monitor for any signs of moisture intrusion or damage • The distinct gaps between boards can collect dust, lint, and debris, requiring more thorough cleaning |
Step-by-Step Guide to Installing Bathroom Shiplap Like a Pro
Installing shiplap in your bathroom can be a rewarding DIY project, but precision and attention to detail are key to achieving a professional, long-lasting finish. Follow this comprehensive guide to ensure a successful transformation.
1. Wall Preparation: The Foundation of Success
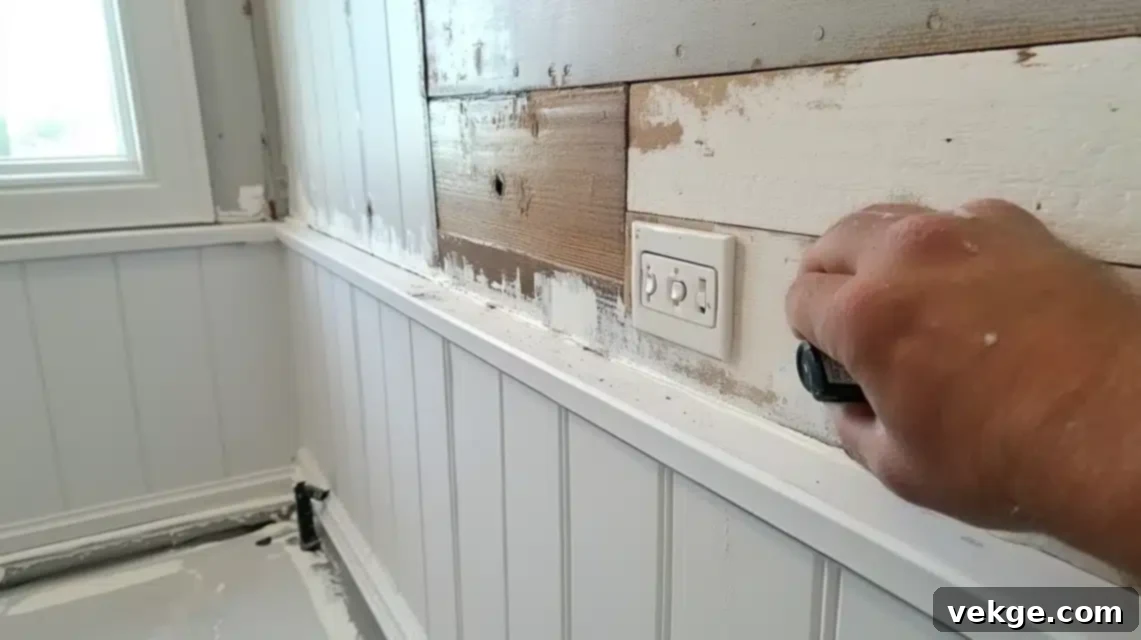
Every successful shiplap installation begins with thoroughly prepared surfaces. Skipping this crucial step can lead to future issues such as warping, uneven finishes, or compromised structural integrity. Start by:
- Removing all existing outlet covers, switch plates, and any wall-mounted fixtures to ensure a clean, unobstructed working surface. Label them for easy reinstallation.
- Conducting thorough moisture testing across all walls using a reliable moisture meter, paying special attention to areas around plumbing, showers, and bathtubs. Any readings above 12% moisture content indicate a potential issue that must be addressed before proceeding.
- Using a high-quality stud finder, accurately map and mark every stud location on the walls. These clear reference points are vital for securely attaching your shiplap boards and preventing future sagging or detachment.
- Repairing any significant drywall damage, filling holes, and sanding uneven patches to create a smooth, stable substrate. While shiplap can cover minor imperfections, a solid foundation is essential for long-term durability.
2. Layout Planning: Measure Twice, Cut Once
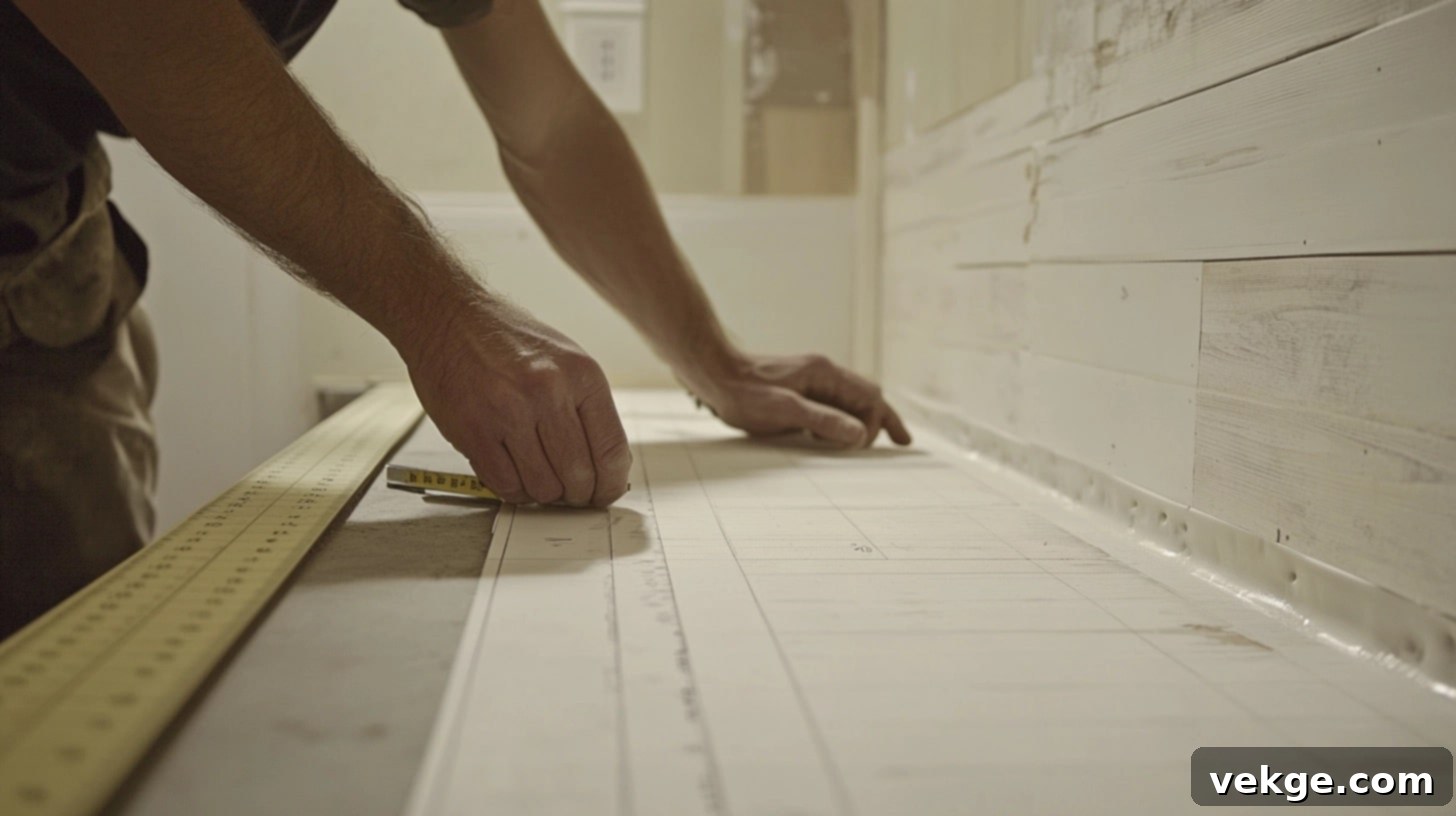
Careful planning is the best defense against costly mistakes and ensures professional, aesthetically pleasing results. This step is where you visualize the finished product.
- Calculate your total wall coverage requirements, taking into account the square footage. Always add at least 15% extra for waste, mistakes, and future repairs.
- Create a detailed layout plan, considering where your boards will start and end. Aim to avoid narrow, awkward strips at the top or bottom, or around windows and doors, by adjusting your starting point.
- Establish your level reference lines using a laser level or a long level and pencil. Mark these lines every 24 inches (or at a consistent interval matching your board width) across all walls. These lines will be your guide for keeping subsequent rows perfectly straight.
- Plan your pattern matches, especially at corners and transitions, to ensure a cohesive and uniform look throughout the bathroom. Decide whether you prefer staggered seams or a more uniform look, considering the architectural style you aim for.
3. First Row Installation: The Critical Start
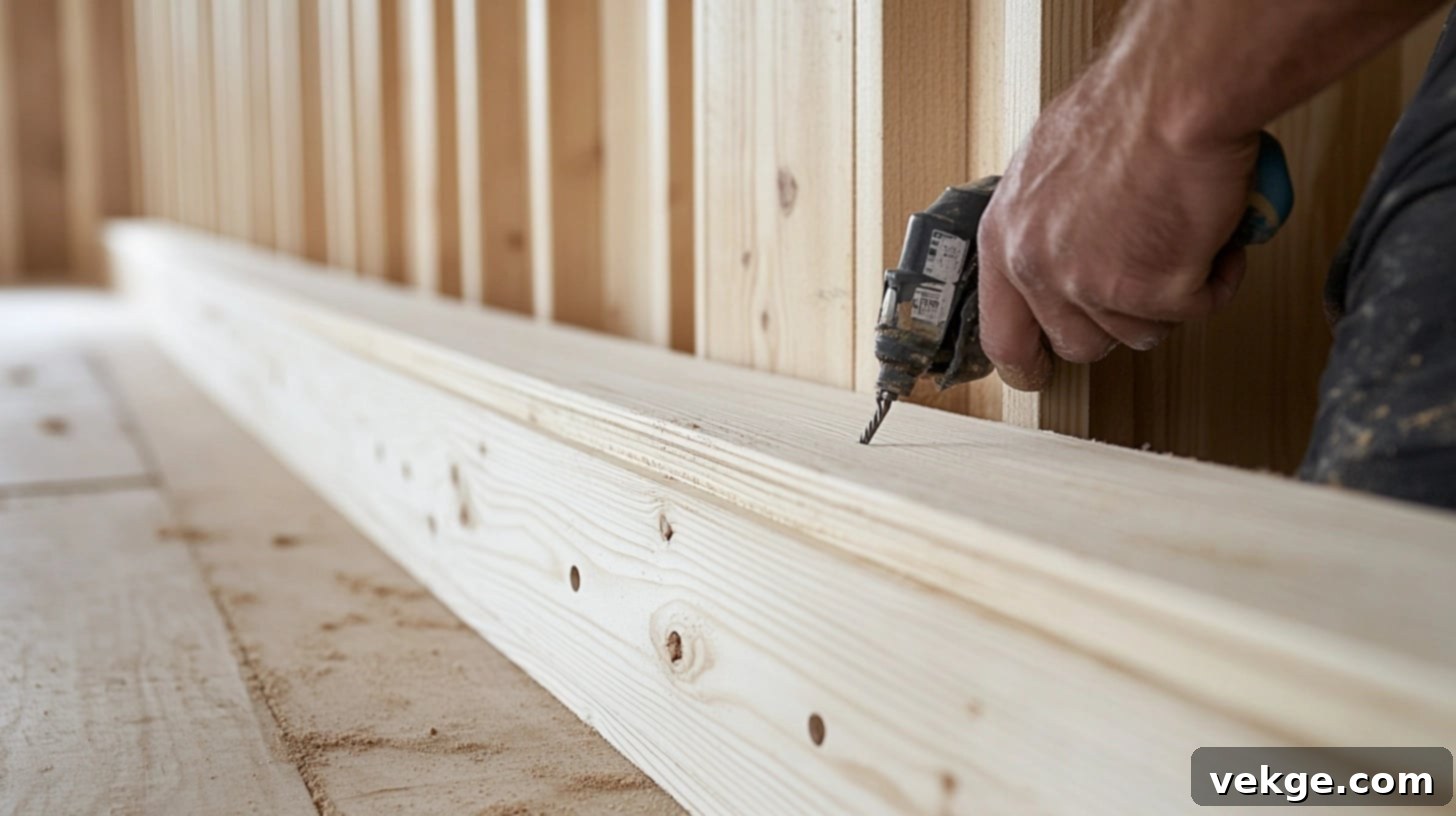
Your first row is the foundation upon which your entire shiplap installation rests. Absolute precision here will dictate the quality of your entire project.
- Establish a perfectly level baseline across your starting wall. Use a laser level or a long, accurate level to draw this line. Account for any floor irregularities by using shims if necessary to ensure your first board is truly level.
- Cut your starter boards to the appropriate length. Remember to allow proper expansion gaps (typically 1/8 to 1/4 inch) at the floors, ceilings, and corners to accommodate natural wood movement due to temperature and humidity changes.
- Apply a continuous bead of high-quality construction adhesive (e.g., liquid nails or equivalent) to the back of each board, following the manufacturer’s specifications. This provides an essential secondary bond and prevents squeaking or loosening over time.
- Secure the boards using a nail gun (18-gauge brad nailer or 16-gauge finish nailer is suitable). Place nails at every marked stud location for maximum stability and concealment. Nail into the tongue or groove of the shiplap where possible for a cleaner finish, or directly through the face in less visible areas.
4. Continuing the Installation: Building Up the Walls
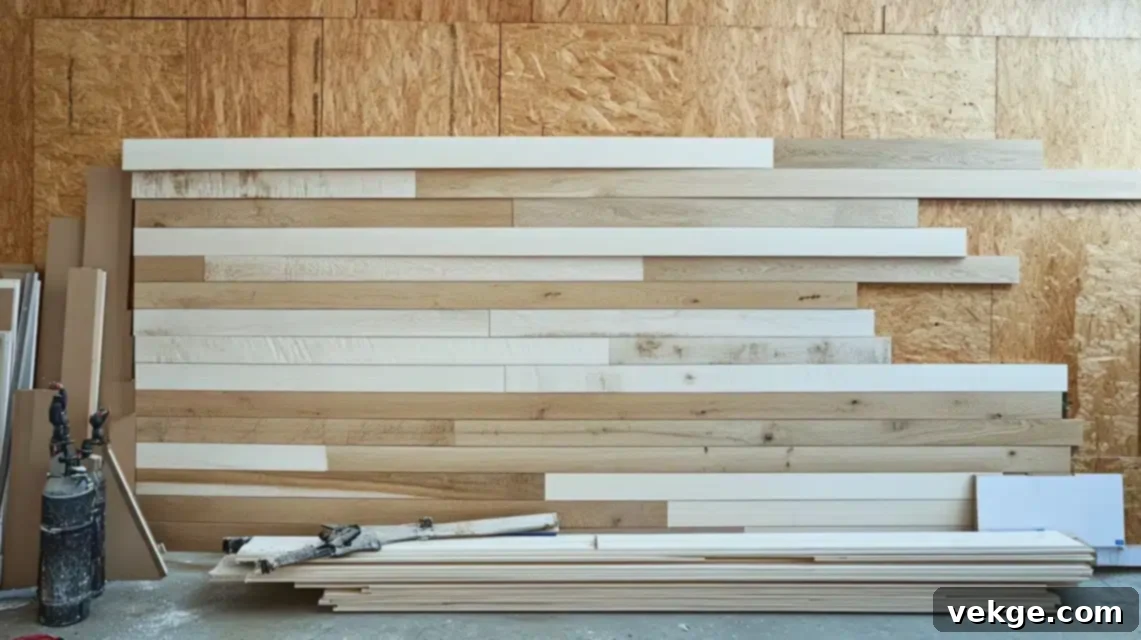
Once your first row is securely in place, the rest of the installation follows a systematic approach. Consistency is vital here.
- Install subsequent rows, carefully interlocking the tongue and groove (or overlapping if using traditional shiplap) mechanism of the boards. Tap gently with a rubber mallet and a scrap piece of wood to ensure a snug fit without damaging the board edges.
- Maintain consistent spacing between boards according to the manufacturer’s specifications. For nickel gap shiplap, use a nickel as a spacer between rows to achieve the characteristic gap.
- Stagger all vertical joints between rows by at least 24 inches for enhanced structural integrity and a more aesthetically pleasing appearance. This prevents weak points and gives the wall a professional, well-built look.
- Apply six inches of construction adhesive on either side of all vertical joints for added stability, especially if you are using longer boards that span multiple studs. This helps prevent board ends from lifting or creating unsightly gaps.
- Continuously check your level after every few rows to ensure the shiplap remains perfectly horizontal. Small deviations can compound and become very noticeable further up the wall.
5. Handling Obstacles and Openings: Precision Cutting
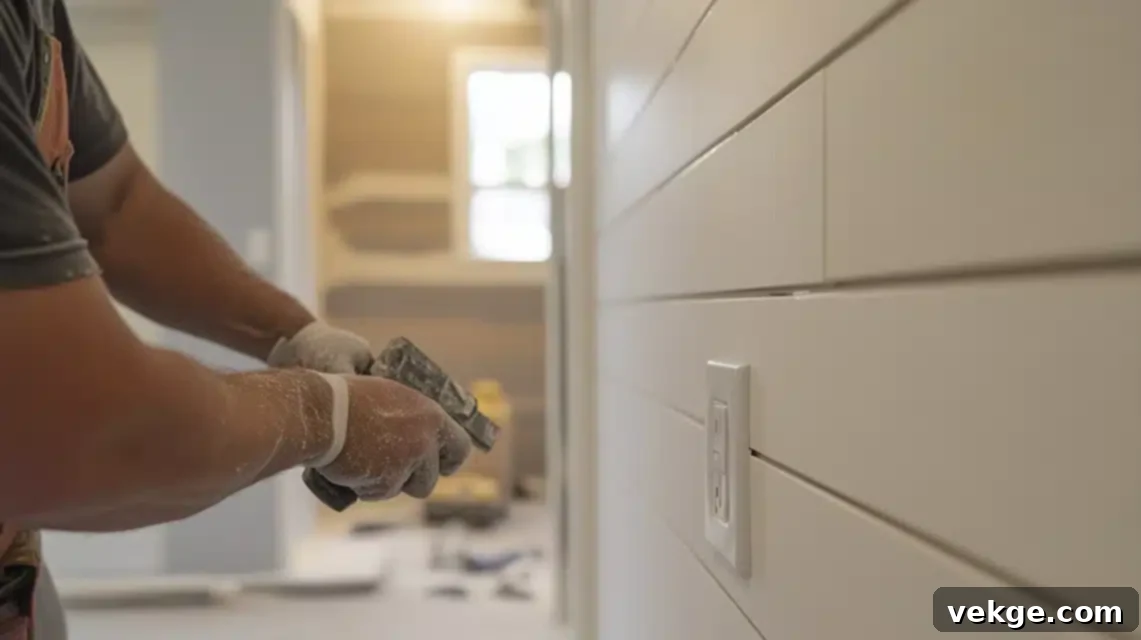
Cutting around obstacles requires patience and precision to maintain a clean, professional look.
- Electrical Outlets: Create precise measurements for each outlet location using a combination of a tape measure and a speed square. Transfer these measurements accurately to your shiplap boards. Use a high-quality jigsaw with a fine-tooth blade for clean, accurate cuts, ensuring the opening is slightly larger than the electrical box. Install proper electrical box extensions (box extenders) to ensure your outlets are flush with the new shiplap surface, maintaining code compliance and safety.
- Plumbing Fixtures: Measure all plumbing penetrations (e.g., pipes for sinks, toilet connections) with extreme accuracy. For complex shapes, create paper templates by tracing the fixture onto paper, cutting it out, and then transferring the template to your shiplap board. Maintain proper clearance around all plumbing penetrations to allow for expansion and contraction, and to facilitate future maintenance. Apply waterproof, mold-resistant caulking around all plumbing interfaces once the shiplap is installed to prevent water intrusion.
- Windows and Doors: Measure and cut boards to fit neatly around door and window frames. You may need to use a jamb saw or oscillating multi-tool to undercut door jambs if you want the shiplap to slide underneath for a seamless finish. Plan for trim pieces to cover any cut edges.
6. Corner and Edge Treatments: The Finishing Touches
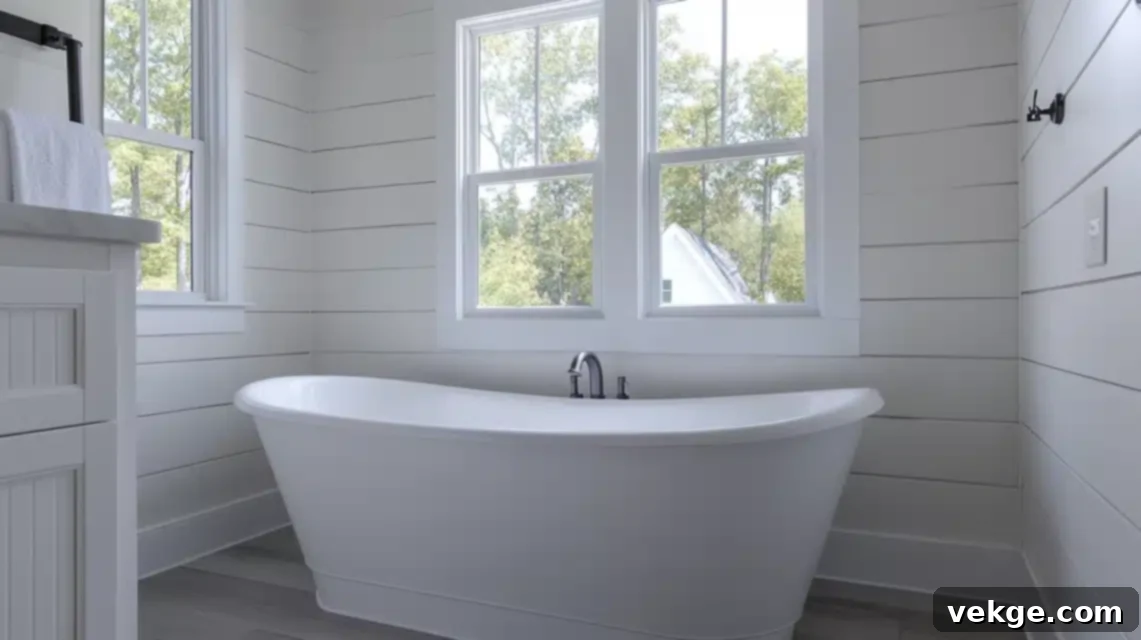
Clean and well-executed corners and edges make all the difference in the final appearance of your shiplap.
- For internal corners, you can butt joint the boards, leaving a small expansion gap. Install appropriate corner moldings (e.g., quarter-round, cove molding, or specific shiplap corner trim) according to your design specifications to create a polished look and cover gaps.
- Apply waterproof, flexible caulking at all internal corners and transitions, such as where shiplap meets the ceiling, floor, or adjacent walls. This seals against moisture and covers minor imperfections.
- For external corners (if applicable), create clean, professional-looking joints using precise 45-degree miter cuts on the shiplap boards themselves. This allows the boards to meet perfectly at a 90-degree angle. Alternatively, you can use a cap trim or corner trim for a different aesthetic.
- Ensure proper expansion gaps at all edges, transitions, and around fixtures. These gaps are critical for allowing the wood to expand and contract without buckling or cracking, particularly in a moisture-prone environment like a bathroom.
7. Sealing and Finishing: Essential for Bathroom Environments
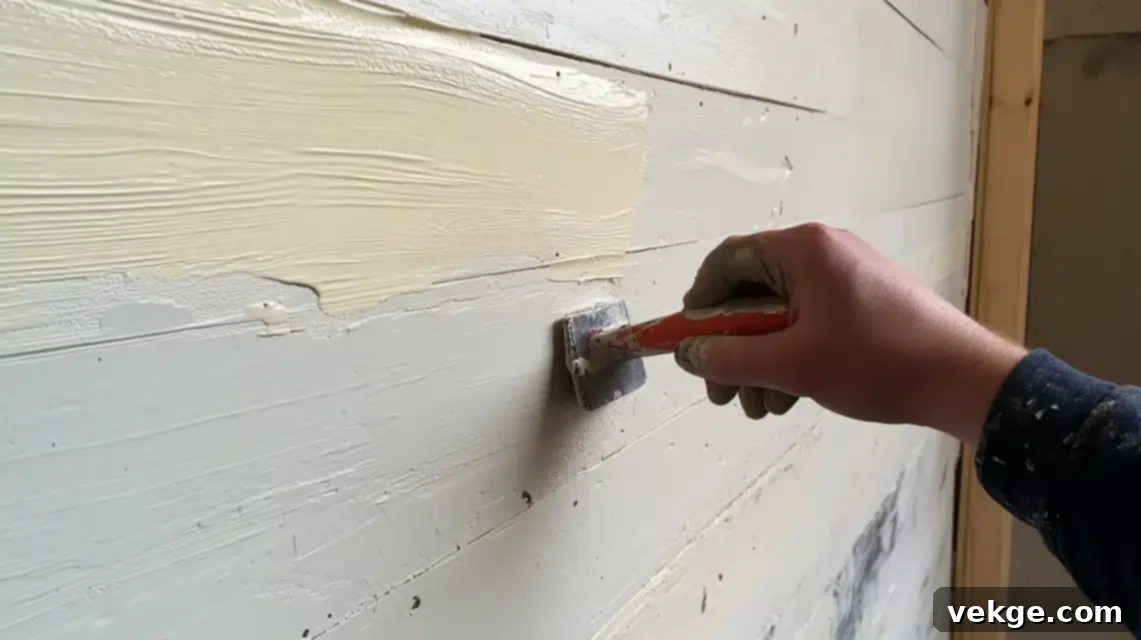
Proper sealing is non-negotiable for shiplap in bathrooms to protect it from moisture and ensure longevity.
- Apply a high-quality, bathroom-specific primer to all exposed shiplap surfaces and raw edges. Choose a primer that contains mildewcides and offers excellent moisture-blocking properties.
- For painting, create complete coverage using multiple thin, even coats rather than a single thick application. Thin coats adhere better, dry more evenly, and are less prone to dripping or clumping in the board grooves.
- Allow proper drying time between all primer and paint coating applications, as specified by the product manufacturer. Rushing this step can compromise the finish and protection.
- Once painting is complete and fully cured, install waterproof, mold-resistant caulking along all remaining edges, transitions, and around any fixtures not previously sealed. This creates a continuous moisture barrier.
8. Detail Work and Trim: The Polished Look
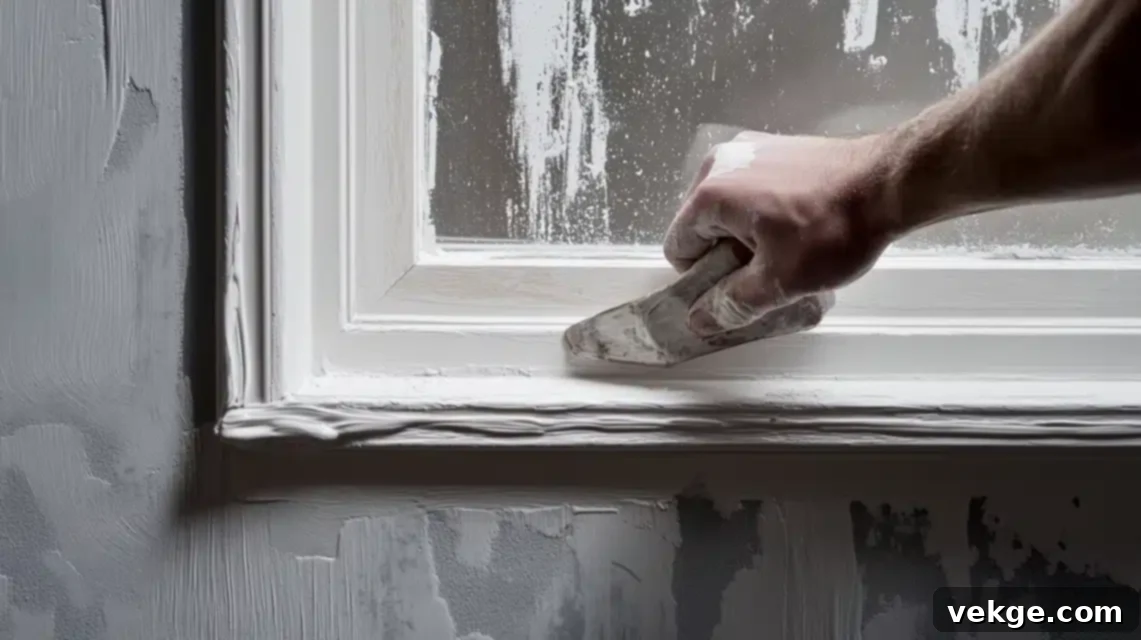
The final touches of trim work will define the professionalism of your installation.
- Install coordinating trim pieces (e.g., baseboards, window casings, door frames) around all windows and doors to seamlessly integrate the shiplap and provide a finished edge.
- Apply high-quality wood filler or spackle to all nail holes, ensuring complete coverage and a smooth surface. Allow the filler to dry thoroughly according to package instructions.
- Sand the filled areas to perfect smoothness once completely dried, using fine-grit sandpaper (e.g., 180-220 grit). Wipe away all sanding dust.
- Clean all shiplap surfaces thoroughly, removing any dust, fingerprints, or debris before applying any final coats of paint or sealant to the trim.
- Apply a final topcoat of paint to the trim if desired, ensuring it matches or complements your shiplap finish.
9. Quality Control Measures: Ensuring Longevity
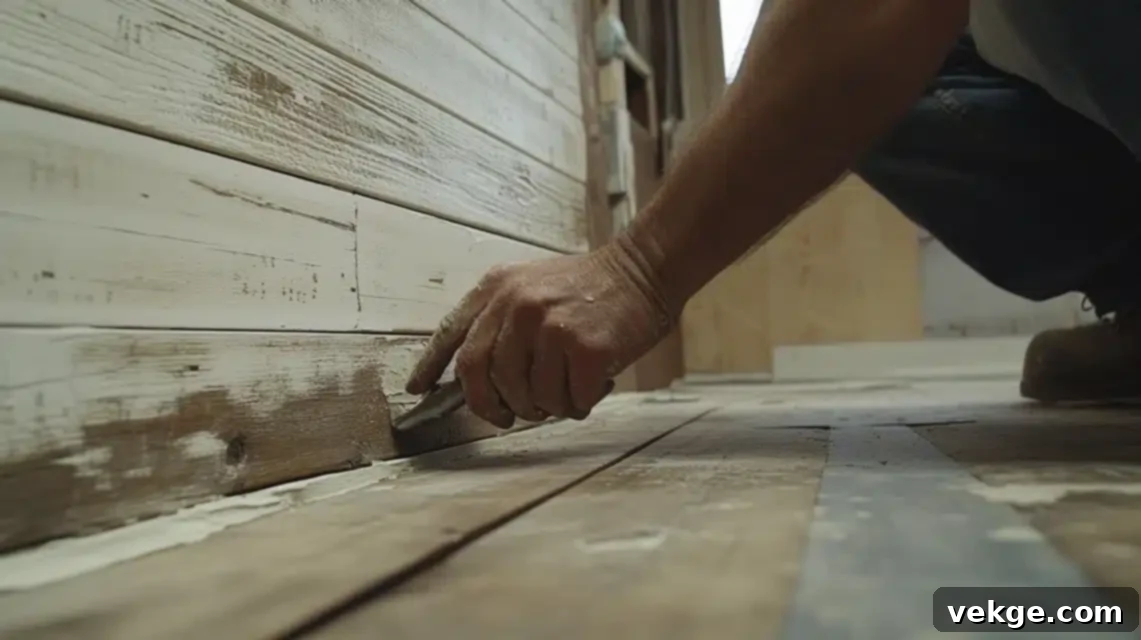
Before calling the project complete, a thorough inspection is crucial.
- Verify level installation across all walls using professional-grade tools like a long level or laser level to confirm consistency and accuracy.
- Check all joints for proper alignment and consistent spacing. Address any minor discrepancies with caulk or filler if necessary.
- Confirm secure attachment at all stud locations by gently pressing on boards to ensure there’s no movement or give.
- Test all electrical and plumbing fits for proper clearance and to ensure all extensions and seals are correctly in place and code-compliant.
- Inspect the entire surface for any missed nail holes, uncaulked seams, or areas requiring touch-up paint.
10. Environmental Considerations: Acclimation and Ventilation
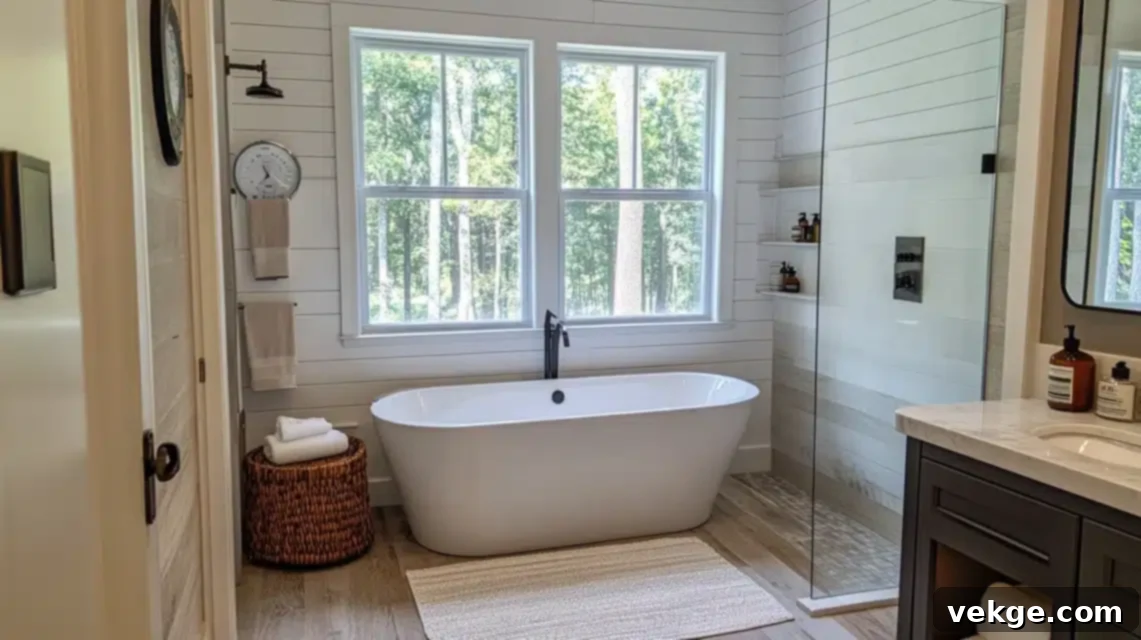
Controlling the environment before and during installation is vital for wood products.
- Control room temperature between 65-75 degrees Fahrenheit (18-24 degrees Celsius) during installation and for several days prior.
- Maintain relative humidity levels below 60% throughout the entire process, using a dehumidifier if necessary. This prevents wood from absorbing excess moisture.
- Allow proper acclimation time for all shiplap materials. This means storing the boards in the actual bathroom where they will be installed for at least 48-72 hours before beginning the project. This allows the wood to adjust to the room’s specific temperature and humidity.
- Ensure adequate ventilation throughout the installation process, especially when using adhesives, primers, and paints, by opening windows or using exhaust fans. This also helps with consistent drying.
Ways to Protect Your Bathroom Shiplap and Keep It Beautiful
Once your shiplap is installed and looks fantastic, the next critical step is ensuring it stays that way. Protecting your investment from the bathroom’s inherent moisture is paramount.
1. Professional Sealing Techniques for Longevity
Proper sealing creates an impenetrable barrier against moisture, which is especially important for wood shiplap in a humid bathroom environment.
- Apply a high-quality, bathroom-specific primer designed for high-moisture environments. Look for primers labeled as “mold and mildew resistant” or “moisture blocking.”
- Select primers containing powerful mildewcides for additional long-term protection against fungal growth, particularly in areas prone to condensation.
- Ensure complete and even coverage of all shiplap surfaces, paying extra attention to the board edges, cut ends, and the distinct grooves where moisture can easily penetrate.
- Allow full curing time between primer and paint applications, as well as between multiple paint coats. This ensures each layer forms a strong, protective bond.
- Consider adding a clear, water-resistant topcoat or sealant, particularly in high-splash zones like around sinks or bathtubs, for an extra layer of defense.
2. Smart Paint Selection and Application
The type of paint you choose and how you apply it significantly impacts shiplap’s durability in a bathroom.
- Choose appropriate finishes for maximum protection and ease of cleaning. Semi-gloss or satin finishes are ideal as they create a smoother, less porous surface that repels water and is easier to wipe clean than matte or flat paints.
- Use bathroom-specific paints that contain antimicrobial properties, which actively inhibit the growth of mold, mildew, and bacteria, extending the life and freshness of your shiplap.
- Apply multiple thin, even coats rather than single thick applications. Thin coats cure harder, offer better adhesion, and are less likely to crack or peel over time, providing superior protection.
- Maintain proper ventilation throughout the painting process by opening windows or running an exhaust fan. This speeds up drying and dissipates fumes, contributing to a more durable finish.
3. Daily Maintenance Protocol for Lasting Beauty
Simple daily habits can dramatically extend the life and appearance of your bathroom shiplap.
- Wipe down shiplap surfaces weekly with appropriate, mild cleaning solutions and a soft cloth to remove dust, soap residue, and general grime. Avoid abrasive cleaners that can damage the paint finish.
- Address any water spots or splashes immediately, especially in areas around sinks, showers, and bathtubs. Allowing water to sit can lead to staining or moisture penetration over time.
- Maintain proper bathroom ventilation during and after every shower or bath. Always operate the exhaust fan for at least 15-30 minutes after use to remove excess humidity.
- Monitor joint areas regularly for any signs of separation, cracking, or damage to the caulk. Early detection allows for prompt repair, preventing larger issues.
4. Deep Cleaning Procedures
While daily maintenance is key, occasional deep cleaning ensures your shiplap remains pristine.
- Use mild cleaning solutions specifically formulated for painted surfaces. A mixture of warm water and a small amount of dish soap or a dedicated bathroom cleaner (check compatibility with your paint) works well.
- Apply cleaners with soft microfiber cloths or sponges to prevent scratching or damaging the painted surface. Avoid stiff brushes or abrasive pads.
- Pay special attention to areas around fixtures, internal corners, and within the grooves of the shiplap, as these areas tend to collect more dirt and grime. A soft toothbrush can be useful for reaching into tight grooves.
- Dry all surfaces thoroughly after cleaning with a clean, dry cloth. Do not let cleaning solutions sit on the shiplap for extended periods.
5. Proactive Moisture Management
Controlling humidity is the most effective way to protect shiplap from moisture-related issues.
- Install and maintain proper ventilation systems (exhaust fans) that are adequately rated for the size of your bathroom. Ensure the fan exhausts air to the outside, not just into the attic.
- Operate exhaust fans not only during showers but for a minimum of 30 minutes afterward to completely clear humid air from the room.
- Consider using a dehumidifier during naturally humid seasons or if your bathroom consistently struggles with high moisture levels. A hygrometer can help you monitor humidity.
- Monitor walls regularly for any signs of moisture intrusion, such as condensation, peeling paint, or discoloration, particularly around windows and in corners.
6. Mildew Prevention and Treatment
Mold and mildew thrive in moist environments; prevention is always better than treatment.
- Inspect corners, seams, and areas behind fixtures monthly for early signs of mildew growth, which often appears as small black spots.
- If mildew appears, apply mildew-resistant treatments or a diluted bleach solution (1 part bleach to 10 parts water, test in an inconspicuous area first) to problem areas immediately. Ensure the bathroom is well-ventilated during treatment.
- Maintain proper air circulation throughout the bathroom by keeping the door open when not in use, especially after showering, to allow air to flow.
- Address any leaks or water issues (e.g., dripping faucets, leaky showerheads) promptly, as these are primary sources of persistent moisture.
Final Thoughts on Your Bathroom Shiplap Journey
Embarking on a bathroom shiplap installation project is an exciting endeavor that promises to elevate the aesthetics and feel of your home. A truly successful outcome, however, is a harmonious blend of meticulous planning, the selection of quality materials, and professional-grade execution.
As you plan your project, it’s imperative to thoroughly consider your specific bathroom conditions – is it a high-traffic family bathroom, or a seldom-used guest powder room? Evaluate your commitment to ongoing maintenance and your long-term design goals. These factors will guide your choices in materials (real wood vs. PVC) and installation methods, ensuring the solution is perfectly tailored to your needs.
Always remember that proper ventilation and diligent moisture control are not just recommendations but crucial pillars for any bathroom application, especially when incorporating wood products like shiplap. Skimping on these aspects can lead to significant issues down the line.
Investing in high-quality, moisture-resistant materials and, if your budget allows, professional installation, often proves to be more economical in the long run. It helps avoid the costly and frustrating repairs associated with moisture-related damage. Approach your project with thorough planning and realistic expectations for both the process and the outcome.
By adhering to careful preparation and committing to consistent maintenance, your bathroom shiplap will not only provide years of beautiful, trouble-free service but will also continue to be a valuable, appealing asset to your home, enhancing its charm and market value.
Frequently Asked Questions About Bathroom Shiplap
Is Shiplap Safe to Use in Bathrooms with Showers or Tubs?
Yes, shiplap can be safely and effectively used in bathrooms, even those with showers or tubs, provided it is properly installed and sealed. Key steps include installing moisture barriers (such as cement board or a vapor barrier membrane) behind the shiplap in high-splash zones. Waterproof caulking must be meticulously applied at all joints, seams, and around fixtures to prevent water penetration. Furthermore, using bathroom-specific sealants and paints that offer mold and mildew resistance is crucial. For areas of direct water contact, like inside a shower enclosure, consider using materials specifically designed for wet areas, such as PVC shiplap, which is impervious to water. Regardless of material, robust ventilation remains absolutely crucial for long-term success and preventing moisture buildup.
How Do I Prevent Mold and Mildew on Shiplap Walls?
Preventing mold and mildew on shiplap walls begins with a proper installation using moisture-resistant shiplap or wood that has been thoroughly sealed with mildew-resistant primer and paint. The most important preventative measure is maintaining adequate ventilation through a high-quality exhaust fan that is sized correctly for your bathroom. Always run the exhaust fan during showers and for at least 30 minutes after to effectively remove humid air. Keep overall indoor humidity levels below 60%, especially in the bathroom, using a dehumidifier if necessary. Regular inspections of your shiplap, particularly in corners and behind fixtures, and immediate attention to any water spots or condensation, will prevent small issues from becoming larger mold problems.
Can I Install Shiplap Over Existing Tile or Drywall?
Installing shiplap over existing drywall is generally straightforward, assuming the drywall is in good condition, structurally sound, and free from moisture damage. Proper preparation involves cleaning the drywall, marking stud locations, and securing the shiplap directly into the studs. However, installing shiplap over existing tile is more complex. It requires a thorough evaluation of the tile’s surface stability and the underlying moisture conditions. While theoretically possible, it often leads to a thicker wall profile and potential adhesion issues. For the best and most reliable results, especially in a bathroom, it’s typically recommended to remove the existing tile first to create a clean, flat, and secure substrate for the shiplap. A professional assessment can help determine the most suitable and durable approach for your specific situation.
What Is the Cost Difference Between Real Wood and PVC Shiplap?
The cost difference between real wood and PVC shiplap can vary. PVC options typically cost 20-30% more initially per square foot compared to standard pine or MDF shiplap. However, this higher upfront cost often offers significant long-term value through reduced maintenance and superior moisture resistance. PVC shiplap does not warp, rot, or swell with humidity, making it an excellent choice for bathrooms without the need for extensive sealing. Real wood shiplap, while often more budget-friendly initially, provides natural beauty and unique character but requires more ongoing maintenance, including regular sealing and painting, to protect it from moisture. When making your decision, factor in not just the material cost, but also installation complexity, necessary sealants, paint, and future maintenance costs for a true comparison.
Does Shiplap Add Value to My Home?
Yes, when professionally installed and properly maintained, bathroom shiplap can absolutely increase your home’s value and overall appeal. It significantly improves both the aesthetics and functionality of a bathroom by adding architectural interest, texture, and a sense of bespoke design. Shiplap aligns well with current popular design trends, such as farmhouse, coastal, and transitional styles, making your home more attractive to potential buyers. To ensure lasting appeal and maximum value, always use quality, appropriate materials and ensure the installation is meticulous. Documenting the materials used and your maintenance routine can also be beneficial for future homeowners, showcasing the care and quality invested in the space.
