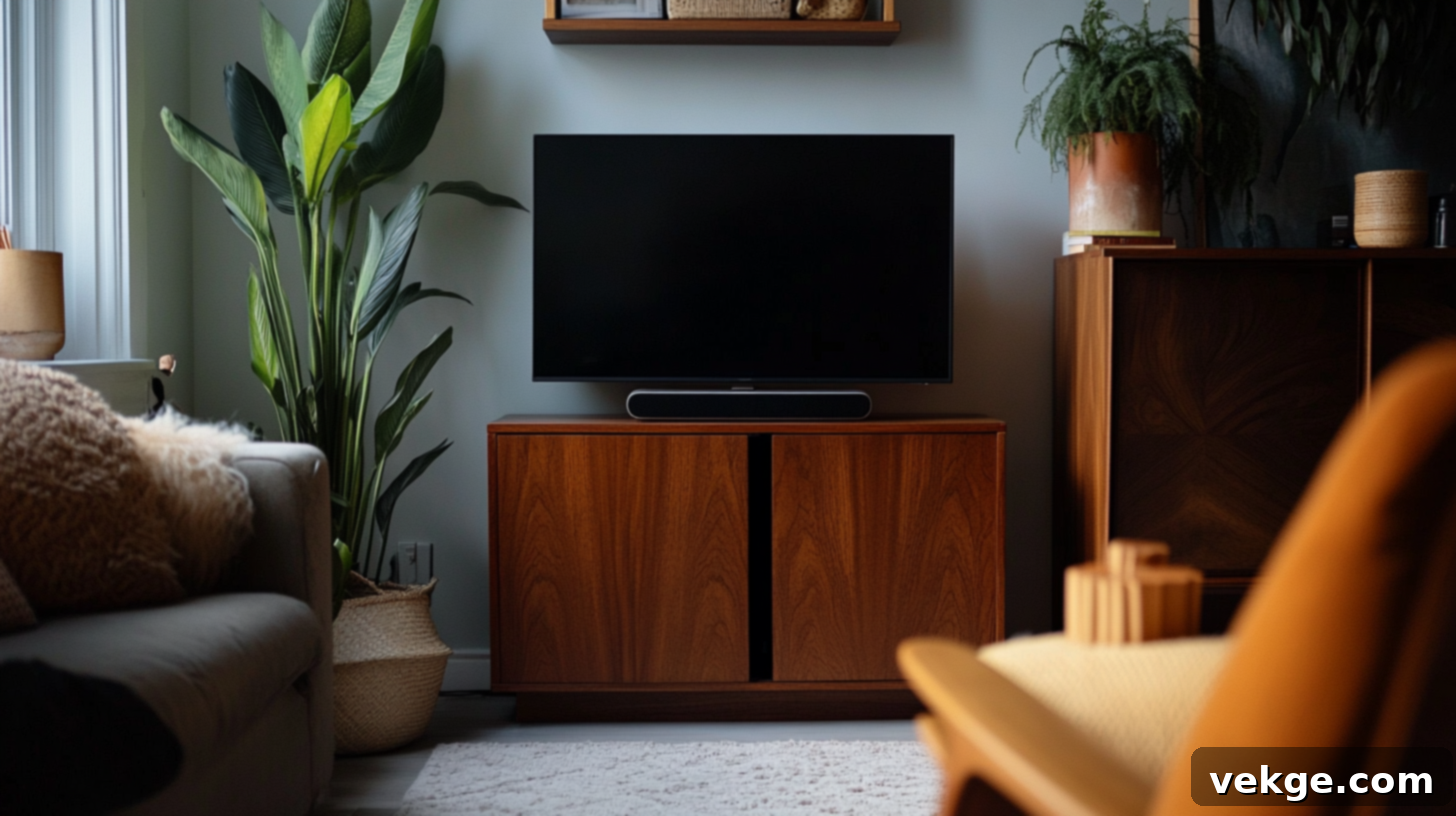
Build Your Own Hidden TV: The Ultimate DIY TV Lift Cabinet Guide
Imagine a living room where your television disappears with the touch of a button, leaving behind a clean, uncluttered space. A DIY TV lift cabinet makes this dream a reality! This rewarding project not only transforms an ordinary corner into an extraordinary feature but also adds significant functionality and elegance to your home. Many people assume such custom furniture pieces are prohibitively expensive or incredibly complex to construct. However, with the right guidance, basic woodworking tools, and readily available materials from your local hardware store, you can build a sleek, hidden TV cabinet yourself in just a few days. The satisfaction of crafting a piece that perfectly suits your style and needs, while also saving a substantial amount of money, is truly unmatched.
This comprehensive guide will walk you through every step of creating your own bespoke TV lift cabinet. From selecting the ideal lift mechanism to adding those crucial finishing touches, we’ll cover all the essentials. You’ll gain insights into choosing the best materials for durability and aesthetics, learn precise assembly techniques, and even discover tips for maintaining your cabinet to ensure it functions flawlessly for years to come. Get ready to elevate your home entertainment experience, protect your valuable television, and impress guests with this ingenious, space-saving solution!
What is a TV Lift Cabinet?
A TV lift cabinet is more than just a piece of furniture; it’s a clever integration of technology and design that allows your television to emerge from, or retract into, a custom-built enclosure. When not in use, your TV is completely concealed, protecting it from dust, accidental damage, and creating a minimalist aesthetic in your room. This ingenious solution is perfect for open-plan living areas, bedrooms, or any space where a large, black rectangle might disrupt the decor. With a simple press of a button, the TV smoothly rises into viewing position, and just as easily, descends back into its hidden compartment when you’re done. It’s an elegant blend of practicality and modern living, turning a functional item into an interactive design feature that enhances your home’s ambiance.
Types of TV Lift Mechanisms
The heart of any TV lift cabinet is its mechanism, which can be either manual or motorized. Understanding the differences between these systems is crucial for choosing the one that best fits your budget, convenience preferences, and installation requirements. Each type offers distinct advantages, impacting the overall user experience and the complexity of your DIY project.
Manual Lifts: These systems rely on physical effort to raise and lower the television. They are typically spring-loaded or use counterweights, requiring you to manually push or pull the TV into position. While simpler in design and generally more affordable, they lack the effortless convenience of their motorized counterparts.
Motorized Lifts: Utilizing an electric motor, these systems provide smooth, automated movement of your TV with the push of a button, often via a remote control. Motorized lifts offer superior convenience and a more luxurious feel. They are ideal for larger, heavier TVs and those who prioritize ease of use. Some advanced motorized systems also include swivel functions, allowing the TV to rotate for optimal viewing angles from different parts of a room.
Here’s a comparison to help you weigh your options:
| Feature | Manual Lifts | Motorized Lifts |
|---|---|---|
| Cost | Generally lower initial investment, making them budget-friendly. | Higher price point due to motor, electronics, and advanced features. |
| Power Needed | No electricity required, offering flexibility in placement. | Requires a power outlet, which must be planned during installation. |
| Ease of Use | Requires physical effort to operate, may not be suitable for all users. | Effortless operation via a button or remote control. |
| Reliability | Fewer mechanical parts, leading to potentially fewer points of failure. | More complex with electronic components and moving parts, but generally very reliable from reputable brands. |
| Remote Control | Not available, as operation is entirely manual. | Often included, sometimes with programmable memory settings and smart home integration options. |
| Installation Complexity | Simpler installation due to lack of electrical wiring. | Requires careful routing of power cables and potentially remote sensor placement. |
Step-by-Step Guide to Building Your DIY TV Lift Cabinet
Embarking on a DIY TV lift cabinet project is an exciting endeavor that not only provides substantial cost savings compared to purchasing a pre-made unit but also allows for complete customization to perfectly match your aesthetic and functional requirements. This project is designed to be accessible for those with basic woodworking skills and tools commonly found in any home workshop. Follow these detailed steps to construct a robust and stylish cabinet that will elegantly conceal your television when it’s not in use.
Materials Needed
Before you begin any cutting or assembly, it’s crucial to gather all your materials. A well-organized workspace and having everything on hand will streamline the building process significantly. Ensure all wood pieces are straight and free from major defects for the best results. Here’s a comprehensive list of what you’ll need:
- ¾ inch Plywood: This will form the sturdy base, sides, and internal supports of your cabinet. Opt for a good quality, cabinet-grade plywood for a smooth finish and excellent durability.
- 2x3s (for the frame): These dimensional lumber pieces will create the robust skeletal structure of your cabinet, providing essential support for the TV lift mechanism and the overall enclosure.
- Pine Boards (for trim): Used for decorative trim and accents, pine is easy to work with and takes paint or stain well. These will give your cabinet a refined, finished look.
- Luan Panels (¼ inch or thinner): These thin, lightweight plywood panels are perfect for covering the frame, providing smooth surfaces for painting or staining. They are easy to cut and attach.
- TV Lift Mechanism: Select a mechanism appropriate for your TV’s size and weight. Refer to the manufacturer’s specifications for maximum load capacity and dimensions.
- Interior-Grade Screws (2.5 to 3 inches): Essential for strong structural connections. Choose screws designed for wood to prevent splitting.
- Wood Glue: Provides additional strength to all joints, ensuring a durable and long-lasting cabinet.
- Brad Nails: Ideal for attaching luan panels and trim pieces, offering a clean finish with minimal visible fasteners.
- Sandpaper (220 grit and possibly coarser grits like 120/150): For smoothing surfaces and preparing the wood for finishing. Start with coarser grits for rough spots and move to finer grits for a silky smooth finish.
- Paint or Stain (semigloss latex recommended): The final aesthetic touch. Semigloss latex paint is durable and easy to clean, while stain highlights wood grain. Choose a color or finish that complements your existing decor.
- Wood Filler (optional but recommended): For filling any screw holes, nail holes, or minor imperfections before sanding and finishing.
- Clamps: Essential for holding pieces securely in place during gluing and screwing, ensuring accurate assembly.
- Measuring Tape, Pencil, Speed Square: For precise marking and ensuring all cuts are square.
- Safety Glasses and Hearing Protection: Always prioritize safety when working with power tools.
With all your materials organized, let’s dive into the practical steps of building your custom TV lift cabinet.
Step 1: Cut the Materials
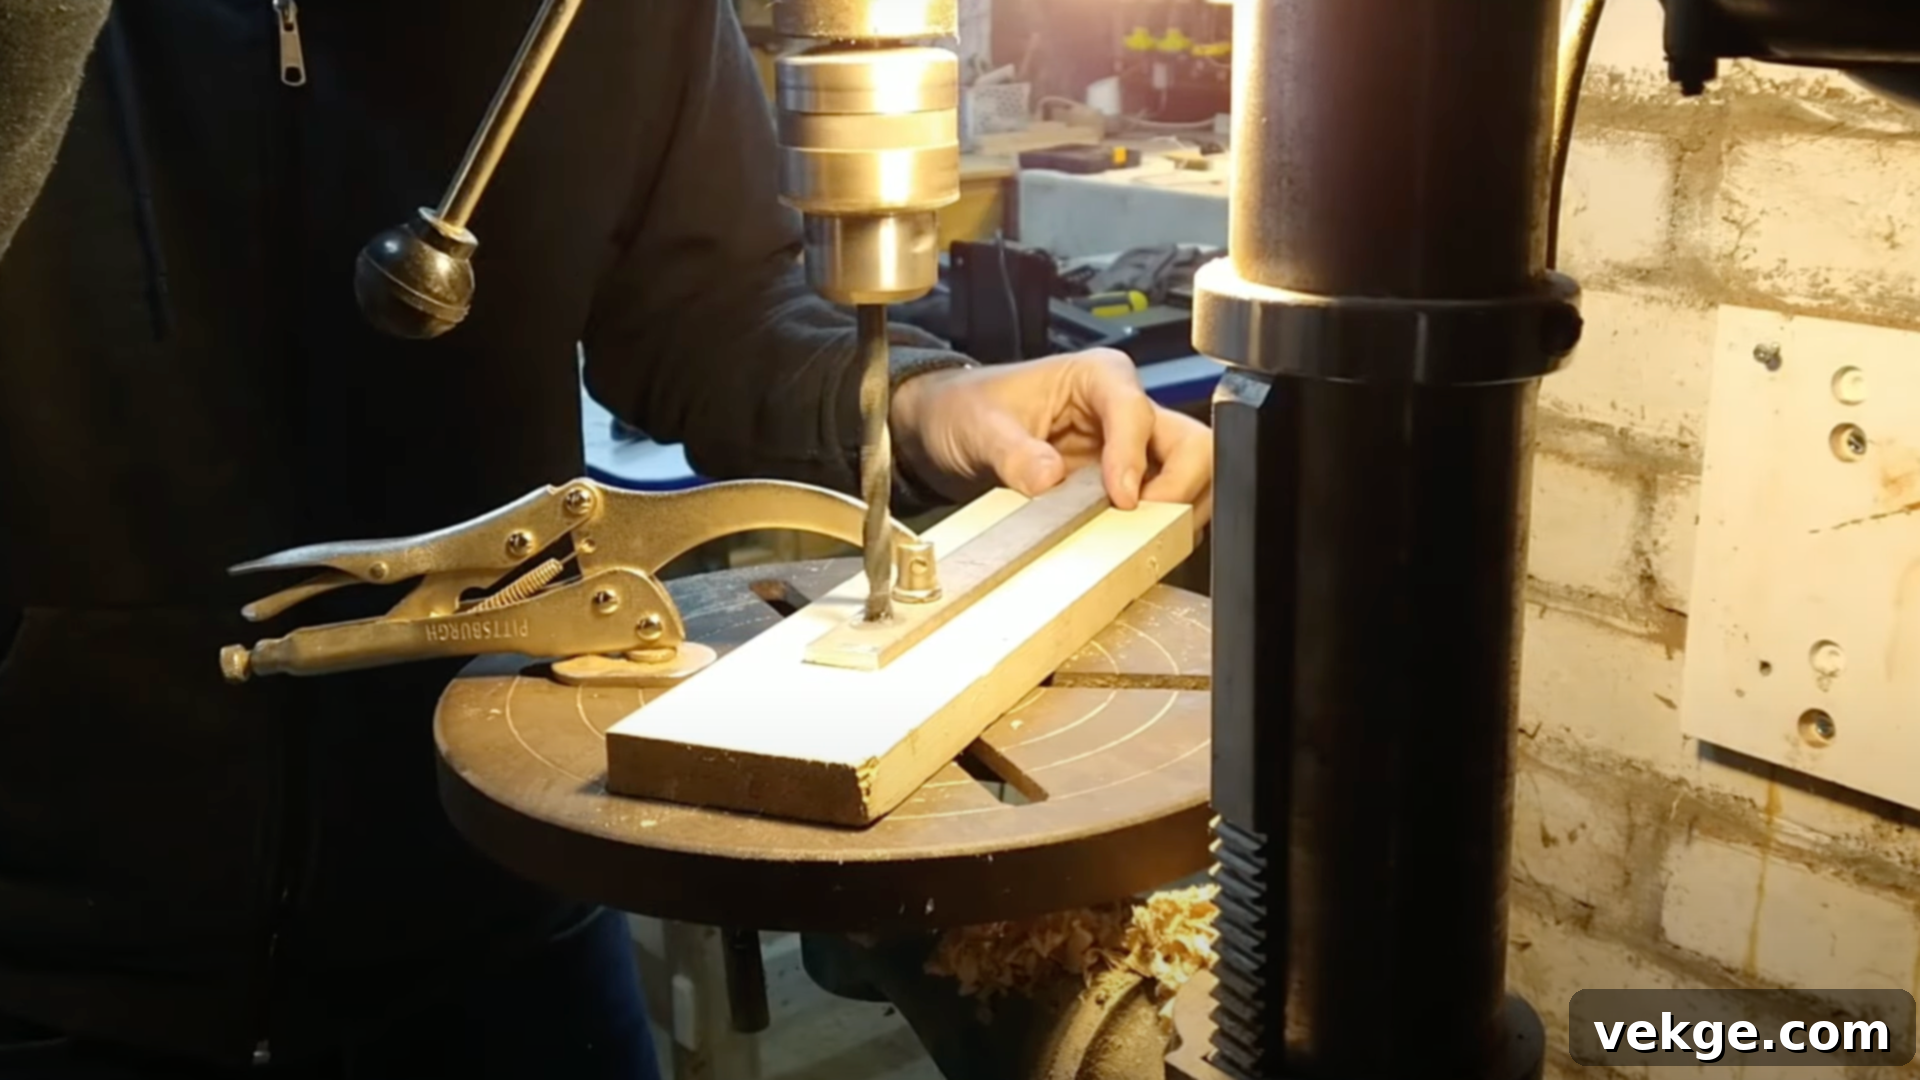
Accuracy in this initial step is paramount, as precise cuts will ensure all your components fit together seamlessly, leading to a professional-looking finished product. Begin by using a circular saw with a track guide, or a table saw, to accurately cut the ¾ inch plywood into the required dimensions for the base, side panels, and internal support shelves of your cabinet. Measure each piece meticulously and mark your cut lines clearly with a pencil.
Next, switch to your miter saw or chop saw to cut the 2x3s to the exact lengths needed for your cabinet’s frame. These pieces will form the skeleton of your cabinet, so their dimensions must be accurate. When cutting, always remember the adage: “measure twice, cut once.” This simple practice will prevent costly mistakes and wasted material. For trim pieces made from pine boards, use your miter saw to cut them to length, paying attention to any mitered corners for a clean, flush fit later on. Label each cut piece as you go to avoid confusion during assembly.
Step 2: Assemble the Cabinet Frame
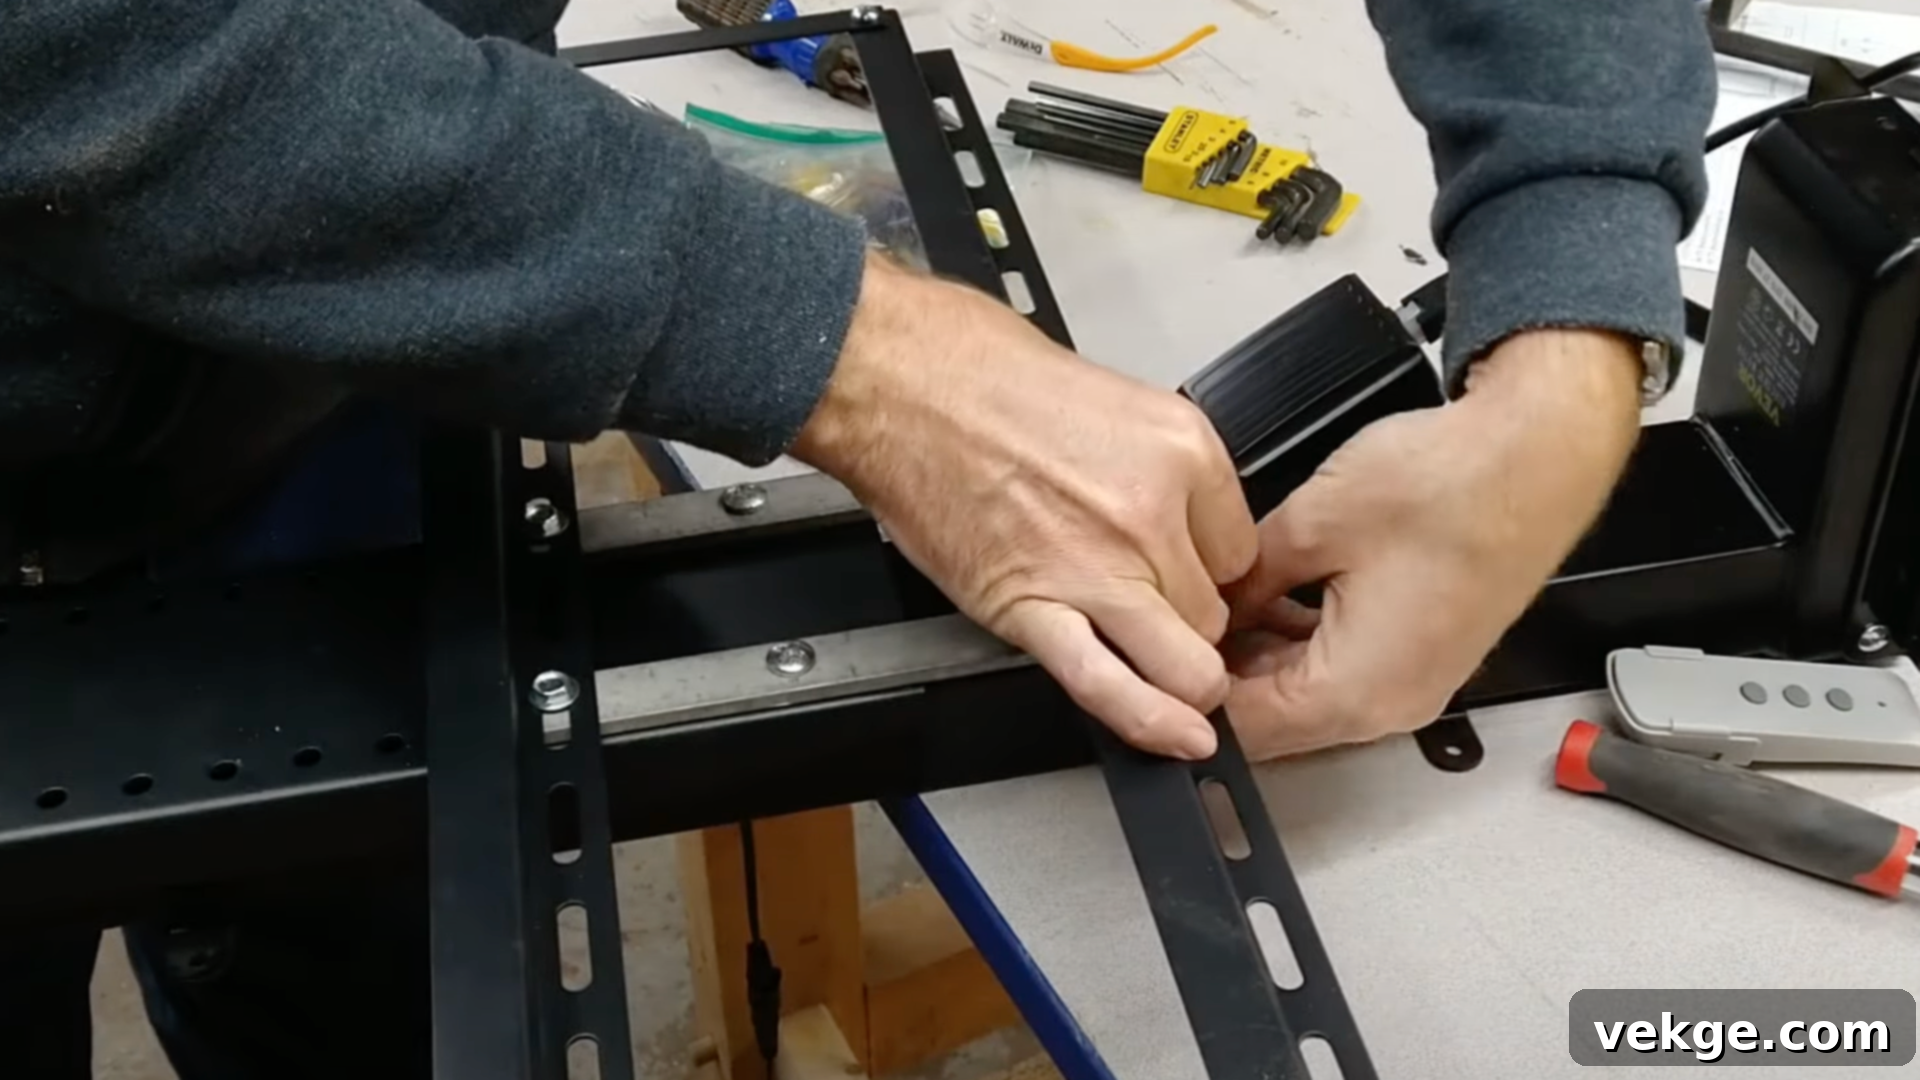
With your materials cut, it’s time to bring your cabinet to life by assembling the main frame. Start by laying out your cut 2x3s on a flat, level surface. Apply a generous bead of wood glue to the ends of the lumber where they will join, then connect them using your 2.5 to 3-inch interior-grade screws. Ensure you pre-drill pilot holes to prevent the wood from splitting, especially near the ends. Form a strong rectangular base and top frame, and then connect them with vertical 2x3s to create the cabinet’s skeleton. Use clamps to hold the pieces firmly in place while you drive the screws, ensuring tight, robust joints.
After assembling the basic rectangular frame, it’s critical to check for squareness. Measure diagonally from corner to corner; the measurements should be identical. If they are not, gently adjust the frame until it is perfectly square. This step is vital for ensuring your cabinet will sit level and that all subsequent panels will fit correctly. Once the frame is square and secure, attach the thin luan panels to the outside surfaces using wood glue and brad nails. These panels will form the exterior skin of your cabinet, providing a smooth surface for finishing. Work carefully, ensuring the luan panels are flush and evenly spaced, creating a neat and visually appealing enclosure.
Step 3: Attach Trim for Style and Stability
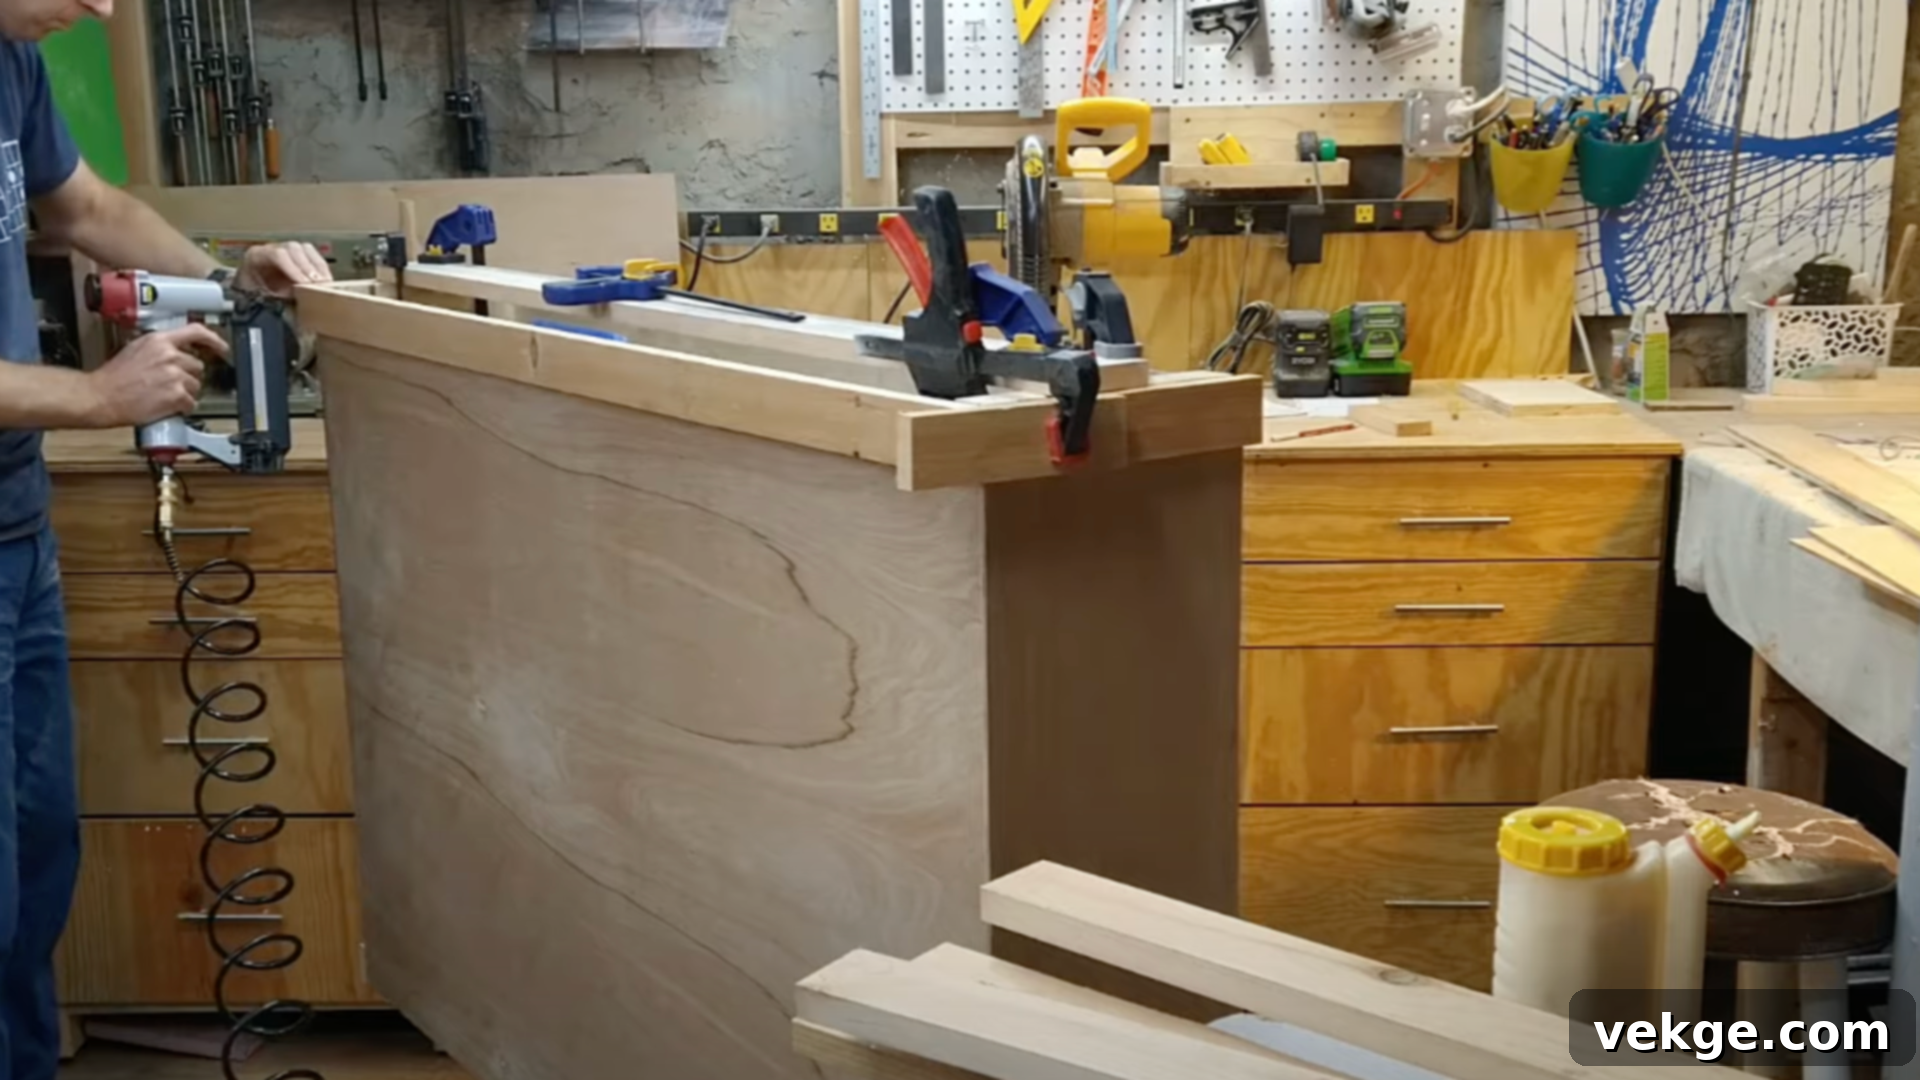
Adding trim is where your cabinet truly begins to take on its finished aesthetic, transforming raw wood into a refined piece of furniture. Cut your pine boards to the appropriate lengths for all exterior edges of your cabinet. For corners, use a miter saw to create 45-degree angle cuts, ensuring they meet perfectly to form a crisp 90-degree corner. Apply wood glue to the back of each trim piece, then firmly attach them to the cabinet frame using brad nails. The glue provides long-term adhesion, while the nails hold the trim in place while the glue dries.
This step serves a dual purpose: it significantly enhances the visual appeal of your cabinet by covering raw edges and giving it a more polished look, and it also adds an extra layer of structural stability. Pay close attention to the alignment of the trim pieces, making sure they are flush with the cabinet surfaces and that all corners meet neatly. Any gaps or misalignments will be more noticeable after painting or staining, so take your time to achieve a clean fit. Once the trim is in place, you can use a small amount of wood filler to cover nail holes and any minor imperfections, which will be sanded smooth in the next stage.
Step 4: Build the Cabinet Lid
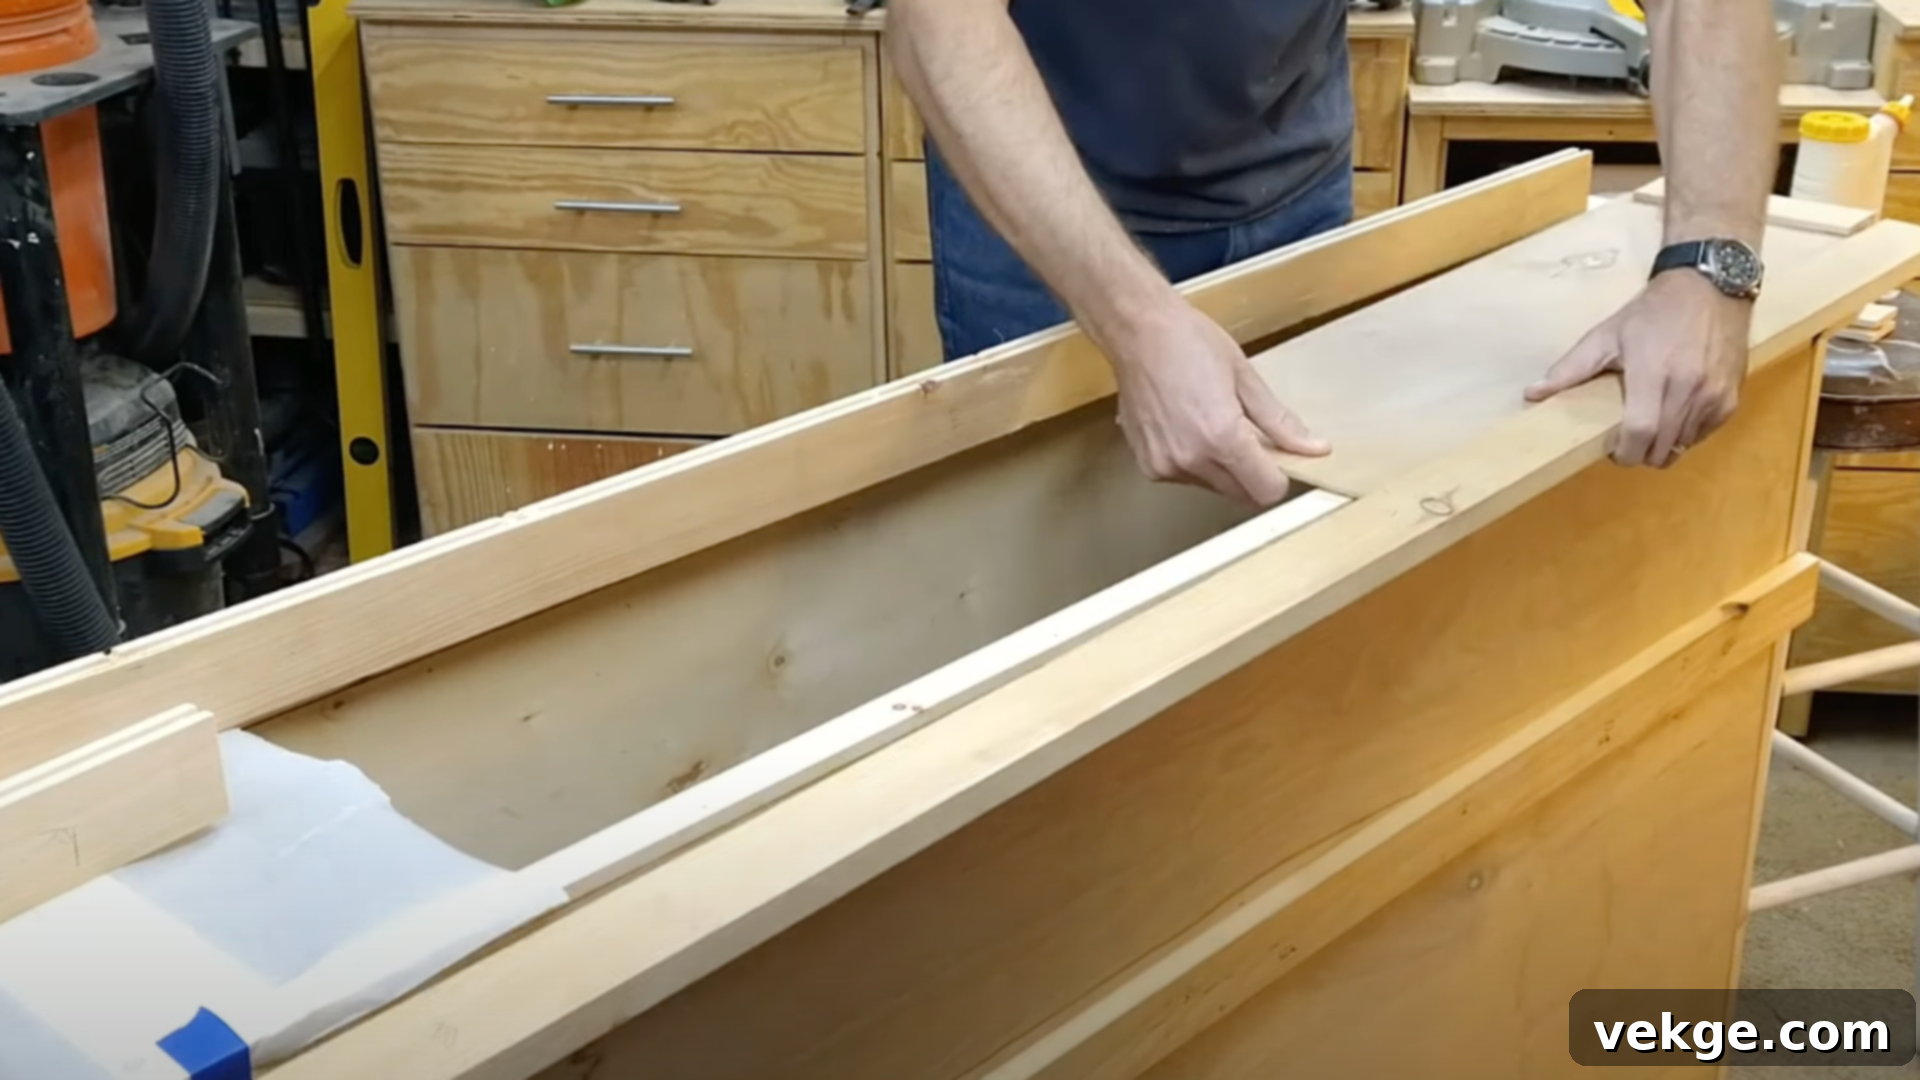
The cabinet lid is a crucial component, as it will conceal the TV when retracted and needs to move smoothly. Start by cutting your ¾ inch plywood to the exact dimensions required for the lid, ensuring it fits snugly over the top of your cabinet frame with a slight overhang if desired. To create a sturdy and aesthetically pleasing lid, you will need to add support blocks and trim.
One effective method is to create channels or rebates in pine blocks that will cradle the plywood lid. These channels ensure the lid sits securely and flush. Apply wood glue to the parts of these blocks that will adhere to the underside of the plywood lid and press them together firmly. It’s important to keep the lid perfectly flat while the glue cures; you can achieve this by placing heavy objects (like books or weights) evenly across its surface. Once the glue has dried, add smaller trim pieces around the outside edges of the lid. These pieces not only provide a finished look by hiding the plywood’s raw edges but also add a subtle decorative element. Test the lid frequently on the cabinet frame to ensure a perfect fit and smooth operation without any binding. A well-constructed lid will be robust and blend seamlessly with the rest of your cabinet.
Step 5: Sand and Paint the Cabinet
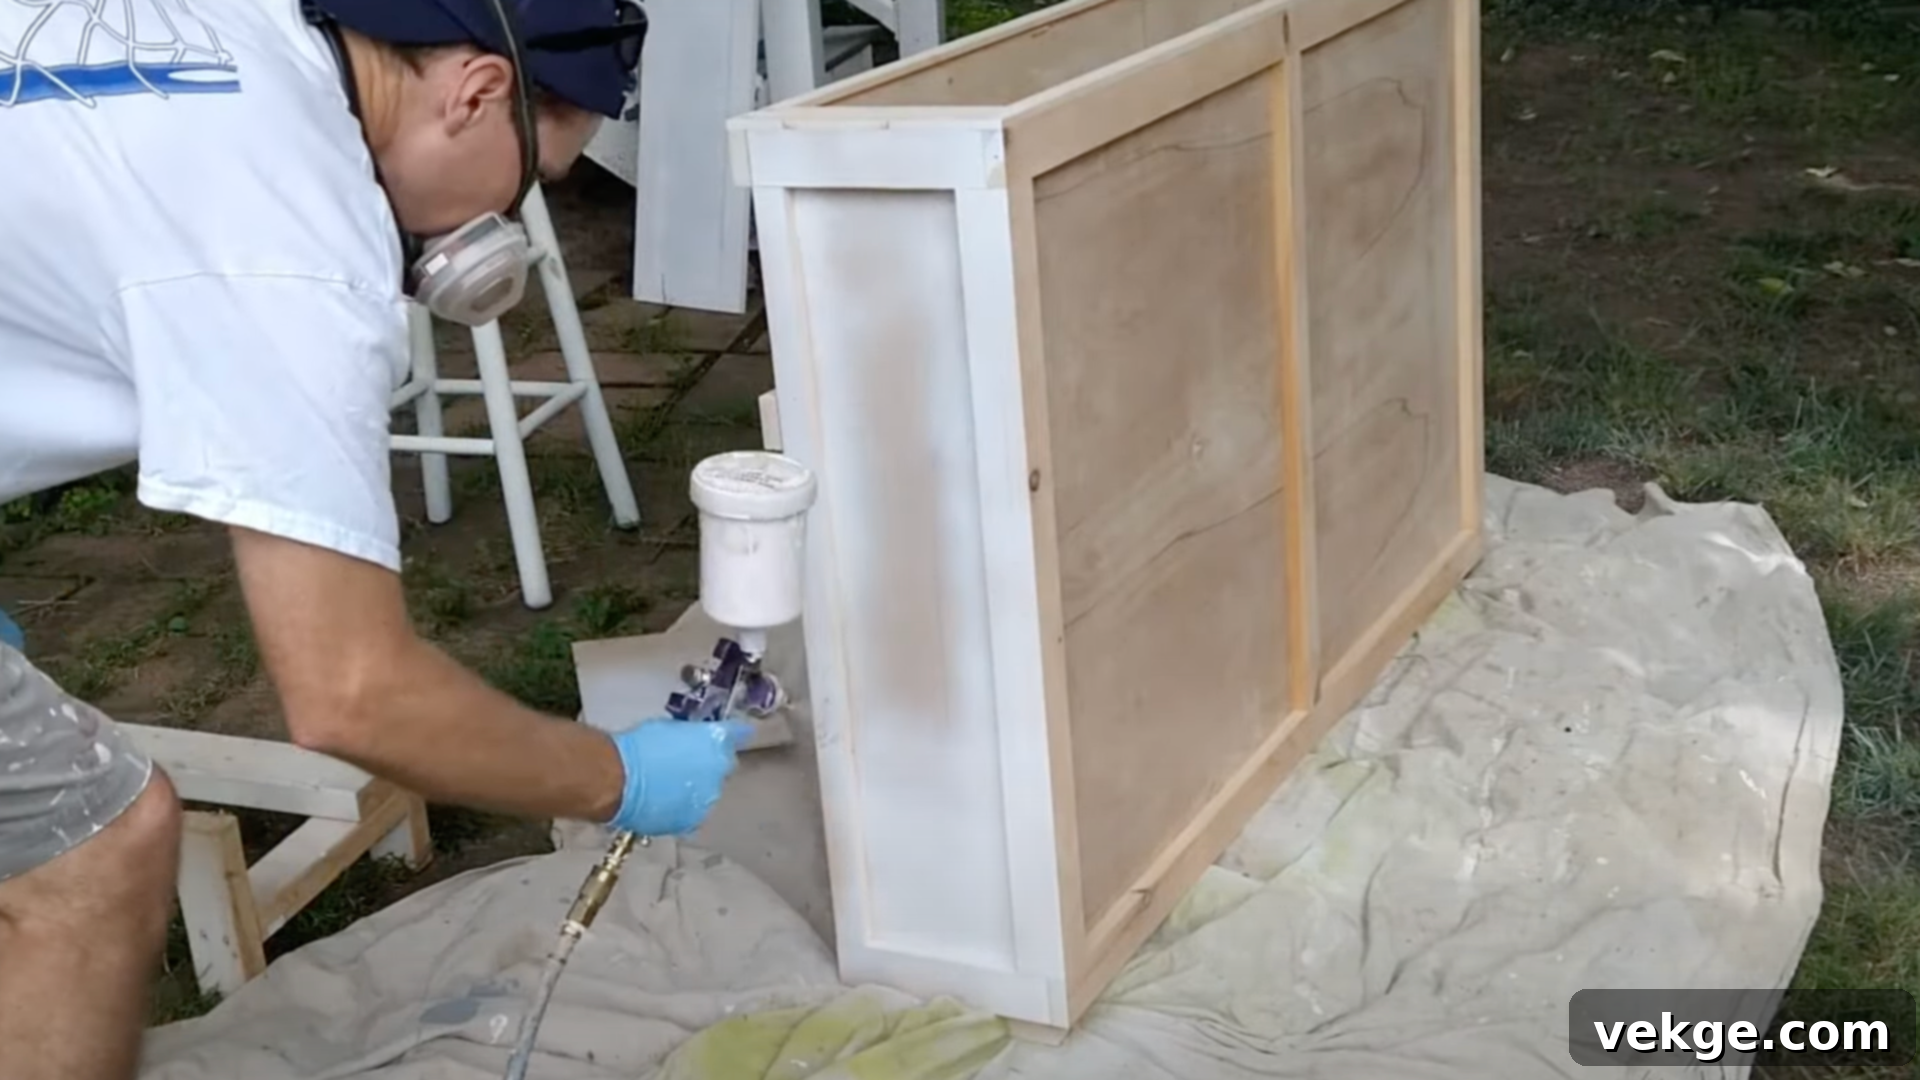
Achieving a professional-quality finish requires diligent preparation. Begin by thoroughly sanding all wood surfaces of your cabinet using a 220-grit sandpaper. If there are any rough areas or noticeable imperfections from earlier steps, you might start with a coarser grit (like 120 or 150) and then progress to 220-grit for a super smooth finish. The goal is to eliminate all splinters, glue drips, pencil marks, and ensure a uniform texture across all surfaces. After sanding, meticulously wipe away all dust with a clean, slightly damp cloth or a tack cloth. Any remaining dust will compromise the paint’s adhesion and create an uneven finish.
Once the cabinet is clean and dry, it’s time to apply your chosen finish. If you’re painting, especially with lighter colors like white over darker pine, a good quality primer is highly recommended. Apply thin, even coats of primer first. For the topcoat, brush or roll on your chosen semigloss latex paint. Thin coats are always better than thick ones, as they dry more evenly and are less prone to drips and brush marks. You may need anywhere from 3 to 5 coats, especially when covering knotty pine, to achieve full opacity and a smooth, consistent color. Allow each coat to dry completely according to the manufacturer’s instructions before applying the next. Good lighting during this process is essential to spot any missed areas, streaks, or drips, ensuring a flawless final appearance. If you opt for staining, apply stain evenly, wipe off excess, and then protect it with several coats of clear polyurethane or varnish.
Step 6: Install the TV Lift Mechanism
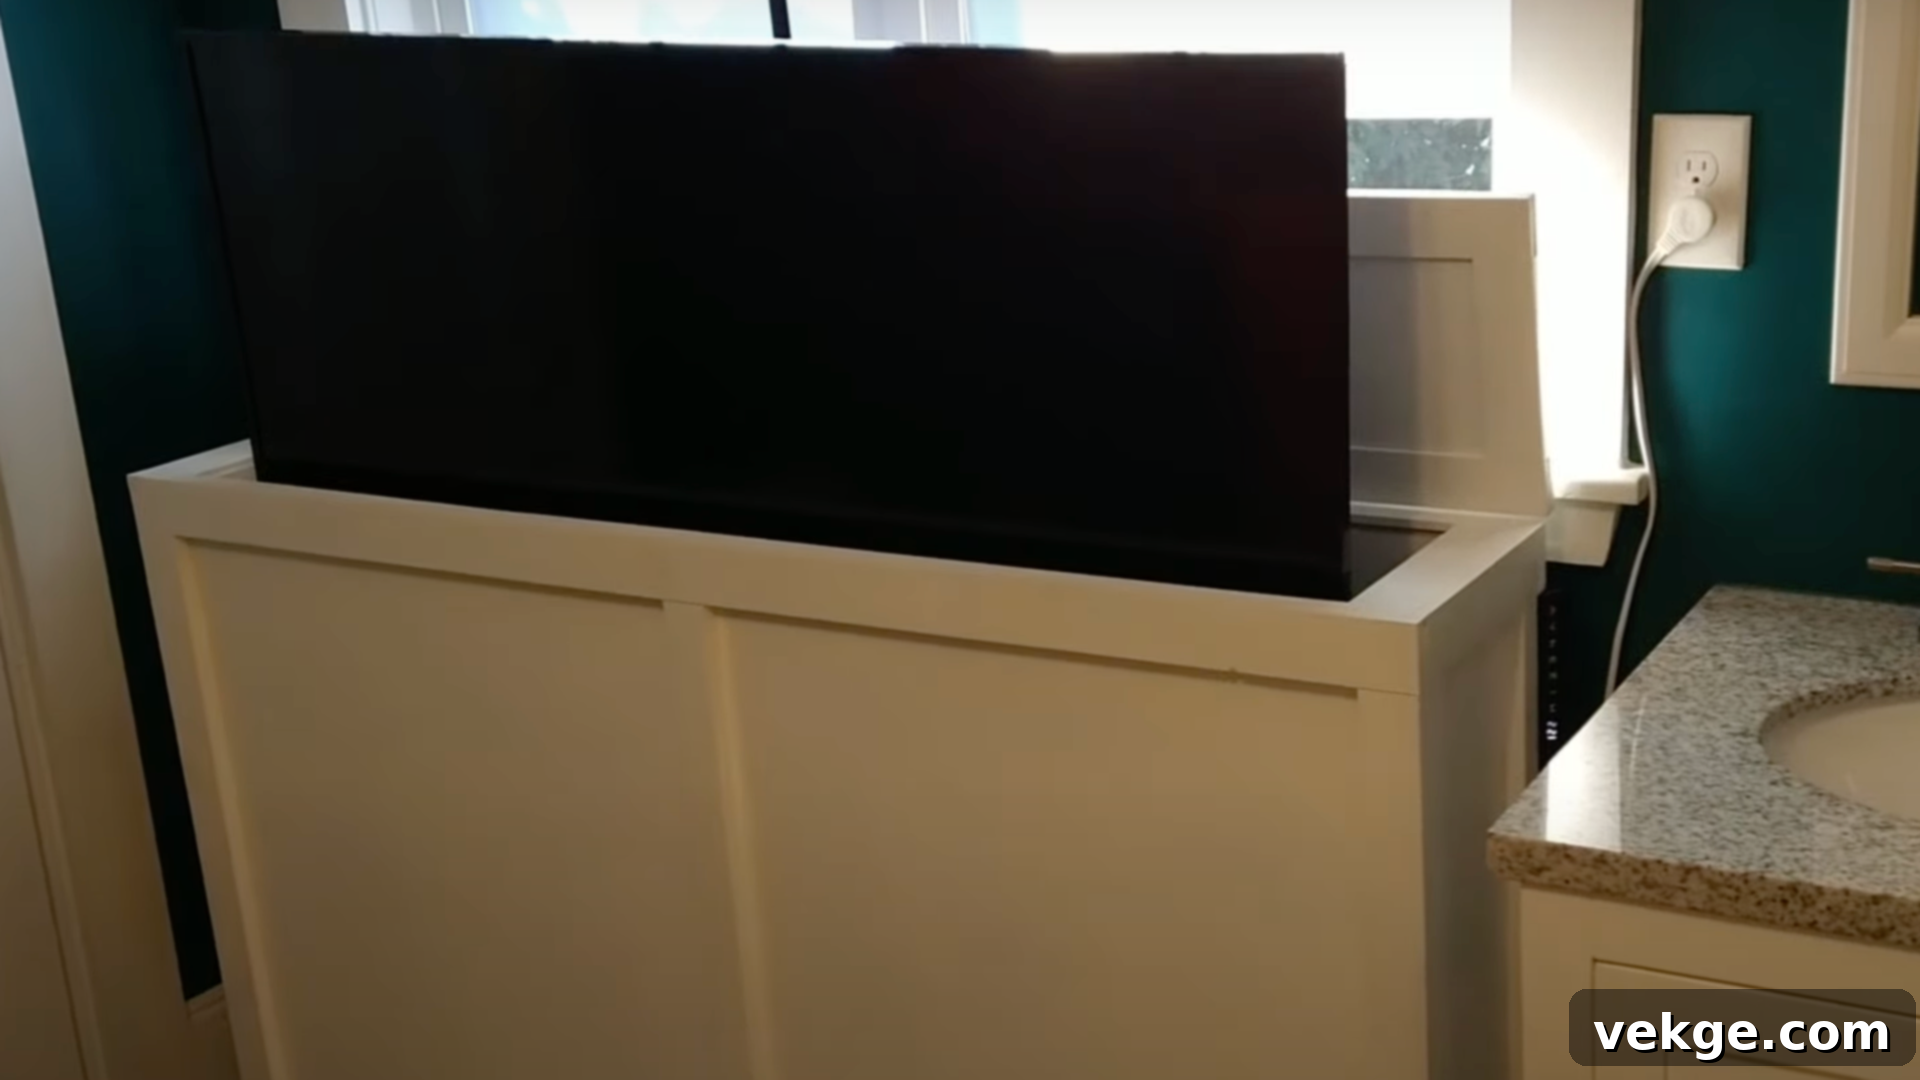
This is the moment your cabinet truly becomes a TV lift cabinet! Carefully unpack your chosen TV lift mechanism and review the manufacturer’s installation guide thoroughly. Each lift system will have specific mounting requirements, so adhering to these instructions is crucial for safe and reliable operation. Typically, the lift will attach to the base or internal supports of your cabinet. Use the recommended hardware and ensure all connections are secure and level.
Before mounting your actual television, perform several test runs with the empty lift. Press the remote control button to raise and lower the mechanism, observing for smooth, unobstructed movement, unusual noises, or any binding. This also allows you to plan your cable management. Cut strategically placed holes in the back or base of your cabinet for power cords, HDMI cables, and any other media connections. Use grommets to protect cables and give a clean, finished look. Route all wires neatly and secure them with cable ties to prevent tangling or interference with the lift mechanism. Only when you are fully satisfied with the lift’s operation and cable routing should you proceed to securely mount your TV to the lift’s VESA bracket, following its instructions precisely. Double-check all connections and safety measures to ensure your TV is stable and ready for its grand reveal.
For a more detailed visual explanation of the building process, you can watch the helpful YouTube video below. It provides practical demonstrations of many of the steps outlined above.
Customizing Your TV Lift Cabinet
One of the most exciting aspects of building a DIY TV lift cabinet is the freedom to customize it to perfectly suit your home’s unique decor and your personal needs. Beyond the basic structure, thoughtful customization can transform your cabinet from a mere functional piece into a striking design element that seamlessly integrates with your living space. This section will guide you through various options to make your cabinet truly yours, blending functionality with exquisite style.
Choosing the Right Finish
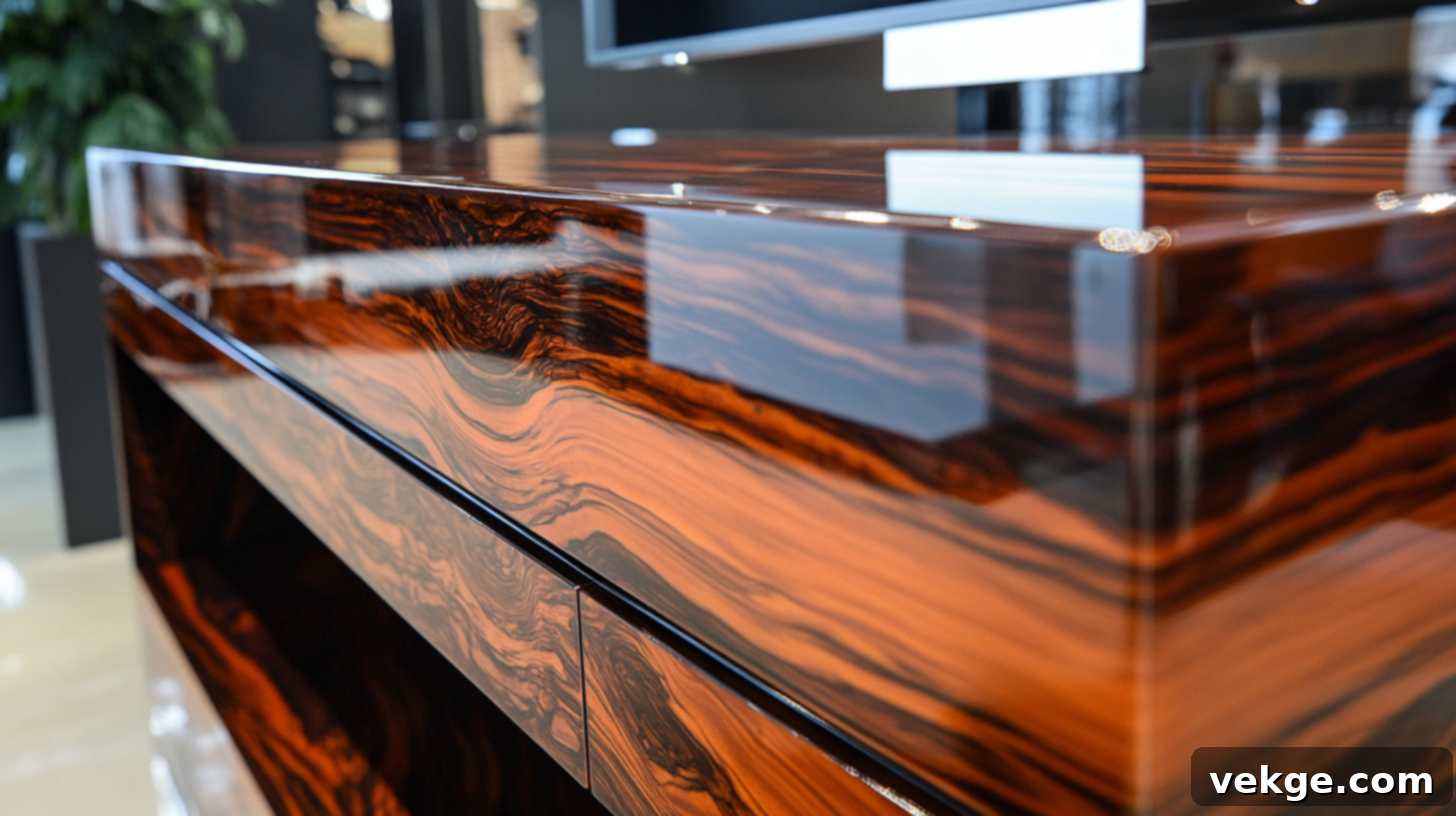
The finish you select is perhaps the single most impactful decision for your cabinet’s final appearance. It dictates whether your piece will blend into the background or stand out as a focal point. Consider your existing furniture and overall room aesthetic when making your choice.
- Paint: An excellent option for a modern, sleek look, or to perfectly match existing painted furniture. Paint is highly versatile, can cover minor wood imperfections, and comes in an endless array of colors. For best results, always use a high-quality primer before applying several thin coats of a durable paint (like semi-gloss or satin latex for easy cleaning).
- Stain: If you appreciate the natural beauty of wood grain, staining is the way to go. Stains penetrate the wood, enhancing its natural patterns and providing rich, deep colors. Always apply a pre-stain conditioner to pine and other softwoods to ensure even absorption and prevent blotchiness. Follow with several coats of a clear protective topcoat, such as polyurethane or lacquer, to provide durability and a lasting sheen.
- Veneer: For an ultra-high-end look without the cost of solid exotic wood, consider applying wood veneer. This advanced technique involves gluing thin slices of real wood onto your plywood surfaces, offering a luxurious finish like walnut, cherry, or oak.
Before committing to the entire cabinet, always test your chosen finish on a scrap piece of the same wood. This allows you to see the true color and texture, ensuring you’ll love the final outcome.
Adding Extra Storage
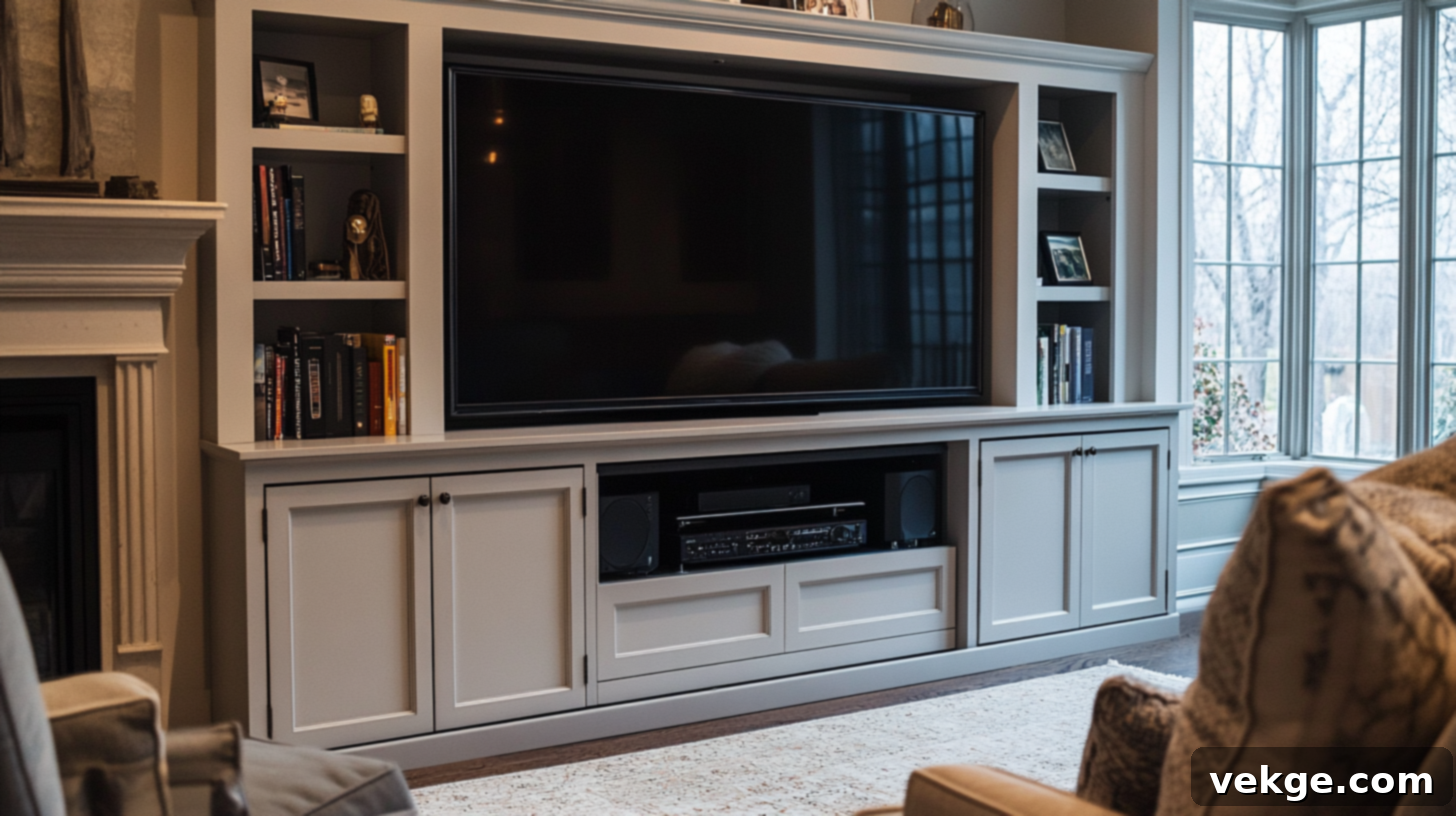
A TV lift cabinet can be far more than just a home for your television; it can also be a discreet command center for your entire entertainment system. Maximize its utility by integrating clever storage solutions that keep your space tidy and functional. Consider these ideas:
- Side Shelves: Design open or concealed shelves on the sides of your cabinet to neatly house gaming consoles, media streaming devices, Blu-ray players, or even decorative items. Ensure these shelves have adequate ventilation if electronics are stored within.
- Internal Drawers: Small, soft-close drawers are perfect for stashing away remote controls, game controllers, charging cables, and other small accessories, keeping them out of sight but easily accessible.
- Pull-Out Shelves or Trays: For larger components like soundbars or AV receivers, a pull-out shelf can offer easy access for operation and maintenance, then slide away when not needed.
- Concealed Compartments: For a truly minimalist look, design hidden compartments with push-to-open latches that keep all your electronics completely out of view.
When adding storage, always remember to account for the space required by the TV lift mechanism itself and the necessary cable routing. Ensure that any added shelves or drawers do not obstruct the TV’s movement or prevent proper ventilation for electronics.
Smart Upgrades for Your Cabinet
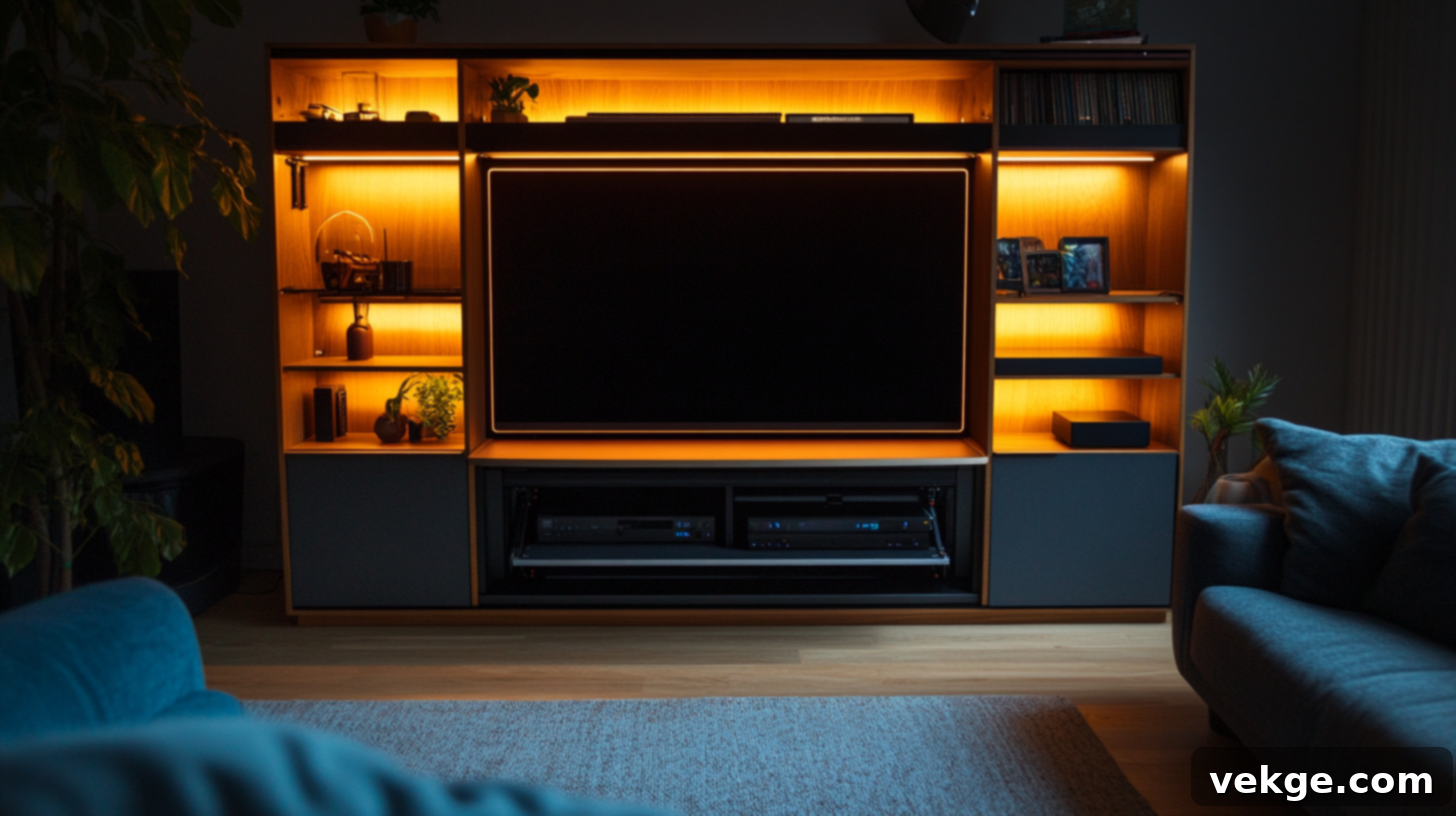
Take your DIY TV lift cabinet to the next level by incorporating smart home technology and thoughtful enhancements. These upgrades can elevate both the functionality and the “wow” factor of your project:
- Integrated LED Lighting: Install LED strip lights around the back of the TV, inside shelves, or along the cabinet base. Connect them to a smart switch or a motion sensor so they illuminate automatically when the TV rises, creating a dramatic effect and enhancing ambient lighting. Color-changing RGB LEDs can be controlled via an app for mood lighting.
- Smart Power Management: Use a smart power strip that can be controlled via voice commands or a smartphone app. This allows you to power on/off all connected devices (TV, soundbar, streaming box) with a single command, saving energy and simplifying your setup. Some systems can even link directly to your TV lift’s operation.
- Automated Ventilation: If you plan to house multiple heat-generating electronics (gaming consoles, receivers) within an enclosed cabinet, consider installing small, quiet cooling fans. These can be wired to turn on automatically when the temperature inside reaches a certain threshold or linked to your smart power strip.
- Touch Sensors & Voice Control: For ultimate convenience, integrate touch sensors on the cabinet’s surface that can trigger the lift mechanism or open hidden doors. Advanced users can connect their lift to a smart home hub (like Google Home or Amazon Alexa) for voice-activated TV control.
- Wireless Charging Pad: Embed a wireless charging pad into the top surface of your cabinet’s lid (if it’s stationary when closed) or a side shelf for convenient phone charging.
These smart upgrades not only add convenience but also make your TV lift cabinet a truly integrated part of your modern smart home ecosystem, blending seamlessly with your connected lifestyle.
Common Mistakes to Avoid During Construction
Building a DIY TV lift cabinet is a rewarding project, but like any intricate woodworking task, it comes with potential pitfalls. Awareness of common mistakes can save you significant time, money, and frustration. Even seemingly minor errors can impact the functionality, durability, and aesthetics of your finished cabinet. Careful planning and meticulous execution are your best defense against these issues. Let’s delve into the most frequent missteps and how to effectively avoid them.
- Incorrect Measurements: This is arguably the most critical mistake. A few millimeters off on a cut can lead to ill-fitting panels, gaps, or a mechanism that doesn’t function properly. Before making any cuts, double-check all dimensions, especially those related to your TV’s size (including bezel), the lift mechanism’s specifications (height, depth, width), and the internal clearances required. Use a reliable tape measure and a speed square for accuracy.
- Weak Frame Structure: The cabinet frame is the backbone of your project and must be robust enough to support the weight of your TV, the lift mechanism, and the cabinet itself, especially during movement. Using insufficient fasteners, weak joints (like simple butt joints without proper reinforcement), or too few support beams can result in a wobbly cabinet or, worse, structural failure over time. Always use wood glue in addition to screws for all structural joints, pre-drill pilot holes, and consider reinforcing critical areas with corner braces or pocket screws.
- Poor Cable Management Planning: Forgetting about cable routing until the last minute is a common oversight. Before you even start assembling, visualize where all your power cords, HDMI cables, audio cables, and remote sensor wires will go. Plan and cut appropriate holes (using grommets for a clean look) in the back or base of the cabinet. This prevents a tangled mess, ensures smooth lift operation, and keeps your setup looking professional and tidy.
- Ignoring Weight Limits: Every TV lift mechanism has a specified weight capacity. Overloading it with a TV that is too heavy will not only void your warranty but can also cause the lift to malfunction, break down prematurely, or even fail dangerously. Always check your TV’s weight against the lift mechanism’s maximum load before purchase and installation. When in doubt, choose a lift with a higher capacity than strictly necessary.
- Rushing the Finishing Process: The aesthetic appeal of your cabinet largely depends on its finish. Skipping essential steps like proper sanding, applying wood filler, or allowing insufficient drying time between primer and paint coats will result in a less-than-professional appearance. Take your time with sanding, moving from coarser to finer grits, and ensure all dust is removed. Apply thin, even coats of primer and paint/stain, allowing each to dry fully. Patience here pays dividends in the final look and durability of your cabinet.
- Inadequate Ventilation: If you plan to house electronic components (like receivers, game consoles, or streaming devices) inside the cabinet, ignoring ventilation can lead to overheating, shortening the lifespan of your electronics, and potentially causing performance issues. Design the cabinet with discreet ventilation holes or grates, or consider integrating small, quiet cooling fans if the enclosure is particularly tight.
By being mindful of these common pitfalls, you can approach your DIY TV lift cabinet project with confidence, ensuring a successful build that is both functional and beautiful.
Maintenance Tips for Your TV Lift Cabinet
Once you’ve invested the time and effort into building your stunning DIY TV lift cabinet, a little ongoing maintenance will ensure it continues to operate smoothly and look great for many years to come. Regular care prevents minor issues from becoming major problems, protecting both your investment in the cabinet and your valuable television. Simple, routine checks and cleaning will significantly extend the lifespan of your custom furniture piece.
- Dust Regularly: Dust is the enemy of all electronics and moving parts. Make it a habit to wipe down all exterior and easily accessible interior surfaces of your cabinet weekly with a soft, lint-free cloth. Pay particular attention to the area around the lift mechanism, as dust can accumulate on tracks, gears, and motor components, potentially causing increased wear or sluggish operation over time.
- Check Moving Parts: At least once a month, perform a visual inspection of all hinges, tracks, and the TV lift mechanism itself. Look for any signs of wear, looseness, or debris. If your lift mechanism has exposed tracks or gears (check your manufacturer’s guide), apply a small amount of appropriate lubricant (e.g., silicone spray or light grease) if recommended by the manufacturer. This ensures smooth, quiet operation and reduces friction.
- Test the Lift Functionality: Periodically, run your TV lift through its full range of motion a few times, even if you haven’t used it recently. Listen for any unusual noises, such as grinding or squeaking, and observe for jerky or uneven movements. Addressing minor issues like a sticky track or a loose connection early can prevent more significant mechanical problems down the line.
- Inspect Wiring and Connections: Every few months, carefully inspect all power cords, HDMI cables, and other connections within the cabinet. Look for any signs of fraying, kinks, or damage to the insulation. Ensure all plugs are securely seated in their outlets and that cable ties are still holding wires neatly in place, preventing them from interfering with the lift’s movement. Replace any damaged cables immediately.
- Tighten Hardware: Over time, the constant movement of the TV lift and general vibrations can cause screws and bolts to loosen. Every six months, take a moment to check and gently tighten any visible screws or bolts on the cabinet structure and the lift mechanism, but be careful not to overtighten. This maintains structural integrity and prevents wobbles.
- Clean the TV Screen: While the cabinet protects your TV, the screen itself will still require cleaning. When the TV is in the “up” position, gently wipe the screen with a microfiber cloth designed for electronics, using a screen cleaner specifically formulated for TVs, if necessary. Never spray cleaner directly onto the screen.
By incorporating these simple maintenance steps into your routine, you can ensure your DIY TV lift cabinet remains a reliable, beautiful, and functional centerpiece of your home entertainment system for years to come.
Wrapping Up Your DIY TV Lift Cabinet Project
Congratulations! What might have initially seemed like an ambitious undertaking has now been demystified. Building your very own DIY TV lift cabinet is a genuinely rewarding project that combines practical skills with creative expression, resulting in a unique piece of furniture perfectly tailored to your space and style. You’ve not only embarked on a journey of craftsmanship but also empowered yourself to create a sophisticated, space-saving solution that enhances your home.
The benefits extend far beyond just having a hidden TV. You’ve gained invaluable experience in woodworking, precise measuring, and finishing techniques. Moreover, you’ve saved a significant amount of money compared to purchasing a factory-made unit, and the pride of creating something so functional and elegant with your own hands is an unparalleled reward. This custom piece will serve as a conversation starter and a testament to your DIY capabilities.
As you reflect on your accomplishment, remember the key takeaways: patience, precision, and thoroughness are your greatest allies in any DIY endeavor. Always double-check your measurements, take your time with each assembly and finishing step, and thoroughly test the lift mechanism before entrusting it with your valuable television. Don’t be discouraged by minor setbacks – every challenge is an opportunity to learn and refine your skills. If you encounter any issues, simply refer back to this guide or consult online resources for troubleshooting.
Feeling inspired to take your project even further? Consider exploring additional smart home integrations, such as motion-activated LED lighting that illuminates when the TV rises, or voice-activated controls. Perhaps add more custom storage solutions for media accessories, or experiment with different wood stains and finishes to achieve a truly bespoke look. Your DIY TV lift cabinet is more than just a place to hide your television; it’s a statement piece, a functional marvel, and a canvas for your creativity. So, what are you waiting for? Embrace the satisfaction of DIY and enjoy your magnificent new entertainment center!
