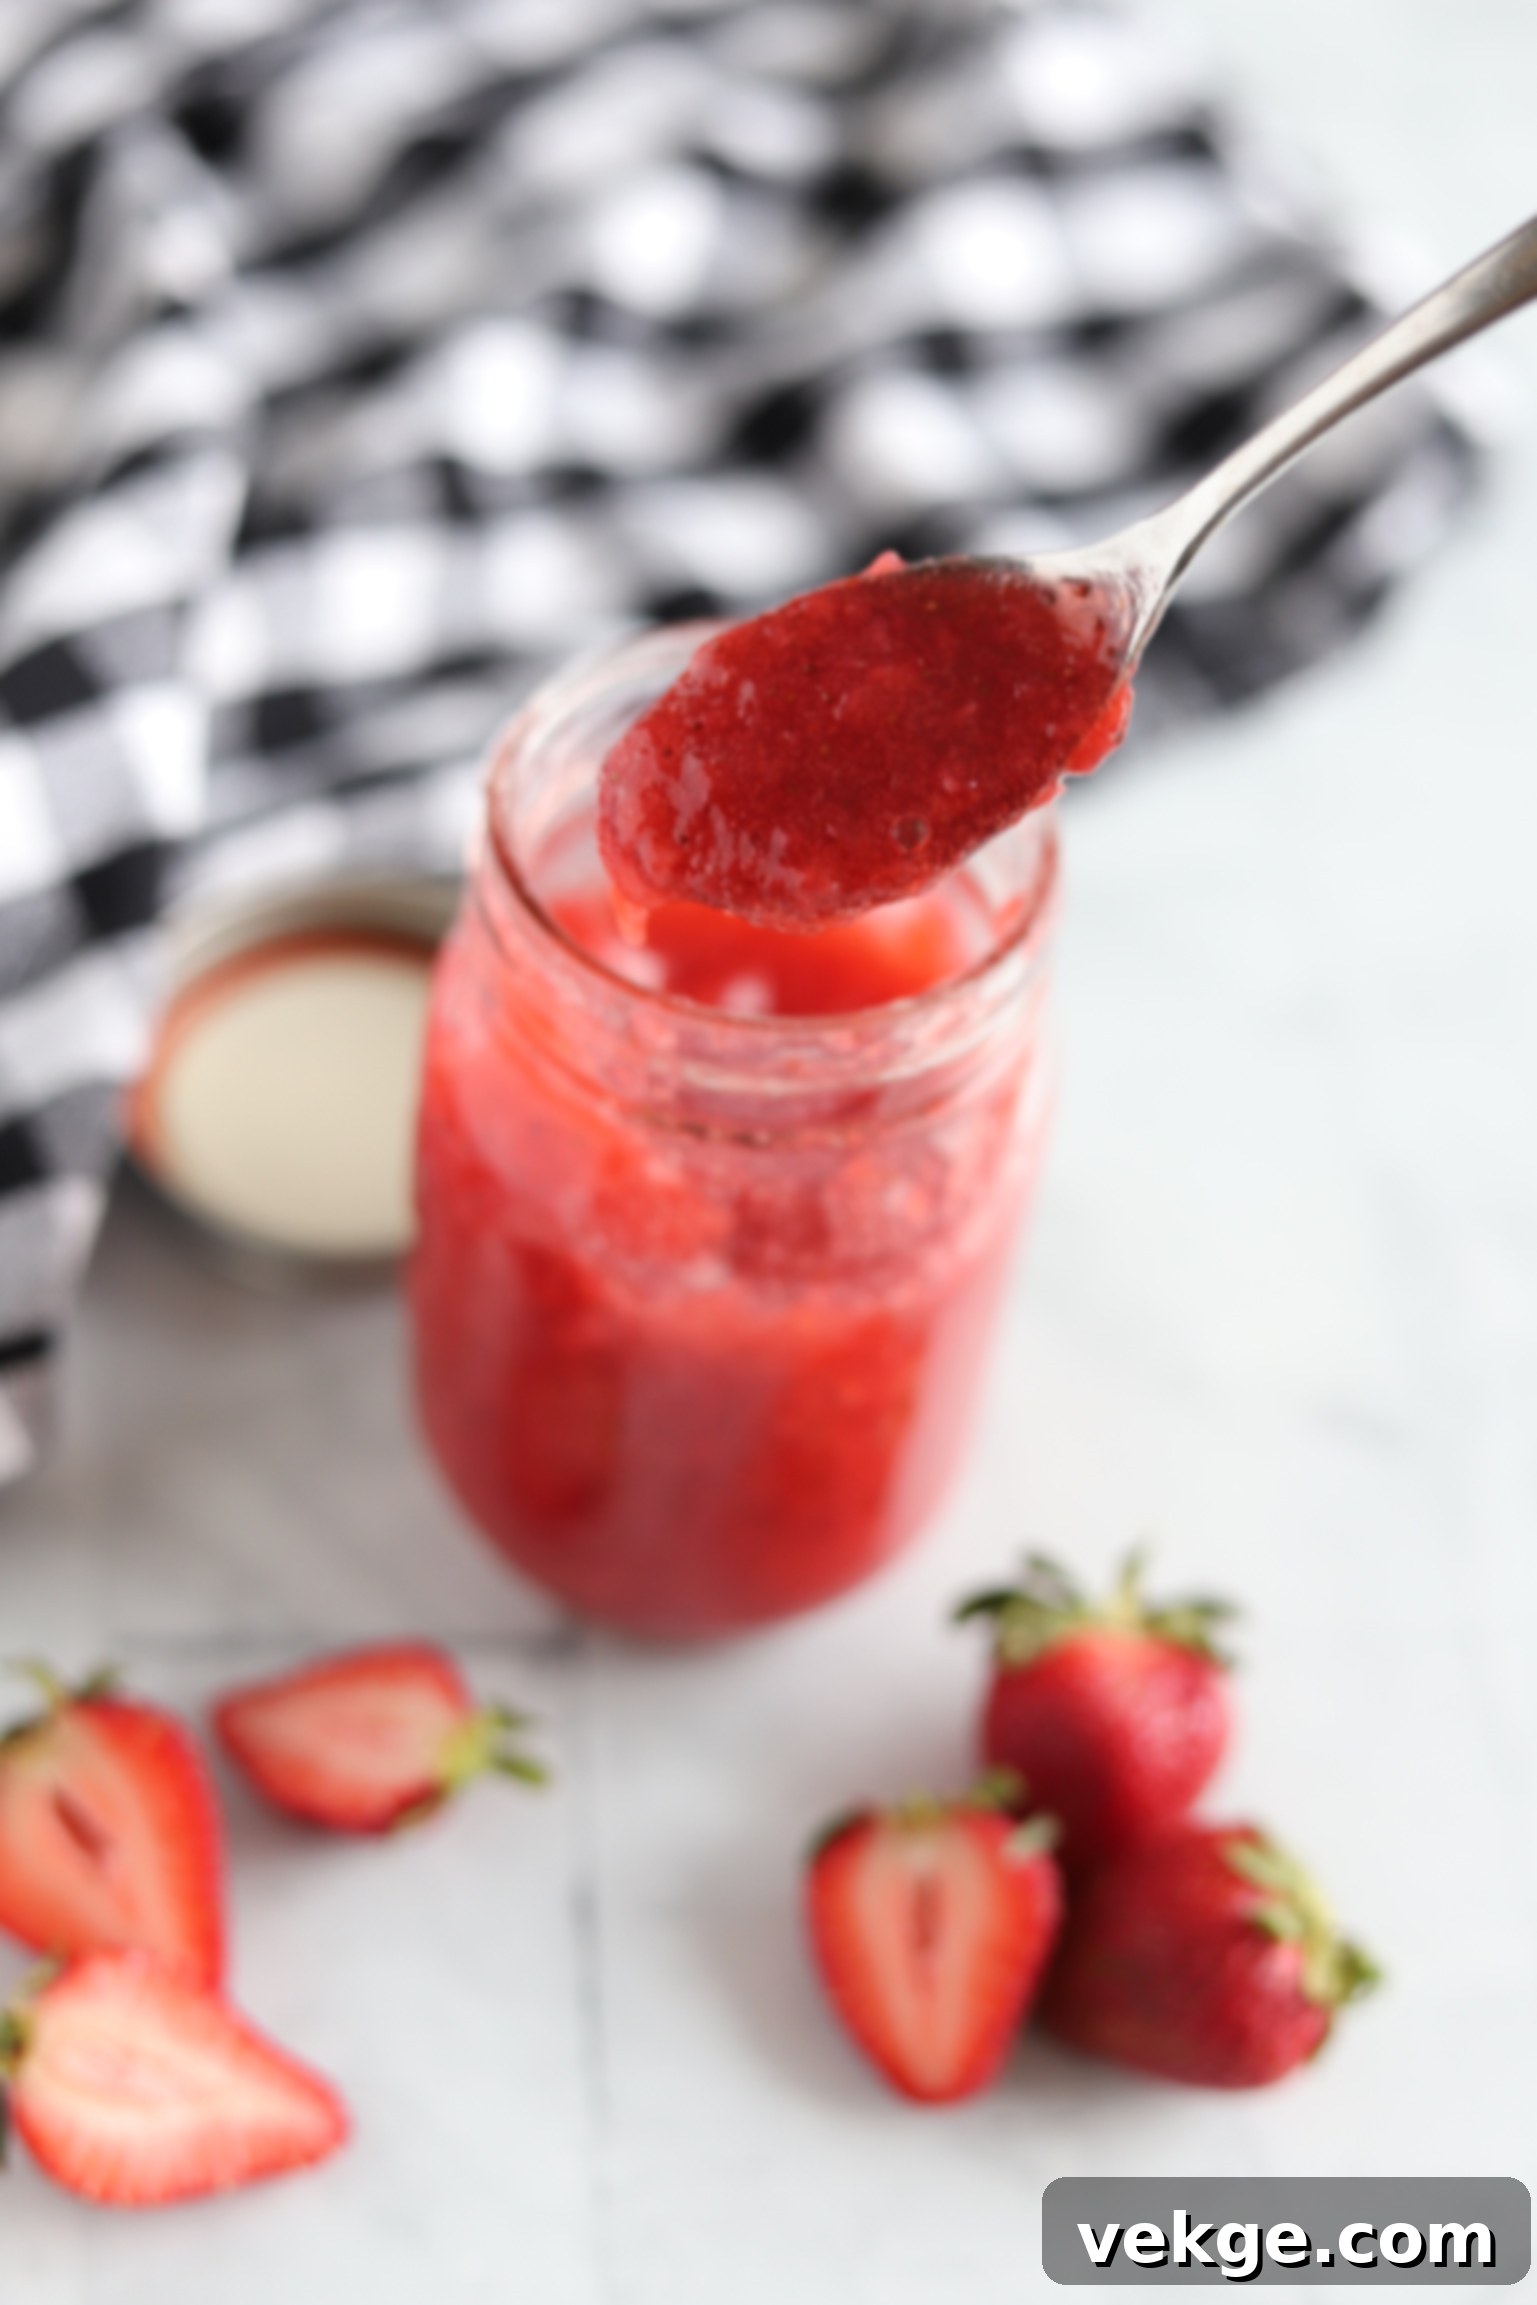
Easy & Delicious Strawberry Freezer Jam: Your Guide to Fresh Flavor All Year
Forget the mundane, overly sweet store-bought spreads. If you’re like me, once you taste homemade freezer jam, there’s no going back. Regular jam? No thanks. Freezer jam? I’ll do anything for it! Each spring, when juicy, ripe berries flood the markets and go on sale, I embark on my annual ritual: making a substantial batch of this glorious freezer jam. It’s truly incomparable, bursting with vibrant, fresh fruit flavor that captures the essence of summer in every spoonful, allowing us to enjoy its delightful taste throughout the entire year. It is so incredibly good, a true game-changer for breakfast, dessert, and everything in between.
Freezer jam stands out for many reasons, primarily its unmatched fresh fruit flavor. Unlike traditional cooked jams that rely on extensive boiling and canning processes, freezer jam requires minimal cooking, often none at all. This preserves the bright, natural taste and vibrant color of the fruit, delivering a product that tastes as if you just picked the berries moments ago. It’s simpler to make, requires no special canning equipment, and offers a level of convenience that fits perfectly into a modern, busy lifestyle. Plus, you have complete control over the ingredients, allowing you to adjust sugar levels or use alternative sweeteners to suit your dietary preferences.
Why Choose Homemade Freezer Jam?
There’s a distinct difference between traditional cooked jam and the fresh, vibrant taste of freezer jam, and it all comes down to the process. Traditional jams are cooked for longer periods at higher temperatures to achieve a set consistency and to ensure shelf stability through canning. While delicious, this cooking can often mute the delicate nuances of fresh fruit flavor, resulting in a deeper, more caramelized taste. Freezer jam, on the other hand, is gently prepared with little to no heat, then stored in the freezer, which acts as its preservative. This method locks in the raw, bright, and authentic taste of the berries, making it taste incredibly fresh and fruit-forward.
Unparalleled Freshness and Flavor
The primary reason to fall in love with freezer jam is its unbeatable fresh taste. Imagine biting into a perfectly ripe strawberry; that’s the flavor profile freezer jam aims to replicate. By avoiding extensive cooking, the delicate enzymes and aromatic compounds of the berries are preserved, delivering a jam that tastes almost identical to fresh fruit. This means no “cooked fruit” flavor, just pure, unadulterated berry goodness.
Simplicity and Speed
Traditional canning can be intimidating with its requirements for sterilization, water baths, and precise timing. Freezer jam simplifies the entire process. There’s no need for special canning equipment, pressure canners, or a deep understanding of food preservation science. Most freezer jam recipes involve mashing fruit, mixing with pectin and sugar, letting it set, and then transferring to containers for freezing. It’s a quick, straightforward process perfect for beginners or those short on time.
Nutritional Benefits and Control Over Ingredients
When you make jam at home, you’re in charge. You can choose high-quality, organic fruits and control the amount and type of sweetener used. Many freezer jam recipes are designed to work well with less sugar or even alternative sweeteners like monk fruit or stevia, offering a healthier option compared to many store-bought varieties that are often laden with excessive sugar. This allows you to tailor the jam to your dietary needs without sacrificing flavor.
Vibrant Color and Texture
Because the fruit isn’t exposed to prolonged heat, freezer jam retains its bright, natural color, making it visually appealing. The texture also tends to be softer and more fruit-forward, often with delightful chunks of berries, providing a more rustic and homemade feel compared to the uniformly smooth texture of many commercial jams.


Easy Peasy Strawberry Freezer Jam Recipe
This recipe for strawberry freezer jam is designed for simplicity and maximum flavor retention. It’s perfect for capturing the fresh taste of summer berries and enjoying it throughout the year. The process is quick, requires minimal equipment, and yields a truly delicious result that far surpasses any store-bought alternative. Remember, the key to great freezer jam is using the freshest, ripest strawberries you can find.
Recipe Summary
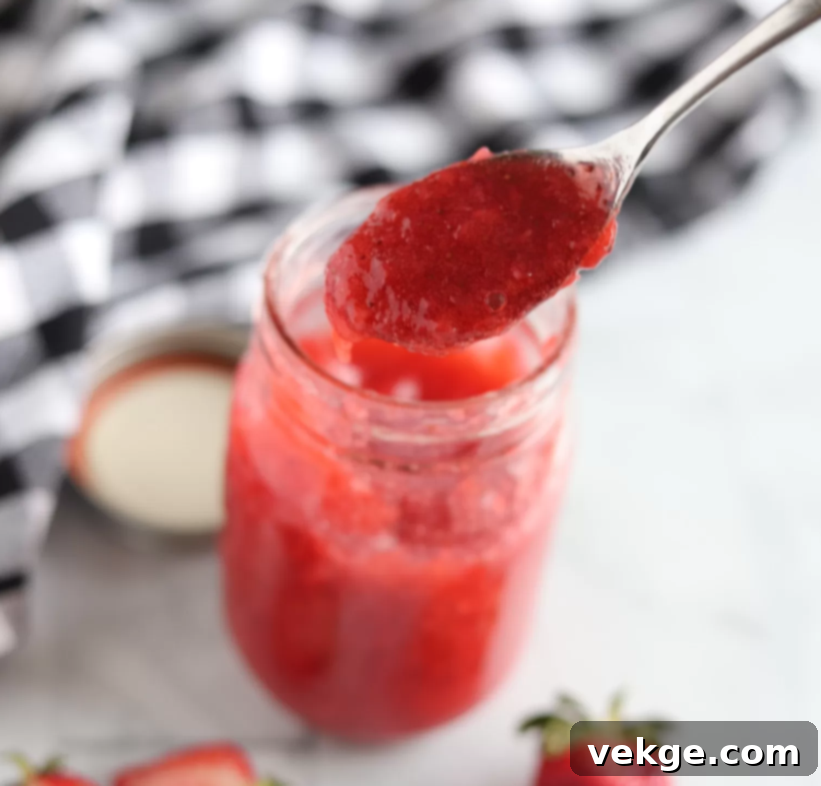
This “Easy Peasy Strawberry Freezer Jam” is hands down the only jam worth eating in my opinion! Each spring, as berries become abundant and affordable, I make a big batch to ensure we have this delicious spread all year long. It’s incredibly good, capturing the pure essence of fresh strawberries.
Yields: Approximately 5-6 half-pint jars
Course: Jam
Prep Time: 20 minutes
Additional Time (Setting): 30 minutes
Total Time: 50 minutes
Ingredients:
- 6 cups fresh strawberries, hulled and washed
- 1 box (1.75 oz) freezer pectin (such as Sure-Jell for Less or No Sugar Needed Recipes) or equivalent “Ez Gel”
- 3-4 cups granulated sugar (or a combination of sugar and monk fruit sweetener, to taste)
- 2 tablespoons fresh lemon juice (optional, for brightness and acidity)
- Clean canning jars or freezer-safe plastic containers with lids
Equipment:
- Large mixing bowl
- Potato masher, or food processor/blender
- Ladle
- Measuring cups and spoons
Instructions:
- **Prepare Your Workspace and Ingredients:** Gather all your necessary items: fresh strawberries, freezer pectin (or “Ez Gel”), sugar, lemon juice, and an adequate number of jars or freezer-safe plastic containers. Ensure your containers are clean and dry, ready to be filled.
- **Wash and Process the Berries:** Thoroughly wash and hull the strawberries. Depending on your preference for chunkiness, you can either mash them thoroughly with a potato masher for a rustic texture, or for a smoother consistency, give them a quick two-second pulse in a food processor or blender. Aim for about 4 cups of crushed berries.
- **Combine Fruit with Pectin and Sweetener:** In a large bowl, combine the crushed fruit with your chosen freezer pectin, sugar, and lemon juice. It’s crucial to follow the specific directions on the back of your pectin box, as instructions can vary slightly between brands (e.g., some require mixing pectin with fruit first, others with sugar). I often opt for the “low sugar” recipe variant and sometimes use a 50/50 mix of granulated sugar and monk fruit sweetener for a lighter option. On one occasion, I successfully used “EZ Gel” when pectin was unavailable, and it worked wonderfully! Stir vigorously for 3-5 minutes until the sugar is fully dissolved.
- **Allow Jam to Set:** If your pectin’s directions advise, let the jam mixture sit for about 30 minutes at room temperature. This crucial step allows the pectin to begin activating and thickening the jam. During this time, the jam will visibly start to gel, ensuring it has the right consistency before freezing.
- **Ladle into Containers and Freeze:** Carefully ladle the thickened jam into your prepared jars or freezer-safe containers. Leave about ½ inch of headspace at the top of each container to allow for expansion during freezing. Seal the containers tightly. Consult your pectin package for specific guidelines on how soon to freeze the jam; generally, you want to ensure it has adequately thickened before placing it in the freezer.
- **Storage and Serving:** Your freshly made freezer jam can be stored in the freezer for 12 months or longer. Once thawed, it can be kept in the refrigerator for up to 3 weeks. To thaw a frozen jar, simply transfer it to the countertop and let it sit for 8-12 hours, or overnight, until completely defrosted. Once thawed, refrigerate and enjoy! Serve this delectable jam on warm, toasted sourdough bread slathered with butter, or as a delightful topping for fluffy German pancakes. Yum!
Expert Tips for Perfect Freezer Jam
Making freezer jam is straightforward, but a few expert tips can elevate your results from good to absolutely fantastic. Paying attention to these details will ensure your jam is consistently delicious, vibrant, and perfectly set every time.
Choosing the Right Berries
The quality of your jam starts with the quality of your fruit. Select ripe, firm strawberries that are free from blemishes or mold. While fresh is best, high-quality frozen strawberries (thawed and drained) can also be used in a pinch, though they might yield a slightly softer jam due to their increased water content.
Achieving the Ideal Mashing Consistency
How you mash your berries significantly impacts the jam’s texture. For a chunky jam that highlights whole pieces of fruit, use a potato masher and leave some larger pieces intact. If you prefer a smoother jam, a food processor or blender can achieve this, but be careful not to over-process and turn it into a liquid puree. A few quick pulses are usually sufficient.
Understanding Pectin Types
Freezer pectin is specifically formulated for no-cook or low-cook jam recipes and works differently from traditional canning pectin. Always use the type of pectin recommended for freezer jam. Brands like Sure-Jell for Less or No Sugar Needed Recipes are popular choices. If you use a sugar alternative, ensure your pectin is compatible with low-sugar recipes. “Ez Gel” is another excellent alternative if traditional pectin is unavailable, yielding similar great results.
Sweetener Options
While granulated sugar is standard, you have flexibility. For a healthier or diabetic-friendly option, consider using half sugar and half a sugar substitute like monk fruit or stevia. Be mindful that reducing sugar too much with standard pectin can affect the set, so always check your pectin package for low-sugar specific instructions.
Proper Jar Filling and Headspace
Always leave adequate headspace in your jars or containers—typically about ½ inch from the top. This is crucial because liquids expand when frozen. Failing to leave enough room can cause containers to crack or lids to pop off, leading to freezer burn or spoilage.
Freezing and Thawing Safely
Ensure the jam has sufficient time to thicken at room temperature before freezing. This allows the pectin to fully activate. When thawing, do so gradually in the refrigerator or on the countertop. Once thawed, always store the jam in the refrigerator, and consume it within a few weeks for the best quality.
Beyond the Toast: Creative Ways to Enjoy Your Freezer Jam
While strawberry freezer jam is undeniably delightful spread generously on a piece of toast or a warm biscuit, its versatility extends far beyond the breakfast table. Here are some inspiring ideas to incorporate this fresh, fruity goodness into various meals and treats, transforming ordinary dishes into extraordinary culinary experiences.
Sourdough Sandwich Bread
A thick slice of homemade sourdough sandwich bread, lightly toasted and slathered with butter, provides the perfect canvas for your vibrant strawberry freezer jam. The slight tang of the sourdough beautifully complements the sweet and tart berries, creating a balanced and incredibly satisfying bite. It’s a classic pairing for a reason!
Classic White Bread
For a taste of pure nostalgia, spread your freezer jam on a soft slice of classic white bread. The simplicity of the bread allows the rich strawberry flavor to truly shine, making for a comforting and utterly delicious snack or light meal. It’s a timeless combination that evokes childhood memories.
German Pancakes
Elevate your breakfast or brunch with a generous dollop of strawberry freezer jam on warm, airy German pancakes. The jam’s sweet-tart profile cuts through the richness of the pancakes, creating a harmonious blend of flavors and textures. It’s a spectacular way to start your day or impress guests.
Additional Creative Serving Suggestions:
- **Yogurt Parfaits:** Layer your jam with Greek yogurt, granola, and fresh berries for a wholesome and delicious breakfast or snack.
- **Oatmeal Topping:** Stir a spoonful into your morning oatmeal or porridge for a burst of fruit flavor and natural sweetness.
- **Ice Cream Swirl:** Soften vanilla ice cream slightly, swirl in some jam, and refreeze for a homemade strawberry ripple ice cream.
- **Thumbprint Cookies:** Use it as the sweet center for classic thumbprint cookies or other baked goods.
- **Cheese Board:** Pair with creamy cheeses like brie or goat cheese on a charcuterie board for a delightful sweet and savory contrast.
- **Cocktail Enhancer:** A small spoon of jam can add a fantastic fruity twist to cocktails like gin fizzes or vodka sours.
- **Dessert Sauce:** Warm slightly and drizzle over cheesecakes, panna cotta, or even chocolate cake for an elegant finish.
- **Glaze for Meats:** Believe it or not, strawberry jam can make a fantastic glaze for roasted chicken or pork, adding a touch of sweetness and acidity.
Storing Your Homemade Freezer Jam
The beauty of freezer jam lies in its convenient and long-term storage capabilities, making it a fantastic way to preserve the fleeting flavors of fresh berries for months. Understanding the best practices for freezing and thawing will ensure your jam remains as delicious as the day you made it.
Freezer Storage Life
Once properly prepared and sealed in freezer-safe containers, your homemade strawberry freezer jam can last in the freezer for a remarkable 12 months or even longer. The freezing process effectively halts bacterial growth and enzyme activity, preserving the jam’s fresh taste, vibrant color, and nutritional integrity. Always ensure containers are airtight to prevent freezer burn, which can affect texture and flavor.
Refrigeration After Thawing
Once you decide to enjoy a jar of your frozen jam, it’s important to understand the transition from freezer to refrigerator. After thawing, the jam should be stored in the refrigerator, where it will remain fresh for approximately 2-3 weeks. This shorter shelf life is due to the lack of traditional canning methods, which provide extended ambient shelf stability. Always label your jars with the date of freezing and the date opened to keep track of freshness.
Proper Thawing Methods
Thawing your freezer jam is simple and requires minimal effort. The easiest and most recommended method is to transfer a frozen jar from the freezer to your refrigerator and let it thaw slowly overnight. This gradual thawing helps maintain the jam’s texture. If you’re in a hurry, you can place the sealed container on your kitchen countertop at room temperature for about 8-12 hours, or until fully defrosted. Avoid using a microwave for thawing, as uneven heating can alter the jam’s consistency and quality.
With these storage tips, you can confidently make large batches of freezer jam during berry season, knowing you’ll have a supply of fresh, delicious strawberry goodness ready to brighten your meals throughout the year. It’s a simple act of culinary foresight that pays dividends in delightful flavor!
Embrace the joy of homemade strawberry freezer jam! It’s an effortless way to capture the essence of spring and summer, providing you with a taste of sunshine whenever you desire. With its vibrant flavor, easy preparation, and long-lasting freshness, this jam is truly a pantry staple worth making year after year. Say goodbye to dull, store-bought jams and hello to the fresh, bright taste of berries, preserved perfectly for every season.
