The Ultimate Guide to Insulation Removal: DIY vs. Professional & Safety Tips
If you’re contemplating removing old insulation from your home, you’re not alone. Many homeowners reach a point where their existing insulation has lost its effectiveness, leading to noticeable cold drafts, uncomfortable indoor temperatures, and alarmingly high energy bills. I’ve experienced these frustrations firsthand, and I understand that addressing such issues is a priority for a comfortable and efficient home.
This comprehensive guide is designed to walk you through every aspect of insulation removal. We’ll delve into the critical reasons why you might need to remove old insulation, provide a detailed, step-by-step approach for safe DIY removal, discuss the benefits of hiring a professional, and highlight essential safety considerations to protect your health and your home.
Whether you’re leaning towards a do-it-yourself project or considering professional assistance, by the end of this guide, you’ll have a clear understanding of the entire process, empowering you to make an informed decision. Let’s embark on this journey to transform your living space into a cozier, healthier, and more energy-efficient environment.
Why Consider Insulation Removal? Signs It’s Time for an Upgrade
Insulation plays a vital role in maintaining your home’s comfort and significantly impacting your energy consumption. It acts as a barrier against heat transfer, keeping your home warm in winter and cool in summer. However, just like any other component of your home, insulation has a lifespan and can deteriorate over time, losing its ability to perform effectively. Recognizing the signs of failing insulation is the first step towards a more efficient home.
Here are some key indicators that it might be time for old insulation removal and a fresh start:
- Age of Insulation: If your home’s insulation is older than 15-20 years, its R-value (a measure of thermal resistance) has likely degraded. Older materials, especially those common in homes built before the 1980s, may not meet current energy efficiency standards and could even contain hazardous materials like asbestos, making removal a critical safety measure.
- Mold or Mildew Growth: The presence of mold or mildew in your attic, crawl space, or within walls is a significant red flag. This often indicates moisture intrusion, which can saturate insulation, rendering it ineffective and creating a breeding ground for harmful spores. Moldy insulation poses serious health risks, including respiratory problems and allergic reactions, and its removal is essential for a healthy indoor environment.
- Visible Damage and Deterioration: Insulation that is crushed, matted, torn, or water-damaged will not provide adequate thermal resistance. Common causes of damage include roof leaks, burst pipes, general wear and tear, or improper installation. Damaged insulation leads to thermal bridges, allowing heat to escape or enter easily, which directly translates to higher energy bills.
- Rodent or Pest Infestations: Attic insulation can become an attractive nesting site for rodents, birds, insects, and other pests. These unwelcome guests can tunnel through and compact insulation, reducing its effectiveness. More critically, their droppings, urine, and nesting materials contaminate the insulation, creating unsanitary conditions and potential health hazards from diseases they carry. Professional insulation removal and sanitization become crucial in such scenarios.
- Rising Energy Bills: One of the most tangible signs that your insulation isn’t doing its job is a noticeable increase in your heating and cooling costs. If your energy bills are steadily climbing despite consistent usage and well-maintained HVAC systems, inefficient or compromised insulation is a prime suspect. Removing old, ineffective insulation and replacing it with new, high-performance materials can lead to significant energy savings.
- Uneven Room Temperatures: Are some rooms in your home consistently colder or warmer than others? This inconsistency often points to inadequate or failing insulation, particularly in the attic or wall cavities. Removing the old material allows for the installation of new insulation that provides uniform thermal protection throughout your home.
Removing old insulation not only helps address these immediate issues but also lays the groundwork for improved energy efficiency, eliminates potential health risks associated with mold or pests, and ensures your home remains a safe, comfortable, and cost-effective place to live.
DIY Insulation Removal: A Step-by-Step Guide for Homeowners
For those comfortable with home improvement projects and aware of the potential risks, removing insulation yourself can be a cost-effective option. However, it’s crucial to approach this task with careful planning, the right tools, and an unwavering commitment to safety. This section will guide you through the process.
Essential Tools and Safety Gear You’ll Need
Before you begin any insulation removal project, gather all necessary tools and, most importantly, personal protective equipment (PPE). Safety is paramount.
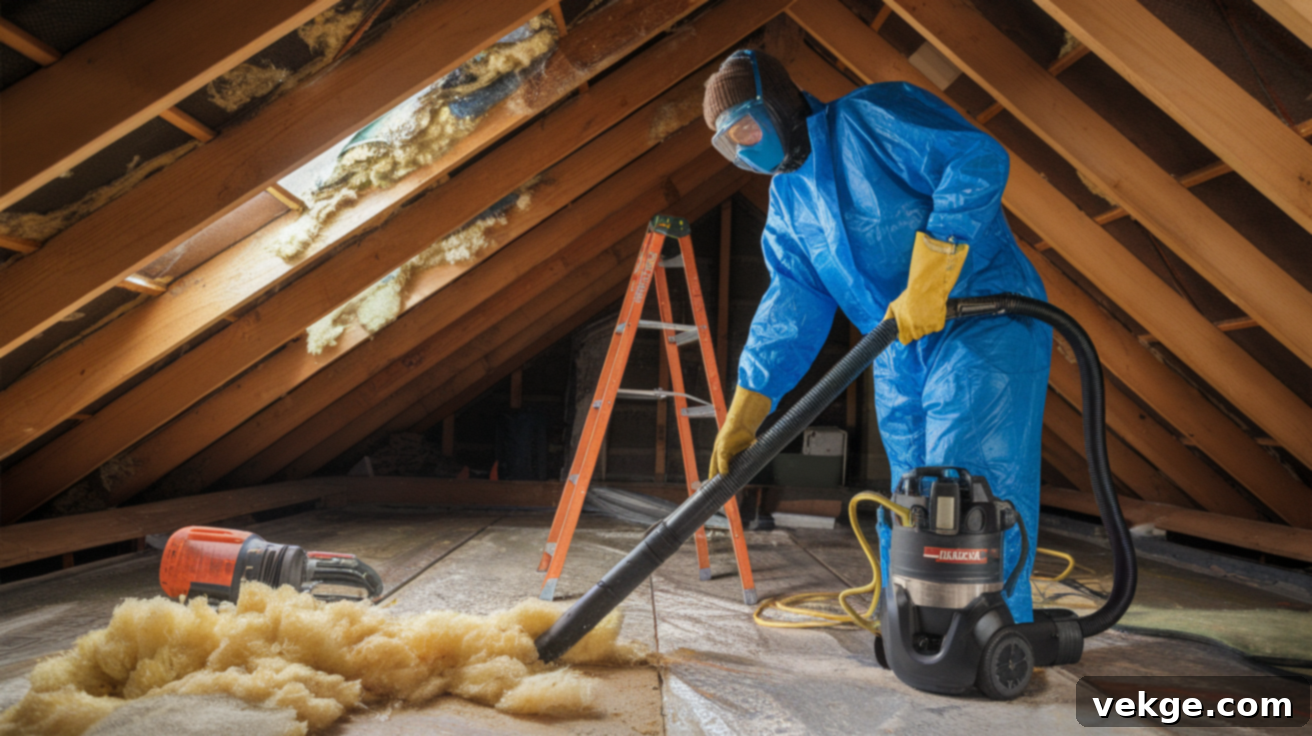
- Heavy-Duty Shop Vacuums: For blown-in insulation, a powerful insulation vacuum or a high-capacity shop vacuum with a HEPA filter attachment is essential to efficiently collect loose materials and fine dust.
- N95 Respirators or Full-Face Respirators: Crucial for protecting your lungs from inhaling dust, fibers, mold spores, and other airborne particles. A full-face respirator offers added eye protection.
- Durable Work Gloves: Protect your hands from irritants, sharp edges (like old nails or wood splinters), and the itchy fibers of materials like fiberglass.
- Long-Sleeved Shirts and Pants: Provide a physical barrier against skin irritation. For fiberglass or potentially hazardous materials, a disposable Tyvek suit is highly recommended for full body coverage.
- Safety Goggles or Glasses: Essential for protecting your eyes from dust, debris, and insulation fibers.
- Headlamp or Portable Lighting: Attics are often poorly lit. A strong, hands-free light source is vital for visibility and safety.
- Ladders or Attic Access Tools: Ensure you have a sturdy, stable ladder that allows safe access to your attic or crawl space.
- Heavy-Duty Trash Bags or Contractor Bags: Use thick, puncture-resistant bags for collecting and containing the removed insulation. Label them if disposing of hazardous materials.
- Duct Tape or Zip Ties: For sealing trash bags securely and for any temporary repairs.
- Utility Knife or Scissors: Useful for cutting batt insulation or opening bags.
- Pry Bar or Scraper: Particularly useful for removing spray foam insulation or stubborn pieces.
- Plastic Sheeting or Drop Cloths: To protect floors and furniture in areas leading to and from your workspace.
Step 1: Thorough Preparation of the Work Area

Before you even touch the insulation, proper preparation is critical for both efficiency and safety. This involves protecting your home and ensuring a safe workspace.
- Protect Your Home: Lay down plastic sheeting or heavy-duty drop cloths over floors, furniture, and any exposed surfaces in the path from your attic or crawl space to your disposal area. This prevents dust and debris from spreading throughout your home. Secure the sheeting with painter’s tape to avoid tripping hazards.
- Clear the Workspace: Remove any stored items from the attic or crawl space that could obstruct your movement or become damaged. This will give you ample room to maneuver and work safely.
- Ensure Adequate Ventilation: Open windows and doors (if weather permits) and use fans to create cross-ventilation. This helps to dissipate dust, fibers, and any unpleasant odors. If working in an enclosed space like an attic, consider using an exhaust fan to pull air out of the space, creating negative pressure and reducing dust migration into other parts of the house.
- Inspect for Hazards: Before starting, visually inspect the attic for any exposed wiring, structural damage, or pest activity. Address any immediate hazards like loose electrical wires or weak floorboards. Ensure adequate lighting is available, preferably with a headlamp so your hands are free.
Step 2: The Insulation Removal Process

The specific technique for removal will vary depending on the type of insulation you are dealing with.
- Blown-in Insulation (Cellulose, Fiberglass, Rock Wool):
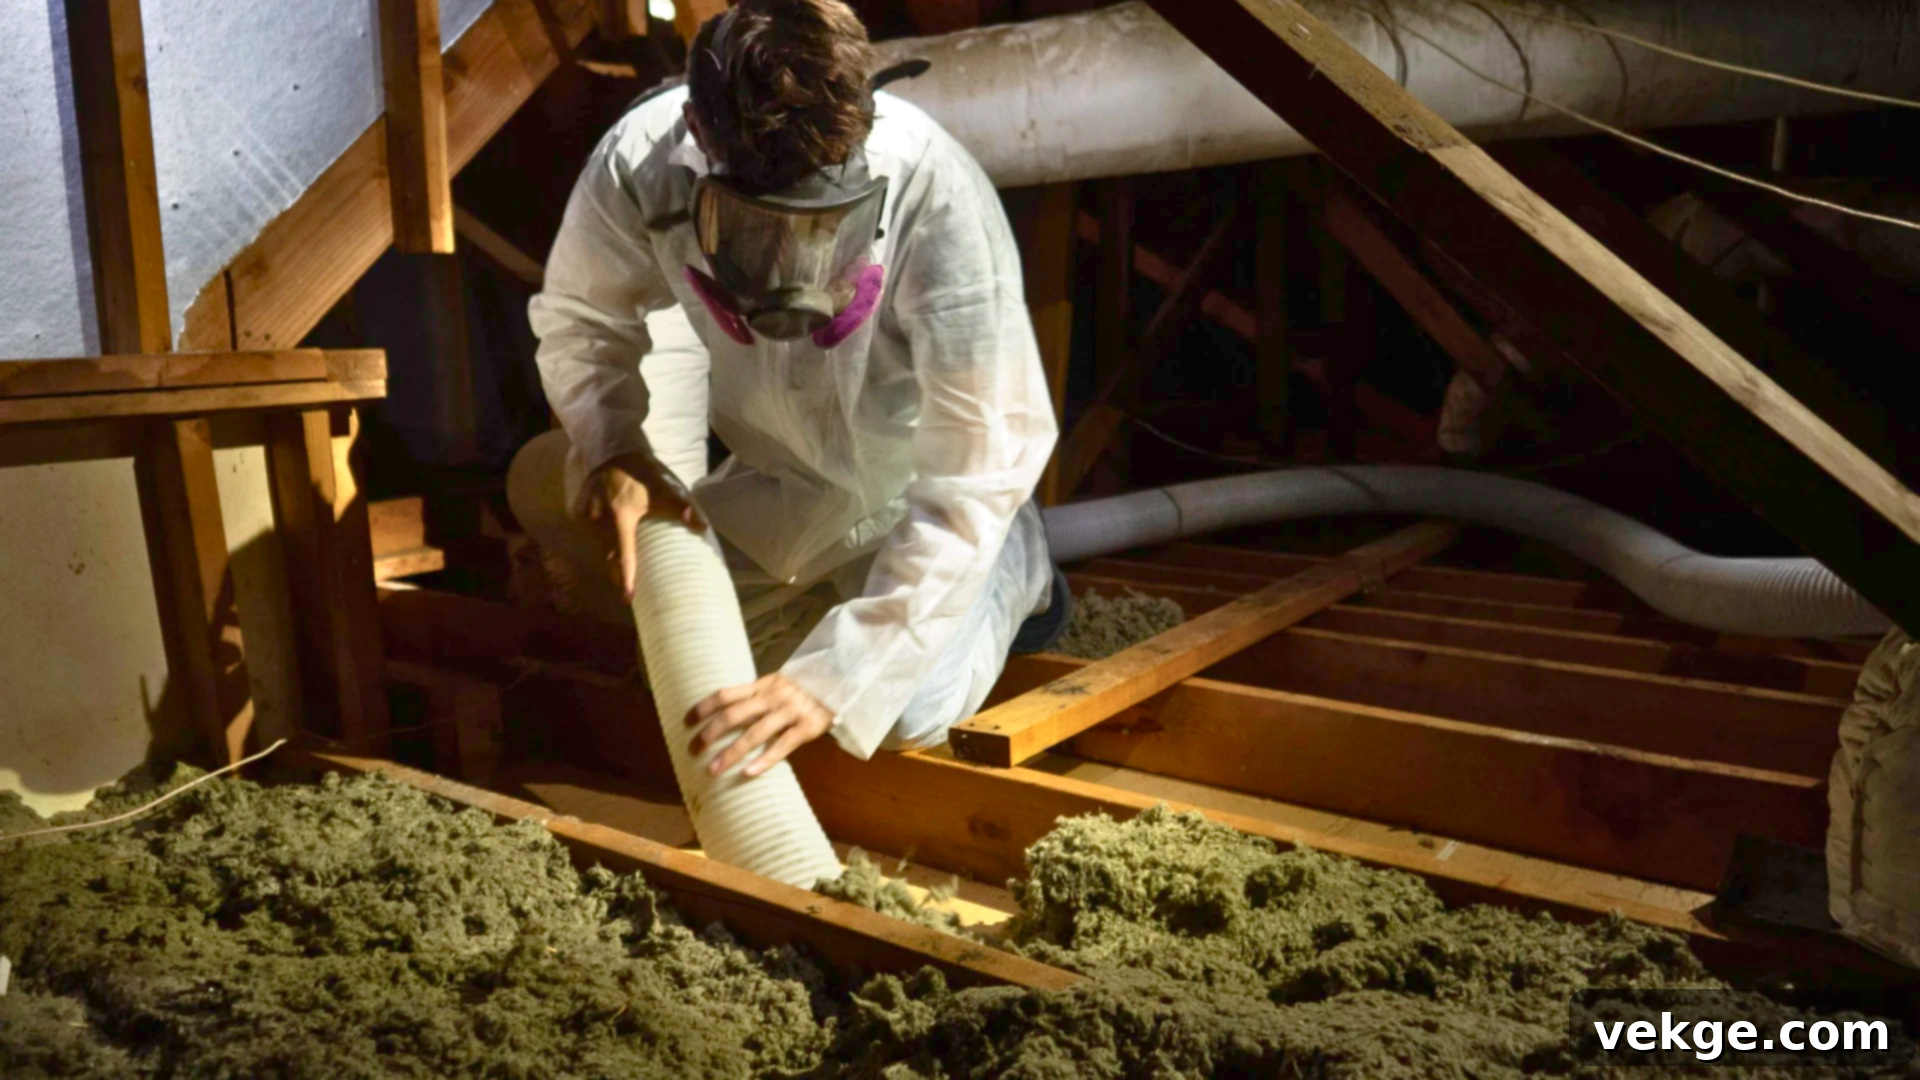
- This type is best removed using a specialized insulation vacuum. These powerful vacuums are designed to suck up loose insulation and deposit it directly into large collection bags outside your home, minimizing dust spread indoors.
- Begin at the farthest corner of the attic or space, working methodically towards the exit point. This prevents you from having to traverse over areas you’ve already cleaned, stirring up more dust.
- Ensure the vacuum hose is long enough to reach all areas without stretching or straining. Take breaks as needed, especially in hot attics, and rehydrate frequently.
- Fiberglass Batt or Roll Insulation:
- Carefully roll up fiberglass batt insulation. Avoid ripping or tearing it unnecessarily, as this releases more irritating fibers.
- Wear comprehensive protective gear: heavy-duty gloves, safety goggles, an N95 or P100 respirator, and a full-body disposable Tyvek suit. Fiberglass fibers are highly irritating to skin, eyes, and lungs.
- Place rolled sections directly into heavy-duty trash bags. Seal the bags immediately to contain fibers.
- Avoid touching your skin and wash up immediately and thoroughly after handling. Consider showering and changing clothes in a separate area to prevent spreading fibers.
- Spray Foam Insulation (Open-Cell or Closed-Cell):
- Spray foam, especially closed-cell, is more rigid and adheres tightly to surfaces. It typically needs to be scraped off using a sturdy putty knife, chisel, or another suitable scraping tool.
- Work cautiously to avoid damaging the underlying surfaces (e.g., drywall, wiring, structural wood).
- In some cases, especially for large areas or very dense foam, cutting tools like reciprocating saws with specialized blades might be necessary, but this requires extreme caution and knowledge of what lies beneath.
- Ensure excellent ventilation, as the dust from cutting or scraping foam can also be an irritant.
- Loose Fill (Vermiculite, Cellulose):
- Vermiculite insulation, common in older homes, may contain asbestos. If you suspect vermiculite, DO NOT DISTURB IT. Professional testing and removal are absolutely essential.
- For other loose-fill materials, use the vacuum method similar to blown-in insulation, ensuring adequate respiratory protection.
Step 3: Responsible Disposal and Thorough Cleanup

Once all the old insulation is removed, proper disposal and meticulous cleanup are the final, crucial steps.
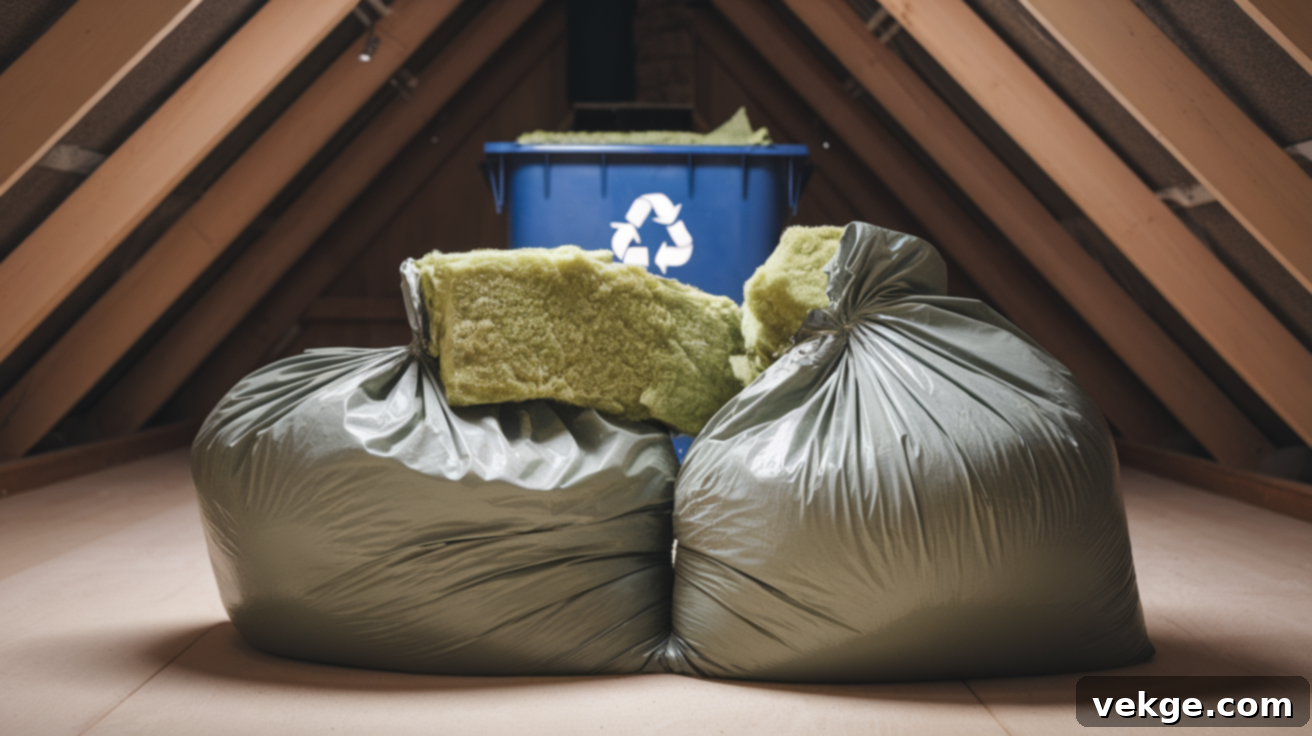
- Collecting and Sealing: Double-bag all removed insulation in heavy-duty contractor bags. Seal them tightly with duct tape or strong zip ties to prevent any dust or fibers from escaping during transport. Label bags clearly if they contain potentially hazardous materials.
- Local Regulations: Research and adhere to your local waste disposal regulations. Some municipalities have specific rules for construction debris, large volumes of waste, or potentially hazardous materials. You may need to take the insulation to a designated recycling center, a transfer station, or arrange for a special pickup. Never illegally dump insulation.
- Post-Removal Cleaning: After all insulation is bagged and removed, thoroughly clean the entire work area. Use a shop vacuum (with a HEPA filter) to pick up any remaining dust, fibers, and debris from all surfaces.
- Wipe Down Surfaces: Wipe down joists, rafters, and any other exposed surfaces with a damp cloth to remove residual fine particles. This is especially important if you plan to install new insulation soon.
- Sanitization (if applicable): If mold or pests were present, consider applying a disinfectant or deodorizer suitable for attics to ensure the space is fully sanitized before new insulation is installed.
- Cost for DIY: DIY insulation removal typically costs around $200 – $500. This estimate primarily covers the rental or purchase of tools (like a powerful shop vac), heavy-duty bags, protective gear, and disposal fees. However, this cost can vary significantly based on the amount of insulation, the type of tools needed, and local disposal charges.
The Benefits of Professional Insulation Removal Services
While DIY removal is an option for some, hiring professionals for insulation removal often proves to be the safest, most efficient, and most comprehensive solution, especially for larger projects or homes with specific challenges.
When you enlist the services of a professional insulation contractor, they typically follow a structured process to ensure the job is done to the highest standards:
- Initial Inspection and Assessment: The process begins with a thorough inspection of your attic or crawl space. Experts will identify the type of insulation, assess its condition, determine the extent of contamination (mold, pests, water damage), and check for any underlying issues like structural damage or pest entry points. This initial assessment allows them to develop a tailored removal plan.
- Containment and Preparation: Professionals establish a sealed work zone to prevent dust and contaminants from spreading throughout your home. They use plastic sheeting, negative air pressure machines (air scrubbers with HEPA filters), and specialized equipment to create a contained environment, protecting your indoor air quality.
- Specialized Equipment and Techniques: Unlike basic shop vacuums, professional teams utilize industrial-grade insulation vacuums with long hoses and high suction power. These machines are designed for rapid and efficient removal of all types of loose-fill insulation, extracting it directly into large, sealed collection bags or trailers outside the home. For batt or spray foam, they have the right tools to safely detach and bag the materials.
- Safe and Efficient Removal: With their expertise and equipment, professionals can remove insulation quickly and safely. They are trained to handle various types of insulation, including potentially hazardous materials like vermiculite (which may contain asbestos), ensuring minimal disruption and maximum safety.
- Thorough Cleanup and Sanitization: After removing all insulation, the area is meticulously cleaned. Professionals will vacuum up residual dust and debris, and if necessary, apply sanitizers and deodorizers to eliminate mold spores, bacteria, and pest odors. This leaves your attic clean, fresh, and ready for new insulation installation.
- Proper Disposal: Insulation contractors are well-versed in local waste disposal regulations. They will ensure all removed materials are disposed of legally and responsibly, including any hazardous waste, saving you the time and effort of finding appropriate disposal sites.
Hiring experts ensures that the entire process is handled correctly, adheres to safety standards, and saves you significant time and effort. It also provides peace of mind, knowing that potential health risks are minimized and your home is properly prepared for its next insulation upgrade.
The cost of professional insulation removal can range from approximately $1,500 – $4,000 for full-service removal. This price typically includes the inspection, specialized equipment, labor, cleanup, and responsible disposal. Factors influencing the cost include the size of the area, the type and amount of insulation, the presence of hazardous materials (like asbestos or extensive mold), and the accessibility of the space.
Risks and Critical Safety Considerations for Insulation Removal
Safety must always be the top priority when undertaking any home renovation project, especially insulation removal. Certain types of insulation and the contaminants within them can pose serious health problems if not handled with extreme care and proper protective measures. Understanding these risks is crucial for making an informed decision about DIY versus professional removal.
Potential Health Risks Associated with Old Insulation
- Asbestos Exposure: This is perhaps the most serious risk. Insulation installed in homes built before the 1980s, particularly vermiculite insulation, may contain asbestos. When disturbed, asbestos fibers become airborne and can be inhaled, leading to severe and often fatal lung diseases such as mesothelioma, asbestosis, and lung cancer. If there’s any suspicion of asbestos, DO NOT PROCEED with DIY removal. It is imperative to hire a certified asbestos abatement professional for testing and safe removal.
- Dust and Fibers: Even non-asbestos insulation, such as fiberglass and cellulose, can release fine particles and fibers into the air when disturbed. These particles can cause irritation to the skin (itching, rashes), eyes (redness, watering), and respiratory system (coughing, sneezing, shortness of breath). Prolonged or repeated exposure without proper protection can lead to more chronic breathing issues.
- Mold and Mildew: If insulation has been exposed to moisture, it can become a breeding ground for mold and mildew. Inhaling mold spores can trigger allergic reactions, asthma attacks, and other respiratory problems. Certain types of mold, like black mold (Stachybotrys chartarum), produce mycotoxins that can lead to more severe health issues, including neurological problems. Extensive mold growth often necessitates professional remediation beyond simple removal.
- Pest Contaminants: Insulation infested with rodents or insects will be contaminated with droppings, urine, shed skin, and nesting materials. These biological hazards can carry bacteria (like Leptospirosis), viruses (like Hantavirus), and allergens, posing a risk of infection or respiratory illness through airborne particles.
- Chemical Residues: Some older insulation materials or treatments might contain outdated chemical compounds that could be harmful if inhaled or come into contact with skin.
Essential Safety Precautions for Insulation Removal
Wearing the correct personal protective equipment (PPE) and following strict safety protocols are non-negotiable for your health and safety during insulation removal:
- High-Quality Respirators: Always wear at least an N95 respirator to filter out dust, fibers, and mold spores. For enhanced protection against finer particles and a broader range of airborne contaminants, a P100 respirator or a full-face respirator is highly recommended. Ensure it fits snugly to prevent air leakage.
- Durable Work Gloves: Use heavy-duty, puncture-resistant gloves (e.g., leather or thick rubberized gloves) to protect your hands from irritating fibers, sharp objects, and potential contaminants.
- Full-Body Protective Suits: Wear a disposable Tyvek suit or similar coveralls. These suits create a barrier, preventing insulation fibers and dust from settling on your skin or clothes. Make sure the hood is up and sealed around your respirator.
- Safety Goggles: Protect your eyes from flying debris, dust, and irritating fibers with tightly fitting safety goggles.
- Head Protection: A hard hat or bump cap is advisable in attics or crawl spaces with low clearances to prevent head injuries from exposed rafters or pipes.
- Ensure Excellent Ventilation: As mentioned in the DIY section, maintain strong airflow in your work area by opening windows/doors and using fans. Consider negative air pressure systems to prevent contaminants from spreading to other parts of your home.
- Work with a Buddy: Never work alone in an attic or confined space. Have someone nearby who can assist in case of an emergency or simply help with passing tools or bags.
- Stay Hydrated and Take Breaks: Attics can become extremely hot. Take frequent breaks, drink plenty of water, and avoid working during the hottest parts of the day.
- Post-Work Decontamination: After finishing, carefully remove your PPE (gloves first, then suit, then respirator) to avoid re-contaminating yourself. Dispose of the suit and gloves. Wash your hands and exposed skin thoroughly with soap and water. Shower immediately and put your clothes in the wash separately.
By diligently adhering to these risks and precautions, you can significantly mitigate health hazards and ensure a safer insulation removal process, whether you undertake it yourself or entrust it to professionals.
Conclusion: Making the Right Decision for Your Home
In this comprehensive guide, we’ve explored every critical aspect of insulation removal, from understanding the compelling reasons why it might be necessary for your home to navigating the detailed steps for a DIY approach, and recognizing the significant advantages of professional services. We’ve also underscored the paramount importance of safety, detailing potential health risks and the essential precautions required to protect yourself and your family.
The decision to remove old insulation is a significant one that directly impacts your home’s energy efficiency, indoor air quality, and overall comfort. Now, armed with this knowledge, you are better equipped to weigh the options based on your budget, available time, the complexity of your situation, and your comfort level with potential safety concerns.
Whether you choose to undertake the project yourself, meticulously following our DIY guide, or opt for the expertise and specialized equipment of professional insulation contractors, proper insulation removal is the foundational step towards a healthier, more energy-efficient, and truly comfortable home. Always prioritize safety, utilize the correct tools and protective gear, and ensure the job is done right the first time.
For more detailed guides and practical DIY tips on home improvement, be sure to explore our other insightful blogs. Your journey towards a better home starts with informed choices!
