Ultimate Guide to Staining Butcher Block: Transform Your Kitchen Countertops
That gorgeous slab of wood gracing your kitchen isn’t just a countertop—it’s a canvas brimming with potential. Far too often, people settle for a “natural” look, missing out on the incredible opportunity to personalize their space and elevate its aesthetic. But what if your dream kitchen calls for something bolder, deeper, or uniquely tailored to your style?
I’ve dedicated 15 years to transforming butcher block surfaces, turning bland into brilliant. Just last month, I helped a client reimagine their kitchen by taking a pale maple butcher block and infusing it with the rich, luxurious tones of mahogany. The result? A stunning centerpiece that made her gasp with delight. The week before, an aged oak surface, weary from years of use, was meticulously restored and stained to perfectly complement century-old ceiling beams, breathing new life into a historic home.
The secret that many don’t share about butcher block is its remarkable resilience and forgiving nature. Every careful application, every thoughtful stain attempt, contributes to its character, weaving a unique story into the wood grain, much like the rings of a tree recount its history. Before you reach for that can of stain, let me share the invaluable lessons learned from countless projects – the triumphs, the occasional disasters, and the refined techniques that emerged from both. This guide is your roadmap to achieving professional, lasting results.
Why Staining Your Butcher Block Countertop Matters for Your Kitchen Design
Step into almost any kitchen design store, and you’ll likely hear the same advice about keeping butcher block “natural.” While beautiful in its own right, “natural” isn’t always the perfect fit for every design vision. What if your space craves a deeper hue, a warmer tone, or a specific shade to harmonize with existing decor? Limiting yourself to unfinished wood means missing out on a world of design possibilities.
I’ve witnessed firsthand how a carefully chosen stain can transform a basic utility surface into a breathtaking focal point. Clients have fallen in love with their kitchens all over again, simply because we dared to think beyond conventional wisdom. Staining allows you to create a truly bespoke look, making your butcher block an integral part of your home’s unique narrative rather than just a functional surface.
This process is about safely making your butcher block truly yours – matching it to your cabinets, flooring, or even an antique piece of furniture. It’s about enhancing the natural beauty of the wood while ensuring its durability and function are preserved. Let’s explore how you can achieve this without compromising the integrity or longevity of your beloved butcher block.
Understanding Butcher Block: More Than Just Wood
Imagine butcher block as nature’s elegant answer to modern countertops. It’s an artisanal fusion of solid hardwood pieces, meticulously joined to create surfaces that are as hardworking as they are visually appealing. Unlike the cold, unyielding nature of granite or engineered stone, butcher block possesses a living quality; it breathes and evolves with your kitchen, offering warmth and character that no synthetic material can replicate.
At its core, butcher block construction begins with carefully selected strips of hardwood. These strips are then arranged in specific, visually appealing patterns. You’ll primarily encounter three types:
- Edge-Grain: These are strips of wood glued together with their narrow edges facing up, resembling soldiers standing in formation. This is the most common and often most affordable type, showcasing the long, continuous grain patterns beautifully.
- End-Grain: In this premium construction, small blocks of wood are arranged with their end grain facing up, like tiny skyscrapers. This method is incredibly durable, self-healing against knife marks, and boasts a unique checkerboard pattern, making it a favorite for cutting boards and heavy-duty work surfaces.
- Face-Grain: Here, wider planks are laid flat, showcasing the full, expansive beauty of the wood’s natural face grain. While less durable for direct chopping than end-grain, it offers stunning aesthetics, particularly for tabletops or decorative counters.
Under immense pressure and with specialized, food-safe adhesives, these individual pieces become one cohesive, solid surface, ready to endure everything from daily meal preparation to elaborate holiday feasts. The density and composition of butcher block make it inherently forgiving, allowing for sanding and refinishing multiple times over its lifespan, an advantage rarely found in other countertop materials.
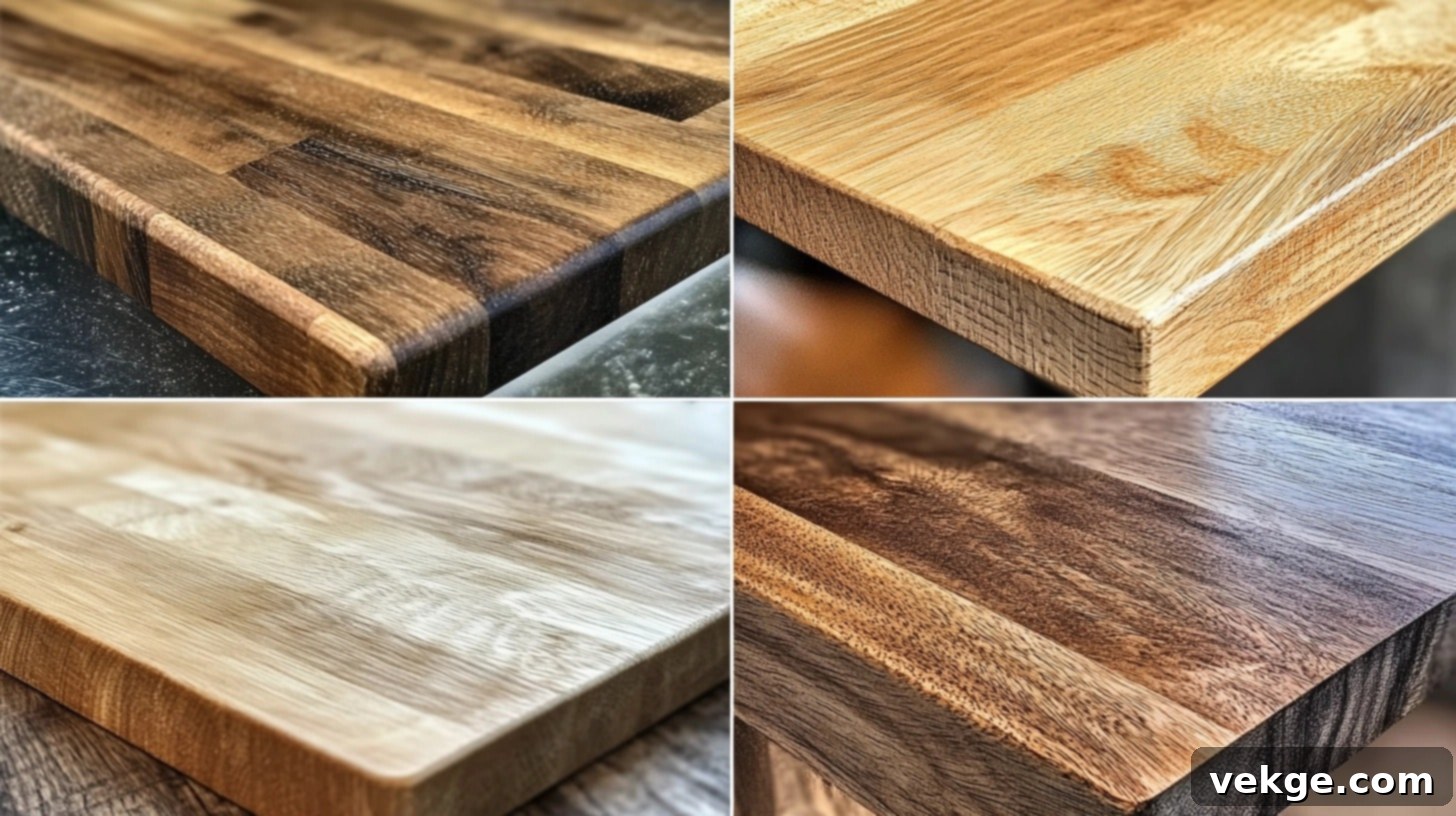
Traditionally, hard maple has been the go-to choice for butcher block, revered for centuries in professional kitchens due to its exceptional durability and light color. However, the world of butcher block extends far beyond maple. Consider the rich, deep hues of walnut, the classic strength of oak, or the warm, cherry tones that deepen beautifully with age. Each wood species brings its own distinct character, grain pattern, and natural color to your space, offering a diverse palette for your design aspirations.
The Essential Checklist: Tools and Materials for Staining Butcher Block Like a Pro
Before embarking on any butcher block staining project, meticulous preparation is key. Rushing or skipping steps inevitably leads to frustrating pauses and compromised results. Think of this checklist as your blueprint for success – ensuring you have everything you need for a smooth, professional finish. Your workspace, and your person, must be properly equipped:
1. Safety Equipment: Prioritizing Your Well-being
Never underestimate the importance of safety. I learned this lesson the hard way after skipping a respirator and spending hours with chemical fumes. Protect yourself first. Your essential safety kit should include:
- Professional Respirator with VOC Filters: Critical for protecting your lungs from harmful volatile organic compounds (VOCs) found in many stains and sealants. Ensure the filters are appropriate for organic vapors.
- Chemical-Resistant Gloves: Standard latex gloves offer minimal protection against strong solvents and stains. Invest in nitrile or chemical-resistant gloves to protect your skin.
- Safety Glasses with Side Shields: Your eyes are irreplaceable. Protect them from splashes, airborne dust, and debris.
- Old Clothes or Coveralls: Staining is a messy business. Wear clothes you don’t mind getting permanently stained.
- Drop Cloths or Heavy Plastic Sheeting: Protect your floors, cabinets, and surrounding furniture from spills and splatters. A generous coverage area is always recommended.
2. Surface Preparation Tools: The Foundation of a Flawless Finish
The quality of your surface preparation directly dictates the quality of your stain absorption and final appearance. Skimp here, and every subsequent step will suffer. These are your foundational tools:
- Orbital Sander with Dust Collection: Essential for achieving a smooth, even surface. A good dust collection system minimizes airborne particles, which can contaminate your finish.
- Sandpaper Progression (80, 120, 150, 180, 220 grits): This gradual progression ensures the removal of imperfections and opens the wood grain uniformly, allowing for even stain absorption. Never skip grits; each serves a purpose.
- Tack Cloths: These sticky cloths are indispensable for picking up fine dust particles that regular rags miss, ensuring a perfectly clean surface before staining.
- Clean Cotton Rags (Lint-Free): Avoid polyester or synthetic fabrics, as they can melt or leave fibers. Cotton rags are ideal for applying pre-conditioner and wiping off excess stain.
- Mineral Spirits or Denatured Alcohol: Used for a final wipe-down after sanding to remove any remaining dust, oils, or sanding residue, providing a pristine surface for staining.
- Pre-Stain Wood Conditioner: A non-negotiable step, especially for blotch-prone woods like maple or pine. It helps the wood absorb stain more evenly, preventing splotchy results.
3. Staining Equipment: For Smooth Application and Professional Results
Quality application tools make the staining process smoother and contribute significantly to a professional-looking finish:
- Natural Bristle Brushes (for oil-based products): The bristles hold oil-based stains well and allow for smooth, even application.
- Foam Brushes or Synthetic Brushes (for water-based applications): These are ideal for water-based stains as natural bristles can swell and become ineffective.
- Clean Glass Jars or Disposable Containers: For decanting smaller amounts of stain, reducing the risk of contaminating your main can, and allowing for easier mixing.
- Stirring Sticks: Essential for thoroughly mixing your stain, ensuring pigments are evenly dispersed and color consistency.
- Application Rags (Lint-Free): For wiping off excess stain and achieving an even, streak-free finish. Microfiber cloths can also work well.
- Paint Strainer: If your stain has settled or developed any particles, straining it before application prevents imperfections in your finish.
Step-by-Step Guide to Staining Your Butcher Block Like a Professional
Achieving a stunning, durable stained butcher block surface is a process that demands precision and patience. Follow these steps meticulously, and you’ll be rewarded with a finish that truly transforms your kitchen.
Step 1: Meticulous Workspace Preparation
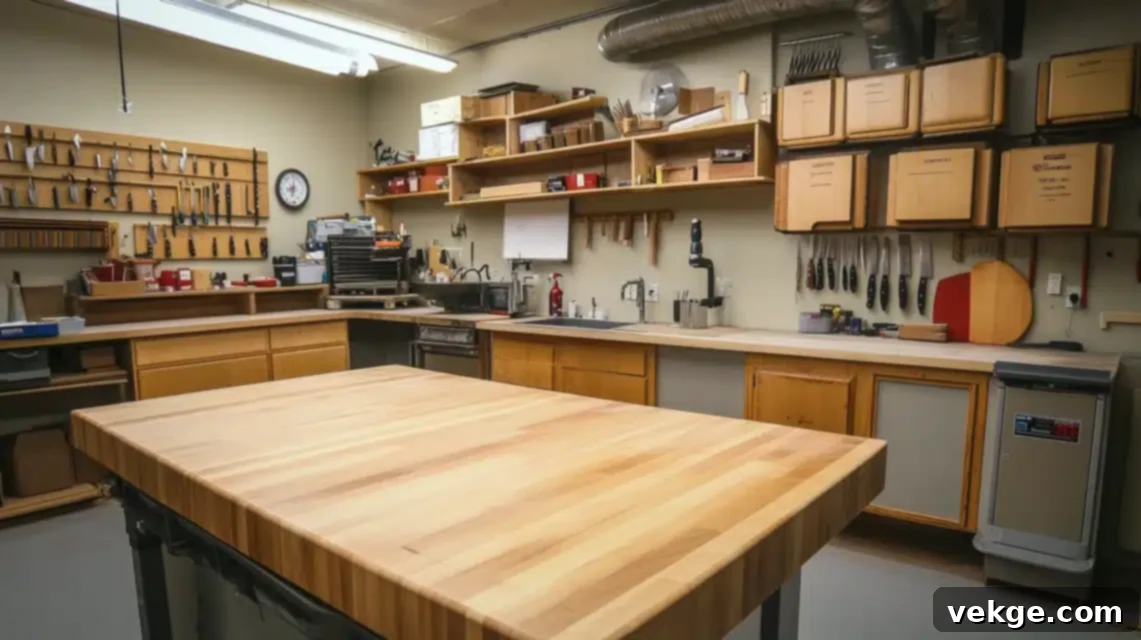
Your environment is just as crucial as your technique. I once had a perfect finish ruined by dust drifting in from an adjacent room. Take the time to create the ideal conditions:
- Cleanliness: Thoroughly clean the entire area. Vacuum and damp mop to remove as much dust as possible.
- Ventilation: Ensure excellent airflow. Open windows, use fans, or set up a dedicated ventilation system, especially when working with VOC-rich stains.
- Temperature and Humidity: Aim for a consistent temperature between 65-75°F (18-24°C) and moderate humidity. Extreme conditions can affect drying times and stain adhesion.
- Protection: Cover all surrounding surfaces with heavy kraft paper, plastic sheeting, or drop cloths. Secure them with painter’s tape to prevent any accidental splashes or drips from reaching other parts of your kitchen.
- Lighting: Ensure adequate, even lighting from multiple angles. This allows you to spot inconsistencies, missed spots, or excess stain that might otherwise go unnoticed.
Step 2: Meticulous Surface Preparation & Wood Conditioning
This is arguably the most critical step. Without proper sanding, your stain will not absorb evenly.
- Sanding: Begin with 80-grit sandpaper on your orbital sander to remove any existing finish, deep scratches, or significant imperfections. Work your way up through 120, 150, 180, and finally 220-grit. Sand with the grain, ensuring even pressure. Each grit removes the scratches from the previous one, creating an increasingly smooth surface. Finish sanding with 220-grit for a beautifully smooth, receptive surface.
- Dust Removal: After each sanding stage, especially the final one, thoroughly vacuum the surface and surrounding area. Then, wipe down the butcher block with a tack cloth to remove every last particle of fine dust. Follow this with a wipe using mineral spirits or denatured alcohol on a clean cotton rag; this will highlight any missed spots or imperfections. Allow to dry completely.
- Pre-Stain Conditioning: Apply a pre-stain wood conditioner evenly to the entire surface with a brush or lint-free rag. This step is vital for woods like maple, pine, or birch, which are prone to blotchy staining. It helps the wood absorb the stain more uniformly. Follow the manufacturer’s instructions for application and drying time, typically 15-30 minutes before staining.
Step 3: Initial Stain Application
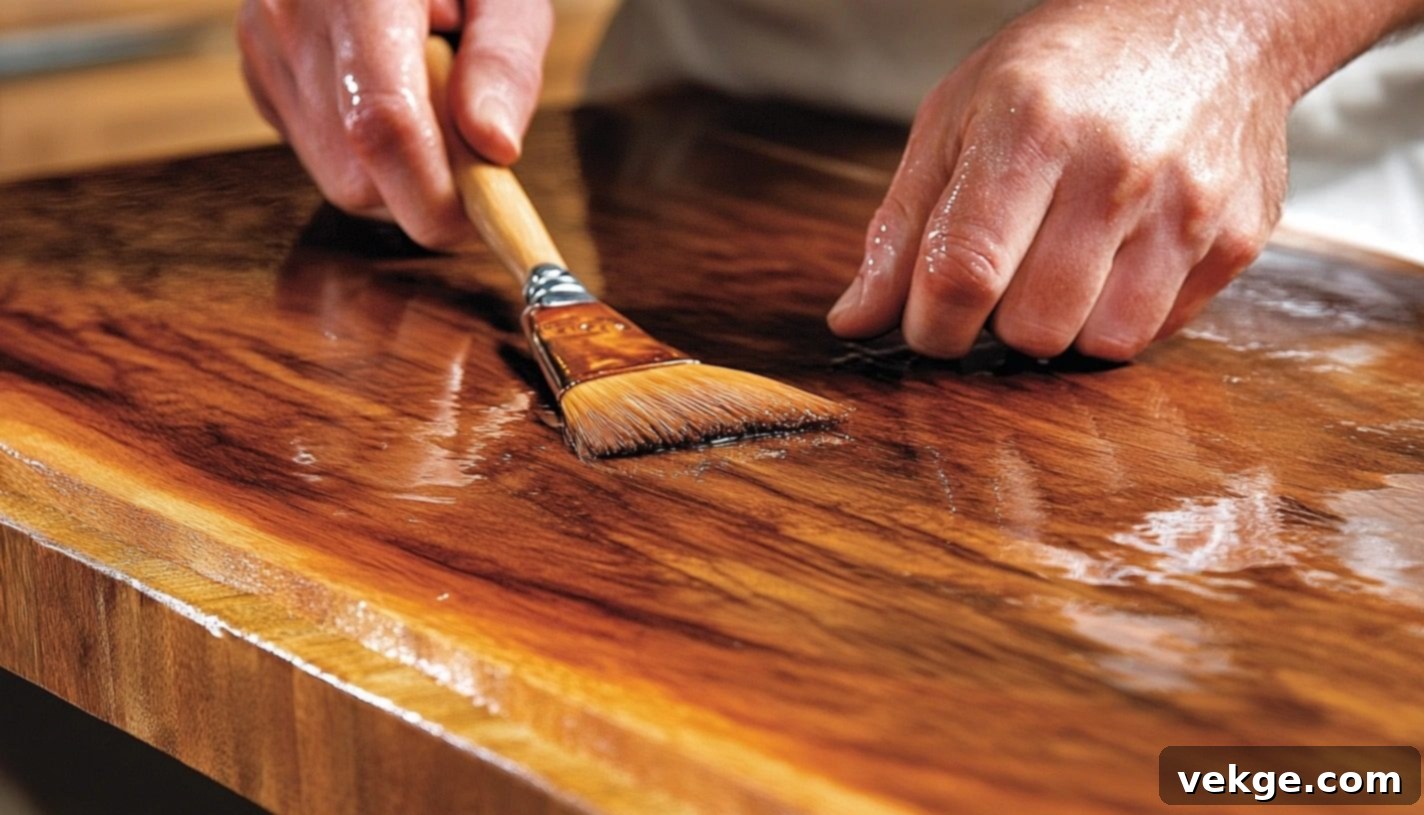
The first coat is your initial impression and sets the foundation for your entire project:
- Mix Thoroughly: Stir the stain thoroughly before and periodically during application to ensure pigments are well-mixed and color is consistent.
- Apply Evenly: Begin applying the stain in the direction of the wood grain, working in manageable 2-3 foot sections. Use a natural bristle brush for oil-based stains or a foam brush for water-based stains. Apply generously, ensuring the entire surface is wetted, but avoid letting the stain pool.
- Maintain a Wet Edge: Work quickly but methodically, keeping a “wet edge” to prevent lap marks and visible streaks. Overlapping slightly with each new section ensures a seamless finish.
- Dwell Time: Allow the stain to penetrate for 5-15 minutes, depending on the desired darkness and wood type. A longer dwell time results in a deeper color. Always test on a scrap piece first to determine your ideal timing.
- Wipe Excess: After the desired dwell time, use clean, lint-free cotton rags to wipe off all excess stain. Always wipe with the grain. Change rags frequently as they become saturated to prevent reapplying stain to the surface. Remember: multiple light coats build better, more even color than one heavy, poorly wiped coat.
Step 4: Building Color Depth with Multiple Coats
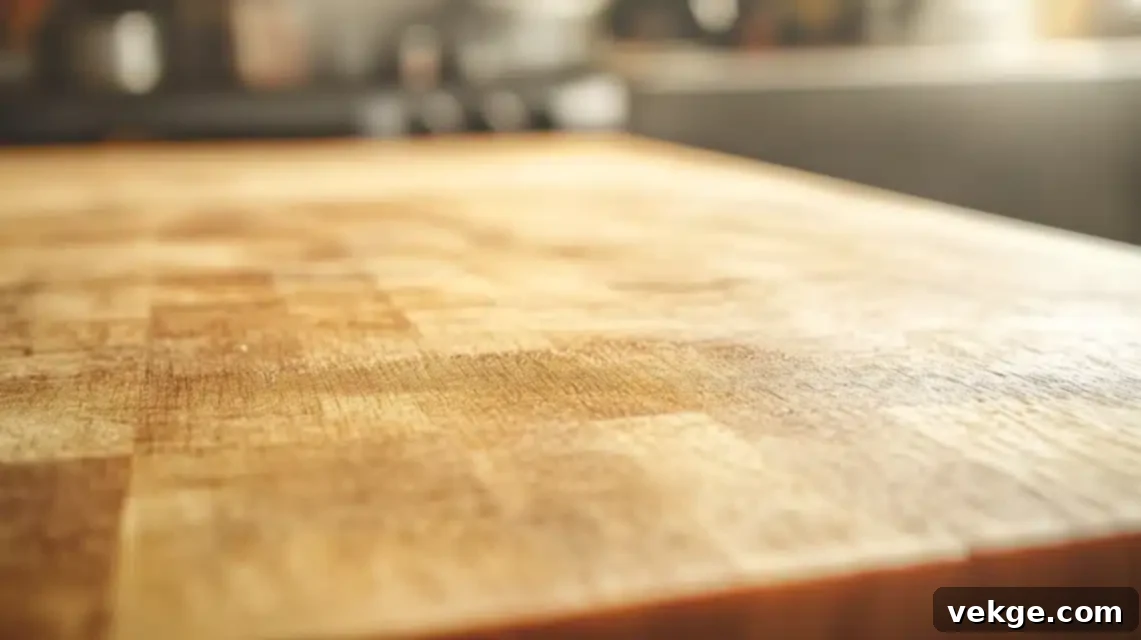
Patience truly is a virtue between coats, as rushing can lead to disaster and an uneven finish:
- Drying Time: Allow each coat to dry completely. For oil-based stains, this usually means a minimum of 4-6 hours, but overnight (12-24 hours) is always preferable for optimal results and proper pigment adhesion. Water-based stains typically dry faster, often within 2-4 hours. Always refer to the manufacturer’s specific instructions.
- Light Sanding (if needed): If the wood grain rises after the first coat (a common occurrence with water-based stains), lightly sand the entire surface with 320-grit or 400-grit sandpaper. This creates an even canvas for subsequent coats. This light sanding is often called “denibbing.”
- Clean Thoroughly: After any intermediate sanding, meticulously clean the surface again with a tack cloth to remove all sanding dust before applying the next coat.
- Repeat Application: For deeper, richer color, apply a second and sometimes even a third coat, following the same application and wiping process as the first. Most butcher blocks achieve optimal results with 2-3 coats, depending on the desired depth and the wood’s natural porosity. Always allow sufficient drying time between each coat.
Step 5: Final Steps and Curing for Long-Lasting Protection
Applying a protective finish is non-negotiable for durability and food safety. The proper curing process is the difference between a good result and a truly great, long-lasting one:
- Apply Topcoat: Once the final stain coat is completely dry (usually 24-48 hours), apply your chosen food-safe topcoat or sealant. Options include pure mineral oil, beeswax blends, or specialized food-grade polyurethane, depending on your usage and desired maintenance level. Apply according to the product manufacturer’s instructions, typically multiple thin coats with light sanding between each.
- Initial Drying: After the final topcoat, allow 24-48 hours before light use, such as placing light objects on the surface.
- Full Curing: The most critical phase is the full cure, which can take anywhere from 7 to 30 days, depending on the product and environmental conditions. During this period, the finish hardens completely, reaching its maximum durability.
- During Curing, Avoid:
- Water Contact: Do not let any water sit on the surface. Wipe up spills immediately.
- Heavy Objects: Refrain from placing heavy appliances or exerting significant pressure.
- Extreme Temperatures: Maintain a steady room temperature; avoid sudden shifts.
- Hardness Testing: Resist the urge to poke, scratch, or test the hardness of the finish until it has fully cured.
Expert Tips for a Flawless Butcher Block Finish
Years of hands-on experience have taught me invaluable shortcuts and preventative measures. These pro tips can save you time, frustration, and ensure superior results:
- Always Test First: This is my golden rule. Before applying anything to your main butcher block, conduct the entire process (sanding, conditioning, staining, sealing) on a scrap piece of the exact same wood. This reveals how the wood will absorb the stain and helps you perfect your technique and color.
- Document Everything: Keep detailed notes! Document exact mixing ratios, stain dwell times, number of coats, and drying periods. This is invaluable for replicating the finish or for future touch-ups.
- Photograph Each Stage: Take photos at every step – before, during, and after each coat. This visual record helps in troubleshooting and as a reference for future projects.
- Monitor Conditions: Note the temperature and humidity levels during application and curing. These factors significantly impact drying times and final appearance.
- Save Leftover Stain: Keep a small, tightly sealed container of your exact leftover stain mixture. It will be a lifesaver for minor touch-ups down the road.
Troubleshooting Common Staining Issues
Even with perfect preparation, problems can sometimes arise. Here’s how to address the most common staining challenges:
- Blotchy Areas: This usually indicates uneven absorption, often due to insufficient pre-conditioning or inconsistent sanding. Sand back the affected area (or the entire piece if widespread) to bare wood, reapply conditioner, and then re-stain.
- Uneven Color/Streaks: Often caused by inconsistent application, not wiping off excess stain thoroughly, or rushing between coats. Lightly sand the entire surface with a fine-grit (320-400) paper, clean, and apply an additional, very thin, even coat. Wipe meticulously.
- Sticky/Tacky Surface: This almost always means insufficient wiping of excess stain or inadequate curing time for the topcoat. Ensure you wipe off all excess stain thoroughly after application. If the topcoat is sticky, it needs more time to cure in a well-ventilated area, possibly with a fan.
- Dull Spots/Contamination: Usually caused by dust particles settling on the wet stain or topcoat. This requires sanding back to a clean surface and reapplication in a cleaner environment.
Why Choose Butcher Block for Your Kitchen Countertops?
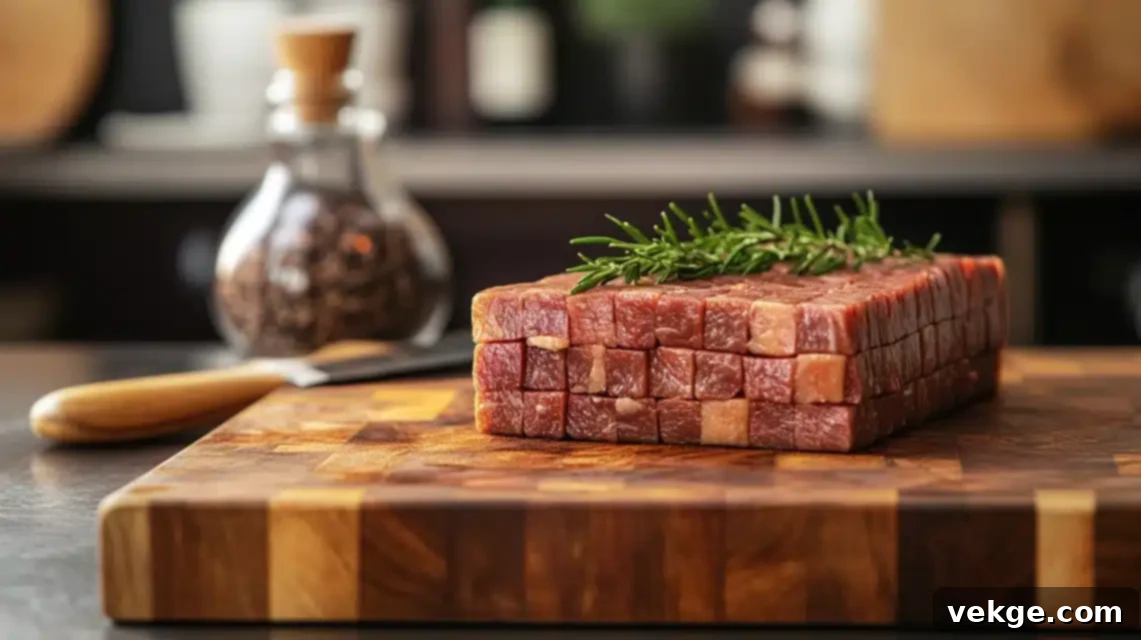
Beyond its aesthetic appeal, butcher block offers a compelling blend of natural attributes, practical advantages, and design versatility that makes it a standout choice for any kitchen.
1. Natural Benefits: Health, Harmony, and Heritage
- Naturally Antibacterial Properties: When properly oiled and maintained, wood naturally inhibits bacterial growth, making it a hygienic surface for food preparation.
- Knife-Friendly Surface: Unlike harder materials that dull blades rapidly, wood is gentler on your knives, helping them retain their sharpness longer.
- Self-Healing Capabilities: Minor cuts and scratches tend to blend and become less noticeable over time, especially with regular oiling, contributing to a beautiful patina.
- Natural Warmth and Character: Butcher block instantly infuses any kitchen design with organic warmth, texture, and a sense of timeless elegance that only natural wood can provide.
2. Practical Advantages: Durability, Maintainability, and Value
- Easy to Clean and Maintain: With simple soap and water (for daily cleaning) and periodic oiling, butcher block is surprisingly easy to care for.
- Refinishable and Restorable: One of its greatest strengths is the ability to be sanded down and refinished multiple times, unlike synthetic or stone countertops that often require complete replacement if damaged.
- Quieter Than Stone or Steel: The natural sound-dampening qualities of wood make food preparation quieter and more pleasant compared to hard, resonant surfaces.
- Affordable Luxury: Often significantly more affordable than high-end natural stone or engineered quartz, butcher block offers a luxurious look without the prohibitive price tag.
3. Design Flexibility: Versatility for Every Style
- Variety of Wood Species: Available in a wide range of wood types – from light maple to rich walnut – offering diverse grain patterns and natural color palettes.
- Customizable with Stains: As we’ve explored, butcher block can be stained to match virtually any kitchen color scheme or design aesthetic, from rustic farmhouses to sleek modern spaces.
- Ages Gracefully: Over time, butcher block develops a beautiful, unique patina that tells the story of your kitchen, adding character and depth.
- Seamless Integration: Its adaptable nature means it works perfectly in both traditional, rustic, and contemporary kitchen designs, bridging various styles effortlessly.
Can You Really Stain Your Butcher Block? Understanding the Possibilities
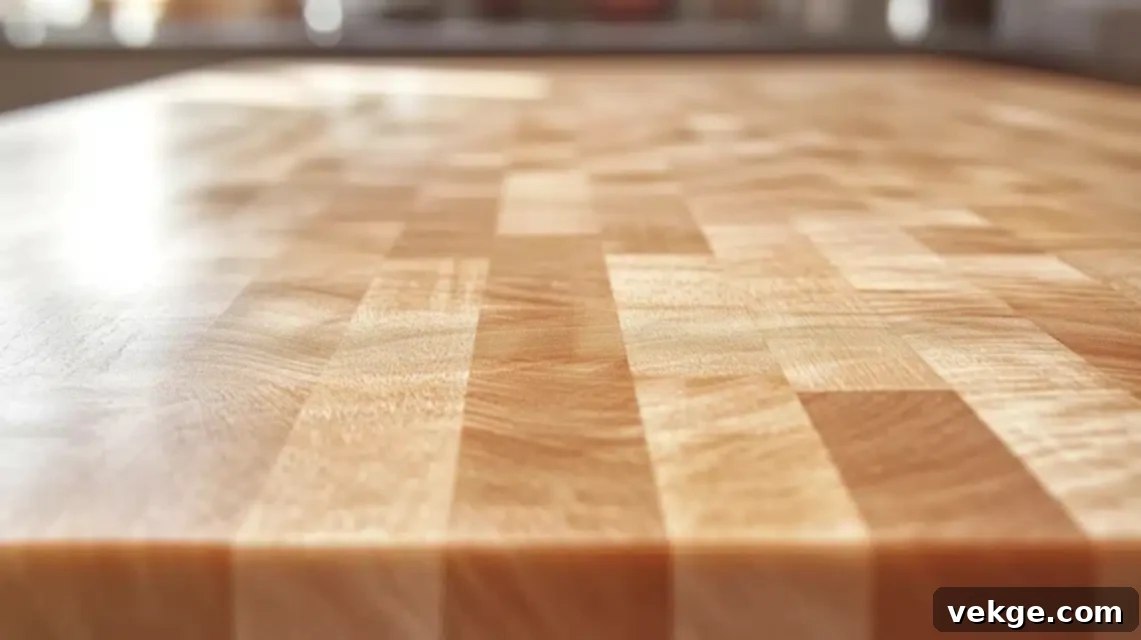
Absolutely, you can stain butcher block! Think of staining as giving your wood a sophisticated color makeover while still allowing its inherent beauty and grain patterns to shine through. The right approach not only enhances the visual appeal but also allows you to achieve the exact shade and depth you’ve envisioned for your space. While the process requires careful preparation and the selection of appropriate food-safe products for kitchen use, the dramatic transformation of your space makes it a truly rewarding DIY project.
Before diving in, consider these crucial factors:
| Consideration | Details | Impact on Decision |
|---|---|---|
| Wood Type | Maple, Oak, Cherry, Birch, Walnut. Each has unique porosity and natural undertones. | Denser woods (like maple) absorb stain slower and can be prone to blotching without pre-conditioner. Open-grain woods (like oak) take stain deeply, enhancing grain. |
| Current Finish | Is it raw, sealed, or previously stained? | Raw wood is ideal. Sealed wood requires complete sanding to bare wood. Previously stained surfaces may need stripping or extensive sanding to ensure even new stain absorption. |
| Usage Plans | Will it be a primary food prep surface, a decorative island, or a bar top? | Determines the type of food-safe finish needed. High-contact surfaces require more durable, frequently maintained finishes. |
| Location | Kitchen island, perimeter countertop, coffee bar, or desktop? | Affects the expected wear and tear, direct sunlight exposure, and the final protective finish choice required for longevity. |
Consider your butcher block’s daily life. Will it endure heavy chopping, frequent spills, or constant water exposure? These practical factors should heavily influence your choice of stain and, more importantly, your final protective finish. Some blocks primarily serve as dedicated prep surfaces, while others function as casual dining areas or purely decorative focal points. Your block’s intended purpose should always be a primary guide for all your finishing decisions.
Remember that every wood species accepts stains differently due to its unique cell structure and natural color. Lighter woods like maple offer a versatile “blank canvas” but can sometimes stain unevenly without a pre-conditioner. Oak’s prominent, open grain tends to create beautiful, deep color variations, while cherry might require minimal staining as it naturally darkens and deepens in color with age.
Weighing Your Options: Pros and Cons of Staining Butcher Block
Making an informed decision about staining your butcher block involves carefully considering both the advantages and potential drawbacks. I once worked with a client who meticulously weighed each point for their kitchen island, ultimately making a choice that perfectly aligned with their family’s lifestyle and aesthetic preferences. Understanding these pros and cons is crucial for your own project:
| Category | PROS | CONS |
|---|---|---|
| Aesthetics |
• Allows for custom color matching to existing decor or a specific design vision. |
• Risk of uneven coloring if not properly prepared or applied. • Can sometimes mask the most subtle, natural beauty of raw wood. • If not chosen carefully, can make the wood look artificial or less natural. |
| Protection | • Provides a better barrier against water penetration, reducing warping or swelling. • Significantly reduces the likelihood of food or liquid stains soaking into the wood. • Offers a degree of UV damage protection, preventing wood from yellowing or fading from sunlight. |
• May require frequent reapplication or resealing, especially with heavy use. • Surface finishes can chip, scratch, or peel over time, requiring repair. • More challenging to spot-repair small areas without re-staining the entire surface. |
| Durability | • Adds an additional layer of surface strength, making the wood slightly more resistant to dings. • Improves scratch resistance, prolonging the pristine appearance of the countertop. • Can contribute to a longer lifespan by protecting the wood fibers from daily wear and tear. |
• Can be less forgiving than raw, oil-finished wood if deep damage occurs. • Deep scratches or cuts cannot be easily sanded out without affecting the stain. • Surface wear can be uneven, especially in high-traffic areas, leading to patchiness. |
| Food Safety | • A properly sealed and cured surface can provide an impermeable barrier against bacteria. • Easier to sanitize surfaces that are sealed, as fewer pores are exposed. • Reduces absorption of liquids and food particles into the wood itself. |
• Limited options for truly food-safe finishes that are also durable and protective. • Direct food preparation (e.g., cutting) is often discouraged on stained/sealed surfaces. • Concerns about chemical leaching, especially with non-food-grade sealants. |
| Maintenance | • Generally requires less frequent daily care compared to raw, oiled-only butcher block. • Easier initial cleaning of spills and messes on a sealed, smooth surface. • Provides superior resistance to liquid spills, preventing water rings or marks. |
• Can involve a complex and time-consuming refinishing process if the stain or seal wears. • Regular resealing (e.g., annual or bi-annual) may be necessary to maintain protection. • Some finishes may require special cleaners or specific care routines. |
Choosing the Perfect Butcher Block Finish: Stain Types & Food-Safe Solutions
Selecting the right stain and finish is paramount for both aesthetics and functionality. My experience with various combinations on a single maple butcher block sample taught me volumes about absorption, color depth, and the longevity of different products. Each section of that test piece told a distinct story, guiding my recommendations ever since.
1. Understanding Different Stain Types
- Oil-Based Stains: These are workhorses in the world of wood finishing. They penetrate deep into the wood fibers, creating a rich, durable color that profoundly enhances natural grain patterns. While they take longer to dry (often 12-24 hours per coat), their unmatched depth of color and forgiving nature make them excellent, especially for challenging woods like maple that can be prone to blotching.
- Water-Based Stains: Offering modern convenience, water-based stains are prized for their low VOCs, minimal odor, and significantly faster drying times (typically 2-4 hours). They are ideal for projects where a quick turnaround is essential. These stains excel at producing contemporary colors, including beautiful greys and whitewashes, though they might cause the wood grain to “raise” initially, requiring light sanding between coats.
- Gel Stains: Gel stains revolutionized my approach to vertical surfaces and end grains. Their thick, non-drip consistency makes them incredibly easy to control, preventing unsightly runs and allowing for precise application and better control over color intensity. They act as a perfect intermediary between paint and traditional stain, sitting more on the surface to provide a more uniform color, which can be advantageous for tricky woods.
2. Mastering Color Selection: The Art of the Sample Board
Testing is not just recommended; it’s absolutely essential. I always emphasize creating a “sample board” using scrap pieces of your *exact* butcher block wood. Each test swatch will reveal critical information about how your specific wood species will react to the chosen stain and color.
- Understanding Undertones: To achieve specific colors like popular grey tones, it’s crucial to understand the wood’s natural undertones. For instance, maple often possesses warm, yellow undertones that need to be neutralized; sometimes, a green-tinted pre-stain or a stain with cool blue/purple pigments is necessary to achieve a true, beautiful grey. It might sound counterintuitive, but these subtle undertones are key to creating naturally beautiful and balanced colors.
- Wood Species Matters: Always remember that the same “Dark Walnut” stain will look entirely different on maple compared to oak or cherry. The wood’s natural color, grain, and porosity dramatically alter the final shade. Trust your sample board over the color swatches on the can.
3. Food-Safe Finishing Solutions: Protection and Peace of Mind
The final protective layer is arguably the most critical for both food safety and the long-term durability of your butcher block. Your choice here depends on usage and desired maintenance levels:
- Pure Mineral Oil: This offers the most natural and unequivocally food-safe solution. It penetrates and conditions the wood, bringing out its natural luster. However, it requires regular reapplication – I recommend weekly at first, then monthly once the wood becomes saturated. It does not provide a hard, waterproof barrier but is excellent for cutting surfaces.
- Beeswax Blends (with Mineral Oil): Combining beeswax with mineral oil creates a slightly more robust and longer-lasting finish than mineral oil alone. This blend provides enhanced water resistance and a softer sheen while maintaining full food safety. It’s particularly effective for areas that experience frequent water exposure, like around a sink.
- Food-Grade Sealants: For maximum protection and reduced maintenance, several modern food-safe sealants are available. Products like Waterlox Original (a tung oil-based finish) or specific Food Grade Polyurethanes create hard, water-resistant surfaces that meet FDA standards for food contact after full curing. These finishes significantly reduce maintenance needs but require precise application and extended curing times (often 7-30 days) before direct food preparation can occur. Always verify manufacturer specifications and certifications for food safety.
This comprehensive guide is based on a process refined over hundreds of butcher block transformations. By following these steps and incorporating these insights, you’re well on your way to achieving beautiful, lasting results, whether this is your very first project or your fifteenth.
Final Reflections on Your Butcher Block Transformation
After years immersed in the art and science of transforming butcher blocks, my deepest insight is this: successful staining isn’t merely about changing a color; it’s about enhancing, rather than hiding, the inherent beauty of the wood. Your journey from a raw, unfinished block to a custom-finished masterpiece should add another compelling chapter to its story, not erase its original narrative.
Every butcher block carries its unique signature, etched in its grain patterns and character marks. Staining offers an incredible opportunity to highlight these features, to draw out the warmth or depth that perfectly complements your home. But remember, the goal is enhancement, not obfuscation. Embrace the wood’s natural variations; they are what make your piece truly unique.
To ensure a stunning and durable outcome, start with meticulous preparation. This is the cornerstone of any successful wood finishing project. Choose your materials thoughtfully, selecting high-quality stains and, most critically, appropriate food-safe finishes for kitchen use. And always, always take the time to test your process on a scrap piece. Those extra hours invested in preparation and testing invariably save days of frustration and potential corrections down the line.
Most importantly, let the primary purpose of your butcher block guide your decisions. A decorative surface, such as a bar top or desk, allows for a broader range of finish choices. However, for a high-traffic kitchen countertop or a dedicated food preparation area, function must inform your choices, with food safety and durability taking precedence. Style will always have its place, but the integrity and practicality of your butcher block should be your ultimate compass. With careful planning and execution, your stained butcher block will not only be a functional asset but a cherished focal point in your home for years to come.
Frequently Asked Questions About Staining Butcher Block
Can you stain butcher block without sanding?
While technically possible with certain gel stains or specialized “no-sand” products, I strongly advise against skipping the crucial sanding process. From extensive experience, a properly sanded surface is paramount for several reasons: it ensures even stain absorption, removes imperfections that would otherwise be highlighted, and creates a foundation for a significantly more durable and long-lasting finish. Skipping sanding often leads to blotchy, uneven results and poor adhesion of the stain and topcoat. Think of sanding as preparing the soil for planting; proper preparation directly determines the health and vibrancy of your results. If time constraints are a major concern, it’s often better to consider professional services than to compromise on this fundamental step.
Is there a truly food-safe stain?
Yes, there are indeed food-safe stains and, more importantly, food-safe topcoats suitable for butcher block. It’s crucial to understand the distinction. Pure pigments suspended in natural oils (like mineral oil) can be considered food-safe, as they don’t contain harmful chemicals. However, most commercial stains require a topcoat for protection. When selecting a stain and finish for a surface that will come into contact with food, look for products explicitly labeled “FDA approved for food contact surfaces” or “food-grade.” Pure mineral oil or beeswax/mineral oil blends are always safe, though they offer less protection against water and require frequent reapplication. For a more durable, hard finish, certain tung oil-based products (like Waterlox Original) or specific food-grade polyurethanes can be used once fully cured (which typically takes 7-30 days). Always verify the manufacturer’s specific guidelines, certifications, and complete curing times before using the surface for direct food preparation.
How can I achieve a specific color, like a popular grey tone, on my butcher block?
Achieving the perfect grey tone on wood can be nuanced, as it requires careful consideration of the wood’s natural undertones. Woods like maple, for instance, often have warm, yellow or orange undertones that can make a grey stain appear green or brownish. Here’s my approach:
- Neutralize Undertones: For warmer woods, you might need a pre-stain or a first coat of stain that has a slight green or blue tint to neutralize the natural warmth before applying your desired grey.
- Test Extensively: Always, always test multiple grey stains on scrap pieces of your exact butcher block. Apply conditioner, the grey stain, and even a topcoat, as the final finish can alter the shade.
- Start Light and Build: It’s always easier to go darker than to lighten a too-dark stain. Apply thin coats, allowing each to dry, and build up the color gradually until you reach your desired depth.
- Whitewash Techniques: For lighter, more translucent greys, consider a whitewash technique. This involves applying a very diluted white or light grey paint/stain and then wiping it back immediately to allow the grain to show through.
- Layering Colors: Sometimes, achieving a complex grey requires layering. For example, a very light base coat followed by a translucent grey glaze, or a very thin coat of a darker stain to add depth.
- Document Your Success: Once you find the perfect combination and technique, write down every detail for future reference!
