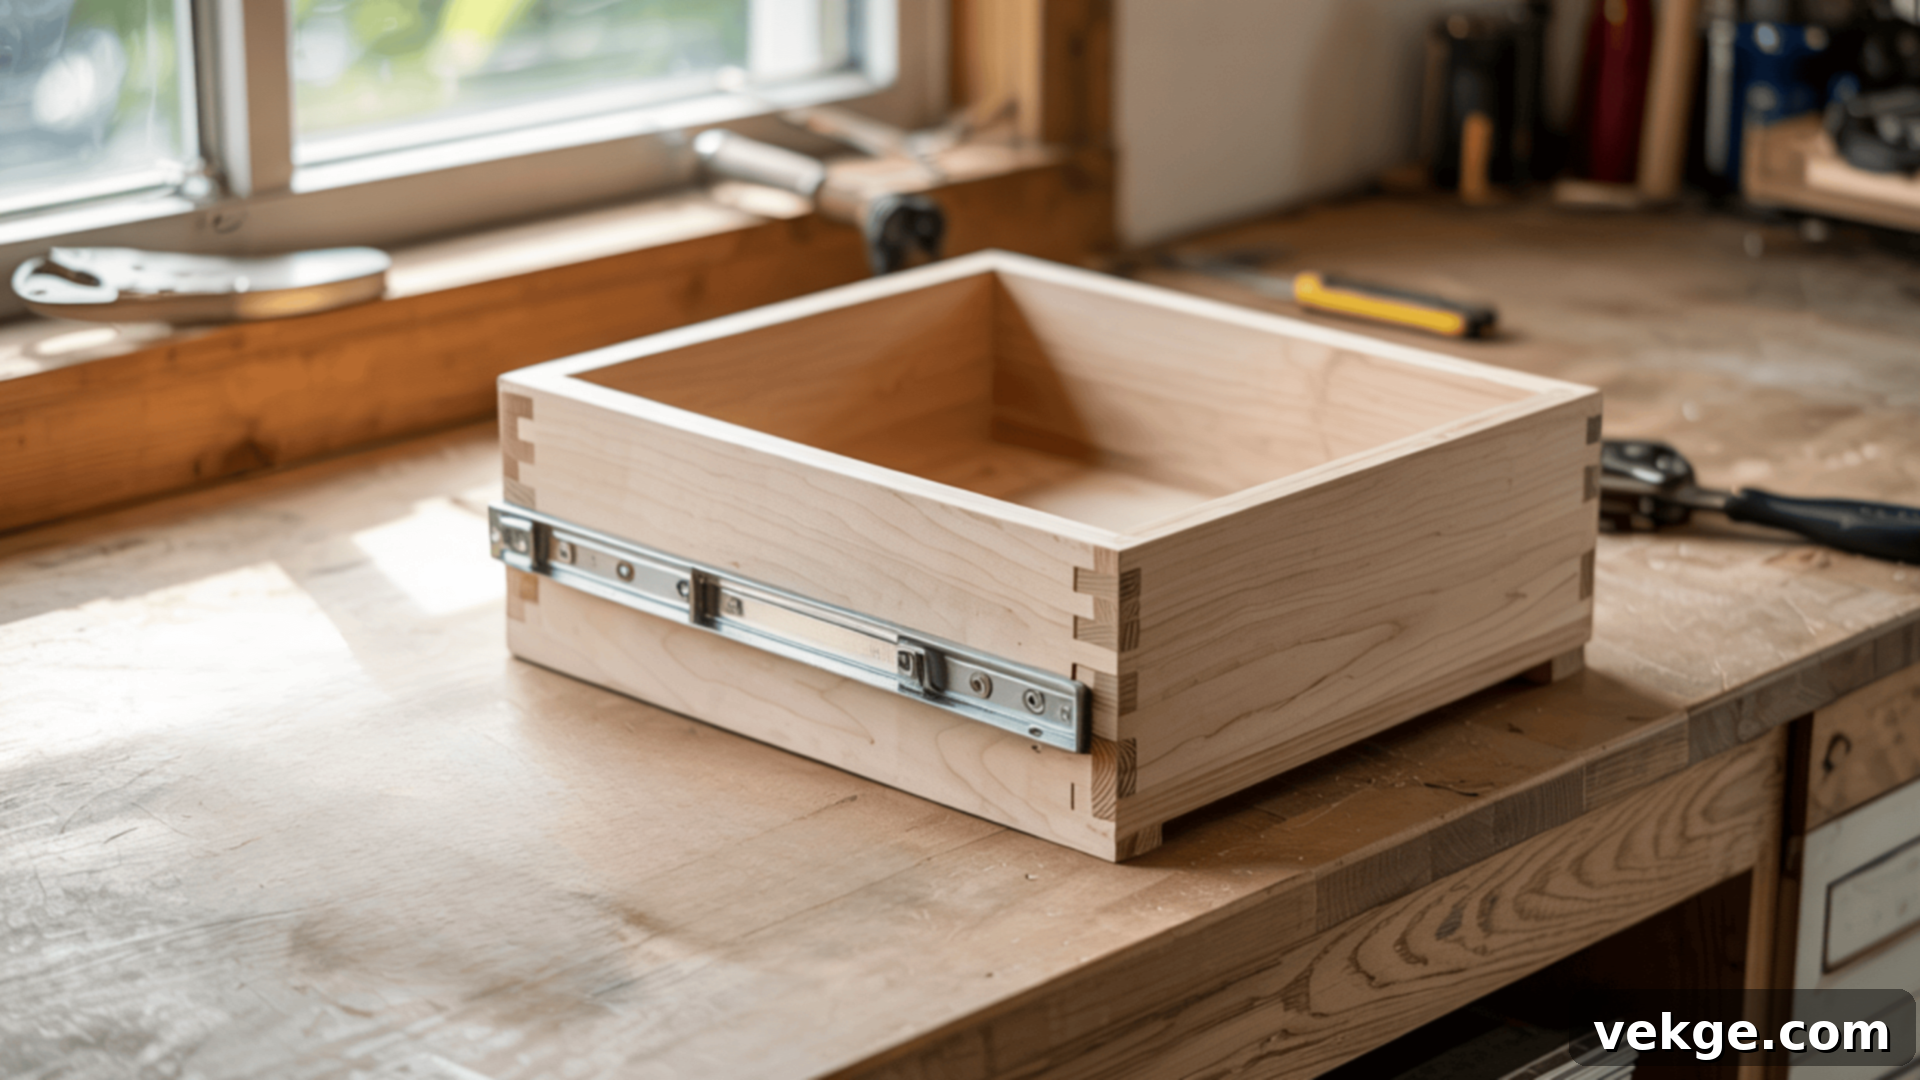
Mastering DIY: How to Build Smooth-Sliding Drawers with Expert Precision
Have you ever experienced the frustration of a drawer jamming halfway, wobbling off-track, or refusing to close properly? If so, you’re certainly not alone. Many DIY enthusiasts and homeowners struggle with building drawers that operate smoothly and feel sturdy.
Through countless trials and errors, I’ve discovered that achieving professional-grade drawers doesn’t require a workshop full of expensive tools or years of specialized experience. With the right approach, a clear understanding of materials, and a few fundamental techniques, anyone can construct drawers that are both functional and aesthetically pleasing.
This comprehensive guide will walk you through the entire process of building a drawer with slides, from selecting the ideal wood and hardware to the final assembly and installation. You’ll learn about different types of wood, various slide options, the essential tools you’ll need, and a detailed, step-by-step method to cut, fit, and assemble your drawer with confidence. Designed specifically for beginners, this article aims to simplify the complexities of drawer construction. Whether you’re undertaking a quick repair for a single drawer or embarking on a project to build an entire set for your cabinets, by the end of this guide, you will possess the knowledge and skills to create solid, smooth-sliding drawers that you’ll be proud to use for years to come.
Understanding Drawer Slide Features for Optimal Functionality
The choice of drawer slides significantly impacts how smoothly, quietly, and reliably your drawers will function. Not all slides are created equal, and understanding their unique features can help you select the best option for your specific needs and budget. Investing a little time upfront to consider these features can dramatically enhance the usability and longevity of your drawers.
Soft-Close Slides: The Quiet Solution
Soft-close slides have become a highly sought-after feature, particularly in kitchens, bedrooms, and other living spaces where noise reduction is a priority. These ingenious slides incorporate a dampening mechanism that gently pulls the drawer shut during its final inches of travel, preventing noisy slams. This not only creates a more peaceful environment but also protects the drawer box, its contents, and the cabinet frame from impact damage, extending their lifespan. They contribute to a feeling of luxury and thoughtful design in any furniture piece.
Self-Closing Slides: Convenient and Secure
While often confused with soft-close, self-closing slides operate slightly differently. They feature a spring or roller system that, once the drawer is pushed close enough to the cabinet, actively pulls it the rest of the way until it’s fully closed and secure. Unlike soft-close, they don’t necessarily offer a dampened closure, but they ensure the drawer is always fully shut. These are excellent for utility spaces, workshops, or kids’ rooms where a firm, reliable closure is more important than absolute silence.
Full Extension vs. ¾ Extension: Access and Space
- Full-extension slides allow the drawer box to pull out completely from the cabinet, providing unrestricted access to every corner, even the very back. This is incredibly beneficial for deep drawers, tool storage, or pantry drawers where reaching items at the rear is crucial. They maximize usable storage space.
- ¾ extension slides, as the name suggests, allow the drawer to open most of the way but leave approximately one-quarter of its length still inside the cabinet. While they don’t offer full access, they are often more compact and can be a suitable choice for lighter drawers, smaller cabinets, or applications where full access isn’t strictly necessary, such as small desk drawers or nightstand drawers. They also tend to be slightly more economical.
Detachable Slide Mechanism: Ease of Maintenance
Some drawer slides come equipped with a convenient detachable mechanism, typically a small clip or lever, that allows you to easily remove the entire drawer box from the cabinet without unscrewing the slides. This feature is invaluable for cleaning the drawer and cabinet interior, retrieving dropped items behind the drawer, making adjustments, or even refinishing the drawer at a later stage. It simplifies maintenance and offers greater flexibility in managing your storage solutions.
Load Capacity and Material Considerations
Beyond these primary features, consider the load capacity of the slides. This is measured in pounds and indicates how much weight the slides can comfortably support. Choose slides with a higher load capacity for drawers holding heavy tools, kitchenware, or books. The material of the slides (e.g., cold-rolled steel, zinc-plated steel) also contributes to their durability and resistance to corrosion, especially in humid environments like bathrooms or laundry rooms. While slides with advanced features and higher load capacities may incur a greater cost, the long-term benefits in terms of usability, durability, and convenience often make them a worthwhile investment for a truly superior drawer system.
Essential Materials and Hardware for Durable Drawers
Before you begin cutting and assembling, selecting the appropriate materials and hardware is paramount. The quality and type of wood, slides, and fasteners you choose will directly influence the strength, smoothness, longevity, and overall aesthetic of your finished drawer. A well-planned material selection forms the foundation of a successful drawer build.
Choosing the Right Wood for Your Drawer Box
The core of any sturdy drawer is its construction material. Different wood types offer varying levels of strength, stability, and workability, making them suitable for diverse applications.
- Plywood: A highly recommended choice for drawer construction, particularly Baltic Birch plywood. Plywood is engineered wood that boasts exceptional strength, stability, and resistance to warping or bending, thanks to its cross-laminated layers. It’s versatile enough for both drawer sides and bottoms. For drawer boxes, 1/2-inch or 5/8-inch thick plywood is generally ideal, offering a good balance of strength and weight. For drawer bottoms, 1/4-inch plywood is typically sufficient. Its consistent thickness and smooth surfaces make it easy to work with and finish.
- Pine: As a softer softwood, pine is an excellent option for beginners due to its affordability and ease of cutting, shaping, and sanding. It’s a great choice for lighter storage applications, such as drawers in a nightstand, closet organizers, or craft tables, where heavy loads are not anticipated. While less durable than hardwoods, pine can still create beautiful and functional drawers when properly finished.
- Hardwoods (Maple, Oak, Walnut): For projects demanding superior strength, durability, and a premium aesthetic, hardwoods like maple, oak, or walnut are the go-to choices. These dense woods are incredibly resistant to wear and tear, making them perfect for heavy-duty drawers, kitchen cabinetry, or high-traffic furniture. They offer a rich, natural beauty that can be enhanced with various finishes. However, hardwoods are generally more expensive and require more effort to cut and shape, often necessitating sharper tools and more careful joinery.
Selecting the Best Drawer Slides and Fasteners
Beyond the wood, the hardware you choose plays a critical role in the drawer’s functionality and longevity.
- Drawer Slides: As discussed, consider side-mount for ease of installation and versatility, under-mount for a clean, concealed look, or center-mount for light-duty applications. Always match the slide length to your cabinet depth, choosing a length that is equal to or slightly shorter than the drawer box’s side panels (common lengths range from 12″ to 24″). Ensure the slides’ weight capacity meets your project’s demands.
- Screws: Use appropriate wood screws (typically 1¼” or 1½” long) for securing the drawer box components and installing the slides. Opt for screws with a suitable head type (e.g., pan head for slides, flat head for flush mounting). Always pre-drill pilot holes to prevent wood splitting, especially in hardwoods or near edges.
- Wood Glue: A high-quality wood glue is essential for creating strong, lasting joints in your drawer box. It provides a bond that is often stronger than the wood itself, preventing joints from loosening over time. Apply a consistent bead to all mating surfaces before assembly.
- Clamps: Essential for holding glued parts together securely while the glue cures. Parallel clamps, bar clamps, or quick-grip clamps provide even pressure, ensuring tight and square joints.
- Handles and Pulls: These are not just functional but also significantly contribute to the drawer’s aesthetic. Choose a style that complements your furniture and is comfortable to grip. Install them after the drawer box is fully assembled and finished.
- Sandpaper and Finishing Supplies: A range of sandpaper grits (from 80-grit for initial shaping to 220-grit for final smoothness) is necessary for preparing the wood for finishing. Don’t forget wood filler for minor imperfections or screw holes, and your chosen finish—whether paint, stain, or a clear protective coat.
Remember, these seemingly small components make a huge difference in the overall strength, function, and professional appearance of your finished drawer.
How to Build a Drawer With Slides: Step-by-Step Guide
This comprehensive guide will lead you through each critical step, from precisely cutting your wood to the final assembly and installation, ensuring you build a strong, smooth-sliding drawer with basic tools and careful planning. Precision and patience are your best allies in this process.
Tools and Safety Gear You’ll Need
Having the right tools is crucial for an efficient and accurate drawer build. Don’t forget safety gear, which is just as important as the tools themselves.
- Saw: A table saw is ideal for precise, repeatable cuts for drawer components, but a circular saw with a straight edge guide or a miter saw can also be used effectively for cross-cutting.
- Drill: A cordless drill/driver is indispensable for pre-drilling pilot holes and driving screws. Ensure you have a variety of drill bits.
- Pocket Hole Jig: While optional, a pocket hole jig (like a Kreg Jig) simplifies joinery, allowing you to create strong, concealed joints quickly and neatly.
- Tape Measure: Essential for accurate measurements of all components.
- Square & Screwdriver: A combination square or speed square ensures your cuts and assemblies are perfectly square. A manual screwdriver is useful for final tightening or delicate work.
- Clamps: Various clamps (bar, quick-grip, or parallel clamps) are vital for holding pieces securely during gluing and assembly, ensuring tight joints.
- Safety Glasses: Always wear safety glasses when operating power tools to protect your eyes from flying debris.
- Hearing Protection: Earplugs or earmuffs are recommended when using noisy power tools like saws.
- Gloves: Protect your hands from splinters and chemicals.
Step 1: Precise Material Cutting and Groove Preparation
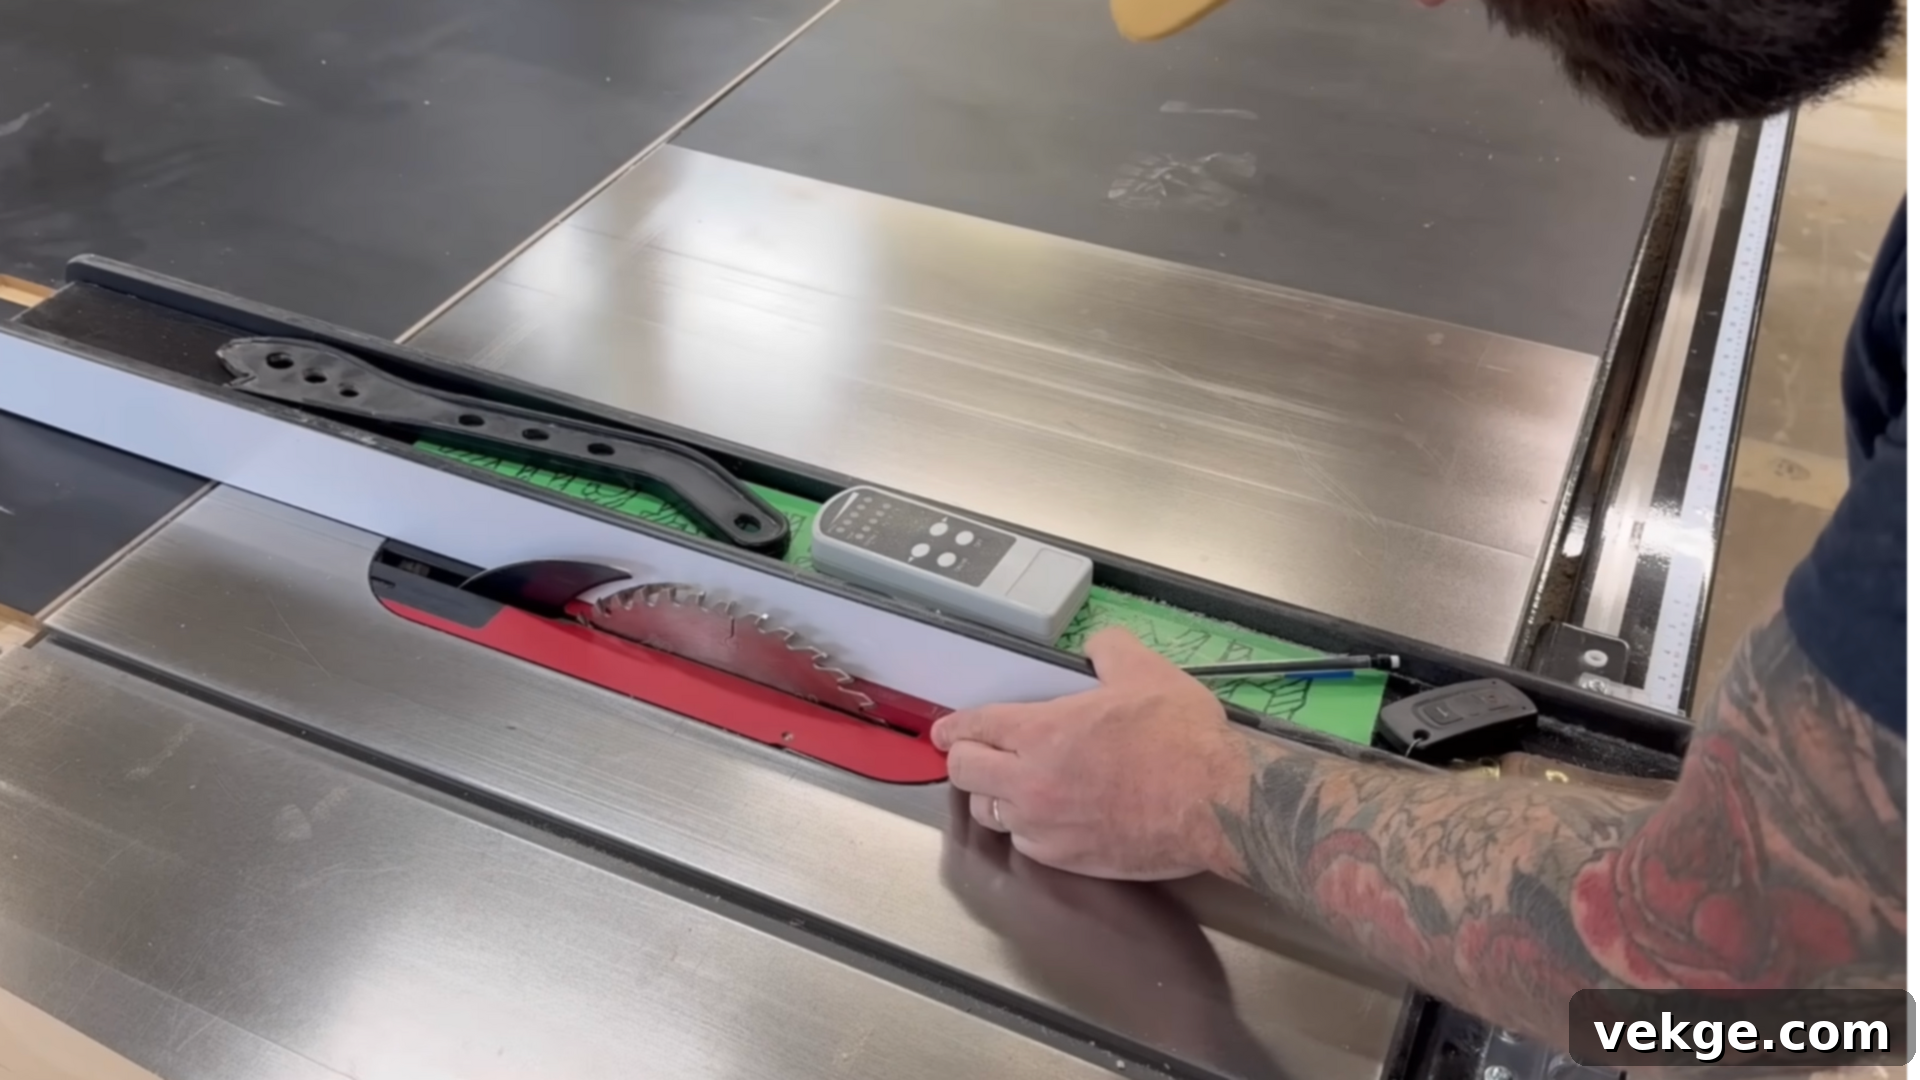
Begin by selecting your preferred wood. For robust and stable drawers, 1/2″ or 5/8″ Baltic Birch plywood is an excellent choice. If you’re aiming for a premium finish and superior strength, hardwoods like maple or walnut are ideal. Carefully measure and mark all your drawer sides, front, and back panels. Using a table saw for these cuts ensures accuracy and consistency in height. Remember to wear safety glasses and use push sticks when operating a table saw.
Next, prepare the groove for the drawer bottom. This is a critical step for a sturdy drawer. Using a router table with a straight bit or a dado blade set on your table saw, cut a 1/4″ wide groove about 1/2″ up from the bottom edge of each of your four drawer box pieces (two sides, front, and back). Ensure the groove is consistently deep (usually 1/4″ to 3/8″ deep) and perfectly straight. Always test the fit of your 1/4″ drawer bottom material in a scrap piece with the groove before making the final cuts on your drawer parts.
Step 2: Sizing Drawer Components for a Seamless Fit
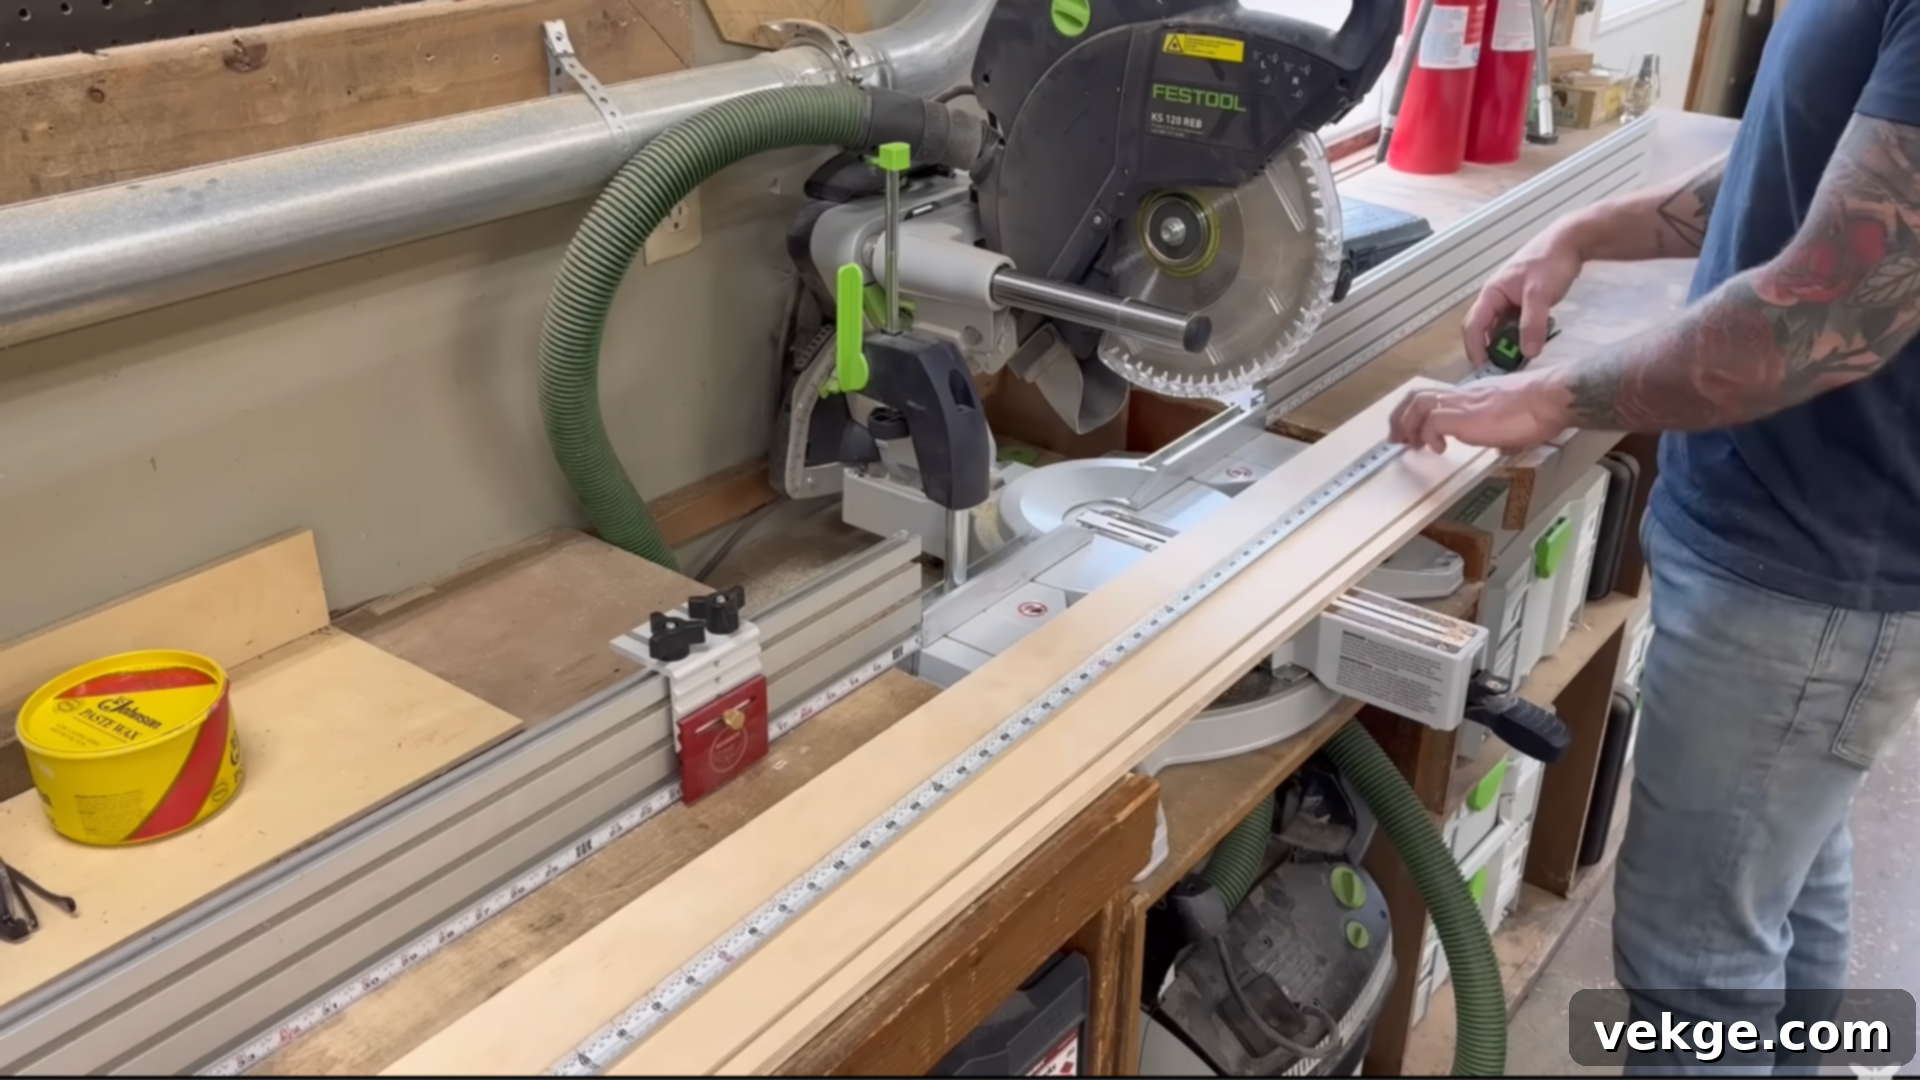
Accurate sizing is crucial for smooth-sliding drawers. First, measure the exact width of the opening in your cabinet where the drawer will sit. Consult your drawer slide manufacturer’s specifications for the required clearance. Typically, you’ll need to subtract 1/2 inch (or 12.7mm) from the total cabinet opening width for each side-mount slide, plus an additional 1/16 inch (or 1.5mm) for overall clearance. For example, if your cabinet opening is 16 inches wide, and your slides require 1/2 inch clearance per side, your drawer box width (front and back panels) would be 16″ – 1/2″ – 1/2″ – 1/16″ = 14 7/16″.
Your side panels should match the length of your chosen drawer slides (e.g., 18″ long slides require 18″ long side panels). Use a miter saw with a stop block for precise, repeatable cross-cuts, which saves time and minimizes material waste. Double-check that all cuts are perfectly clean and square to ensure easy and tight assembly.
Step 3: Crafting and Fitting the Drawer Bottom Panel
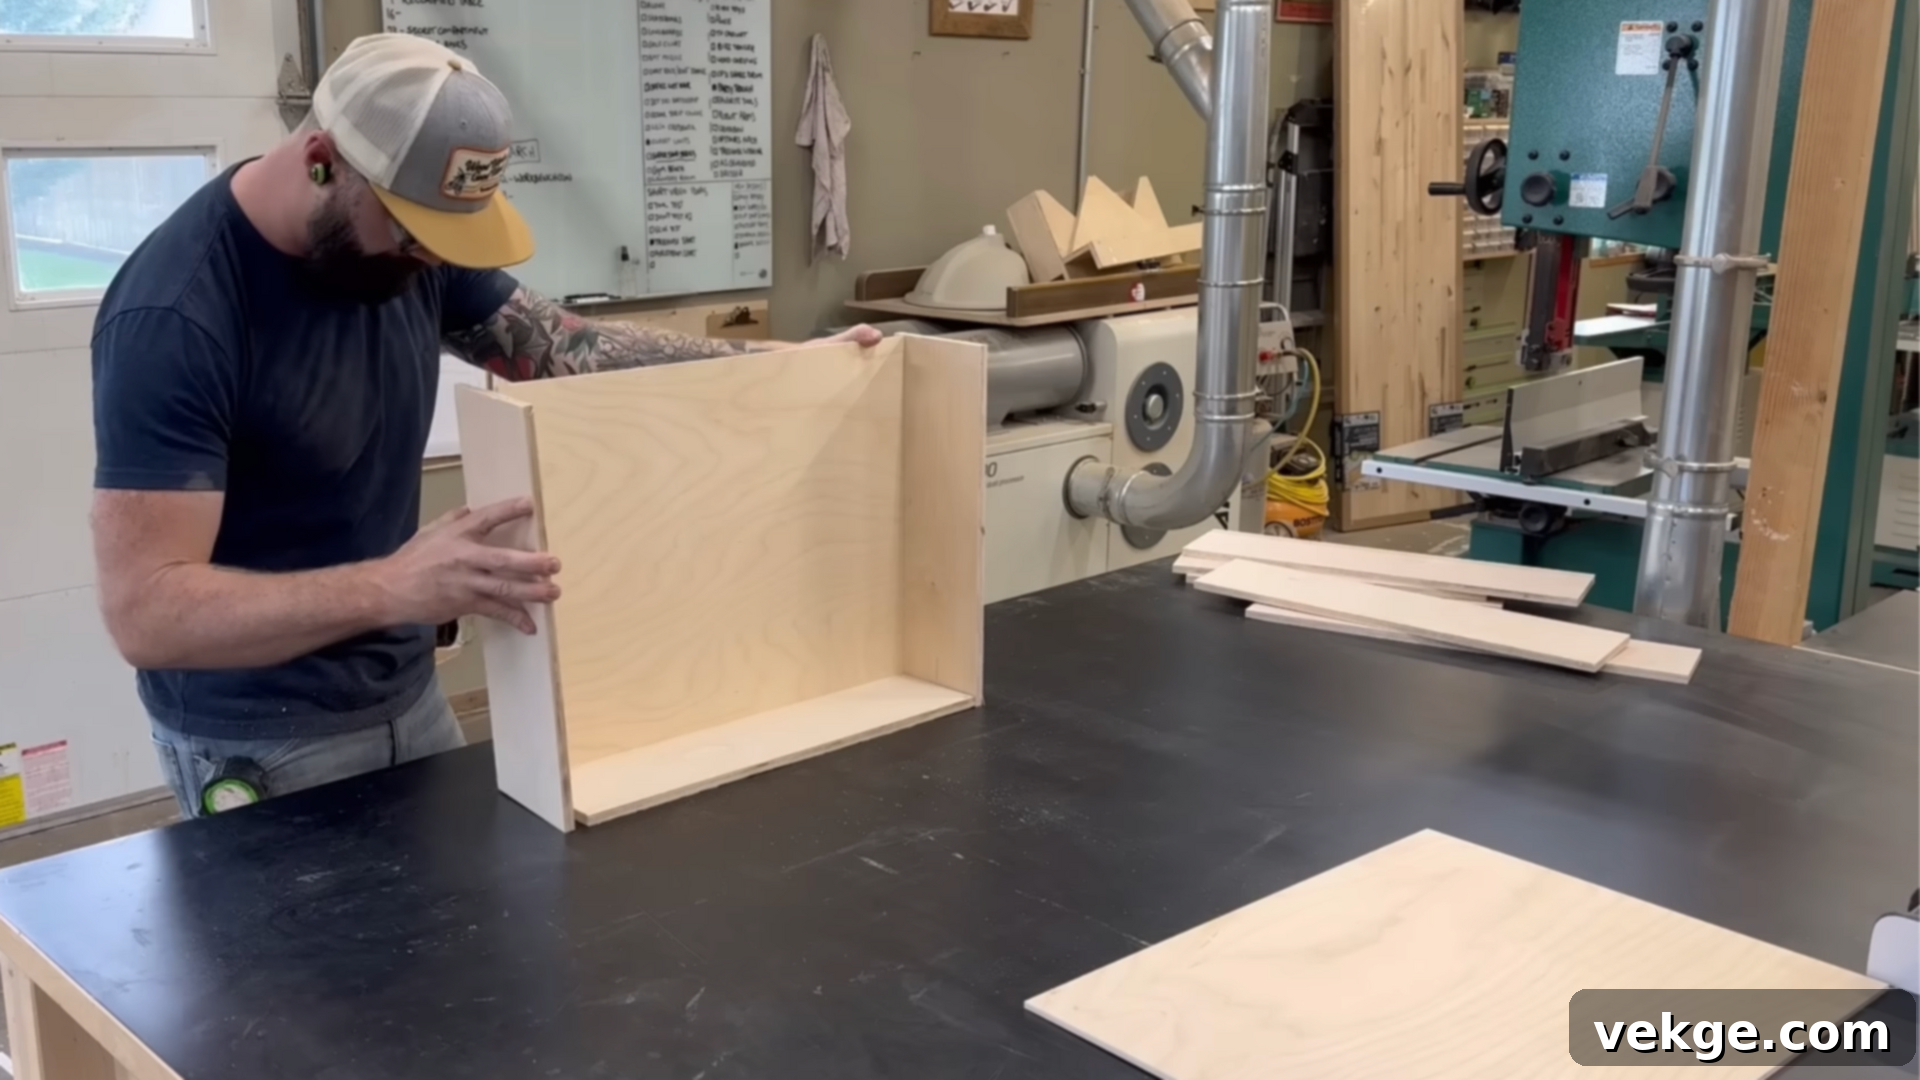
For the drawer bottom, 1/4″ Baltic Birch plywood is an excellent choice due to its stability and strength. Cut the bottom panel to fit precisely within the grooves you created in Step 1. The length of the bottom panel should be equal to the length of your side panels (minus the depth of the grooves on the front and back). The width of the bottom panel should be the exact width of your front/back panels plus twice the depth of the groove (e.g., if your front panel is 14″ wide and grooves are 1/4″ deep, your bottom would be 14.5″ wide). This allows it to slide into the grooves and be held securely by the front, back, and side panels.
Pro Tip for Removable Bottom: If you desire a removable drawer bottom for easier sanding, finishing, or future repairs, slightly trim the lower edge of the back panel (the part that sits in the groove) by about 1/16″. This small modification allows the bottom panel to be slid out from the back of the assembled drawer box after assembly, making maintenance much simpler without disassembling the entire drawer.
Step 4: Assembling the Drawer Box for Strength
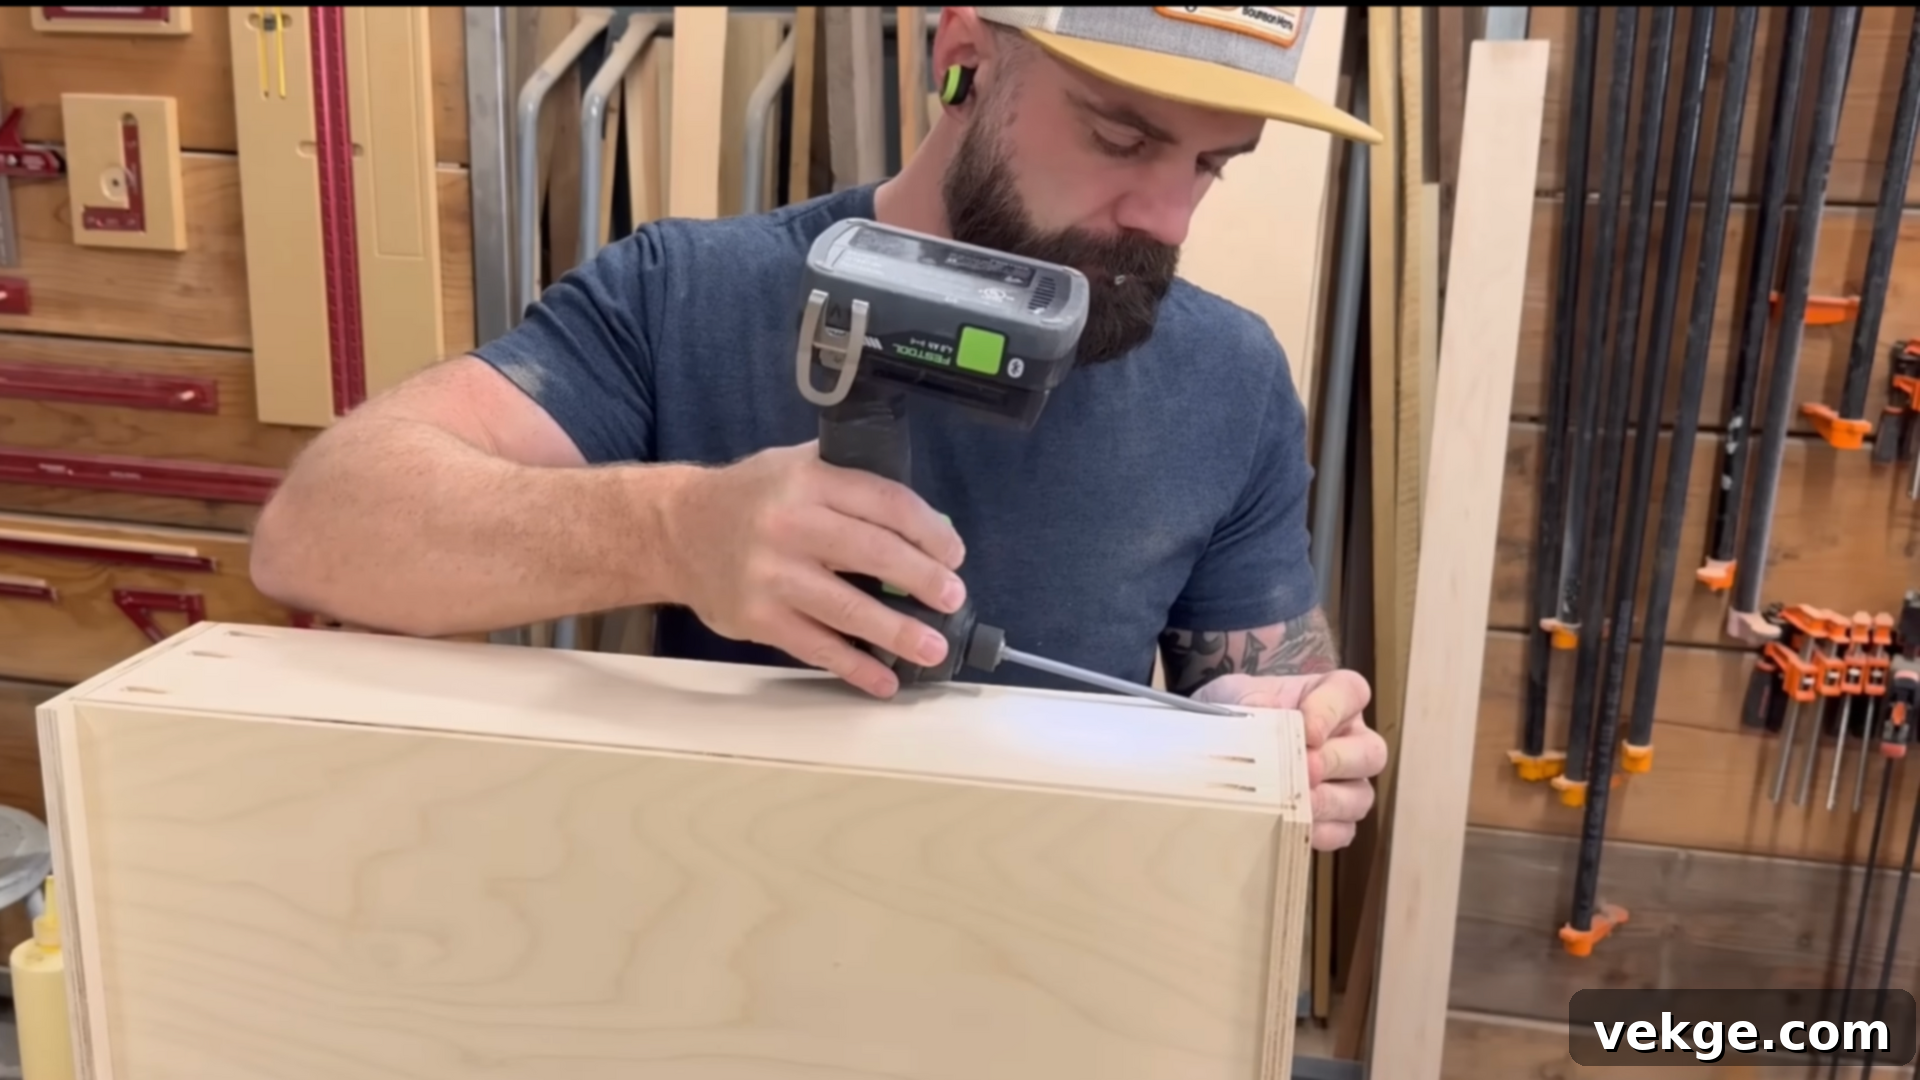
Assembly is where your drawer box takes shape. For plywood drawers, a combination of wood glue and a 16-gauge brad nailer with 1.5″ nails provides a quick and strong joint. Apply a thin, even bead of wood glue to all mating surfaces before joining. For hardwood drawers, or if you prefer a more robust joint, pocket holes are an excellent choice. Use a pocket hole jig to drill holes on the ends of your drawer sides, then secure them to the front and back panels with pocket hole screws and wood glue. Alternatively, traditional joinery methods like dovetails or rabbets can be used for even greater strength and aesthetic appeal, though they require more advanced woodworking skills.
Before assembly, it’s often easier to pre-sand the inner faces of your drawer parts, especially if you plan to apply a finish that might be hard to reach later. During assembly, ensure the drawer box remains perfectly square. Use a large square to check each corner as you clamp and fasten. Allow the glue to cure fully according to the manufacturer’s instructions before removing clamps or proceeding to the next step. For a cleaner, custom look, consider using wood plugs to conceal pocket holes or screw heads.
Step 5: Finishing and Installing Drawer Slides
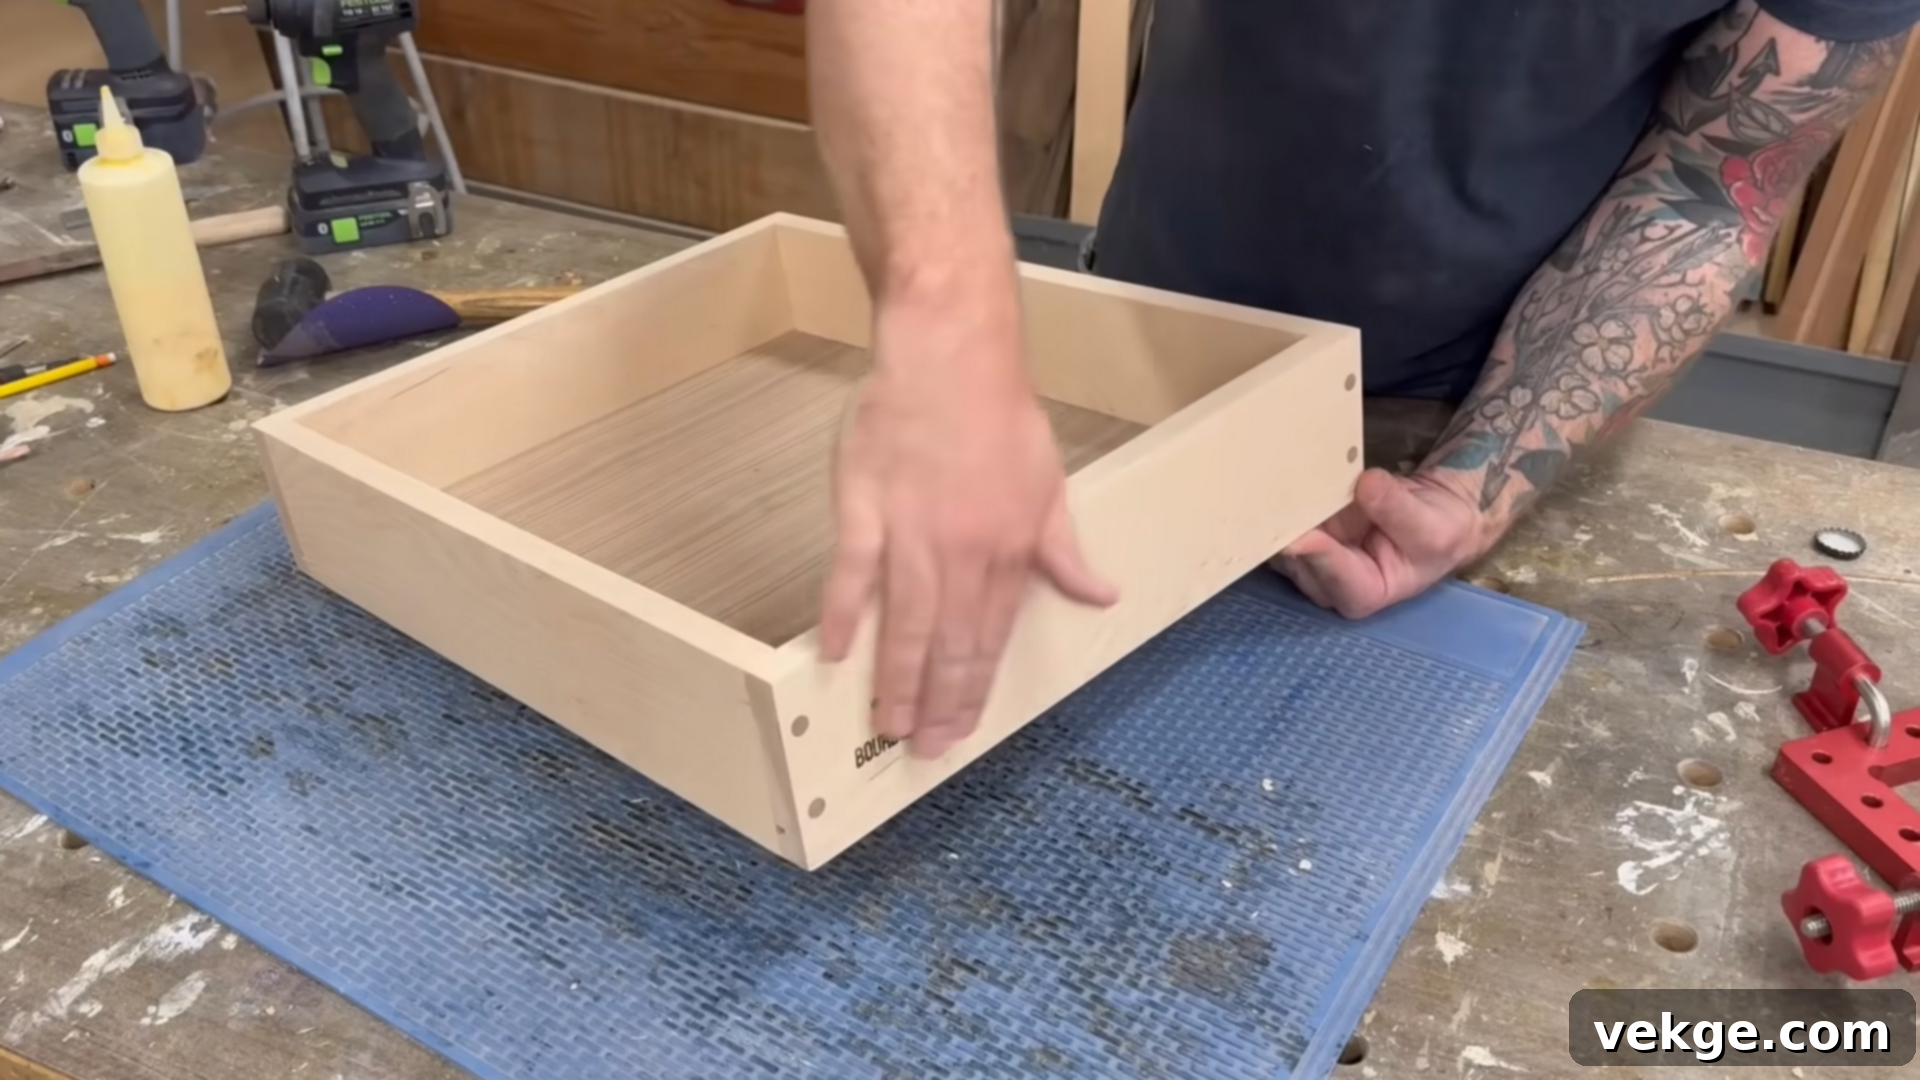
With the drawer box assembled, it’s time for the finishing touches and slide installation. Start by filling any visible nail or screw holes with wood filler or, for a more refined look, use wood plugs. Once dry, sand the entire drawer box smooth. Begin with a coarser grit (e.g., 100-120 grit) to remove any imperfections or glue squeeze-out, then progress to finer grits (e.g., 150-180 grit, followed by 220 grit) for a silky-smooth surface, perfect for finishing. Don’t forget to sand all edges slightly to break any sharp corners.
If you designed your drawer with a removable bottom, secure it with a few small screws inserted through the side panels into the bottom panel’s edge. Now, apply your preferred finish – paint, stain, or a clear protective coat. Apply thin, even coats, allowing adequate drying time between each. Once the finish is dry, you can discreetly brand or label your drawer if desired.
Installing the Drawer Slides
This is a two-part process: attaching the slides to the drawer box and attaching them to the cabinet.
- On the Drawer Box: Separate the two parts of your drawer slides. Take the drawer member (the part that attaches to the drawer). Draw a pencil line along the bottom edge of the drawer side, ensuring it’s straight and level. Align the bottom edge of the drawer slide with this line, making sure the slide is flush with the front edge of the drawer box (unless your slides specify otherwise). Pre-drill pilot holes and use the manufacturer-provided screws to securely attach the slide. Repeat for the other side of the drawer, ensuring both slides are perfectly parallel.
- In the Cabinet: Take the cabinet member (the part that attaches inside the cabinet). The most critical part here is ensuring the slides are installed level and at the correct height to match the drawer box. Use a level, a story stick, or a spacer block to consistently mark the height for the bottom of your slide. For example, if you want your drawer to sit 1 inch from the cabinet bottom, place a 1-inch spacer block on the cabinet floor and rest the slide on it while marking. Attach the cabinet member to the inside of the cabinet using the specified screws, again pre-drilling pilot holes. Ensure both cabinet slides are level with each other and perfectly parallel.
Once both parts of the slides are installed, gently slide the drawer box onto the cabinet slides. Test the operation, ensuring it moves smoothly and closes properly.
For a more detailed walkthrough of the process, check out the video here:
Beginner-Friendly Pro Tips for Flawless Drawer Construction
Achieving excellent results in woodworking, especially for beginners, often comes down to adopting smart practices. These expert tips will help you avoid common mistakes and make your drawer building process smoother and more successful.
- Measure Twice, Cut Once (and Confirm): This age-old adage is crucial. Always double-check your dimensions before making any cut. Even better, take a third look! An accurate tape measure and a reliable square are your best friends. Small inaccuracies compound quickly in drawer construction, leading to frustrating fit issues.
- Allow Glue to Fully Cure: Patience is a virtue in woodworking. After applying wood glue and clamping your drawer box, resist the urge to rush. Let the glue cure for the recommended time (often 24 hours, depending on type and humidity) before sanding, removing clamps, or installing hardware. Premature handling can weaken joints, leading to wobbly drawers over time.
- Always Pre-drill Pilot Holes: This simple step prevents frustrating wood splits, especially when working with hardwoods or near the edges of thin plywood. Choose a drill bit slightly smaller than the shank of your screw to create a clear path for the screw threads. This ensures a cleaner entry and a stronger hold.
- Label Each Part Clearly: Once you’ve cut your drawer components, take a moment to label them. Mark “Front,” “Back,” “Left Side,” “Right Side” (and perhaps “Top” if it matters) on inconspicuous areas. This keeps assembly straightforward and reduces the chance of misorienting pieces, saving you time and frustration.
- Clamp Pieces Firmly and Squarely: When assembling with glue, use enough clamps to apply even pressure across all joints. This ensures maximum glue penetration and tight, gap-free bonds. As you clamp, use a large framing square or combination square to continuously check that your drawer box is assembling perfectly square. A non-square box will never slide smoothly.
- Use Scrap Wood as Slide Spacers: For consistent and accurate slide installation, especially for under-mount or side-mount slides, use identically sized scrap wood pieces as temporary spacers. Place them at the bottom of the cabinet opening and on the inside of the drawer box to maintain a uniform height and parallel alignment for your slides during installation.
- Precision Marking Tools: You don’t need fancy laser guides for accurate lines. A sharp pencil, a good quality square, and a reliable tape measure are often all you need for precise marking. Take your time to draw clear, visible lines for all cuts and drill points.
- Don’t Be Afraid of Hand Tools: While power tools offer speed and convenience, a handsaw and a screwdriver are perfectly capable of building many drawer projects. Don’t let the absence of a full workshop stop you. Basic hand tools teach you precision and control, which are invaluable skills.
Choosing the Right Drawer Slides for Every Project
Selecting the appropriate drawer slides is a critical decision that impacts not only how your drawers operate but also their longevity and the overall aesthetic of your furniture. A well-chosen slide ensures smooth movement, robust support, and seamless integration with your cabinet style and intended use.
Deep Dive into Drawer Slide Types
Understanding the fundamental types of drawer slides available will guide your selection process:
- Side-Mount Slides: These are the most common and versatile type of drawer slides, often visible when the drawer is open.
- Pros: Easy to install, widely available, come in various lengths and load capacities (from light-duty to heavy-duty, often supporting 75-150 lbs or more), and are generally cost-effective. They require about 1/2 inch (12.7mm) of clearance on each side of the drawer box.
- Cons: They are visible, which might not be desirable for a clean, minimalist look.
- Ideal for: Most general-purpose drawers, workshop benches, utility cabinets, and anywhere functionality outweighs the need for concealed hardware.
- Under-Mount Slides (Concealed Slides): These slides are hidden beneath the drawer box, offering a clean and modern aesthetic.
- Pros: Completely invisible when the drawer is closed, providing a sleek, high-end appearance. Many feature soft-close and full-extension capabilities. They also allow for slightly wider drawer boxes since they don’t consume space on the sides.
- Cons: Require more precise measurements and installation, as alignment is critical. Typically more expensive than side-mount slides. Often have specific requirements for drawer box construction (e.g., minimum side panel thickness).
- Ideal for: High-end kitchen cabinets, bedroom furniture, modern office desks, and any project where a premium, uncluttered look is desired.
- Center-Mount Slides: These slides are mounted under the center of the drawer box, attaching to the cabinet frame.
- Pros: Simple to install and fully concealed when the drawer is closed. They are very thin and require minimal side clearance.
- Cons: Only suitable for lightweight drawers as they typically have the lowest load capacity (often 30-50 lbs). They usually offer only ¾ extension.
- Ideal for: Small, light-duty drawers like those in nightstands, jewelry boxes, or small desk drawers.
Key Factors for Optimal Slide Selection
Beyond the type, several other factors should influence your decision:
- Weight Capacity: This is paramount. Assess what you plan to store in the drawer. Heavy items like tools, books, or pantry staples demand slides with a high load capacity (e.g., 100+ lbs). Lighter items can use slides with lower capacities (e.g., 50-75 lbs).
- Drawer Depth and Length: Measure your drawer box depth accurately. Choose slides that are equal to or slightly shorter than your drawer box side panels to ensure proper fit and function. Common lengths are available in 2-inch increments (e.g., 14″, 16″, 18″, 20″, etc.).
- Cabinet Clearance: Confirm the required clearance for your chosen slide type, especially for side-mount and under-mount options, to ensure your drawer will fit without binding.
- Budget vs. Quality: While premium slides offer features like soft-close and higher load capacities, they come at a higher price point. Balance your budget with the required durability and features for your specific project. Investing in good quality slides often pays off in the long run with fewer headaches and longer-lasting performance.
- Aesthetics: Decide if you prefer your hardware to be visible (side-mount) or completely concealed (under-mount/center-mount) to match the overall style of your furniture.
Troubleshooting Common Drawer Problems and Quick Fixes
Even with careful construction, drawers can sometimes present issues. Understanding common problems and how to quickly diagnose and fix them will save you frustration and keep your drawers functioning smoothly for years to come.
- The drawer sticks or won’t slide smoothly:
- Diagnosis: This often points to misalignment, wood swelling, or debris. Humidity can cause wood to expand, making the drawer box too wide for the opening.
- Fixes:
- Check Clearance: Ensure there’s adequate clearance (usually 1/16″ to 1/8″ total) between the drawer box and the cabinet opening.
- Sand Edges: If the wood has swelled, lightly sand the outer edges of the drawer box until it moves freely.
- Slide Alignment: Verify that both drawer slides (on the drawer and in the cabinet) are perfectly aligned, parallel, and level. Even a slight angle can cause binding.
- Lubrication: For older or simpler slides, a dry lubricant (like silicone spray or paraffin wax) can improve smoothness.
- Drawer won’t close all the way or springs open slightly:
- Diagnosis: This is typically due to an obstruction, incorrect slide installation, or a fault with a soft-close/self-closing mechanism.
- Fixes:
- Check for Obstructions: Look for screws sticking out, tools, or debris at the back of the cabinet or within the slide mechanism.
- Slide Depth: Ensure the cabinet member of the slide is installed at the correct depth. If it’s too far forward or back, it can prevent full closure.
- Soft-Close Mechanism: If using soft-close slides, check if the mechanism is damaged or jammed. Sometimes a quick push and pull can reset it.
- Squareness: Re-verify that both the drawer box and the cabinet opening are square.
- Slides wobble, tilt, or feel loose:
- Diagnosis: This indicates insufficient fastening or an uneven installation.
- Fixes:
- Tighten Screws: Go back and check all screws securing the slides to both the drawer box and the cabinet. Ensure they are snug, but avoid over-tightening which can strip the wood.
- Re-level and Re-secure: Use a level to ensure the slides are perfectly horizontal and parallel. If not, unscrew, adjust, and re-fasten. Consider using longer or larger gauge screws if the wood seems stripped or the slides feel insecure.
- Reinforce Mounting Points: If mounting into particle board or weak wood, consider using threaded inserts or larger wood blocks for a more robust attachment.
- Drawer sags when heavily loaded or bottom drops out:
- Diagnosis: The drawer is overloaded, the slides’ weight capacity is insufficient, or the drawer bottom is too thin/poorly secured.
- Fixes:
- Reduce Load: If the drawer is consistently overloaded, remove some items.
- Upgrade Slides: For future builds or if the problem persists, install slides with a higher weight capacity.
- Reinforce Bottom: If the bottom is bowing, consider replacing it with thicker plywood (e.g., 1/2″ instead of 1/4″) or adding support runners underneath the drawer bottom. Ensure the bottom is securely fastened in its groove or to the drawer sides.
- Extra Tip: Ensure the drawer box is perfectly square. This cannot be stressed enough. Even minor deviations from a perfect 90-degree angle in your drawer box (or your cabinet opening) can cause significant problems with binding, sticking, and uneven operation when opening or closing the drawer. Take the time to check for squareness at every assembly stage.
Final Thoughts
Congratulations! You now possess a comprehensive understanding of how to build a drawer with slides from start to finish. You’ve learned about the crucial role of material selection, from choosing the right wood for your drawer box to understanding the various types of drawer slides and their features. More than just theory, you’ve gained practical insight into building a clean, functional drawer using basic tools and straightforward steps.
I’ve also equipped you with invaluable pro tips to help you avoid common beginner mistakes, alongside practical fixes for troubleshooting those inevitable bumps in the road. From ensuring precise measurements to understanding proper glue curing and slide installation, you have the foundational knowledge to tackle your next woodworking project with confidence.
Whether your goal is to breathe new life into old cabinets, construct custom storage solutions for your home, or embark on an entirely new furniture build, you now have the skills to create drawers that not only slide smoothly and operate reliably but also boast a professional and aesthetically pleasing finish. The satisfaction of using something you’ve built with your own hands is truly rewarding.
Ready to put your newfound knowledge into action? Grab your tools, revisit the steps, and start building a drawer that works just right for your needs. Don’t hesitate to explore other DIY guides on our website for more home improvement inspiration and projects!
