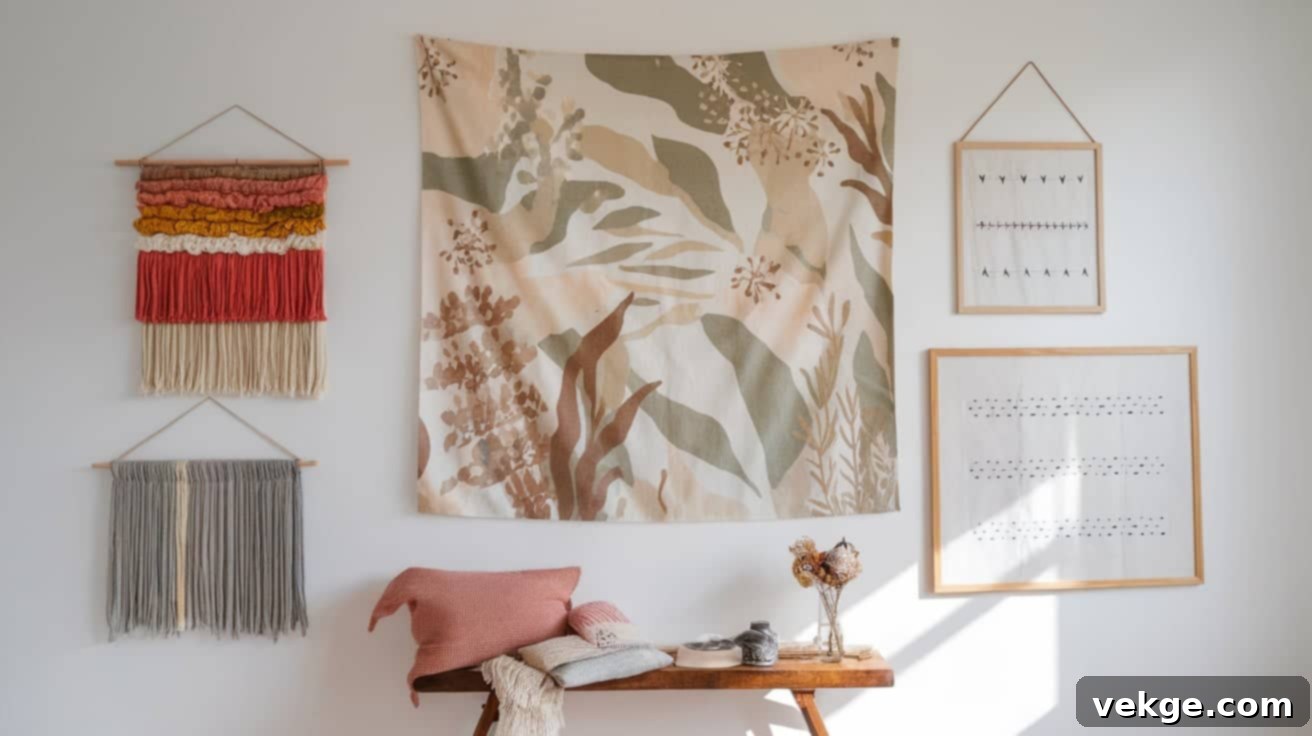
Craft Your Own Masterpiece: The Ultimate Guide to DIY Tapestries and Handmade Wall Art
Wall tapestries are far more than just decorative accents; they are a vibrant expression of personality, bringing unparalleled warmth, texture, and a unique visual story to any room. While countless ready-made options fill store shelves, the true magic lies in creating your own. A handmade tapestry isn’t just a piece of decor; it’s a labor of love, a custom creation that perfectly reflects your individual style and seamlessly integrates with your living space, making it truly one-of-a-kind.
Embarking on a DIY tapestry project offers a wealth of benefits beyond just aesthetic appeal. Not only can you significantly save money compared to purchasing high-end textile art, but you also gain complete control over every single detail. Imagine selecting the exact size and style that fits your wall, choosing a color palette that complements your existing decor, and hand-picking materials that speak to your aesthetic preferences. From a small, cozy piece designed to adorn a quiet reading nook to a grand, statement-making masterpiece destined for a prominent wall, the creative possibilities are genuinely endless.
The idea of crafting your own tapestry might seem daunting at first, but the reality is much simpler than you might imagine. There’s a method suited for every skill level, from incredibly beginner-friendly, no-sew designs that require minimal tools and expertise, to more detailed and satisfying weaving projects that allow for intricate patterns and textures. With just a few basic materials and a commitment of a few hours, you can create captivating wall art that not only showcases your personal style but also becomes an instant conversation starter for anyone who enters your home.
This comprehensive guide will walk you through the exciting world of DIY tapestry creation. We’ll explore various techniques, help you choose the best method for your needs, provide a step-by-step crafting guide, share essential tips for beginners, and finally, advise you on how to finish, display, and care for your beautiful new wall art. Let’s dive in and transform your creative vision into a tangible piece of textile art.
Understanding Tapestry Types and Creative Methods
The beauty of wall tapestries lies in their versatility. The method you choose to create your DIY tapestry will fundamentally shape both its final aesthetic and the entire crafting journey. Each technique offers distinct advantages, allowing for different levels of complexity, material choices, and visual outcomes. Let’s explore some popular and accessible methods for crafting your own textile masterpiece.
Different Methods of DIY Tapestry Creation
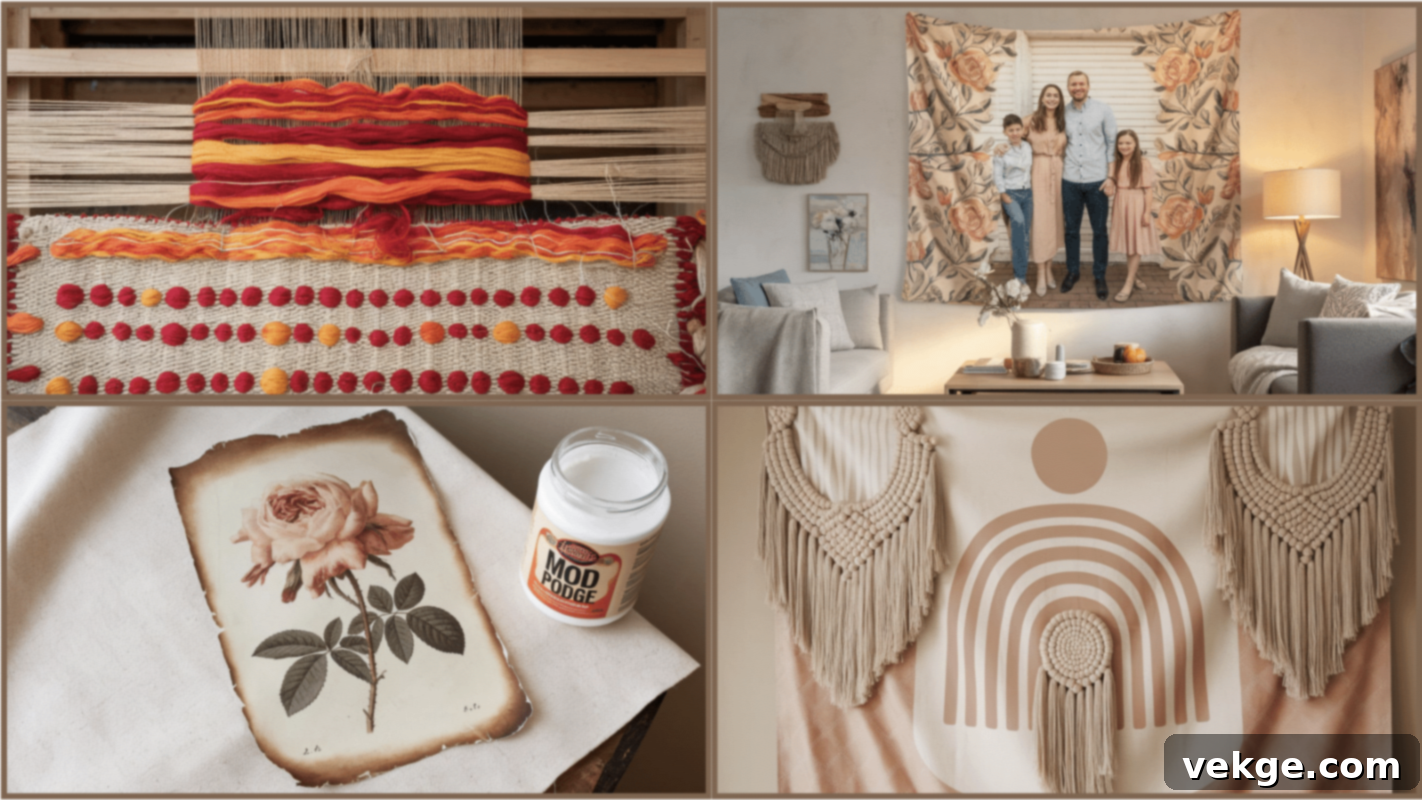
1. No-Sew Tapestries: Instant Textile Art
Perfect for beginners or those seeking a quick project, no-sew tapestries allow you to create stunning wall art without ever touching a needle and thread. These designs often leverage fabric adhesives, hot glue, or simple knotting techniques to construct beautiful, textural pieces. Think fringed wall hangings made from various yarns, fabric collages glued onto a canvas backing, or even macrame-inspired pieces that rely purely on knot work. This method is fantastic for experimenting with different textures, colors, and materials like felt, fabric scraps, ribbons, or chunky yarns to build depth and visual interest.
2. Weaving Without a Loom: Accessible Textile Craft
Don’t have a traditional loom? No problem! You can still explore the art of weaving using readily available materials. Simple household items like a sturdy piece of cardboard, a picture frame, or even a natural branch can serve as your base. Alternatively, you can use an existing woven rug or a piece of open-weave fabric as a foundation, adding layers of yarn, roving, or fabric strips to build texture, color, and unique patterns. This method allows for incredible freedom in design, letting you experiment with different fiber types and create unique, tactile surfaces.
3. Mod Podge Fabric Art: Vintage Charm Made Easy
This clever technique uses Mod Podge, a versatile craft adhesive, to transfer printed images onto fabric, creating a unique, aged, and artistic effect. It’s an excellent choice for achieving a vintage, botanical, or whimsical aesthetic. You can use botanical prints, old maps, sheet music, or even family photos. The process typically involves printing your chosen image (often reversed) and carefully adhering it to fabric, then sealing it. The result is a charming, somewhat distressed look that adds character and a personalized touch, perfect for a rustic or bohemian-inspired space.
4. Framed Tapestry Art: Gallery-Worthy Display
Elevate your fabric art by giving it structure and a polished, finished look with a wood frame. This method transforms simple materials into gallery-worthy pieces, making them suitable for more formal or contemporary settings. You can create a piece of fabric art (perhaps a stitched design, a painted fabric, or a Mod Podge creation) and then stretch and mount it onto a canvas stretcher frame, or simply place it within a traditional picture frame. The combination of textile art and a defined frame creates a sophisticated aesthetic that highlights the beauty and detail of your work.
5. Photo Transfer Tapestries: Personal Memories on Fabric
Turn your cherished memories and favorite photographs into unique fabric art using specialized photo transfer techniques. This method allows you to immortalize images on a soft, textural medium, creating a deeply personal and meaningful tapestry. It generally works best with engineering prints (large-scale black and white prints) or images printed on specific transfer paper, applied to light-colored fabrics. The result is a striking, often slightly faded or textured image on fabric, perfect for creating sentimental wall decor or unique gifts.
Choosing the Right Method for Your DIY Tapestry
With so many exciting options, selecting the perfect DIY tapestry method can feel like a delightful challenge. To ensure your project is enjoyable and yields the results you envision, it’s helpful to consider a few key factors before you begin.
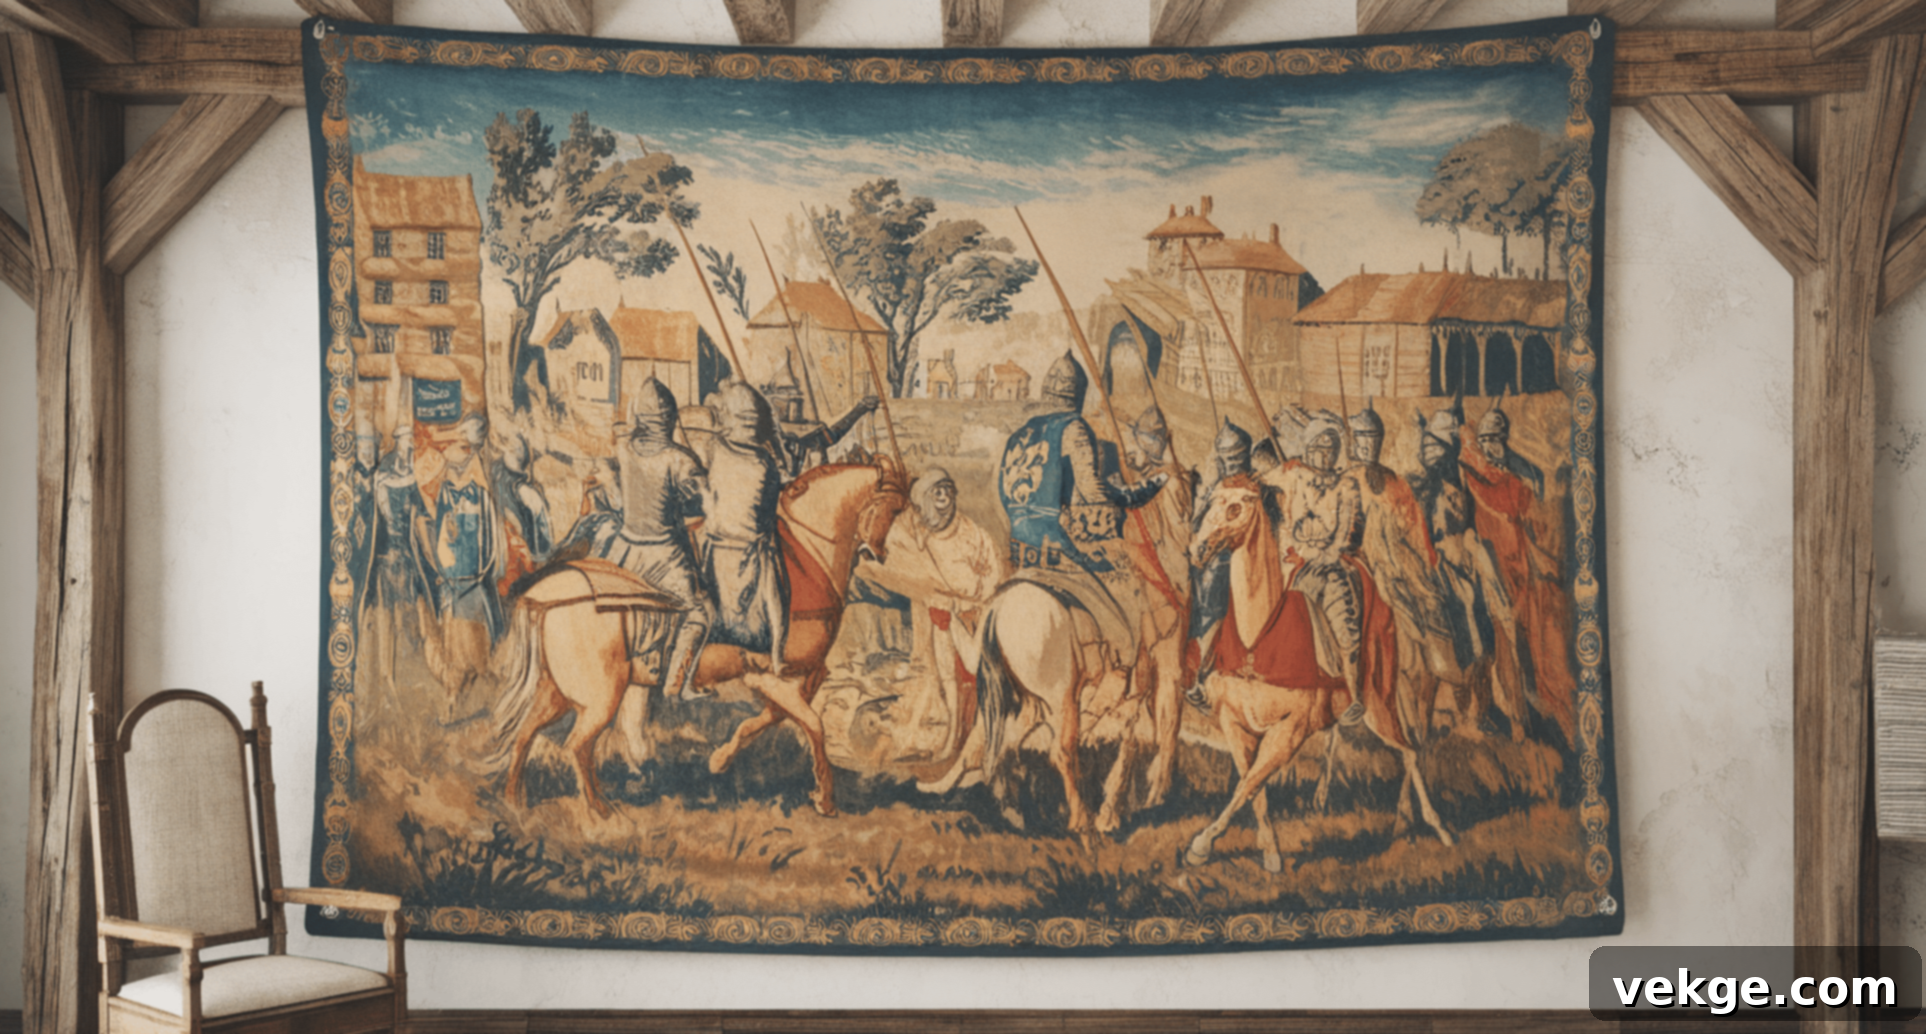
Skill Level Assessment: Matching Projects to Your Abilities
Starting with an honest assessment of your crafting experience is crucial for a successful and enjoyable project. If you’re new to DIY or textile arts, beginning with no-sew options, simple fabric collages, or basic fringe designs is a great way to build confidence. These methods typically involve less precision and allow for more organic, free-form creativity. Those with some basic DIY skills, perhaps experience with painting or simple assembly, might find framed fabric art or Mod Podge techniques more engaging. More experienced crafters might confidently tackle intricate weaving projects or advanced stitching patterns. Don’t be afraid to start simple and gradually challenge yourself.
Time and Resource Considerations: Budgeting for Your Craft
Each tapestry creation method demands different amounts of time, tools, and materials. No-sew projects, for instance, can often be completed in a few hours, making them ideal for a weekend afternoon activity. More elaborate framed pieces or detailed weaving projects might require a full weekend or even several dedicated crafting sessions. Your budget also plays a significant role in guiding your choice. Basic supplies like drop cloths, various yarns, fabric scraps, or craft glues are often inexpensive. However, adding high-quality framing materials, specialized weaving tools, or custom-printed photo transfers can increase the total cost. Plan your project with both your available time and financial resources in mind.
Project Goals: Envisioning Your Final Tapestry
Before committing to a method, take a moment to visualize the end result. Consider where you plan to hang your tapestry and the overall aesthetic you wish to achieve. Do you envision a rustic, bohemian piece with lots of texture for a casual living room? Then a no-sew fringe tapestry or a branch weaving might be perfect. Or perhaps you’re aiming for a more polished, contemporary look for a formal dining area? In that case, framed fabric art or a cleanly executed photo transfer could be more suitable. Thinking about the desired style, color scheme, and the general vibe of the room will help you narrow down your choices and select a method that truly brings your vision to life.
A Step-By-Step DIY Tapestry Crafting Guide: Focus on Stitched Tapestries
While there are many ways to make a tapestry, this detailed guide will focus on creating a beautiful stitched tapestry, often associated with needlepoint or traditional tapestry weaving. This method allows for incredible detail, durability, and a classic textile art feel. The principles of planning and execution, however, can be adapted to many other tapestry types.
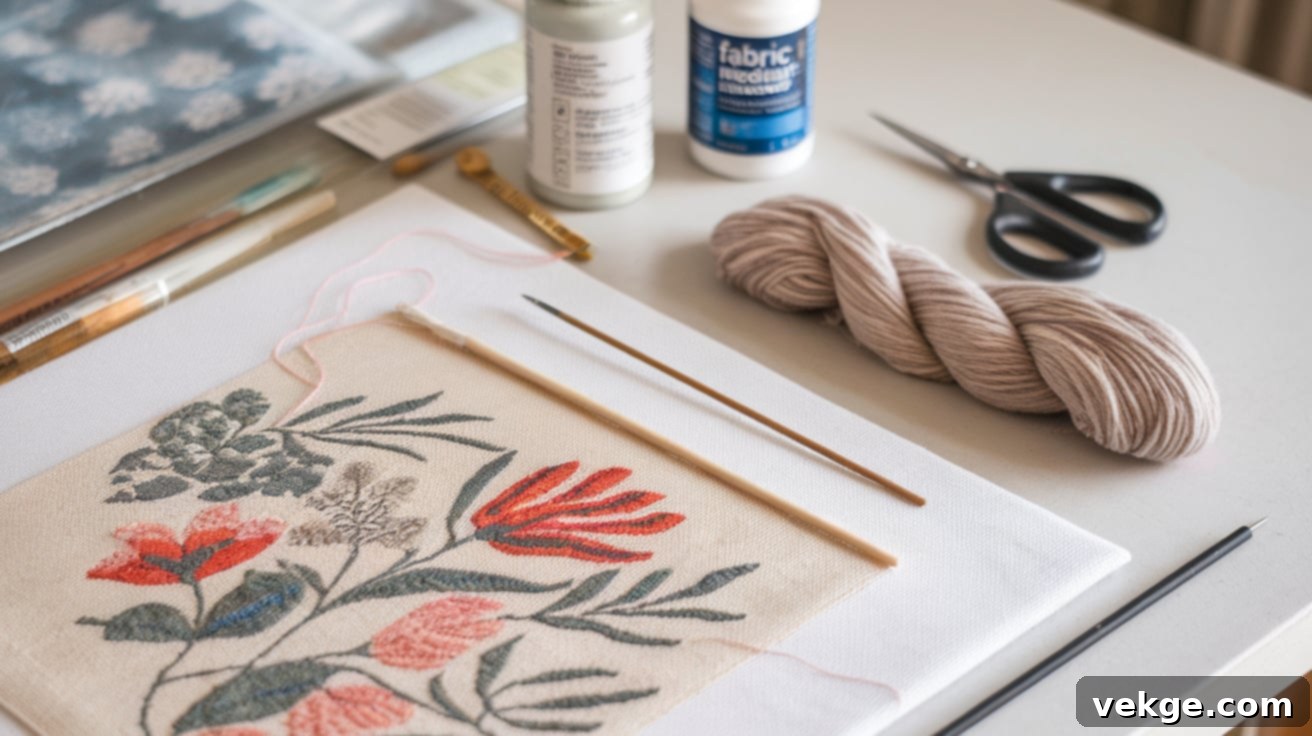
STEP 1: Plan Your Design and Gather Your Materials
Before you pick up a needle, visualize your design. Sketch it out on paper, experimenting with colors and patterns. For a stitched tapestry, a pre-printed canvas or a blank canvas (known as ‘tapestry canvas’ or ‘rug canvas’) is your foundation. Many beginners find tapestry kits, which typically include a pre-printed canvas with the design already outlined, various shades of wool or yarn, a suitable needle, and a clear reference chart, to be incredibly helpful. For a blank canvas, you’ll need a design chart to follow. Essential additional tools to consider are sharp thread snips or small scissors, and a needle threader, especially useful when working with thicker wool or if you have difficulty with fine motor tasks. Ensure your chosen yarn is appropriate for the canvas count (the number of holes per inch) – too thin, and it won’t cover; too thick, and it will be difficult to pull through.
STEP 2: Secure the Canvas for Stability
A stable canvas is key to even tension and comfortable stitching. If your kit includes a frame (often a wooden stretcher frame or hoop), attach the canvas to it. You can do this by using a simple running stitch along the edges of the canvas to lace it tightly to the frame, or by using clamps if provided. For larger pieces, a traditional tapestry frame or scroll frame can be invaluable. While a frame is technically optional for smaller projects, securing your canvas prevents distortion as you work and makes the entire stitching process much easier and more manageable, ensuring your final piece is square and even.
STEP 3: Learn Basic Stitches: Mastering the Fundamentals
For most traditional tapestries, particularly needlepoint, mastering a few core stitches is all you need. Practice these on a scrap piece of canvas before starting your main project:
- Half Cross Stitch: This simple stitch goes from the bottom left corner of a square to the top right corner. It offers good coverage and a neat appearance.
- Continental Stitch: Often mistaken for half cross stitch, this stitch also goes from bottom left to top right but is worked across the canvas (horizontally or vertically) ensuring the back of the work is covered, making it more durable. It creates a slightly thicker, diagonal stitch on the surface.
- Basketweave Stitch: This is a highly recommended stitch for large areas of color. It is worked diagonally (up and down, then down and up), creating a strong, stable, and durable fabric that resists distortion. It’s excellent for providing full coverage and a rich texture.
Experiment with each to understand their unique texture and coverage. The reference chart in your kit will guide you on which stitches to use for different areas of your design.
STEP 4: Anchor and Secure Threads for a Clean Finish
Properly starting and ending your threads is crucial for a tidy and durable tapestry. To begin, use a “waste knot”: tie a knot at the end of your thread, then bring your needle up through the canvas about an inch or two away from where you want to start stitching. Make your first few stitches, catching the tail of the thread on the back of the canvas to secure it. Once secured, snip off the waste knot. To finish a thread, tuck the loose end into the back of several completed stitches using your needle. This method secures the thread without creating bulky knots on the back, maintaining a neat and durable finish that will prevent unraveling over time.
STEP 5: Complete and Maintain Your Tapestry: Final Touches
Once you’ve meticulously stitched every square of your design, your tapestry is almost ready! Carefully trim any excess threads from both the front and back of your work. If your tapestry has become slightly warped during the stitching process (which is common, especially with basketweave stitch), you may need to “block” it. Blocking involves gently dampening the canvas and pinning it squarely onto a flat surface to reshape it as it dries. Once dry, you can clean the tapestry if necessary, following the care instructions for your specific yarn type. Regularly inspect and maintain the finished piece to ensure its longevity, whether you plan to use it as a decorative wall hanging, a unique cushion cover, or another textile application. Proper finishing and ongoing care will preserve the beauty and integrity of your handmade art.
Video Tutorial: Visual Guidance
For a dynamic, visual learning experience, sometimes seeing is believing. Watch an expert demonstrate the techniques discussed:
For more information, check out this video tutorial by LoveCrafts.
Tips for Beginners: Making Your First Tapestry a Success
Starting any new craft can feel a little intimidating, but with a few smart strategies, your first DIY tapestry project can be incredibly rewarding. These tips are designed to help you avoid common pitfalls and enhance the overall quality of your handmade art.
1. Avoiding Common Mistakes and Ensuring Accuracy
- Test Adhesives: Before applying any fabric adhesive or glue to your main tapestry piece, always test it on a small, inconspicuous scrap of the same fabric. This ensures it won’t bleed, discolor, or damage your material.
- Measure Twice, Cut Once: This classic adage is vital in crafting. Whether you’re cutting fabric, yarn, or framing materials, double-check your measurements to prevent costly errors and waste.
- Don’t Rush: Rushing leads to mistakes. Take your time, especially during intricate steps or when working with sharp tools. Enjoy the process!
- Monitor Tension (for stitched/woven pieces): In stitching or weaving, maintaining consistent thread tension is crucial. Too loose, and your work will look sloppy; too tight, and it will distort the fabric. Practice to find a comfortable and even tension.
2. Time-Saving Hacks for Efficient Crafting
- Pre-Wash Fabrics: If your project involves fabric that might shrink (like cotton or linen), pre-wash and dry it before you start. This prevents your finished tapestry from shrinking unevenly or becoming distorted later.
- Plan Your Design with Pins: For fabric collage or placement-heavy designs, use straight pins or temporary fabric adhesive to lay out your design elements. This allows you to adjust and refine your composition before making any permanent changes with glue or stitches.
- Batching Tasks: If your project involves repetitive steps (like cutting multiple pieces of yarn or fabric strips), do them all at once. This can be more efficient than switching between tasks repeatedly.
3. Enhancing the Quality of Your Tapestry for a Polished Look
- Iron Your Fabric: Always iron your fabric thoroughly before you begin any project. Removing wrinkles ensures a smooth, even surface to work on, leading to a much more professional-looking finished product.
- Plan on Paper First: For any design that involves specific patterns, shapes, or color blocking, sketch it out on paper first. This helps you visualize the final result, experiment with different layouts, and create balanced, attractive compositions.
- Use Quality Materials: While budgeting is important, investing in decent quality materials (yarn, fabric, adhesives) can significantly impact the look and longevity of your tapestry. Higher quality materials are often easier to work with and yield more satisfying results.
- Clean Your Workspace: A clean and organized workspace helps you stay focused, prevents materials from getting lost or dirty, and generally makes the crafting experience more enjoyable.
Finishing and Displaying Your Tapestry: Showing Off Your Art
Once your DIY tapestry is complete, the final step is to properly finish and display it. The right presentation can elevate your handmade art and ensure it gets the attention it deserves.
Hanging Methods: Creative Ways to Showcase Your Tapestry
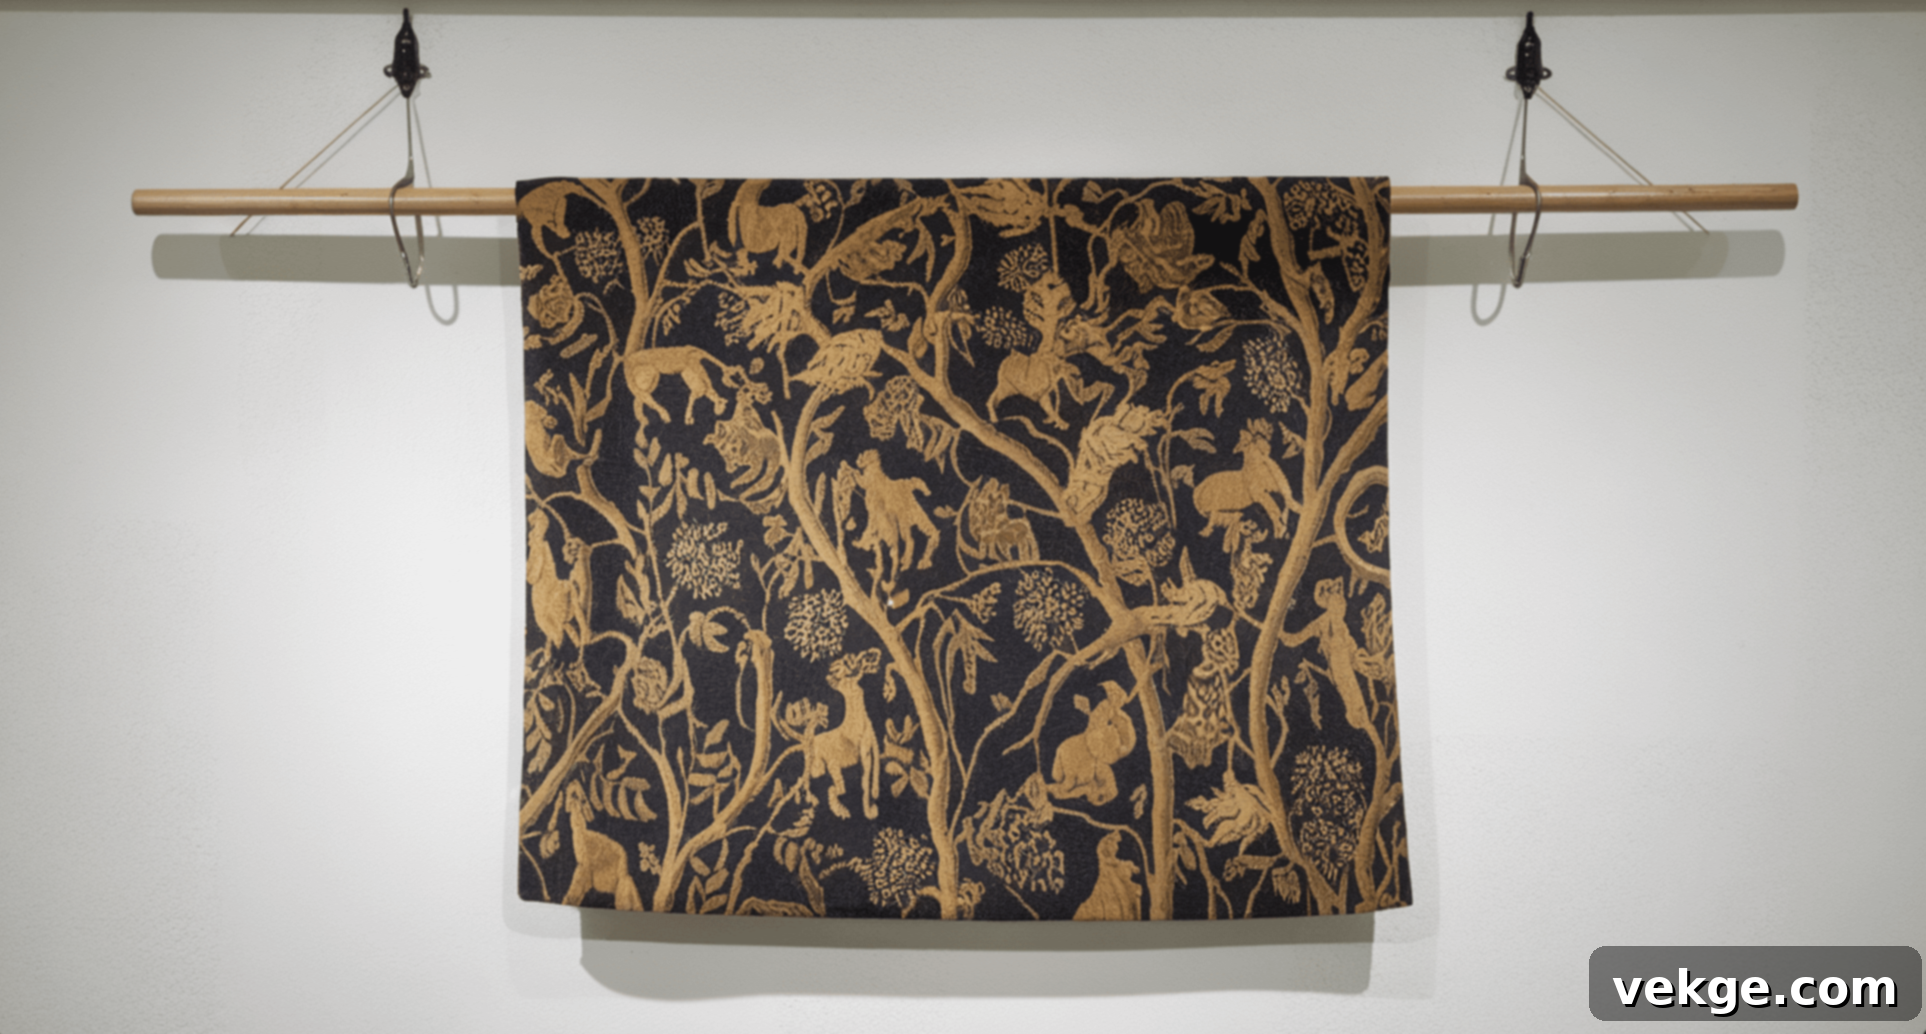
The method you choose for hanging depends on the tapestry’s weight, style, and your wall type. For lighter pieces, a simple dowel rod (wooden or metal) or a natural branch can work beautifully. You can create a casing at the top of your tapestry for the rod to slide through, or use loops of string/yarn attached to the top edge that hook over the rod. For heavier or larger tapestries, secure wall anchors and proper mounting hardware are essential to prevent damage to your wall and your artwork. Picture rail systems, curtain rods with decorative finials, or even invisible wall cleats can provide robust support. Ensure the hanging mechanism is proportionate to the tapestry’s size and complements its style.
Framing Options: Elevating Your Textile Art
Framing offers another layer of protection and a more formal presentation for your tapestry. Wood frames are a classic choice; you can build simple, custom frames from basic lumber for a rustic look, or opt for ready-made picture frames that suit your aesthetic. For stitched pieces, a “floating” frame where the tapestry appears to hover within a larger frame, or a shadow box frame, which provides depth and protects delicate textures, can be stunning. Ensure that any framing materials are acid-free to prevent degradation of your fabric over time. For fabric collages or printed pieces, stretching the fabric over a canvas stretcher frame before framing gives it a clean, gallery-wrapped appearance.
Care and Maintenance: Making Your Tapestry Last a Lifetime
Your handmade wall tapestry is an investment of time, creativity, and emotion. To ensure it remains a cherished part of your home decor for years to come, regular care and proper maintenance are essential. Like any fabric art, how you clean and store your piece greatly affects its long-term appeal and durability.
1. Regular Cleaning: Keeping Dust at Bay
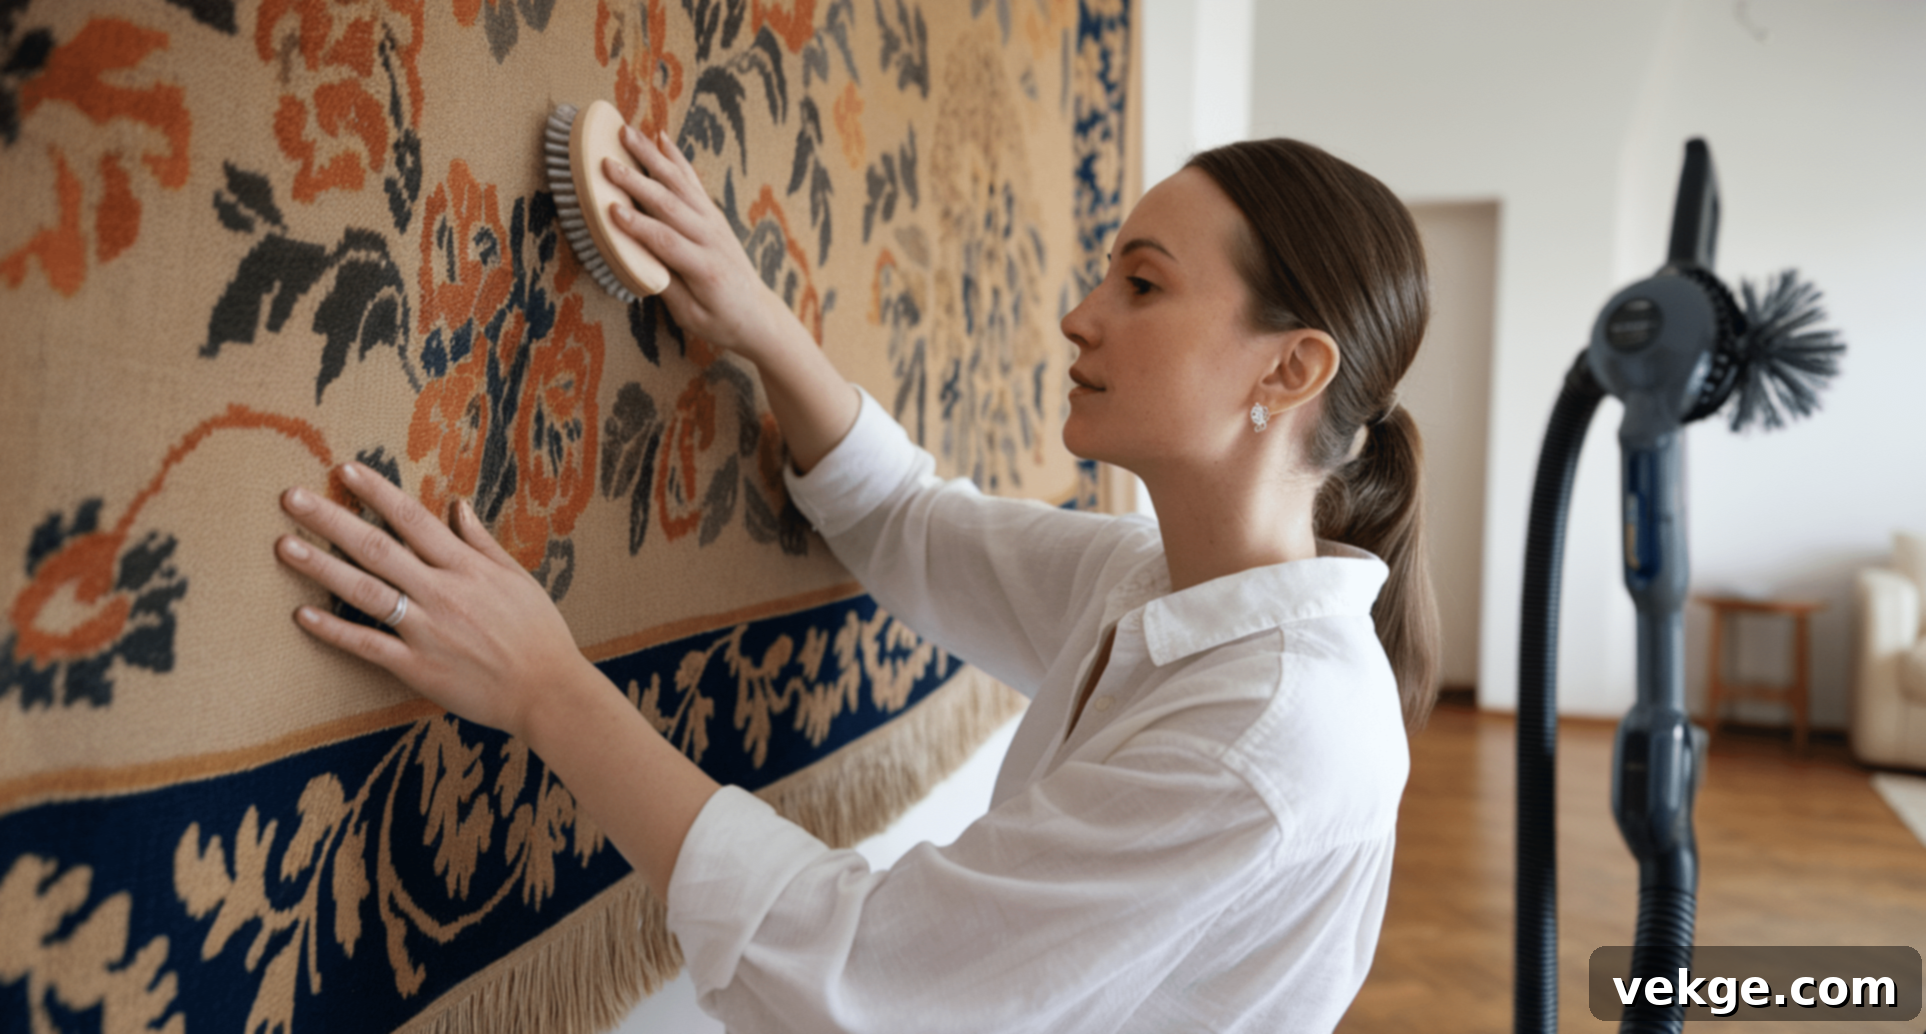
Dust is the enemy of all textiles. To keep your tapestry looking fresh, gently dust it monthly with a soft, lint-free cloth or a feather duster. For a deeper clean, use a vacuum cleaner with a brush attachment set on the lowest power setting. Hold the brush slightly above the surface and move it gently across the tapestry, always in the direction of the fibers if applicable. This prevents snags or pulls in the fabric. If you need to spot clean a stain, test any cleaning product on a small, hidden area first to ensure it doesn’t cause discoloration or damage. Blot, don’t rub, stains.
2. Protection from Elements: Guarding Against Damage
Environmental factors can significantly impact your tapestry’s longevity. Direct sunlight is notorious for fading colors over time, especially vibrant dyes. Position your piece away from windows where it receives harsh, direct sun, or consider using UV-protective window coverings or blinds. High humidity can lead to mildew or mold growth, particularly on natural fibers. Ensure the room where your tapestry hangs has good airflow, and consider using a dehumidifier in particularly damp environments. Conversely, extremely dry conditions can make fibers brittle, so maintaining a balanced indoor humidity is ideal.
3. Storage Solutions: Preserving Your Tapestry Off the Wall
When storing your tapestry, always roll it rather than folding it. Folding can create permanent creases and weaken the fabric along the fold lines. If you’re storing it long-term, place acid-free tissue paper between the layers as you roll it to prevent moisture damage and color transfer. Avoid storing tapestries in plastic bags for extended periods, as this can trap moisture and encourage mold growth; breathable cotton sheets are a better alternative. Store rolled tapestries horizontally on a clean, dry shelf to prevent them from becoming misshapen.
4. Quick Repairs: Nipping Problems in the Bud
Make it a habit to inspect your tapestry every few months for any signs of wear, such as loose threads, small tears, or detached embellishments. Addressing minor issues immediately can prevent them from escalating into bigger, more complex problems. Use matching thread to carefully stitch down loose ends, or a tiny dab of fabric glue for small tears or embellishments. It’s always a good idea to keep any leftover materials from your original project (yarn, fabric scraps, beads) in a labeled bag for future repairs. These small, proactive steps will help maintain the integrity and appearance of your tapestry.
5. Professional Care: When to Call in the Experts
Some tapestries, especially those made with delicate, antique, or complex materials, or those with deeply set stains, might require professional cleaning. When seeking professional care, look for a reputable conservator or a dry cleaner who has specific experience with textile art, wall hangings, and delicate fabrics. Don’t hesitate to ask about their cleaning methods, chemicals used, and their approach to handling your specific type of tapestry before entrusting them with your treasured piece. Professional care can safely restore and preserve your tapestry, especially if it’s an heirloom or a particularly valuable creation.
By following these simple yet effective care steps, you can protect your hard work and keep your tapestry looking vibrant and beautiful for years to come. A well-maintained tapestry not only continues to add unique beauty to your space but also stands as a lasting testament to the time and effort you poured into creating it.
Wrapping It Up: Your Journey to Handmade Home Decor
Crafting your own wall tapestry is an immensely rewarding endeavor, offering a unique blend of personal expression and tangible home decoration. From the initial spark of inspiration to the final hanging, each step of the DIY process allows you to infuse your personality into a piece of art that truly belongs to your home. The various methods available, from the simplicity of no-sew designs to the intricate beauty of stitched tapestries, ensure that there’s a creative path for everyone, regardless of skill level.
As you embark on your tapestry-making journey, remember the joy of customization – choosing every color, texture, and size to perfectly match your vision. Consider your skill level, available time, and project goals to select the method that best suits you. Follow a step-by-step guide, whether it’s for a woven masterpiece or a clever fabric collage, and don’t shy away from embracing beginner tips to navigate common challenges and enhance your project’s quality. Careful planning, precise execution, and a touch of patience will culminate in a stunning piece of textile art.
Finally, once your unique creation adorns your wall, remember that its longevity and continued beauty depend on consistent care. Implement basic routines like monthly dusting, protecting it from harsh sunlight and humidity, and performing quick repairs. Should your tapestry require more intensive attention, specialized professional care is an option for treasured pieces. Think of your tapestry care as an ongoing commitment to preserving a piece of your creative spirit.
With these comprehensive insights, you’re well-equipped to create, display, and maintain a magnificent handmade wall tapestry. Your personalized wall art will not only serve as a striking focal point in your home decor but also tell your creative story for many years ahead, bringing warmth, character, and a deeply personal touch to your living space.
Frequently Asked Questions (FAQs)
Will Command Strips Hold a Tapestry?
Yes, Command Strips can securely hold lightweight tapestries, particularly those made from thin fabrics or with minimal embellishments. For best results, ensure the wall surface is clean and dry before application, and meticulously follow the manufacturer’s instructions for weight limits and installation. However, it’s generally advisable to avoid Command Strips for heavy, bulky, or very large tapestries, as they may not provide adequate long-term support and could risk falling, potentially damaging both the tapestry and your wall.
Can You Make a Tapestry Without a Loom?
Absolutely! Many creative methods allow you to make beautiful tapestries without a traditional loom. You can use alternative bases like sturdy cardboard, a picture frame, a natural branch, or even an existing open-weave fabric or rug. Techniques like knotting, wrapping, gluing, and simple hand-stitching allow you to attach various threads, yarns, or fabric strips to create intricate patterns and textures. The “Weaving Without a Loom” section above provides more detail on these accessible approaches.
How Do I Care for a Handmade Tapestry?
Caring for a handmade tapestry involves a few simple, consistent steps to ensure its longevity. Gently vacuum your tapestry regularly with a soft brush attachment on a low setting to remove dust and debris. For spot cleaning stains, use a mild soap (like a gentle laundry detergent or wool wash) diluted in water, blotting the affected area carefully without rubbing. Avoid exposing your tapestry to direct sunlight, which can cause colors to fade, and protect it from high humidity, which can lead to mold. When storing, roll the tapestry rather than folding it to prevent creases, and ideally, use acid-free tissue paper between layers.
