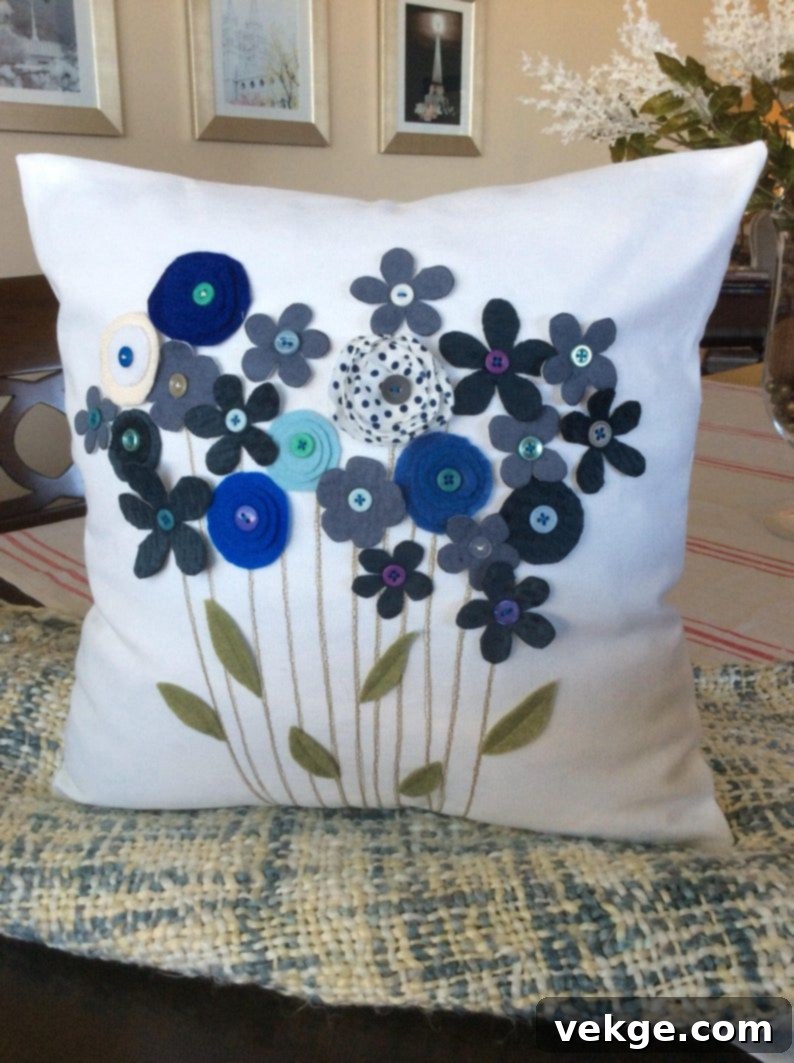
Transform Your Home for Summer: A Step-by-Step Guide to DIY Summer Pillow Covers
Are you someone who cherishes the comfort and aesthetic appeal of plush cushions and throw pillows? We understand that deep affection for soft, inviting textures in your living space. Far beyond mere comfort, cushions play a pivotal role in defining your home’s character and style.
As the warm embrace of summer draws near, bringing with it longer, sunnier days, it’s the perfect opportunity to refresh your interiors. Infusing your living space with a vibrant, joyful, and utterly summery atmosphere is easier than you might think. Crafting your own summer-themed DIY throw pillow covers or custom cushions offers a wonderfully simple, cost-effective, and deeply satisfying way to achieve this transformation. This makes a DIY summer-themed pillow cover project an absolute must-have for your seasonal home decorations list.
This guide will walk you through everything you need to know, from selecting your materials to mastering painting techniques, ensuring your finished summer cushions are both beautiful and durable. Get ready to unleash your creativity and give your home a personalized touch of summer sunshine!
Why Choose DIY Summer Pillow Covers for Your Home Decor?
Embracing the DIY route for your summer throw pillows offers a multitude of benefits beyond just saving money. It’s an opportunity to inject genuine personality and unique style into your home that off-the-shelf items simply can’t match. Here’s why diving into this creative project is a fantastic idea for your summer home decor:
- Personalized Expression: Your home should be a reflection of you. DIY summer pillow covers allow you to choose specific colors, patterns, and themes that resonate with your personal style and the summer vibe you want to create.
- Budget-Friendly Transformation: Redecorating for a new season can be expensive. By painting plain pillow covers, you can achieve a high-end look without the high price tag, making it an excellent option for budget-conscious decorators.
- Creative Outlet: For many, crafting is a therapeutic and enjoyable activity. This project provides a wonderful opportunity to express your artistic side, experiment with colors, and relieve stress.
- Unique Home Accents: Stand out from the crowd! Your hand-painted summer cushions will be one-of-a-kind pieces that guests will admire and you’ll be proud to display. They become conversation starters and cherished elements of your interior design.
- Seasonal Versatility: Pillow covers are easy to change, allowing you to swap out your decor with the seasons. Creating specific summer-themed designs ensures your home feels fresh and appropriate for the warmer months.
- Eco-Friendly Option: Reusing existing plain pillow covers or choosing eco-friendly paints can make this a more sustainable decorating choice.
Materials Required for Your DIY Summer Throw Pillows
To embark on this exciting home DIY summer room decorations project, you’ll need a selection of basic yet essential materials. Gathering everything before you begin ensures a smooth and enjoyable crafting experience. Here’s a detailed list of what you’ll need, along with tips for selection:
- Plain Pillow Covers: Start with quality, plain pillow covers. Opt for light and neutral colors like crisp white, soft cream, or gentle pastels. These lighter bases provide the perfect canvas for your vibrant summer designs, making your colors truly pop. Consider natural fabrics like cotton or linen for best paint adhesion and a pleasant texture.
- Fabric Paints: Invest in high-quality, fabric-safe acrylic paints or specialized fabric paints. Look for a range of vibrant summer colors—think oceanic blues, sunny yellows, lush greens, and fiery oranges. These paints are designed to adhere well to fabric, resist cracking, and maintain their color intensity even after washing, ensuring your designs last.
- Paintbrushes: A varied set of paintbrushes is crucial. You’ll need fine-tipped brushes for intricate details and outlines, medium-sized brushes for filling in larger areas, and perhaps a broader brush for backgrounds or blending. Synthetic bristles are often ideal for acrylics.
- Stencils: If intricate designs or perfect symmetry feel daunting, stencils are your best friend. They offer an easy way to incorporate complex patterns like tropical leaves, geometric shapes, or lettering. Choose stencils made from durable plastic that can be reused.
- Painter’s Tape: This low-tack tape is indispensable for creating crisp, clean lines and precisely separating different color sections of your design. It prevents paint bleed and helps define sharp edges for a professional finish.
- Sponges: Natural or synthetic sponges can add fantastic texture and facilitate seamless color blending. They are excellent for creating gradient effects, stippling, or applying an even wash of color over larger areas.
- Pencil and Eraser: A light-colored pencil (or a tailor’s chalk for darker fabrics) is essential for sketching out your design lightly before committing to paint. An eraser will help you correct any mistakes or refine your preliminary sketches.
- Old Newspapers or Cardboard: Always place a protective barrier inside your pillow covers while painting. This crucial step prevents paint from bleeding through to the back side of the fabric, ensuring a clean finish.
- Iron: An iron is necessary for the final, crucial step of heat-setting your fabric paint. This process ensures the paint bonds permanently with the fabric, making your design durable and washable.
- Drop Cloth or Plastic Sheet: Protect your workspace! Lay a drop cloth, old sheet, or plastic tarp down to safeguard your table or floor from any accidental paint splatters or spills.
- Water Container and Paper Towels: Keep a container of water handy for rinsing brushes and paper towels for blotting excess paint and cleaning up.
Step-By-Step Guide to Crafting Your Own Summer Pillow Covers
Now that you’ve gathered all your supplies, let’s dive into the creative process. Remember, the key to a successful DIY project is patience and attention to detail. Before you even think about picking up a paintbrush, it’s highly recommended to wash and iron your plain pillow covers. This pre-treatment removes any sizing or residues from the fabric, ensuring a clean, smooth surface for painting and allowing the paint to adhere and dry more effectively.
Step 1: Choose Your Design

This is where your imagination takes flight! Spend some time brainstorming the summer motifs you envision adorning your pillow covers. Popular and timeless options include lush tropical leaves, serene sunset vistas, playful beach scenes, juicy watermelons, exotic pineapples, or even abstract patterns inspired by ocean waves. You can draw boundless inspiration from nature, your favorite summer holiday memories, or even iconic summer imagery. Consider the overall aesthetic of your room and the color palette you want to introduce to ensure your new summer throw pillows complement your existing decor.
Step 2: Plan Your Design
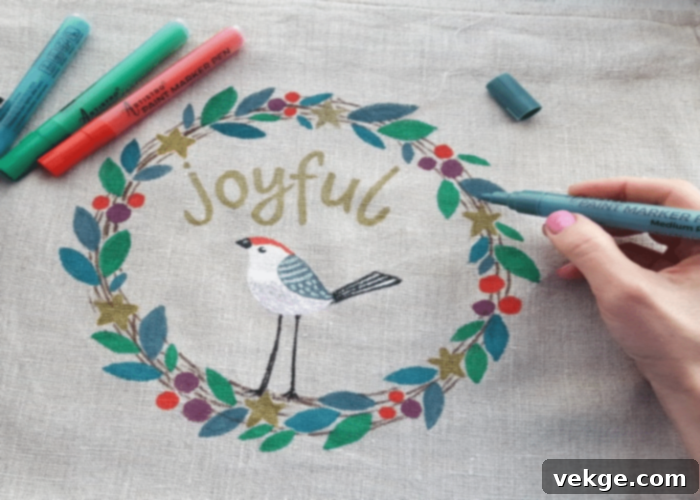
Once you’ve settled on a design, it’s time to transfer it to your pillow cover. Carefully insert your old newspaper or cardboard inside the pillow cover to prevent bleed-through. Then, use a light pencil to gently sketch your chosen design onto the fabric. Don’t press too hard, as pencil marks can be difficult to remove once painted over. If freehand drawing isn’t your strong suit, don’t hesitate to use stencils for more intricate patterns or to achieve crisp, professional-looking shapes. For creating sharp geometric designs or dividing your pillow into distinct sections, painter’s tape is incredibly useful; firmly press it down to create clean lines and prevent paint from seeping underneath.
Step 3: Start Painting
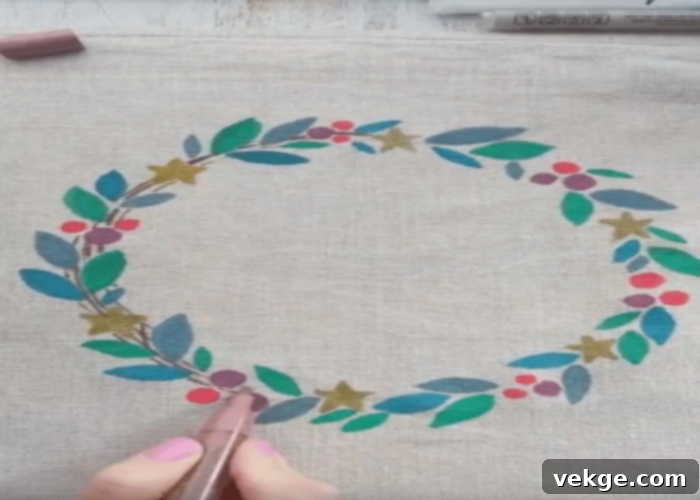
Now for the fun part! Dip your paintbrush into your chosen fabric paint. Remember to use different brush sizes to achieve varying levels of detail—smaller brushes for outlines and delicate features, and larger ones for filling in broader areas. A key tip, especially when working with multiple colors, is to always start with the lighter shades first. This technique prevents accidental smudging of light colors with darker paint and allows for easier correction if you go outside the lines. Apply paint in thin, even layers; multiple thin coats are often better than one thick coat, as it prevents paint from becoming stiff or cracking. Allow each layer to dry slightly before applying the next for the best results.
Step 4: Blend and Texture
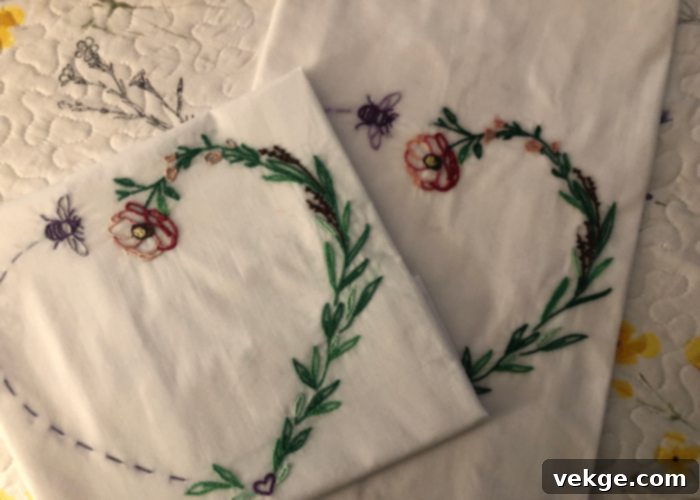
To elevate your design and achieve a more artistic, professional appearance, don’t shy away from experimenting with blending colors. Sponges are excellent tools for this, allowing you to create beautiful gradient effects, especially for backgrounds like a serene sky, a vibrant sunset, or the calming depths of the ocean. Dab gently to build up color. You can also use sponges to add fascinating textures—think stippling for sandy beaches, irregular dabs for foliage, or a dry brush technique to mimic wood grain on a pineapple. These techniques add depth and visual interest to your custom summer cushions.
Step 5: Stenciling
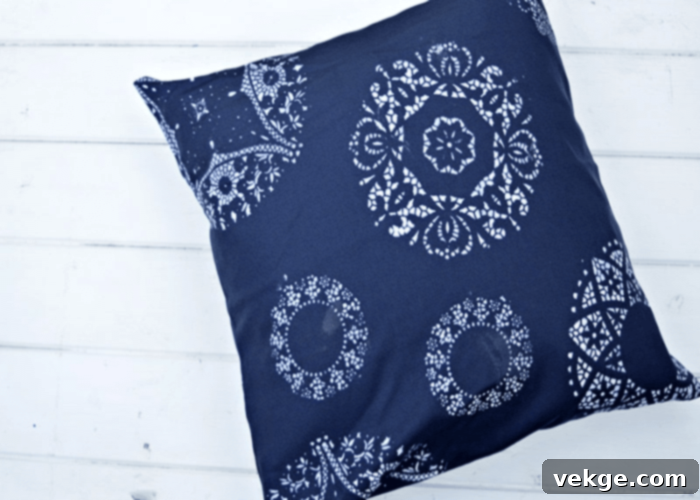
If your design incorporates stencils, precision is key. Carefully position your stencil on the pillow cover and secure it firmly with painter’s tape to prevent any movement. Then, apply paint through the stencil using a sponge or a dedicated stencil brush. The trick here is to use very little paint on your applicator. Dab or stipple the paint rather than brushing it, which can cause the paint to bleed under the stencil edges. Build up color in light layers. Once you’re satisfied with the coverage, carefully peel off the stencil while the paint is still slightly wet. This helps to achieve crisp lines and prevents the paint from drying and sticking to the stencil.
Step 6: Allow to Dry
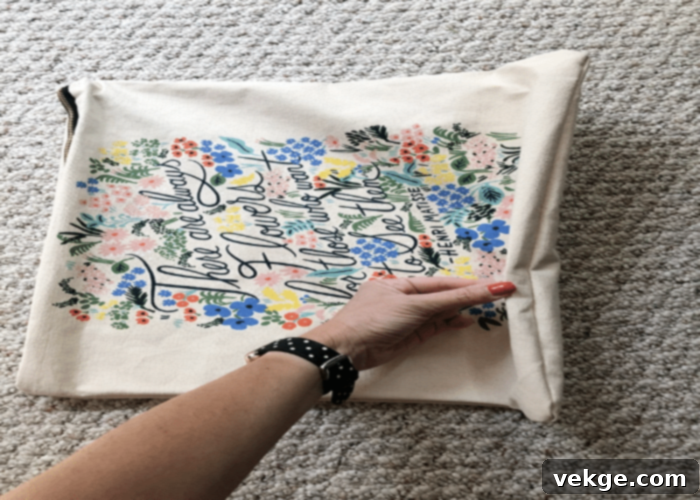
Patience is a virtue, especially when it comes to fabric painting. Once your artistic creation is complete, set the pillow cover aside in a well-ventilated area and allow it to dry thoroughly. Always refer to the specific instructions provided by your fabric paint manufacturer for the recommended drying time. This typically ranges from 24 to 72 hours. Rushing this step can lead to smudged paint, uneven colors, or paint peeling later. Ensure the paint is completely dry to the touch before moving on to the next step.
Step 7: Heat Set the Paint
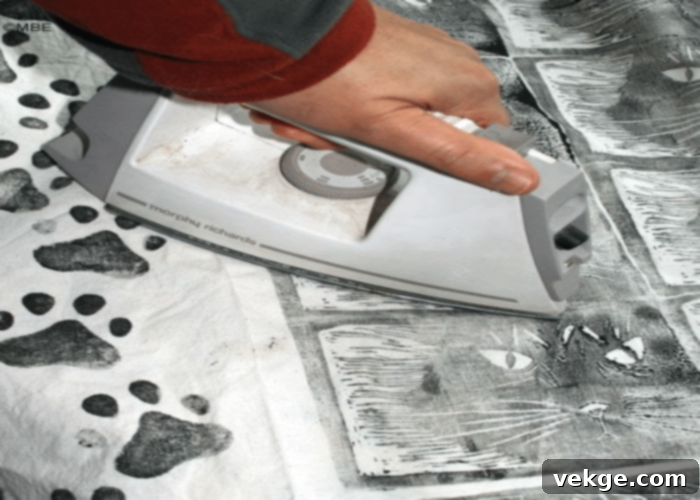
This is a critical step for ensuring the longevity and washability of your custom summer pillow covers. Once the paint is completely dry, place a thin cloth (like a tea towel or pressing cloth) over the painted area. Then, iron over the cloth using a dry iron set to a low-to-medium heat setting (check your paint’s instructions for exact temperature). Move the iron slowly and steadily over the entire painted surface for several minutes. The heat-setting process cures the paint, creating a permanent bond with the fabric fibers. This prevents the design from washing out or fading prematurely, allowing you to enjoy your DIY summer home decor for many seasons to come.
Step 8: Insert the Pillow
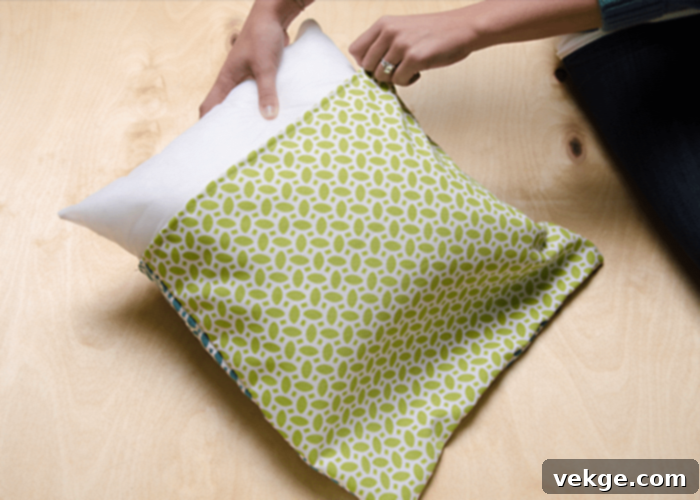
After confirming that the paint is completely dry, cured, and heat-set, carefully remove any cardboard or newspapers that you placed inside the pillow cover. Now, it’s time to bring your creation to life! Gently insert your chosen pillow insert or cushion into the newly decorated cover. Take care not to stretch the fabric excessively, especially around the painted areas, to avoid any stress on your beautiful design. Smooth out any wrinkles or bunching to ensure your pillow looks perfectly plump and ready for display.
Step 9: Decorate and Enjoy!
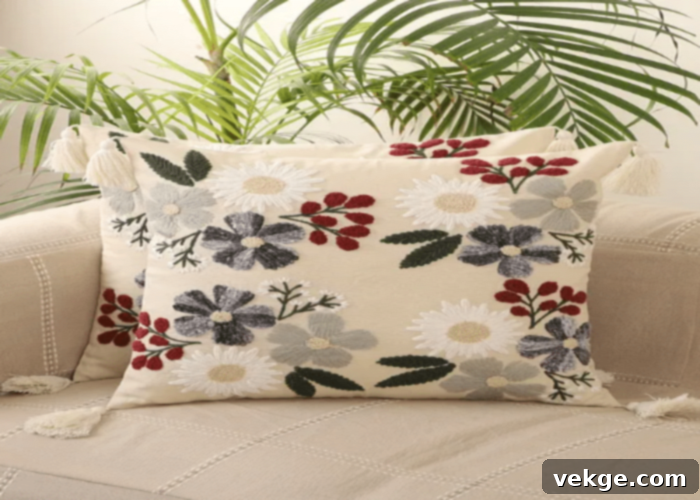
The moment of truth! Place your newly crafted summer-themed throw pillows strategically on your couch, bed, a comfy armchair, or even your outdoor patio seating area. Step back and admire your handiwork and the refreshing, personalized change they bring to your space. Don’t be afraid to mix and match different designs, colors, and textures to create a truly playful, dynamic, and lively atmosphere that perfectly captures the joyful essence of summer. These custom cushions will not only enhance your home’s aesthetics but also serve as a proud testament to your creativity.
Tips for Long-Lasting Summer Pillow Designs
To ensure your beautiful DIY summer pillow covers remain vibrant and intact for seasons to come, consider these additional tips:
- Read Paint Instructions: Always follow the specific instructions on your fabric paint for drying times, heat-setting temperatures, and washing care.
- Gentle Washing: When it’s time to clean your pillow covers, turn them inside out and machine wash on a gentle cycle with cold water. Avoid harsh detergents or bleach.
- Air Dry: Air drying is best to preserve the paint and fabric. If you must tumble dry, use a very low heat setting.
- Store Properly: When not in use, store your seasonal pillow covers in a clean, dry place away from direct sunlight to prevent fading.
- Practice First: If you’re new to fabric painting, consider practicing your design or techniques on a scrap piece of fabric before working on your actual pillow cover.
Conclusion
There’s an undeniable sense of pride and accomplishment that comes from creating something beautiful with your own hands and showcasing it in your home. These personalized DIY summer pillow covers are more than just decorative accents; they are a reflection of your unique style and effort, often attracting compliments and curious inquiries from your guests.
A simple, handcrafted pillow cover adds immense personality and warmth to any space. It speaks volumes about your creativity, your dedication to personalizing your environment, and your distinctive taste in home decor. Beyond the aesthetics, these projects offer a satisfying creative outlet and a wonderful way to unwind.
Whether you’re gearing up for a summer celebration, simply refreshing your home for the season, or looking for a meaningful gift, these summer-themed cushions are wonderfully versatile. Their personalized touch will undoubtedly add a permanent splash of sunshine to every corner of your home, making your space feel more inviting and cheerful.
So, gather your supplies, roll up your sleeves, and allow your artistic flair to blossom. Embark on this simple yet incredibly rewarding DIY project and transform your living space into a vibrant summer sanctuary with your very own custom-painted throw pillows. Happy crafting!
