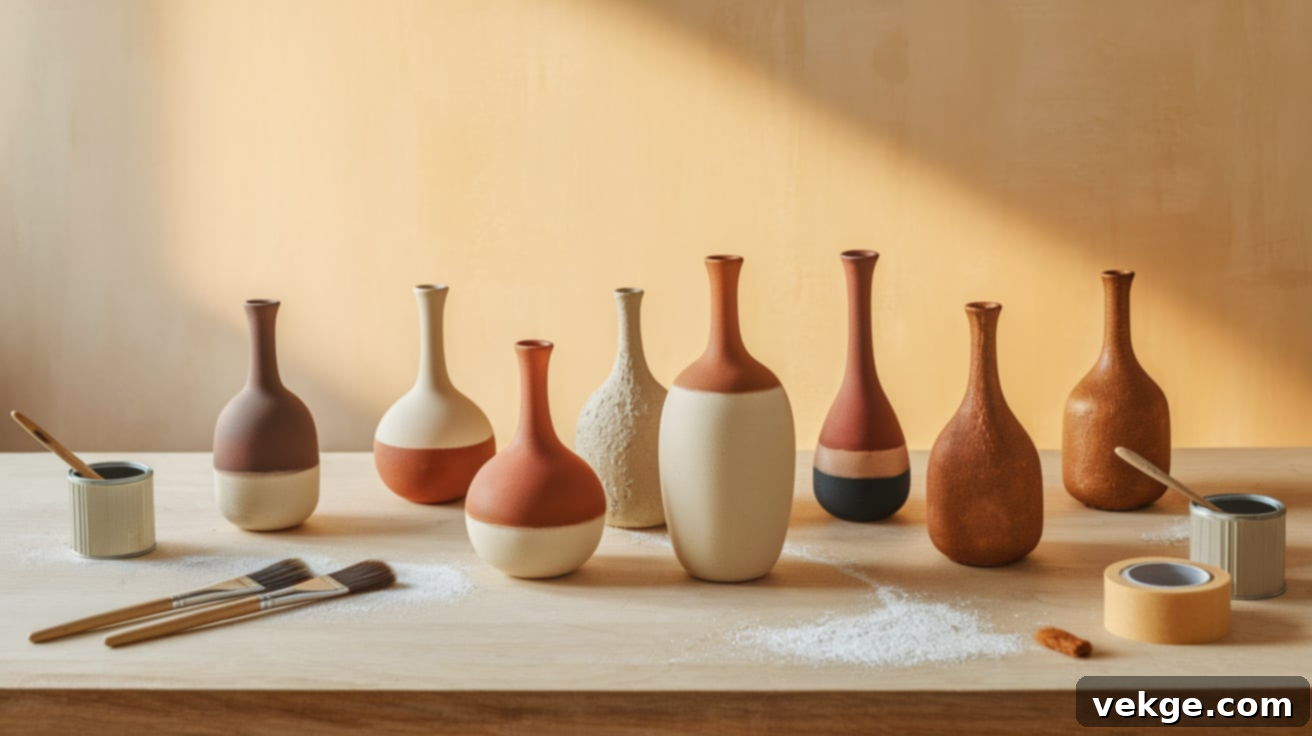
Transform Your Home Decor: The Ultimate Guide to Painting Glass Vases
Glass vases, often overlooked and gathering dust in forgotten corners, hold immense potential for a stunning transformation. Instead of letting these simple vessels sit idle, a creative paint makeover can breathe new life into them, turning ordinary glass into extraordinary decorative pieces.
Painting glass vases is an incredibly easy, affordable, and rewarding way to refresh your home decor. It allows you to customize and personalize your living space without the need for expensive new purchases. With just a few basic materials, a little time, and a dash of creativity, you can craft beautiful, bespoke items that reflect your unique style.
Whether you envision a sleek, smooth finish that complements modern aesthetics, or a charming, textured style reminiscent of aged pottery, there’s a painting method suited for every look. This comprehensive guide will walk you through simple, easy-to-follow steps and share expert tips to ensure your paint adheres beautifully and your finished creation stands the test of time. Get ready to unlock your inner artist and revitalize your home, one painted vase at a time!
Why Painting Glass Vases is a Brilliant Idea for Home Decor
Painting glass vases is more than just a craft; it’s a smart, affordable, and deeply satisfying way to inject personality and freshness into your home. This simple DIY project offers a multitude of benefits, making it a favorite among home decor enthusiasts and eco-conscious crafters alike.
First and foremost, it’s incredibly budget-friendly. You can repurpose old vases you already own, giving them a second chance at life, or scout for inexpensive treasures at thrift stores and garage sales. This eliminates the need to spend a fortune on new decor items, allowing you to achieve a high-end look on a minimal budget. The necessary tools and materials are typically inexpensive and readily available.
Beyond the cost savings, painting glass vases offers unparalleled creative freedom. You’re not limited to a store’s color palette or design trends. You can choose any color, texture, and style that perfectly matches your existing decor or helps you experiment with a new aesthetic. Whether you prefer smooth, soft hues for a minimalist vibe, a rugged, textured finish for a farmhouse feel, or even a bold, multi-toned design, the possibilities are endless. Adding elements like baking soda for a clay-like texture or cinnamon for a rustic patina allows for truly unique creations.
Furthermore, this project champions sustainability and upcycling. By giving old glass a new purpose, you contribute to reducing waste and promoting an eco-friendlier lifestyle. It’s a small step that makes a difference, transforming discarded items into cherished pieces of art. Each vase, with its subtle imperfections and your personal touch, becomes a one-of-a-kind statement, adding a deeply personal and authentic feel to your home decor.
Finally, the process itself is wonderfully fun and therapeutic. It’s a project that anyone can complete, regardless of their crafting experience. The satisfaction of seeing an ordinary vase transform into a beautiful focal point is immense. With just a bit of time and a few basic supplies, you can easily complete a vase makeover, adding warmth, character, and a unique story to your living space.
How to Paint Glass Vases: A Detailed Step-by-Step Guide
Transforming ordinary glass vases into beautiful home decorations is a simple and enjoyable process. This step-by-step guide will walk you through everything you need to know, from preparation to the final touches, ensuring your project yields stunning, durable results. You don’t need special artistic skills or expensive tools – just a little patience and attention to detail.
Step 1: Thoroughly Clean the Vase
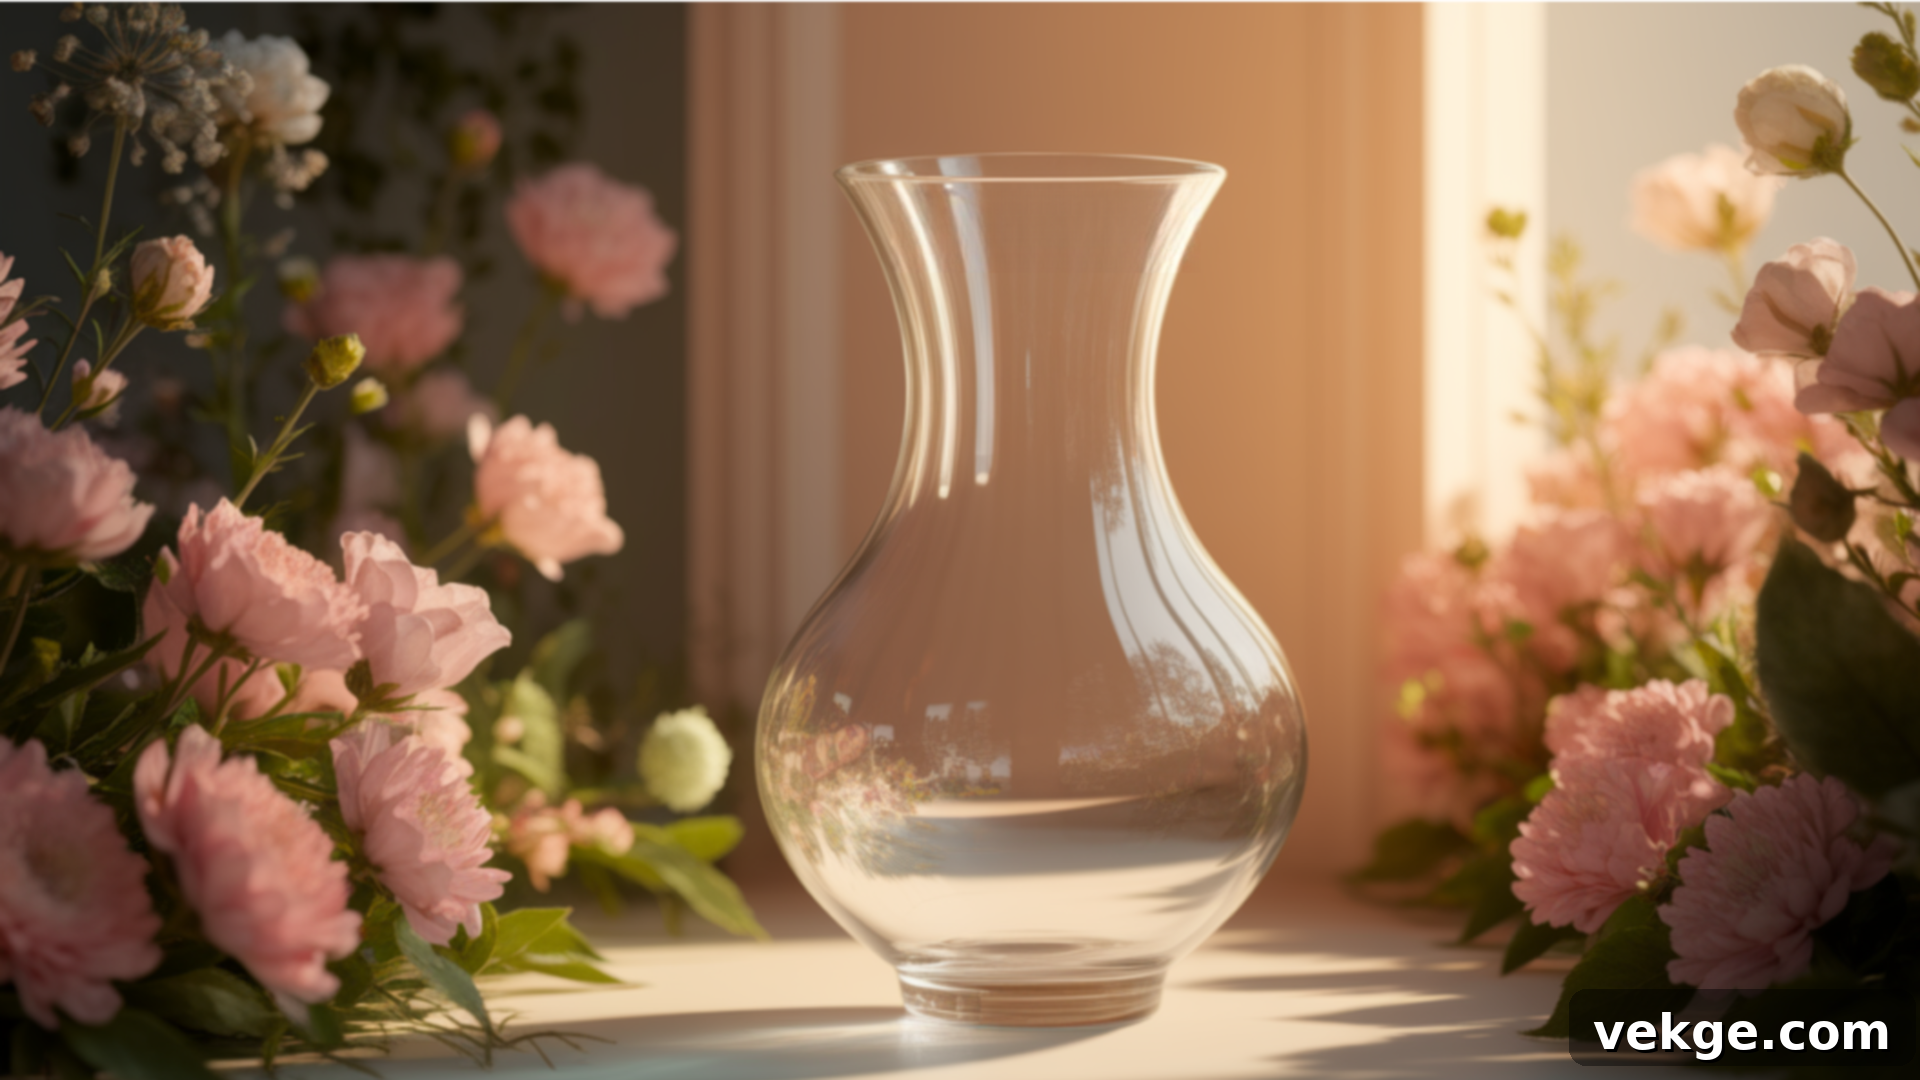
The foundation of any successful paint job is a clean surface. Start by cleaning your glass vases meticulously. Use warm water and a mild dish soap, or a mixture of white vinegar and water, to remove all traces of dirt, dust, grease, fingerprints, or sticky residue from labels. These contaminants can prevent primer and paint from adhering properly, leading to peeling or an uneven finish.
Scrub both the inside and outside of the vase, even if you only plan to paint the exterior. For extra cleanliness, follow up with a wipe-down using rubbing alcohol, especially on the areas to be painted. Use a lint-free cloth or paper towel to avoid leaving any fibers behind. It is absolutely crucial that the vases are completely dry before you move on. Any residual moisture will compromise the adhesion of subsequent layers. Take your time with this initial step; a perfectly clean and dry surface is the key to a smooth, long-lasting paint job.
Step 2: Prime the Surface for Optimal Adhesion
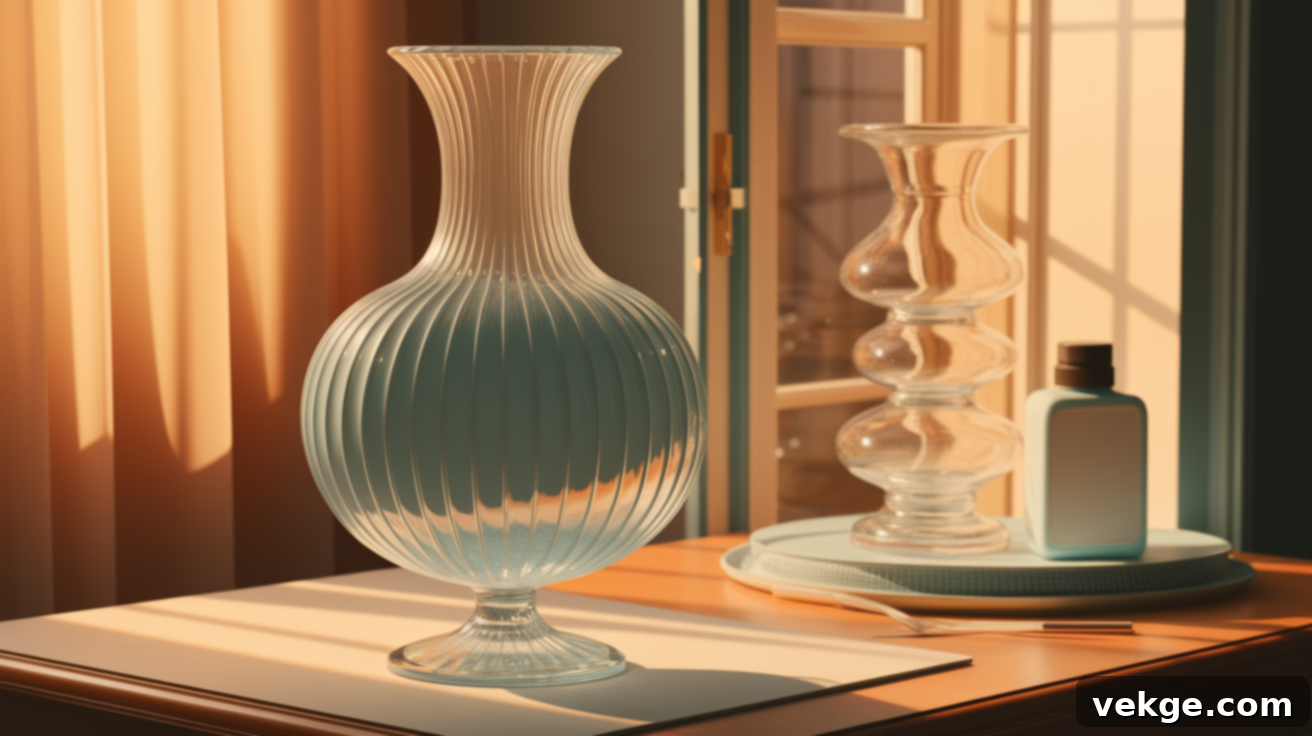
Once your vases are spotlessly clean and dry, it’s time to apply primer. This step is non-negotiable for glass surfaces, as glass is notoriously slick and non-porous. A high-quality bonding primer specifically designed for challenging surfaces like glass or ceramics will create a rougher, more adhesive base for your paint.
Apply the first coat of primer evenly, using thin strokes. Avoid applying it too thickly, as this can lead to drips and a longer drying time. Allow this first coat to dry for at least 2–3 hours, or as per the manufacturer’s instructions, in a well-ventilated area. After the first coat is dry to the touch, apply a second, equally thin layer. For optimal adhesion and durability, let the second coat cure overnight, or for a minimum of 8-12 hours. This extended drying time allows the primer to bond thoroughly with the glass, preventing future chipping or peeling of your paint. Do not rush this step; proper priming makes a significant difference in the longevity and finish of your painted vase.
Step 3: Mix Paint for a Textured Finish (Optional)
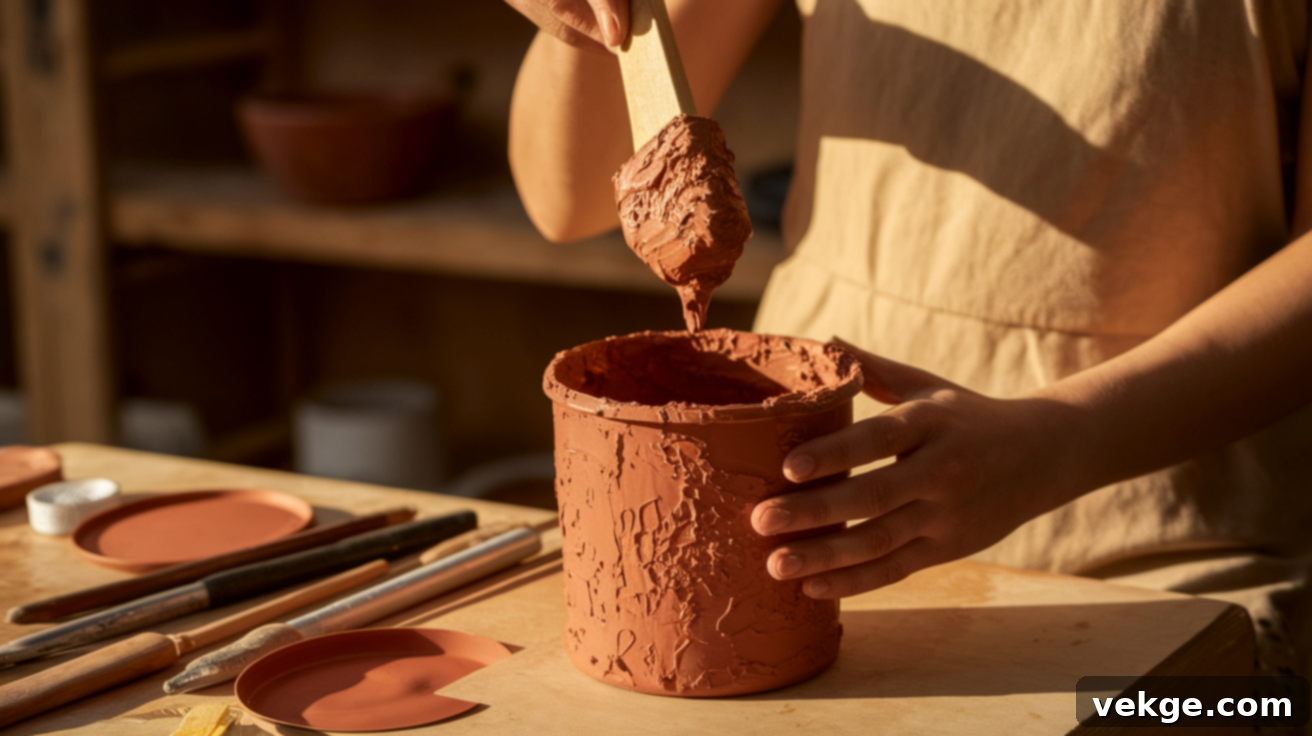
If you’re aiming for a rustic, matte, or clay-like texture, this optional step is where the magic happens. In a disposable container (like an old yogurt cup or plastic bowl), mix about one cup of your chosen paint (chalk paint or acrylic paint works best for this) with approximately half a cup of baking soda. Stir the mixture thoroughly until it achieves a thick, creamy consistency, similar to a smooth batter. You can adjust the ratio to achieve your desired level of texture – more baking soda for a rougher, more pronounced texture, less for a subtle, sand-like feel.
The baking soda reacts with the paint, creating a gritty, porous finish that beautifully mimics the look and feel of pottery or stoneware. This is a wonderfully simple and inexpensive way to add significant character and depth to your vase without requiring specialized art supplies. Work relatively quickly once mixed, as the baking soda can cause the paint to thicken and dry faster. Ensure you use a disposable container and mixing stick, as this mixture can be difficult to clean once dry.
Step 4: Apply the Base Coat of Paint
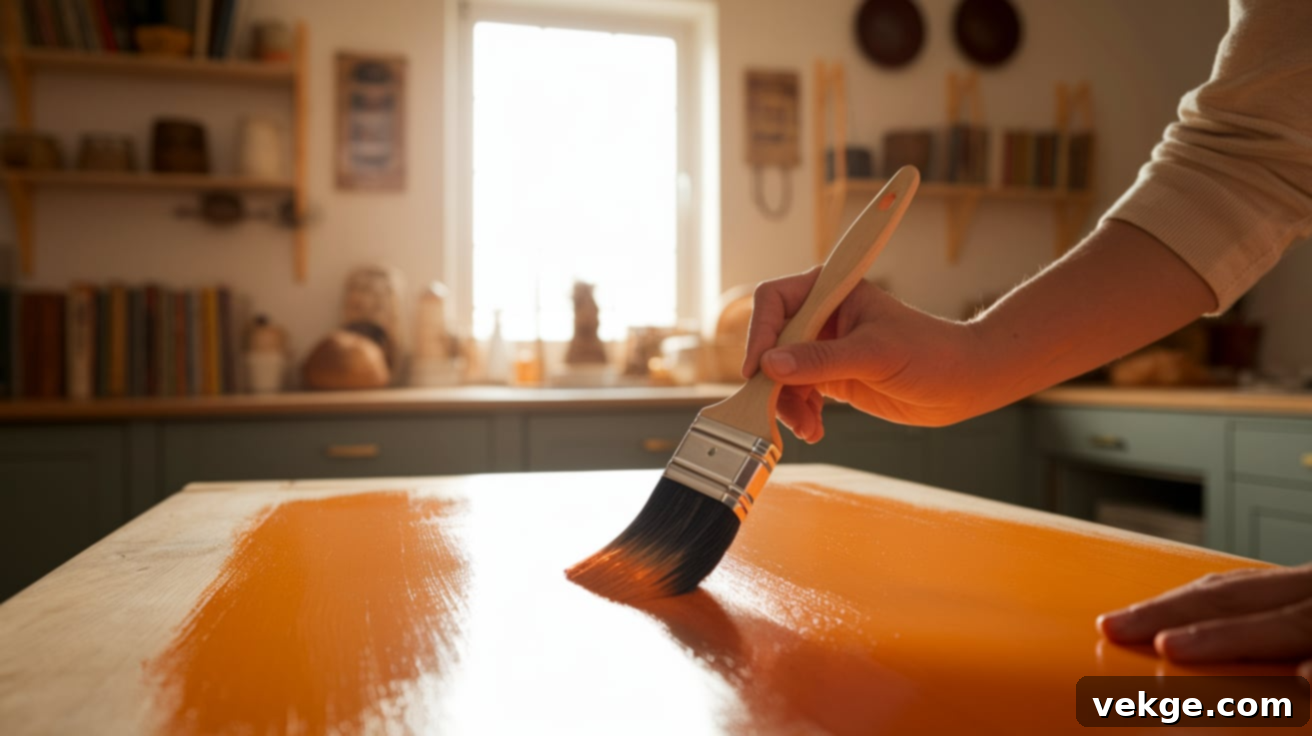
With your vase primed and, if desired, your paint textured, you’re ready for the main event. Using a chip brush, a foam brush, or a high-quality synthetic brush (depending on the desired finish), apply your paint or baking soda mixture to the vase. Apply thin, even layers, working in a consistent direction with your brush strokes for a smoother finish. For a more rustic or organic look, you can vary your brush strokes slightly, creating intentional imperfections.
It’s always better to apply two thin coats than one thick coat, as thick coats are prone to dripping, uneven drying, and peeling. Allow the first coat to dry completely to the touch before adding a second layer. Depending on the color and opacity of your paint, and whether you added texture, you might need two or even three coats to achieve full, opaque coverage. Patience is key here; a fully dried base coat provides a solid foundation for your final design and ensures a professional-looking result.
Step 5: Add Layers and Patina for Depth (Optional)
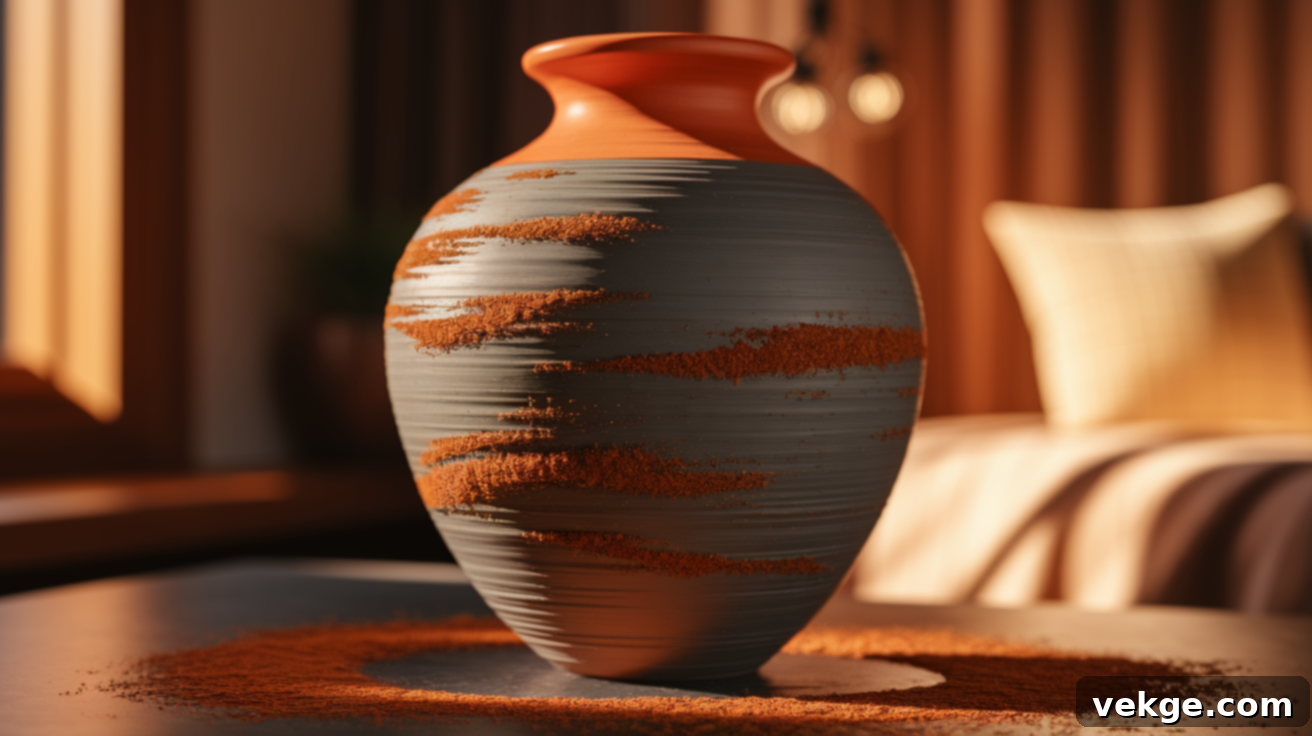
To give your vase extra depth, dimension, and a unique aged appearance, consider adding additional layers or a patina effect. Once your base coat is fully dry, you can lightly dry-brush another complementary color, such as a darker gray, brown, or even a metallic tone, over certain areas. Use a small, stiff brush and very little paint, gently sweeping it over the raised textures or edges to highlight them.
For a truly unique rustic patina, especially effective on textured paint, sprinkle a small amount of ground cinnamon over areas where the paint is still slightly tacky. This creates a warm, earthy terracotta effect and adds a wonderfully subtle fragrance and natural charm. Gently press the cinnamon into the paint with a soft brush or your finger. Let it sit for a few minutes, then lightly brush off any excess. This technique instantly gives your vase a timeworn, artisanal feel, making it truly special and full of character.
Step 6: Seal Your Vase for Protection (Highly Recommended)
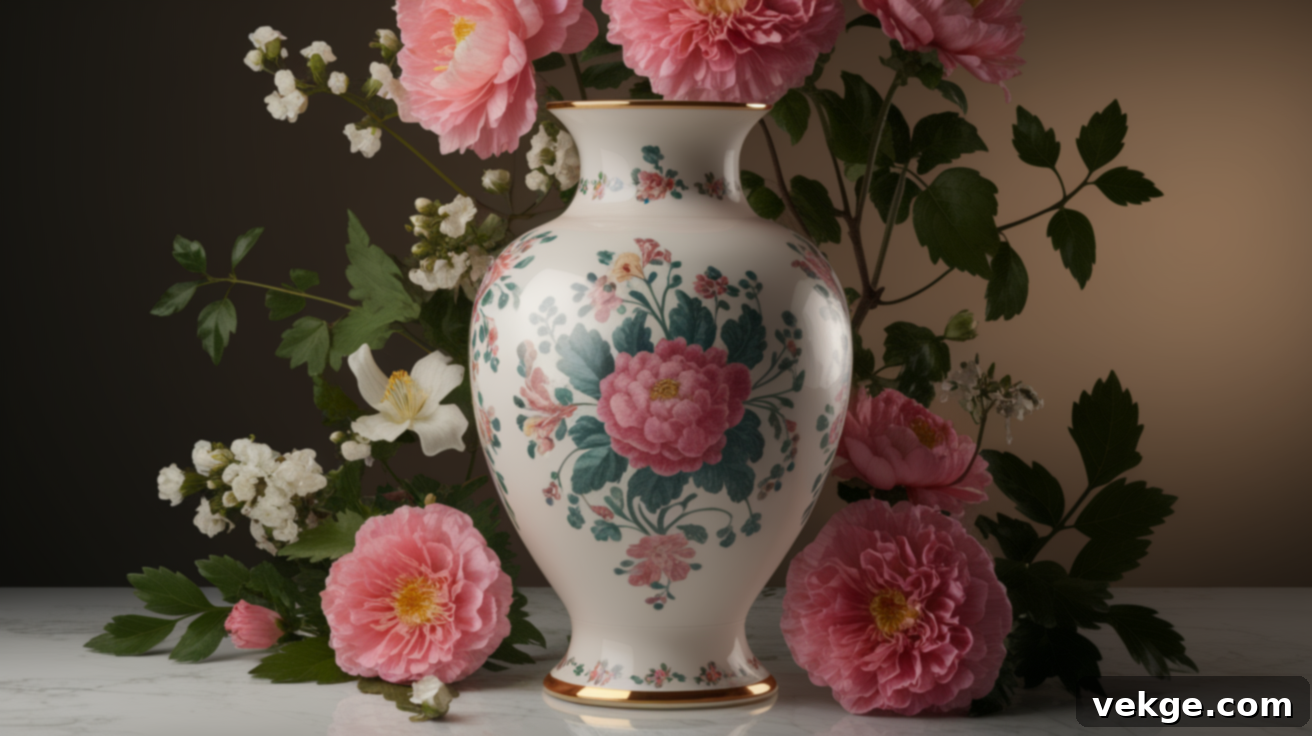
To protect your beautiful creation and ensure its longevity, sealing your painted vase is a highly recommended, though optional, final step. This is especially important if the vase will hold fresh flowers, be handled frequently, or be placed in an area prone to moisture.
Choose a clear, non-yellowing sealer suitable for painted surfaces. You can opt for a brush-on matte, satin, or gloss sealer, or a spray-on sealant for even coverage and a smooth finish. Apply the sealer in thin, even coats, following the product’s instructions for application and drying times. Ensure proper ventilation if using a spray sealer. Allow the sealer to cure completely – this might take anywhere from a few hours to 24 hours, depending on the product and humidity.
Sealing your vase acts as a protective barrier, preventing chips, scratches, marks, and wear from daily use or occasional cleaning. It locks in your design and enhances its durability, ensuring your vase remains a cherished part of your decor for years to come. Even if your vase is purely decorative, this extra step significantly prolongs its fresh appearance.
Step 7: Enjoy Your Beautiful New Decor!
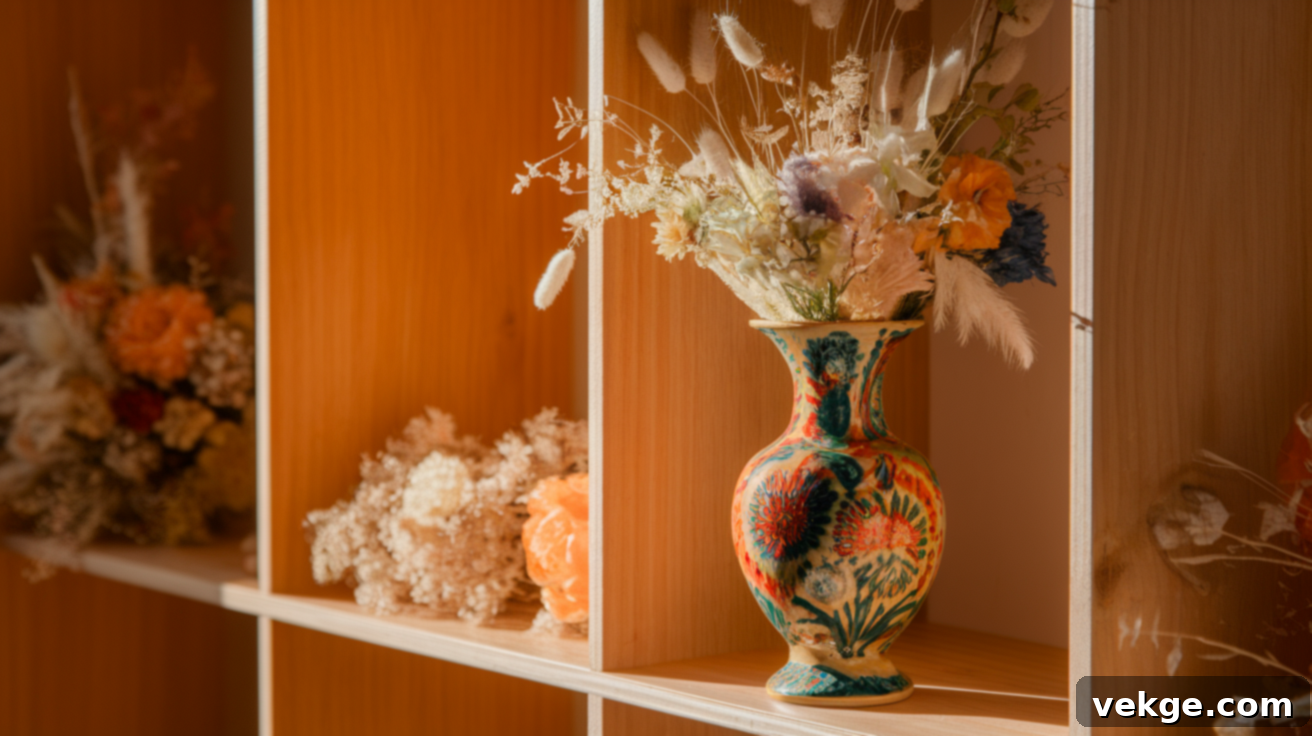
Congratulations! Once all paint and sealer layers are fully cured and dry, your custom-painted glass vase is ready to be admired. This is the moment to showcase your creativity and enjoy the fruits of your labor. Place it proudly on a mantelpiece, a bookshelf, a side table, or as the centerpiece of your dining table. These beautifully transformed vases can instantly brighten up any room and perfectly express your personal style.
Experiment with styling your new decor. Pair them with faux flowers, dried botanical arrangements, or even use them as standalone sculptural pieces. Feel free to move them around your home as seasons change or as you refresh your living spaces. The most rewarding aspect is knowing that you created something special, unique, and truly by hand. Enjoy your finished project, and perhaps let it inspire your next DIY home decor adventure!
Choosing the Right Style for Your Painted Glass Vase
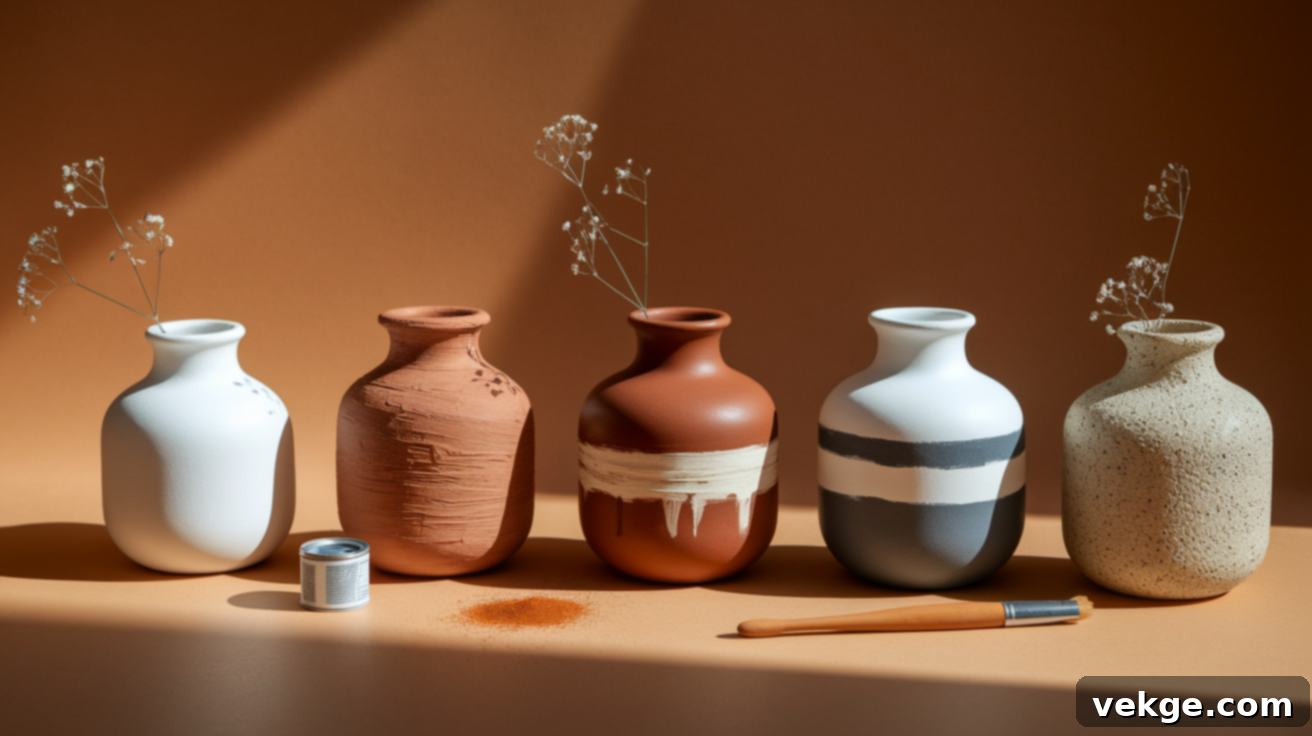
Before dipping your brush into paint, taking a moment to envision the desired finish for your vase can greatly streamline your project. Each painting method imparts a distinct look and feel, ranging from minimalist sleekness to rugged, earthy charm. Deciding on your style early helps you gather the appropriate materials, select the right paints, and tailor the steps to achieve your specific aesthetic vision.
Below, we explore a few popular and easy-to-achieve styles that you can replicate at home. Consider what best suits your existing home decor, or challenge yourself to create a diverse collection of vases that reflect various moods. Mixing and matching styles can add an eclectic, well-thought-out touch to your space, making it feel truly personal and curated.
Smooth Finish: Modern Elegance
For a clean, contemporary, and effortlessly elegant look, opt for a smooth finish. This style involves using regular paint (without any texturizing additives like baking soda) to achieve a uniform, soft, and even surface. It’s ideal if you’re aiming for a minimalist aesthetic or want your vase to blend seamlessly into a modern, Scandinavian, or transitional decor scheme.
The key to a flawless smooth finish lies in careful preparation: a high-quality bonding primer is essential, followed by multiple thin, even coats of your chosen paint. To prevent unsightly streaks and achieve a professional result, allow each layer to dry completely before applying the next. Smooth-finished vases look stunning with fresh floral arrangements, delicate dried flowers, or even as standalone sculptural elements, adding a touch of refined simplicity to any room.
Textured Clay Look: Rustic Pottery Charm
If you’re drawn to the warmth and organic feel of artisanal pottery, the textured clay look is perfect for your vase. This popular technique involves mixing baking soda directly into your paint, creating a thick, pliable mixture that mimics the tactile surface of natural clay or stoneware. A common ratio is one cup of paint to half a cup of baking soda, but you can adjust this for more or less pronounced texture.
Apply this textured paint with a brush, creating intentional strokes that enhance the handmade feel. You can opt for uniform, vertical strokes for a more structured appearance, or varied, almost random strokes for an authentically rustic vibe. Allow the paint to dry fully between coats, and you’ll achieve a soft, matte, and deeply satisfying tactile surface. This style adds warmth, character, and an earthy appeal, making it ideal for farmhouse, bohemian, or cozy country-inspired interiors.
Rustic Patina: Aged Earthiness
For a truly aged, timeworn, and earthy feel, embrace the rustic patina technique, often achieved with common household items. One delightful method involves sprinkling ground cinnamon over slightly tacky paint. The cinnamon adheres to the still-wet paint, creating a beautiful warm brown hue and a subtle, natural texture that makes the vase look like an ancient artifact or a terracotta piece weathered by time.
Gently press the cinnamon into the paint with a soft brush or your fingertips. If you find you’ve applied too much, simply brush away the excess once it dries. This simple yet effective trick not only uses an ingredient likely already in your kitchen but also imbues your vase with a charming, organic character. Rustic patina vases are perfect for adding depth to shelves, side tables, or as unique gifts, evoking a sense of history and welcoming warmth.
Two-Tone Design: Modern and Dynamic
Creating a two-tone vase is an excellent way to introduce visual interest and a modern, dynamic element to your decor. This style allows for striking contrasts or harmonious combinations of colors and even textures. Before you begin painting, meticulously use painter’s tape to mask off distinct sections of your vase. You can create clean, crisp lines across the middle, or experiment with diagonal, geometric, or pointed shapes for a more contemporary flair.
Paint one section first, ensuring it dries completely before carefully removing the tape. Then, re-tape to cover your freshly painted area and apply your second color or texture. This method is particularly effective for combining different paint types – imagine a smooth, matte finish on the top half and a rugged, textured spray paint on the bottom. The precise lines and contrasting elements add a sophisticated, artistic touch that can become a focal point in any room.
Stone Texture: Industrial Chic
For a truly raw, robust, and industrial-chic aesthetic, consider using a specialized textured spray paint designed to mimic natural stone. These innovative sprays create a rough, granular surface that looks and feels remarkably like granite, sandstone, or other natural rock formations, complete with small specks and a solid, grounded appearance.
When using textured spray paint, always follow the manufacturer’s instructions carefully. Spray in light, even coats, maintaining a consistent distance of about ten inches from your vase to ensure uniform coverage and texture. Allow each layer to dry thoroughly before applying the next to build up the desired texture. This style is exceptionally impactful for outdoor spaces, minimalist interiors seeking a strong focal point, or any room where you want to introduce a sense of rugged elegance and natural materiality.
Best Paints for Glass Vases: A Comprehensive Guide
Selecting the right type of paint is paramount for a successful glass vase makeover. The ideal choice ensures proper adhesion, durability, and the desired aesthetic finish. Each paint type offers unique characteristics, from smooth and glossy to richly textured. Always remember that a good bonding primer is essential for glass, and sealing your finished vase will provide extra protection and longevity.
Chalk Paint: Soft, Matte, and Versatile
Chalk paint is a fantastic option if you desire a soft, velvety matte finish with a distinct vintage or rustic appeal. Its unique, highly pigmented formula offers excellent coverage and adheres well to many surfaces, including glass, especially when paired with a good bonding primer. Chalk paint is incredibly versatile; it can be used on its own for a smooth, matte look, or easily mixed with baking soda to create a beautiful, textured, clay-like surface.
One of chalk paint’s advantages is its ability to be lightly distressed once dry, allowing you to create an aged, shabby-chic effect. It also dries relatively quickly, speeding up your project timeline. After painting, it’s crucial to seal chalk-painted vases, typically with a clear wax or a matte topcoat, to protect the porous finish from moisture, chips, and scratches. Its ease of use and charming finish make it a perennial favorite for DIY home decor projects.
Acrylic Paint: Accessible and Adaptable
Acrylic paint is perhaps the most widely available and versatile option for DIY projects, including painting glass vases. It comes in an expansive range of colors, finishes (matte, satin, gloss), and is relatively inexpensive. Acrylics are water-based, making cleanup easy with just soap and water. While acrylics are generally less “sticky” on slick surfaces like glass, they perform exceptionally well when applied over a properly primed vase.
Like chalk paint, acrylic paint can be easily mixed with baking soda or other mediums to create various textures, from subtle grit to pronounced ruggedness. It dries relatively fast, allowing you to apply multiple coats within a reasonable timeframe. For optimal durability and water resistance, particularly if your vase will hold water or be frequently handled, always apply a clear, protective topcoat or sealer after the acrylic paint has fully cured.
Spray Paint for Glass: Speed and Smoothness
For those seeking a fast, effortless, and exceptionally smooth finish, spray paint specifically formulated for glass or multi-surface application is an excellent choice. Spray paints deliver uniform coverage and a professional-looking finish, making them ideal for achieving sleek, modern designs or for quickly coating intricate vase shapes that are challenging to paint with a brush. They are also highly efficient for covering large surfaces quickly.
When using spray paint, always work in a well-ventilated area and protect your surroundings. Apply multiple light, even coats, rather than one heavy coat, to prevent drips, runs, and uneven drying. Allow each layer to dry to the touch before applying the next. While many glass-specific spray paints boast excellent adhesion, a clear protective topcoat is still recommended to enhance durability and guard against scratches and chips, ensuring your vase maintains its polished appearance.
Textured Spray Paint: Rugged and Realistic
If your goal is to replicate the raw, tactile appeal of natural stone, concrete, or sand, textured spray paint is your go-to product. These specialized paints contain fine particles that, when sprayed, create a rough, gritty surface that adds significant visual interest and a robust feel to your glass vase. They are perfect for achieving an industrial, earthy, or minimalist aesthetic.
To use textured spray paint effectively, hold the can approximately ten inches away from the vase and apply it in light, overlapping passes. Build up the texture gradually, allowing each coat to dry completely before adding more. This controlled application helps achieve a consistent and natural-looking textured finish. Textured spray paints are incredibly durable and suitable for both indoor and outdoor applications. A final clear sealer will further protect the textured surface, enhancing its resilience and ensuring its appearance remains pristine over time.
Tips for Long-Lasting Results: Ensuring Your Painted Vases Endure
Crafting beautiful painted glass vases is incredibly rewarding, and with a few essential tips, you can ensure your creations remain stunning for years to come. Proper preparation, careful application, and diligent protection are key to preventing wear and maintaining their fresh appearance.
- Clean Your Vases Thoroughly: This cannot be overstated. Any speck of dust, grease, or residue will act as a barrier, preventing the paint and primer from adhering properly. A meticulously clean surface ensures maximum bond strength, which is fundamental for paint longevity on slick glass.
- Always Use a Quality Bonding Primer: Glass is non-porous and notoriously difficult for paint to grip. A specialized bonding primer creates a rougher, more receptive surface, acting as an essential bridge between the glass and your paint. Skipping this step almost guarantees peeling and chipping down the line.
- Apply Thin, Even Coats of Paint: Patience is a virtue in painting. Thick coats take longer to dry, are prone to drips, and are more likely to peel or crack over time. Multiple thin, even layers dry more uniformly, adhere better, and result in a smoother, more durable finish. Allow each coat to dry completely before applying the next.
- Seal for Superior Protection: A clear, protective topcoat or sealer is your painted vase’s best friend. It acts as a shield against scratches, chips, moisture, and general wear and tear. This step is especially vital if your vase will be handled frequently, hold water, or be exposed to varying environmental conditions.
- Handle with Care After Painting: Even with proper priming and sealing, painted glass can still be susceptible to damage if mistreated. Always handle your finished vases gently. Avoid dropping them or knocking them against hard surfaces, which can cause chips or significant scratches, compromising the integrity of your beautiful paintwork.
Maintenance Tips and Things to Avoid for Painted Glass Vases
Once you’ve poured your creativity into transforming a glass vase, maintaining its beauty is simple with a few smart habits. By following these easy care tips and knowing what to avoid, you can ensure your painted vases retain their fresh look and structural integrity for a long time, remaining cherished pieces in your home decor.
- Dust Regularly with a Soft Cloth: Gently wipe the vase with a soft, dry microfiber cloth or a feather duster to prevent dust from accumulating. Dust buildup can dull the paint’s finish over time and, if rubbed harshly, can even cause minor abrasions.
- Use Mild Cleaners for Spot Cleaning: If your vase needs more than dusting, use a slightly damp cloth with only a very mild soap (like diluted dish soap). Gently dab and wipe the affected area. Harsh chemical cleaners, abrasive sprays, or alcohol-based solutions can strip, dissolve, or dull the paint and sealer.
- Avoid Soaking or Submerging the Vase: Never soak painted glass vases in water, especially if they are not fully sealed internally. Excessive moisture, particularly around the rims or unsealed areas, can penetrate the paint layers, weaken adhesion, and lead to bubbling, peeling, or water damage.
- Handle with Utmost Care: Always lift and move your painted vase carefully, grasping it firmly from the base rather than the painted sides if possible. This minimizes direct contact with the painted surface, reducing the risk of accidental chips, scratches, or wear marks from handling.
- Keep Away from Direct Heat Sources: Do not place painted vases directly next to heat sources such as radiators, heating vents, fireplaces, or in prolonged direct sunlight. Intense or fluctuating heat can cause the paint to crack, bubble, fade, or become brittle over time.
- Touch Up Small Chips Promptly: Despite your best efforts, minor chips or scratches can sometimes occur. Keep a small amount of leftover paint and sealer for touch-ups. Addressing these small imperfections quickly can prevent them from spreading and helps maintain the vase’s pristine appearance.
- Steer Clear of Abrasive Cleaning Tools: Absolutely avoid using rough sponges, scourers, stiff brushes, or any abrasive materials when cleaning your painted vase. These can instantly scratch, gouge, or remove the paint finish, undoing all your hard work.
Conclusion: Embrace the Art of Painting Glass Vases
Painting glass vases is far more than a simple DIY project; it’s an accessible and incredibly impactful way to inject fresh life, personality, and charm into your home decor. By following the straightforward steps outlined in this guide – from meticulous cleaning and essential priming to creative painting techniques and protective sealing – even the most ordinary glass vessels can be transformed into stunning, unique pieces that reflect your individual style.
The beauty of this craft lies in its versatility. Whether you aim for the understated elegance of a smooth, matte finish, the organic allure of a textured clay look, or the timeworn charm of a rustic patina, this guide offers easy-to-follow options for every aesthetic preference. The choice of paint, be it versatile acrylic, velvety chalk paint, or efficient spray paint, further expands your creative horizons, allowing for endless customization.
With a little attention to detail during preparation and the smart addition of a protective sealer, your painted vases will not only look fantastic but also stand the test of time. These handcrafted decorative items will bring joy and character to your living space for many years, proving that meaningful home style doesn’t have to be expensive or complicated. So gather your supplies, unleash your creativity, and start painting – your next favorite piece of home decor awaits!
