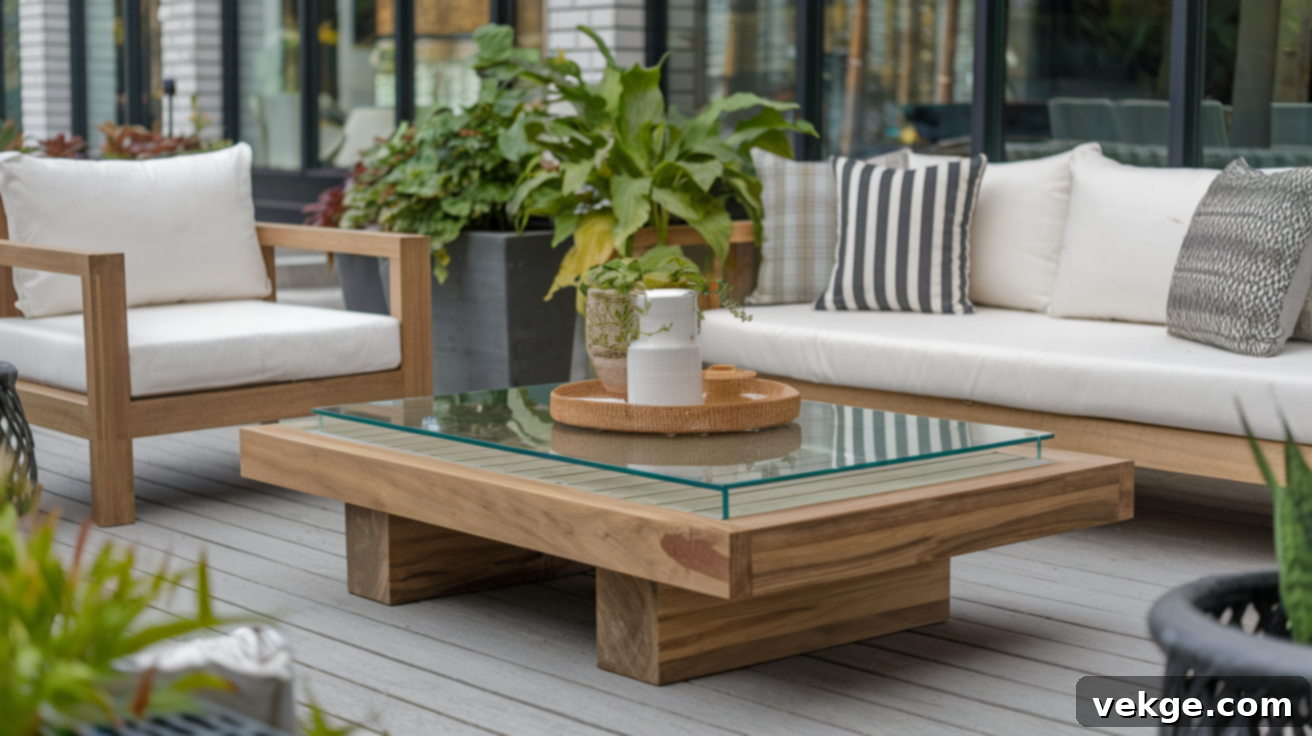
DIY Outdoor Coffee Table: Build a Stylish & Durable Patio Centerpiece
Transform your outdoor living space with a custom-built coffee table. Whether you’re enhancing a cozy patio, a spacious deck, or a vibrant garden lounge, a handmade outdoor coffee table offers the perfect blend of functionality and personal style. Unlike mass-produced alternatives, building your own allows you to create a unique piece that perfectly complements your aesthetic and withstands the elements.
This comprehensive guide will walk you through every step of the process, from selecting the ideal weather-resistant materials to adding personalized touches and ensuring long-lasting durability. We’ll cover essential tools, provide detailed construction steps, and offer expert tips on waterproofing and maintenance. Even if you’re a beginner in woodworking, our clear, easy-to-follow instructions will empower you to create a beautiful, sturdy outdoor coffee table you’ll be proud to showcase at your next outdoor gathering.
Essential Materials and Tools for Your Outdoor Coffee Table Project
Embarking on your DIY outdoor coffee table project is an exciting endeavor. With the right materials and tools, you can easily create a functional and stylish centerpiece for your patio or deck that stands up to the rigors of outdoor living. This section will detail the best choices for lumber, alternative materials, and the fundamental tools required for a successful build.
Selecting the Best Wood for Outdoor Coffee Tables
The choice of wood is paramount for outdoor furniture, as it directly impacts durability and longevity. You need materials that can resist moisture, rot, insects, and UV damage. Here are some of the top recommendations:
- Western Red Cedar: Often cited as an excellent choice for outdoor furniture, Western Red Cedar boasts natural resistance to weather, rot, and insect infestations. Its inherent oils provide protection, and it offers impressive stability in fluctuating outdoor conditions, minimizing warping or cracking. Cedar also has a beautiful, natural aroma and can be left untreated to weather to a graceful silver-gray or sealed to maintain its warm, reddish-brown hue.
- Treated Lumber: A budget-friendly and widely available option, pressure-treated lumber is chemically treated to resist rot, fungal decay, and insect attack. It’s an incredibly common choice for DIY outdoor projects due to its cost-effectiveness and impressive lifespan. When working with treated lumber, ensure you use corrosion-resistant fasteners (like galvanized or stainless steel screws) as the chemicals can corrode standard hardware. It’s also recommended to wear gloves and a dust mask when cutting.
- Douglas Fir or Pine (2x4s): Regular 2x4s made from common softwoods like Douglas Fir or Pine are often used by DIY builders for their affordability and ease of workability. While not naturally as resistant as cedar or treated lumber, they become suitable for outdoor use when properly sealed and maintained. Popular plans, such as those from Ana White, demonstrate how to build an entire outdoor coffee table using just 2x4s, resulting in a surprisingly strong and long-lasting piece when protected.
Beyond Wood: Exploring Other Materials
While wood provides a classic and versatile foundation, don’t limit your creativity. Mixing materials can enhance visual interest, improve durability, and offer unique aesthetic opportunities. For instance, The Home Depot guide illustrates how to construct sturdy table bases with wood, while other sources suggest incorporating different top materials for a mixed-material look:
- Concrete Tops: A concrete top offers a modern, industrial, and highly durable surface that is impervious to weather. It can be poured directly into a mold or purchased as a pre-fabricated slab.
- Stone or Tile Inlays: Adding tile or stone inlays to a wooden top creates a heat- and water-resistant surface, perfect for placing hot dishes or cold drinks without fear of damage.
- Metal Elements: Incorporating metal brackets, accents, or even hairpin legs can give your table an industrial, contemporary edge while adding structural strength.
- Multi-functional Designs: As noted by Grey Snail Designs, some outdoor tables are designed to double as benches, showcasing the practicality of mixed-material and clever design.
Essential Tools for Your DIY Project
A successful build requires the right tools. For a basic outdoor coffee table, you’ll need the following:
- Saw: A miter saw is ideal for precise, straight crosscuts, making it perfect for cutting all your wood pieces to length. A circular saw or even a good hand saw can also work, especially for larger pieces or if a miter saw isn’t available.
- Drill: A cordless drill/driver is essential for pre-drilling pilot holes (to prevent wood splitting) and driving screws efficiently. An impact driver can also be useful for driving long screws quickly.
- Screws and Fasteners: Always opt for outdoor-rated screws such as galvanized deck screws or stainless steel screws to prevent rust and corrosion, which can stain your wood and compromise structural integrity.
- Measuring Tape and Pencil: Accuracy is key in woodworking.
- Sandpaper: Various grits (from 80-grit to 220-grit) are needed for smoothing rough edges and preparing the wood for finishing. An orbital sander can significantly speed up this process.
- Outdoor Wood Sealer, Stain, or Paint: Essential for protecting your table from moisture, UV rays, and general wear and tear. Choose a product specifically formulated for outdoor use.
- Clamps: Wood clamps are invaluable for holding pieces securely in place while drilling and screwing, ensuring tight joints.
- Safety Gear: Always wear safety glasses, hearing protection, and a dust mask when cutting and sanding.
Many online sources and specific plans offer detailed lists of tools tailored to particular designs, so always check your chosen plan for exact requirements.
DIY Outdoor Coffee Table: A Step-by-Step Construction Guide
Building your outdoor coffee table doesn’t have to be daunting. This comprehensive guide breaks down the process into manageable, easy-to-follow steps suitable for anyone, from novice woodworkers to seasoned DIY enthusiasts. By the time you’re finished, you’ll have a beautifully crafted, custom piece that perfectly suits your outdoor space and personal style.
Step 1: Planning Your Design and Dimensions

Before you purchase a single piece of lumber, meticulous planning is crucial. As Pine and Poplar emphasizes, detailed plans eliminate guesswork and ensure a smooth building process. Take the time to consider these aspects:
- Measure Your Space: Evaluate where the table will go and how it will interact with existing seating. Determine the ideal length, width, and height. Standard coffee tables are typically 16-18 inches tall, aligning comfortably with most outdoor seating, but you might adjust this for unique needs (e.g., a higher table for dining or a lower one for lounge chairs).
- Choose Your Style: Do you prefer a simple, modern aesthetic with clean lines, or something more rustic and detailed? Consider a farmhouse, industrial, or classic design. This decision will influence your wood choice, joint types, and finishing options.
- Functionality: Beyond holding drinks, what else do you need? Do you require integrated storage (e.g., a lower shelf for books or blankets, or even hidden compartments)? Would casters be beneficial for easy mobility? The Rehab Life’s $50 Modern Patio Coffee Table project illustrates how a clear plan can keep costs down while delivering an attractive, functional piece.
- Sketch and Cut List: Draw out your design, marking all dimensions. From this, create a precise cut list for every piece of wood you’ll need. This list will be your roadmap for the next step.
Step 2: Preparing Your Materials
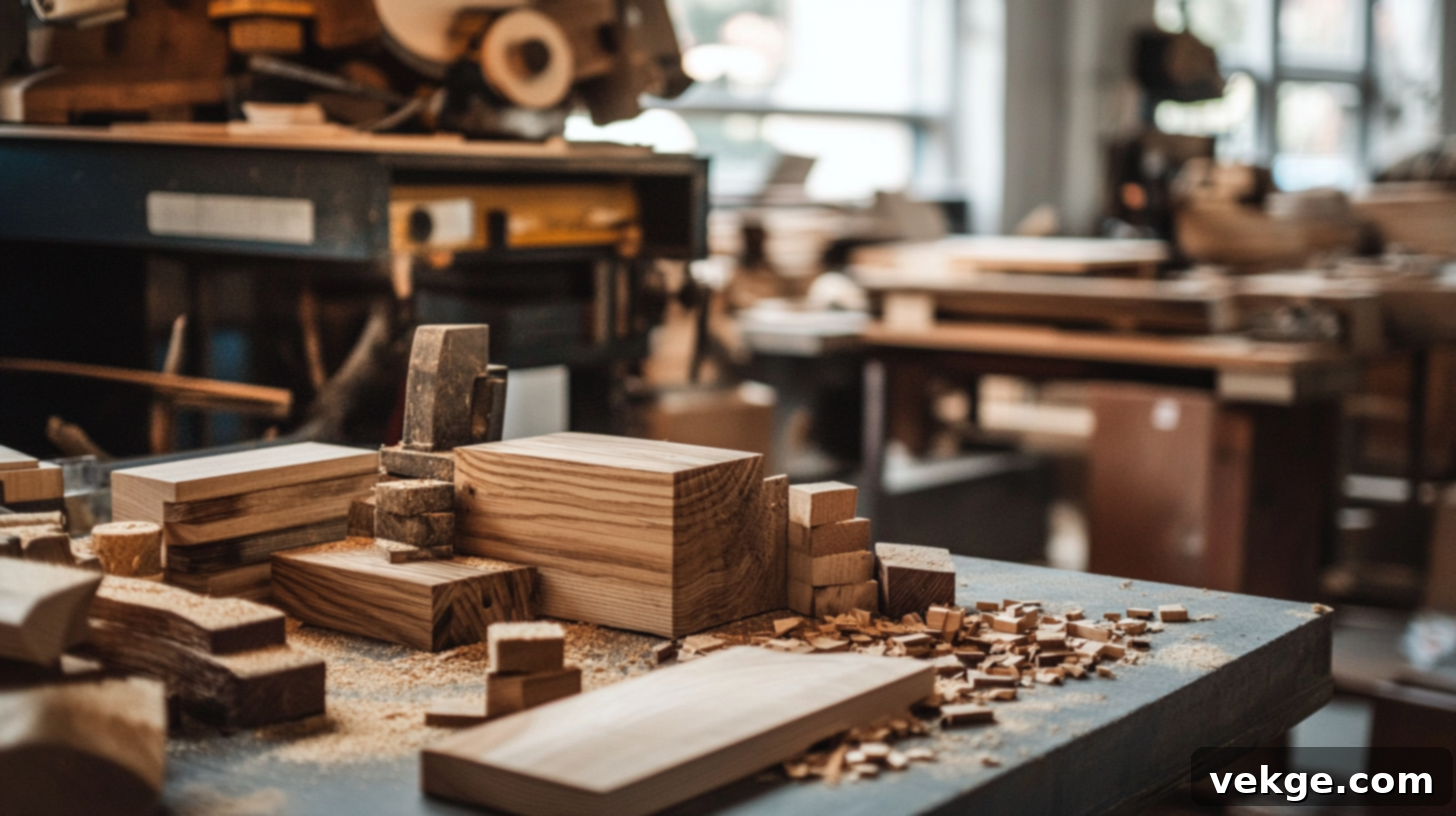
With your design finalized and cut list in hand, it’s time to prepare your wood. Precision here will lead to a better outcome:
- Measure and Mark: Carefully measure each piece of wood according to your cut list. Remember the adage, “Measure twice, cut once” – this prevents costly mistakes. Use a pencil to mark your cut lines clearly.
- Cut All Pieces: Using your chosen saw (a miter saw is excellent for straight, accurate cuts), cut all your wood pieces to their exact dimensions. Ensure your cuts are square and clean.
- Initial Sanding: Lightly sand the cut ends and any rough surfaces to remove splinters and sharp edges. This initial sanding makes handling the wood safer and ensures a smoother final finish. As Grey Snail Designs wisely points out, patching any holes or imperfections at this stage will significantly improve the overall appearance of the final product.
Step 3: Assembling the Base Structure
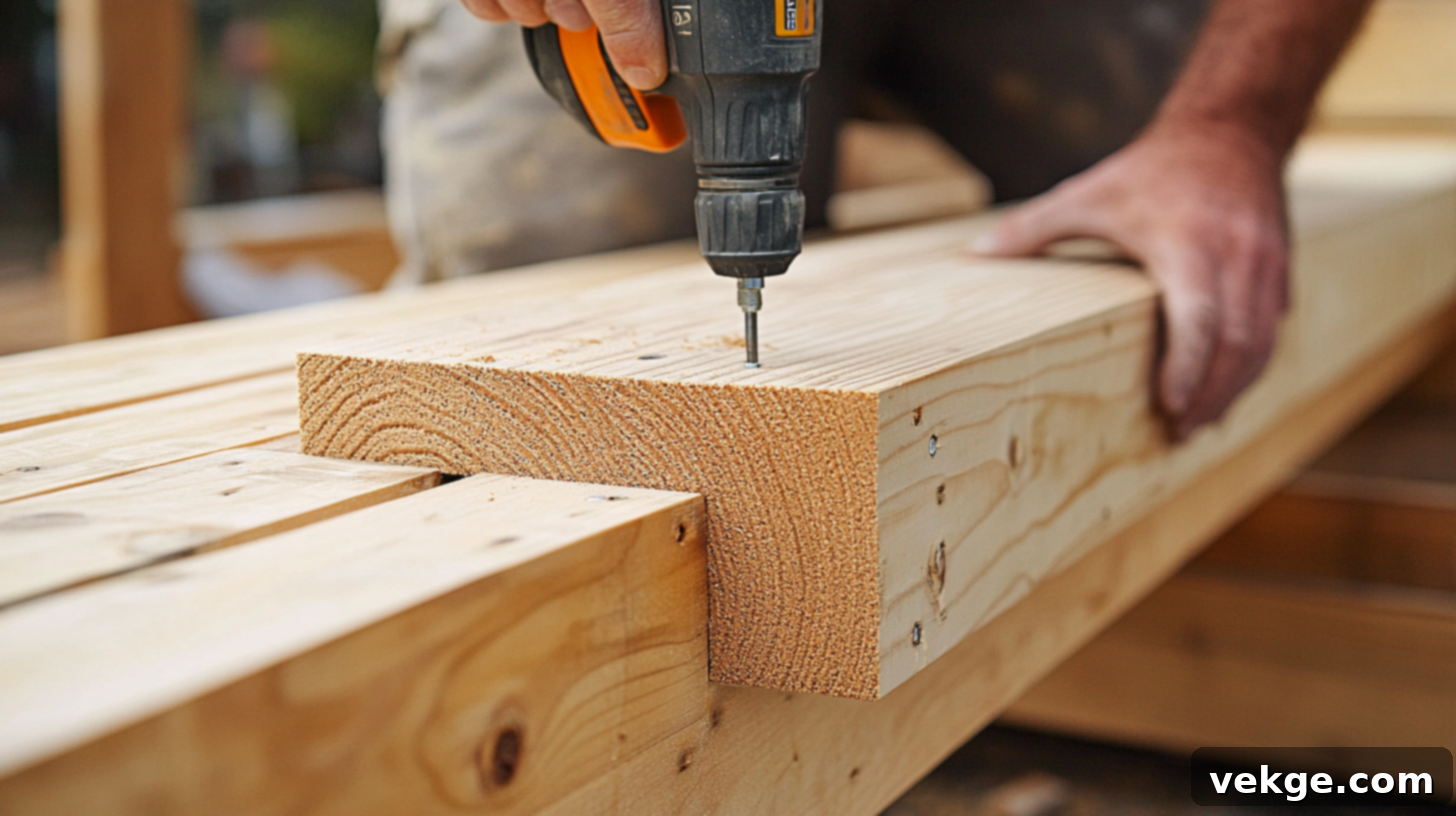
The base is the foundation of your table, providing stability and support. The Home Depot guide offers specific, helpful instructions for base assembly:
- Construct the Apron: The apron consists of the side pieces that connect the legs. If using pocket hole joinery, drill pocket holes at each end of these apron pieces. Connect the front and back apron pieces to the side apron pieces to form a rectangular frame.
- Attach the Legs: Securely attach the legs to the corners of the assembled apron. Ensure all connections are tight and square. Use wood glue in addition to screws for extra strength and stability. Clamps are very useful here to hold pieces while you drill and fasten.
- Add Support Beams (if needed): For larger tables, or if you plan to add a lower shelf, install support beams across the middle of the base frame. These beams will prevent sagging and provide additional structural integrity.
- Check for Level: Once assembled, place the base on a flat surface to check that it sits level. Make any necessary adjustments before proceeding. Ana White’s popular 2×4 outdoor table plans are a great resource for understanding how simple joining techniques can create a very sturdy base.
Step 4: Attaching the Tabletop
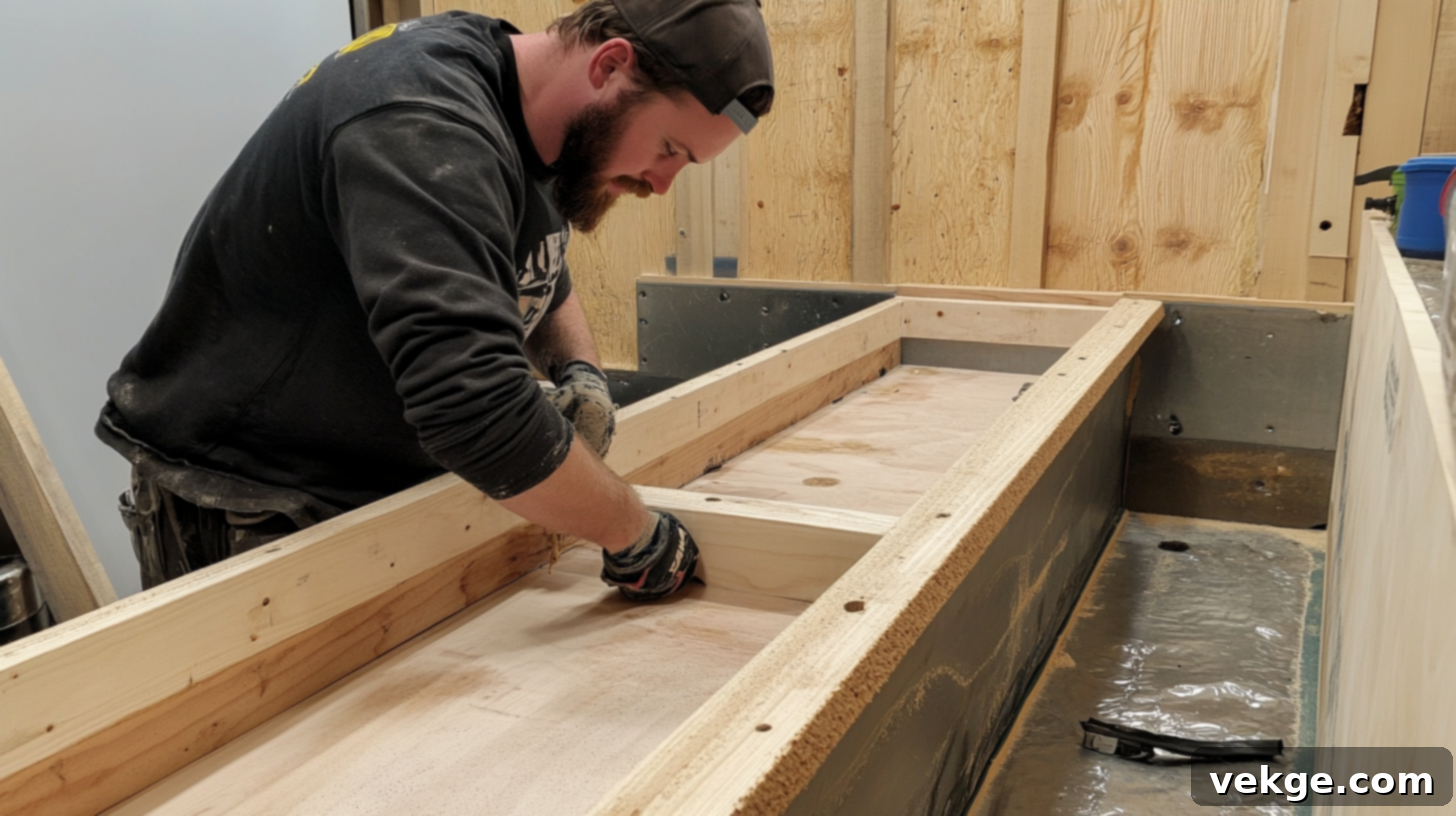
Now it’s time to bring your table to life by adding the top:
- Lay Out Tabletop Boards: Arrange your tabletop boards on top of the base. For wood tops, leave small, consistent gaps between them (e.g., 1/8 inch or 3mm). These gaps are essential to allow for water drainage and natural wood expansion/contraction due to temperature and humidity changes.
- Secure the Top: Attach the tabletop boards to the base frame. The most common method is to use screws from underneath the apron and support beams, ensuring a clean top surface without visible fasteners. Alternatively, you can use pocket hole screws from the underside of the tabletop boards into the frame.
- For Non-Wood Tops: If you’re using a concrete or stone top, The Radiant Abode suggests using a strong, outdoor-rated adhesive (like construction adhesive) to secure it firmly to the wood base. Ensure the adhesive is spread evenly and allow adequate curing time.
- Test Stability: Once the top is attached, gently press down on all corners and the center to ensure it’s firmly attached with no wobbling.
Step 5: Sanding and Finishing for a Professional Look
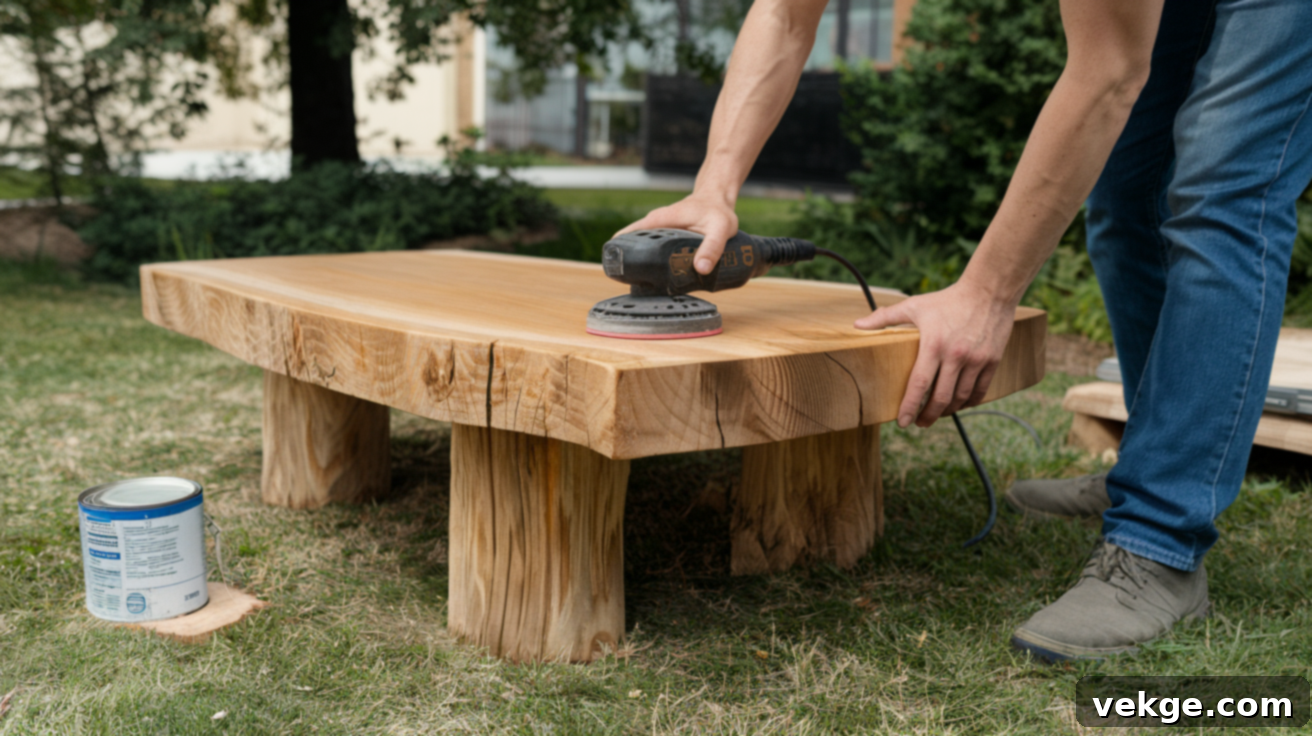
Proper sanding and finishing are what elevate a DIY project to a professional-looking piece of furniture:
- Progressive Sanding: Start sanding all surfaces with a medium-grit sandpaper (e.g., 80-100 grit) to remove any remaining rough spots, pencil marks, or minor imperfections. Then, move to finer grits (150 grit, followed by 220 grit) to achieve a super smooth surface. This progression is key for a flawless finish.
- Clean All Dust: After sanding, thoroughly remove all dust using a tack cloth, shop vacuum, or compressed air. Any remaining dust will get trapped under your finish and make it look bumpy.
- Round Edges: For safety and comfort, lightly round over any sharp edges with sandpaper or a router with a round-over bit.
- Fill Gaps (Optional): If there are any noticeable gaps or screw holes you wish to conceal, fill them with an outdoor-rated wood filler. Allow it to dry completely and then sand smooth.
Step 6: Waterproofing and Weatherproofing for Longevity
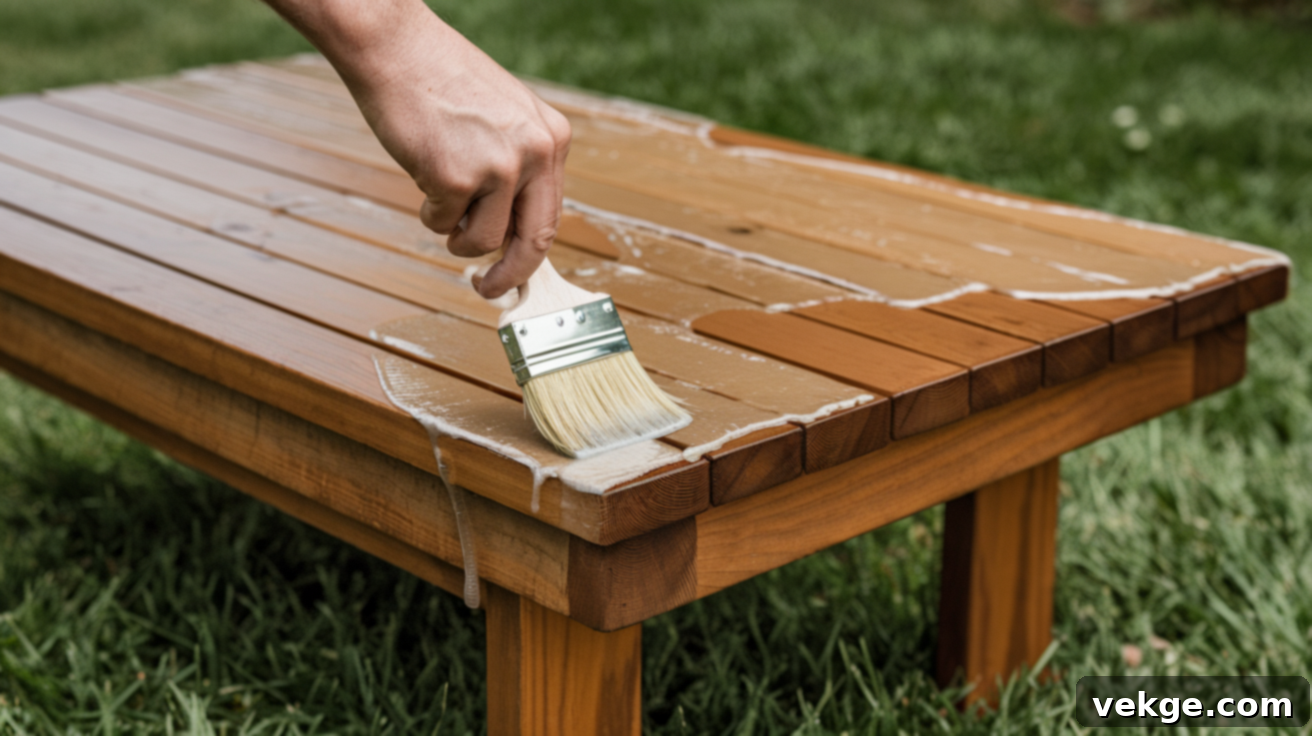
This is arguably the most critical step for any outdoor furniture, ensuring your hard work lasts for many seasons:
- Choose the Right Finish: Select an outdoor-rated sealant, stain, or paint. Clear waterproof sealers protect while letting the natural wood grain show through. Stains add color while offering protection. Paints provide a solid color barrier against the elements.
- Apply Generously: Apply at least two coats of your chosen finish to all surfaces of the table, including the underside. Pay special attention to end grain (the cut ends of the wood) and joints, as these areas tend to absorb moisture more readily.
- Follow Product Directions: Always adhere to the manufacturer’s instructions for application, re-coat times, and proper drying. Adequate drying time between coats and before placing the table outdoors is crucial for optimal protection.
- Consider Natural Resistance: As Instructables notes, while woods like Western Red Cedar are naturally weather-resistant, applying a quality sealant will still significantly help to maintain its color, prevent graying, and extend its overall life outdoors, offering an extra layer of defense against harsh UV rays and moisture.
Customization Ideas for Your DIY Outdoor Coffee Table
Once you’ve mastered the basic construction of your outdoor coffee table, the fun truly begins with customization. Simple additions can transform your table into a unique, multi-functional piece that reflects your personal style and enhances your outdoor living space.
1. Integrating Smart Storage Solutions
Adding storage is a practical way to boost your table’s functionality. Simple shelves beneath the tabletop are the most straightforward option, providing convenient space for outdoor essentials like magazines, sunscreen, or extra serving dishes. Designs like those shared by The Back 40 Craftsman on Instagram beautifully demonstrate how lower shelves can add both utility and visual appeal.
For more discreet storage, consider:
- Pull-out Drawers: Integrate small, weather-resistant drawers into the apron for hidden storage of smaller items.
- Lift-Top Designs: Create a tabletop that lifts open to reveal a spacious compartment underneath, perfect for storing cushions or outdoor games when not in use.
- Built-in Planters or Coolers: For a truly unique feature, design a section of the tabletop to house a removable planter for herbs or flowers, or even a built-in cooler for drinks.
These additions, while requiring a bit more planning, make your outdoor coffee table significantly more versatile without overly complicating the build process.
2. Mixing Materials for Enhanced Aesthetics and Durability
Combining different materials is an effective way to create visual interest and can sometimes improve durability. The Radiant Abode, for example, showcases creative ways to use a concrete planter as a base, paired with a warm wooden top, achieving a striking contrast.
Other popular material combinations include:
- Wood and Metal: Pairing wooden tops or bases with industrial-style metal elements, such as hairpin legs, pipe fittings, or steel brackets, creates a modern, often industrial, aesthetic. Numerous Instructables projects demonstrate successful integrations of metal and wood.
- Wood with Tile or Stone Inlays: For the tabletop, consider embedding ceramic tiles, mosaic pieces, or small stone slabs. This not only adds a decorative touch but also creates highly heat- and scratch-resistant zones, perfect for placing hot coffee mugs or protecting against water rings.
- Glass or Acrylic Inserts: A tempered glass or acrylic panel embedded within a wooden frame can add a sophisticated touch and a sense of lightness to the design, while also making the surface easy to clean.
3. Styling with Color and Protective Finishes
The finish you choose is vital for both the appearance and the longevity of your outdoor coffee table. It’s the protective shield against the elements and your chance to express personal style.
- Stains: Transparent or semi-transparent stains allow the natural beauty of the wood grain to shine through while offering UV and moisture protection. Popular choices include natural cedar tones, deep browns, or weathered grays.
- Paints: For a solid color, an outdoor-rated paint provides excellent protection and allows you to match your table to existing outdoor decor. The Radiant Abode suggests priming wood before painting and using a roller for a smooth, even application.
- Oils: Natural wood oils penetrate the wood, enhancing its natural color and providing a soft, matte finish. They require more frequent reapplication but offer deep protection and are easy to maintain.
- Clear Sealants: If you love the raw look of your chosen wood, a clear waterproof sealant will protect it without altering its color, though some woods may naturally gray over time if exposed to direct sunlight.
Grey Snail Designs correctly emphasizes that using outdoor-rated finishes is non-negotiable for protection against sun (UV damage causes fading and deterioration), rain (leading to rot and mold), and temperature changes (causing wood to expand and contract). Proper finishing is an investment in your table’s future.
Essential Tips for Maintaining Your DIY Outdoor Coffee Table
A DIY outdoor coffee table is a wonderful addition to your home, and with proper care, it can remain a beautiful and functional centerpiece for many seasons. Consistent, simple maintenance habits are key to preventing premature damage and keeping your table looking its best, despite constant exposure to the elements.
- Regular Cleaning: Make it a habit to wipe down the surface of your table every few weeks with a soft cloth, mild soap, and water. This prevents dirt, pollen, and grime buildup, which can etch into the finish over time. The Home Depot guide advises against using harsh chemicals or abrasive cleaners, as these can strip protective finishes and damage the wood. Rinse thoroughly with clean water after cleaning.
- Annual Re-sealing or Re-staining: The protective finish on your table will degrade over time due to sun exposure and moisture. Apply a fresh coat of your chosen outdoor sealant, stain, or paint once a year, ideally before the most challenging seasons (e.g., prior to winter or heavy rainy periods). This proactive step significantly extends the life and appearance of your table.
- Cover When Not In Use: For extended periods of non-use, or during particularly harsh weather conditions (heavy rain, snow, intense sun), cover your table with a high-quality, waterproof outdoor furniture cover. Many Reddit DIY forum posts consistently recommend this simple step as one of the most effective ways to preserve outdoor furniture.
- Quick Fixes for Minor Damage: Inspect your table periodically for any small cracks, chips, or scratches. For minor blemishes, apply an outdoor-rated wood filler, allow it to dry, sand it smooth, and touch up with a matching stain or paint. As the Instructables guide suggests, catching and addressing small issues early can prevent them from escalating into bigger, more costly problems.
- Check for Loose Parts: Wood can expand and contract with temperature and humidity changes, potentially causing screws and fasteners to loosen over time. Periodically check all joints and tighten any screws or bolts that feel loose to maintain the table’s structural integrity and stability.
- Recognize Signs of Wear: Be vigilant for indicators that your table needs attention. If water no longer beads on the surface, if the wood appears visibly grayed or weathered despite its finish, or if you notice any soft spots, these are clear signs that it’s time to reapply protective finishes or address potential moisture damage.
- Winter Storage (in Severe Climates): In regions with harsh winters, consider moving your DIY outdoor coffee table to a covered, protected area like a garage, shed, or even indoors during the off-season. This can dramatically extend its lifespan by shielding it from extreme cold, snow, and ice.
Conclusion: Enjoying Your Handcrafted Outdoor Coffee Table
Building your own outdoor coffee table is an incredibly rewarding project. Not only will you enjoy significant cost savings compared to purchasing a ready-made option, but you’ll also create a truly custom piece that perfectly aligns with your outdoor space and personal style preferences. The process, made accessible by simple materials and basic tools, is an ideal weekend endeavor, even for those new to woodworking.
The satisfaction of gathering with friends and family, enjoying drinks and meals on a piece of furniture you crafted with your own hands, adds a special, personal touch to any outdoor occasion. With the detailed steps and practical maintenance tips provided in this guide, you now possess all the knowledge and inspiration needed to construct a durable, beautiful outdoor coffee table that will serve you well for many seasons to come. So, why wait? Gather your materials, prepare your tools, and embark on this fulfilling DIY journey this weekend!
For more helpful DIY guides and creative tips on enhancing your living spaces, be sure to explore other blogs and resources on our website.
Frequently Asked Questions About DIY Outdoor Coffee Tables
How tall should an outdoor coffee table be?
Most DIY and design guides recommend a standard height of 16-18 inches (approximately 40-46 cm) for an outdoor coffee table. This height generally works well with the typical dimensions of outdoor lounge chairs and sofas, ensuring that drinks, snacks, and other items are comfortably within reach without requiring excessive leaning.
How do you make a wood coffee table waterproof for outdoor use?
To waterproof a wooden coffee table for outdoor use, you must apply a high-quality, outdoor-rated sealant or finish. This involves sanding the wood smooth, cleaning off all dust, and then applying at least two to three coats of a clear waterproof sealer, exterior paint, or an oil-based outdoor stain. Pay particular attention to the end grain and joints, as these areas are most susceptible to moisture absorption. Regular reapplication of the protective finish (typically once a year, or as recommended by the product manufacturer) is crucial to maintain its waterproofing properties.
Can I use a regular indoor coffee table outdoors?
While you can attempt to convert an indoor coffee table for outdoor use, it typically requires significant modification and maintenance. Indoor furniture is not designed to withstand UV rays, rain, humidity, or temperature fluctuations. To make an indoor table suitable for outdoors, you would need to:
- Thoroughly sand off any existing indoor finish.
- Apply multiple coats of an outdoor-rated sealant, paint, or stain to all surfaces.
- Replace any standard hardware (screws, hinges) with rust-resistant versions (galvanized or stainless steel).
- Add protective feet or glides to prevent direct contact with damp ground, which can lead to rot.
- Consider covering the table during harsh weather or when not in use.
It’s often more durable and cost-effective in the long run to build a table specifically designed for outdoor conditions or purchase one made with outdoor-rated materials.
How long does it typically take to build a DIY outdoor coffee table?
The time required to build a DIY outdoor coffee table can vary significantly depending on the complexity of the design, your skill level, and the tools available. A simple 2×4 design might take a dedicated beginner one full weekend (around 10-16 hours of actual work), while more intricate designs with storage or mixed materials could take two weekends or more. This estimate includes time for cutting, assembly, sanding, and applying multiple coats of finish with proper drying times between coats.
What is the average cost to build an outdoor coffee table?
The cost of building a DIY outdoor coffee table is considerably less than buying a new one, but it varies based on material choices. For a basic table using treated 2x4s, the material cost can range from $50 to $150. If you opt for premium woods like cedar, composite materials, or add features like metal legs or concrete tops, the cost could increase to $200-$400 or more. This estimate usually covers lumber, fasteners, and finishing products, but not the cost of tools if you need to purchase them new.
