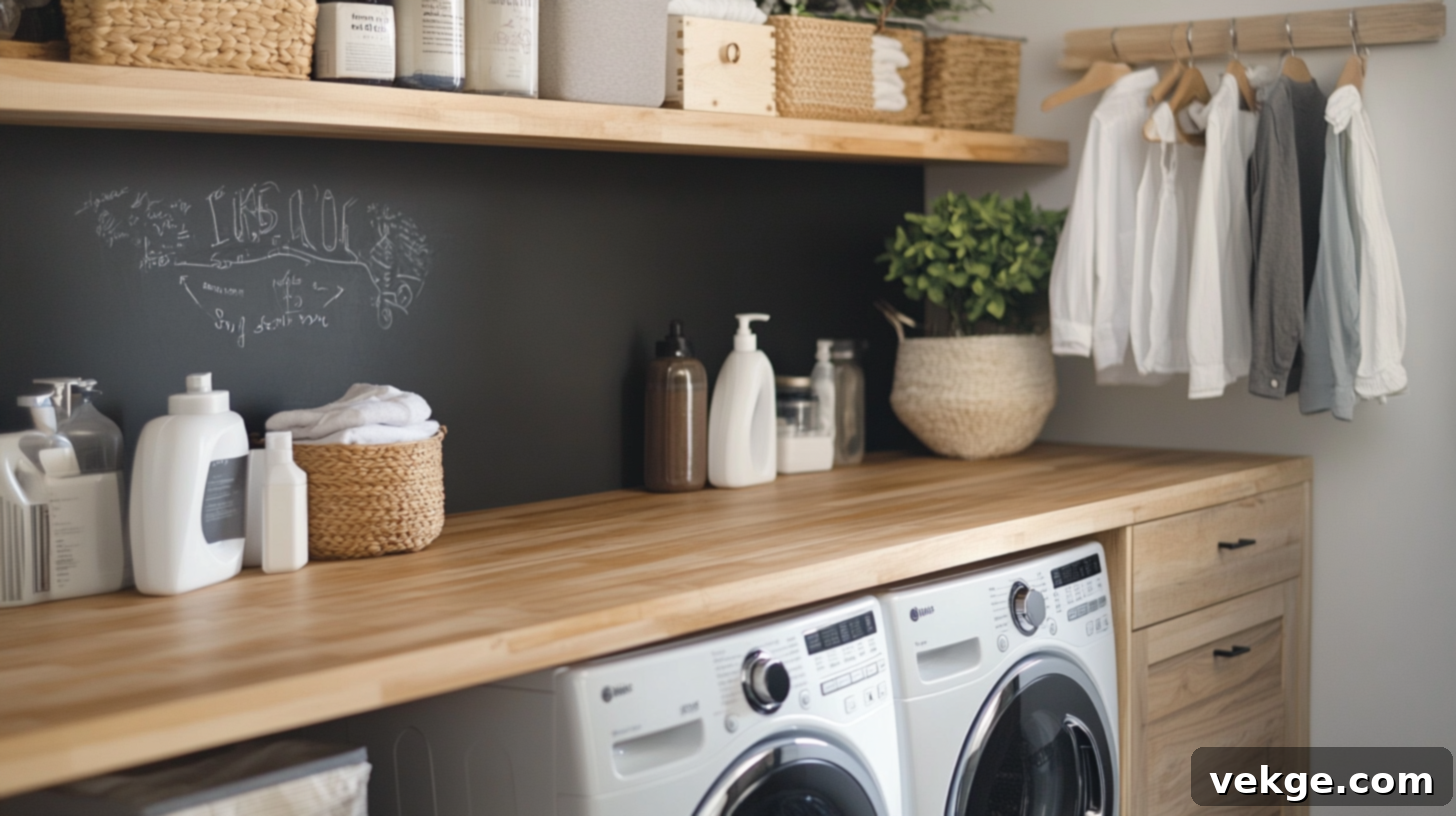
Transform Your Laundry Room: The Ultimate DIY Guide to a Functional and Stylish Space
Is your laundry room feeling more like a chaotic storage closet than a productive utility area? For many, the laundry room is an afterthought, a space where clothes pile up and essential supplies are often hard to find. Yet, we spend hours there each week tackling one of the most constant household chores. Imagine a space that not only makes laundry day easier but also brings a touch of calm and efficiency to your routine. The good news? You don’t need a professional designer or a massive budget to achieve this transformation.
This comprehensive guide is your go-to resource for creating a personalized, DIY laundry room that truly works for you. We’ll walk you through everything from smart, space-saving storage ideas and incredibly budget-friendly fixes to selecting the right materials for durability and style. Plus, you’ll find a wealth of simple yet impactful projects you can tackle yourself, alongside crucial tips to keep your revitalized space functional and looking great for years to come. With just some basic tools and a focused weekend or two, you can turn your neglected laundry room into an organized, efficient, and even enjoyable part of your home.
Planning Your DIY Laundry Room Transformation
Before diving into specific projects, a little planning goes a long way. Taking the time to assess your current space, identify your needs, and envision your ideal laundry room will ensure your efforts are focused and effective. This initial phase helps you avoid common pitfalls and sets you up for a successful and satisfying makeover.
Assess Your Current Space and Needs
Start by taking a critical look at your existing laundry room. What works well? What are the biggest pain points? Do you lack folding space, proper storage for detergents, or a dedicated spot for air-drying clothes? Consider your lifestyle: how many people are in your household, how often do you do laundry, and what specific tasks (like ironing or mending) do you perform in this area? Make a list of everything you wish your laundry room had or did better. This assessment will form the foundation for your project.
Measure and Sketch Your Layout
Accuracy is key in DIY. Measure the dimensions of your laundry room, including walls, windows, and existing appliances. Note the locations of electrical outlets, water hookups, and dryer vents. With these measurements, sketch out a few different layout ideas. Experiment with potential placements for shelves, cabinets, and drying racks. Think about workflow: how do you move dirty clothes to the washer, from the washer to the dryer, and finally, to folding and storage? A well-planned layout can dramatically improve efficiency and make the most of every square inch, especially in smaller spaces.
Define Your Vision and Budget
What aesthetic do you envision for your laundry room? Do you prefer a bright, minimalist look, a cozy farmhouse feel, or a sleek modern design? Gather inspiration from magazines, Pinterest, or home improvement websites. Once you have a clear vision, establish a realistic budget. This will guide your material choices and project scope. Remember, DIY is often about smart solutions and creative repurposing, so even a tight budget can yield fantastic results with careful planning.
Essential Considerations for a Successful DIY Laundry Room
When embarking on a DIY laundry room makeover, focusing on fundamental elements will significantly enhance both the functionality and appeal of the space. A well-thought-out design addresses practical needs, budget constraints, and material durability, ensuring your efforts lead to a lasting improvement.
Smart Storage Solutions
Effective storage is the backbone of an organized laundry room. Without it, even the tidiest person can quickly find themselves overwhelmed by clutter. Basic wall shelves installed above your washer and dryer are an excellent starting point for keeping detergents, fabric softeners, and other supplies within easy reach. For sorting dirty clothes, simple plastic bins or canvas hampers with multiple compartments can be a game-changer, allowing you to separate whites, colors, and delicates before wash day even begins. Consider vertical storage options that utilize wall space effectively, such as hooks for hanging items that need to air dry or collapsible drying racks.
If floor space is limited, stacking your washer and dryer is a smart move, freeing up valuable real estate for a rolling cart or a narrow cabinet. For an even more integrated solution, adding a tension rod or a permanent metal rod between two existing shelves can create an instant hanging zone for newly dried shirts, reducing wrinkles and simplifying the post-laundry process. Don’t overlook the potential of second-hand stores or online marketplaces for affordable cabinets or shelving units that can be repurposed with a fresh coat of paint, offering both storage and style on a budget.
Time and Budget-Friendly Options
Transforming your laundry room doesn’t have to break the bank or consume all your free time. Many high-impact updates can be achieved with minimal investment. Painting the walls is perhaps the most cost-effective way to refresh a space; opting for a light, bright color can make even a small laundry room feel more spacious and inviting. Instead of expensive tile, consider stick-on backsplash tiles, which are easy to install and come in a wide variety of styles, mimicking the look of real tile at a fraction of the cost.
To keep costs down, explore sales at large home improvement stores or check local online community groups for free or heavily discounted items that can be upcycled. Remember that Rome wasn’t built in a day, and neither does your laundry room need to be. Tackling one small project each weekend can prevent overwhelm and allow you to enjoy gradual progress. Simple cosmetic changes, like replacing old cabinet knobs with new, stylish hardware, or adding a colorful rug, can instantly elevate the room’s aesthetic without a significant outlay. These small, thoughtful touches contribute greatly to a refreshed feel.
Choosing Durable and Cost-Effective Materials
Selecting the right materials for your laundry room is crucial, as this area often deals with moisture, spills, and heavy use. Prioritize options that offer durability and moisture resistance without excessive cost. Plywood, when properly sealed with a waterproof finish, can serve as an excellent material for custom shelves or even a simple countertop, providing a robust surface at a fraction of the price of solid wood or stone. For flooring, vinyl planks or sheets are highly recommended due to their excellent water resistance, ease of cleaning, and significantly lower cost compared to ceramic tile.
When it comes to countertops, laminate options provide a wide range of looks, from wood grain to stone, offering a stylish and practical surface that is both durable and affordable. Basic white subway tiles remain a timeless and budget-friendly choice for backsplashes, providing a clean, classic look while protecting your walls. For cabinetry, ready-to-assemble (RTA) units offer a cost-effective alternative to custom-built options, allowing you to achieve a polished look without custom prices. In a high-moisture environment like a laundry room, opt for storage bins and hampers made from metal or plastic over wicker or untreated wood, as they are less susceptible to mold and wear. Always consider the level of use and potential exposure to moisture when deciding where to save and where to invest a little more in your material choices.
Inspiring DIY Laundry Room Projects to Tackle This Weekend
Ready to roll up your sleeves and transform your laundry space? These DIY projects are designed to be achievable for most skill levels, offering practical solutions for storage, functionality, and aesthetic appeal. Whether you’re seeking to declutter, create a dedicated workspace, or simply refresh the look of your room, these ideas will guide you toward a more organized and stylish laundry experience.
1. Hidden Laundry Room Cabinets
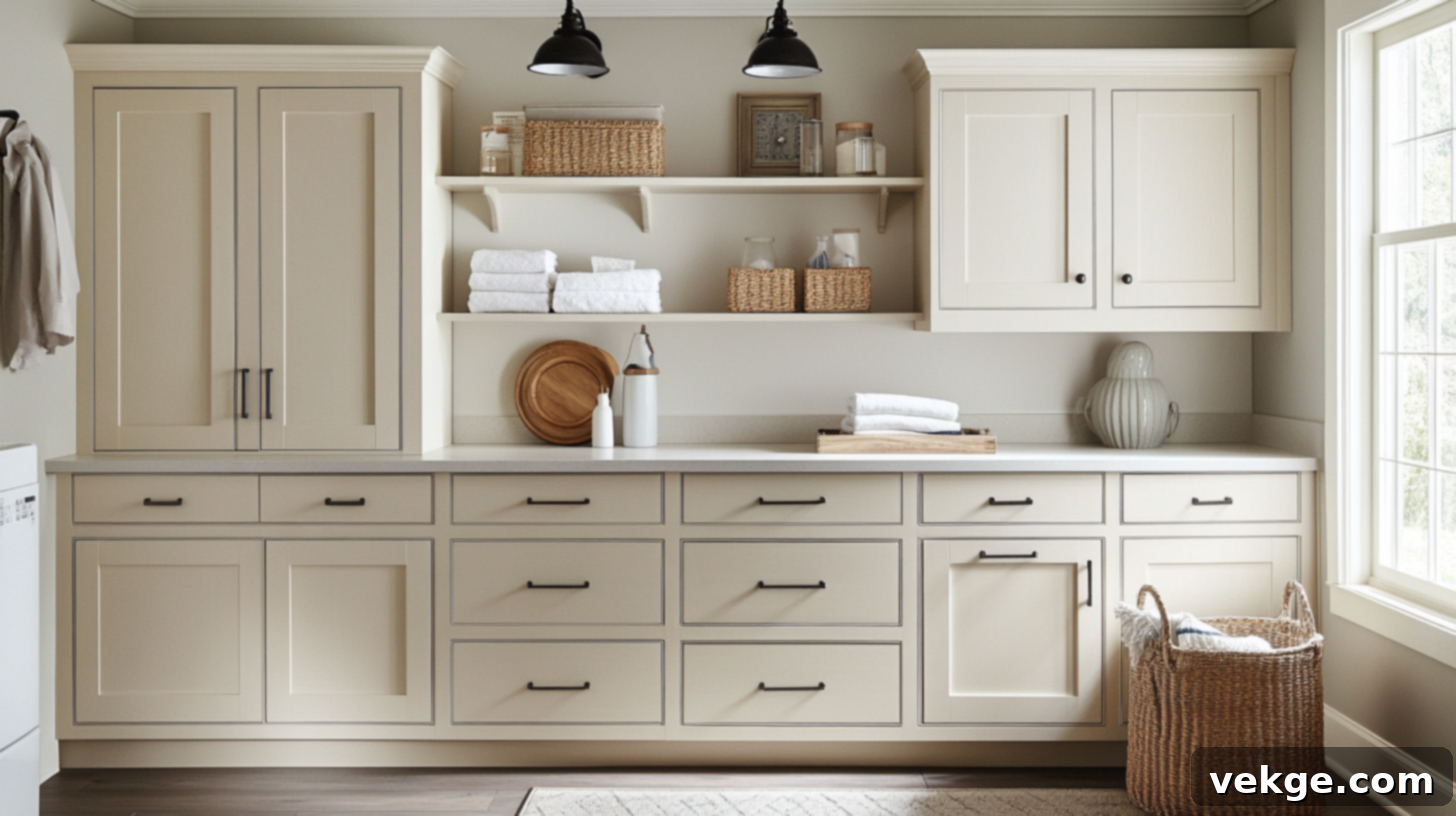
Conceal unsightly laundry supplies and cleaning products by building simple cabinets with doors. This immediately creates a much neater and less cluttered appearance, elevating the overall feel of your laundry room. You can construct these cabinets from basic plywood or MDF, then customize them with hardware that complements your home’s style. Painting them to match your walls creates a seamless, built-in look, or choose a contrasting color for a pop of personality. Beyond aesthetics, hidden cabinets are excellent for safety, keeping potentially harmful chemicals away from children and pets.
2. Floating Shelves for Storage
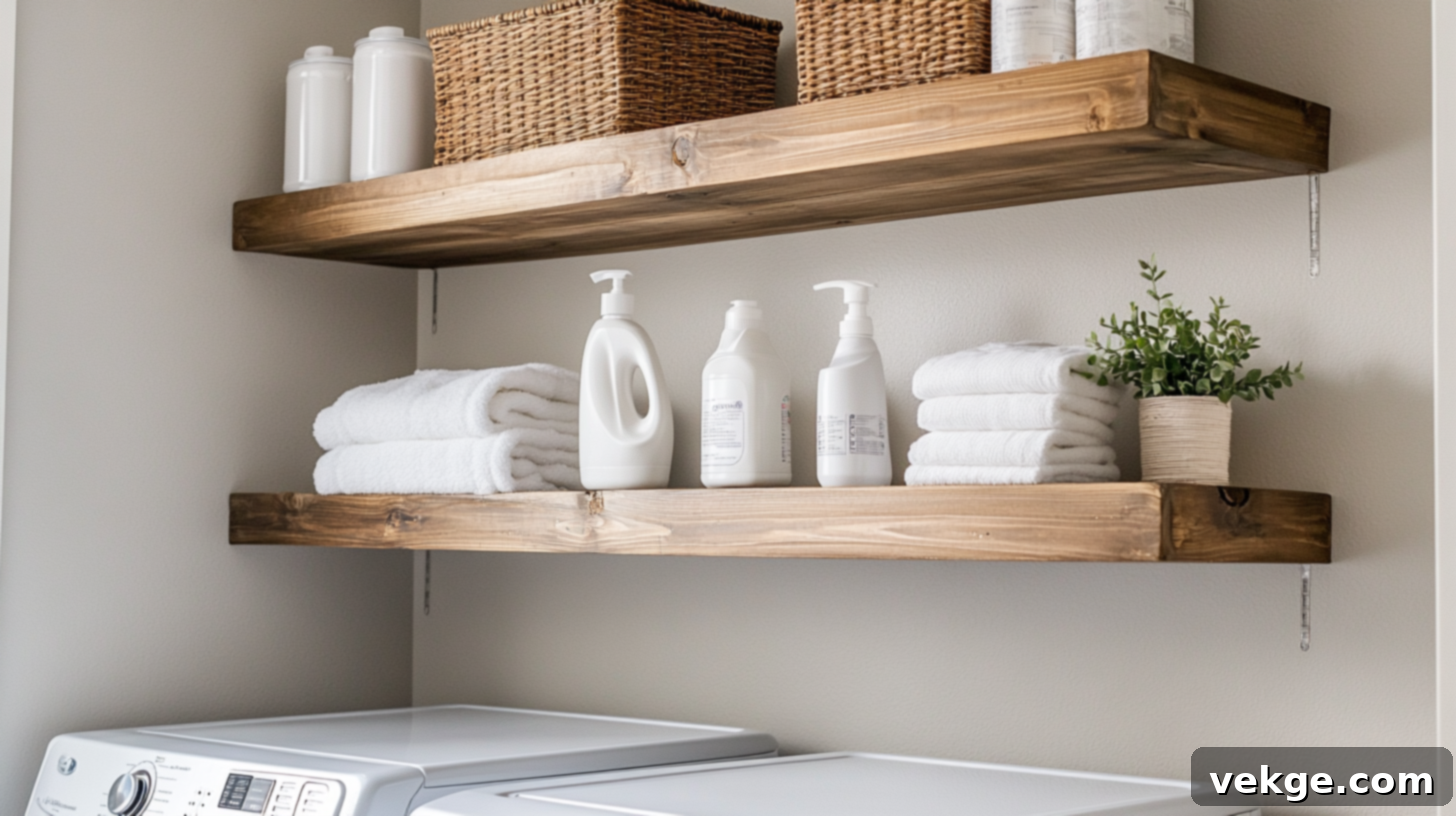
Maximize vertical space above your washer and dryer with elegant floating shelves. These shelves appear to “float” as their mounting hardware is concealed, offering a clean, modern aesthetic. They are perfect for storing frequently used items like detergents, dryer sheets, and small decorative baskets without taking up precious floor space. Construct them from sturdy wood boards and ensure they are securely anchored into wall studs for maximum support. This project not only adds functionality but also provides an opportunity to display small plants or decorative items, making the space feel more inviting.
3. Plywood Countertop
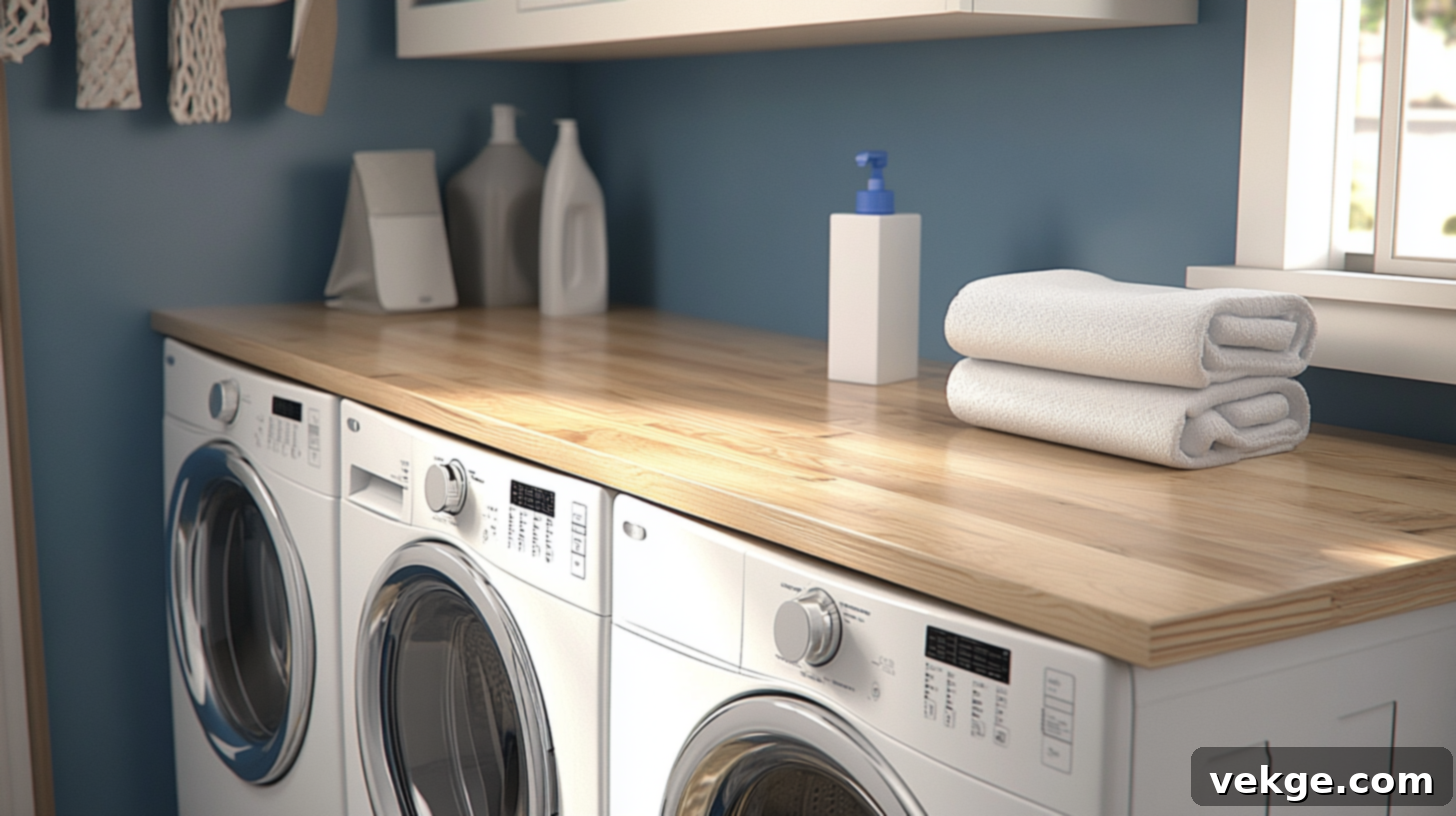
Transform the top of your front-loading washer and dryer into a functional workspace with a custom plywood countertop. Simply cut a piece of plywood to fit snugly over your appliances, ensuring precise measurements. Sand all edges smooth to prevent snags and seal the entire surface with a durable, waterproof finish to protect against moisture. This creates an invaluable surface for folding clothes, sorting items, or even temporary storage. You can paint or stain it to seamlessly integrate with your room’s existing decor, and the cost will be significantly less than traditional stone or solid wood alternatives.
4. Wall-Mounted Drying Rack
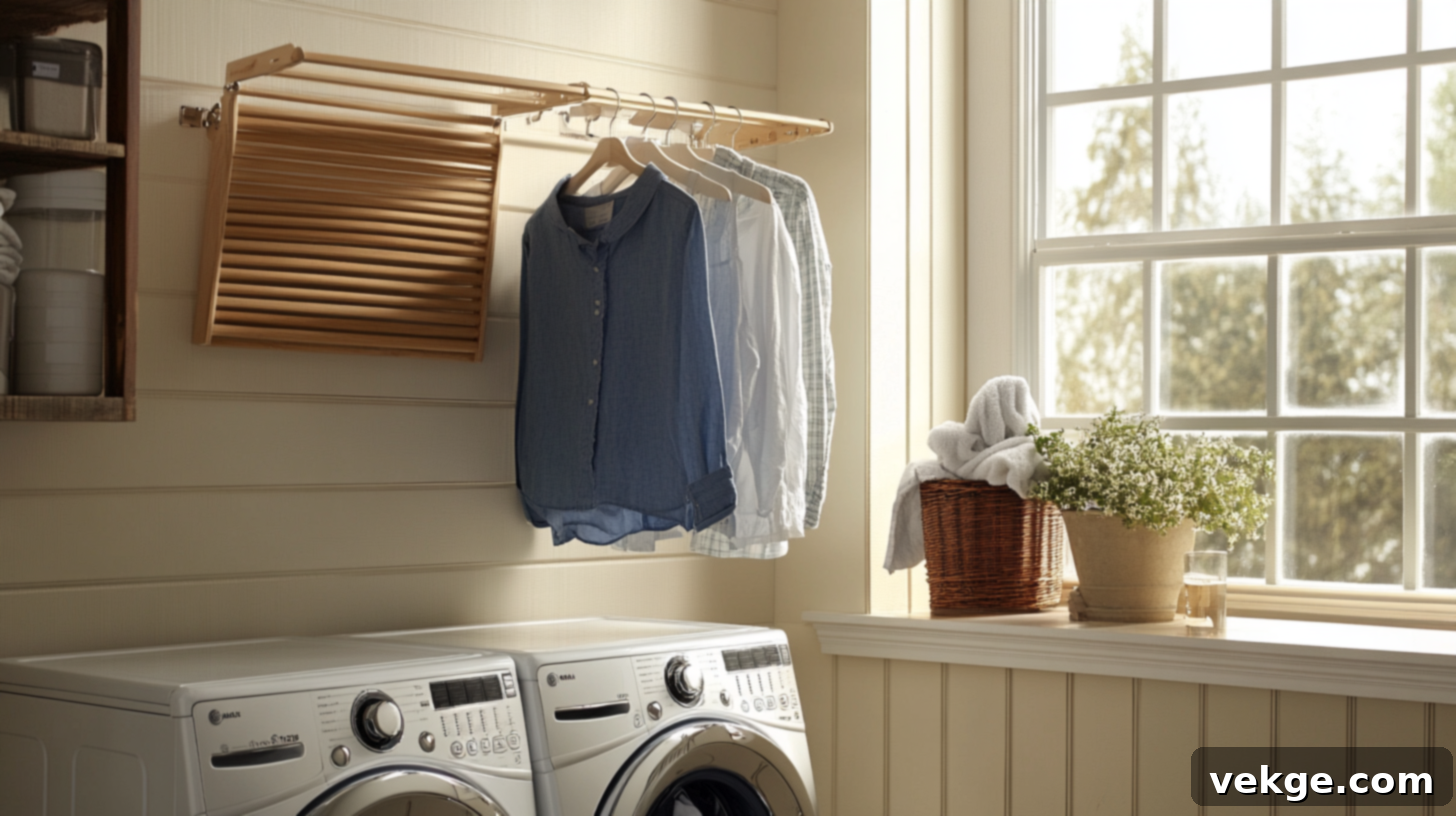
Save floor space and reduce energy costs with a convenient wall-mounted drying rack. Design a fold-out rack that securely attaches to your wall and collapses flat when not in use. This ingenious solution is perfect for air-drying delicate garments, shirts, or pants that can’t go into the dryer, or simply to reduce your dryer usage. By having a dedicated spot for air-drying, you keep your home tidy and prevent clothes from hanging on doorframes or chairs. Choose a sturdy design that can support the weight of wet laundry.
5. Hanging Rod for Clothes
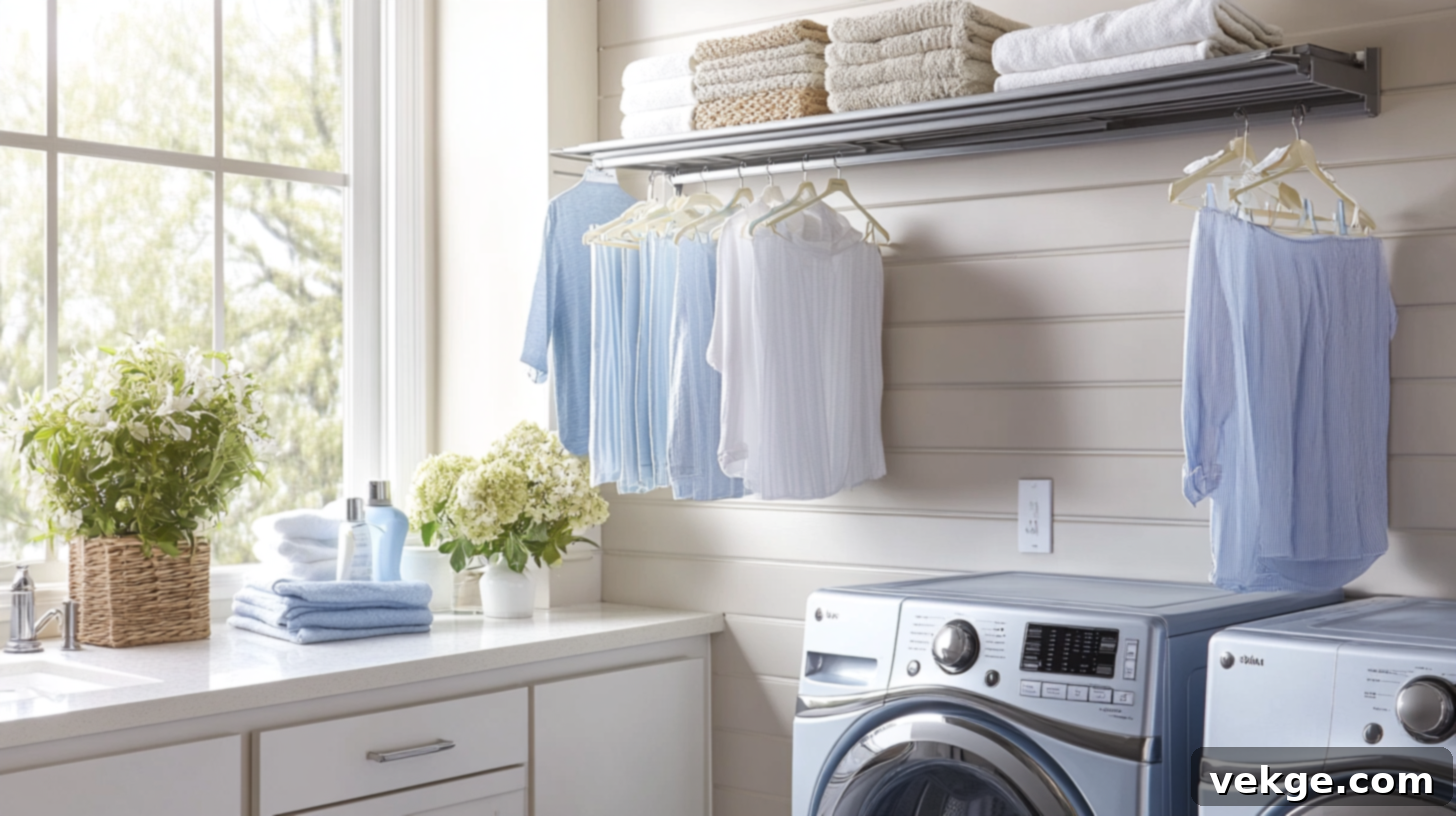
Install a robust hanging rod directly above or adjacent to your washer and dryer. This simple addition provides an immediate and accessible spot to hang clothes straight out of the dryer, preventing wrinkles and simplifying the transfer of items to closets. You can use a standard curtain rod for lighter loads or a sturdy metal pipe for heavier garments. Ensure it’s mounted high enough so that clothes don’t drag on the floor. This quick and inexpensive project streamlines your laundry process and contributes to a more organized post-wash routine.
6. Tile Backsplash
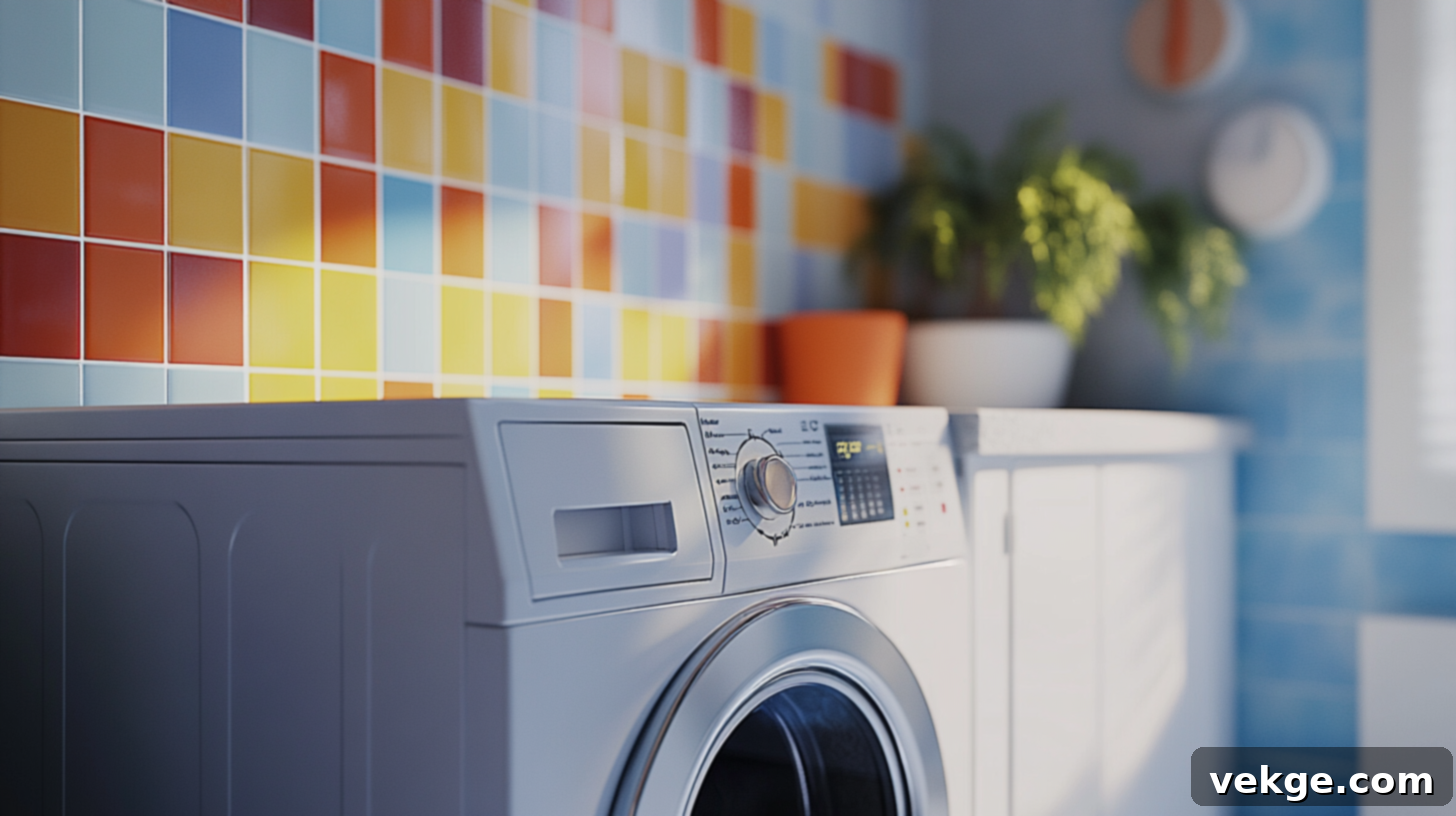
Protect your walls from splashes and spills while adding a decorative touch with a tile backsplash. Installing tiles behind your washer and dryer not only provides a durable, easy-to-clean surface but also enhances the room’s aesthetic. Basic white subway tiles offer a classic, clean look and are very budget-friendly. For a quicker installation, consider peel-and-stick tiles, which can be applied in just a few hours and deliver a fresh, updated feel without the need for grout or special tools. This small detail can make a significant impact on the overall polish of your laundry room.
7. Industrial Pipe Shelving
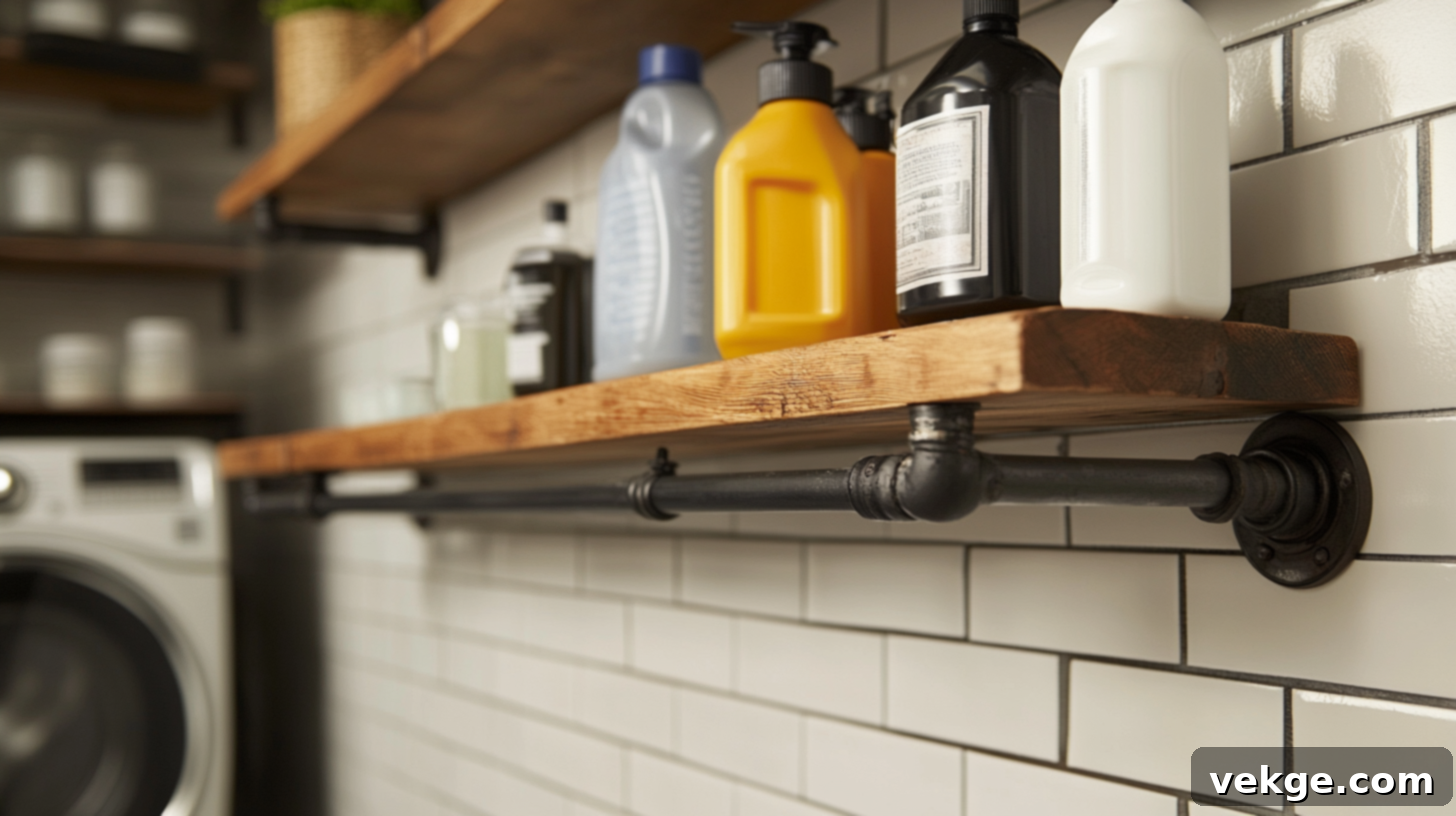
For a strong, modern, and highly customizable storage solution, build shelves using industrial pipes and wood boards. The robust metal pipes provide excellent support for heavy items like large detergent jugs or laundry baskets, while the wood shelves add warmth and texture. You can source pipes and fittings from any hardware store and design the shelving unit to fit any wall space, no matter how awkward. This industrial-chic look is not only functional but also adds a unique design element to your laundry room, blending practicality with contemporary style.
8. Built-In Ironing Board
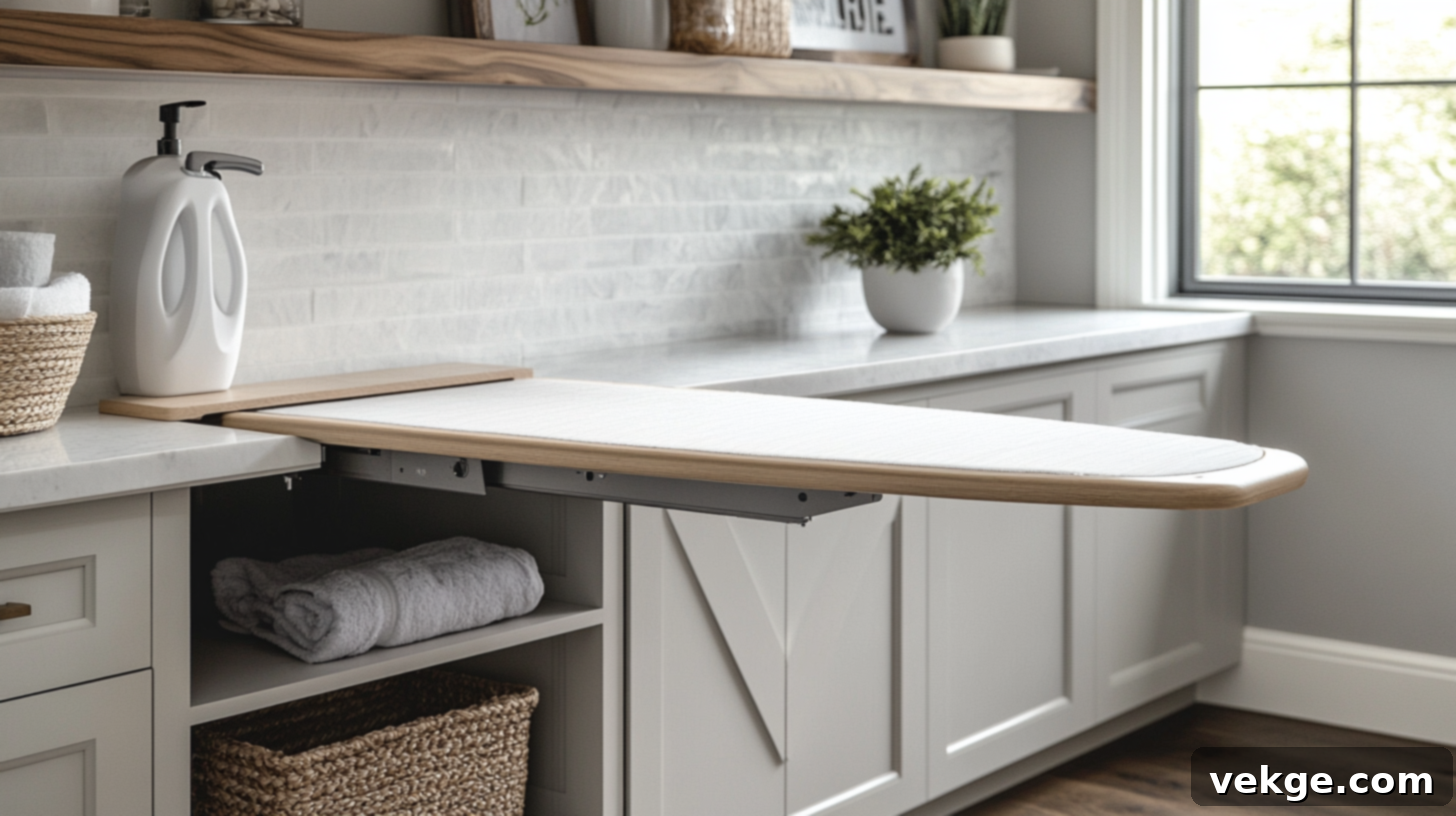
Eliminate the hassle of setting up and storing a bulky freestanding ironing board by installing a built-in version. This can be a pull-out drawer system or a fold-down unit mounted within a cabinet or directly on a wall. When not in use, it disappears, keeping your space clear and organized. Having an easily accessible ironing surface encourages quick touch-ups and makes the chore far less daunting. This smart space-saving solution is a game-changer for anyone who regularly irons, adding a level of convenience and sophistication to your laundry area.
9. Laundry Hamper with Compartments
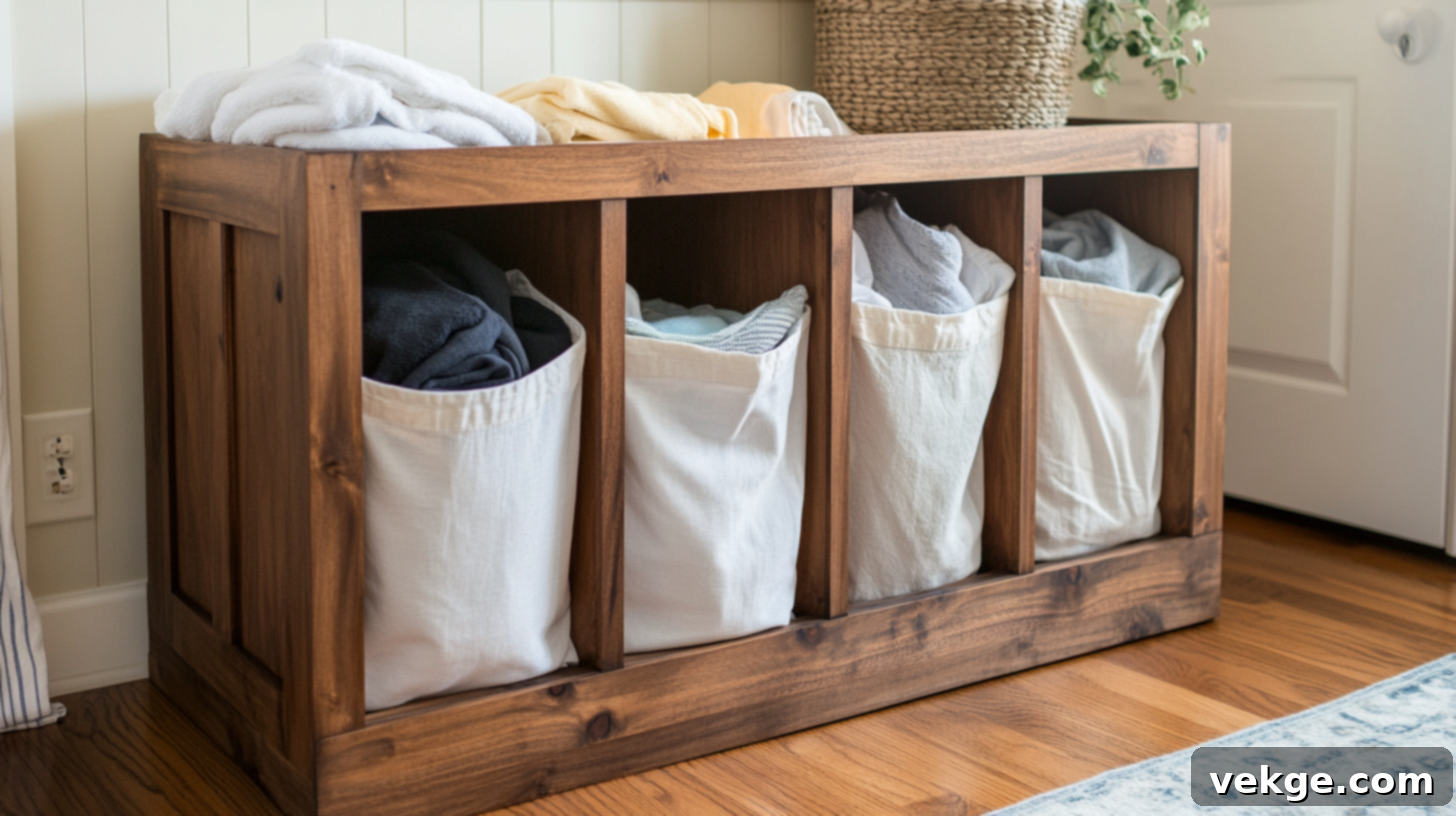
Streamline your wash day by building a multi-compartment laundry hamper. This practical piece of furniture allows you to sort clothes as they get dirty, significantly cutting down on sorting time when it’s time to do laundry. Construct it from wood and incorporate removable cloth bags for each section, labeled for whites, colors, and darks. Some designs even feature hinged lids or tops that can double as a small bench or a temporary folding surface, adding extra functionality to your space. This organizational tool makes the pre-wash process effortless.
10. Chalkboard Wall
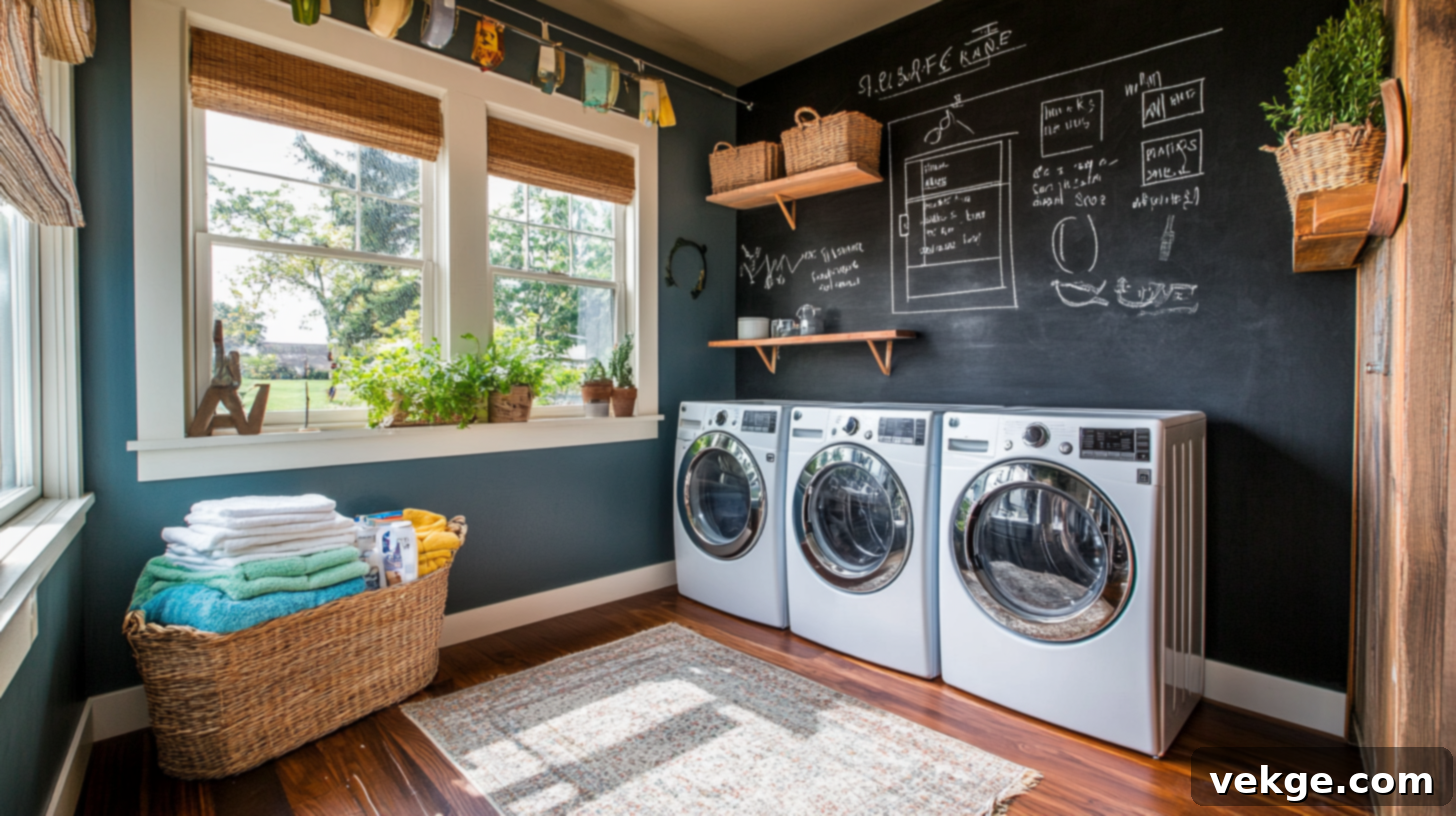
Infuse personality and practicality into your laundry room by painting one wall with special chalkboard paint. This creates a versatile writing surface where you can track laundry loads, list items needing special care, or jot down notes for family members. It’s a fun and interactive way to keep everyone informed and tasks organized. The paint is relatively inexpensive and transforms a plain wall into a functional focal point, allowing for playful doodles or important reminders. It’s an easy project that adds both utility and a unique touch.
11. Custom Cabinetry with Pull-Out Drawers
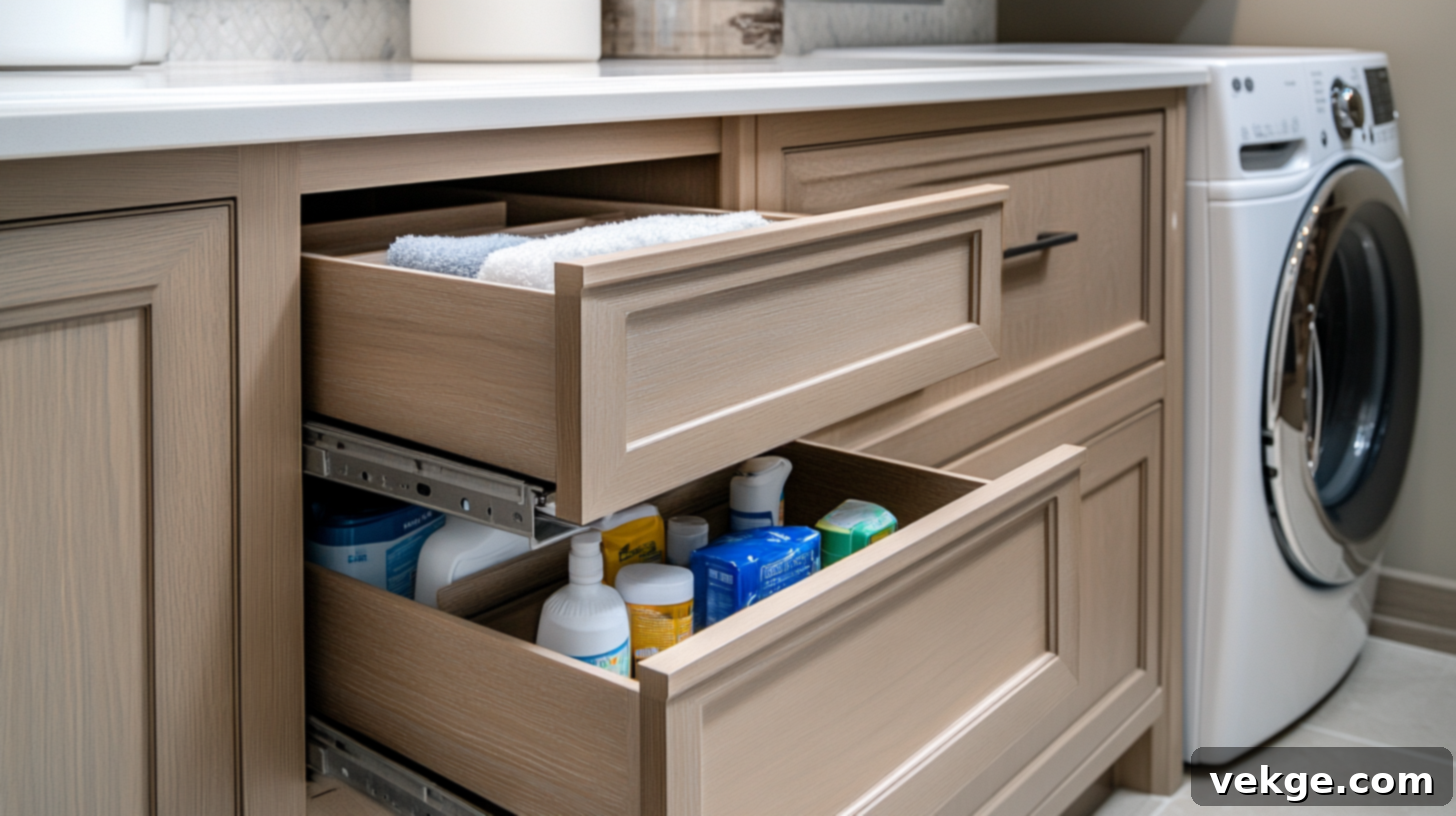
Enhance the accessibility and organization of your existing or new cabinets by installing pull-out drawers or shelving. These sliding mechanisms bring items from the back of deep cabinets to the front, making it incredibly easy to find small supplies like stain sticks, lint rollers, or dryer balls. You can find various drawer slides and hardware at any home improvement store. This upgrade prevents lost items and maximizes every inch of storage space, making your cabinets far more efficient and user-friendly. It’s a custom touch that significantly improves daily convenience.
12. Upcycled Wood Countertop
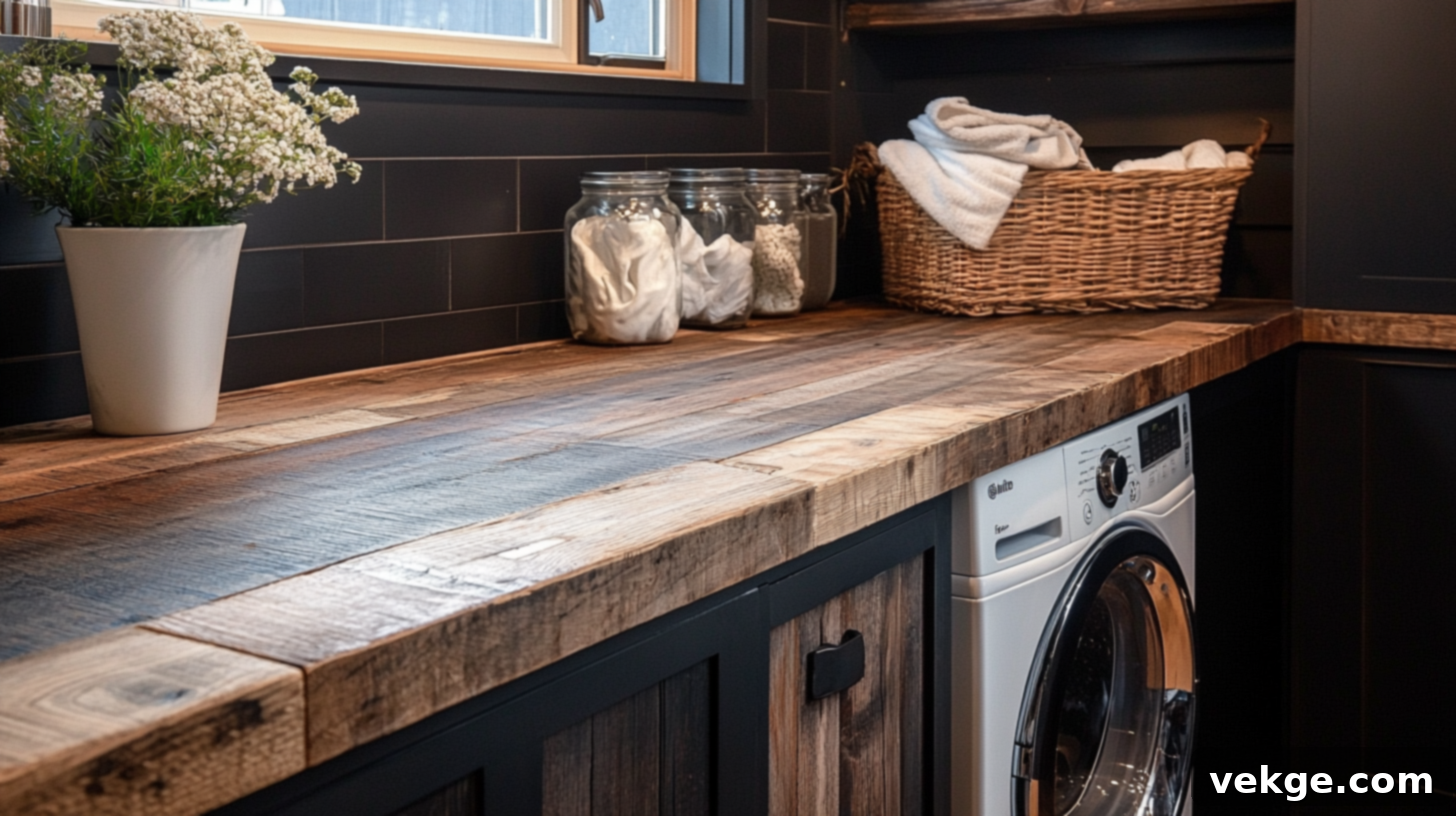
For an eco-friendly and unique aesthetic, craft a countertop from reclaimed or upcycled wood. Pallets, old barn wood, or scrap pieces can be transformed into a beautiful and functional work surface. Thoroughly clean, sand, and seal the wood with a waterproof, durable finish to ensure it withstands the laundry room environment and prevents splinters. This project is not only highly cost-effective but also adds character and a one-of-a-kind look to your room, celebrating the natural beauty and history of the wood. Remember to seal it exceptionally well to protect against moisture.
13. Small-Scale Fold-Down Table
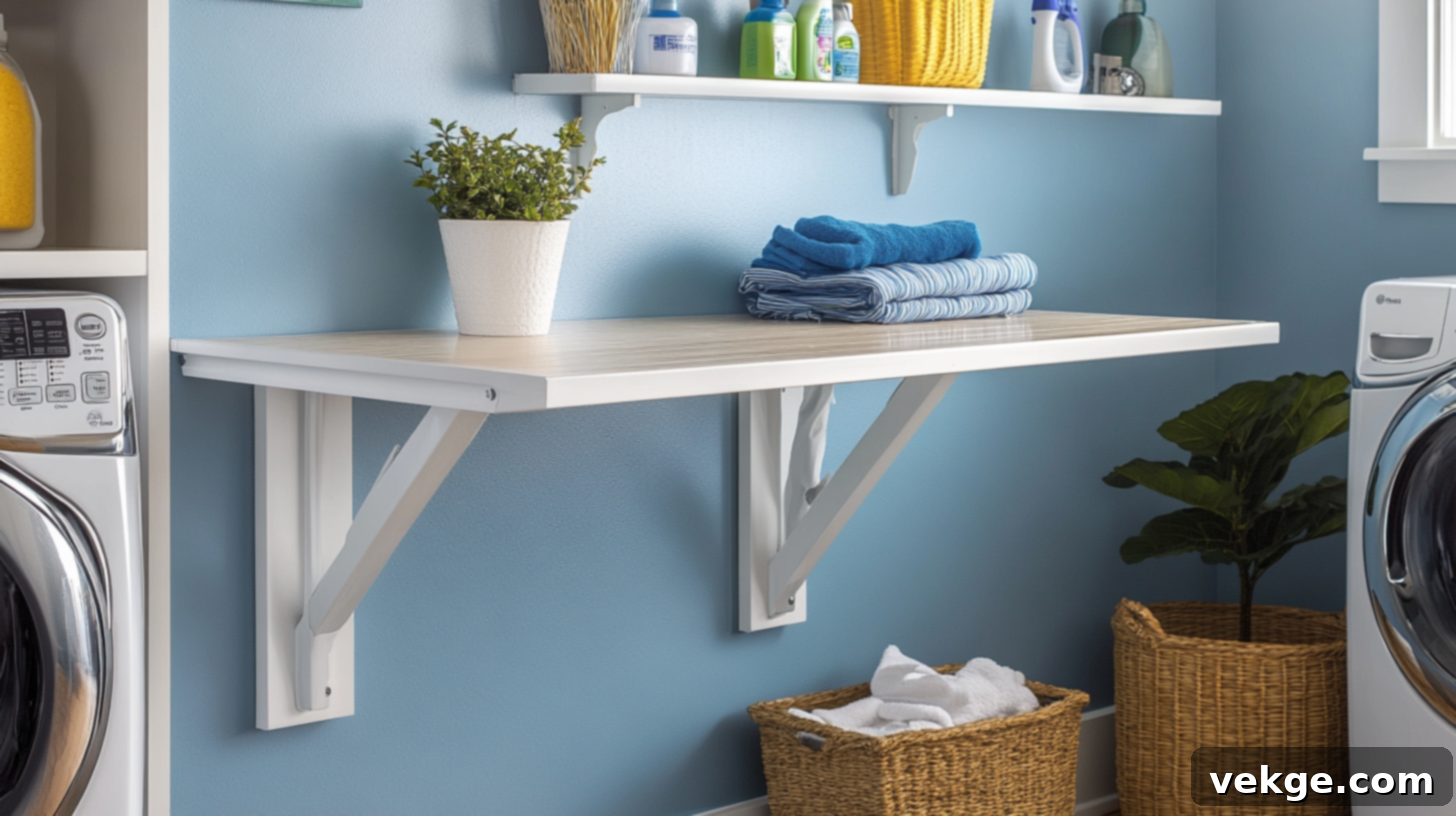
In compact laundry rooms where a permanent folding surface isn’t feasible, a small-scale fold-down table is an ingenious solution. Attach a sturdy tabletop to the wall with a hinge system that allows it to fold up flat against the wall when not needed. When you require a workspace for folding clothes or performing small tasks, simply lower it. This space-saving design is incredibly practical, providing a temporary yet robust surface without permanently occupying valuable floor area, making it ideal for small apartments or cramped utility spaces.
14. Laundry Room Pegboard
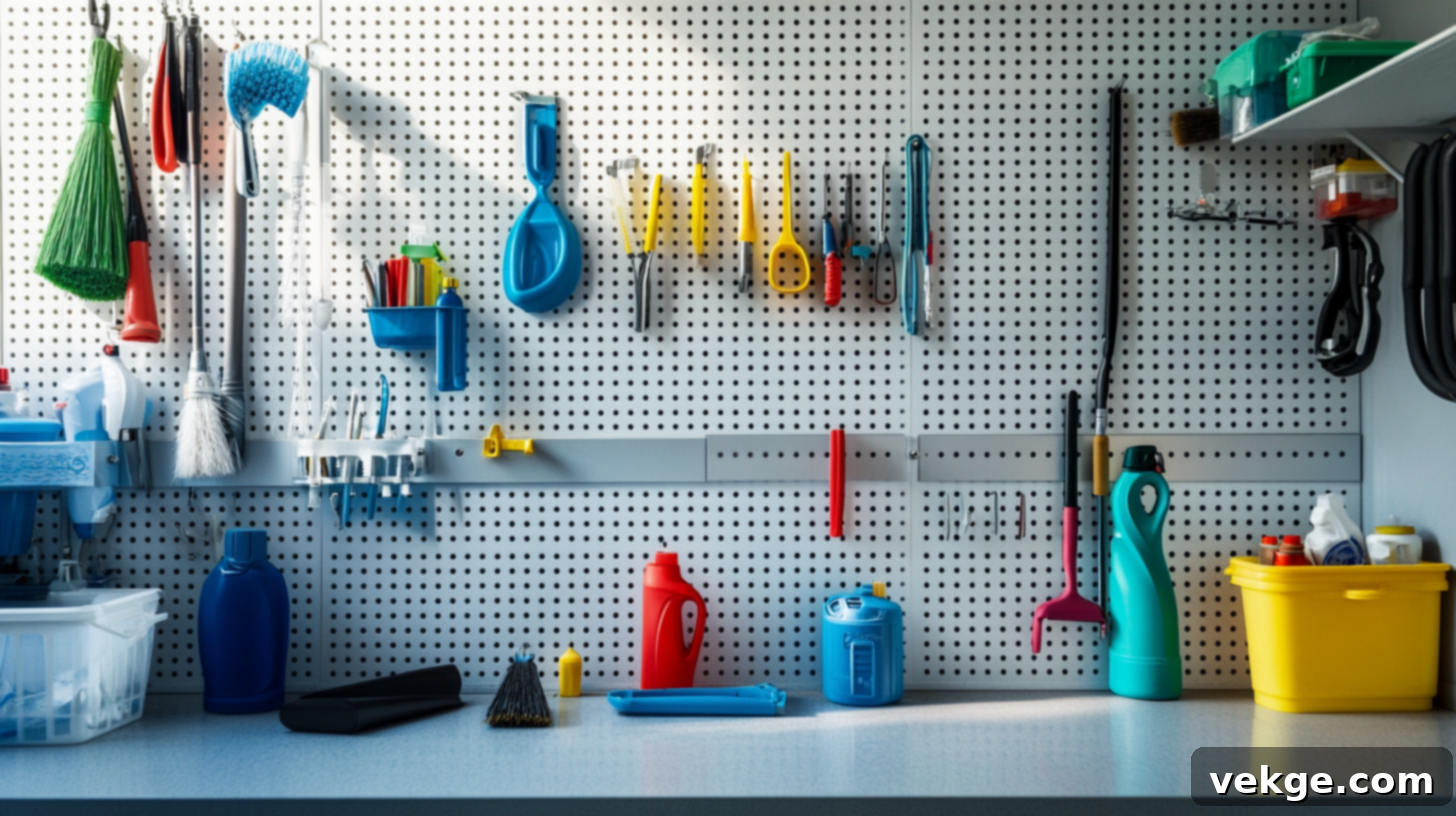
Install a pegboard on an empty wall to create incredibly versatile and customizable storage. The grid of holes allows you to use various hooks, bins, and shelves to hang brooms, dustpans, spray bottles, and other small tools and supplies. Everything stays visible and within easy reach, eliminating clutter from counters and floors. The beauty of a pegboard is its flexibility – you can easily rearrange hooks and accessories as your needs change. Paint the pegboard to match your room’s decor or make it a vibrant accent piece. It’s a functional and aesthetically pleasing organizational tool.
15. Moisture-Resistant Wall Paneling
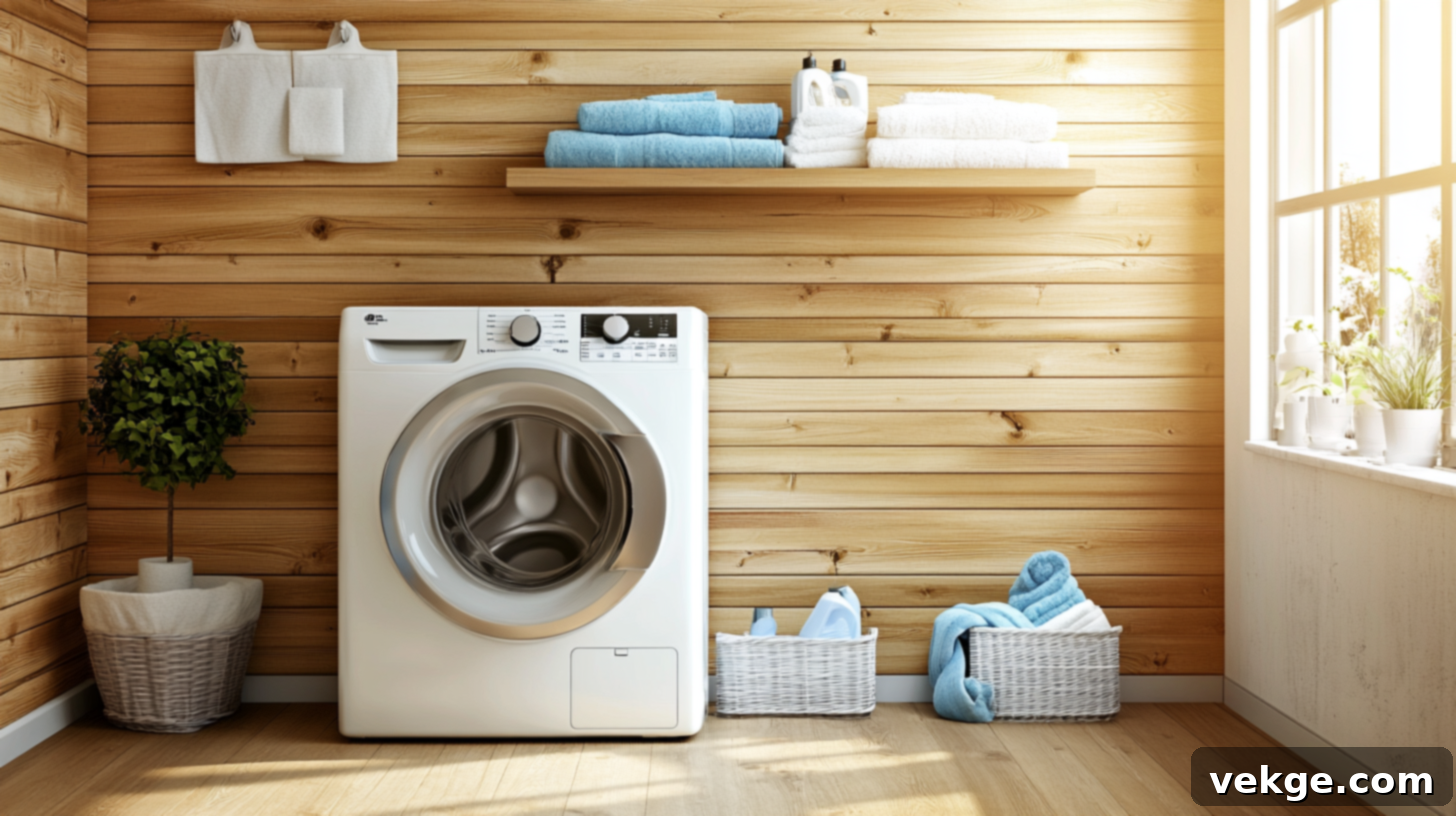
Given the inherent humidity and potential for splashes in a laundry room, investing in moisture-resistant wall paneling is a smart protective measure. Options include PVC panels, treated shiplap, or special water-resistant paints. These materials not only prevent mold and mildew growth but also make cleaning significantly easier, as they can be simply wiped down. While the initial cost might be slightly higher than standard drywall and paint, this investment saves money in the long run by protecting your walls from damage and preserving the integrity of your home.
16. Laundry Room Entryway Bench
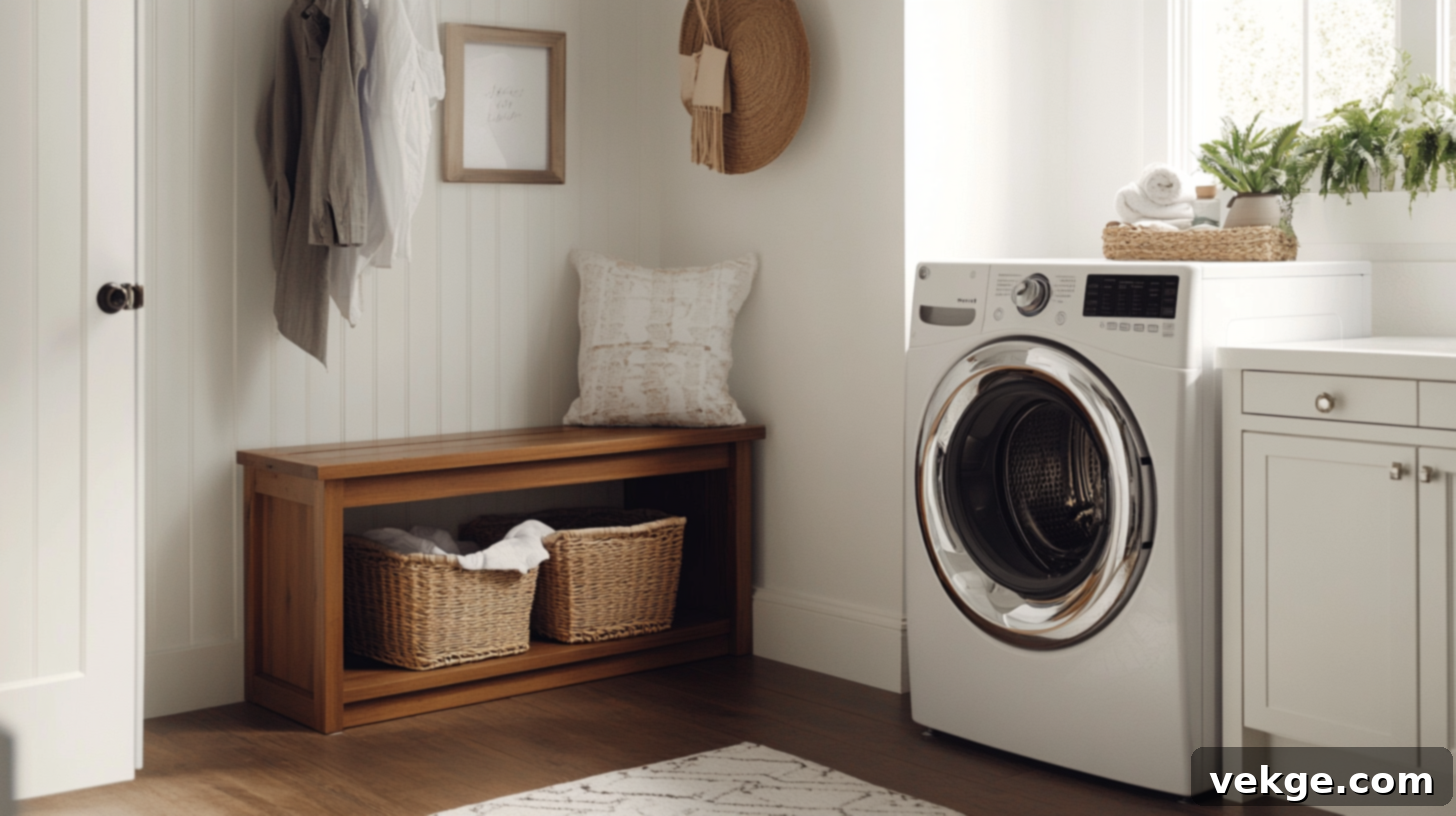
If your laundry room doubles as an entryway or mudroom, adding a small bench can be incredibly functional. This offers a convenient spot to sit and remove shoes, set down groceries, or place laundry baskets while opening the door or sorting. Integrate storage underneath the bench, such as cubbies for shoes or baskets for hats and gloves, to keep the entryway tidy and prevent dirt from being tracked further into the house. A DIY bench can be built from sturdy wood and painted to match your room’s decor, adding both comfort and practical storage.
17. Simple Wall-Mounted Shelving Units
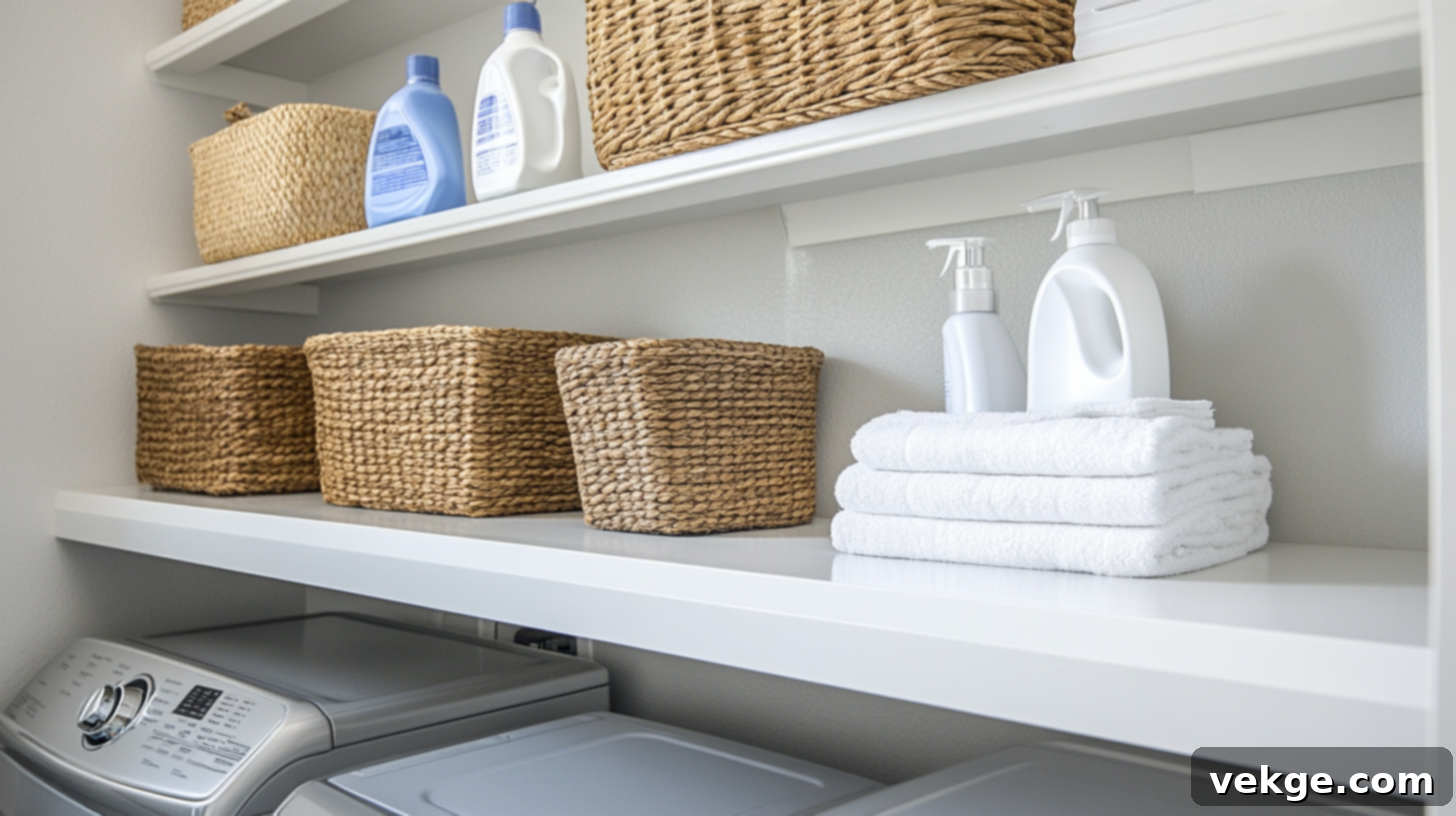
Sometimes, the most straightforward solutions are the most effective. Installing basic, open wall-mounted shelving units along available wall space provides ample storage for laundry baskets, cleaning supplies, and decorative accents. These can be made from simple wooden boards supported by brackets, or you can purchase inexpensive pre-made kits. Space the shelves strategically to accommodate the height of your stored items. Open shelving allows for quick visual access to all your supplies, ensuring you can grab what you need without rummaging, and it can contribute to an airy, uncluttered feel if kept organized.
Maintaining Your Newly Transformed Laundry Room
A successful DIY laundry room makeover isn’t just about the initial transformation; it’s also about consistent care and upkeep. Regular maintenance not only preserves the beauty of your cabinets, counters, and floors but also ensures the longevity of your appliances and prevents costly issues like water damage or mold growth. Small, routine tasks can prevent minor problems from escalating into major headaches, keeping your space looking fresh and functioning optimally for years to come.
- Wipe Surfaces Weekly for Cleanliness: Dedicate a few minutes each week to wipe down your countertops, shelves, and the exterior of your washer and dryer. Use a mild all-purpose cleaner or a damp cloth with a touch of dish soap. Always dry surfaces thoroughly after cleaning to prevent water spots and inhibit mold or mildew growth, especially on wood or laminate surfaces. This simple routine keeps dust and spills from accumulating.
- Check for Leaks Regularly: Your laundry room is a high-water usage area, making it prone to leaks. Make it a habit to visually inspect hoses, connections, and the area around your washer and dryer monthly. Look for any drips, puddles, or signs of moisture. Addressing small leaks quickly can prevent significant water damage to your floors, walls, and subflooring, saving you from expensive repairs down the line.
- Keep Your Dryer Vent Clean: Lint buildup is not only a fire hazard but also reduces your dryer’s efficiency. Remove lint from the trap after every single load. Additionally, clear out the dryer vent hose and exterior vent cover every three to six months. This ensures optimal airflow, helps your dryer run more efficiently, saves energy, and significantly reduces the risk of a dryer fire.
- Protect Floors from Water Damage: Given the potential for spills and leaks, it’s essential to protect your laundry room floors. Place a washer pan or drip tray underneath your washing machine to catch any overflows or leaks. Wipe up spills immediately to prevent water from seeping into flooring materials like wood or laminate, which can cause warping, swelling, or damage. For tile or vinyl, quick clean-ups prevent slippery surfaces and water stains.
- Maintain Dryness Inside Cabinets: Moisture can accumulate inside cabinets, leading to musty odors, mold, and damage to stored items. Periodically open cabinet doors and drawers to allow for air circulation. If you notice persistent dampness, consider placing small moisture absorbers or desiccant packets in enclosed areas. Ensure that any cleaning products stored in cabinets are sealed tightly to prevent spills and chemical fumes.
Wrapping Up Your DIY Laundry Room Journey
Embarking on a DIY laundry room makeover doesn’t have to be an overwhelming or expensive endeavor. As we’ve explored, a multitude of small, thoughtful changes can collectively make a monumental impact on how you approach laundry day each week. From clever storage solutions to durable material choices and inspiring project ideas, the power to create a more functional and enjoyable space is firmly in your hands.
Don’t feel pressured to tackle everything at once. Start with just one manageable project—perhaps installing those much-needed floating shelves or crafting a simple, practical countertop over your machines. Even these initial steps will significantly enhance the usability of your space and foster a greater sense of calm and order. Remember that the journey of improvement is often more about consistent, small actions than one grand gesture.
Crucially, remember that ongoing maintenance is the key to preserving the fruits of your labor. Regular cleaning, vigilant leak checks, and promptly addressing minor issues will ensure your hard work lasts, protecting your investment and keeping your laundry room looking its best. A well-cared-for space is a joy to use and a testament to your efforts.
So, why not dedicate a weekend this month to kickstart your first DIY laundry room project? Imagine the satisfaction of a beautifully organized space where everything has its designated spot, and chores feel less like a burden. Your future self, navigating a streamlined laundry day, will undoubtedly thank you. A thoughtfully designed and well-maintained laundry room truly transforms a mundane task into a far more pleasant and efficient part of your weekly routine.
