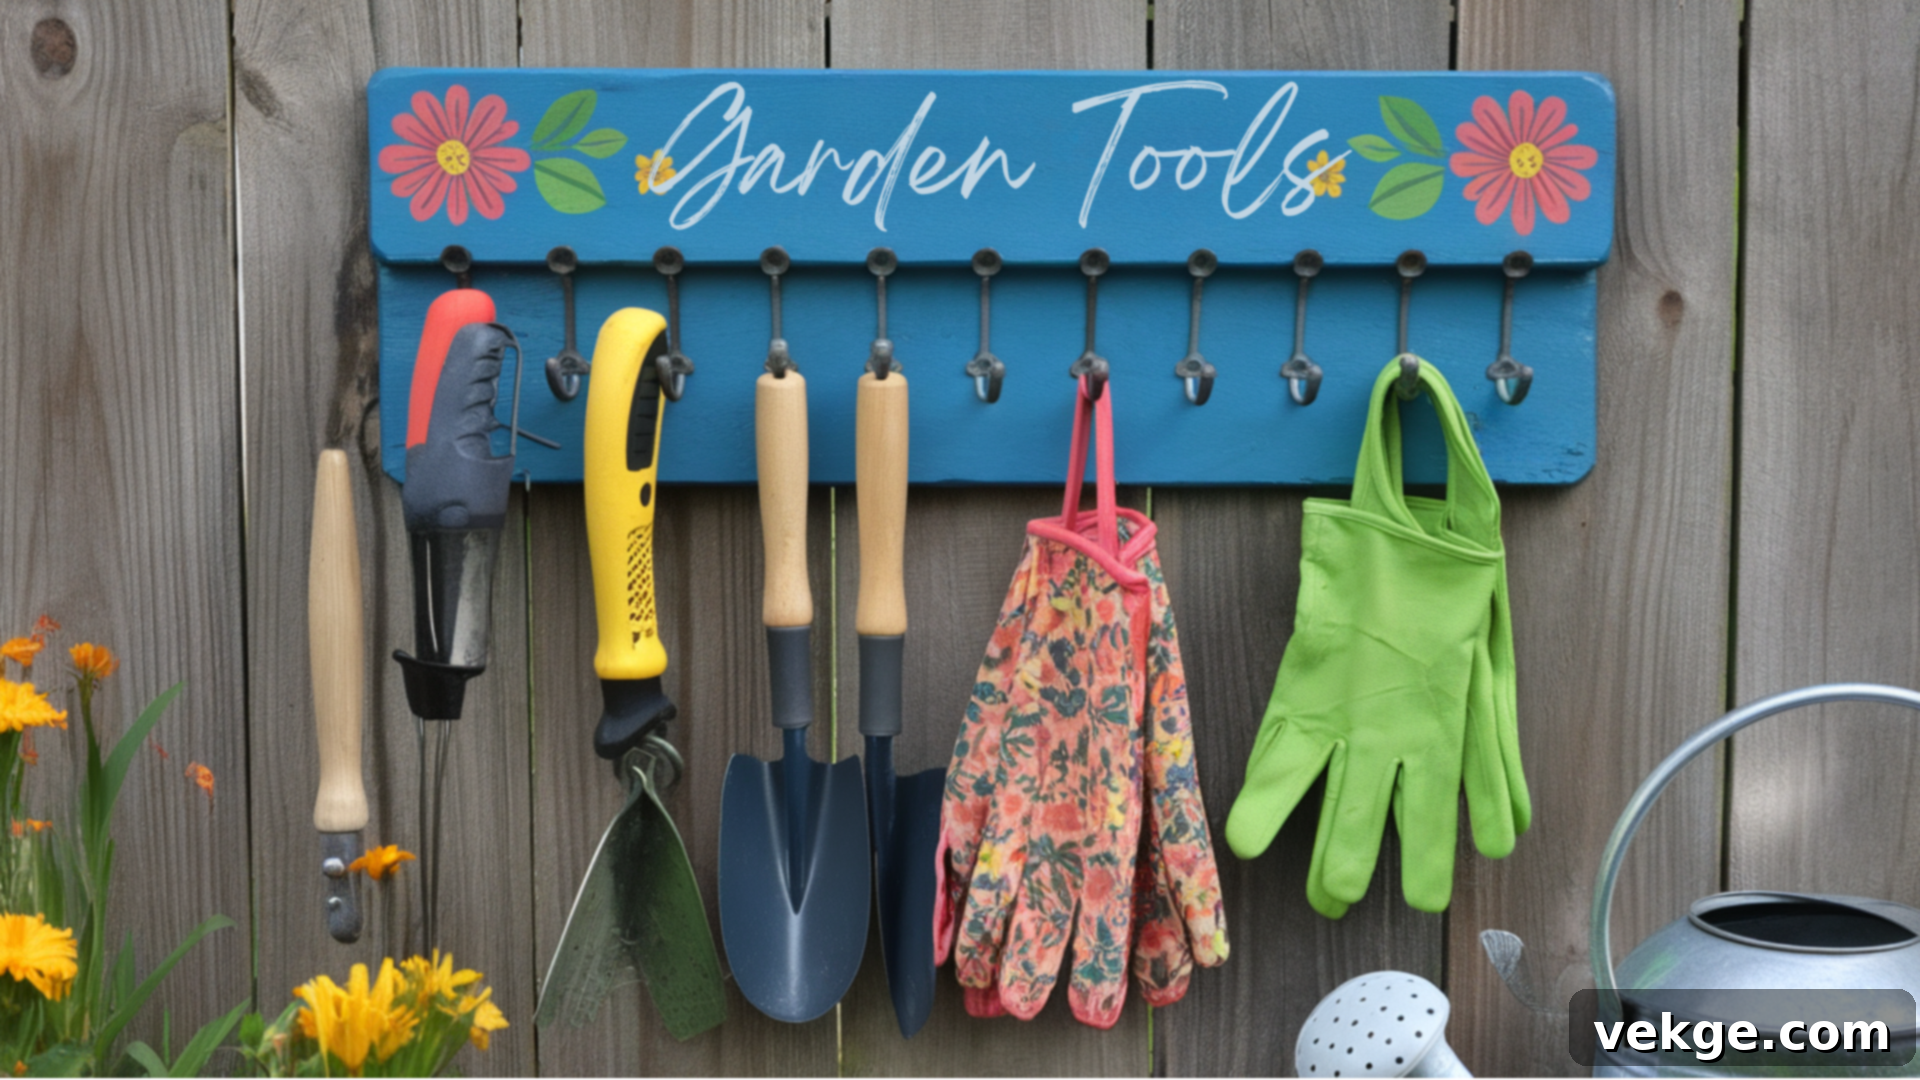
DIY Garden Tool Storage: Organize Your Shed & Garage with Custom Solutions
Is your garage a chaotic jungle of rakes, shovels, and garden hoses? Do you spend more time hunting for your favorite trowel than actually planting? If so, you’re certainly not alone! Garden tool clutter is a common frustration for many homeowners, turning what should be a relaxing hobby into a stressful scavenger hunt.
The good news? Creating your own highly effective garden tool storage system is much simpler and more affordable than you might imagine. Forget expensive, one-size-fits-all solutions that never quite fit your specific collection of tools. This comprehensive guide will walk you through building simple, cost-effective, and incredibly practical storage that perfectly suits your tools and available space.
With just a few basic supplies, readily available materials (even scrap wood!), and a small investment of your time, you can construct custom storage that keeps every single tool neatly organized and within arm’s reach. By the end of this article, you’ll possess all the knowledge and confidence required to plan, construct, customize, and maintain your very own garden tool organization system. Say goodbye to frustrating clutter and hello to a streamlined, efficient setup that makes gardening an absolute pleasure.
Let’s dive in and build a practical storage solution designed for real people with real gardens!
Why DIY Your Garden Tool Storage? Unlocking the Benefits
Opting to build your own garden tool storage offers a multitude of compelling advantages that pre-made solutions simply can’t match. When you embark on a DIY project, you’re not just building a storage unit; you’re crafting a tailored solution that caters precisely to your unique set of tools and specific organizational needs. This level of customization ensures there’s no wasted space, no awkward gaps, and a perfect spot for every odd-shaped item in your collection.
Beyond the bespoke fit, significant cost savings are a huge motivator. Most DIY garden storage projects can be completed for less than $10-$20 in materials, especially if you utilize scrap wood or repurpose existing lumber. This budget-friendly approach makes efficient organization accessible to everyone, without breaking the bank on commercial storage systems that often fall short of expectations.
Another great benefit is the minimal equipment required. You don’t need a professional workshop or expensive power tools. Basic hand tools like a saw, a drill, a measuring tape, and a few screws are generally all you need to get the job done. Many straightforward designs can be completed in as little as 10-20 minutes of actual building time, making this a rewarding project for even the busiest gardener.
Perhaps most importantly, DIY allows you to create storage that integrates seamlessly with your specific environment. Whether you need a compact solution for a small urban balcony, a robust system for a spacious garage, or a weatherproof rack for your garden shed, you have the flexibility to design something that works perfectly for your available space and personal aesthetic. This personalized approach truly enhances your gardening experience by bringing order and efficiency to your workspace.
Planning Your Perfect Garden Tool Organizer: The Foundation for Success
Before you even pick up a saw, dedicating a small amount of time to thoughtful planning will pay dividends. This crucial initial phase ensures your storage solution is not only effective but also durable and perfectly suited to your needs for years to come. Skipping this step often leads to inefficient designs and wasted effort.
Assess Your Tools and Available Space Thoroughly
Begin by taking a comprehensive inventory of all your garden tools. Lay them out on a tarp, lawn, or garage floor where you can see everything clearly. This allows you to visualize your entire collection. I highly recommend grouping similar tools together – all your rakes in one pile, shovels in another, hand tools like trowels and cultivators together, and so on. Pay attention to their various lengths, widths, and handle types.
Next, grab your trusty measuring tape and carefully assess the area where you intend to install your new storage. Consider both wall space (length and height) and floor space (width and depth). Look at your garage walls, the interior of your garden shed, or even an exterior garden wall if weather permits. Decide whether a wall-mounted system would be more efficient for your space, keeping the floor clear, or if a freestanding rack better suits your needs, perhaps for tools that are frequently moved or for an area without available wall space. Your choice should be dictated by what feels most intuitive and practical for your specific environment and how you interact with your tools.
Selecting the Right Materials for Durability and Value
For most DIY garden tool storage projects, the material list is refreshingly simple and budget-friendly. Here’s what you’ll typically need:
- Scrap Plywood (¾” thick is ideal): Plywood offers excellent stability and is easy to work with. The ¾” thickness provides sufficient strength for supporting heavy tools without warping. If you don’t have scrap, look for project panels at your local hardware store or even repurpose old cabinet doors.
- Or, 2×4 Lumber Pieces: Standard 2x4s are incredibly versatile and robust. They are perfect for building frameworks for freestanding racks, or for creating strong individual hangers on a wall-mounted system. Again, leftover construction lumber works perfectly here.
- Wood Screws (Exterior-Rated Recommended): Choose screws that are appropriate for the type of wood you’re using. For any storage that might be exposed to moisture or outdoor elements (even inside a shed that isn’t climate-controlled), opt for exterior-rated screws (galvanized, stainless steel, or ceramic-coated). These will resist rust and corrosion, ensuring your organizer lasts longer.
- Sandpaper: Essential for smoothing out any rough edges or splinters after cutting. This makes your organizer safer to handle and gives it a more professional, finished look.
- Paint or Stain (Optional but Recommended): A coat of exterior-grade paint or wood stain not only enhances the appearance of your storage but also provides an additional layer of protection against moisture, UV rays, and general wear and tear, significantly extending its lifespan.
- Basic Tools: Don’t forget your measuring tape, pencil, safety glasses, a hand saw or circular saw, and a power drill with appropriate bits.
These fundamental supplies are all it takes to construct a durable and highly functional storage system that will serve your gardening needs for many years.
Step-by-Step Guide to Building Your Custom Garden Tool Storage
Let’s break down the construction process into manageable steps that anyone can follow. Even if you’re new to woodworking, these instructions are designed to be straightforward and achievable for beginners.
Step 1: Layout and Design – Visualizing Your Organization
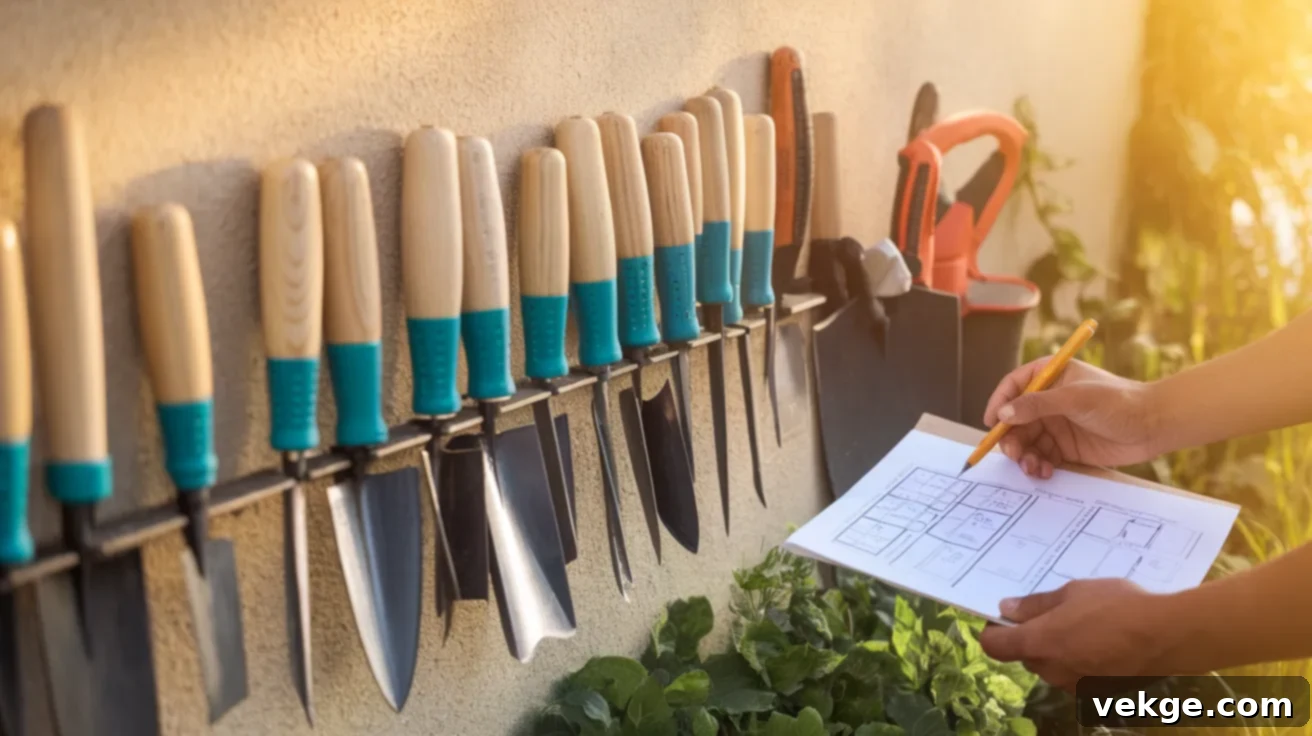
After assessing your tools, the next crucial step is to determine their exact placement. Begin by sorting all your garden tools based on their size, handle type, and frequency of use. A highly effective method is to physically lay them against the wall or on the floor space where you plan to install your organizer. This hands-on approach provides an immediate and accurate visual representation of how much space each tool truly requires.
Think critically about the best way to hang each tool. Long-handled tools like rakes and shovels often work best hanging vertically by their heads or handles, while smaller hand tools might benefit from hooks or dedicated slots. Ensure you allocate enough clearance around each tool so you can easily grab it without knocking other items off the wall or struggling to pull it free. Consider drawing a quick sketch or marking outlines directly on your wall/floor with a pencil to finalize your layout before making any cuts or permanent attachments.
Step 2: Cut Your Wood Pieces – Precision for Performance
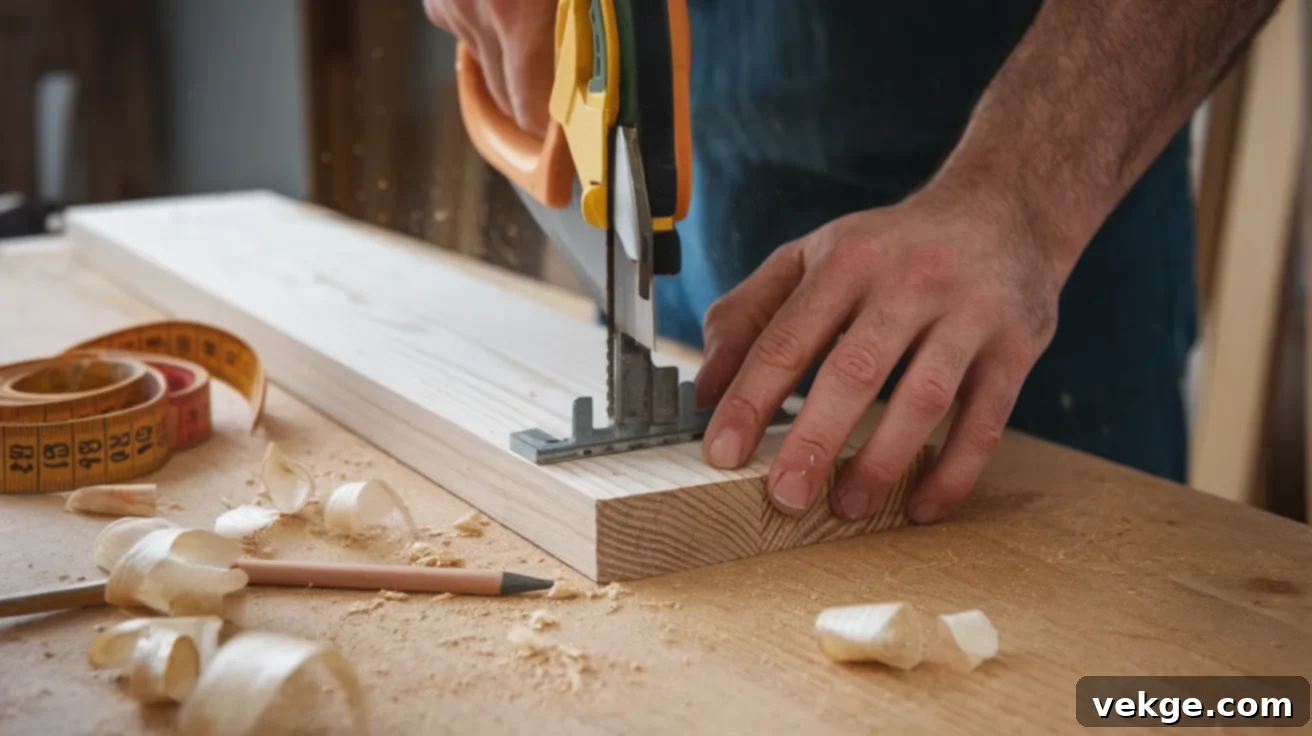
With your layout determined, it’s time to mark and cut your wood components. Using your measuring tape, carefully mark the dimensions for each piece. For a basic wall-mounted hanger, you’ll need a primary backer panel (this forms the base that mounts to the wall) and numerous smaller blocks or strips of wood that will serve as the actual hangers or slots for your tools. The precise dimensions of these pieces will depend entirely on the variety and size of your tools and the available space you’re working with.
If you don’t have a single large piece of plywood for the backer, don’t worry! You can easily construct multiple smaller panels and mount them individually or connect them later. In some cases, this modular approach can even be more advantageous for fitting storage into oddly shaped or constricted areas. Always wear safety glasses when operating saws, and ensure your cuts are clean and accurate for the best fit and finish.
Step 3: Assemble the Organizer – Bringing Your Design to Life
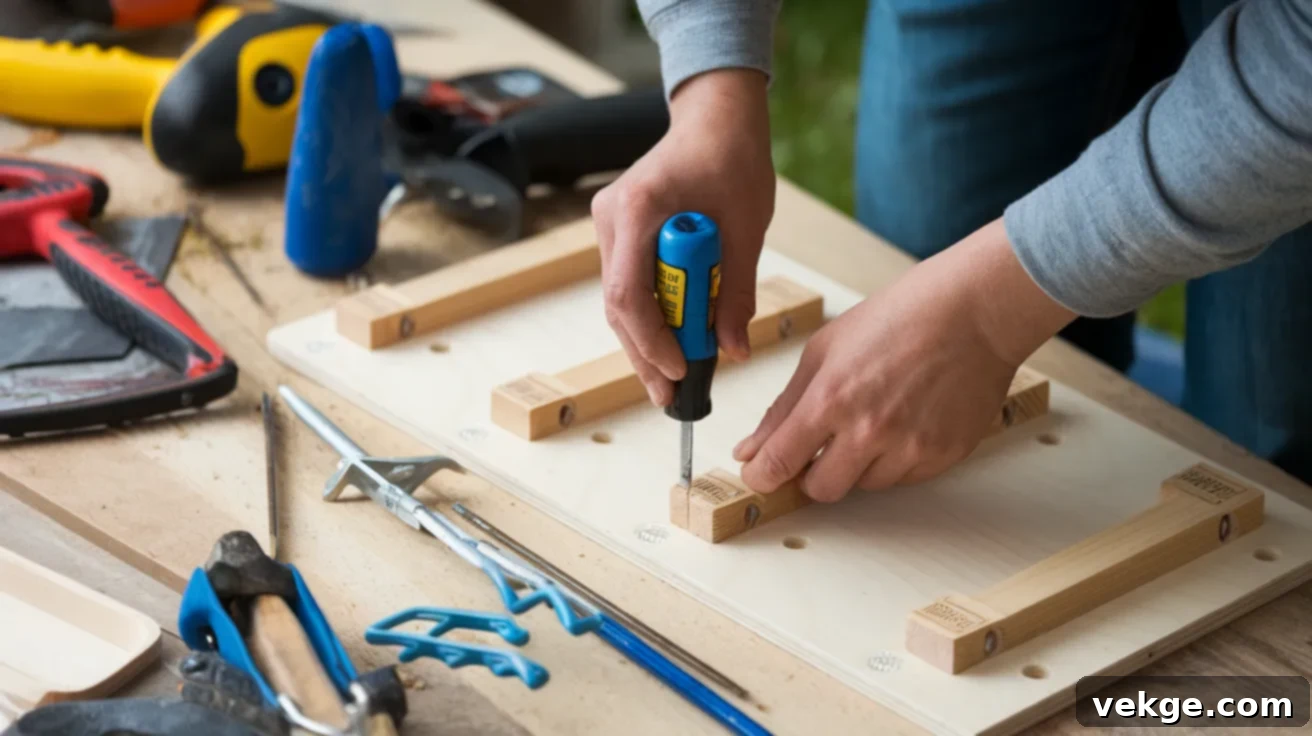
This is where your design starts to take shape. The assembly process will vary slightly depending on whether you’re building a wall-mounted or freestanding unit:
- For a Wall-Mounted Organizer: Securely attach your hanger blocks, cleats, or pegs to the backer panel using wood screws. Position them according to your layout from Step 1. A spacing of about 2 inches between blocks generally provides enough room to easily grab tools without bumping others. Use at least two screws per block for maximum stability, ensuring each block is firmly secured and won’t wobble under the weight of a tool. Predrilling pilot holes can prevent wood from splitting, especially near edges.
- For a Freestanding Rack: Begin by connecting your upper and lower support blocks (or frame pieces) with sturdy vertical supports. Use L-brackets or angled cuts for stronger joints if possible. Before driving in all your final screws, take a moment to double-check that all components are square and stable. A wobbly tool rack is not only frustrating but also potentially unsafe, particularly when you’re trying to quickly retrieve a tool. Add diagonal bracing if you notice any lateral movement for extra rigidity.
Step 4: Install the Storage – Secure Placement for Longevity
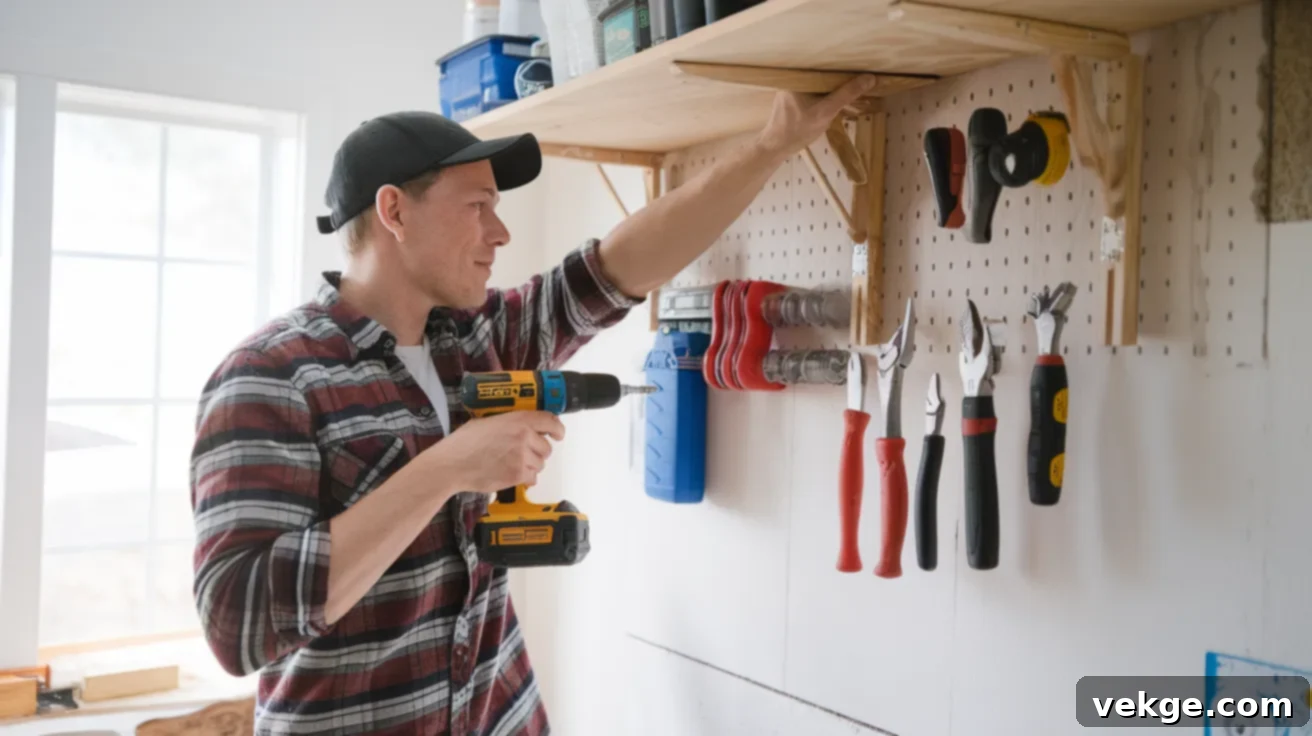
Proper installation ensures your organizer functions safely and effectively for years:
- Mounting on the Wall: Always prioritize security. Use a stud finder to accurately locate the wall studs – these solid wooden supports behind your drywall offer the most secure and reliable mounting points. Attach your assembled rack directly into these studs using long, appropriate wood screws. Position the rack at a height where your longest tools (e.g., shovels, rakes) won’t drag on the floor. If you are mounting to brick, concrete, or another masonry surface, it is absolutely essential to use the correct type of wall anchors (e.g., lead anchors, sleeve anchors) for a rock-solid hold. Never rely solely on drywall anchors for heavy tool storage. Use a level to ensure your rack is perfectly horizontal.
- Setting up a Freestanding Rack: Choose a location where your rack is easily accessible and doesn’t obstruct walkways or other activities. For outdoor racks, select a spot that provides good drainage to prevent water accumulation and avoid areas that receive excessive direct sunlight, which can degrade wood and tools over time. Once placed, give the rack a rigorous “shake test” to confirm it is stable and won’t tip over when fully loaded with tools. If there’s any instability, consider anchoring it to a nearby wall or the ground for added safety, especially in windy areas or homes with children.
Step 5: Load Up Your Tools – The Final Touch of Organization
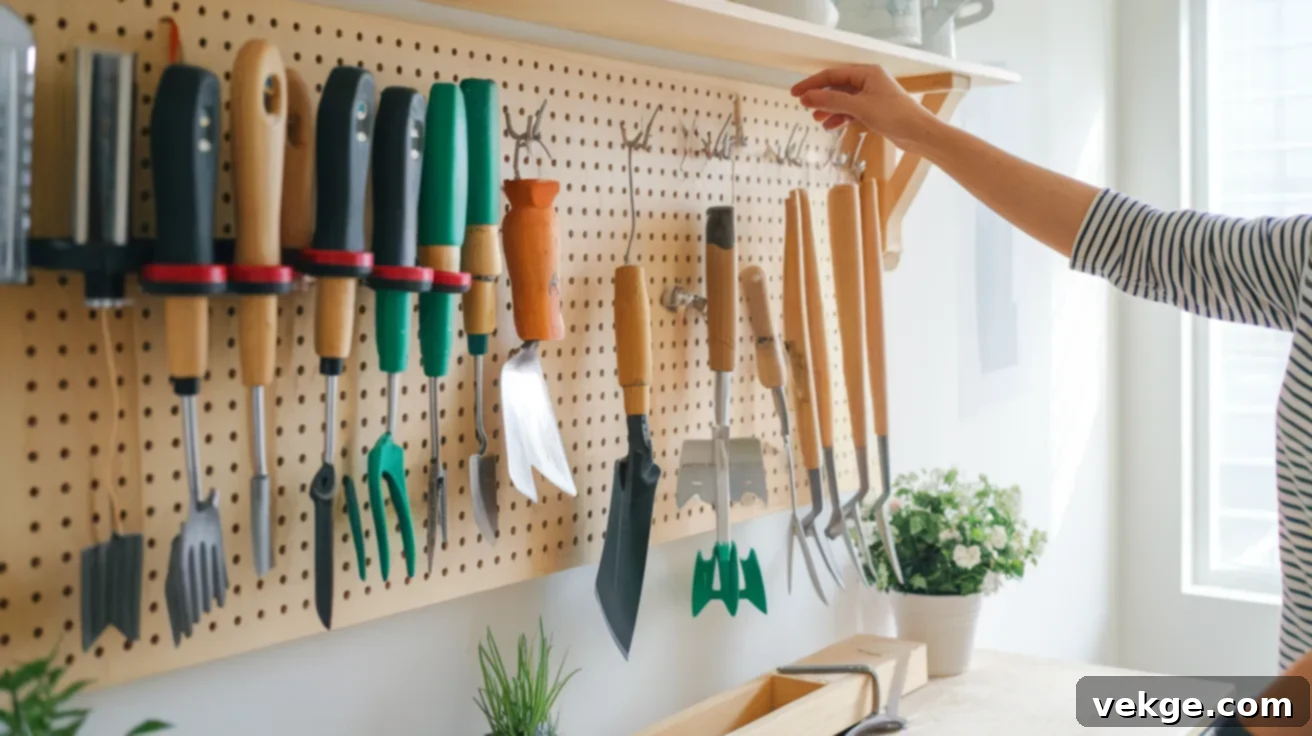
Now comes the satisfying part: arranging all your newly organized garden tools! As you load them, continue to think about efficiency and ergonomics. I find it most effective to group similar tools together (e.g., all digging tools in one section, pruning tools in another) and to place the tools you use most frequently in the easiest-to-reach spots. This minimizes effort and maximizes your gardening time.
Take a few moments to test each hanger or slot by removing and replacing the tool a couple of times. This quick, practical check helps you identify any potential issues – a hook that’s too loose, a slot that’s too tight, or tools that snag on each other – before they become irritating problems during your actual gardening tasks. Adjust as needed to ensure smooth, hassle-free access.
Customization Ideas: Personalize Your Tool Storage for Ultimate Efficiency
Once the basic structure of your garden tool storage is complete, you have an exciting opportunity to add personal touches and practical enhancements. These simple upgrades can significantly boost the utility and aesthetic appeal of your organizer without requiring extensive extra effort.
Personalize Your Build with Smart Enhancements
Why settle for purely functional when you can have both style and substance? A protective coat of exterior-grade paint or wood stain not only adds a splash of color to your shed or garage but also provides crucial protection against moisture, pests, and UV degradation, making your wood last considerably longer. Choose a color that complements your space or stands out for easy identification.
Consider adding small, clear labels beneath each tool’s designated spot. This simple addition can prevent a lot of confusion and ensure that every tool is returned to its proper place, a real time-saver and argument-preventer in households with multiple gardeners!
Think beyond just large tools. Integrate extra hooks, small baskets, or magnetic strips for those easily misplaced smaller hand tools like trowels, pruners, gardening gloves, or even seed packets. Having a dedicated, highly visible spot for these items can significantly reduce the time spent searching when you’re in a hurry to get some gardening done.
For more advanced customization, you could add a small shelf for storing fertilizer or pest control, or even a dedicated charging station for battery-powered garden tools, complete with power outlets if installed safely by an electrician.
Adapt for Indoor or Outdoor Use: Weatherproofing Your Investment
The longevity of your DIY tool storage heavily depends on its environment. If your organizer will reside outdoors or in an unsealed garden shed where it’s exposed to the elements, robust weatherproofing is paramount. Utilize pressure-treated lumber from the outset if possible, or apply multiple coats of a high-quality outdoor wood sealant, marine varnish, or exterior paint. Pay special attention to end grains, as these are the most absorbent.
For freestanding outdoor racks, ensure they are elevated off the ground (e.g., with small feet or risers) to prevent moisture wicking up into the wood. In areas prone to strong winds, it’s crucial to secure freestanding racks to the ground with anchors or to a solid wall. There’s nothing more frustrating than stepping outside after a storm only to find your carefully organized tools scattered across the yard. A few extra minutes spent securing things properly now can save you hours of cleanup and potential tool damage later.
Maintenance Tips: Keeping Your Organizer in Top Shape
Just like your beloved garden tools, your DIY storage system will benefit from a little regular care. A small amount of attention now and then will ensure your organizer remains functional and sturdy for many years, continuing to make your gardening life easier.
- Regularly check screws and fastenings: Over time, and especially with heavy use and temperature fluctuations, screws and other fasteners can work themselves loose. I make it a habit to perform a quick check at the beginning of each gardening season, tightening any screws that feel wobbly. This simple, minute-long routine can prevent larger structural issues down the line.
- Wipe down your organizer: Garden tools often come back covered in mud, soil, and plant debris. These residues can accumulate on your storage unit, attracting pests or promoting mold growth, particularly in damp environments. A quick brush-down or wipe with a damp cloth is all it takes to keep your organizer clean and extend its lifespan.
- Watch for signs of weather damage: If your storage is outdoors or in an exposed shed, periodically inspect the wood for signs of weathering such as cracking, peeling paint, or rot. A fresh coat of paint, stain, or sealant every year or two will significantly protect the wood, ensuring structural integrity and keeping everything looking presentable. I learned this lesson the hard way after my first outdoor rack quickly succumbed to rot due to neglect!
- Keep the area clear: Ensure the space around your organizer remains free of clutter. This not only makes tools easier to access but also helps prevent accidental damage to the storage unit itself.
Conclusion: Embrace an Organized, Enjoyable Gardening Experience
Building your own custom garden tool storage is more than just a weekend project; it’s an investment in a more efficient, enjoyable, and less stressful gardening life. Imagine stepping into your shed or garage and instantly finding the exact tool you need, without the frustrating search or the risk of tripping over misplaced equipment. This transformation allows you to spend more precious time on what you love – nurturing your plants and enjoying your garden.
The most rewarding aspect of this DIY journey is knowing that you’ve crafted a solution perfectly tailored to your unique space and extensive collection of tools. No longer do you have to compromise with generic, ill-fitting store-bought options that never quite meet your specific needs. You’ve harnessed your creativity and effort to design a system that works precisely for you.
Remember, your DIY storage solution is not static; it’s a living system that can evolve and adapt as your gardening hobby grows and your tool collection changes. Feel free to add new hooks, adjust existing spacing, integrate small bins for accessories, or even build additional modular units as your needs dictate. The flexibility of a custom-built system means it will always remain relevant and effective.
We hope this comprehensive guide has provided you with all the essential knowledge, practical tips, and inspiration you need to confidently embark on your own DIY garden tool storage project. Get ready to transform your cluttered space into a perfectly organized oasis, where every tool has a home, and gardening becomes an even more delightful experience!
