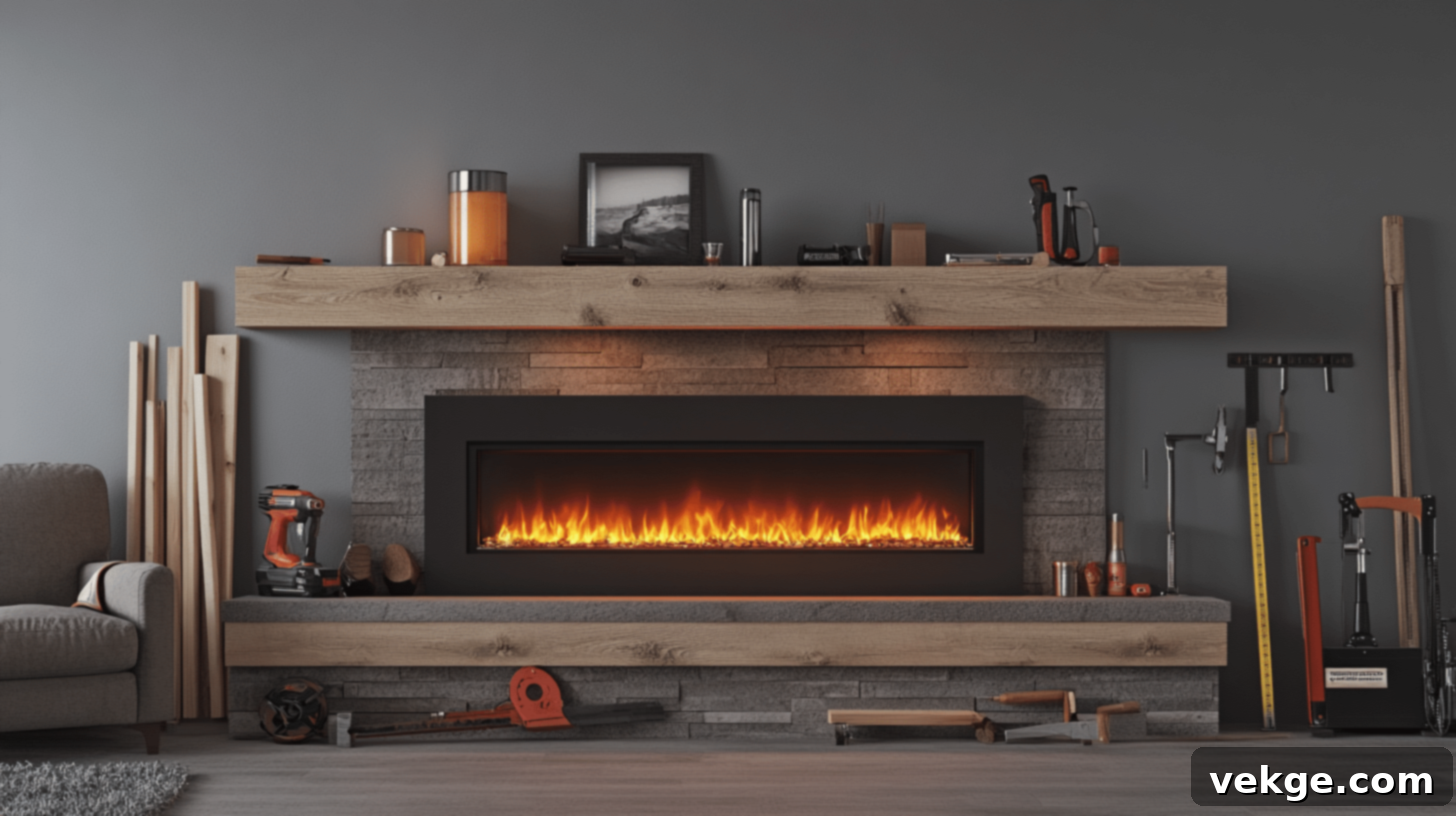
DIY Electric Fireplace: Your Complete Guide to Building a Stunning & Cozy Focal Point
Are you dreaming of adding the inviting warmth and captivating ambiance of a fireplace to your home, but without the significant expense, complex installation, and ongoing maintenance often associated with traditional wood-burning or gas units? A DIY electric fireplace project might just be the perfect solution you’ve been searching for!
Electric fireplaces offer a remarkably affordable and significantly easier installation process compared to their conventional counterparts. Beyond practicality, they provide an incredible range of design flexibility, allowing you to create a custom look that seamlessly integrates with any existing home decor style, from modern minimalist to classic rustic.
This comprehensive and easy-to-follow guide is meticulously crafted to walk you through every single stage of planning, designing, and ultimately building your very own custom electric fireplace surround. From the initial exciting steps of selecting the ideal electric fireplace insert and the perfect materials, to ensuring all proper safety measures are in place, and finally adding those personal touches that make it uniquely yours, we will cover all the essential steps.
Get ready to embark on a fulfilling home improvement journey and transform your living space with the comforting, cozy glow of your very own custom-built electric fireplace. Prepare to create a stunning focal point that will be admired for years to come!
Understanding Electric Fireplaces: A Modern Heating Solution
In recent years, electric fireplaces have surged in popularity, becoming a highly convenient, cost-effective, and safe alternative to traditional gas or wood-burning fireplaces. They masterfully deliver the desired ambiance and warmth of a real fire without any of the associated hassles such as complex installation, venting requirements, or the demanding regular maintenance that older systems necessitate. This section will delve into the various types of electric fireplaces available on the market today and critically weigh their inherent advantages and limitations.
Types of Electric Fireplaces to Consider for Your DIY Project
- Wall-Mounted Electric Fireplaces: These sleek and contemporary units are specifically engineered to be hung directly on a wall, much like a flat-screen television. Their primary benefits include being incredibly space-saving, offering a modern aesthetic, and providing the flexibility to be installed at virtually any height, ensuring optimal viewing and design integration. They are ideal for rooms where floor space is at a premium.
- Electric Fireplace Inserts: Perhaps the most common choice for a DIY project, fireplace inserts are expertly designed to fit snugly into an existing traditional fireplace opening or, more importantly for this guide, into a custom-built surround. They are renowned for providing a remarkably realistic flame effect and typically offer the option to operate with or without heat, giving you control over both ambiance and warmth.
- Freestanding Electric Fireplace Units: These highly portable and versatile fireplaces come in an extensive array of sizes and styles, ranging from classic mantel designs that evoke a sense of tradition to ultra-modern, minimalist looks. Their key advantage lies in their mobility; they can be effortlessly moved from one room to another and require absolutely no permanent installation, simply plug and play.
Pros and Cons of Opting for an Electric Fireplace
1. Key Benefits (Pros) of Electric Fireplaces
- Unparalleled Safety: One of the most significant advantages of electric fireplaces is their inherent safety. They do not utilize real flames, completely eliminating the risk of accidental fires, burns, or sparks. Furthermore, they produce no harmful gases, smoke, or particulate matter, making them exceptionally safe for indoor air quality and general use within your home.
- Effortless Installation & DIY-Friendly: A major draw for many homeowners is the straightforward installation process. Most electric fireplaces require minimal assembly and can simply be plugged into a standard 120V electrical outlet. This simplicity makes them an ideal candidate for a rewarding DIY project, saving you money on professional installation.
- Cost-Effectiveness: When compared to the initial setup and long-term operational costs of gas or wood-burning fireplaces, electric fireplaces are generally far more economical. Their installation costs are lower, and the cost of operation is typically limited to electricity consumption, which can be managed efficiently.
- Zero Maintenance: Unlike traditional fireplaces that require regular cleaning of ash, chimney sweeps, and fuel replenishment, electric fireplaces are virtually maintenance-free. This convenience frees up your time and eliminates messy chores.
- Design Versatility: As you’ll see in this guide, electric fireplace inserts can be incorporated into an endless variety of custom surrounds, offering unparalleled design freedom to match any aesthetic.
2. Potential Limitations (Cons) of Electric Fireplaces
- Heat Output Considerations: While electric fireplaces effectively provide supplemental heat, they may not be as powerful or efficient as high-BTU gas or wood-burning fireplaces for warming very large, open-concept spaces or multiple rooms simultaneously. They are primarily designed for zone heating or adding warmth to a specific area.
- Ambiance Differences: For some purists, the authentic crackle, unique scent of burning wood, and the deep, natural glow of a real wood fire are irreplaceable. Electric fireplaces, despite advanced flame technology, cannot fully replicate these sensory experiences, although modern units come very close.
- Electricity Consumption: While generally cost-effective, prolonged use of the heating function can lead to an increase in your electricity bill, especially if your local electricity rates are high. However, many models allow you to use the flame effect independently of the heat, minimizing costs.
Planning Your DIY Electric Fireplace Project: The Foundation of Success
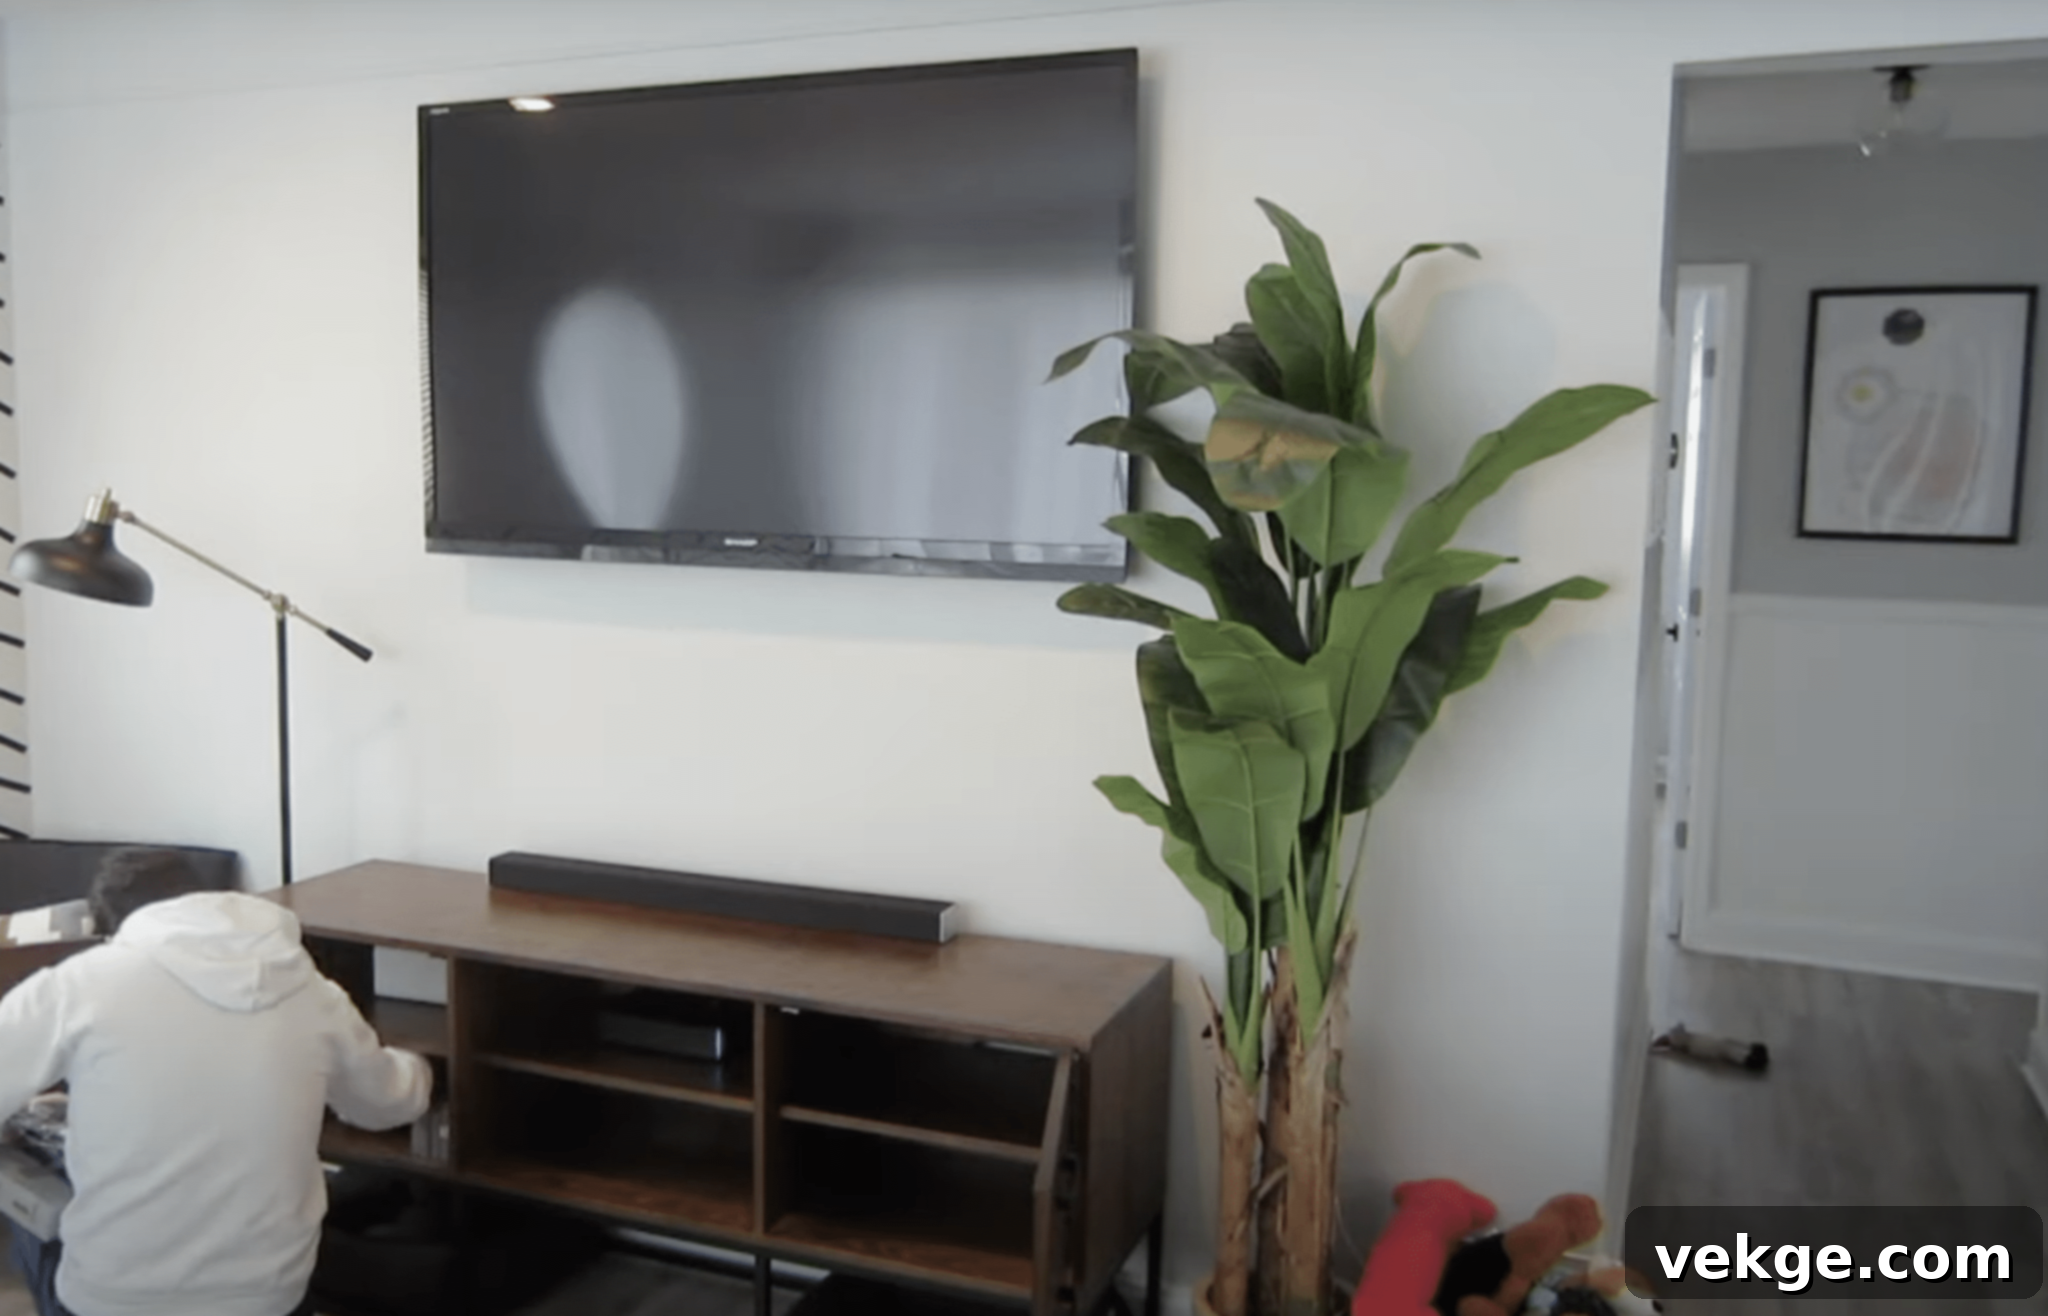
Before you even pick up a single tool, meticulous planning is the cornerstone of a successful and satisfying DIY electric fireplace project. Taking the time to carefully consider various factors will ensure a smooth process and a beautiful, functional end result. This section will meticulously guide you through assessing your available space, selecting the perfect fireplace insert, and conceptualizing the design of your custom fireplace surround.
1. Thoroughly Assessing Your Space for Optimal Fit
- Precise Room Dimensions: Begin by accurately measuring the width, height, and depth of the specific area where you envision installing your electric fireplace. These critical measurements will directly inform the appropriate size for both your chosen fireplace insert and the custom surround you plan to build around it. Don’t forget to account for any existing architectural features or furniture placement.
- Identifying Electrical Outlet Locations & Capacity: Locate the nearest existing electrical outlet to your planned fireplace location. It is absolutely crucial to ensure that this outlet, or a new dedicated one, can safely handle the power requirements (wattage) of your chosen fireplace insert. Electric fireplaces typically require a standard 120V outlet, but consulting the manufacturer’s specifications is vital. If there isn’t a suitable outlet nearby or if you’re unsure about the electrical capacity, it is highly recommended to consult with a licensed electrician to install a dedicated outlet or assess your current wiring. This is a critical safety step.
2. Choosing the Right Electric Fireplace Insert: Core of Your Project
- Size and Depth Considerations: Select a fireplace insert that not only fits comfortably within your available space but also allows for adequate clearance around the unit, as specified by the manufacturer. Pay particular attention to the insert’s depth; you’ll want to ensure it won’t protrude too far into the room once installed within its custom surround, maintaining good traffic flow and aesthetics.
- Desirable Features and Functionality: Electric fireplace inserts come with a myriad of features. Look for options that align with your personal preferences and lifestyle, such as convenient remote control operation, multiple adjustable heat settings for tailored warmth, and realistic flame effects that mimic a real fire. Some advanced inserts even offer additional enticing features like built-in speakers for crackling fire sounds, customizable flame colors, or smart home integration. Consider which features are most important to you for comfort and convenience.
3. Designing Your Fireplace Surround: Crafting Your Vision
- Complementary Style Options: Before settling on materials, consider the overall style and aesthetic of your room. Your fireplace surround should act as a harmonious extension of your existing decor. Popular design styles include sleek modern, cozy rustic, elegant traditional, farmhouse chic, and industrial. Gather inspiration from magazines, Pinterest, or interior design websites.
- Thoughtful Materials Selection: Choose materials that not only fit your desired aesthetic but also align with your budget and practical considerations. Common and versatile options for fireplace surrounds include various types of wood (like MDF, plywood, or reclaimed wood), stone veneer, ceramic or porcelain tile, shiplap, or even simply painted drywall. When selecting materials, critically consider their weight and ensure that your underlying fireplace frame will be robust enough to support them securely. Always factor in heat resistance for materials directly around the insert.
As you meticulously plan your DIY electric fireplace project, it’s absolutely crucial to place a strong emphasis on safety aspects and ensure strict adherence to all local building codes and electrical regulations. The subsequent section will delve into these vital safety considerations and building codes in much greater detail, preparing you for a safe and compliant build.
Safety Considerations and Building Codes: A Non-Negotiable Step
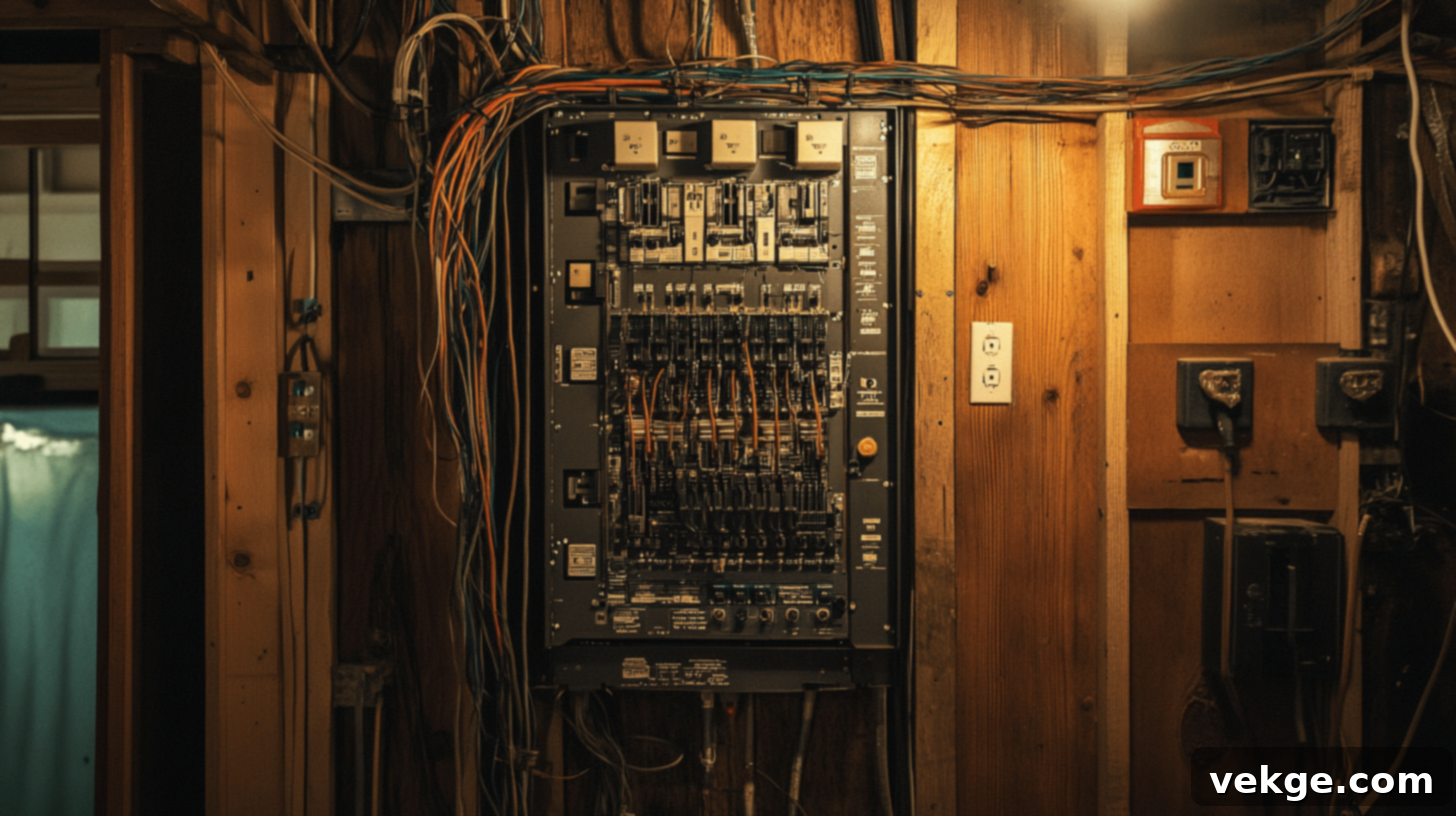
When embarking on any home improvement project, especially one involving electricity and heat, prioritizing safety and ensuring strict adherence to local building codes is not merely a suggestion – it is absolutely paramount. Neglecting these aspects can lead to significant hazards, costly repairs, and potential legal issues. This section will comprehensively cover the essential safety considerations and provide critical guidance on understanding and complying with all relevant regulations for your DIY electric fireplace project.
1. Understanding and Complying with Local Regulations
- Permits Required for Installation: Before commencing any construction, always check with your local building department or municipal authority to determine if any specific permits are necessary for your electric fireplace installation. While electric fireplaces are generally less regulated than gas or wood units, some localities may still require an electrical permit or a general building permit, particularly if you’re undertaking structural changes or new wiring. Obtaining the necessary permits ensures your project meets local standards and is recorded properly.
- Comprehensive Compliance with Building Codes: It is your responsibility to familiarize yourself with the specific local building codes that apply in your area. Ensure that every aspect of your project, from the framing to the electrical connections and material choices, fully complies with all relevant regulations. This includes, but is not limited to, minimum clearance requirements for combustible materials around the fireplace insert, proper electrical safety standards, and structural integrity. Ignorance of the codes is not an excuse for non-compliance.
2. Electrical Safety: The Heart of Your Electric Fireplace
- Hiring a Licensed Electrician vs. DIY Electrical Work: While the appeal of tackling all aspects of a DIY project yourself is strong, when it comes to electrical work, caution is key. If you are not a qualified and licensed electrician with a deep understanding of electrical wiring and safety protocols, it is always safer, more reliable, and highly recommended to hire a professional. A licensed electrician can ensure proper wiring, correct grounding, and help you avoid dangerous potential hazards such as short circuits, electrical fires, or system overloads. They also guarantee compliance with electrical codes.
- Proper Wiring and Outlet Requirements: If you or your hired electrician are handling the wiring, ensure that your electrical outlet is properly grounded and robust enough to safely handle the power requirements (wattage) of your fireplace insert without overheating or tripping breakers. Always use the appropriate gauge wire as specified by the manufacturer and local codes, and meticulously follow all manufacturer’s instructions for the electrical connection. A dedicated circuit is often recommended for electric fireplaces to prevent overloading existing circuits.
3. Fire Safety: Preventing Potential Hazards
- Maintaining Essential Heat Clearance: Even though electric fireplaces do not produce real flames, they still generate heat. It is absolutely critical to maintain the proper recommended clearance between your electric fireplace insert and any surrounding combustible materials, such as drywall, wood framing, furniture, curtains, or decorations. Always refer to the specific manufacturer’s guidelines for your chosen insert for recommended minimum clearances. These are not suggestions; they are vital for fire prevention.
- Selecting Safe and Heat-Resistant Materials: When constructing your fireplace surround, consciously choose materials that are inherently heat-resistant and non-combustible, particularly for areas in close proximity to the heat source. Excellent options include cement board (as a backer for tile/stone), ceramic or porcelain tile, and natural stone veneer. Strictly avoid using materials that can easily catch fire, melt, warp, or off-gas when exposed to prolonged heat, such as certain plastics, untreated wood in direct contact, or some laminates.
By meticulously prioritizing safety considerations and ensuring full adherence to all local building codes and electrical standards, you can confidently ensure that your DIY electric fireplace project is not only aesthetically beautiful and a source of comfort but also completely safe and secure for you, your family, and your home for many years to come.
Tools and Materials Needed for Your DIY Electric Fireplace Build
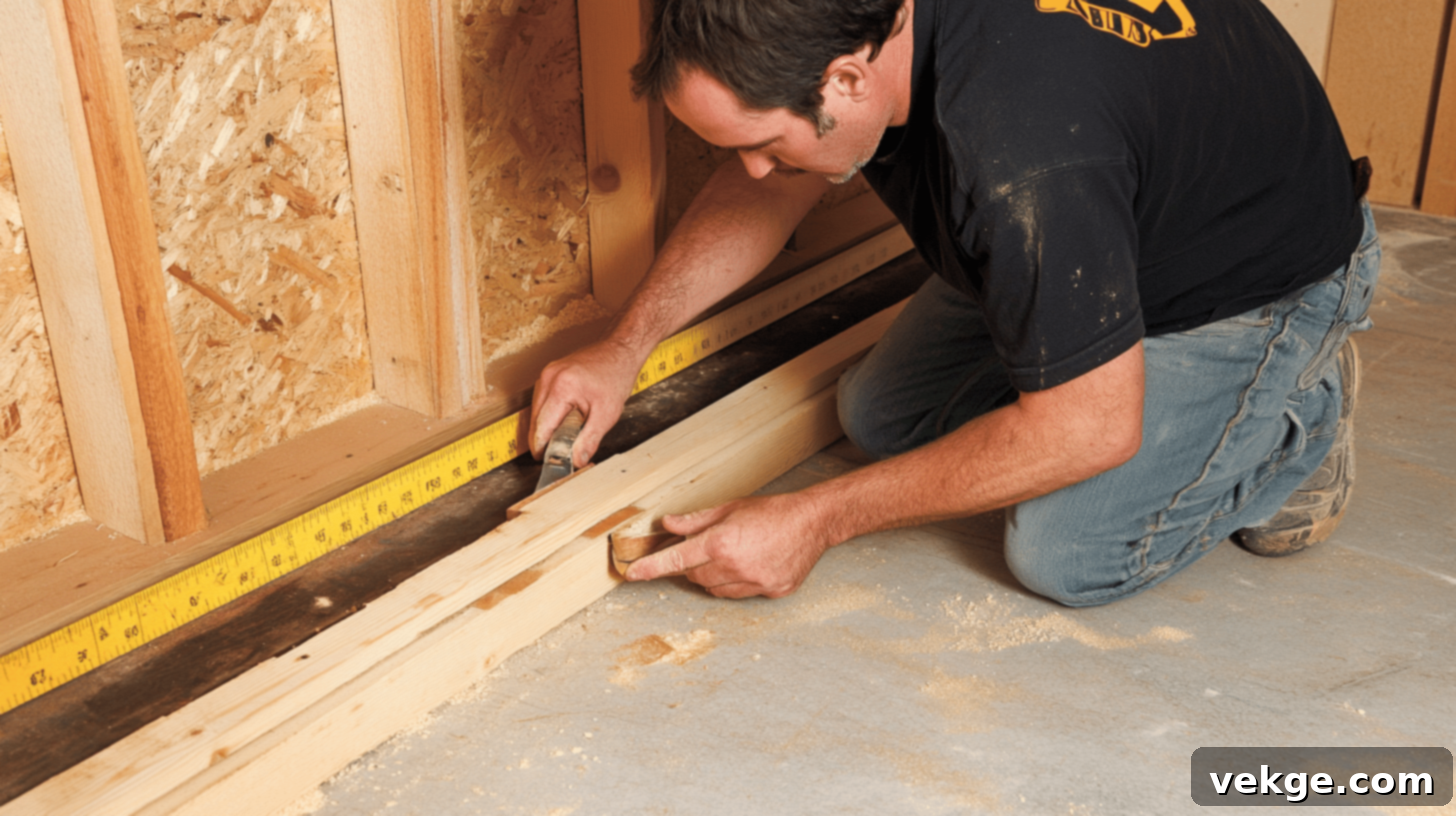
A well-prepared craftsman is a successful craftsman. Before you roll up your sleeves and dive into the construction of your DIY electric fireplace, it’s essential to gather all the necessary tools and materials. Having everything at hand will ensure a smooth, efficient, and frustration-free workflow, preventing unnecessary delays and trips to the hardware store. This section will comprehensively outline the essential items you’ll need to complete your project successfully.
Essential Tools for Your Electric Fireplace Project
- Measuring Tape: Accuracy is paramount in construction. A reliable measuring tape is indispensable for precisely measuring your room, framing components, and all other materials to ensure perfect cuts and a professional finish.
- Level (Spirit Level or Laser Level): To ensure your fireplace frame and surround are perfectly straight, plumb, and aesthetically pleasing, a level is crucial. Whether a traditional spirit level or a more modern laser level, it will guarantee a professional-looking result.
- Saw (Circular, Miter, or Table Saw): Depending on the complexity and scale of your project, you’ll need a saw to accurately cut lumber and other materials to size. A circular saw is versatile for general cuts, a miter saw is excellent for precise crosscuts and angles, and a table saw offers accuracy for ripping long pieces.
- Power Drill/Driver: An essential tool for creating pilot holes, driving screws quickly and efficiently, and securing various components of your fireplace frame and surround. Ensure you have a good selection of drill bits and driver bits.
- Other Essential Hand Tools: Don’t overlook the basics! A hammer for minor adjustments or nail driving, various screwdrivers (Phillips and flathead), a stud finder to locate wall studs for secure anchoring, a utility knife for cutting drywall, caulk, or insulation, and sanding blocks for smoothing edges and preparing surfaces for finishing.
Key Materials for Building Your Fireplace Surround
- Lumber for Framing: The structural integrity of your electric fireplace surround depends on a robust frame. Purchase dimensional lumber, typically 2x4s, for constructing the internal framework. For the exterior cladding, you might use plywood (for strength and stability) or MDF (Medium Density Fiberboard, for a smooth paintable surface). The exact dimensions and quantities will be determined by your specific design plans and measurements.
- Drywall or Cement Board: If you plan to finish your fireplace surround with paint, wallpaper, or some tile, standard 1/2″ or 5/8″ drywall sheets are commonly used. If you are applying heavy tile or stone veneer, or if your design brings the surround very close to the heat source, consider using cement board for its superior heat and moisture resistance, along with drywall screws and joint tape for seams.
- Screws and Adhesive: High-quality wood screws are necessary to securely fasten the lumber frame components together. Construction adhesive (e.g., Liquid Nails) is highly recommended to reinforce joints, attach drywall/paneling, and provide additional structural stability, creating a very solid structure.
- Finishing Materials: This is where your design vision comes to life! Depending on your desired aesthetic and budget, you may need various finishing materials: interior paint in your chosen color, decorative tiles (ceramic, porcelain, mosaic), natural or manufactured stone veneer, shiplap boards for a rustic or farmhouse look, or other decorative panels to complete your fireplace surround.
Optional Add-ons to Enhance Your Fireplace
- Mantelpiece: A mantel adds significant character and functionality to a fireplace, serving as a display shelf. You can either purchase a pre-made mantel that matches your style or gather materials to build one from scratch. This might include additional, more decorative lumber, sturdy corbels for support, and ornamental moldings for a finished look.
- Built-in Shelving Units: To maximize storage and display opportunities, consider flanking your electric fireplace with custom-built shelving units or cabinets. These additions require extra lumber (e.g., plywood, MDF), hardware, and finishing materials to match your fireplace surround, creating a cohesive and integrated entertainment or storage wall.
With all your essential tools and carefully selected materials organized and ready, you will be exceptionally well-prepared to confidently tackle your DIY electric fireplace project. This preparation sets the stage for an efficient build and a beautifully finished product.
Step-by-Step DIY Construction Guide: Building Your Electric Fireplace
With your complete toolkit and all necessary materials meticulously gathered, the exciting time has arrived to begin the hands-on construction of your DIY electric fireplace. This section will provide a detailed, step-by-step guide designed to lead you through the entire construction process, from initial layout to final decorative touches. Visual aids are included to make the instructions even easier to follow and understand.
Step 1: Mapping Out Your Design on the Wall
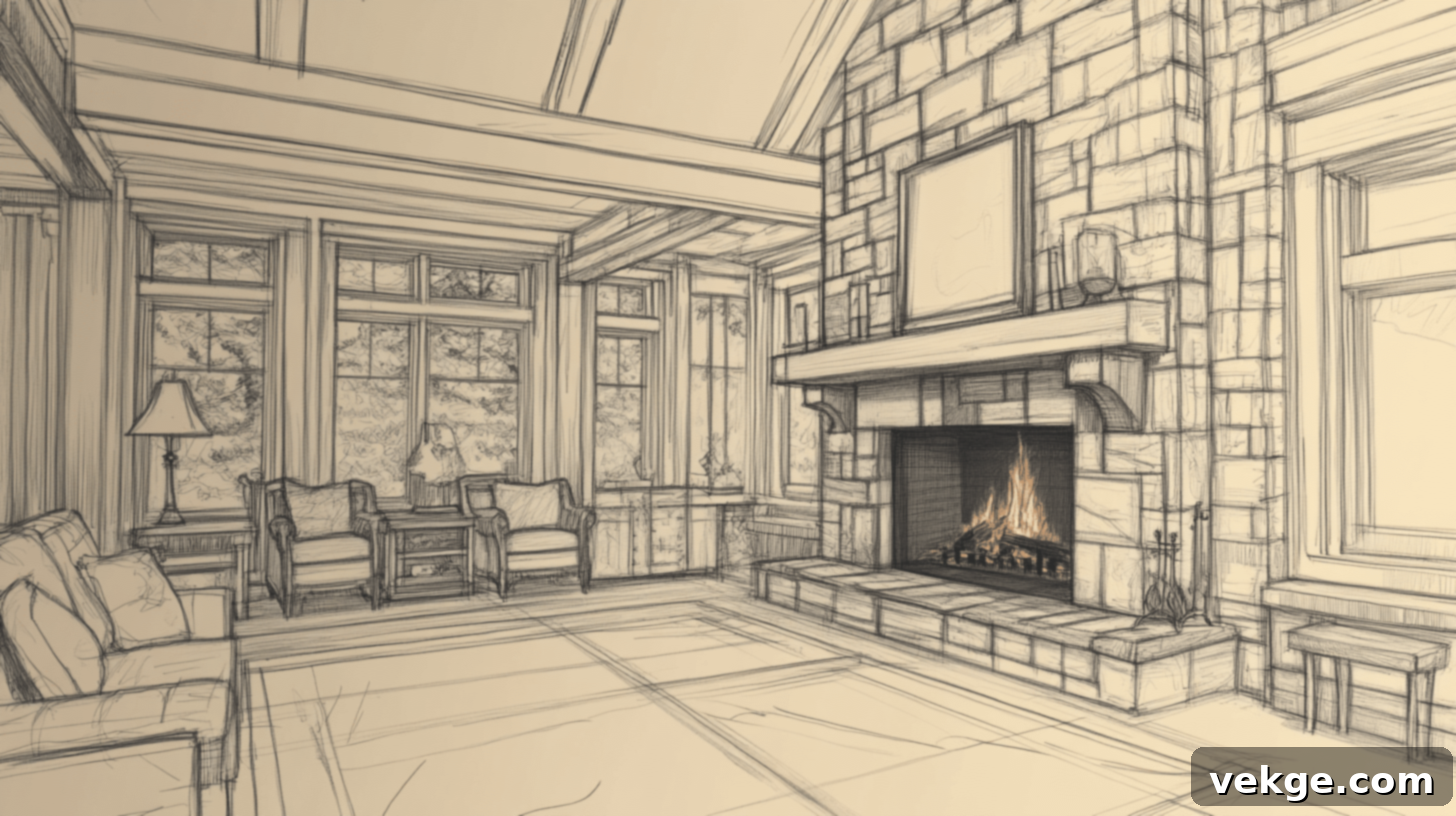
- Creating Detailed Sketches or Blueprints: Start by transferring your conceptual design into detailed sketches or, if you’re comfortable, create a precise blueprint using drafting software. This crucial step helps you visualize the final product, identify potential challenges, and ensure all measurements are accurate before any cutting begins. Include dimensions for the frame, insert opening, and any mantel or shelving.
- Measuring and Marking on the Wall: Carefully transfer your precise measurements from your design onto the actual wall where you plan to install the fireplace. Use a long level and a pencil to draw outlines of the frame. Crucially, use a reliable stud finder to locate and mark the wall studs. You will need to anchor the fireplace frame securely to these studs for maximum stability and safety.
Step 2: Building the Robust Frame for Your Fireplace
- Cutting Lumber to Size: Using your pre-drawn measurements and detailed sketches as your guide, meticulously cut the 2×4 lumber to the appropriate lengths for all components of your frame (vertical studs, horizontal supports, and the opening for the insert). Double-check all measurements before cutting.
- Assembling the Frame Securely: Assemble the precisely cut lumber to construct a sturdy and square frame. Use strong wood screws at every joint, and consider adding construction adhesive for extra rigidity and durability. Ensure that the entire frame is perfectly level and square using your spirit or laser level, as this forms the foundation of your fireplace.
- Anchoring the Frame to the Wall: Once assembled, carefully position the frame against the wall, aligning it with your markings. Using appropriate screws (e.g., lag screws) that penetrate deeply into the wall studs, securely anchor the frame to the wall. This step is vital for the stability and safety of your entire fireplace structure.
Step 3: Installing the Electric Fireplace Insert
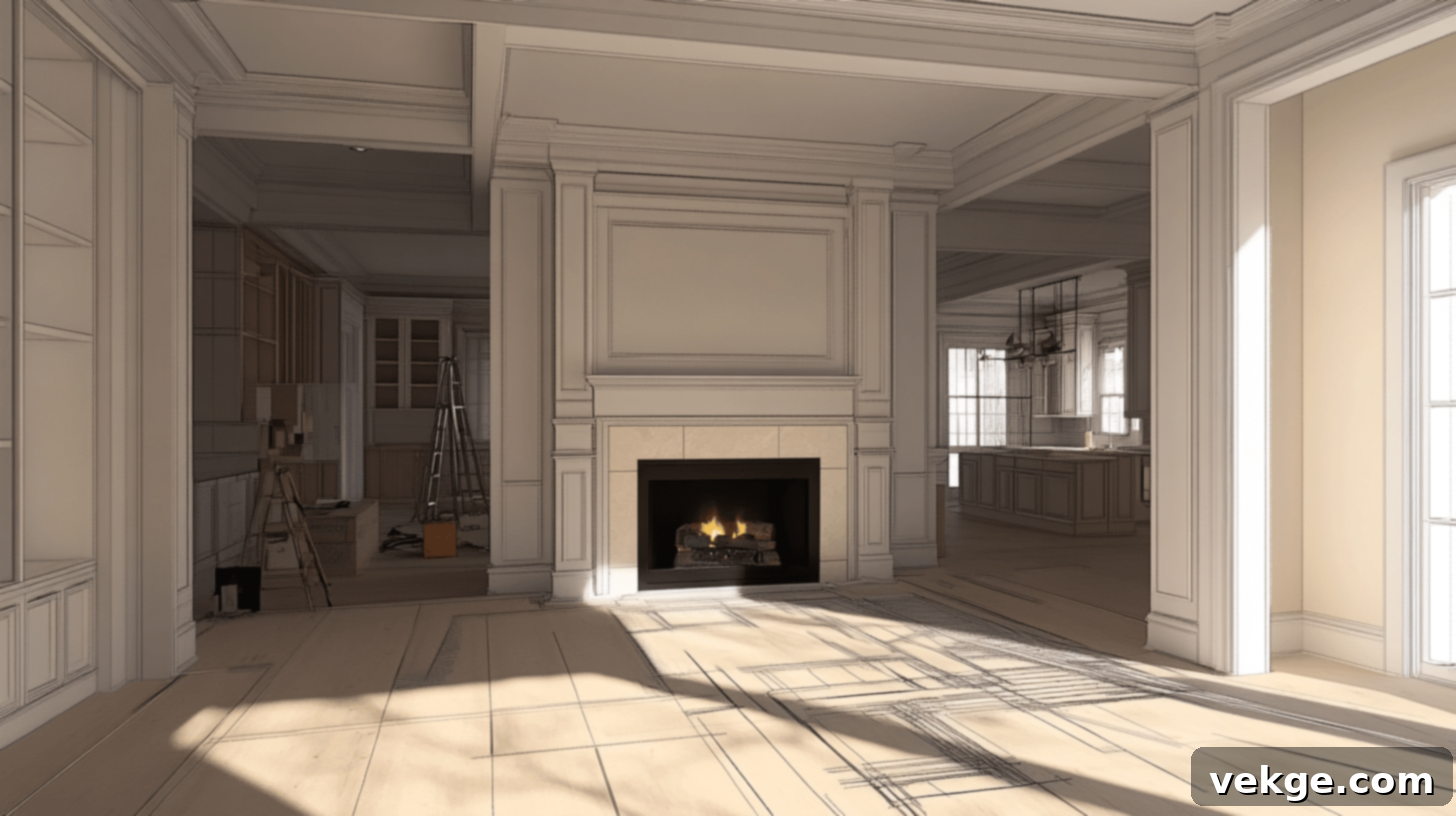
- Precise Positioning: Gently place the electric fireplace insert into the framed opening you created. Ensure it is perfectly centered, level, and sits flush or slightly recessed as per your design and the manufacturer’s recommendations.
- Securing the Insert in Place: Carefully follow the specific manufacturer’s instructions provided with your electric fireplace insert to properly and securely fasten it within the frame. This usually involves using mounting brackets and screws provided with the unit. Double-check that it is firmly in place and cannot shift.
Step 4: Managing the Electrical Work
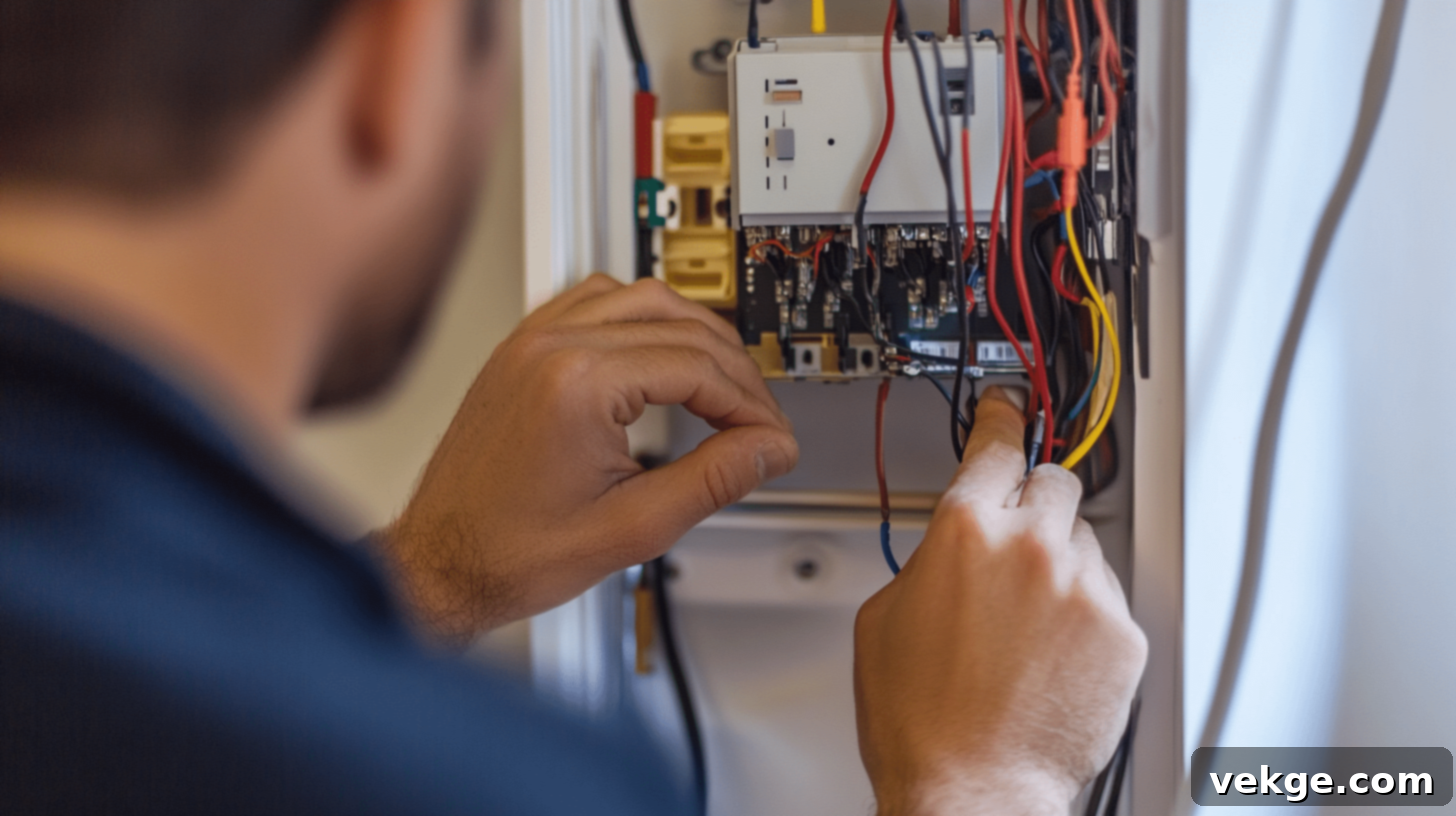
- Wiring the Fireplace (Emphasize Safety and Professional Help): This is a critical step. If you lack experience or confidence in electrical work, **it is strongly advised to hire a licensed electrician** to handle the wiring. They will safely connect the fireplace insert to the dedicated electrical outlet, ensuring proper grounding, correct wire gauge usage, and full adherence to all local electrical codes. Never take risks with electricity.
- Testing the Electrical Connections: Once all electrical connections are completed and secured (either by you or a professional), plug in the fireplace and perform a thorough test. Ensure that it powers on, the flame effects function correctly, and the heating element activates as expected. This test should be done before enclosing the wiring.
Step 5: Adding Drywall or Paneling to the Surround
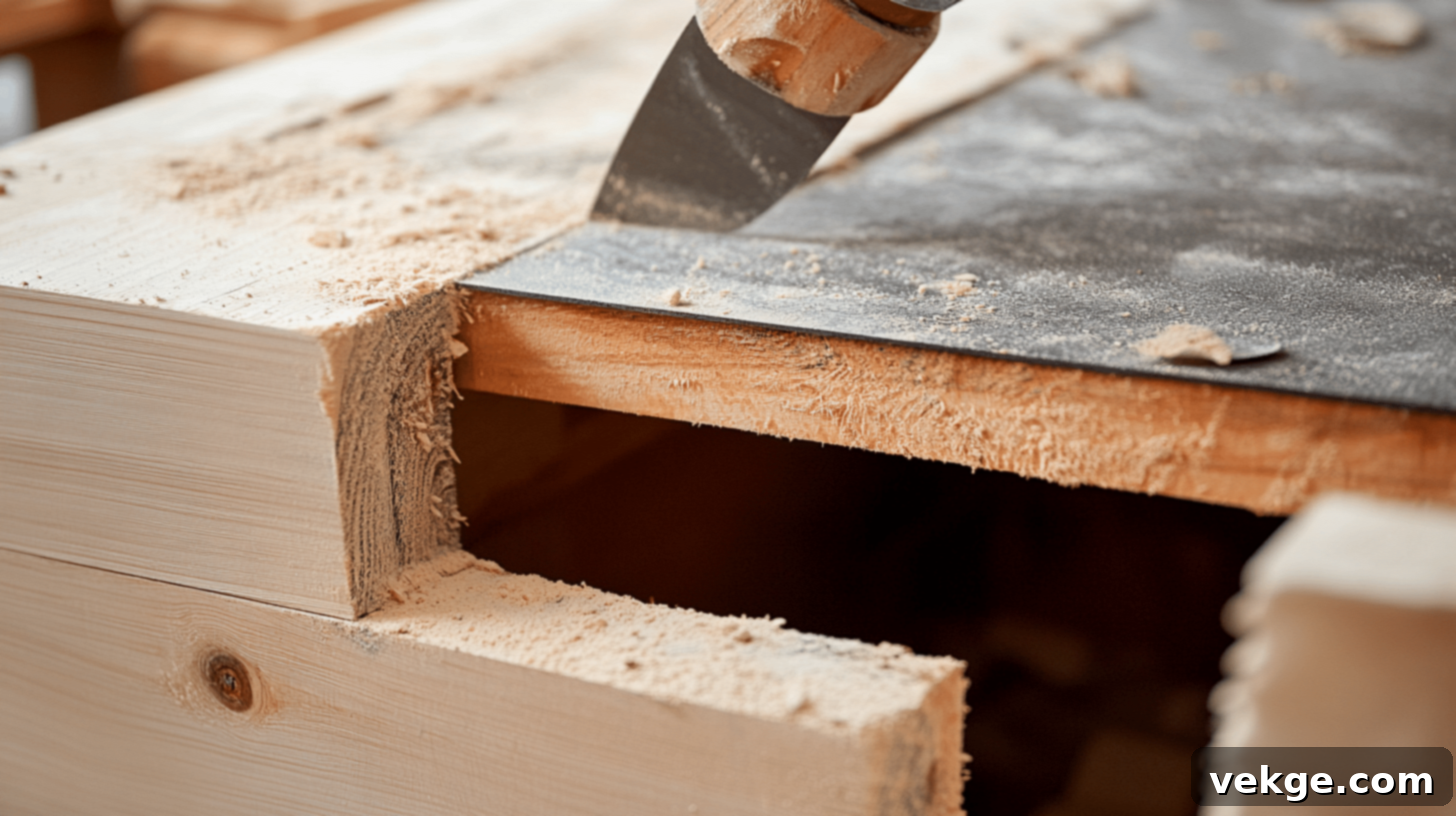
- Cutting and Attaching Panels: Measure and cut the drywall sheets, plywood, or other paneling material to fit the exterior of your assembled frame. Carefully account for and create precise openings for the fireplace insert, any electrical outlets, and light switches. Attach the drywall or paneling securely to the lumber frame using drywall screws or construction adhesive, spacing screws appropriately.
- Creating Openings for the Insert: Using a jigsaw or a sharp utility knife, meticulously cut out the opening for the fireplace insert. Take your time to ensure a clean, straight edge and a snug fit around the insert, which will contribute significantly to the professional appearance of your finished project.
Step 6: Finishing the Surface and Adding Decorative Elements
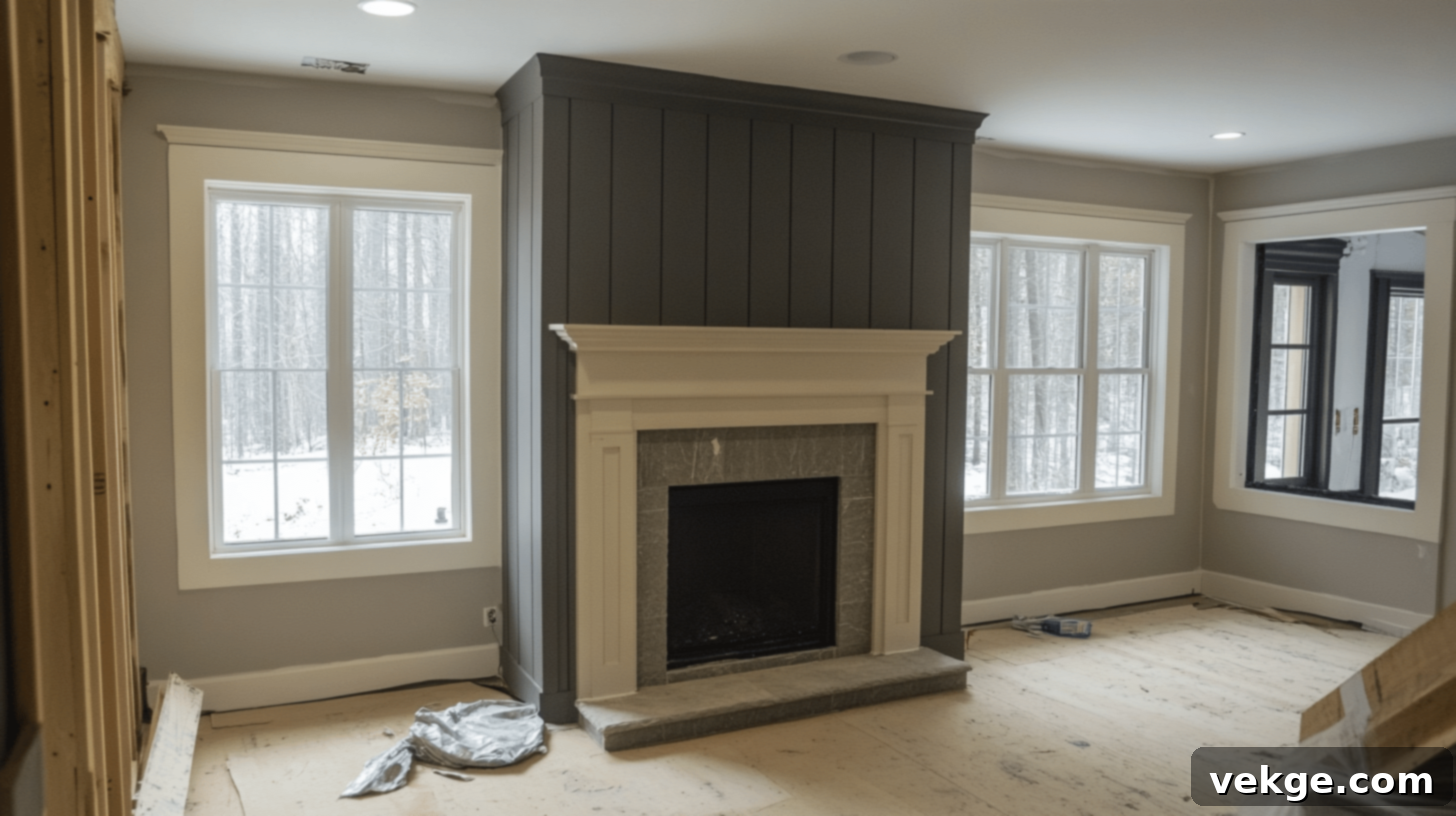
- Painting or Applying Finishes: Once the drywall or paneling is securely in place (and seams have been taped and mudded if using drywall), it’s time to apply your chosen finish to the fireplace surround. This could involve painting it a complementary color, carefully installing ceramic or stone tiles, applying stone veneer for a natural look, or attaching shiplap for a cozy, textured finish.
- Installing Decorative Elements: To complete and personalize the look of your fireplace surround, strategically add decorative elements. This might include installing a beautiful mantelpiece for display, attaching ornamental corbels for architectural detail, or adding crown molding or baseboards to match your room’s trim and give it a truly built-in, polished appearance.
Step 7: Optional – Seamlessly Integrating a TV or Entertainment Center
- Considering Weight Support: If your design includes mounting a television directly above your electric fireplace, it is absolutely essential to ensure that your fireplace frame and surround are robustly constructed and capable of safely supporting the TV’s weight. Reinforce the framing behind the TV mounting area if necessary. Always use heavy-duty, appropriate mounting hardware and meticulously follow both the TV manufacturer’s and mount manufacturer’s instructions.
- Effective Cable Management Solutions: To maintain a clean, tidy, and aesthetically pleasing setup, proactively incorporate smart cable management solutions. This might involve running all TV and media cables discreetly through the wall cavity behind the fireplace (ensuring no interference with the fireplace insert’s operation or heat), or utilizing discreet cord covers and cable ties to keep wires organized and out of sight.
Video Tutorial for Extra Guidance
For a more detailed visual walkthrough and additional insights, be sure to check out this excellent step-by-step video tutorial by Michigan Midcentury Modern. Their practical advice can be incredibly valuable for your project!
With these comprehensive step-by-step instructions and the helpful visual aids, you now have the knowledge and confidence to successfully tackle your DIY electric fireplace project, creating a stunning and functional addition to your home.
Cost Breakdown and Budgeting Tips for Your DIY Fireplace
Before you enthusiastically begin your DIY electric fireplace project, having a clear understanding of the potential costs involved and establishing a realistic budget is crucial. This proactive approach will help you manage expenditures effectively and avoid any unpleasant financial surprises. This section will provide an estimated cost breakdown for various components and offer practical tips on how to save money throughout the entire project.
Estimated Costs for a DIY Electric Fireplace Project
Please note that these are estimated cost ranges and can vary significantly based on your chosen materials, the complexity of your design, your geographic location, and whether you opt for professional help for certain tasks (e.g., electrical work).
| ITEM | EXPECTED COST RANGE ($) | DETAILS & CONSIDERATIONS |
|---|---|---|
| Electric fireplace insert | $150 – $1,000+ | Cost varies greatly by size, brand, features (e.g., remote, flame effects, thermostat), and heat output. Basic inserts are more affordable, while premium models with advanced features are at the higher end. |
| Lumber for framing | $50 – $200 | This includes 2x4s for the structural frame and plywood/MDF for the exterior cladding. Costs depend on the size of your fireplace and current lumber prices. |
| Drywall or paneling | $50 – $200 | If you’re using drywall, this covers sheets, screws, tape, and joint compound. Panel boards like shiplap or decorative plywood will also fall in this range, depending on coverage. |
| Finishing materials (paint, tile, stone veneer, etc.) | $100 – $500+ | This is a highly variable category. A simple paint finish will be cheaper. High-end tiles or natural stone veneer can significantly increase costs. Factor in grout, thin-set mortar, and tools if tiling. |
| Electrical components and wiring | $50 – $200 | If you’re doing the electrical work yourself (and are qualified), this covers a new outlet, wiring, and a dedicated breaker if needed. Hiring an electrician will add $150-$500+ depending on the scope. |
| Decorative elements (mantel, moldings, etc.) | $100 – $500+ | An optional but impactful expense. Pre-made mantels vary widely. Materials for a DIY mantel and decorative moldings (crown, baseboard) will depend on complexity and wood type. |
| Tools (if not already owned) | $100 – $500+ | If you need to purchase major tools like a circular saw or a power drill, this adds to the initial outlay. Consider renting instead of buying for one-off projects. |
| Total Estimated Cost | $600 – $3,000+ | This broad range reflects the wide array of choices in inserts, materials, and whether you handle all labor yourself. A basic build can be very affordable, while a high-end, large-scale project will cost more. |
Effective Money-Saving Tips for Your Project
- Embrace Reclaimed and Upcycled Materials: To significantly reduce costs and infuse unique character into your fireplace surround, consider sourcing reclaimed lumber for your frame or mantel. Look for salvaged architectural elements, vintage tiles, or unique decorative pieces at local salvage yards, antique shops, or online marketplaces.
- Rent Specialized Tools Instead of Buying: If you don’t already own specific power tools (like a miter saw or tile saw) that you’ll only use for this single project, consider renting them from a local hardware store or tool rental center. This can lead to substantial savings compared to purchasing new tools outright.
- Shop Smart for Materials: Always shop around! Compare prices for lumber, drywall, and finishing materials at various local hardware stores, large home improvement centers (e.g., Home Depot, Lowe’s), and reputable online retailers. Keep an eye out for sales, seasonal discounts, and inquire about bulk pricing if you’re buying larger quantities. Sometimes, local lumber yards offer better quality or pricing for framing wood.
- Simplify Your Design: A simpler design often translates to fewer materials and less complex labor. If budget is a primary concern, opt for a clean, straightforward surround that can still be beautiful with a quality paint finish rather than intricate tile work or custom stone.
- DIY Labor (Where Safe): Doing the labor yourself, especially for framing, drywall, and finishing, will save you significantly on contractor fees. However, always prioritize safety and know your limits, especially with electrical work.
Where to Buy Materials: Your Shopping Resources
Recommendations for Suppliers or Retailers: For the best combination of price and quality, diversify your shopping locations. Your local hardware store is great for quick purchases and expert advice. Large home improvement chains offer a wide selection and competitive pricing on lumber, drywall, paint, and basic tools. For unique finishing materials like specialized tiles or stone veneer, explore dedicated tile or stone suppliers. Online retailers can also be a great source for electric fireplace inserts and certain decorative elements, often with competitive pricing and delivery options.
By meticulously creating a detailed budget and actively seeking out smart ways to save money on both materials and tools, you can maintain firm control over the costs of your DIY electric fireplace project. This strategic approach ensures you achieve the stunning look, desired functionality, and cozy ambiance you envision, all while staying within your financial comfort zone.
Energy Efficiency and Operating Costs: Smart Heating Choices
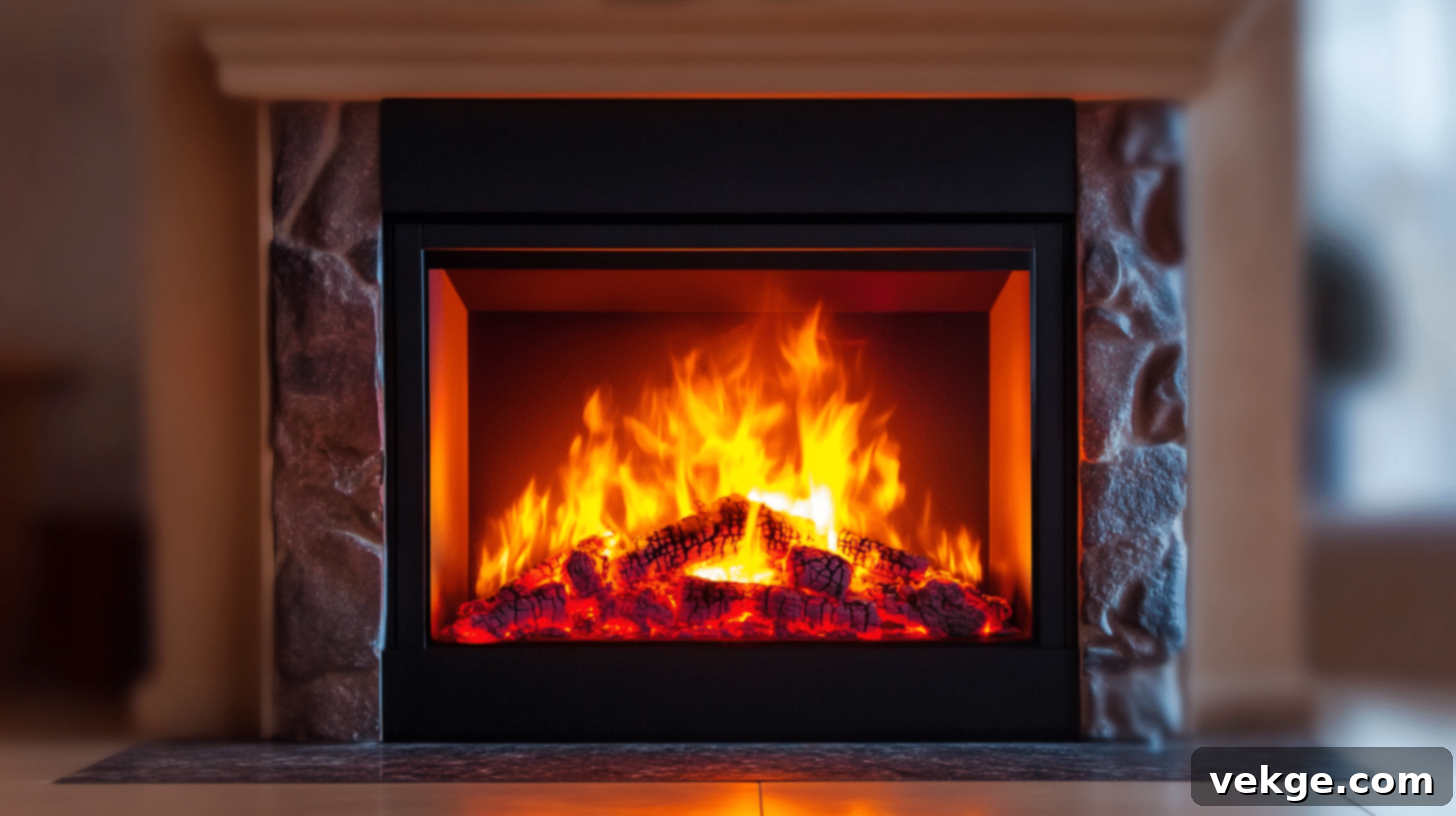
When considering the installation of a DIY electric fireplace, it’s not only about aesthetics and warmth but also about understanding its impact on your utility bills. It’s crucial to grasp the energy efficiency characteristics and the associated operating costs of these modern heating units. This section will provide essential information on electricity consumption, highlight valuable energy-saving features, and offer comparisons to other common home heating options.
1. Understanding Electricity Consumption and Costs
Deciphering Wattage and Calculating Operating Costs: Electric fireplaces typically consume between 700 and 1,500 watts of power when their heating function is active, though this can vary based on the model, the chosen heat setting, and the size of the unit. To accurately estimate the operating cost, you can use a simple formula: multiply the fireplace’s wattage (in kilowatts, so divide by 1,000) by the number of hours it’s used, and then multiply that by your local electricity rate (which is usually expressed per kilowatt-hour, or kWh). For instance, a 1,500-watt (1.5 kW) fireplace running continuously for 6 hours a day, at an average electricity rate of $0.12 per kWh, would cost approximately $1.08 per day (1.5 kW * 6 hours * $0.12/kWh = $1.08). This calculation helps you project monthly or annual costs.
It’s important to remember that the mesmerizing flame effect often consumes significantly less power (sometimes as little as 10-20 watts) and can usually be operated independently of the heating element, allowing you to enjoy the ambiance without incurring high heating costs.
2. Maximizing Efficiency with Energy-Saving Features
- Integrated Thermostats: Many contemporary electric fireplaces are equipped with built-in, adjustable thermostats. These smart features allow you to set and maintain a desired room temperature. Once the room reaches the set temperature, the heating element will automatically cycle off, preventing unnecessary energy waste and only turning back on when the temperature drops.
- Programmable Timers: Some advanced electric fireplace units offer programmable timers. This convenient feature enables you to schedule the fireplace to turn on and off at specific times, aligning with your daily routine. This prevents the unit from running unnecessarily when you’re not home or asleep, further reducing energy consumption.
- Eco-Modes and Energy-Saving Settings: When selecting your electric fireplace insert, look for models that boast “eco-modes” or other dedicated energy-saving settings. These optimized modes are designed to reduce power consumption without significantly compromising the unit’s performance or heating capability, making them a greener and more economical choice.
- Zone Heating Capability: Electric fireplaces excel at “zone heating,” meaning they can provide supplemental heat to only the room you are currently occupying. This allows you to potentially lower your central heating thermostat, saving energy on heating your entire home, and instead direct warmth precisely where it’s needed most.
3. Comparisons to Other Home Heating Options
- More Efficient Than Traditional Fireplaces: Electric fireplaces are generally considered more energy-efficient than traditional wood-burning or open-vent gas fireplaces. This is primarily because they operate with 100% of the heat remaining in the room (no heat loss up a chimney or through venting), and they don’t require constant fuel replenishment or messy cleanup.
- Cost-Effective for Supplemental Heating: For heating smaller spaces, individual rooms, or providing localized warmth, electric fireplaces can often be a more cost-effective solution than relying solely on a central heating system to warm your entire home. By using an electric fireplace for zone heating, you gain greater control over your heating expenses.
- Environmentally Friendlier: Since electric fireplaces produce no actual combustion, they emit zero harmful gases, smoke, or particulate matter into your home or the atmosphere. This makes them a more environmentally conscious and healthier indoor heating option compared to fossil fuel-burning alternatives.
By thoroughly understanding the energy efficiency aspects and typical operating costs of electric fireplaces, you can make well-informed decisions about how to use your unit most effectively. This knowledge will help you minimize your long-term energy expenses while still enjoying the delightful warmth and ambiance your DIY electric fireplace provides.
Maintenance and Troubleshooting: Keeping Your Fireplace Perfect
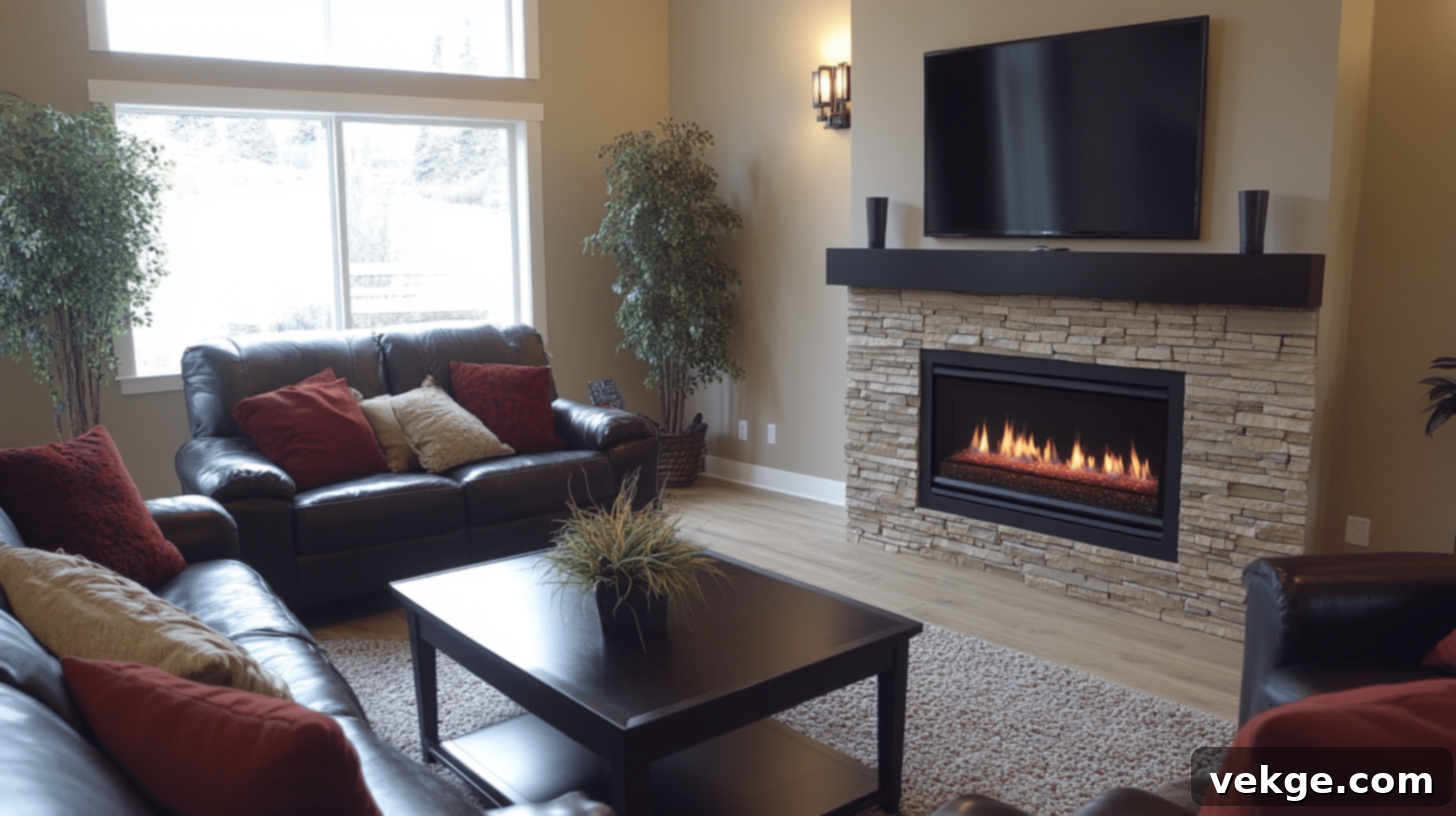
To ensure your beautiful DIY electric fireplace continues to function safely, efficiently, and look its best for many years, regular maintenance and a basic understanding of troubleshooting common issues are absolutely essential. While electric fireplaces are generally low-maintenance, a little proactive care goes a long way.
Routine Maintenance for Longevity and Appearance
- Exterior Cleaning: Periodically dust the exterior surfaces of your fireplace surround and the insert itself with a soft, dry cloth. This prevents dust buildup that can dull its appearance and potentially affect air intake/output.
- Glass Front Cleaning: For units with a glass front, clean it gently with a non-abrasive glass cleaner and a microfiber cloth. Avoid spraying cleaner directly onto the unit; instead, spray the cloth first to prevent liquid from seeping into electrical components.
- Vent Cleaning: Using a vacuum cleaner with a brush attachment, gently vacuum the heat vents (usually located at the top or bottom of the insert) to remove any accumulated dust, pet hair, or debris. Clear vents ensure proper airflow and heat dissipation, preventing overheating and maintaining efficiency. Do this every few months, or more often if you have pets.
- Cord and Plug Inspection: Routinely inspect the electrical cord and plug for any signs of fraying, damage, or overheating. Ensure the plug fits snugly into the outlet. Never use a damaged cord or plug.
- Remote Control Check: If your unit has a remote, check its battery periodically and replace it when needed to ensure consistent operation.
Common Troubleshooting Tips
- Fireplace Won’t Turn On:
- Check Power Supply: Ensure the unit is securely plugged into a working electrical outlet.
- Main Power Switch: Verify that the main power switch on the fireplace insert (often located near the bottom or back) is in the “ON” position.
- Circuit Breaker: Check your home’s electrical panel to see if the circuit breaker connected to the fireplace’s outlet has tripped. Reset it if necessary.
- Remote Control: Ensure the remote has fresh batteries and is pointing correctly at the unit.
- Flame Effect Malfunctioning:
- Settings Check: Consult your user manual to ensure the flame settings haven’t been accidentally adjusted to a very low intensity or turned off.
- Light Bulb/LEDs: Some older models use replaceable light bulbs for the flame effect. Check if any bulbs need replacement. Modern units use LEDs, which are very long-lasting.
- No Heat Output:
- Thermostat Settings: Ensure the thermostat setting is higher than the current room temperature.
- Overheat Protection: Most units have an automatic overheat shut-off. Unplug the unit for 10-15 minutes to allow it to reset, then plug it back in. Ensure vents are clear.
When to Seek Professional Help
While basic troubleshooting can resolve many issues, it’s crucial to know when to call a professional. Immediately discontinue use and contact a licensed electrician or the fireplace manufacturer’s service department if you experience any of the following:
- Persistent electrical issues (e.g., frequent circuit trips, sparks, burning smells).
- Unusual sounds (grinding, loud humming) coming from the unit.
- Any signs of physical damage to the internal components or wiring.
- The unit smells like burning plastic or a strong, unusual odor.
- The unit becomes excessively hot to the touch on its exterior, beyond normal operating temperatures.
By diligently following these routine maintenance guidelines and being prepared with basic troubleshooting knowledge, you will keep your DIY electric fireplace looking impeccable and functioning at its optimal best, providing reliable warmth and ambiance for many years to come.
Conclusion: Enjoying Your Custom-Built Electric Fireplace
Building a DIY electric fireplace is undoubtedly a deeply rewarding home improvement project that offers the unique opportunity to add both significant ambiance and practical functionality to your living space. By meticulously planning your design, carefully selecting the right materials that match your aesthetic and budget, and diligently following all essential safety guidelines, you can create a truly stunning focal point that perfectly reflects your personal style and enhances your home’s character.
As you embark on this journey, remember to strategically consider aspects such as energy efficiency and ongoing operating costs to ensure your electric fireplace remains a practical, economical, and enjoyable addition to your home for the long term. Thoughtful choices in these areas will maximize your satisfaction.
While the entire process of constructing a custom fireplace surround might initially seem a bit daunting, breaking it down into manageable, step-by-step tasks and proactively seeking guidance from experienced professionals (especially for any electrical work) when needed, can help you navigate any challenges with confidence and ultimately achieve a successful and beautiful result.
With a blend of dedication, careful attention to detail, and a touch of your own craftsmanship, your newly built DIY electric fireplace is destined to become a cherished gathering place, fostering warmth and connection for you, your family, and your guests for countless years. Embrace the opportunity to showcase your creativity and enjoy the comforting warmth and inviting glow of your brand-new, custom-made electric fireplace!
Frequently Asked Questions (FAQs) About DIY Electric Fireplaces
How Much Does It Cost to Build an Electric Fireplace?
The total cost to build an electric fireplace can range significantly, typically from $600 to $3,000+. This wide range depends heavily on several factors: the specific model and features of the electric fireplace insert you choose, the quality and type of construction materials used for the surround (e.g., lumber, drywall, tile, stone veneer), and any optional decorative elements you decide to add, such as a custom mantelpiece, built-in shelving, or intricate moldings.
What Is the Downside of an Electric Fireplace?
While electric fireplaces offer numerous benefits, some potential downsides include: they typically do not provide as much heating power as traditional wood-burning or gas fireplaces for very large spaces; prolonged use of the heating function can increase your electricity costs; and for some, they may lack the authentic sensory experience (e.g., the crackle and smell) of a real, live flame, although modern flame effects are remarkably realistic.
Can I Install an Electric Fireplace in an Apartment?
Yes, electric fireplaces are generally an excellent option for apartments and rental properties because they do not require any venting, gas lines, or permanent structural modifications. Most simply plug into a standard electrical outlet. However, it is always crucial to check and confirm your apartment building’s specific regulations, lease agreement terms, or homeowner’s association (HOA) rules to ensure that portable or custom-built electric fireplace installations are permitted before starting your project.
