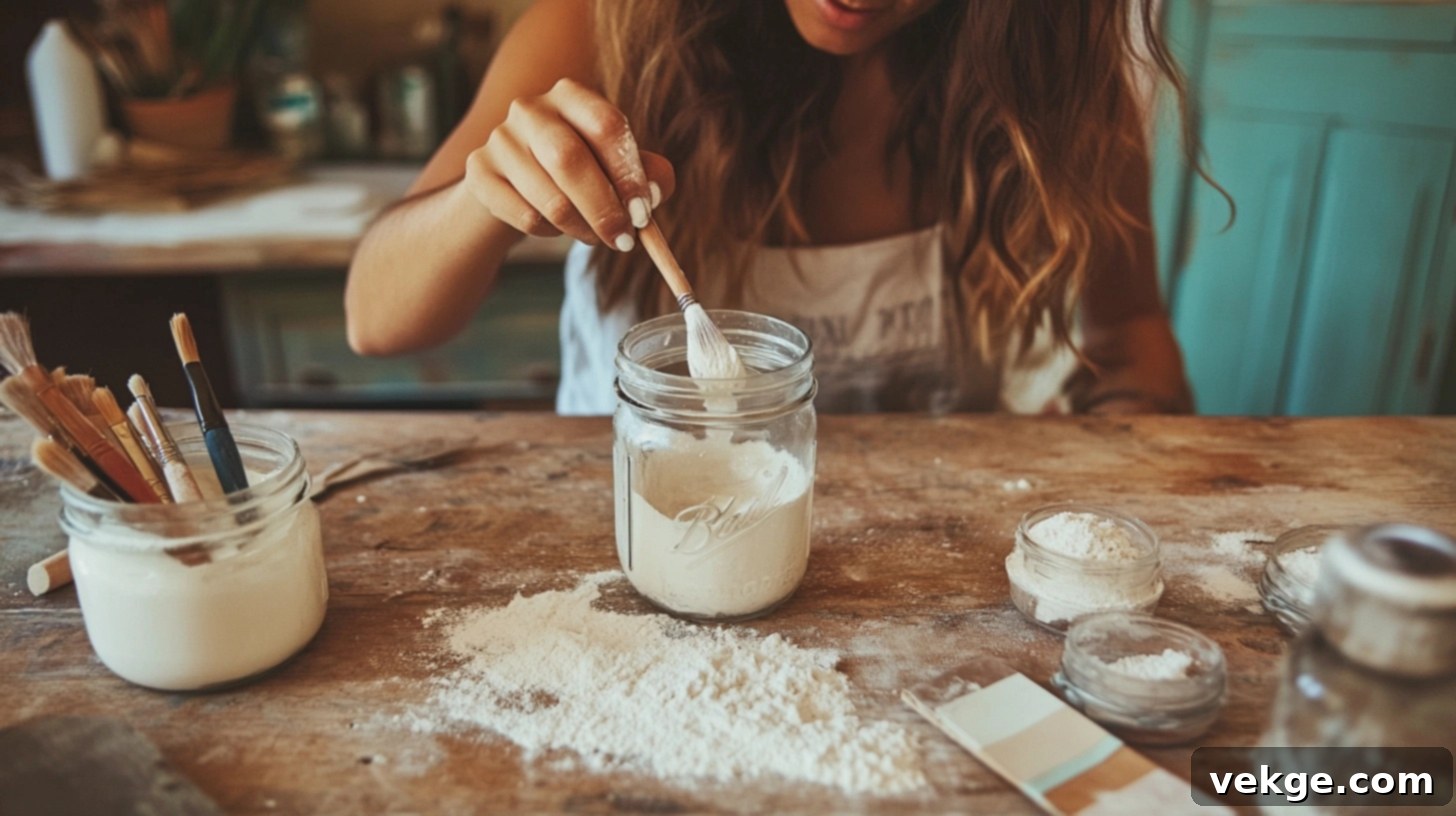
DIY Chalk Paint: Crafting Your Own Custom Colors for Furniture & Home Decor
Are you tired of expensive, store-bought paints that often limit your creative vision and color choices? Many DIY enthusiasts, myself included, frequently encounter this challenge, especially when aiming to breathe new life into old furniture or refresh home decor items. The quest for that perfect shade or unique texture can often lead to frustration and inflated budgets.
The good news is, creating your own chalk paint at home is not only incredibly simple and cost-effective but also empowers you with complete control over the exact color and desired texture. This allows for truly personalized projects that perfectly match your aesthetic and budget.
You might be wondering why homemade chalk paint is such a game-changer, and I’m here to tell you. In this comprehensive guide, you’ll delve into what chalk paint is, why it’s an excellent choice for a wide array of projects, and how to master its creation. We’ll explore various easy-to-find ingredients and walk through the process of applying it beautifully to different surfaces. If you’re ready to embrace smarter, more creative painting, then keep reading and unlock a world of DIY possibilities.
What is Chalk Paint and Why Make It Yourself?
Chalk paint is a distinct type of decorative paint renowned for its ultra-matte, velvety finish and remarkable ability to adhere to most surfaces without extensive preparation like priming or sanding. Its signature flat, chalky texture lends itself perfectly to achieving vintage, rustic, or shabby chic aesthetics, making it a beloved choice for furniture makeovers, decorative pieces, and creating inviting, character-filled interiors.
Unlike traditional paints, chalk paint’s unique composition allows for effortless distressing, creating an aged, timeworn look that is highly sought after in modern and farmhouse-style decor. Its versatility extends to various materials, from wood and laminate to metal and glass, offering unparalleled flexibility for your creative ventures.
Benefits of Making Homemade Chalk Paint
Embracing the DIY approach to chalk paint comes with a host of advantages that benefit both your wallet and your creative freedom:
- Significant Cost Savings: Store-bought chalk paint from popular brands can be quite expensive, especially for larger projects. Homemade versions utilize readily available and inexpensive ingredients like common latex paint, baking soda, or plaster of Paris. This dramatically slashes material costs, allowing you to undertake more projects without breaking the bank. You can often use leftover latex paint you already have on hand, further reducing waste and expense.
- Unlimited Custom Color Options: When you mix your own paint, you’re no longer confined to the limited palette of pre-made shades found in stores. This opens up an exciting world of possibilities. You can precisely match colors to existing decor, create unique bespoke hues, or experiment with subtle variations that perfectly capture your personal style and vision for your space. Imagine blending a custom mint green or a dusty rose that’s uniquely yours!
- Immediate Availability & Convenience: There’s no need to make a special trip to a craft or hardware store if you already have some latex paint at home. With a few common household additives, you can whip up a batch of chalk paint whenever inspiration strikes. This convenience is invaluable for spontaneous weekend projects or when you need a specific color right away.
- Eco-Friendly Approach: By utilizing leftover paint and creating your own, you contribute to reducing waste. Choosing low-VOC (Volatile Organic Compound) latex paints as your base further enhances the eco-friendliness of your projects, making your home improvements a little kinder to the environment.
- Enhanced Understanding & Control: The process of making your own paint provides a deeper understanding of its properties. This knowledge empowers you to adjust the consistency and texture to suit your specific project needs, giving you a level of control that pre-made paints can’t offer.
Making Chalk Paint: Best DIY Recipes
These simple homemade chalk paint recipes are versatile and can be adapted for a wide range of projects, from transforming old furniture to engaging in fun craft activities. Each recipe offers a slightly different texture and finish, allowing you to choose the best option for your desired outcome.
Plaster of Paris Chalk Paint Recipe
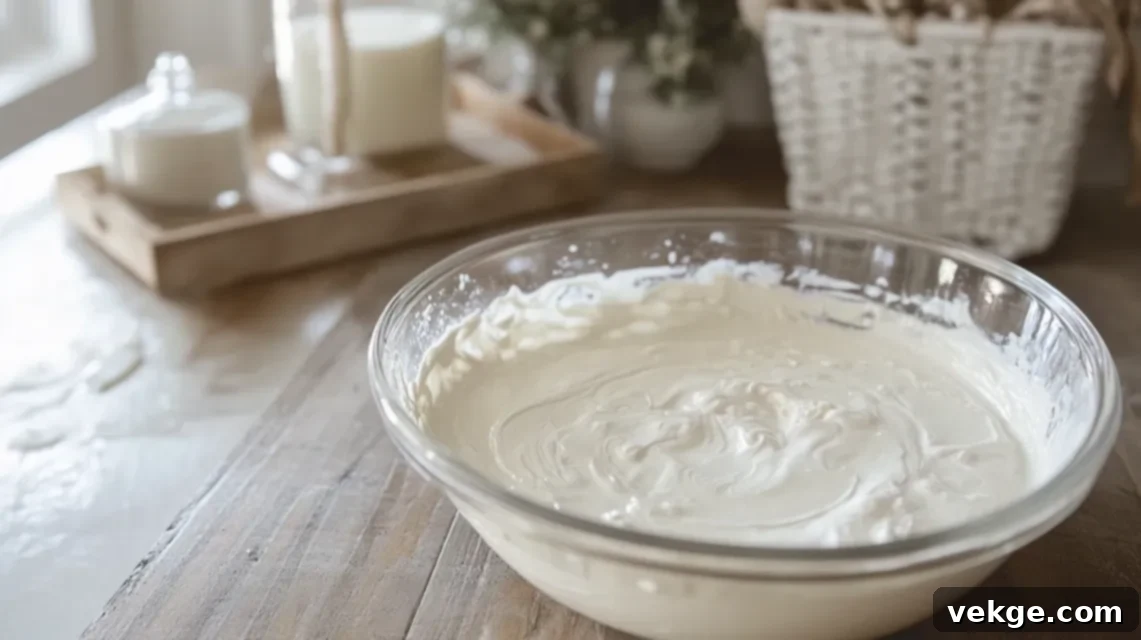
This recipe is celebrated for producing a smooth, exceptionally durable finish that closely mimics professional-grade chalk paint, making it a favorite for high-use furniture pieces.
Ingredients:
- 1 cup latex paint (flat or matte recommended for best results)
- ⅓ cup Plaster of Paris powder
- ⅓ cup cold water
Instructions:
- In a separate container, thoroughly mix the Plaster of Paris with the cold water until a completely smooth, lump-free slurry is formed. This step is crucial to prevent grainy paint.
- Slowly add the Plaster of Paris mixture to the latex paint, stirring continuously until everything is well combined and has a uniform consistency.
Tips & Considerations:
- This paint tends to thicken relatively quickly, so it’s best to work efficiently. Only mix what you plan to use in one sitting.
- It provides excellent adhesion and a very hard finish, ideal for furniture that needs to withstand daily wear.
- While durable, prolonged exposure to direct sunlight or high-use areas might eventually lead to some slight color fading. Always seal with a wax or topcoat for maximum protection.
- If the paint becomes too thick during application, you can add a tiny amount of water (a teaspoon at a time) and stir well to loosen it up.
Calcium Carbonate Chalk Paint Recipe
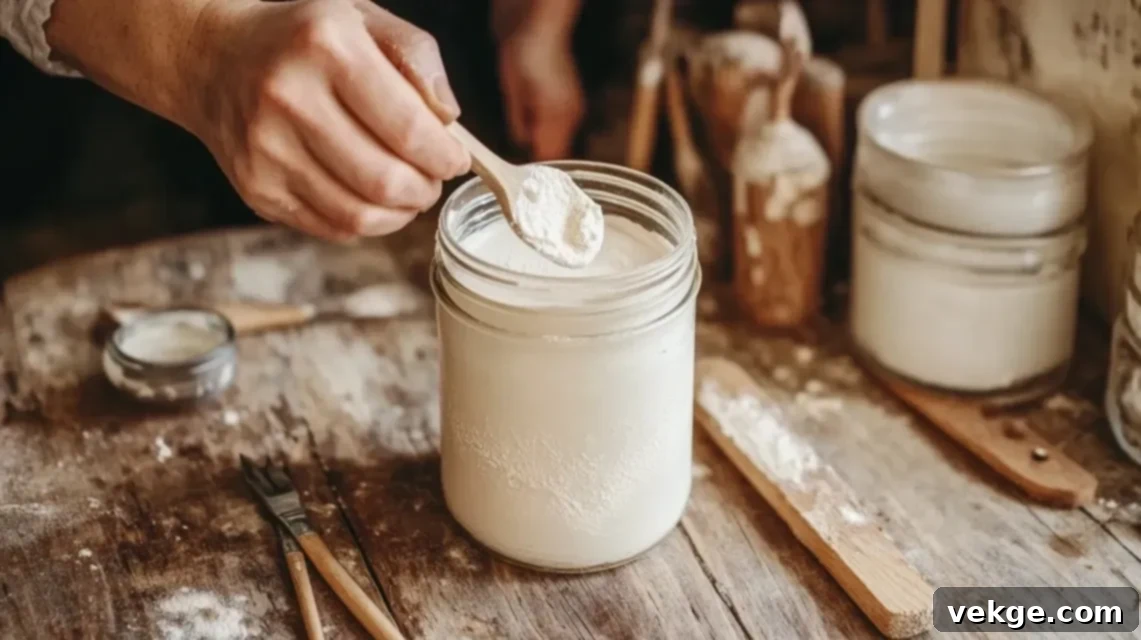
Often considered the closest homemade equivalent to commercial chalk paint, the calcium carbonate recipe delivers an incredibly smooth, creamy consistency and a soft matte finish that’s both elegant and long-lasting.
Ingredients:
- 1 cup latex paint (any sheen can work, but flat or matte will enhance the chalky look)
- 4 tablespoons calcium carbonate powder
- 1-2 tablespoons warm water (for pre-mixing the powder)
Instructions:
- In a small bowl, combine the calcium carbonate powder with warm water, stirring vigorously until you create a smooth paste without any clumps. This prevents a gritty texture in your final paint.
- Gradually incorporate this calcium carbonate paste into your latex paint, stirring thoroughly until the mixture is uniform and smooth.
Tips & Considerations:
- This recipe offers superior workability and a consistently smooth application, making it perfect for achieving a professional finish.
- It adheres exceptionally well to various surfaces, including wood, laminate, and metal, and provides excellent coverage.
- The soft matte finish is beautiful for high-traffic furniture, but like all chalk paints, it benefits greatly from a protective topcoat.
- Calcium carbonate is pH neutral, which makes this paint very stable and less prone to thickening quickly in the can compared to Plaster of Paris.
Baking Soda Chalk Paint Recipe
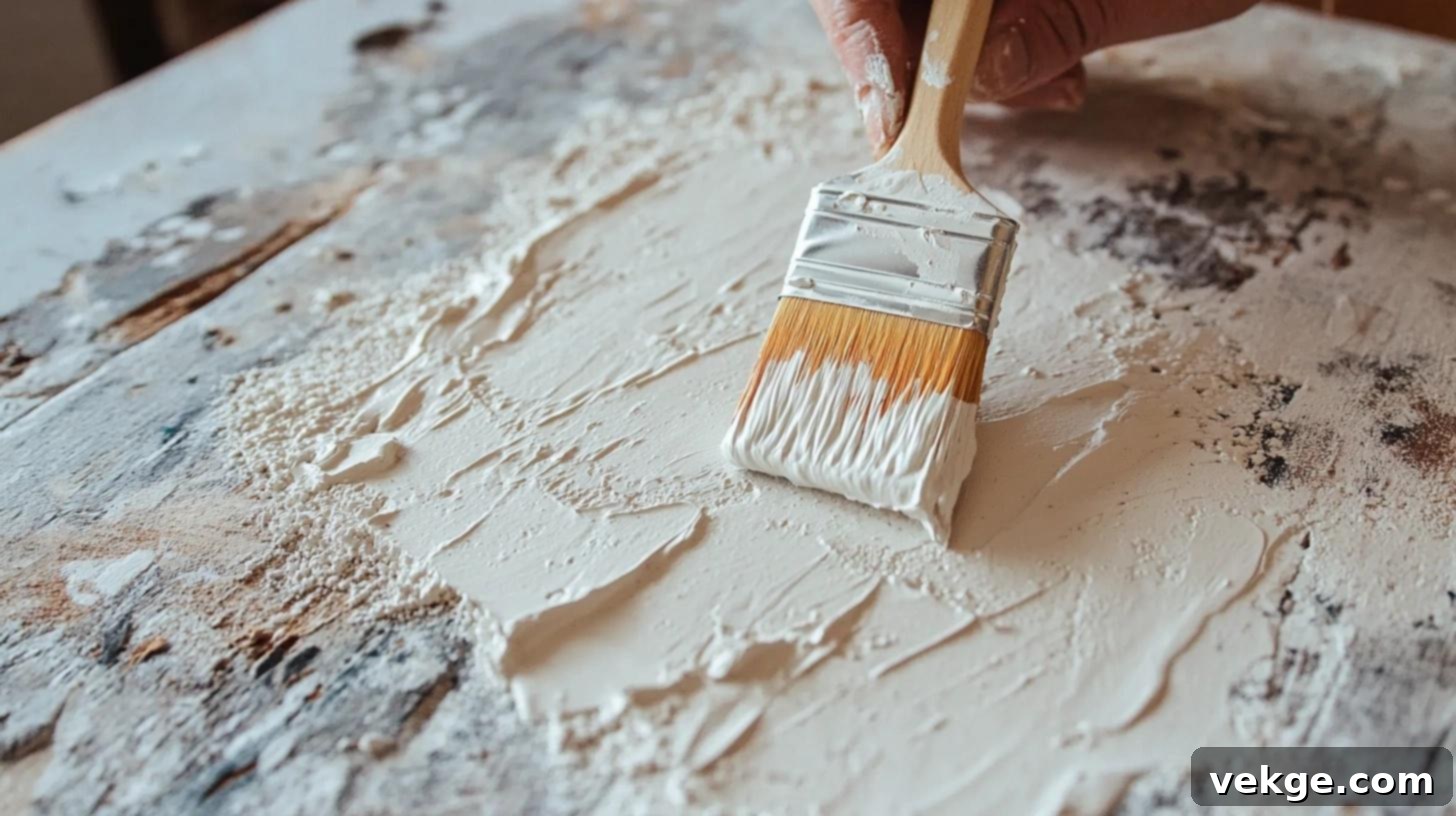
For a truly rustic, textured, and visibly chalky look, the baking soda recipe is a quick and inexpensive go-to option. It’s fantastic for achieving a distressed or aged effect with minimal effort.
Ingredients:
- 1 cup latex paint (flat or matte for maximum texture)
- ¼ cup baking soda
Instructions:
- Slowly add the baking soda to the latex paint, stirring continuously until the powder is fully dissolved and incorporated.
- Mix thoroughly until you achieve a thick, somewhat grainy consistency.
Tips & Considerations:
- This recipe yields a noticeably textured, almost grainy finish, which is perfect for small craft projects or decorative pieces where a heavily distressed or aged look is desired.
- It tends to be less durable than the Plaster of Paris or calcium carbonate versions, making it less suitable for high-wear items unless heavily sealed.
- Ideal for quick weekend DIYs, seasonal decor, or items that won’t experience much handling.
- Due to its grainy nature, it may require more stirring during application to maintain an even consistency and prevent the baking soda from settling.
Cornstarch or Flour-Based Paint (Kid-Friendly Sidewalk Version)
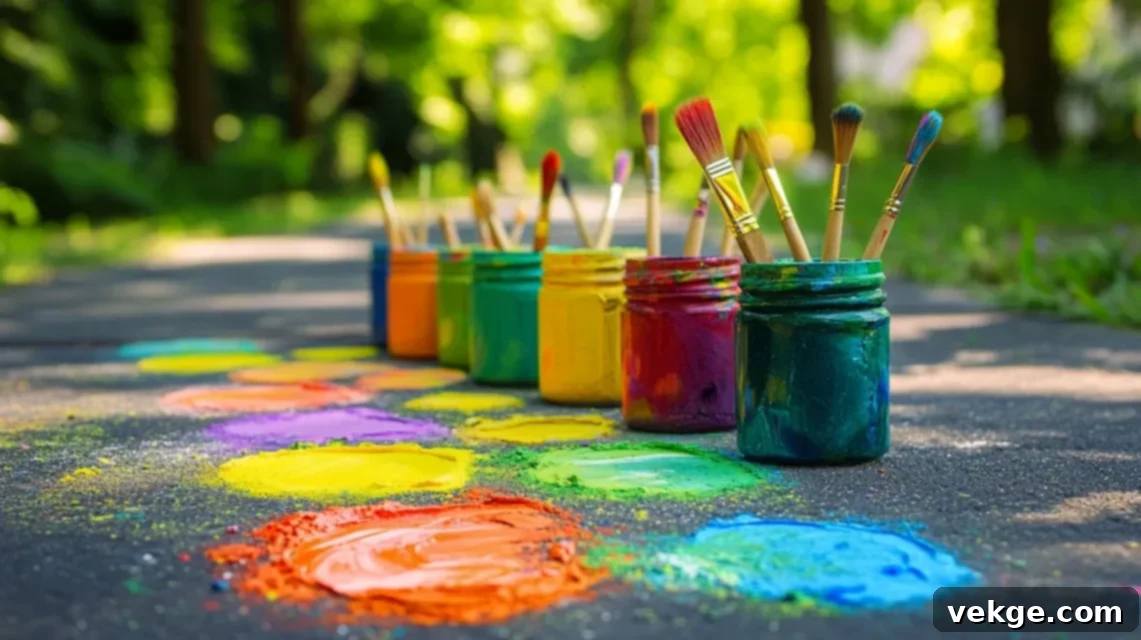
This completely non-toxic and washable recipe is designed for creative, mess-free fun, making it perfect for children’s art projects, especially outdoors.
Ingredients:
- 1 cup water
- 1 cup cornstarch or flour
- Food coloring (various colors)
- Optional: a few drops of essential oil for scent, or glitter for sparkle
Instructions:
- In a bowl, combine the water with either cornstarch or flour and stir until smooth and free of lumps.
- Divide the mixture into several smaller containers and add a few drops of different food coloring to each, stirring to achieve desired shades.
- For a puffier texture, add a bit more flour or cornstarch. For a flatter, more liquid consistency, add a touch more water.
Tips & Considerations:
- This paint is completely safe for children and easily rinses away with water, making it perfect for temporary outdoor art on sidewalks, driveways, or even indoor creative play on washable surfaces.
- Encourage kids to use foam brushes, sponges, or even spray bottles for different artistic effects.
- Avoid painting on very hot days, as the mixture can dry too quickly.
- Store any unused portions in airtight containers in the refrigerator for a few days, but it’s generally best made fresh.
How to Choose the Right Paint Base for Your DIY Chalk Paint
Selecting the appropriate base paint is crucial for the overall appearance, durability, and performance of your homemade chalk paint. Understanding the differences between types and finishes will help you achieve the best results for your project.
Latex vs. Acrylic Paint Bases
The primary choice for your chalk paint base will typically be between latex and acrylic paints, each offering distinct advantages:
- Latex Paint: This is a water-based paint known for its quick drying time, low odor, and easy cleanup with water. It’s generally more flexible and less prone to cracking than oil-based paints. Latex paint is an excellent, cost-effective choice for most indoor projects, especially walls and ceilings, and serves as a fantastic base for homemade chalk paint. For chalk paint, a flat or matte latex base is often preferred as it naturally enhances the chalky finish.
- Acrylic Paint: Also water-based, acrylic paint is often considered more durable and resistant to moisture and fading than standard latex. It forms a harder, more flexible film when dry, making it a better option for outdoor surfaces, high-moisture areas like bathrooms, or furniture that will see heavy use. While slightly more expensive, using an acrylic base can increase the longevity and resilience of your homemade chalk paint.
Understanding Paint Finishes: Flat, Matte, Satin, Semi-Gloss, and Gloss
The finish (or sheen) of your base paint affects both the final look and the durability/cleanability of your project:
- Flat/Matte: These finishes have the least amount of shine and are excellent at hiding surface imperfections. They absorb light, creating a soft, non-reflective look. While perfect for enhancing the velvety texture of chalk paint, they are generally less durable and harder to clean, making them ideal for low-traffic areas or purely decorative pieces.
- Satin: Offering a slight sheen, satin finishes are more durable and easier to wipe clean than flat or matte. This makes them a versatile choice for living areas, bedrooms, and even some furniture. Using a satin base will give your chalk paint a subtle, softer glow than a purely matte finish.
- Eggshell: Often grouped with satin, eggshell has a very low luster, reminiscent of an eggshell, and offers slightly more durability than a flat finish, making it a good compromise.
- Semi-Gloss: With a noticeable shine, semi-gloss is highly durable and very easy to clean. It’s best suited for high-traffic areas like kitchens, bathrooms, doors, trim, and cabinets where frequent cleaning is necessary. If you desire a slightly more resilient chalk paint finish, a semi-gloss base can be used, though it will slightly diminish the ultra-matte characteristic.
- Gloss: This is the shiniest and most durable finish, offering maximum cleanability. It’s typically reserved for trim, doors, and areas needing extreme protection. Not usually recommended for chalk paint, as it counters the desired matte effect.
Paint Color and Coverage Considerations
Beyond type and finish, consider these factors when selecting your base paint:
- Color Impact: Lighter colors can make small rooms appear larger and more open, while darker shades create a sense of warmth and coziness. Always test a small swatch of paint on your surface before committing, as ambient light significantly alters how colors appear. Consider the undertones of your chosen color – warm or cool – and how they will interact with your existing decor.
- Coverage Quality: Higher-quality base paints generally offer better coverage, requiring fewer coats to achieve opacity. This saves time and effort. Paints labeled as “paint and primer in one” can be particularly beneficial, providing excellent coverage and adhesion, especially when trying to cover dark or stained surfaces with a lighter chalk paint. Thick paints or those with good pigment concentration will give you a richer, more even finish.
Ultimately, pick your base paint based on the intended use of the item, the amount of durability and cleaning it will require, and the aesthetic feeling you want to evoke in your space.
How to Use Chalk Paint on Different Surfaces
One of the greatest advantages of chalk paint is its incredible versatility. It adheres beautifully to a wide array of surfaces, often with minimal preparation. Here’s how to prepare and apply your homemade chalk paint for a smooth, long-lasting, and beautiful result on various materials.
Furniture Makeovers
Chalk paint is a dream for furniture upcycling, transforming dated pieces into treasured heirlooms.
- Preparation: The beauty of chalk paint is that it rarely requires intense sanding or stripping. However, for glossy, super-smooth, or heavily varnished surfaces, a light scuff sanding (using fine-grit sandpaper, 120-220 grit) will create “tooth” for the paint to grip onto, ensuring better adhesion. Always clean the furniture thoroughly with a degreaser or mild soap and water to remove dirt, grease, and grime. Rinse well and allow to dry completely.
- Priming (Optional but Recommended for Specific Cases): Generally, priming isn’t necessary. However, if your furniture is made from a type of wood (like mahogany or knotty pine) known to “bleed” tannins, or if you’re painting a light color over a very dark stain, a shellac-based primer or a stain-blocking primer can prevent discoloration from seeping through your chalk paint.
- Application: Apply chalk paint in thin, even coats using a good quality brush. Two to three coats are typically sufficient for full coverage. Allow each coat to dry completely (usually 1-2 hours) before applying the next. For a super smooth finish, lightly sand with 220+ grit sandpaper between coats.
- Distressing (Optional): For a vintage or shabby chic look, once the paint is dry, use fine-grit sandpaper or a damp cloth to gently rub away paint on edges, corners, and raised details to expose the underlying finish.
- Sealing: This is crucial for durability. For a soft, matte look, apply clear wax with a wax brush or soft cloth, buffing after it cures. For higher durability and water resistance, especially for tabletops or frequently used items, use a water-based polycrylic topcoat. Apply in thin layers, allowing adequate dry time between coats.
Glass or Mason Jars
Give plain glass items a charming, frosted, or opaque look with chalk paint.
- Preparation: Thoroughly clean the glass surface with rubbing alcohol or white vinegar to remove any oils, fingerprints, or dust. This step is vital for good adhesion. Ensure the glass is completely dry before painting. Lightly scuffing with very fine sandpaper (400+ grit) can sometimes help, but often isn’t necessary if the glass is perfectly clean.
- Application: Apply chalk paint in thin, even coats. Glass can be tricky, and the first coat might look streaky. Don’t worry! Allow it to dry fully (2-4 hours) before applying a second coat. You may need two to three coats for opaque coverage.
- Curing & Sealing: Allow the paint to cure for at least 24-48 hours before handling extensively. To protect the finish from scratches and chipping, especially if the item will be handled or exposed to moisture, apply a matte sealant spray or a clear water-based topcoat designed for craft use. For decorative items, this step might be optional but is highly recommended for longevity.
Metal or Plastic Items
Chalk paint can easily transform metal and plastic, making it ideal for plant pots, hardware, or decorative pieces.
- Preparation: Clean the metal or plastic surface meticulously to remove any dirt, grease, or rust. For metal, ensure any rust is removed and the surface is dry. For shiny or slick plastics, a light sanding with fine-grit sandpaper will provide better adhesion.
- Priming (Recommended): While chalk paint has good adhesion, using a bonding primer specifically formulated for metal or plastic will significantly improve durability and prevent chipping or peeling, especially for items that will be handled frequently or used outdoors. For metal, an anti-rust primer is highly beneficial.
- Application: Apply chalk paint in thin, even layers. Allow ample drying time between each coat (2-4 hours). Avoid applying thick coats, as this can lead to cracking or uneven drying.
- Sealing: For optimal protection against chipping, scratching, and wear, especially for outdoor metal or plastic, finish with a durable topcoat spray (e.g., clear matte or satin acrylic spray sealant) or a wax. This creates a protective barrier that enhances the lifespan of your painted item.
Sidewalks (Washable Crafts for Kids)
The cornstarch/flour-based recipe is perfect for temporary, fun outdoor art.
- Preparation: Ensure the sidewalk or driveway surface is clean and free of loose debris. No other special prep is needed as this paint is designed to be temporary.
- Application: Provide children with foam brushes, sponges, paint rollers, or even empty squeeze bottles for different painting techniques. Let their imaginations run wild!
- Cleanup: When playtime is over, simply clean up with water and a broom, sponge, or garden hose. The paint will rinse away easily without staining.
- Tips: To prevent the mixture from drying too quickly, avoid painting on extremely hot or sunny days. Encourage experimenting with textures by adding more or less flour/cornstarch. This is a wonderfully safe and engaging way for kids to express their creativity outdoors.
Storage and Shelf Life Tips for Homemade Chalk Paint
Properly storing your homemade chalk paint is key to extending its shelf life and ensuring it remains fresh and usable for your next project. Since these paints contain water and additives, they generally have a shorter shelf life than commercial paints. Here are essential tips:
- Airtight Containers are Crucial: Homemade chalk paint, especially those made with baking soda or Plaster of Paris, can dry out or thicken quickly when exposed to air. Always store your paint in airtight containers. Glass jars with tight-fitting lids (like mason jars), plastic food storage containers with snap seals, or even repurposed paint cans with sealed lids are excellent choices. The less air in the container, the longer the paint will last.
- Ideal Storage Environment: Keep your paint in a cool, dry place, away from direct sunlight, extreme heat, or freezing temperatures. Fluctuations in temperature can cause the paint to separate or spoil. A cupboard, closet, or basement is usually ideal.
- Labeling for Freshness: Always label your containers with the date the paint was made, the recipe used (e.g., “Plaster of Paris Chalk Paint”), and the base paint color. This helps you track its freshness and ensures you use the oldest batches first.
- Check Before Using: Before each use, inspect your stored paint. If it has a foul odor (like sour milk), shows signs of mold growth, or if clumps don’t mix out smoothly with thorough stirring, it’s best to discard it. These are signs of spoilage or chemical breakdown.
- Stir Thoroughly Before Each Use: Ingredients in homemade chalk paint (especially the additives) tend to settle at the bottom over time. Always give your paint a good, thorough stir (or shake if in a well-sealed container) before each use to ensure a consistent color and texture.
- Shelf Life Expectancy: Generally, homemade chalk paint lasts approximately 1-2 weeks, particularly the baking soda and Plaster of Paris versions, due to their active ingredients. However, if sealed extremely well and stored correctly, some versions, especially calcium carbonate-based ones, can last a few weeks longer. For kid-friendly flour/cornstarch paints, they are best used fresh and typically last only a few days in the refrigerator.
- Reviving Thickened Paint: If your paint has only slightly thickened but is otherwise still good, you can try adding a very small amount of water (a teaspoon at a time) and stirring vigorously until it reaches the desired consistency. Do not do this if you suspect spoilage.
Wrapping Up Your DIY Chalk Paint Journey
By now, you’re well-equipped with the knowledge that making chalk paint at home is not just a budget-friendly alternative but a powerful way to take full control over your creative projects. From selecting the perfect base color to achieving a specific texture, you have the reins. We’ve journeyed through understanding what chalk paint is, explored several easy-to-follow recipes, detailed how to apply it beautifully to diverse surfaces like furniture, glass, metal, and even sidewalks, and provided essential tips for proper storage.
The world of homemade chalk paint offers endless possibilities for upcycling old items, crafting unique decorative pieces, or simply adding a personalized touch to your living space. It simplifies the transformation process, making it accessible and enjoyable for everyone. Now that you’re armed with these tips, tricks, and recipes, there’s nothing holding you back from starting your very first (or next!) chalk paint project.
So, gather your supplies, mix up your chosen recipe, and let your creativity flourish. The satisfaction of transforming something with your own custom-made paint is truly rewarding. Try one of these ideas today and don’t hesitate to share your amazing results and experiences in the comments section below! Happy painting!
