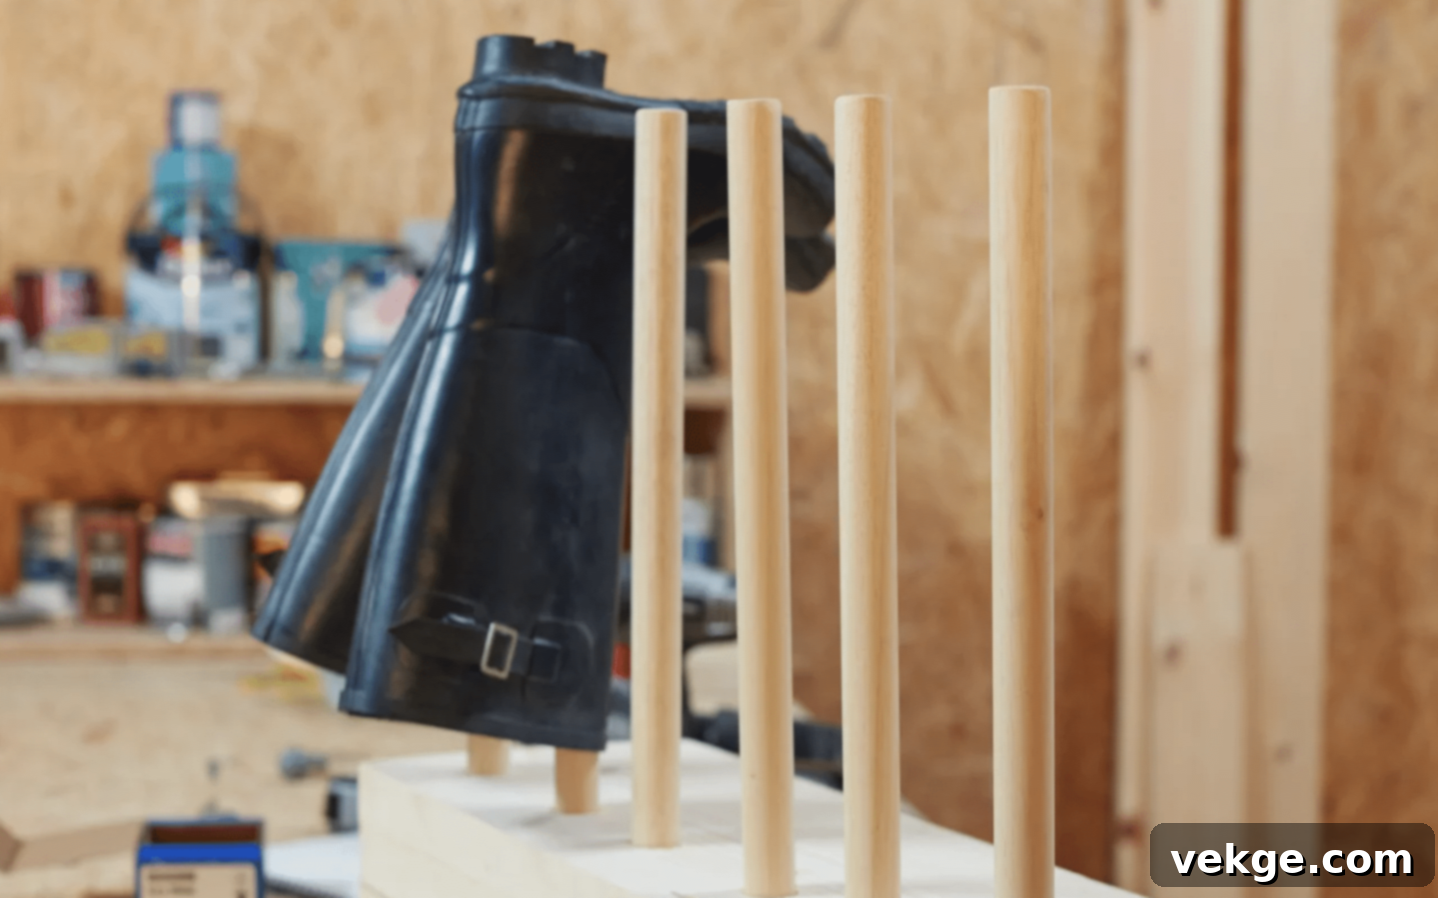
Build Your Own Sturdy DIY Boot Rack: The Ultimate Guide to Easy & Affordable Boot Storage
Do you often find yourself tripping over a scattered pile of boots near your front door? Perhaps your entryway has become a constant obstacle course of footwear? If this sounds all too familiar, you’re not alone. Many store-bought boot racks promise organization but often fall short, breaking within months or failing to match your home’s aesthetic.
That’s exactly why I decided to take matters into my own hands. After countless frustrating experiences with flimsy, mass-produced racks, I built my very own sturdy wooden boot rack. The best part? It cost me less than $30 and has stood strong for three years, elegantly holding six pairs of boots while keeping my entryway impeccably clean. Plus, by choosing the stain color myself, it seamlessly complements my home’s existing style and decor.
This comprehensive guide will walk you through every step of building your own robust and stylish boot rack, a project you can comfortably complete in a single afternoon. You won’t need advanced carpentry skills—just some basic tools, a few pieces of wood, and a ‘can-do’ attitude. Are you ready to reclaim your entryway and bring order to your boot collection? Let’s put an end to the clutter and start building a solution that truly lasts!
Why Choose a DIY Boot Rack Over Store-Bought Options?
When I first embarked on my boot rack building journey, I quickly discovered that creating my own offered numerous advantages that far surpassed any pre-made alternative. These benefits extend beyond just saving money, providing a truly customized and satisfying experience.
Here’s a closer look at what makes a DIY boot rack a superior choice:
1. Unbeatable Cost-Effectiveness
- The total material cost for my durable rack was under $30, a fraction of what many less sturdy commercial options cost.
- Since you build it yourself, there’s no need to constantly replace broken or worn-out racks, saving you money in the long run.
- Utilizing simple, readily available materials like pine boards means you’re investing in longevity without a hefty price tag. This initial small investment translates into years of reliable service.
2. Perfect Size and Capacity Control
- One of the biggest frustrations with store-bought racks is their generic sizing. With a DIY approach, I could choose the exact width to fit my specific entryway space, ensuring maximum efficiency without blocking pathways.
- I custom-built it tall enough to accommodate my longest winter boots and short enough for everyday ankle boots, preventing them from flopping over or getting squished.
- Need space for more boots? You can add extra slots or adjust the design based on your family’s exact footwear storage needs, a flexibility rarely found in commercial products.
3. Seamless Style Integration
- Your home has a unique style, and your boot rack should too. I had the freedom to select a wood stain that perfectly matched my existing furniture and overall decor, creating a cohesive look.
- Beyond just the wood, you can pick hardware (like casters or decorative screws) that aligns with your home’s aesthetic, whether it’s rustic, modern, or traditional.
- The clean lines and simple design I chose integrate beautifully with my decor, making the rack look like an intentional piece of furniture rather than just a utility item.
4. Superior Build Quality and Durability
- Unlike many mass-produced racks that rely on particleboard or thin metal, my DIY rack uses solid wood, ensuring exceptional strength and stability.
- You have complete control over the construction, allowing you to add extra support where it’s most needed, such as reinforced joints or thicker baseboards, making it far more robust than typical store options.
- The pride of building it yourself often translates into a more meticulous construction process, resulting in a product designed to withstand daily wear and tear for years.
5. Effortless Maintenance and Repair
- A wooden boot rack is incredibly easy to clean; a simple wipe with a damp cloth is usually all it takes to keep it looking fresh.
- Should any damage occur, you possess the knowledge and tools to fix it yourself, rather than having to discard and replace the entire unit. A loose screw or a scratched surface is an easy repair.
- Want a fresh look? You can quickly update your rack with a new coat of paint or stain, giving it a complete makeover without buying a new one. This adaptability makes it a truly sustainable storage solution.
How Much Does It Cost to Make Your Own DIY Boot Rack?
One of the most appealing aspects of building my own boot rack was the significant cost savings. While prices for materials can vary slightly based on your location and chosen suppliers, I managed to complete my project for well under $30, proving that functional home improvements don’t have to break the bank.
Here’s a typical breakdown of the basic material costs:
- Pine Boards (1×6 or similar dimensions): Approximately $12 for enough lumber to create a substantial rack. Pine is affordable, easy to work with, and takes stain beautifully.
- Wood Screws (various sizes): Around $3 for a box, which will provide more than enough for your project and potentially future DIY endeavors.
- Wood Stain or Paint: Roughly $8 for a small can, allowing you to customize the finish to match your home.
- Sandpaper (assorted grits): About $2 for a pack, essential for achieving a smooth, splinter-free finish.
Optional items that might enhance your boot rack:
- Clear Coat Finish (Polyurethane or Varnish): An additional $5 for a small can to provide extra protection against moisture and wear, especially if placed in a high-traffic area.
- Felt Pads (for the base): Approximately $2 to protect your floors from scratches and allow for easier movement.
- Corner Brackets or L-Brackets: Around $3 for a small pack, which can add extra structural integrity and a decorative touch if desired.
- Casters (Wheels): If you want a mobile boot rack, a set of four casters might cost between $10-$20, depending on their size and quality.
Most of the tools required for this project are common household items, meaning you likely already own many of them. These include a tape measure, pencil, saw (a hand saw is sufficient, but a chop saw makes it faster), a drill/screwdriver, and a sanding block. Investing in these basic tools, if you don’t have them, will serve you well for many future DIY projects.
Remember, these prices are estimates, but even with slight variations, building your own boot rack remains a far more economical choice than purchasing a pre-made unit, especially considering the customized fit and superior durability you’ll achieve.
Assessing Your Space: The Foundation of a Perfect Boot Rack
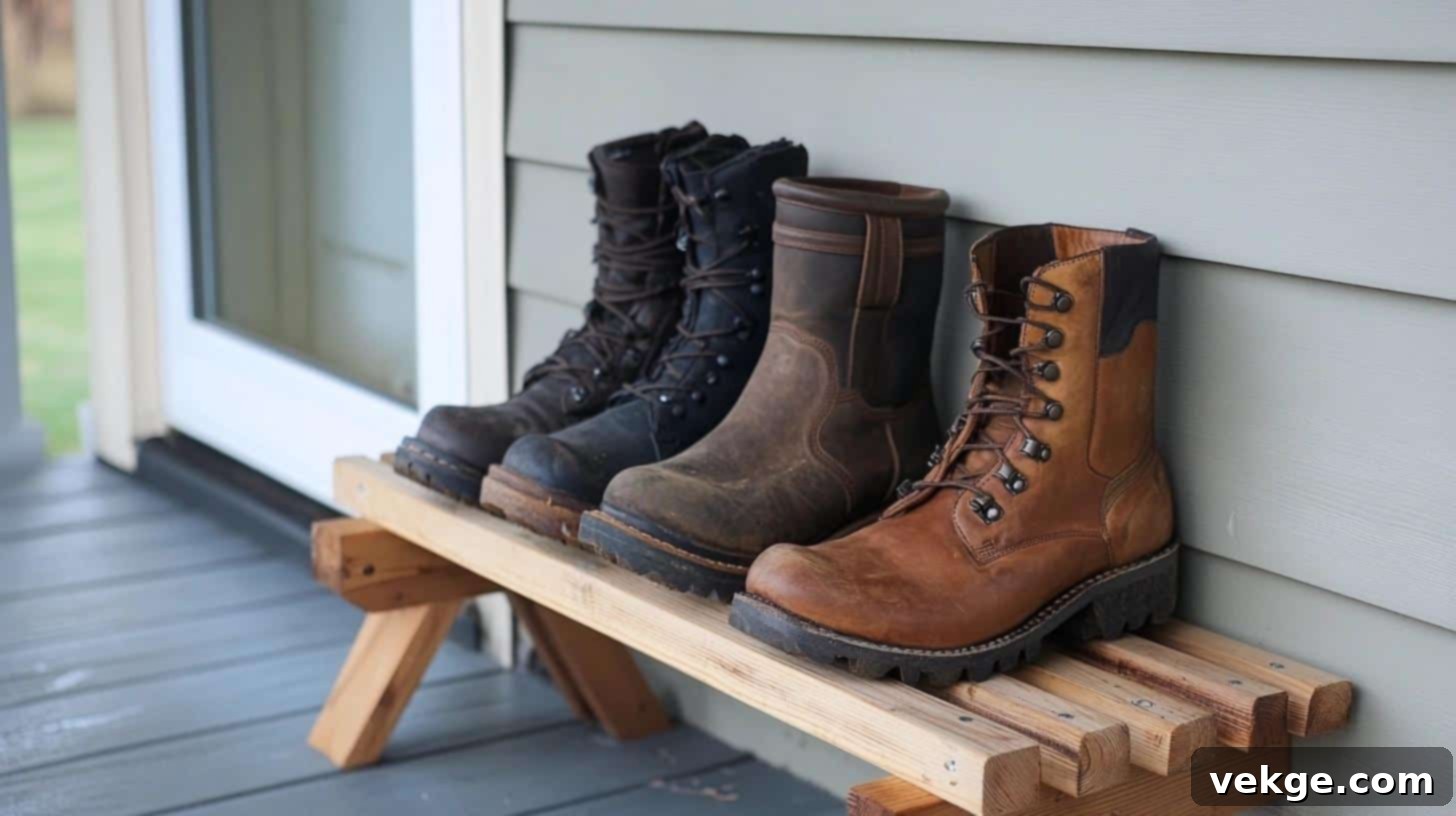
Before any cutting or assembling begins, proper measurement and planning are absolutely crucial. This initial step saved me from costly mistakes and ensures your finished boot rack fits perfectly and functions flawlessly. Let me guide you through the thoughtful considerations for this vital first stage of your DIY boot rack project.
1. Getting the Right Measurements for Your Boot Storage
I always start by visualizing and marking the exact spot where my boot rack will live. A reliable measuring tape is your best friend here. Don’t just measure the width at the floor; check it again about a foot higher. Walls are rarely perfectly straight, and accounting for slight variations can prevent frustrating surprises later on. Similarly, consider the specific types of boots you own—tall riding boots, bulky work boots, or sleek ankle boots—as this will dictate the height and spacing of your dowels.
Carefully note down these critical dimensions:
- Overall Width of the Space: Measure the maximum width your rack can occupy without obstructing doorways or furniture.
- Required Height for Your Tallest Boots: Measure your tallest pair of boots and add at least 2-3 inches for easy placement and removal. This ensures your boots stand upright without bending or crinkling.
- Optimal Depth that Won’t Block Paths: Consider the depth of your largest boots. The rack should be deep enough to support them but shallow enough not to impede walking paths, especially in narrow entryways or hallways.
- Number of Pairs: Determine how many pairs of boots you need to store. This will help you plan the number of dowels and the overall length of your rack.
Pro Tip: Adding an extra inch or two of clearance on each side of the rack (if space allows) made cleaning behind and around it significantly easier. It also gives the rack a less ‘cramped’ feel.
2. Indoor vs. Outdoor Placement Considerations
The location of your boot rack heavily influences material choices and finishing touches. My current rack is designed for indoor use, strategically placed near the front door but slightly away from the immediate traffic flow. This keeps boots handy but neatly out of the way.
If you’re considering an outdoor boot rack, perhaps for muddy gardening boots or winter gear in a mudroom or porch, here are crucial considerations:
- Choose a Covered Spot: Always place an outdoor rack under a protective cover, such as a porch overhang or within a garage. This shields it from direct rain and harsh sunlight.
- Elevate Off Wet Ground: Ensure the rack is elevated from the ground to prevent moisture wicking up into the wood, which can lead to rot or mold. Casters or small feet can help with this.
- Maintain Clear Paths: Just like indoors, make sure your outdoor rack doesn’t obstruct walkways, stairs, or access points.
- Avoid Direct Rain/Snow Exposure: Even under cover, wind-driven rain or snow can reach your rack. Position it to minimize direct exposure to the elements.
- Consider Drainage: If placing wet boots on the rack, think about a drip tray underneath to catch melting snow or mud, keeping the area clean.
Essential Tools and Materials for Your DIY Boot Rack Project
Embarking on a woodworking project might seem daunting, but this boot rack design utilizes common tools that many households already possess. For the materials, we’re focusing on sturdy, cost-effective options that guarantee durability and a pleasing aesthetic.
| Tools Required | Materials Required |
|---|---|
| Tape Measure | Timber (e.g., Pine, or a scaffold board for a rustic look) |
| Pencil and Straight Edge | Wooden Dowels (diameter suitable for boot shafts) |
| Chop Saw or Circular Saw (or a Hand Saw for smaller projects) | Wood Screws (various lengths, suitable for wood thickness) |
| Orbital Sander (or a Sanding Block with Sandpaper) | Optional: Casters (4, for mobility) |
| Bradawl (or a small nail for pilot hole marking) | Optional: Wood Glue (for extra dowel stability) |
| Drill with Spade Bit (matching dowel diameter) | Optional: Wood Stain/Paint (for finish and protection) |
| Screwdriver (matching screw heads) | Optional: Wood Treatment (essential for outdoor use) |
| Safety Glasses and Gloves |
Note on Timber: While the original example mentions scaffold board for a rugged aesthetic, common pine boards (1×6 or 1×8 inches) are excellent, affordable, and easy-to-work-with alternatives available at any hardware store. Choose straight, knot-free pieces for the best results. The quantity will depend on your desired rack length and number of boot slots.
Note on Dowels: Ensure your dowels are sturdy enough to support a boot. Common diameters are 3/4 inch to 1 inch. Measure the opening of your boot shafts to determine the ideal dowel length and diameter.
Step-by-Step Guide to Creating Your Sturdy DIY Boot Rack
With your space assessed, materials gathered, and tools ready, it’s time to bring your custom boot rack to life. Follow these clear steps to build a functional and attractive piece that will declutter your entryway for years to come. Remember to prioritize safety by wearing appropriate eye protection and gloves throughout the process.
1. Measure and Plan Your Boot Rack Dimensions
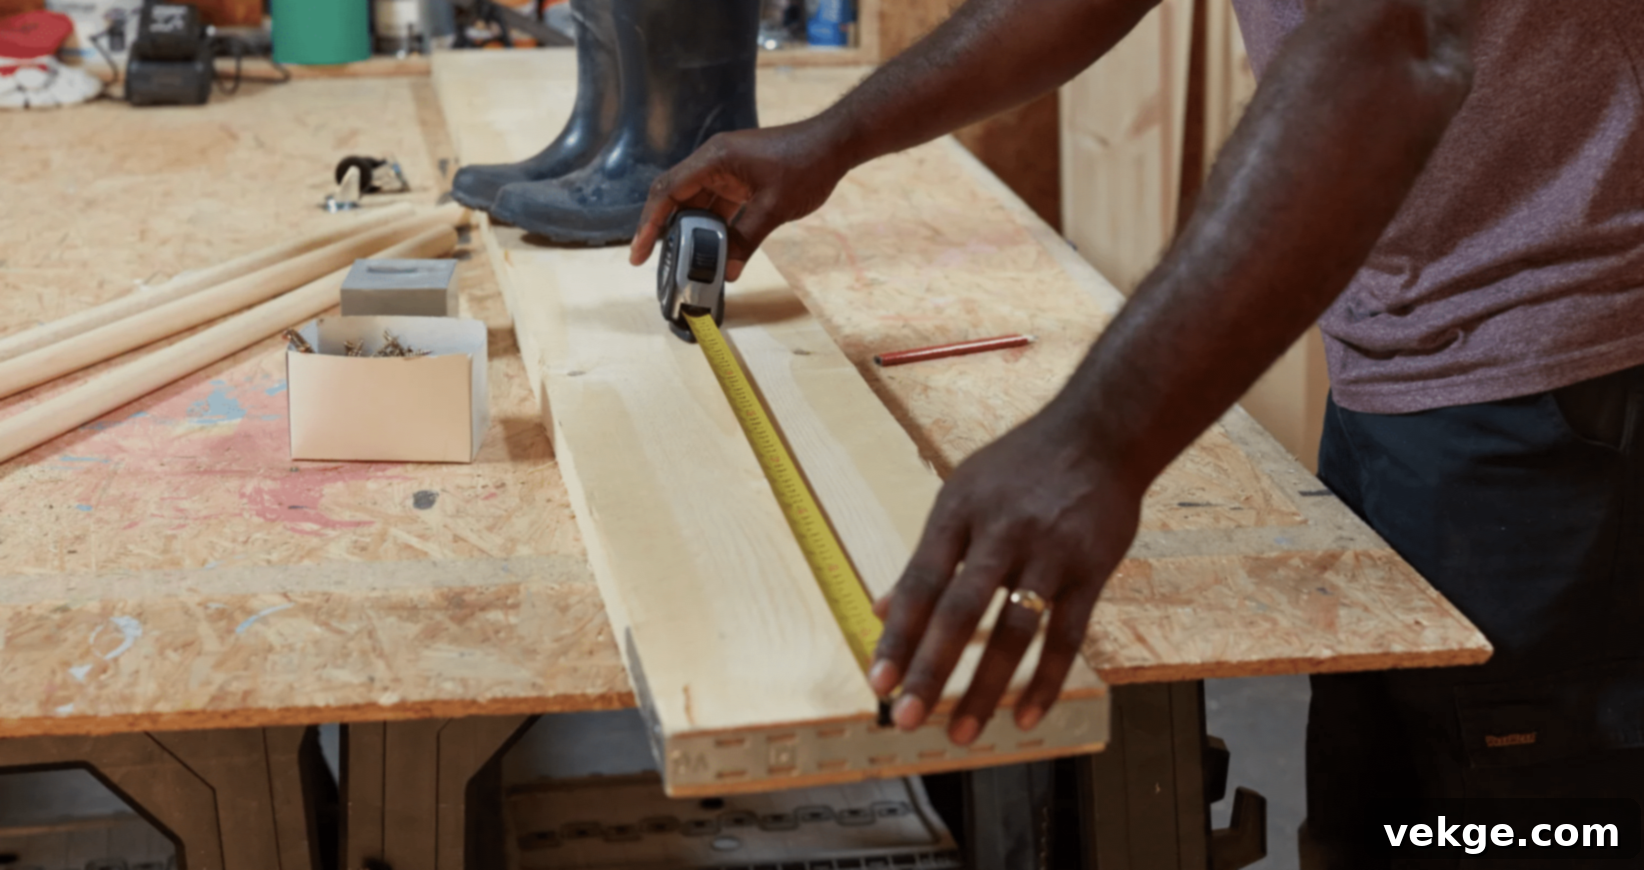
- Begin by meticulously measuring the designated area where your boot rack will be placed. Double-check the width, height, and depth, keeping in mind the largest boots you intend to store. Accurately measure the height of your tallest boots, adding a couple of inches for clearance.
- Determine the overall size and number of dowels based on how many pairs of boots you need to accommodate. Sketching a simple diagram can be incredibly helpful at this stage.
- Pre-mark all dimensions directly onto your chosen timber. This includes the length of the base planks, the height of any supports (if applicable), and most importantly, the precise spacing for your dowels. Allow for slight adjustments in dowel placement if your boots vary significantly in size. Mark dowel centers at least 6-8 inches apart to provide adequate space for each boot without them touching.
- Safety Tip: Always measure twice, and cut once! This adage will save you time and material.
2. Prepare and Cut Your Timber Components
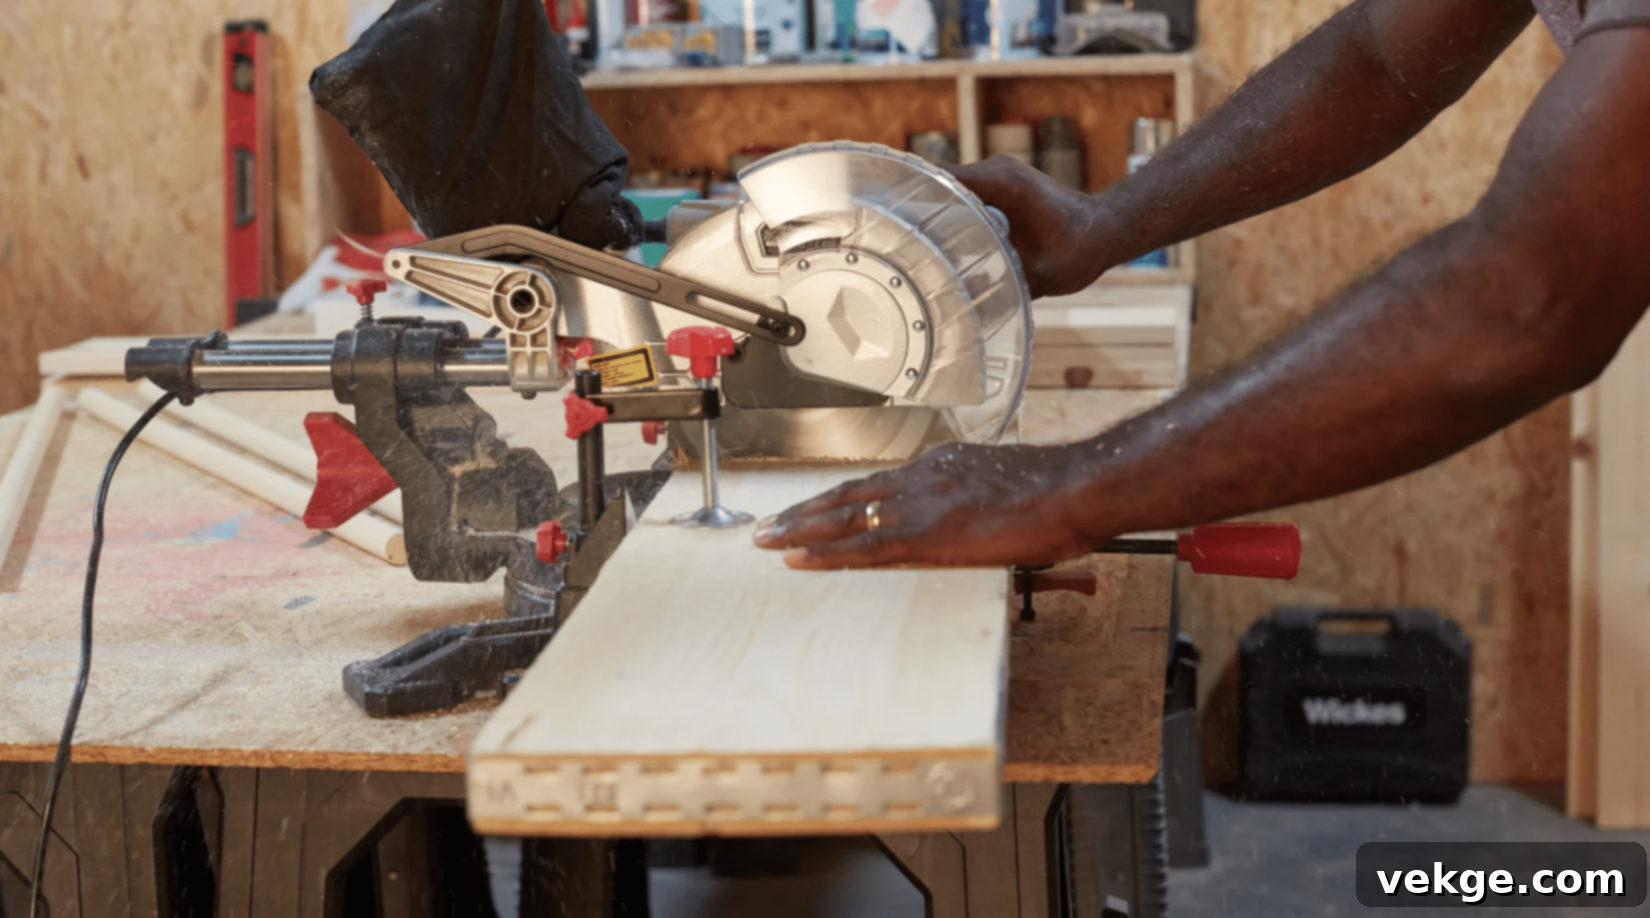
- Using a chop saw, circular saw, or even a sturdy hand saw, carefully cut the main pieces of your rack. For stability and accuracy when using a chop saw, stack spare timber or another surface level with the saw bed to fully support your main board.
- Cut three pieces of timber to your required length for the base and supports. Use your first perfectly cut piece as a template for the subsequent two to ensure all pieces have consistent length and clean edges.
- Once cut, thoroughly sand all cut edges and surfaces with an orbital sander or sanding block. Start with a medium-grit sandpaper (e.g., 100-120 grit) to remove saw marks and smooth the wood, then finish with a finer grit (e.g., 180-220 grit) for a truly smooth, splinter-free finish. This not only looks better but also protects your hands and boots.
- Safety Tip: Wear safety glasses when cutting and sanding. Secure your timber with clamps if using a hand saw.
3. Cut and Prepare Your Dowels
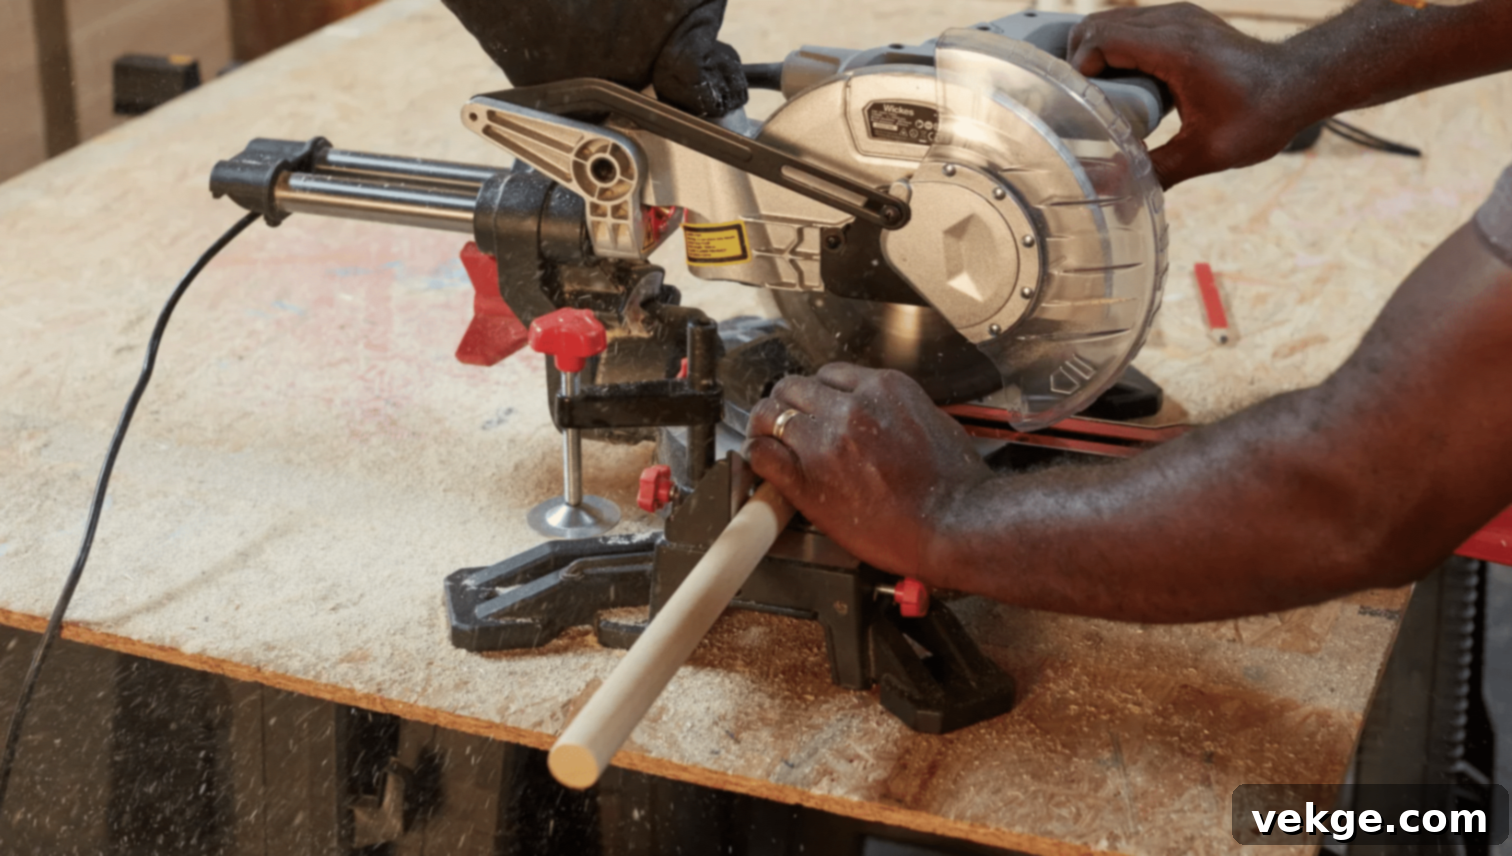
- Measure and cut your wooden dowels to the appropriate length. A good starting point is about 8-10 inches, allowing enough height to support most boot shafts without being excessively long. You can adjust this based on the typical height of your boots.
- After cutting, meticulously sand the dowels, paying special attention to the ends. Remove any rough edges or splinters to achieve a smooth finish. This step is crucial for easy insertion into the drilled holes and to prevent any snags or damage to your boots. A smooth dowel also looks more professional.
4. Attach Casters (Optional Step for Mobility)
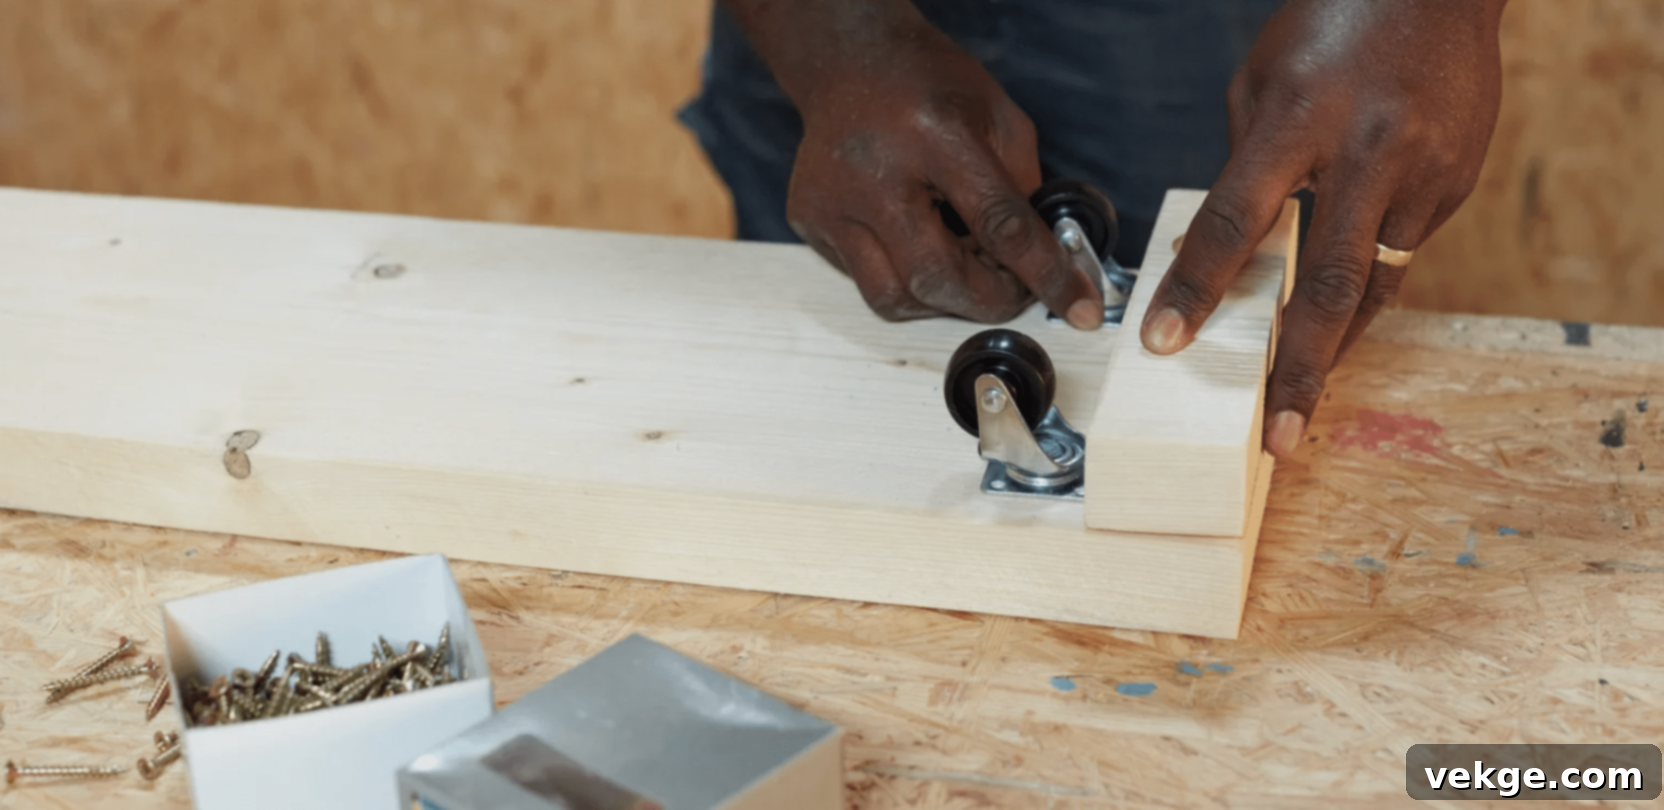
- If you desire a mobile boot rack, this is the stage to attach your casters. Flip your bottom board over and mark the positions for each of the four casters, ensuring they are placed evenly near the corners for maximum stability.
- Use a bradawl or a small nail to create small indentations (pilot points) at each mark. This prevents your drill bit or screws from wandering.
- Drill pilot holes that are slightly smaller than the diameter of your screws, then securely attach the casters using wood screws. Make sure all casters are aligned and firmly fastened to keep the rack balanced and prevent wobbling.
5. Assemble the Base and Attach Supports
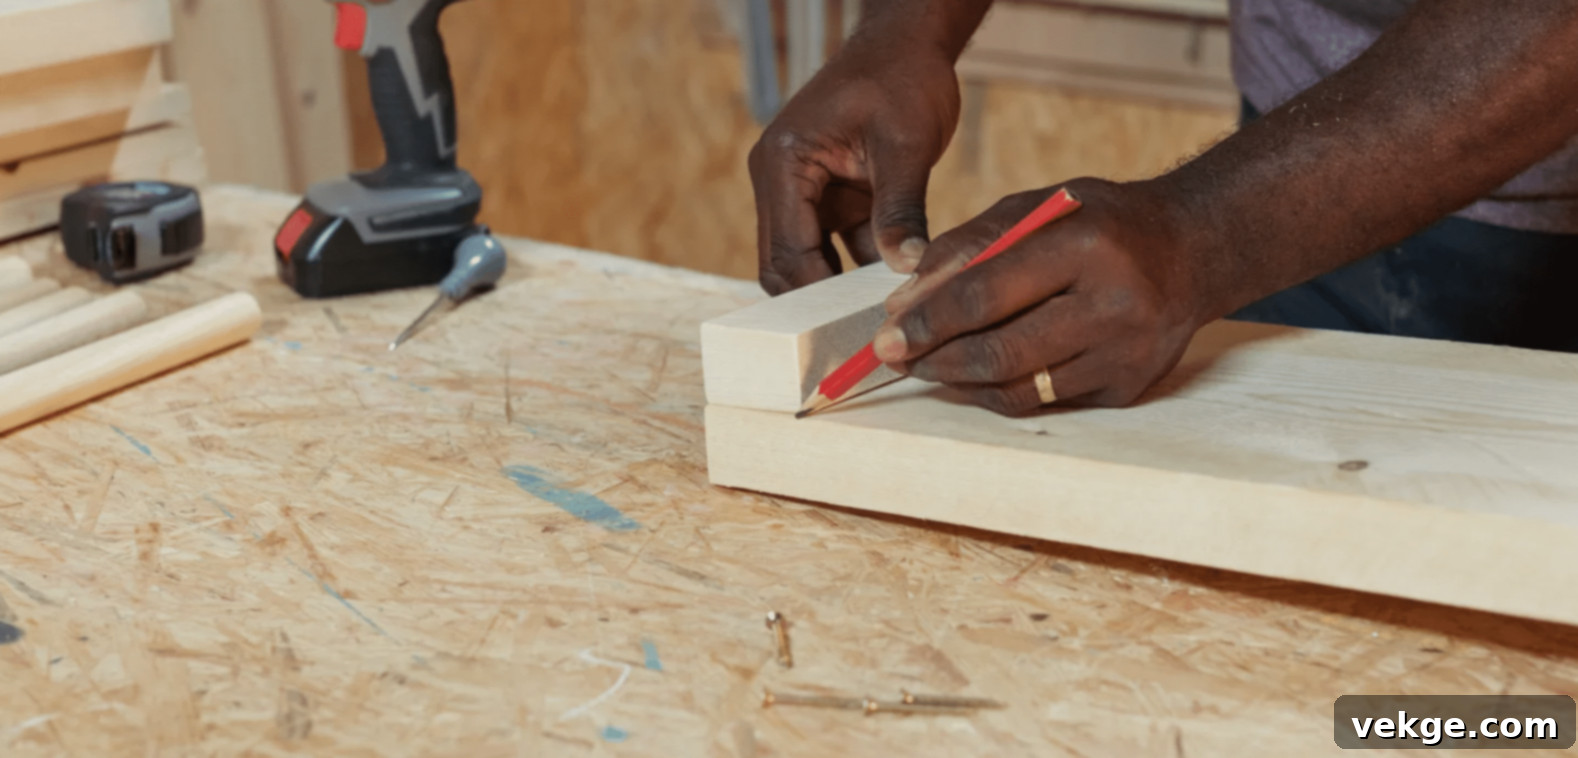
- Lay out your base pieces on a flat, stable surface. For a typical design, you’ll have two longer planks running parallel with smaller support pieces connecting them.
- Align the edges of the planks perfectly flush with each other. You can use your fingers to check for a smooth transition between pieces.
- Secure them together by driving wood screws below the surface of the wood. Counter-sinking the screws creates a cleaner finish. For added strength, you might consider pre-drilling pilot holes to prevent wood splitting, especially near edges.
- Scribe a straight line across the joined planks to use as a guide for attaching your supports (if your design includes horizontal supports connecting the base pieces). This ensures the supports are straight and evenly spaced, contributing to the rack’s overall stability and aesthetic.
6. Drill Holes for the Dowels
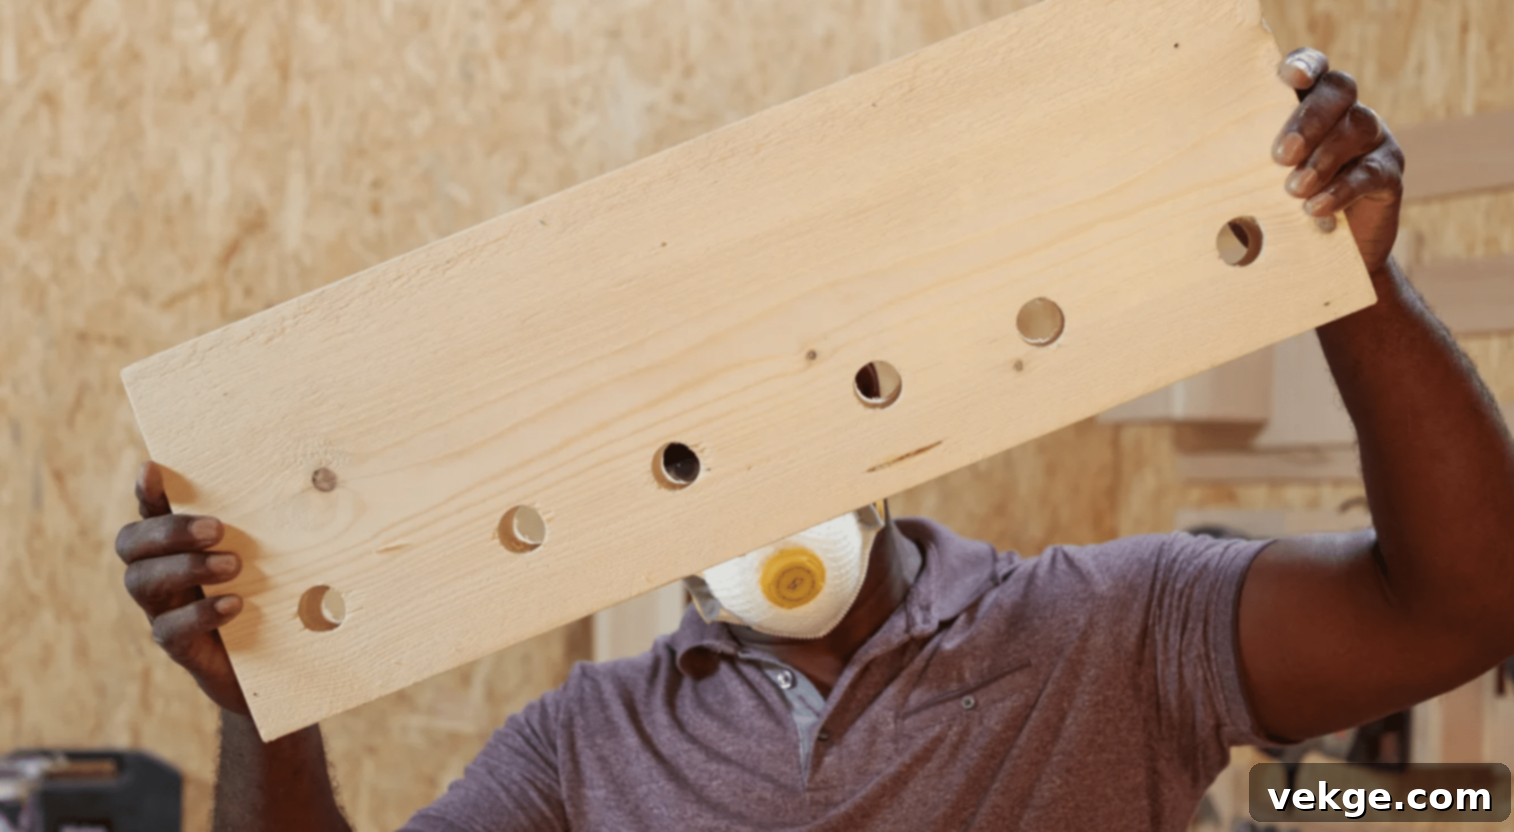
- Carefully measure and mark the precise locations for your dowel holes on the top surface of your baseboard. Remember to adjust the spacing based on the width of your boots, aiming for even distribution and adequate clearance. A general guideline is 6-8 inches between centers.
- Start by drilling small pilot holes with a standard drill bit. This helps guide your spade bit and prevents wood splitting.
- Next, switch to a spade bit that exactly matches the diameter of your dowels. Drill each hole carefully, ensuring it is straight and perpendicular to the board. Use a drill press if you have one for perfect vertical holes; otherwise, practice on a scrap piece of wood to get a feel for keeping the drill straight.
- After drilling, gently sand the inside edges of each hole. This removes any rough wood fibers, ensuring a snug and smooth fit for the dowels, and preventing snags when you insert your boots.
7. Install Dowels and Apply the Finishing Touches
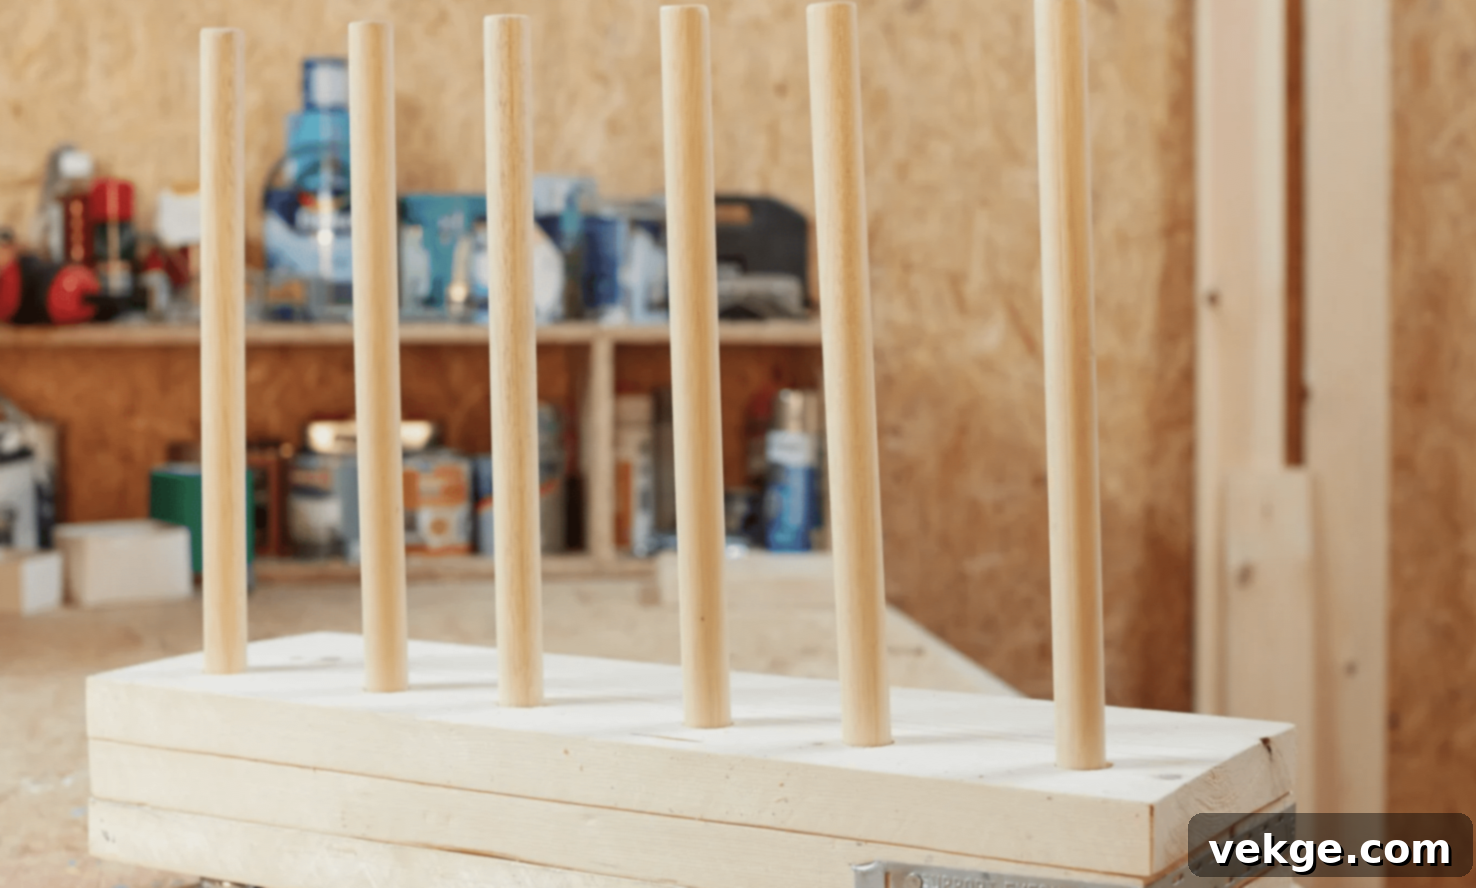
- Now for the satisfying part: inserting your prepared dowels into the drilled holes. They should fit snugly. If a dowel is too tight, lightly sand its end until it slides in with firm pressure. If too loose, a small amount of wood glue will secure it.
- For maximum stability and longevity, apply a small amount of wood glue around the base of each dowel before fully seating it into its hole. Wipe away any excess glue immediately with a damp cloth. Allow the glue to cure completely according to the manufacturer’s instructions, typically a few hours.
- Once assembled and the glue is dry, it’s time for the final touches. Apply your chosen wood treatment, stain, or paint. If using a stain, apply it evenly with a brush or rag, wiping off excess. If painting, apply thin, even coats.
- For outdoor racks or those in high-traffic areas, a clear coat finish (like polyurethane or spar varnish) is highly recommended. This protects the wood from moisture, dirt, and wear, significantly extending the life of your boot rack and adding a beautiful sheen. This personal touch will not only protect your investment but also perfectly match your home’s aesthetic.
Exploring Other Creative DIY Boot Rack Designs
While my chosen design is simple, sturdy, and highly effective, the world of DIY boot storage offers a plethora of creative solutions. I’ve experimented with several styles over the years before settling on my preferred method. Here’s what I’ve learned about three other popular and equally functional options, each with its own unique charm and benefits:
1. The Rustic Horseshoe Boot Rack
This design is a fantastic way to introduce a touch of rustic charm or farmhouse aesthetic into any room, especially a mudroom or garage. It creatively repurposes old horseshoes, welding them together to form sturdy, individual boot holders. My friend, an avid equestrian, built one that:
- Comfortably holds 4-6 pairs of boots, making excellent use of recycled materials.
- Stays incredibly firmly on the ground due to the weight and broad base of the horseshoes, preventing tipping.
- Requires basic welding skills or access to a welder. If you don’t weld, a local metal fabricator might be able to assemble it for a small fee, or you can find pre-welded horseshoe racks to adapt.
- Can be surprisingly cost-effective, with materials (horseshoes are often cheap or free from stables, and a little welding rod) coming in around $20-30 if you have the tools.
- Offers exceptional durability and a truly unique, eye-catching design that serves as both storage and a conversation piece.
For a detailed tutorial on building a Horseshoe Boot Rack, check out the below video:
2. The Space-Saving Wall-Mounted Boot Rack with Dowels
This style proved incredibly practical during my time living in a small apartment where floor space was a premium. A wall-mounted rack keeps boots elevated and out of the way, making it ideal for narrow entryways, closets, or even behind a door. The design typically involves:
- Maximizing floor space by utilizing vertical wall space, perfect for compact living areas.
- Using sturdy wooden dowels as boot hangers, which are inserted into a main wooden plank securely fastened to the wall. The dowels can be angled slightly upwards to better hold boots.
- Requiring strong wall anchors (like toggle bolts or self-drilling anchors) to ensure the rack can safely support the weight of multiple pairs of boots without pulling out of the wall.
- Being a relatively quick build, often taking only about 2-3 hours from start to finish once materials are gathered.
- Being very budget-friendly, with costs typically ranging from $25-$40 for wood, dowels, and mounting hardware.
- Offering a clean, minimalist look that can be painted or stained to blend seamlessly with your wall or decor.
For a detailed tutorial on Wall-Mounted Boot Racks with Dowels, check out the below video:
3. The Practical PVC Pipe Boot Rack for Outdoor Use
When I needed an ultra-durable and water-resistant solution specifically for muddy gardening boots and wet hiking footwear, a PVC pipe boot rack proved absolutely perfect. Its resilience to moisture and ease of cleaning make it ideal for utilitarian outdoor or garage settings. This highly functional option:
- Utilizes incredibly water-resistant and rot-proof materials, making it perfect for handling wet, dirty, or muddy boots without fear of damage to the rack itself.
- Is remarkably inexpensive to construct, often costing well under $15 for all the necessary PVC pipes and fittings.
- Is incredibly quick to assemble, often taking as little as 30 minutes, especially if you pre-cut your pipes. It’s essentially a giant LEGO project!
- Can be scaled to hold anywhere from 4 to 10+ pairs of boots, depending on the amount of PVC you purchase.
- Excels at allowing wet boots to air dry quickly, preventing mildew and odors, which is a major benefit for outdoor and work boots.
- Can be easily disassembled for cleaning or storage, and it’s lightweight, making it portable.
For a detailed tutorial on building a PVC Pipe Boot Rack, check out the below video:
Maintenance and Care Tips for Your Boot Racks and Boots
Building a durable boot rack is a great first step, but proper maintenance will ensure its longevity and keep your footwear in pristine condition. Let me share the simple yet effective habits I’ve adopted to keep both my DIY boot rack and my beloved boots in top shape year-round. These routines require minimal effort but yield significant long-term benefits.
1. Boot Rack Upkeep: Ensuring Longevity
Regular and mindful care significantly extends the life of your boot rack, preventing premature wear and tear. My routine ensures my wooden rack continues to look good and function perfectly:
- Weekly Dusting: A quick wipe with a dry or slightly damp cloth weekly prevents dust and grime buildup, keeping the wood clean and fresh.
- Immediate Spill Cleanup: Accidents happen. If mud, water, or other liquids spill onto the rack, clean them up immediately. This prevents stains from setting in and protects the wood finish from moisture damage.
- Monthly Screw Check: Over time, vibrations and movement can cause screws to loosen. I make it a point to check all screws monthly and tighten any that feel loose with a screwdriver. This maintains the rack’s structural integrity.
- Annual Wood Finish Reapplication: Depending on wear and exposure, reapply a fresh coat of wood finish, stain, or clear sealant yearly. This replenishes the protective layer, guarding against moisture, scratches, and UV damage, especially for outdoor or high-traffic indoor racks.
- Regular Structural Inspection: Periodically, inspect the wood for any signs of cracks, splits, or warping. Addressing small issues early can prevent them from becoming major problems that compromise the rack’s stability.
Safety Check: Every few months, I gently push and wiggle the rack to test its stability. If there’s any wobbling, it’s a sign to check all joints and screws immediately. Better safe than sorry, especially if you have children or pets around!
2. Boot Care on the Rack: Preserving Your Footwear
Your boot rack is more than just storage; it’s a tool for preserving your footwear. Since adopting these simple habits, my boots have maintained their shape, appearance, and lifespan much better:
- Stand Boots Upright: Always place boots straight up on the dowels. Avoid leaning them against each other or the wall, which can cause creases, scuffs, and misshapen shafts over time.
- Ensure Good Airflow: Space pairs of boots slightly apart on the rack. Good air circulation is crucial for drying out any residual moisture and preventing odors and mildew, particularly after wearing them in wet conditions.
- Strategize Placement by Weight: If your rack has multiple tiers or dowel heights, place heavier or bulkier boots on lower levels for better stability. Lighter, more delicate boots can go on higher dowels.
- Handle Wet Boots Thoughtfully: For very wet or muddy boots, consider placing them on the lowest level or on a drip tray directly beneath the rack to catch any runoff and prevent it from affecting other boots or the floor. Ensure they have maximum airflow to dry completely.
- Utilize Shoe Trees for Tall Boots: For tall boots that tend to flop, consider using boot shapers or shoe trees. These maintain the shaft’s upright form, preventing creasing and preserving their aesthetic appeal.
Quick Tip: On particularly wet or humid days, or after a rainy outing, I often place a small, oscillating fan near my boot rack for a few hours. This significantly accelerates the drying process for both the boots and the rack, combating musty odors and ensuring everything stays fresh.
Wrapping It Up: Your Journey to a Tidy Entryway
Building my own DIY boot rack was a game-changer for how I manage and store my footwear. This simple weekend project not only brought much-needed order to my cluttered entryway but also provided the deep satisfaction of creating something practical and lasting with my own hands, all while saving a significant amount of money.
Throughout this process, I discovered that you don’t need to be a seasoned carpenter to achieve impressive results. Careful planning, precise measurements, and a few basic tools are truly all you need to create a functional and aesthetically pleasing addition to your home. It’s a fantastic project for beginners to gain confidence in woodworking skills.
Remember, the beauty of a DIY project lies in its adaptability. Your boot rack doesn’t need to be absolutely perfect or replicate a factory-made item. What truly matters is that it is sturdy, functional, and tailored precisely to your unique space and specific storage needs. Whether you opt for classic pine boards, experiment with robust scaffold timber, mount it on the wall, or create a portable PVC solution, the principles remain the same.
The key to success starts with diligent measurements and a commitment to basic safety checks at every stage. So, are you ready to banish the boot clutter, enhance your home’s organization, and enjoy the pride of a handcrafted solution? Don’t hesitate! Gather your materials, follow these steps, and start building your very own custom boot rack today!
