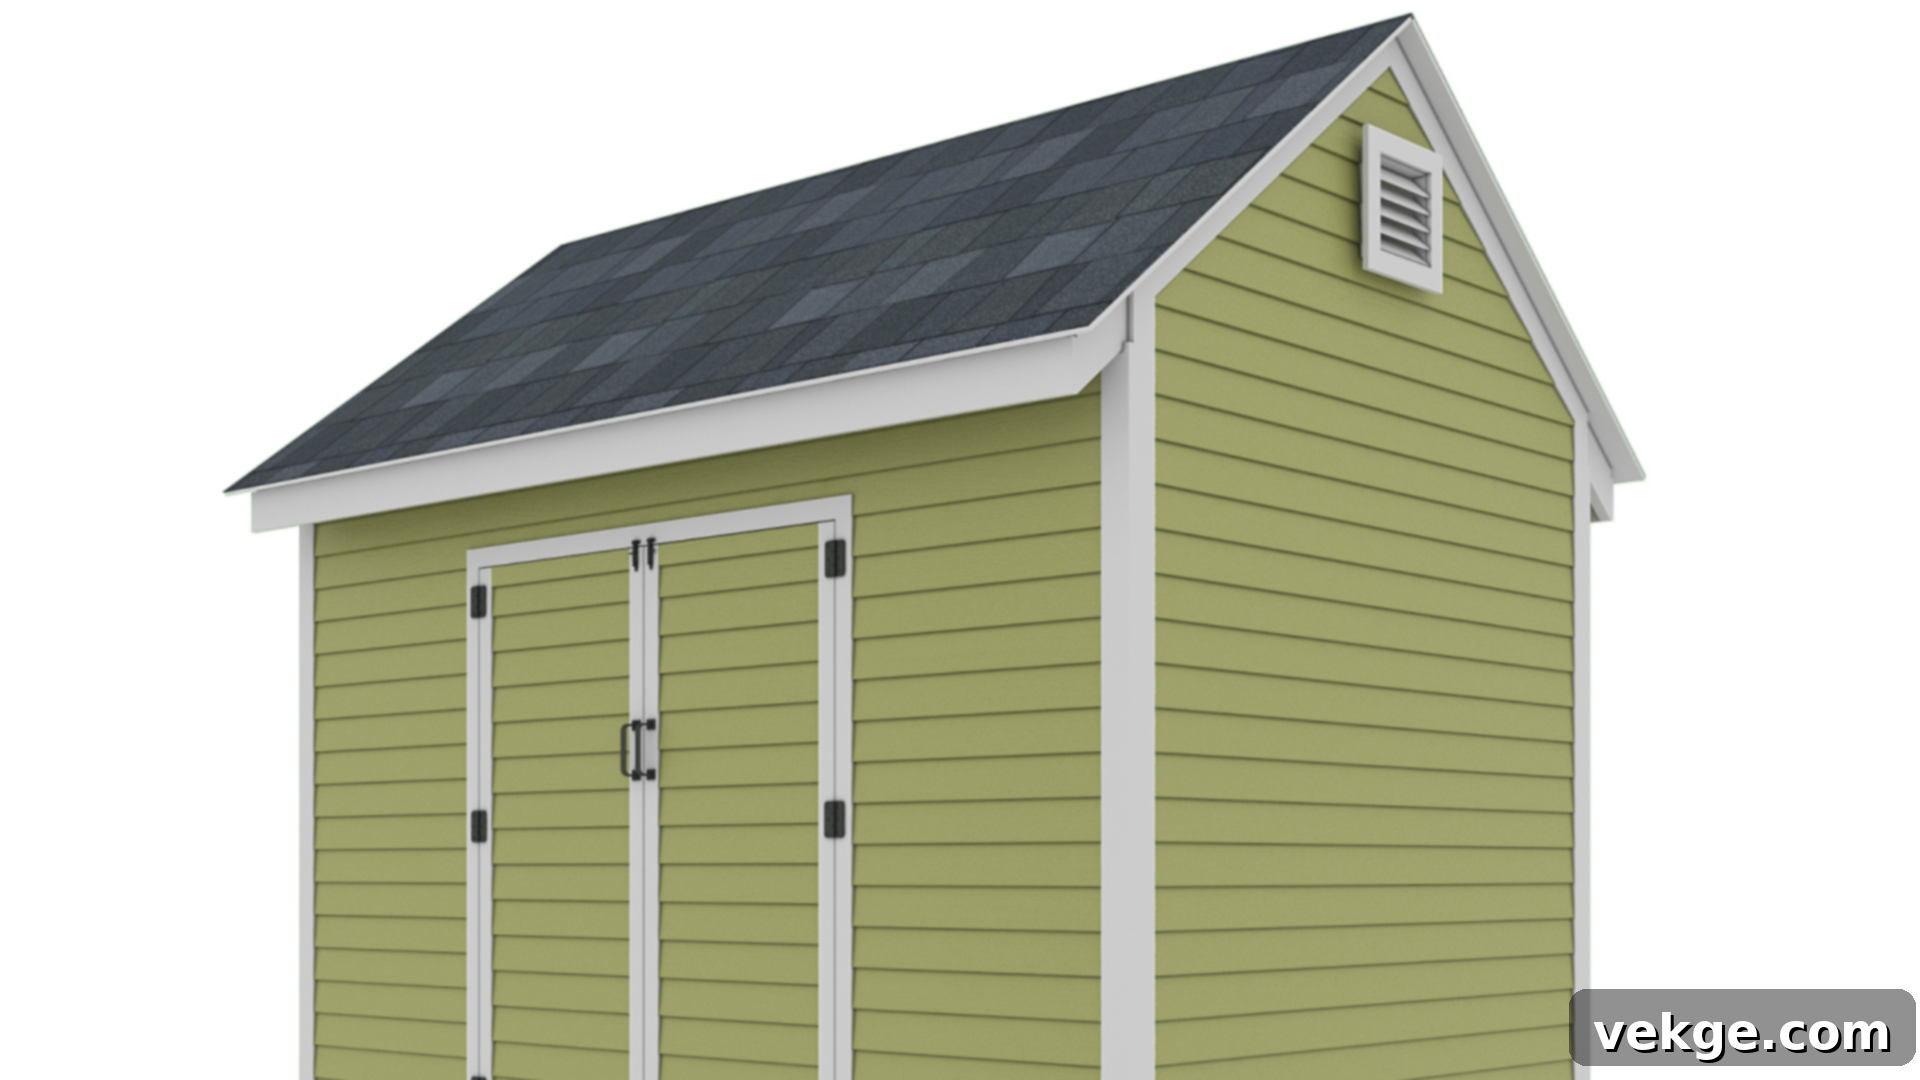
DIY 8×12 Shed: Step-by-Step Plans for a Functional Backyard Storage Solution
Embarking on my first shed construction project, my primary goal was straightforward: I needed a clean, organized space to store my tools, gardening equipment, and various outdoor essentials. I wasn’t looking for anything overly elaborate or costly; just a practical, durable structure that would serve its purpose efficiently. These detailed 8×12 shed plans were the key to achieving that goal without the common frustrations of guesswork or complex calculations.
In this comprehensive guide, I’m excited to share the very same type of plans that empowered me to successfully build my own shed. You’ll discover crystal-clear material lists, easy-to-follow instructions, and practical tips that will guide you through every stage of the construction process. Beyond the essential steps, I’ve also incorporated advice on how to avoid common pitfalls and included a few valuable extras that enhanced the utility and longevity of my own shed. If you’re ready to transform your cluttered yard into a more functional and organized space, this guide is designed to help you achieve exactly that with confidence and ease.
Why Choose an 8×12 Shed Size for Your Backyard?
An 8×12 shed provides a generous 96 square feet of interior space, making it one of the most popular and versatile sizes for backyard storage. This dimension strikes an excellent balance, offering ample room for a wide array of items without overwhelming your yard’s landscape. It’s large enough to accommodate the storage needs of most homeowners, yet compact enough to fit comfortably in many backyard settings, even those with limited space.
Imagine being able to neatly store your push mower, a sturdy wheelbarrow, several shelves packed with storage bins, and even a couple of bicycles. The 8×12 footprint ensures there’s sufficient wall space to hang rakes, shovels, trimmers, and other garden tools, keeping them off the floor and easily accessible. You can also comfortably park a snow blower, pressure washer, or other larger seasonal equipment. Furthermore, with adequate ceiling height, this shed size allows for vertical storage solutions, such as stacking items or installing hooks and pegboards, maximizing every inch of available space.
When an 8×12 Shed Works Best
- Lawn and Garden Storage: This size is ideal for consolidating all your gardening essentials. Keep rakes, shovels, hoes, trimmers, leaf blowers, fertilizers, soil bags, and empty planters neatly organized in one secure location. No more searching through the garage!
- Bike and Sports Gear: Protect your family’s bicycles, helmets, outdoor games, camping equipment, and sports gear from the elements and potential theft. A dedicated shed keeps them dry, clean, and ready for your next adventure.
- Small Workshop or Hobby Space: For the DIY enthusiast, an 8×12 shed can easily be outfitted with a workbench, shelving, and proper lighting to create a functional small workshop. It’s perfect for minor repair projects, woodworking hobbies, or crafting, keeping dust and noise out of the main house.
- Seasonal and Holiday Storage: Free up valuable space in your attic or basement by relocating seasonal items. Store holiday decorations, patio cushions, pool supplies, outdoor furniture covers, and other seasonal gear, making them easily accessible when needed.
Ultimately, the 8×12 shed size offers an optimal blend of storage capacity and functionality. It’s an achievable DIY project for many, providing significant utility without being overly complex to build or requiring extensive property modifications.
Essential Materials and Tools Needed for Your 8×12 Shed Build
Proper preparation is crucial for any successful construction project. Before you even cut your first piece of lumber, ensure you have a comprehensive understanding of the materials and tools required. Having everything on hand before you begin will streamline the building process, prevent frustrating delays, and allow you to work more efficiently. Here’s a detailed breakdown of the basic materials and tools you’ll need for constructing a sturdy 8×12 shed.
Framing Materials:
- Lumber: You’ll primarily need 2×4 and 2×6 dimensional lumber.
- 2x6s: Essential for floor joists, providing a strong and stable base for your shed.
- 2x4s: Used for wall studs, top and bottom plates, door and window headers, and roof rafters.
- Pressure-treated lumber (4×4 or 4×6): Crucial for the skids or perimeter timbers that will be in direct contact with the ground, protecting against rot and insects.
- Fasteners: A variety of nails and screws will be necessary.
- Common Nails (e.g., 16d, 8d): For framing connections.
- Deck Screws (e.g., 2.5″, 3″): Excellent for subfloor attachment and areas where greater pull-out resistance is desired.
- Galvanized fasteners: Essential for any outdoor application or when working with pressure-treated lumber to prevent corrosion.
- Sheathing:
- Plywood or OSB (Oriented Strand Board) sheets: Typically 1/2″ or 5/8″ thickness for flooring and roof sheathing. 3/8″ or 1/2″ for wall sheathing if you’re not using T1-11 or similar structural siding.
- Metal Connectors and Ties:
- Hurricane Ties: For securing rafters to top plates, providing critical wind uplift resistance.
- Joist Hangers: If your floor joist design requires them for stronger connections.
Roofing and Siding:
- Roof Covering:
- Asphalt Roof Shingles: A common, cost-effective, and easy-to-install option.
- Metal Roofing Panels: Offers superior longevity and durability, often with a modern aesthetic.
- Roof Underlayment:
- Roofing Felt (e.g., 15 lb or 30 lb): Provides a secondary layer of protection against moisture.
- Synthetic Underlayment: A more durable and moisture-resistant alternative.
- Roof Edging:
- Drip Edge: Metal flashing installed along roof edges to direct water away from the fascia and prevent it from getting under the roofing material.
- Flashing: For sealing around any vents or roof penetrations.
- Siding:
- Wood Siding (e.g., T1-11, cedar, clapboard): Classic aesthetic, offers good durability when properly maintained.
- LP SmartSide Panels: Engineered wood siding known for durability, ease of installation, and resistance to rot and insects.
- Vinyl Siding Panels: Low maintenance and weather-resistant, though typically requiring a separate wall sheathing layer.
- Sealants and Adhesives:
- Construction Adhesive: For subfloor attachment, reducing squeaks and increasing rigidity.
- Exterior Caulk and Sealant: To seal gaps, joints, and around windows/doors for weatherproofing.
Essential Tool List:
Having the right tools will make your shed building project much smoother and safer.
- Measuring Tools:
- Tape Measure (25 ft or 30 ft): Indispensable for all measurements.
- Speed Square or Framing Square: For marking accurate 90-degree angles.
- Level (2 ft and 4 ft or longer): Crucial for ensuring everything is plumb and level.
- Chalk Line: For marking long, straight lines on your foundation, subfloor, or siding.
- Cutting Tools:
- Circular Saw: Your primary tool for cutting lumber and sheet goods. A good quality blade is essential.
- Miter Saw (Optional but highly recommended): For precise, repetitive cuts on framing lumber and trim.
- Jigsaw: For intricate cuts or openings for windows/doors if needed.
- Fastening Tools:
- Power Drill/Driver (Cordless): For driving screws and drilling pilot holes. Have extra batteries charged!
- Hammer: For driving nails, prying, and general adjustments.
- Nail Gun (Framing and/or Finishing, Optional but speeds things up): A pneumatic or cordless nailer can significantly reduce build time and effort.
- Safety Gear:
- Safety Glasses: Always wear eye protection when cutting or fastening.
- Work Gloves: Protect your hands from splinters, cuts, and blisters.
- Hearing Protection: Especially when using power saws for extended periods.
- Miscellaneous:
- Utility Knife: For cutting roofing felt, flashing, or scoring sheet goods.
- Caulk Gun: For applying sealants.
- Stepladder or Extension Ladder: For safe access to higher sections of the shed, especially the roof.
- Wheelbarrow: For moving gravel, dirt, or debris.
Step-by-Step Instructions: Building Your 8×12 Shed from Scratch
This section will meticulously walk you through each critical stage of building your 8×12 shed. It’s important to approach each step methodically, taking your time to ensure accuracy and safety. Don’t rush; precision now will prevent problems later.
Step 1: Prep the Site and Foundation
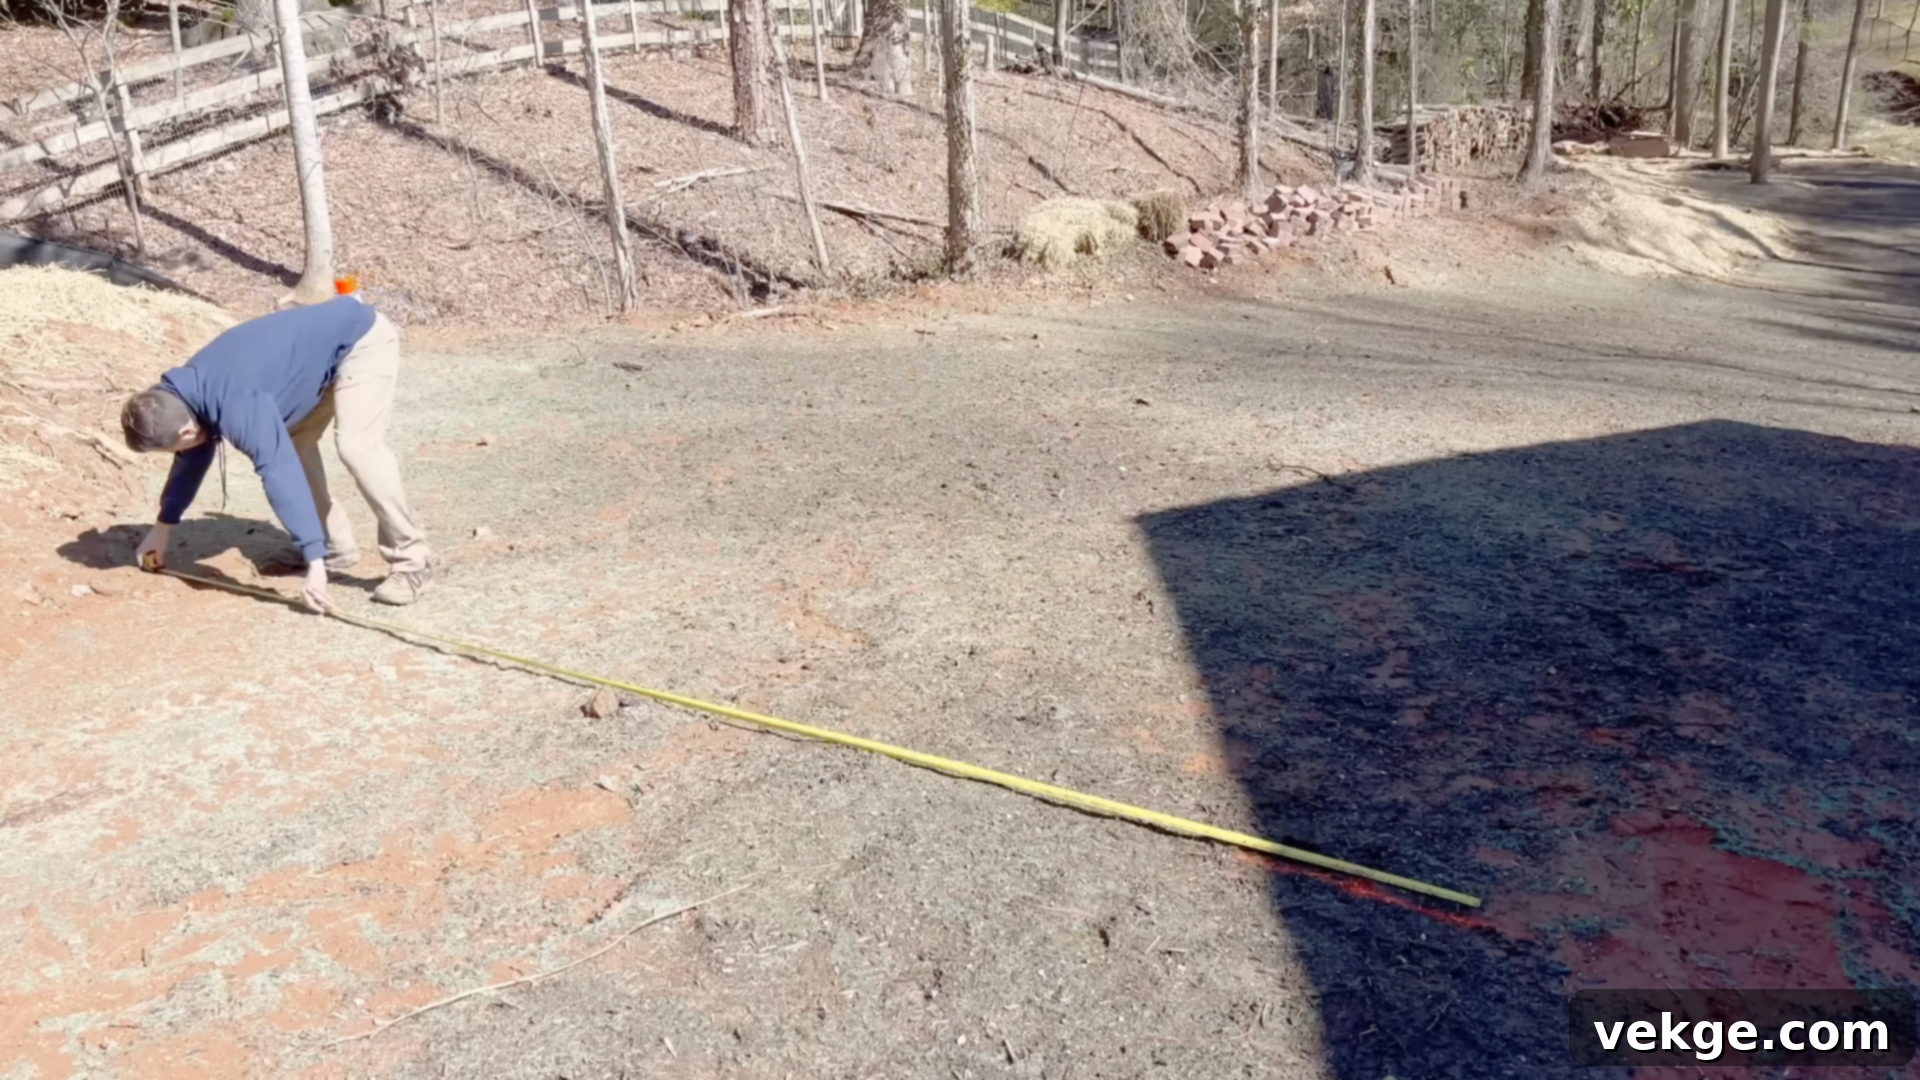
The foundation is literally the bedrock of your shed’s longevity. Begin by selecting a suitable, relatively flat spot in your yard. Clear the entire area of any debris, rocks, roots, or vegetation. If your chosen site isn’t perfectly level, you’ll need to dig down in stepped levels to create a flat pad for your foundation. Once cleared, establish your shed’s exact footprint. Use batter boards and string lines to meticulously square your layout. Measure diagonally from corner to corner; the measurements should be identical when the layout is perfectly square. Lay down a minimum of 4-6 inches of compacted gravel base (crushed stone is ideal) to ensure excellent drainage and prevent moisture from wicking into your shed’s floor. Finally, install pressure-treated 4×6 or 6×6 perimeter timbers directly on this gravel base, ensuring they are perfectly level and square. For added stability and to anchor the foundation, reinforce the corners by driving rebar stakes through the timbers into the ground below.
Step 2: Build the Floor Frame
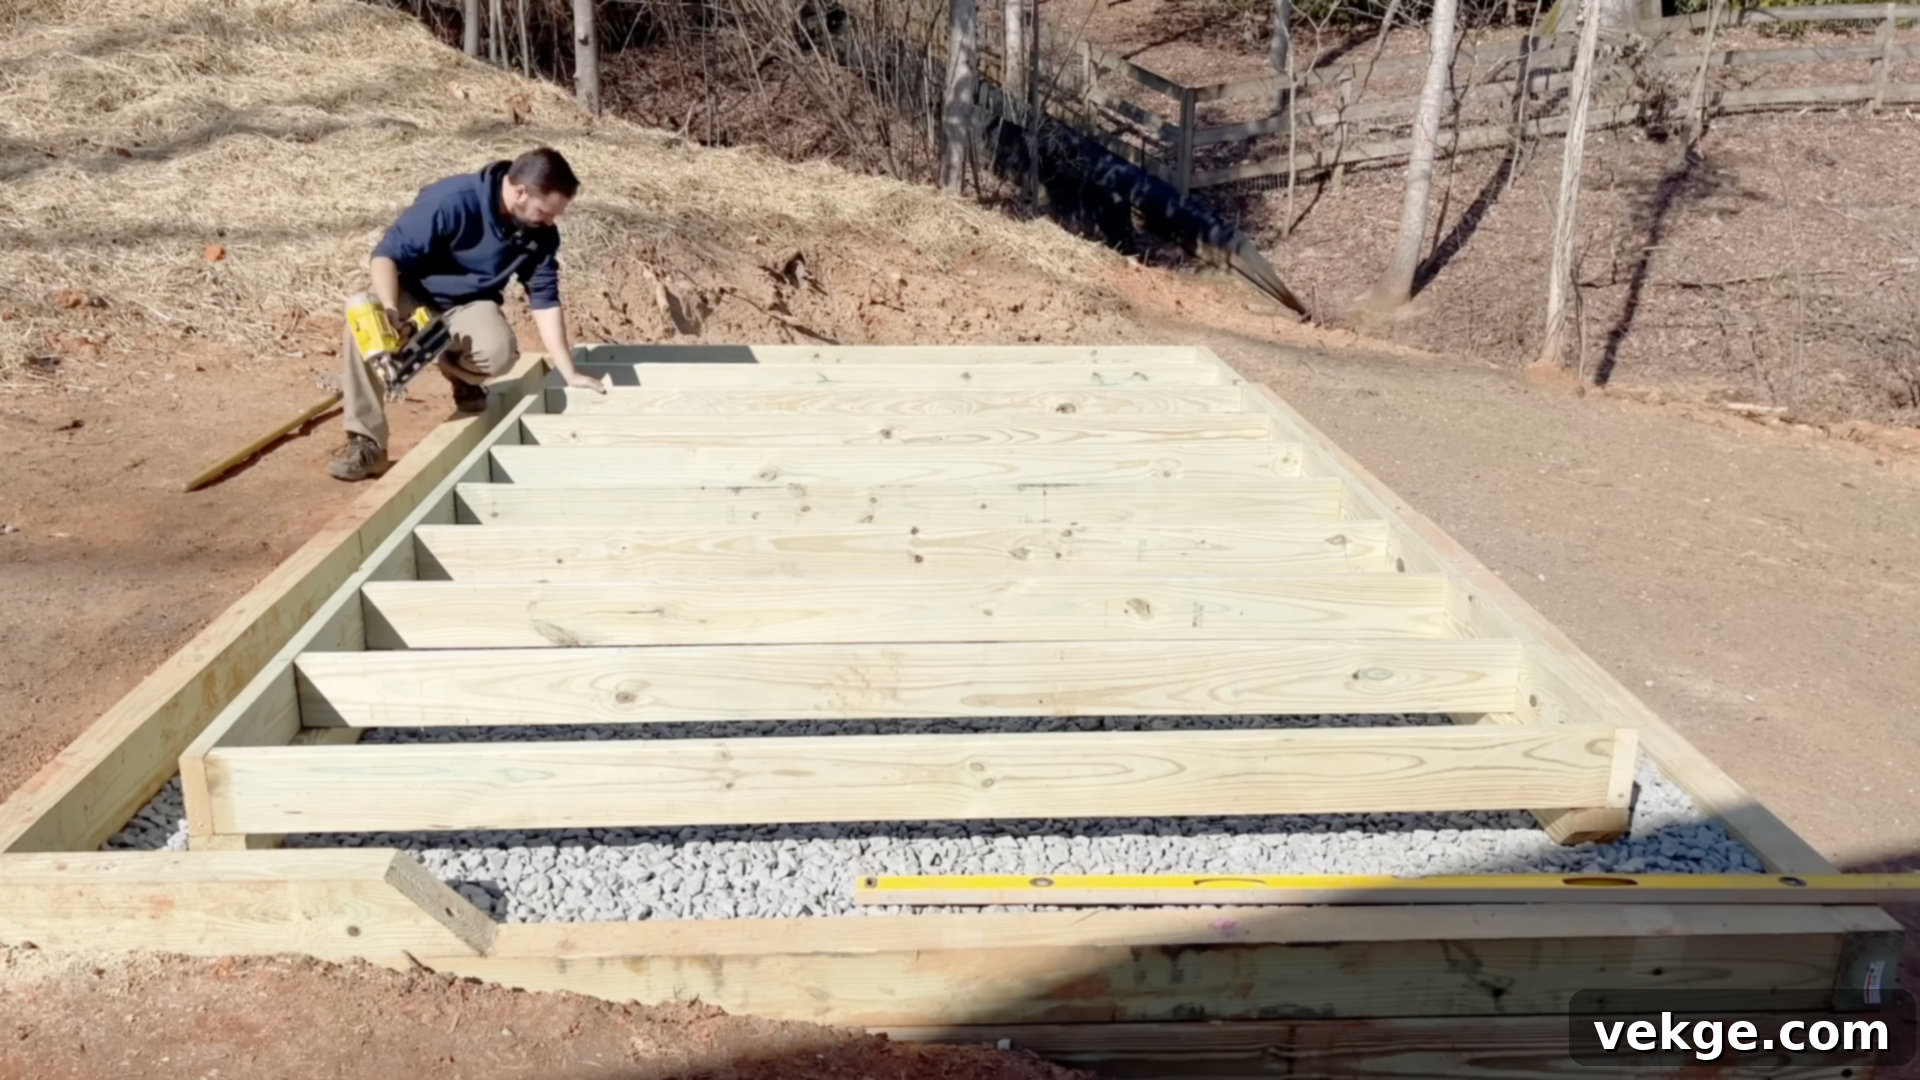
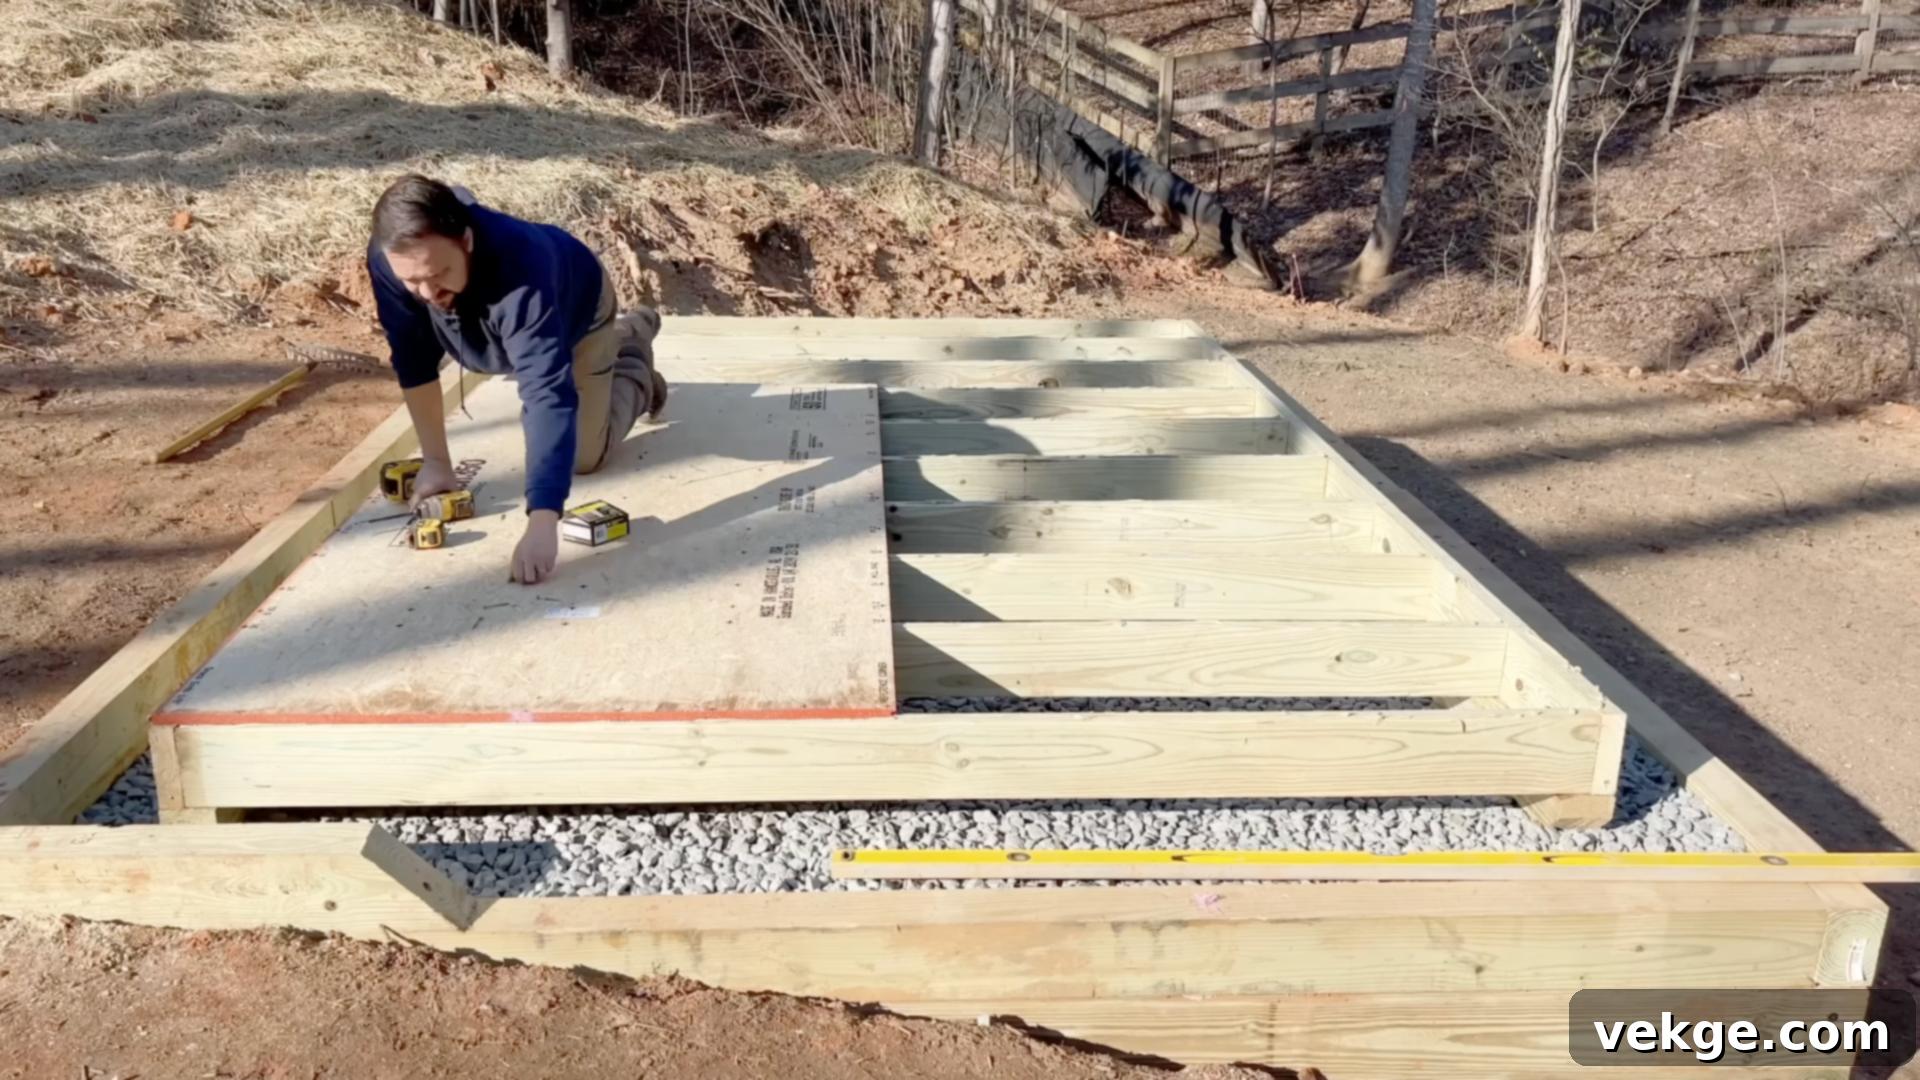
With your foundation perimeter set, it’s time to construct the floor frame. If you’re using a skid foundation, lay 4×4 or 4×6 pressure-treated skids (typically three for an 8×12 shed) directly on your gravel base, perpendicular to where your floor joists will run. These skids will support the entire shed structure. Next, frame the rectangular base using 2×6 pressure-treated lumber for the rim joists and interior joists. Space these floor joists 16 inches on center (OC) for optimal strength and support, fastening them securely to the rim joists using galvanized nails or screws, and joist hangers if specified in your plans. Ensure the entire frame is square and level. Once the frame is complete, apply a generous bead of construction adhesive to the top of the joists and lay your 5/8-inch OSB or plywood sheets on top. Secure the subfloor with deck screws, spaced every 6 inches along the edges and every 10-12 inches in the field, making sure to hit every joist. This creates a strong, squeak-free shed floor.
Step 3: Frame and Raise the Walls
Working safely on a flat, level surface (your shed’s subfloor is perfect), assemble each wall section individually. Using 2×4 lumber, construct the wall frames with studs spaced 16 inches on center. Carefully incorporate openings for any doors and windows, making sure to install robust headers above these openings to support the load. Once each wall section is framed and fastened with appropriate framing nails, carefully raise them one by one. You’ll likely need assistance for this step. Brace each wall temporarily with diagonal 2x4s to keep it plumb and stable. Securely fasten the bottom plate of each wall to the shed floor. Then, join the corners of adjacent walls with framing nails, ensuring they are plumb and square to each other. Finally, install a second top plate (or “double top plate”) that overlaps the wall intersections, tying all the walls together for enhanced structural rigidity.
Step 4: Install Siding Panels
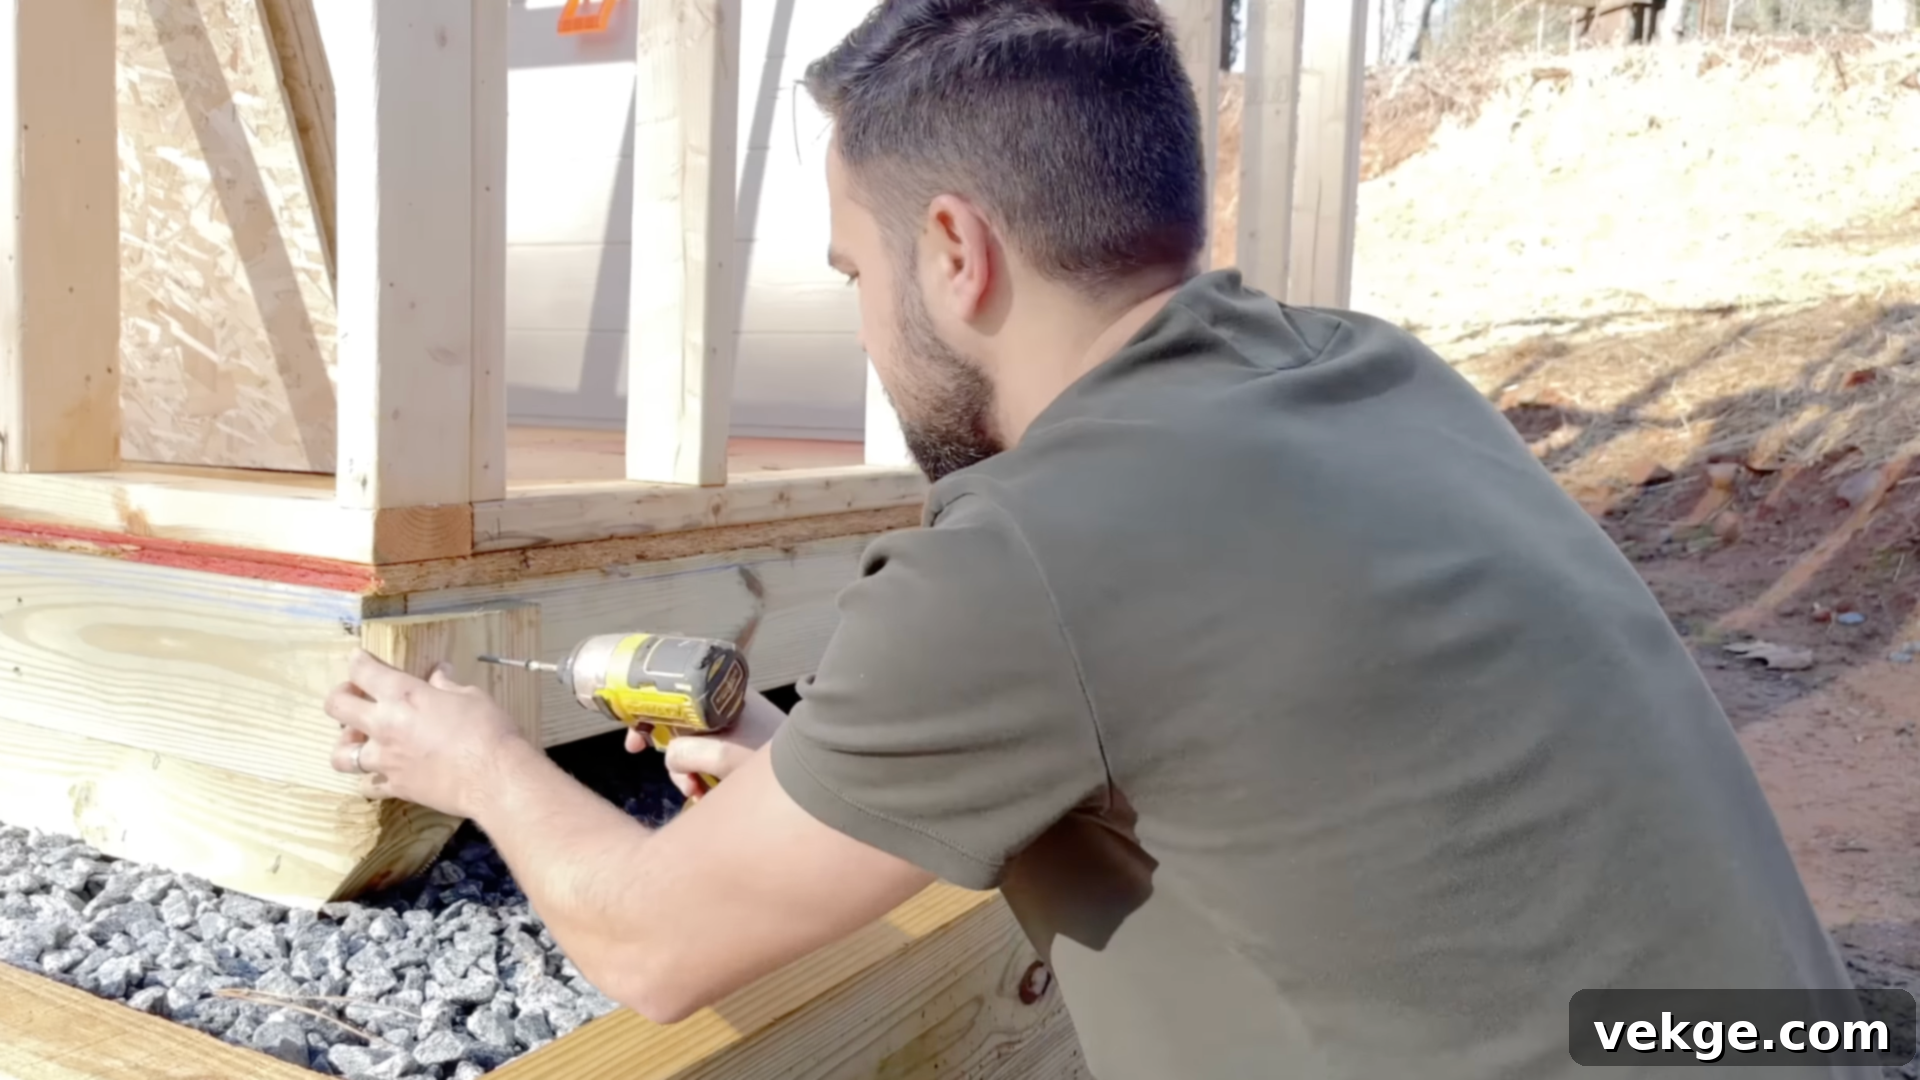
With the walls framed and secured, it’s time to add the exterior siding. Materials like LP SmartSide or T1-11 are popular choices due to their durability and ease of installation. Begin by marking a level chalk line around the base of your shed, ensuring your first panel starts perfectly straight. Align the first siding panel with this line and nail it into every wall stud, using appropriate siding nails or screws. Ensure the panel is plumb. As you continue, overlap the edges according to the manufacturer’s recommendations for weatherproofing. Cut out openings for windows and doors using a circular saw or jigsaw as you go, ensuring clean, precise edges. Work your way around all four walls, keeping each panel straight, tight, and securely fastened. Pay close attention to corners, ensuring a neat and professional finish.
Step 5: Build and Install Rafters
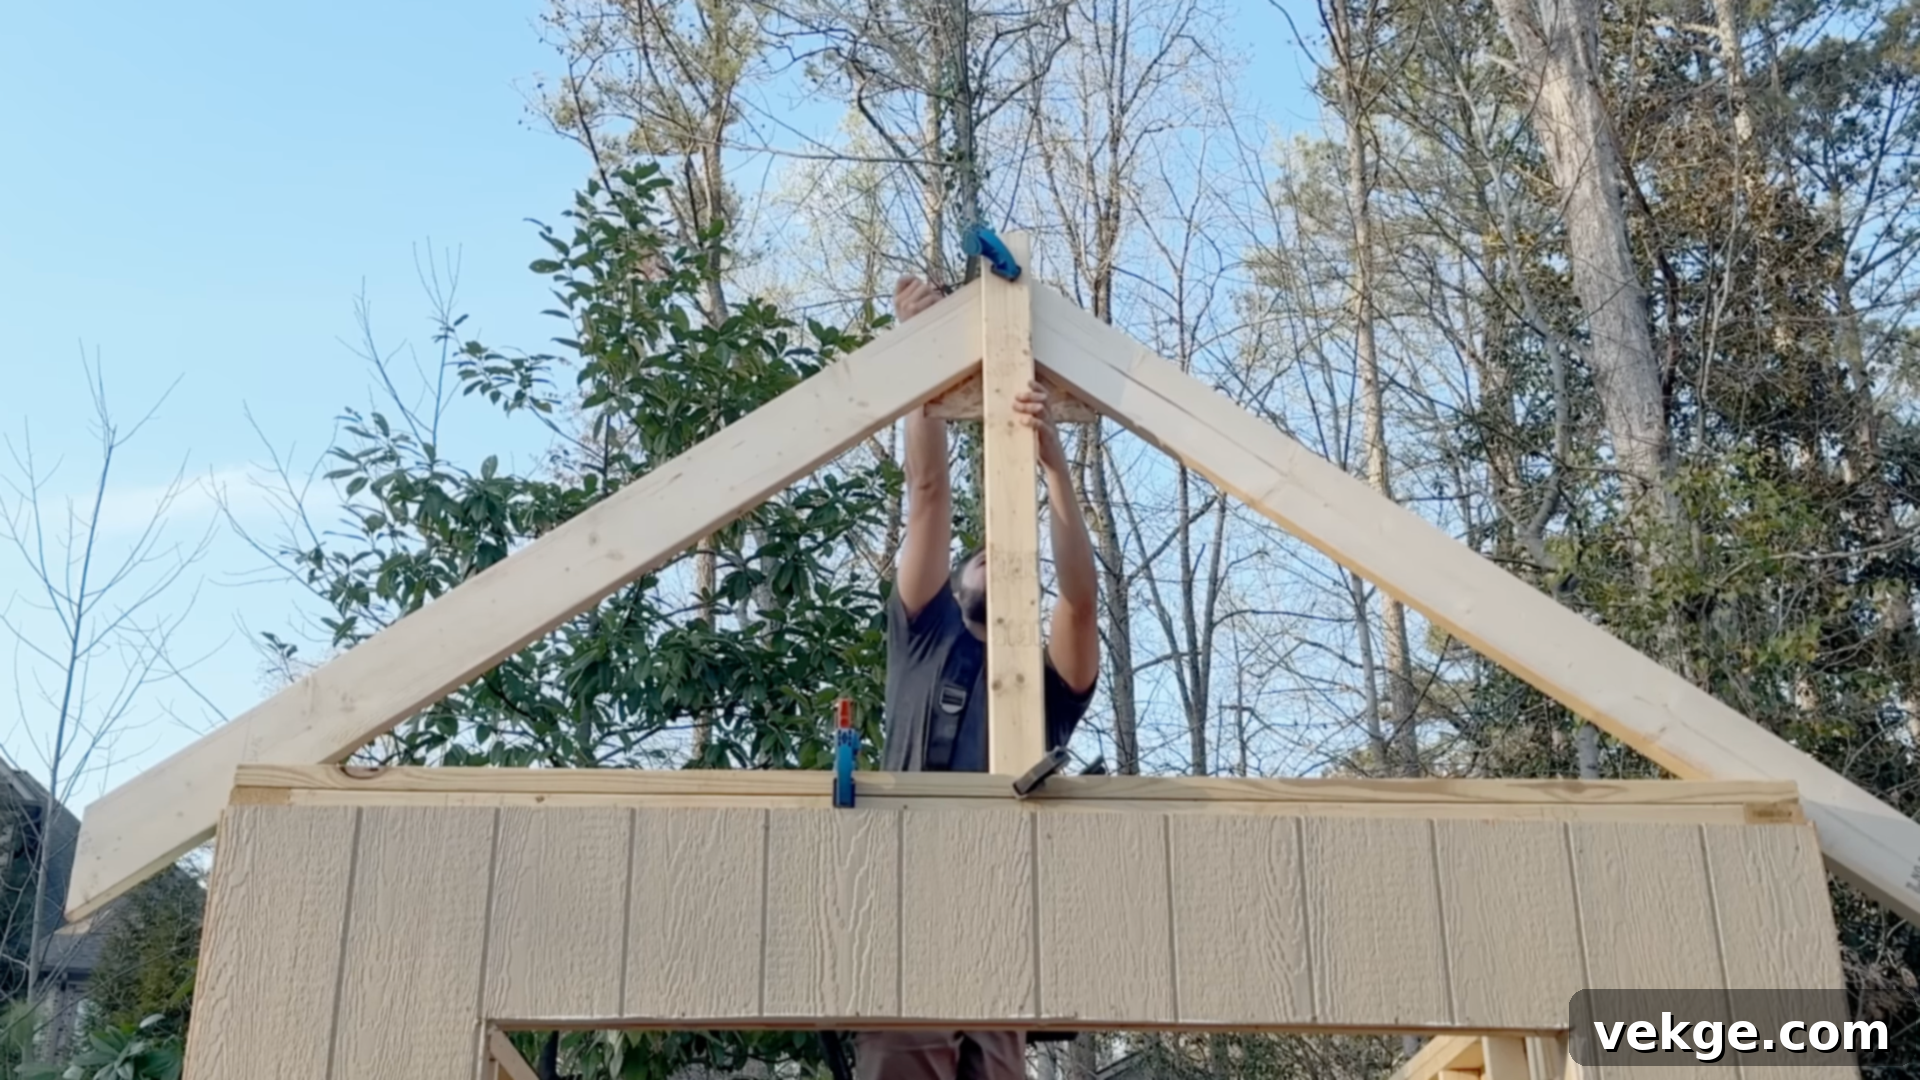
The roof structure is next. For a common gable roof, you’ll need to cut your rafters to achieve the desired pitch, typically a 9:12 pitch for good water and snow shedding. Create a precise rafter template first to ensure all your cuts are identical. This template will include the birdsmouth cut where the rafter rests on the top plate. Assemble rafters in pairs (creating trusses or individual rafter sets, depending on your plans) by joining them at the peak with plywood gussets or metal plates. Lift and mount these assembled rafters onto the top plates of your shed, typically spaced 24 inches on center. Use a string line to ensure all rafter tails are aligned for a neat fascia board later. Securely toe-nail each rafter to the top plates and, crucially, install hurricane ties (metal connectors) to provide strong uplift resistance against wind.
Step 6: Roof Sheathing and Shingles
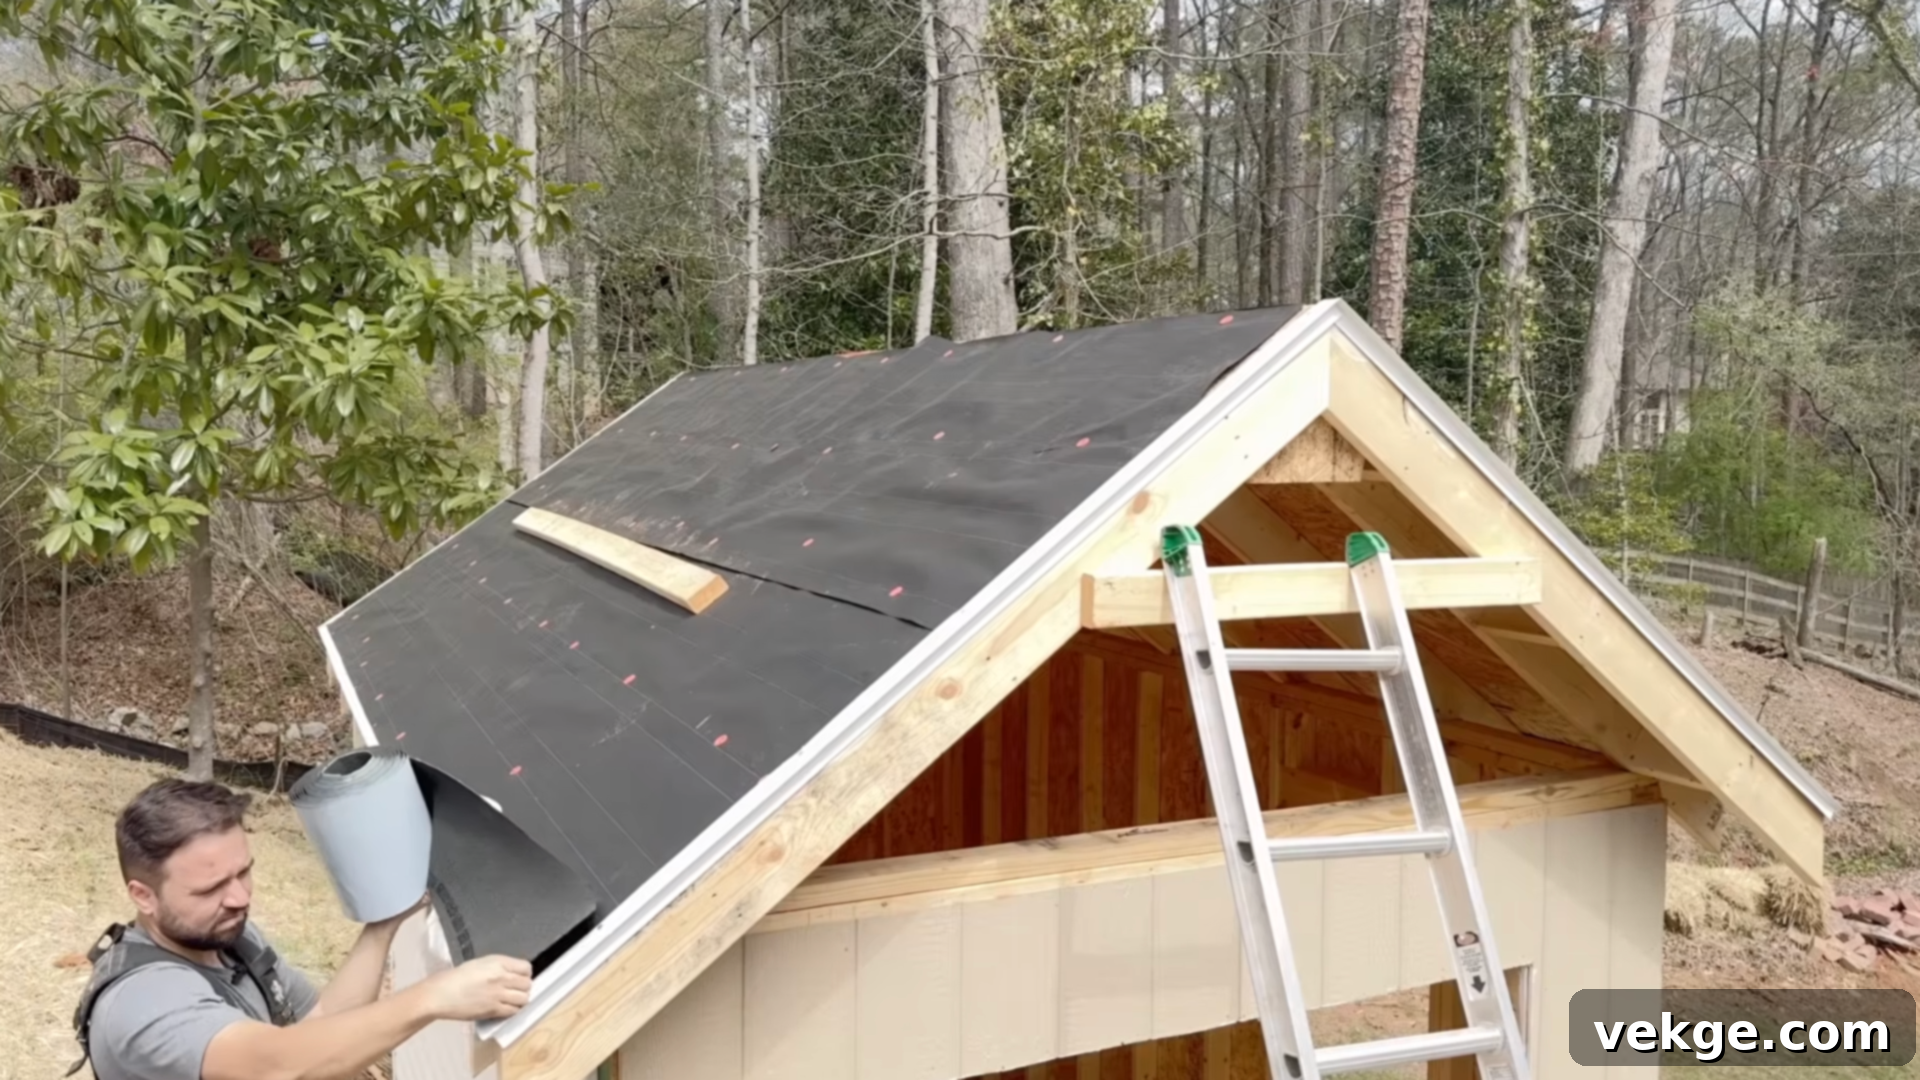
With the rafters in place, the roof can be sheathed. Install 1/2-inch or 5/8-inch OSB or plywood roof sheathing panels directly onto the rafters, staggering the seams for strength. Use roofing nails or screws, spaced every 6 inches along the edges and every 12 inches in the field. Once sheathed, install the metal drip edge along the eaves and rake edges of the roof to protect the fascia and direct water away. Next, apply roofing felt or a synthetic underlayment over the entire roof deck, overlapping according to instructions, providing a critical waterproof barrier. Finally, install your chosen roofing material. For asphalt shingles, start with a row of starter shingles along the eaves, then apply 3-tab shingles row by row, working your way up the roof, ensuring proper overlap and nailing patterns. Finish the peak with a ridge cap to complete the weather seal.
Step 7: Windows, Doors, and Trim
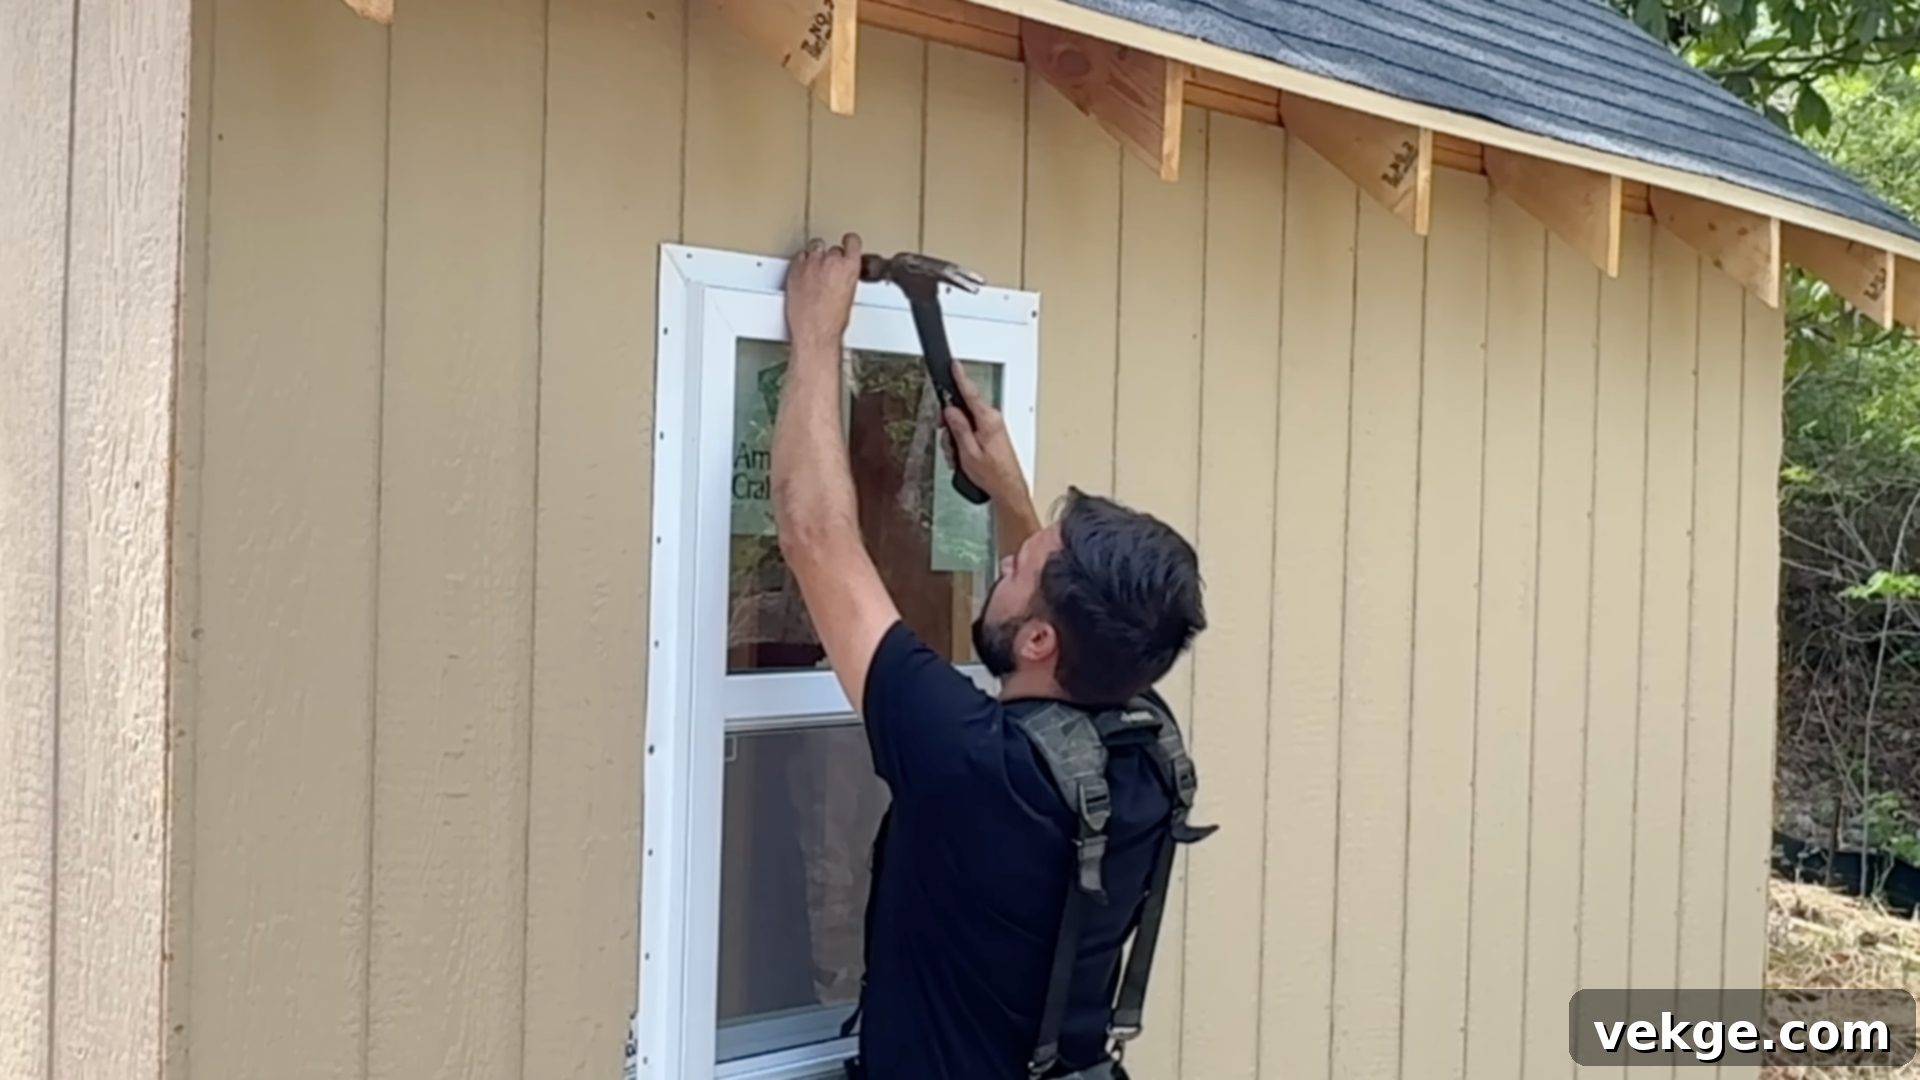
Now for the openings. Install your chosen window(s) securely into their framed openings. Apply window-specific seal tape (flashing tape) around the rough opening before inserting the window, then use exterior-grade silicone caulk along the top and sides of the window flange (but *not* the bottom – leave the bottom unsealed for drainage, allowing any trapped moisture to escape). For the doors, a popular and practical choice for sheds is a set of double barn doors, which maximizes access. Build these doors from 2×4 framing and your chosen siding material. Hang them securely using robust hinges that can handle the weight, shimming any gaps for proper operation. Install latches and handles for security and ease of use. Finish the exterior by installing trim boards around corners, door frames, window frames, and soffits. This trim not only enhances the aesthetic appeal but also covers exposed edges of siding, providing a more finished and weather-tight look.
Step 8: Paint and Final Touches
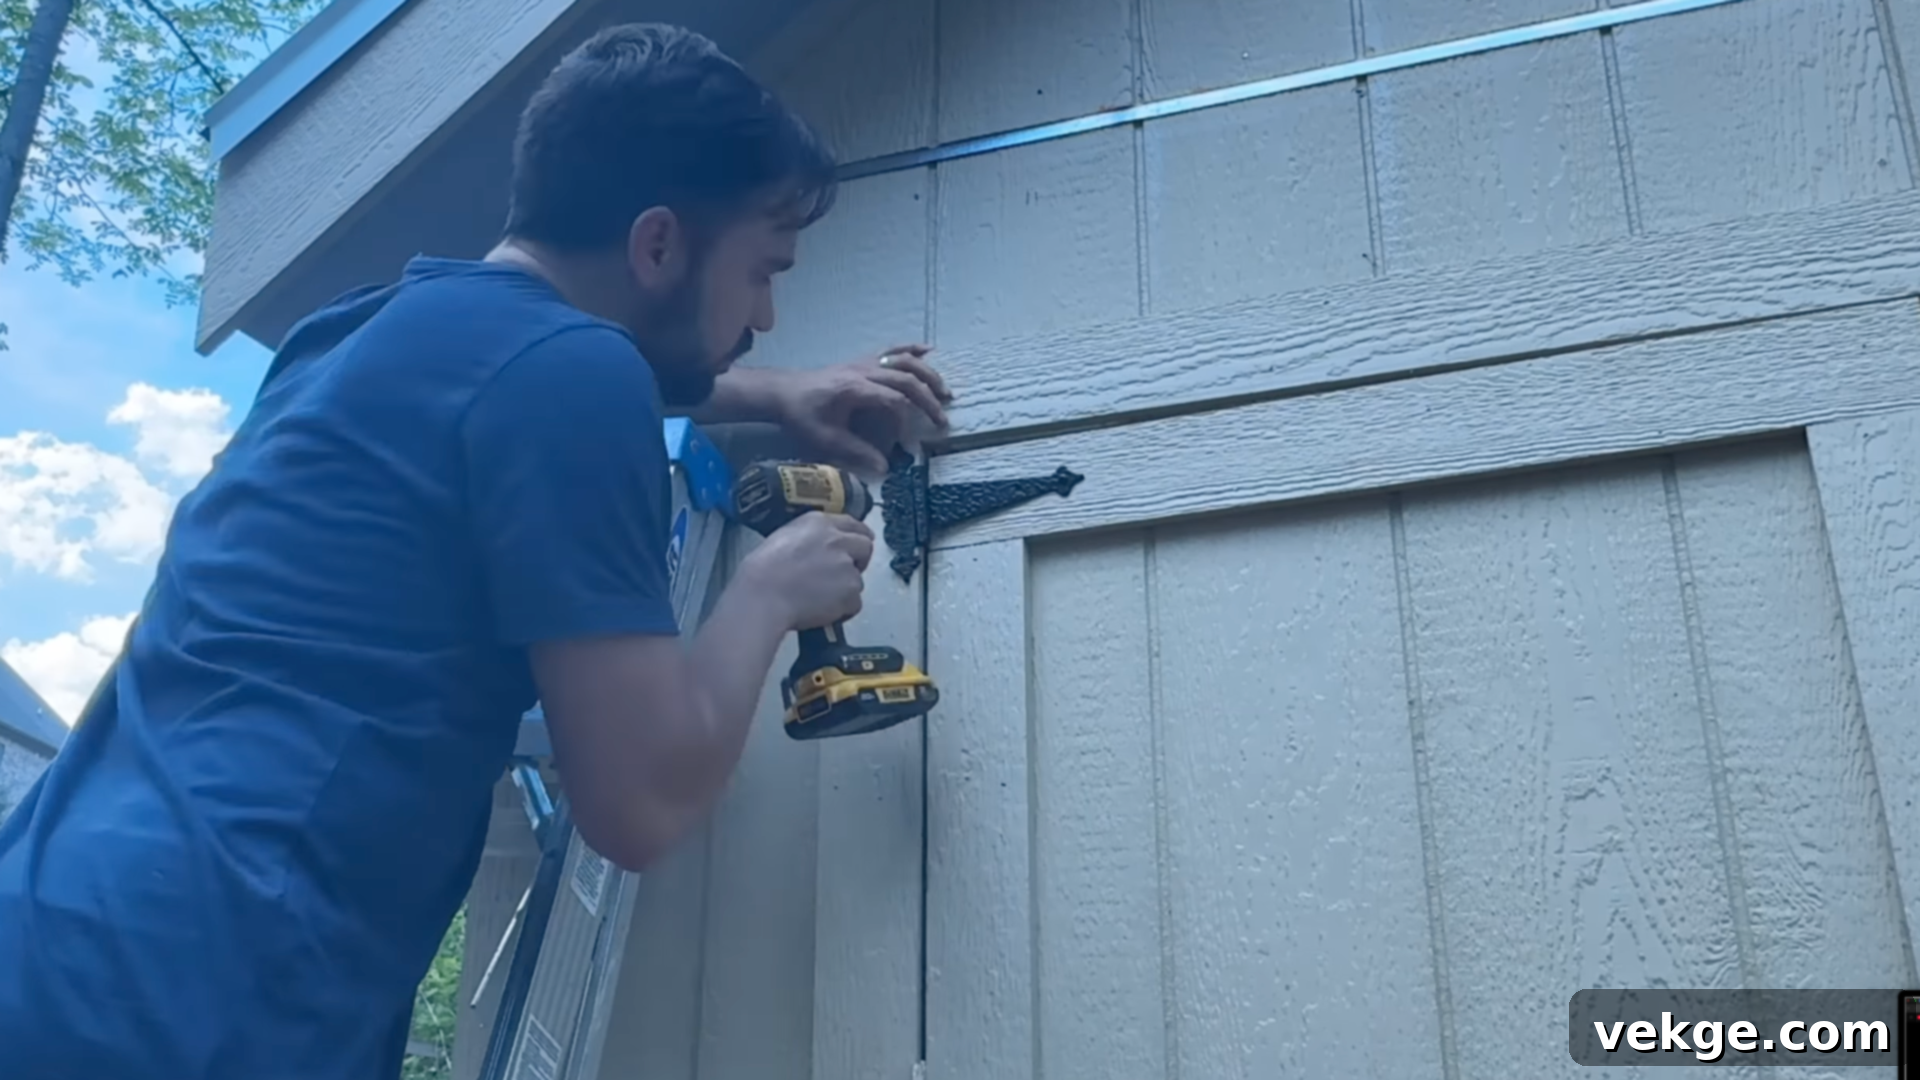
The final steps transform your structure into a polished and protected shed. Apply a high-quality exterior paint or stain to all exposed wood surfaces. For optimal protection and longevity, aim for at least two coats, ensuring thorough coverage, especially on trim and edges. Choose a color that complements your home or backyard aesthetic. Once the paint is dry, turn your attention to the surrounding area. Backfill around the shed foundation with dirt, sloping it away from the shed to ensure proper drainage and prevent water from pooling against the base. Compact the soil thoroughly. For added weed control and a cleaner appearance, consider laying down a layer of gravel or a weed barrier fabric around the shed perimeter. Finally, take a moment to clean up your construction site, gathering any discarded materials and tools. With the last nail driven and the final brush stroke, your functional 8×12 shed is complete – a testament to your hard work!
For those who prefer visual guidance or want to see these steps in action, this YouTube video offers a great companion to the written instructions:
Bonus Add-On Ideas to Enhance Your Shed’s Utility
Once the basic structure of your shed is complete, you have the exciting opportunity to customize and upgrade it with a few simple, yet impactful, additions. These add-ons can significantly increase the shed’s functionality, making it even more useful and comfortable throughout the year.
- Add a Storage Loft: One of the most effective ways to maximize storage in a shed is by utilizing the often-unused overhead space. A simple storage loft, built from 2x4s and plywood, can be installed high up, typically above the main door or along the back wall. This provides an excellent area to store lighter, less frequently used items such as holiday decorations, seasonal clothing bins, or lightweight tools, keeping the main floor clear and accessible.
- Incorporate Windows or Skylights: Natural light drastically improves the usability and ambiance of any shed. Installing one or two fixed windows in the walls can make the interior feel less like a dark box and more like a functional workspace. For even more light and to avoid taking up wall space, consider adding a roof skylight. Proper ventilation is also key; a small roof vent or operable window can help prevent stuffiness, mold, and mildew, especially in humid climates.
- Run Power for Tools and Lighting: For the ultimate functional shed, consider running a basic electrical line from your home or garage. This allows you to install interior lighting, making it usable at night or on gloomy days. Even a single outlet can power a small heater for winter projects, charge cordless tool batteries, or run a small radio. Ensure any electrical work is done safely, adheres to local codes, and uses wiring rated for outdoor use, properly protected within conduit and installed by a qualified electrician if you’re not comfortable doing it yourself.
Free 8×12 Shed Plans to Download and Get Started
You don’t need to reinvent the wheel when it comes to shed design. Utilizing pre-designed plans makes the building process considerably easier, providing you with a clear roadmap from start to finish. These free, downloadable shed plans offer step-by-step guidance, detailed diagrams, and ready-to-print layouts, allowing you to confidently tackle your project.
Gable Roof Shed Plans
The gable-style roof is a classic and highly popular design for sheds, known for its traditional aesthetic and excellent water-shedding capabilities. These plans typically include a comprehensive downloadable PDF, complete with clear, professional diagrams, a full cut list for all lumber, and precise measurements for wall framing, floor joists, and roof rafters. They are generally beginner-friendly and designed to accommodate common building materials readily available at any local hardware store, making your shopping list straightforward.
- Download 8×12 Gable Roof Shed Plan – 3DShedPlans
- Download 8×12 Gable Roof Shed Plan – ShedPlans
Lean-To Shed Plans with Material List
If your space is tight or you prefer a shed that can be tucked neatly against an existing fence, house, or garage wall, a lean-to design is an excellent fit. These plans typically come as a downloadable PDF, offering detailed wall framing layouts, specific guidance on roof slopes for efficient drainage, and precise rafter spacing. A lean-to shed is compact, straightforward to build, and often provides a minimalist aesthetic while maximizing your available space.
Download 8×12 Lean-To Shed Plan – ShedPlans
Saltbox Shed Plan Option
The saltbox style is characterized by a distinctive asymmetrical roofline, featuring a taller front wall and a shorter, gently sloping rear roof. This design is not only visually appealing but also offers superior drainage and can provide additional headroom or storage capacity along the taller front section. Saltbox plans often include options for a side door and are particularly well-suited for tight spaces or backyard corners where unique architectural interest and efficient full-height storage are desired.
Common Shed Building Mistakes to Avoid for a Successful Project
Even with detailed plans, simple construction projects can encounter setbacks if crucial planning and execution steps are overlooked. Being aware of common mistakes can save you significant time, money, and frustration. Here are key pitfalls to watch out for during your 8×12 shed construction:
- Not Checking Local Permits and Regulations: This is perhaps the most critical initial step. Many municipalities and homeowner associations (HOAs) have strict requirements regarding the size, placement, and even appearance of backyard structures. Always contact your local building department or HOA office *before* you start building. Failing to obtain necessary permits can result in fines, forced demolition, or costly modifications.
- Ignoring Proper Roof Slope: A roof that is too flat will not effectively shed water or heavy snow, leading to pooling, leaks, and premature deterioration of your roofing materials and structure. Always adhere strictly to the recommended roof pitch provided in your shed plan (e.g., a 9:12 pitch for gable roofs is good practice). A steeper pitch ensures better drainage and can significantly extend the life of your roof.
- Using Untreated Wood for Ground Contact: This is a recipe for disaster. Any lumber that comes into direct contact with the ground or is within 6-8 inches of it (such as skids, floor joists if not on a full concrete slab, or bottom plates) *must* be pressure-treated. Untreated wood will quickly absorb ground moisture, leading to rot, mildew, and insect infestation, compromising the structural integrity of your entire shed.
- Inadequate Site Drainage: Even with a good foundation, if the ground around your shed slopes towards it, water will collect, leading to moisture issues, foundation erosion, and potential flooding. Always ensure the ground around your shed is graded to slope *away* from the structure for at least several feet in all directions. Adding a gravel perimeter can further enhance drainage.
- Skipping Square and Level Checks: Precision is paramount in framing. If your foundation isn’t square and level, your floor frame won’t be, which will then throw off your walls, and subsequently your roof. This creates a cascading effect of frustration, making it nearly impossible to install siding, windows, and doors correctly. Continuously check for square and level at every major stage of construction.
Conclusion: Build Your Dream 8×12 Shed with Confidence
I understand the immense satisfaction that comes from transforming a cluttered, underutilized corner of your yard into a highly functional and organized space. These 8×12 shed plans are meticulously designed to simplify the complex parts of construction, allowing you to focus your energy on the rewarding process of building. You now have a comprehensive guide: the essential steps, a detailed materials list, invaluable add-on ideas, and crucial tips for avoiding common mistakes, all aimed at empowering you to construct your own shed with absolute confidence.
Whether you envision your new shed as a dedicated space for robust storage, a cozy nook for hobby projects, or simply a means to reclaim your valuable outdoor space, the versatile 8×12 setup is flexible enough to perfectly align with your specific needs. Don’t hesitate to explore additional designs or alternative layout options if you’re seeking further inspiration. I’ve curated more guides that follow the same straightforward, stress-free style, ensuring that your next DIY project is as successful and enjoyable as this one. Happy building!
