Comprehensive Guide to Disinfecting Belongings After Water Damage: A Step-by-Step Approach
Water damage is more than just an inconvenience; it’s a significant threat to both the structural integrity of your property and the health of its occupants. Whether caused by a burst pipe, a leaky roof, or a major flood, the immediate aftermath demands swift and effective action, especially when it comes to salvaging and disinfecting your personal belongings. This comprehensive guide provides a practical, step-by-step approach to help you thoroughly disinfect items affected by water damage, ensuring a safe and healthy environment.
The severity of water damage is heavily influenced by the type of water involved. While clean water may initially cause less harm, contaminated gray or black water can pose serious health risks and quickly ruin materials. Items can suffer from saturation, structural degradation, and rapid mold growth. A quick response is paramount to mitigating these damages and preventing long-term problems.
Fortunately, many items can be restored through proper drying, cleaning, and disinfection, effectively stopping mold growth and removing harmful contaminants. However, it’s crucial to handle water-damaged materials with care due to potential risks to human health, particularly in scenarios requiring extensive flood restoration in NYC or other urban areas.
This article delves into every critical aspect, from understanding the various categories of water damage to implementing practical disinfection strategies for different types of items. By using appropriate disinfectants and following a structured process, you can significantly reduce damage, restore affected items, and protect your home from future issues.
The Critical Importance of Disinfection in Water Damage Restoration

Disinfection after water damage is not merely about cleaning; it’s a fundamental step in ensuring the safety, longevity, and habitability of your home and its contents. Neglecting this crucial phase can lead to a cascade of problems:
- Mitigating Health Risks: Water-damaged environments become breeding grounds for bacteria, viruses, and other pathogens. These microscopic organisms can trigger a range of health issues, including respiratory problems, skin infections, allergic reactions, and gastrointestinal illnesses for occupants. Proper disinfection eliminates these harmful microbes, drastically minimizing health risks and fostering a safe living space.
- Preventing Mold Growth and Further Damage: Mold thrives in damp, humid conditions, and water-damaged materials provide the perfect environment for its rapid proliferation. Once established, mold not only causes unsightly stains and musty odors but also actively degrades materials, compromising structural integrity and leading to irreversible damage. Disinfection proactively prevents mold spores from taking root and spreading, thereby preserving the functionality and integrity of your belongings and property structure.
- Eliminating Unpleasant Odors: The distinctive, often putrid, odors associated with water damage are primarily caused by microbial growth and decomposition. While air fresheners might mask these smells temporarily, true odor elimination comes from addressing the source. Disinfection targets and destroys the bacteria and fungi responsible for these unpleasant smells, leaving your environment fresh, clean, and healthy.
- Preserving Valuables and Reducing Costs: Many items affected by water can hold significant monetary or sentimental value. Timely and appropriate disinfection can save these cherished belongings from permanent loss, making them usable again. This not only restores their appearance and functionality but also prevents the substantial financial burden of replacement costs, contributing to overall water damage restoration savings.
- Restoring Peace of Mind: Living in an environment compromised by water damage and potential contaminants can be incredibly stressful. By thoroughly disinfecting your home and belongings, you restore not just the physical space but also a sense of safety and normalcy, allowing you and your family to live without worry.
Understanding the Different Types of Water Damage

Not all water damage is created equal. The source and quality of the water involved dictate the level of contamination and the necessary restoration protocols. Understanding these categories is crucial for implementing appropriate safety measures and cleaning techniques.
Clean Water Damage (Category 1)
Clean water damage originates from sanitary sources and typically poses the lowest immediate health risk. This includes sources like:
- Broken water supply lines
- Overflowing sinks or bathtubs
- Rainwater (after penetrating the roof or walls)
- Appliance malfunctions (e.g., hot water heater bursts, washing machine supply line break)
While initially non-toxic, clean water can quickly degrade into gray or black water if left untreated for an extended period (typically 24-48 hours), as it can pick up contaminants from building materials and the environment. Prompt action is still essential to prevent mold growth and further material damage.
Gray Water Damage (Category 2)
Gray water contains a significant level of chemical, biological, or physical contaminants that can cause discomfort or illness if ingested or if there’s prolonged contact. This category includes water from sources such as:
- Washing machine overflow (containing detergents and dirt)
- Dishwasher overflow (containing food particles and grease)
- Sinks and showers (containing soaps, hair, and body oils)
- Toilet overflows that do not contain solid waste (urine only)
Gray water is considered unsafe to consume or come into contact with directly without protective gear. It carries a higher risk of bacterial growth and can quickly lead to more severe contamination if not addressed promptly and properly. Professional assistance is often recommended for gray water scenarios.
Black Water Damage (Category 3)
Black water is heavily contaminated and highly unsanitary, posing severe health risks due to the presence of pathogenic agents, toxic chemicals, and other hazardous substances. This is the most dangerous category of water damage, originating from sources like:
- Sewage backups
- Floodwaters from rivers, streams, or seawater (which may contain sewage, pesticides, or industrial waste)
- Toilet overflows containing solid human waste
- Standing water that has been untreated for an extended period and contains growth of harmful microorganisms
Black water is a biohazard and should only be handled by trained professionals equipped with specialized protective gear and equipment. Porous items (carpets, drywall, upholstered furniture) contaminated by black water are often deemed unsalvageable and require disposal to prevent the spread of illness and severe structural damage.
How to Disinfect Belongings After Water Damage – A Step-by-Step Guide

Disinfecting your belongings after water damage requires a methodical approach. Follow these steps carefully to maximize salvage efforts and ensure safety:
Step 1: Prioritize Safety and Initial Assessment
- Ensure Personal Safety: Before entering any affected area, always prioritize your safety. Wear appropriate Personal Protective Equipment (PPE), including heavy-duty waterproof gloves, eye protection (goggles), N95 or higher respirator masks (especially if mold is visible or suspected), and waterproof boots. Ensure the area is well-ventilated, and turn off electricity to prevent electrocution hazards.
- Assess the Damage: Carefully inspect each item to determine the extent of water damage and the type of water involved. Separate items that are clearly unsalvageable (e.g., porous items saturated with black water, heavily molded materials) from those that might be restored. Document everything with photos for insurance claims.
- Isolate Contaminated Items: Move affected items to a separate, well-ventilated area away from unaffected belongings to prevent cross-contamination.
Step 2: Remove Excess Water and Initiate Drying
- Extract Standing Water: Use a wet/dry vacuum, submersible pump, or buckets to remove as much standing water as possible from the area and the items themselves.
- Blot and Absorb: Use clean towels, sponges, or old rags to blot excess moisture from surfaces. For fabrics, gently press to squeeze out water.
- Begin Air Drying: Immediately move items to a dry, well-ventilated area. Use fans, dehumidifiers, and open windows to promote air circulation and speed up the drying process. The quicker items dry, the less chance mold has to grow.
Step 3: Thorough Cleaning (Before Disinfection)
- Remove Debris and Dirt: Before applying disinfectants, thoroughly clean items of all visible dirt, mud, silt, and debris. This can be done by rinsing, wiping, or scrubbing, depending on the item. Disinfectants are less effective if applied to dirty surfaces.
- General Washing: For washable items like clothing, linens, and some fabrics, wash them in hot water with a heavy-duty detergent. For hard surfaces, use a general household cleaner and warm water to scrub away grime.
Step 4: Select and Apply Appropriate Disinfectants
The choice of disinfectant depends on the item’s material and the type of water damage. Always read product labels for specific instructions, dilution ratios, and safety precautions. Ensure good ventilation during application.
- For Hard, Non-Porous Surfaces (Plastics, Metals, Tiles, Sealed Wood):
- Bleach Solution: Mix 1 cup of household bleach with 1 gallon of water. Apply the solution to the surface, letting it sit for at least 5-10 minutes (or as directed on the bleach label) before wiping clean. Always patch test in an inconspicuous area as bleach can discolor some materials.
- Commercial Disinfectants: Many products specifically target mold and bacteria. Look for EPA-registered disinfectants that are effective against a broad spectrum of microorganisms.
- Hydrogen Peroxide: A safer alternative to bleach for many surfaces. Use a 3% hydrogen peroxide solution directly or diluted, allowing it to sit for 10-15 minutes before wiping.
- For Fabrics and Clothing:
- Wash in hot water (as hot as the fabric allows) with a heavy-duty laundry detergent. Consider adding a laundry sanitizer or a small amount of bleach (for whites/colorfast items) to the wash cycle. Multiple washes may be necessary.
- Ensure items are thoroughly dried afterward.
- For Wood Furniture and Unsealed Wood:
- Wipe down with a wood cleaner and a soft cloth, followed by a disinfectant designed for wood (e.g., specialized mold cleaner, or a diluted hydrogen peroxide solution if safe for the finish).
- Ensure wood is dried immediately and completely to prevent warping and mold. Professional restoration may be needed for severely damaged wood.
- For Electronics (Phones, Computers, Appliances):
- If submerged, electronics are highly susceptible to permanent damage and should generally be evaluated by a professional. Do NOT plug in water-damaged electronics.
- For surface contamination (e.g., splashes), use a lint-free cloth lightly dampened with isopropyl alcohol (70% or higher) to gently wipe down exterior surfaces. Ensure no liquid enters openings.
- For Books and Documents:
- These are extremely challenging to restore. If only damp, air-dry immediately, carefully fanning out pages. For more severe damage, professional conservators specializing in document restoration or freeze-drying techniques are often required. Disinfection is difficult without causing further damage.
- For Upholstered Furniture, Carpets, and Rugs:
- If saturated with gray or black water, these items are often considered unsalvageable due to the difficulty of thorough cleaning and disinfection.
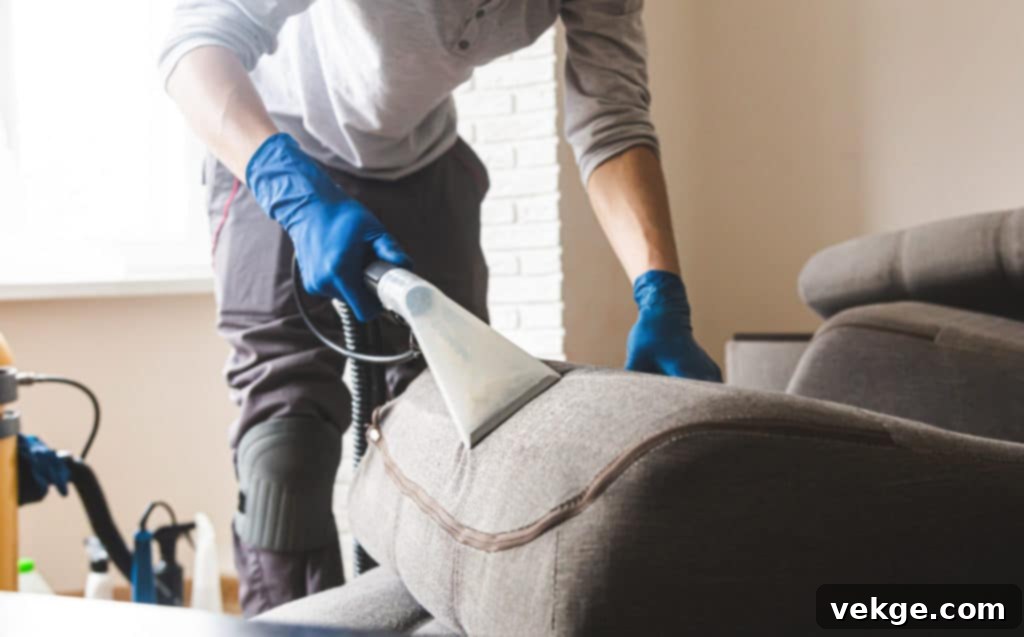
- For clean water damage, professional steam cleaning and disinfection using specialized agents may be possible, followed by aggressive drying with air movers and dehumidifiers. Ensure items are dried within 24-48 hours.
Step 5: Ensure Thorough Drying
- Complete Dryness is Key: After cleaning and disinfecting, proper and complete drying is paramount. Any residual moisture can lead to new mold growth.
- Utilize Airflow and Dehumidification: Continue to use fans, air movers, and dehumidifiers. Open windows and doors for ventilation.
- Monitor Moisture Levels: For critical items or larger areas, consider renting a moisture meter to ensure materials are thoroughly dry to prevent hidden mold.
Step 6: Monitor and Maintain
- Regular Inspections: For several weeks after the restoration, regularly check the restored items and the affected area for any signs of recurring mold (musty odors, discoloration) or persistent dampness.
- Maintain Low Humidity: Keep indoor humidity levels below 60% (ideally 30-50%) through proper ventilation, air conditioning, or dehumidifiers to inhibit mold growth.
- When to Discard: Be prepared to discard items that show persistent mold growth, unpleasant odors, or cannot be safely disinfected, especially porous materials contaminated by black water. Your health and safety are more important than salvaging an item.
Step 7: When to Call Professionals for Water Damage Restoration
While DIY disinfection is possible for minor clean water incidents, there are many scenarios where professional intervention is essential:
- Black Water Damage: Always call professionals for black water. It is a biohazard and requires specialized equipment, training, and disposal methods.
- Extensive Damage: If water damage is widespread, affects structural components (walls, flooring), or has been present for more than 48 hours (increasing mold risk).
- Persistent Mold: If mold is visible, covers a large area (more than 10 sq ft), or returns after your cleaning efforts.
- Health Concerns: If anyone in your household has allergies, asthma, or a compromised immune system, it’s safer to have professionals handle the cleanup.
- Valuable or Irreplaceable Items: Professionals have techniques and specialized equipment for delicate items that you might not.
- Insurance Claims: Professional restoration companies often help with documentation for insurance claims, ensuring you receive proper coverage. Reputable companies like water damage restoration New York can provide peace of mind and expertise, though it requires a significant investment.
Conclusion
Disinfecting belongings after water damage is a critical and non-negotiable step in the restoration process. It’s about more than just saving your possessions; it’s about protecting the health of your family and preserving the long-term integrity of your home. By understanding the types of water damage and meticulously following the step-by-step disinfection guide outlined above, you can effectively clean and sanitize your items, mitigate health risks, and prevent further damage and costly replacements.
Remember, prompt action, proper safety measures, and thorough drying are the cornerstones of successful water damage recovery. While many smaller incidents can be managed with a DIY approach, do not hesitate to seek assistance from qualified water damage restoration professionals for severe cases or when in doubt. By adopting these proactive measures and diligently monitoring your restored items, you can maintain their health and longevity, ensuring a safe and pleasant environment for years to come.
