Mastering Home Illumination: Your Ultimate Guide to Creating a Perfect Lighting Plan
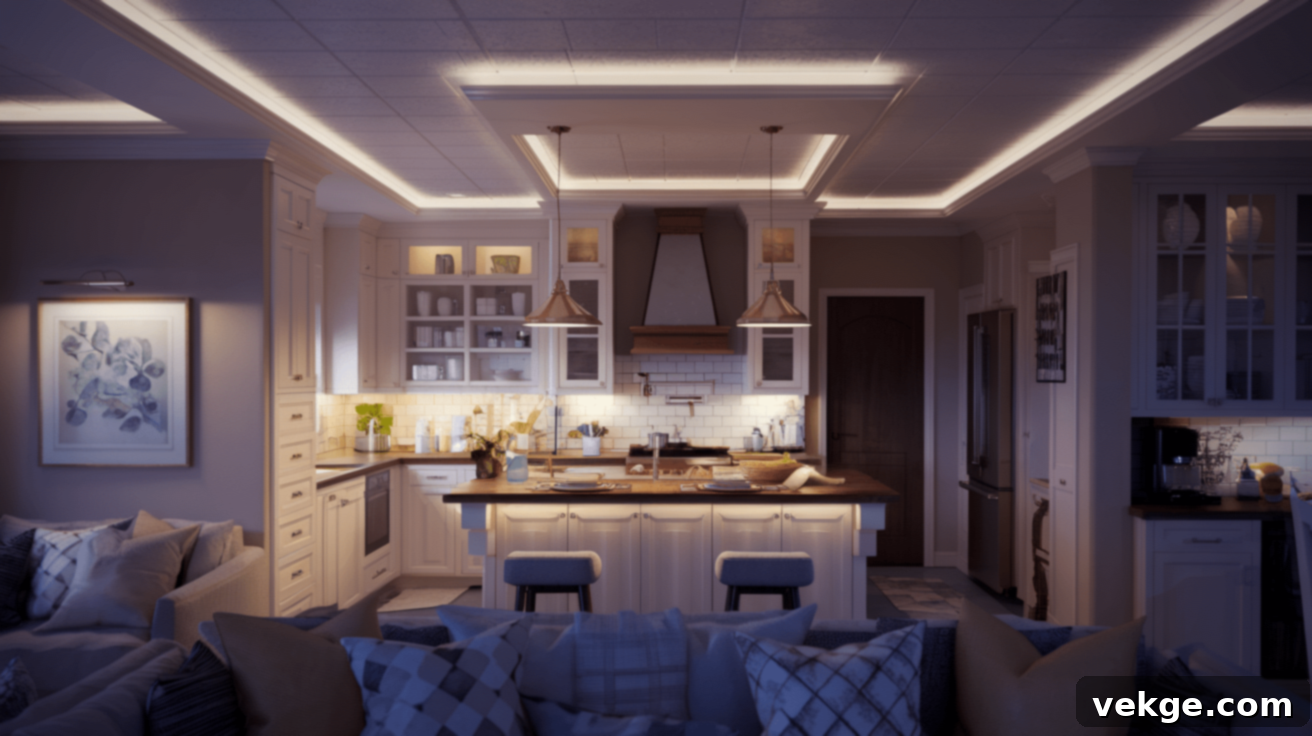
Lighting is far more than just flicking a switch; it’s the transformative force that breathes life into your living spaces. Imagine it as the invisible architect of your home’s atmosphere, weaving warmth, comfort, and personality through the strategic play of light and shadow. The right glow can turn a mere house into a sanctuary, a place where every moment feels perfectly illuminated, reflecting your lifestyle and enhancing your well-being.
Beyond its aesthetic appeal, a thoughtfully designed lighting scheme profoundly impacts how you live, work, and unwind within your home. It’s an essential element that affects your mood, productivity, and even the perceived size and cleanliness of your rooms. Understanding how to harness light effectively is key to unlocking your home’s full potential.
Achieving optimal home illumination begins long before any fixture is installed or a wire is laid. It’s a process rooted in deep consideration of your space, your daily routines, and the precise mood you wish to cultivate in each area. From the gentle, calming ambient light that cradles your bedroom in tranquility to the bright, focused task lighting essential for culinary creations in your kitchen, every room presents a unique story waiting to be told through its lighting.
Ready to embark on a journey into the art and science of perfect lighting? Join us as we explore everything you need to know to make every corner of your home shine, ensuring both beauty and unparalleled functionality.
What is a Lighting Plan and Why It Matters for Your Home
At its core, a lighting plan is a meticulously crafted blueprint, a comprehensive roadmap detailing how every inch of your living space will be illuminated. Think of it as an essential design document that ensures no corner is left in perpetual shadow or, conversely, overwhelmed by harsh, unflattering brightness. It’s a systematic approach to lighting design, integrating various light sources to achieve layered and versatile illumination.
Without a coherent and well-executed lighting plan, homeowners often find themselves grappling with rooms that feel disjointed—some areas excessively dim, others glaringly bright, or simply lacking the intended comfort and functionality. This haphazard approach often results in a less inviting and less efficient home environment.
The benefits of a professionally conceived lighting plan are both immediate and enduring. A well-designed plan actively contributes to making rooms feel more expansive, welcoming, and aesthetically pleasing. It dramatically improves your ability to perform tasks effectively, whether you’re cooking, reading, or working from home. Furthermore, it empowers you to sculpt distinct moods and atmospheres throughout your property, transitioning effortlessly from vibrant and energetic to serene and intimate with the flick of a switch or a tap on your smart device. Crucially, intelligent lighting design also translates into significant energy savings and reduced electricity bills, an often-overlooked financial advantage.
A common and critical mistake many homeowners make is treating lighting as a mere afterthought in the design process. They might install a solitary ceiling light fixture in the center of a room and deem the job done, inadvertently missing out on the profound impact layered and strategic lighting can have on a house’s overall vibe, functionality, and inherent charm. This oversight can diminish the architectural features, dampen the décor, and even negatively affect the occupants’ comfort and well-being.
When to Start Your Lighting Plan: The Optimal Timing
The ideal moment to initiate your lighting plan is unequivocally *before* any electrical work commences. This crucial timing, typically during the early stages of a renovation project or new home construction, presents a golden opportunity. By planning your lighting system concurrently with the architectural and interior design phases, you can seamlessly integrate electrical wiring, fixture placement, and control systems, ensuring they perfectly align with your lifestyle and design aspirations.
Beginning with a simple sketch of your rooms, you should carefully consider the primary function of each space and how you intend to utilize it throughout the day and evening. Pay close attention to natural light sources—the direction of windows, their size, and the amount of sunlight they receive at different times. Planning ahead allows you to anticipate future furniture layouts, identify focal points, and design a lighting scheme that is not only beautiful but also highly functional and adaptable to evolving needs. This proactive approach avoids costly and disruptive retrofitting down the line, ensuring a truly integrated and efficient lighting system.
Step-by-Step Guide to Creating a Flawless Home Lighting Plan
Step 1: Draw a Detailed Floor Plan
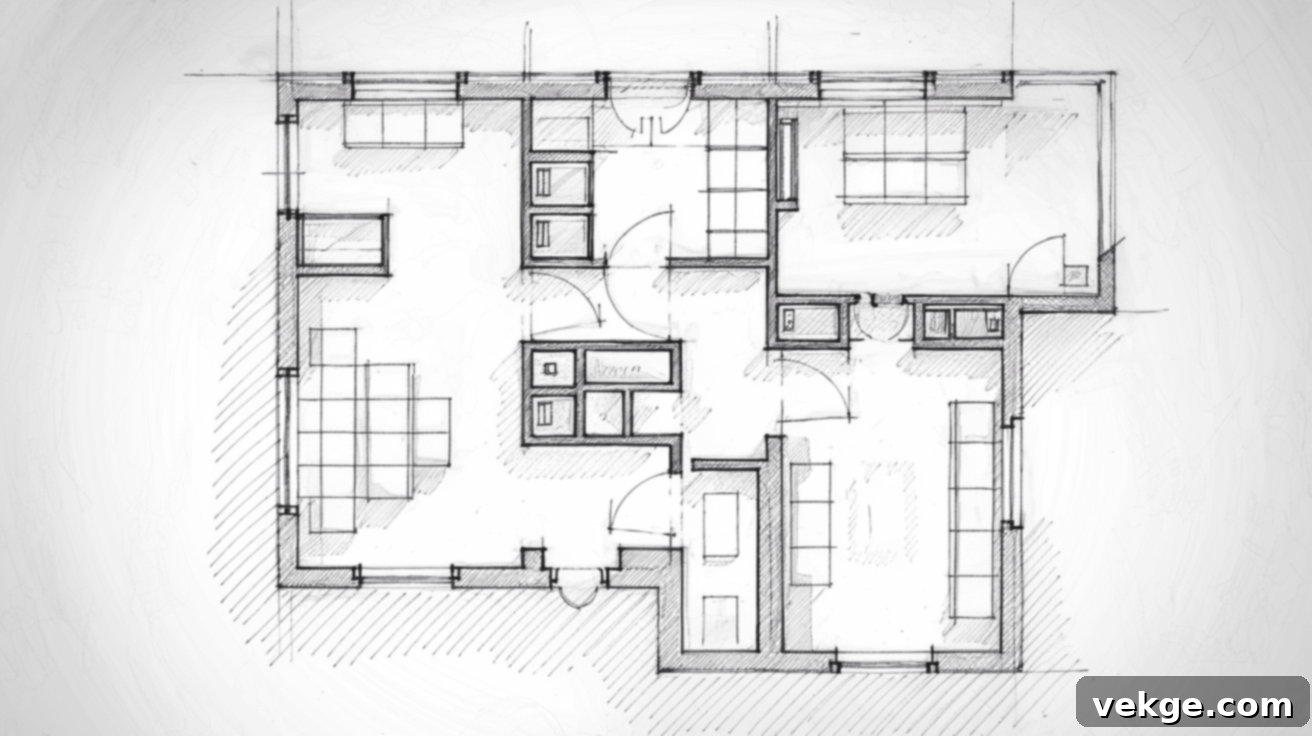
Begin your lighting journey by creating an accurate floor plan of your home. Whether you opt for a traditional pen-and-paper sketch or leverage sophisticated free online tools, this fundamental step serves as the bedrock for all subsequent lighting decisions. Your plan should meticulously detail room dimensions, the precise locations of windows and doors, and any unique architectural features—such as fireplaces, built-in shelving, or vaulted ceilings—that will influence how light travels and is perceived within the space.
Accuracy in measurement is paramount; even minor discrepancies can significantly impact the effectiveness of your lighting layout. Tools like SketchUp, RoomSketcher, or even basic graph paper can provide an accessible starting point. As you map out your space, thoughtfully consider how natural light interacts with each room at various times of the day. Observe the direction of sunlight, areas that receive direct sun, and those that remain in perpetual shade. This critical understanding of natural light patterns will directly inform and optimize your artificial lighting requirements, helping you design a system that complements rather than competes with ambient daylight.
Step 2: Mark Furniture and Fixed Features on Your Plan
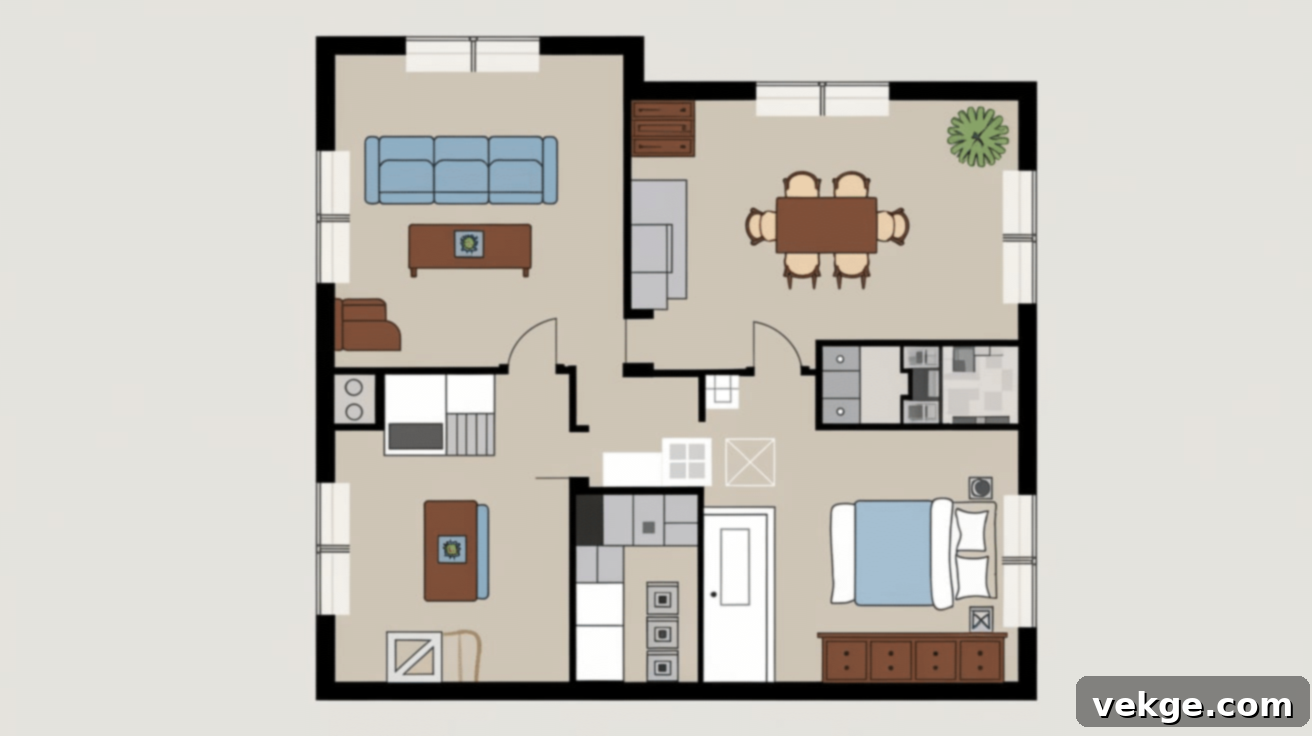
The placement of furniture and permanent fixtures is a critical determinant of your lighting’s efficacy and overall functionality. Large pieces, for instance, can cast significant shadows, obstructing light distribution if their presence isn’t accounted for during the planning phase. Take ample time to accurately mark the intended locations of major items such as sofas, armchairs, dining tables, kitchen appliances, cabinetry, beds, and any prominent artwork or architectural focal points you wish to highlight. This visualization helps you anticipate where shadows might naturally fall and strategically position light fixtures to achieve optimal illumination and visual balance.
Be precise about furniture heights and dimensions, as a tall bookshelf will require a different lighting approach than a low coffee table. Also, consider the flow of human movement through the space. Ensure that your lighting design supports natural traffic patterns, providing clear pathways and avoiding any dark, unsafe zones. This step helps integrate your lighting with the practical use of each room, making the space not only beautiful but also inherently livable.
Step 3: Define Room Functions and Specific Lighting Needs
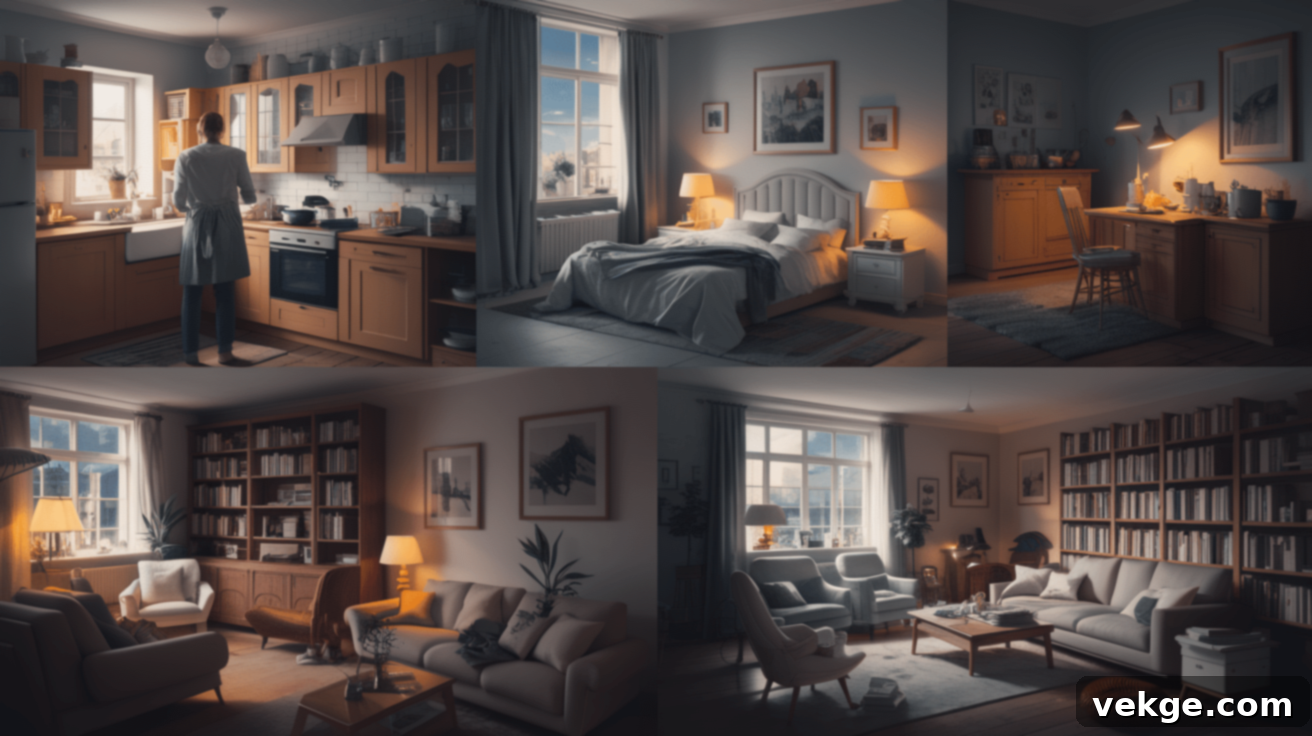
Each room within your home possesses a unique character and serves distinct purposes, which in turn dictate its specific lighting requirements. A thoughtful and thorough assessment of the activities that occur in each space is crucial for guiding your lighting choices. Dedicate a moment to visualize the various scenarios that unfold in each room throughout the day and into the evening.
Consider when the room will be most frequently used and the desired atmosphere for those times. For instance, a kitchen demands bright, uniform illumination for safe and efficient food preparation, whereas a bedroom calls for softer, more relaxing light to foster comfort and aid in winding down. Living areas, often multi-functional, may necessitate flexible lighting solutions that can adapt to a spectrum of activities, from focused reading and engaging in hobbies to lively social gatherings or quiet movie nights. By creating a detailed list of all activities planned for each room, you can ensure your lighting plan is comprehensive and perfectly accommodates every need, contributing to both functionality and the desired ambiance.
Step 4: Choose the Right Types of Lighting to Create Layers
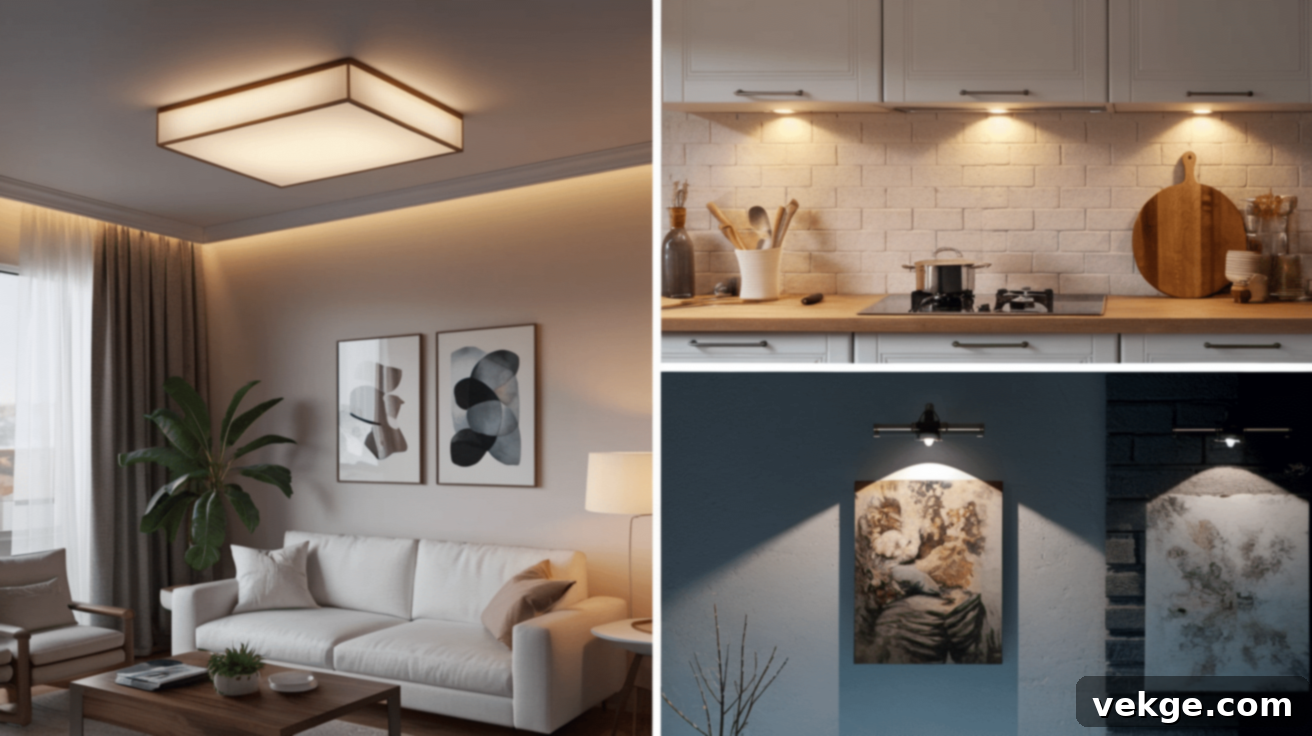
To achieve a truly balanced, versatile, and dynamic lighting scheme, designers rely on three primary types of lighting, often referred to as “layers of light.” Combining these layers allows for adaptable illumination that can be tailored to various moods and functions:
- Ambient Lighting: This is the foundational layer, providing general illumination for an entire room. Its purpose is to ensure sufficient overall brightness, allowing safe movement and preventing harsh shadows. Ambient light typically originates from ceiling fixtures such as recessed lights, flush mounts, chandeliers, or track lighting. It sets the baseline brightness and atmosphere for the space.
- Task Lighting: Designed for specific activities, task lighting provides focused illumination precisely where it’s needed. Examples include reading lamps beside a sofa, under-cabinet lighting in a kitchen for food preparation, desk lamps in a home office, or vanity lights in a bathroom. The goal is to reduce eye strain and improve visibility for detailed work, ensuring the light is bright enough without creating glare.
- Accent Lighting: This dramatic layer is used to highlight specific features, creating visual interest and adding depth and dimension to a room. Accent lighting can draw attention to artwork, architectural details, plants, sculptures, or textured walls. Common sources include spotlights, track lighting with adjustable heads, picture lights, and uplights. It adds a sophisticated touch, transforming ordinary elements into focal points.
Effective lighting design involves strategically layering these three types of light, often incorporating dimmers to control their intensity independently. This approach provides maximum flexibility, allowing you to transform the ambiance of a room to suit any occasion or activity.
Step 5: Pick Appropriate Fixtures and Bulbs for Style and Function
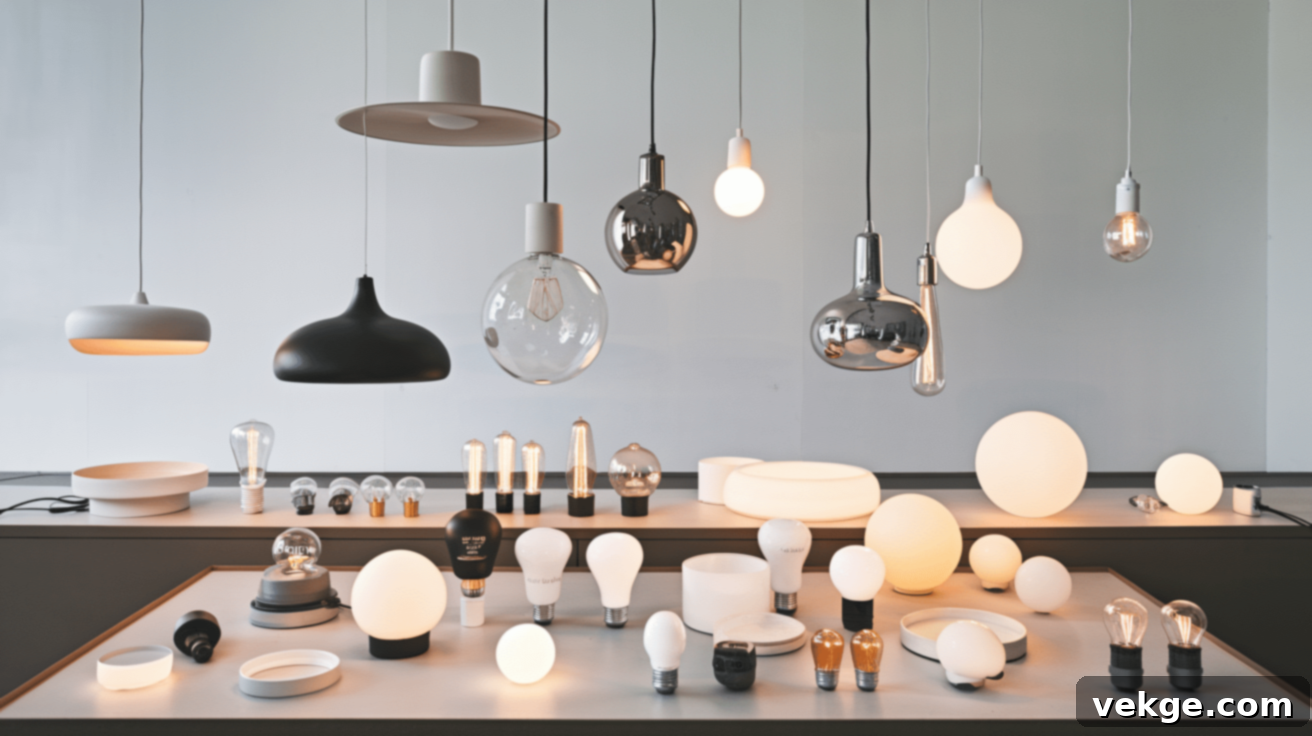
The selection of appropriate fixtures and bulbs is paramount, influencing both the functionality and the aesthetic mood of your space. Beyond mere style, the technical specifications of your bulbs are just as critical. When choosing bulbs, pay close attention to brightness, measured in lumens, and color temperature, expressed in Kelvin (K).
- Brightness (Lumens): Lumens indicate the amount of light emitted, not wattage. Lower lumen values are ideal for creating a cozy, relaxing atmosphere in spaces like bedrooms or dining areas. Higher lumen outputs are necessary for functional work areas such as kitchens, home offices, and utility rooms, where clear visibility is essential.
- Color Temperature (Kelvin): This describes the warmth or coolness of the light.
- Warm Light (2700K-3000K): Emits a soft, yellowish glow, reminiscent of incandescent bulbs. It creates a comfortable, intimate, and inviting atmosphere, perfect for living rooms, bedrooms, and dining areas.
- Neutral White Light (3500K-4000K): Offers a balanced, clean light that is less yellow than warm white but not as blue as cool white. Ideal for kitchens, bathrooms, and home offices where clarity is desired without feeling clinical.
- Cool Light (4000K-5000K+): Produces a crisp, bluish-white light that enhances alertness and concentration. Often used in task-oriented environments, garages, or retail spaces.
- Color Rendering Index (CRI): This measures how accurately a light source reveals the true colors of objects compared to natural daylight. A higher CRI (80+) is desirable for areas where color accuracy is important, such as kitchens, art studios, or dressing areas.
- Beam Angle: This determines how widely the light spreads. A narrow beam (spotlight) is excellent for accent lighting, highlighting specific objects. A wider beam (floodlight) provides broader illumination for ambient or general lighting.
Finally, match the fixture style to your room’s overall character. Contemporary spaces might benefit from sleek, minimalist designs, while traditional rooms might call for more classic or ornate options. Consider how the fixtures look both when illuminated and when unlit, as they contribute to the room’s decor at all times.
Step 6: Plan Optimal Socket and Switch Placement
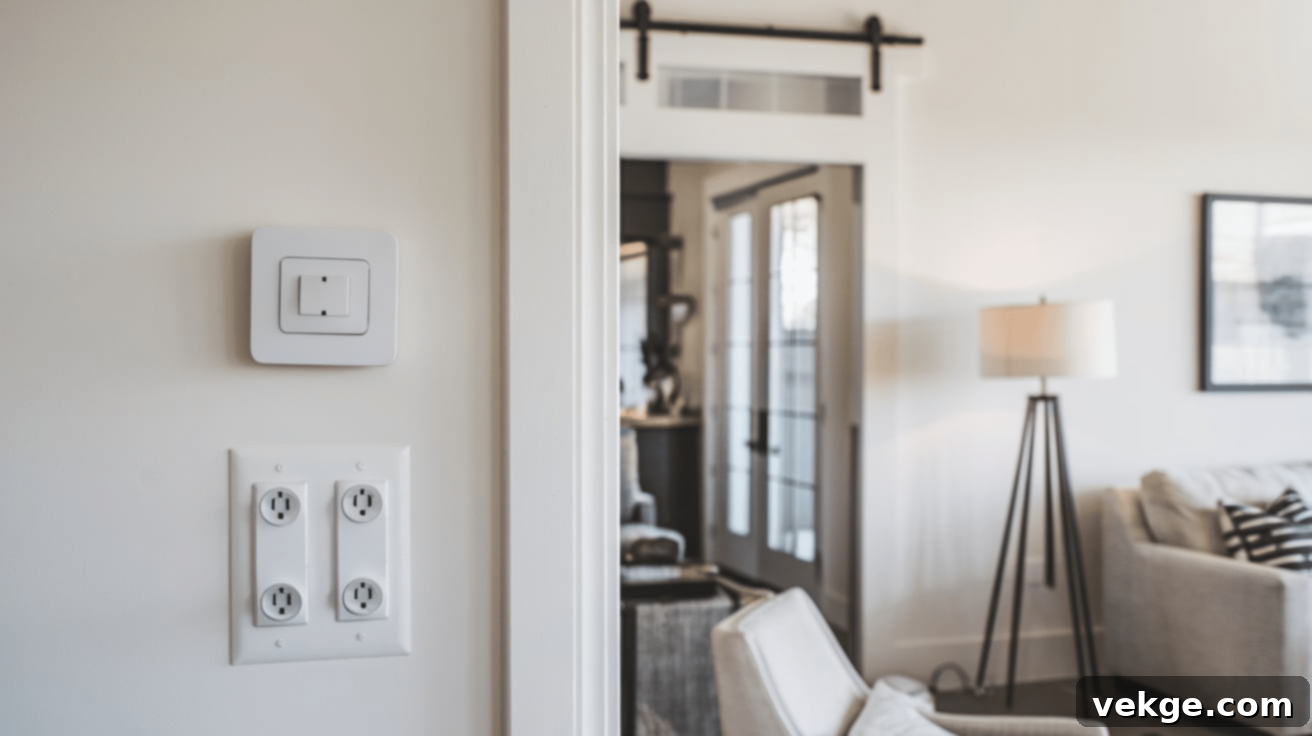
Strategic placement of electrical sockets and light switches is fundamental to convenience, safety, and the practical usability of your lighting plan. Carefully consider the flow of movement within each room and anticipate where controls will be most intuitively accessed. Place switches consistently near room entrances, typically at a standard height (around 48 inches from the floor), ensuring they are easily reachable, especially when entering a darkened room.
For rooms with multiple entry points, or long hallways, incorporating three-way or even four-way switches is highly beneficial, allowing you to control the same set of lights from different locations. Dimmers are an invaluable addition, offering unparalleled flexibility to adjust lighting intensity to suit various times of day, activities, or moods. This not only enhances comfort but also contributes to energy efficiency.
Ensure a sufficient number of well-placed electrical outlets throughout each room to accommodate floor and table lamps without the need for unsightly or hazardous extension cords. Modern smart switch options can further enhance convenience, providing control from multiple locations via apps or voice commands, and enabling integration with broader smart home ecosystems. Also, think about less frequent but important needs, such as outlets for seasonal decorations or specialized equipment, ensuring your electrical plan is truly future-proof.
Step 7: Integrate Smart and Energy-Efficient Features
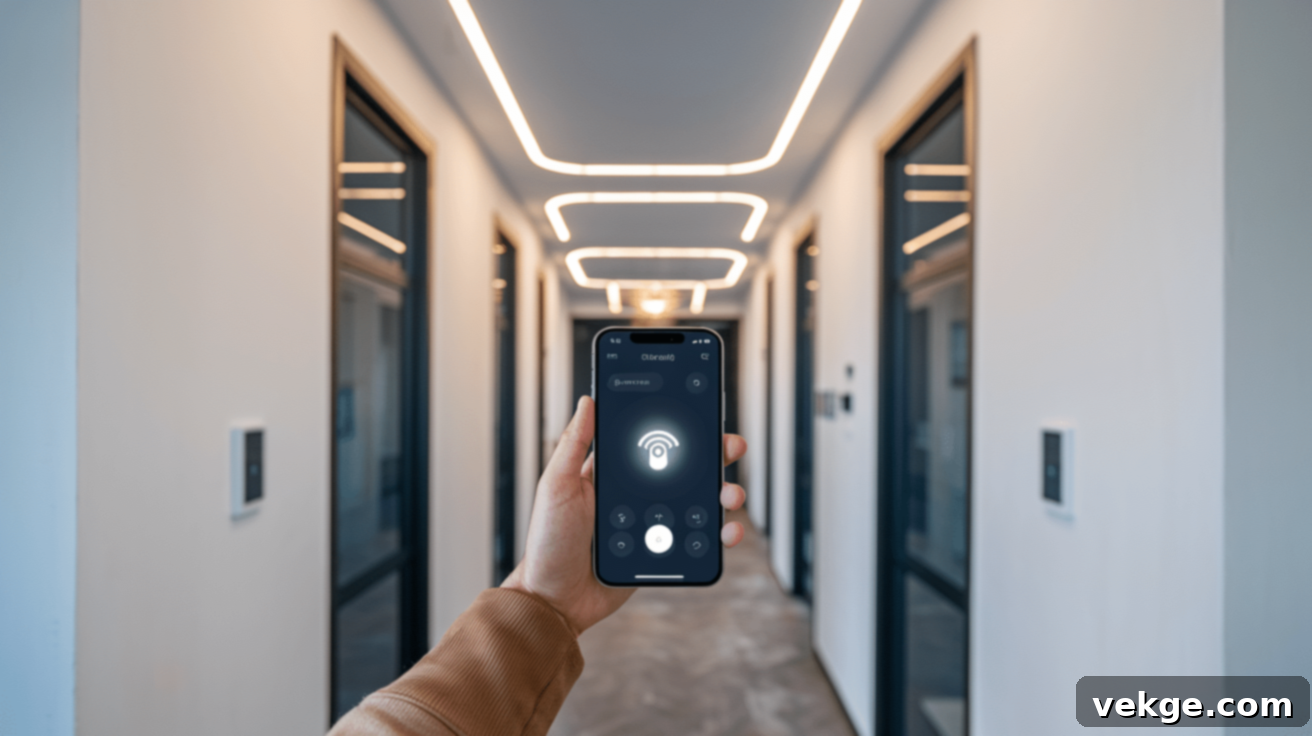
Embracing modern lighting technology offers a wealth of practical options that significantly enhance both convenience and cost-effectiveness in your home. Incorporating smart and energy-efficient features is an investment that pays dividends over time.
- LED Lighting: Light Emitting Diode (LED) bulbs are a cornerstone of energy-efficient lighting. They consume significantly less electricity than traditional incandescent or fluorescent options, leading to substantial savings on your utility bills. Furthermore, LEDs boast an exceptionally long lifespan, dramatically reducing the frequency and cost of bulb replacements. They also offer instant-on functionality, excellent dimmability, and a wide array of color temperatures and color-changing capabilities.
- Motion Sensors: These intelligent devices can automatically activate lights when you enter a room and deactivate them when the space becomes empty. They are particularly useful in high-traffic, intermittent use areas such as hallways, closets, pantries, laundry rooms, and bathrooms, preventing lights from being left on unnecessarily.
- Occupancy/Vacancy Sensors: Similar to motion sensors, these detect presence. Occupancy sensors turn lights on and off automatically, while vacancy sensors require manual turn-on but turn off automatically after detecting no presence for a set time, offering more control.
- Timing Systems & Schedules: Programmable timers allow you to set specific on/off schedules for your lights. This can enhance security by simulating occupancy when you’re away from home, deterring potential intruders. Daily routines can also be automated, ensuring lights come on at dusk and turn off at dawn, or at specific times you designate.
- Smart Lighting Systems: These advanced systems allow you to control your lighting remotely via smartphone apps, voice commands (through virtual assistants like Alexa or Google Assistant), or smart home hubs. They offer the ability to create customized “scenes” for different activities (e.g., “Movie Night” dims lights, “Dinner Party” sets a warm glow) or times of day, adjust color temperature, and even sync with other smart home devices. Popular protocols include Zigbee, Z-Wave, and Wi-Fi.
While the initial outlay for these smart and energy-efficient features might be higher, they often justify the cost through considerable energy savings, prolonged product life, and the added convenience and enhanced functionality they bring to your daily life.
Room-by-Room Lighting Guide: Tailored Illumination
1. Kitchen Lighting: Brightness and Precision
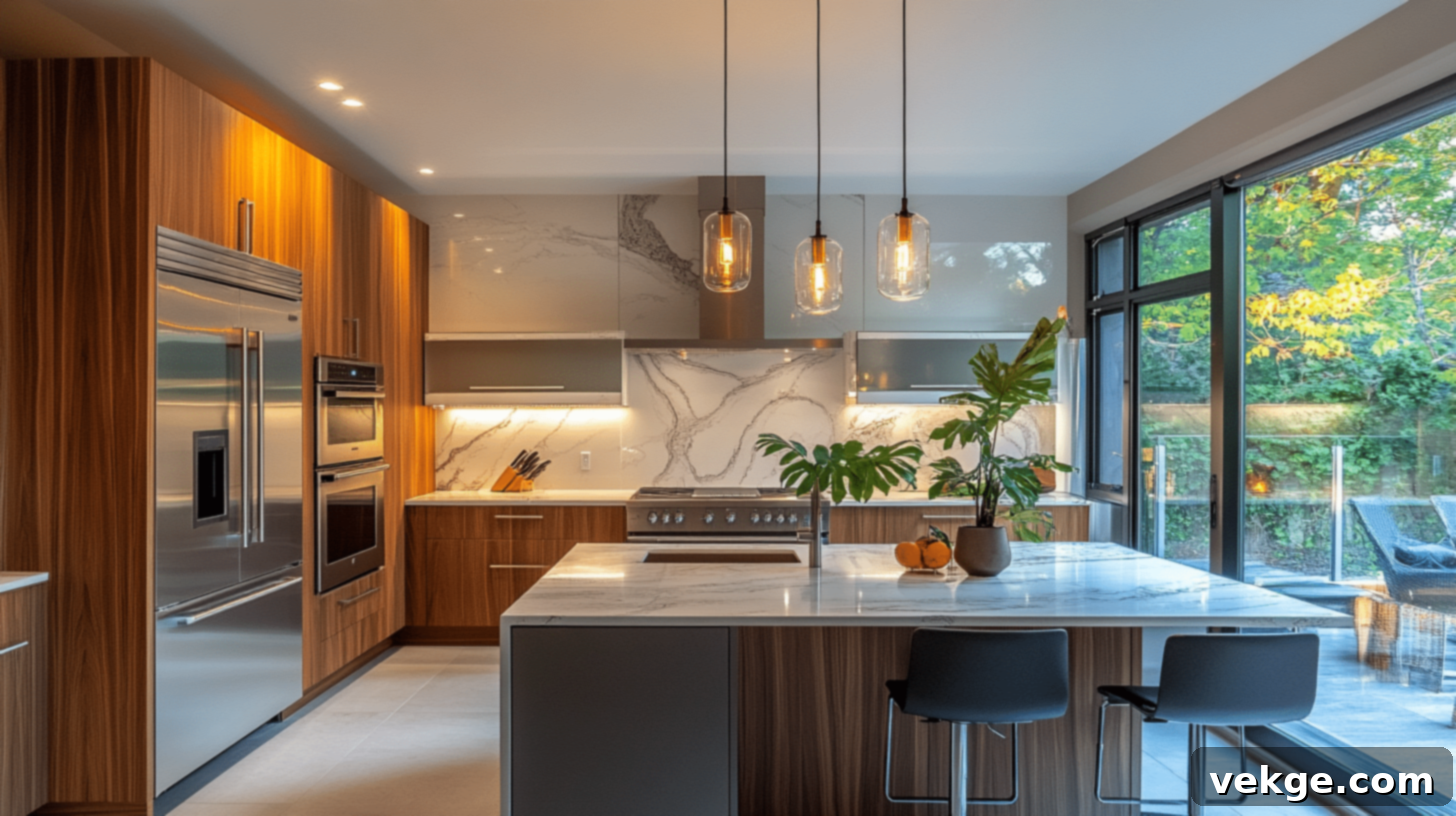
The kitchen, often the heart of the home, functions best with a multifaceted lighting strategy that combines various light sources. Begin with robust overhead fixtures, such as recessed lighting or a stylish semi-flush mount, to provide consistent general illumination across the entire space. This ambient layer ensures overall visibility and a sense of openness.
Crucially, add under-cabinet lighting. This task lighting eliminates shadows cast by upper cabinets onto countertops, making food preparation, chopping, and cooking safer and more efficient. LED strip lights are an excellent, energy-efficient choice here. For dining areas or kitchen islands, consider decorative pendant lights. These should be strategically hung at an appropriate height—typically 30-36 inches above the surface—to provide focused light without obstructing views. Incorporating adjustable brightness controls (dimmers) allows you to effortlessly transition the atmosphere from bright and functional during cooking to a softer, more relaxed ambiance for casual meals or entertaining.
2. Living Room Lighting: Versatility and Ambiance
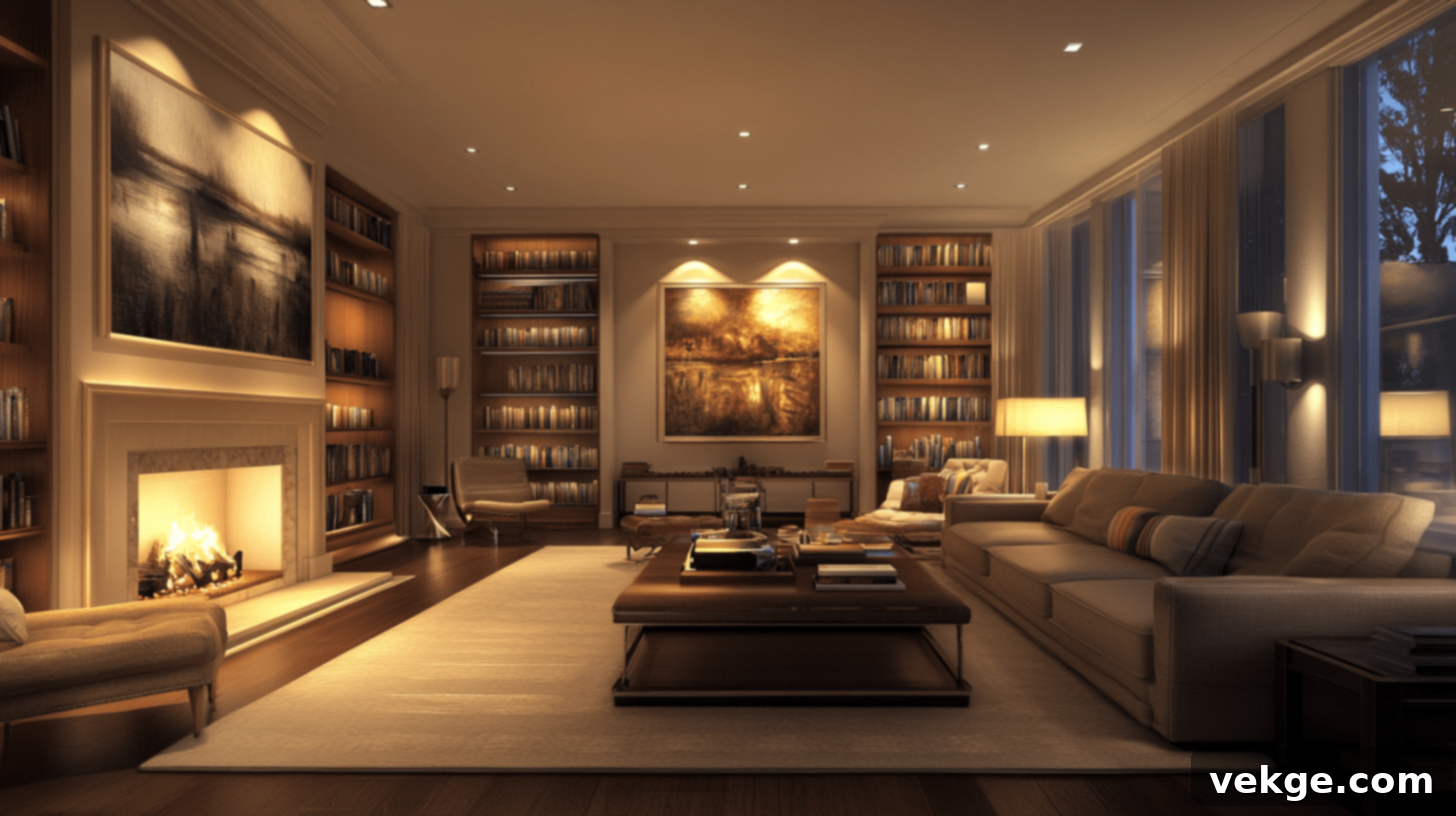
The living room, a space dedicated to a multitude of activities from relaxing to entertaining, demands a thoughtful and highly adaptable lighting arrangement. Start with a foundational layer of ambient light, perhaps from dimmable ceiling fixtures like recessed lights or a statement chandelier. Supplement this with floor lamps strategically placed near seating areas to provide comfortable task lighting for reading or hobbies. Wall sconces can beautifully highlight architectural features, add decorative flair, and contribute to the ambient glow.
Table lamps bring warmth and intimacy to corner spaces or end tables, creating smaller, inviting pools of light. Consider integrating specific accent lighting, such as track lights or picture lights, to showcase cherished artwork, photographs, or treasured collections. Installing dimmer switches on all layers of lighting is paramount here, offering complete control over intensity to suit any activity—from the subdued glow for a movie night to a brighter, more engaging illumination for entertaining guests. The goal is to create zones of light that can be used independently or in concert.
3. Bedroom Lighting: Tranquility and Comfort
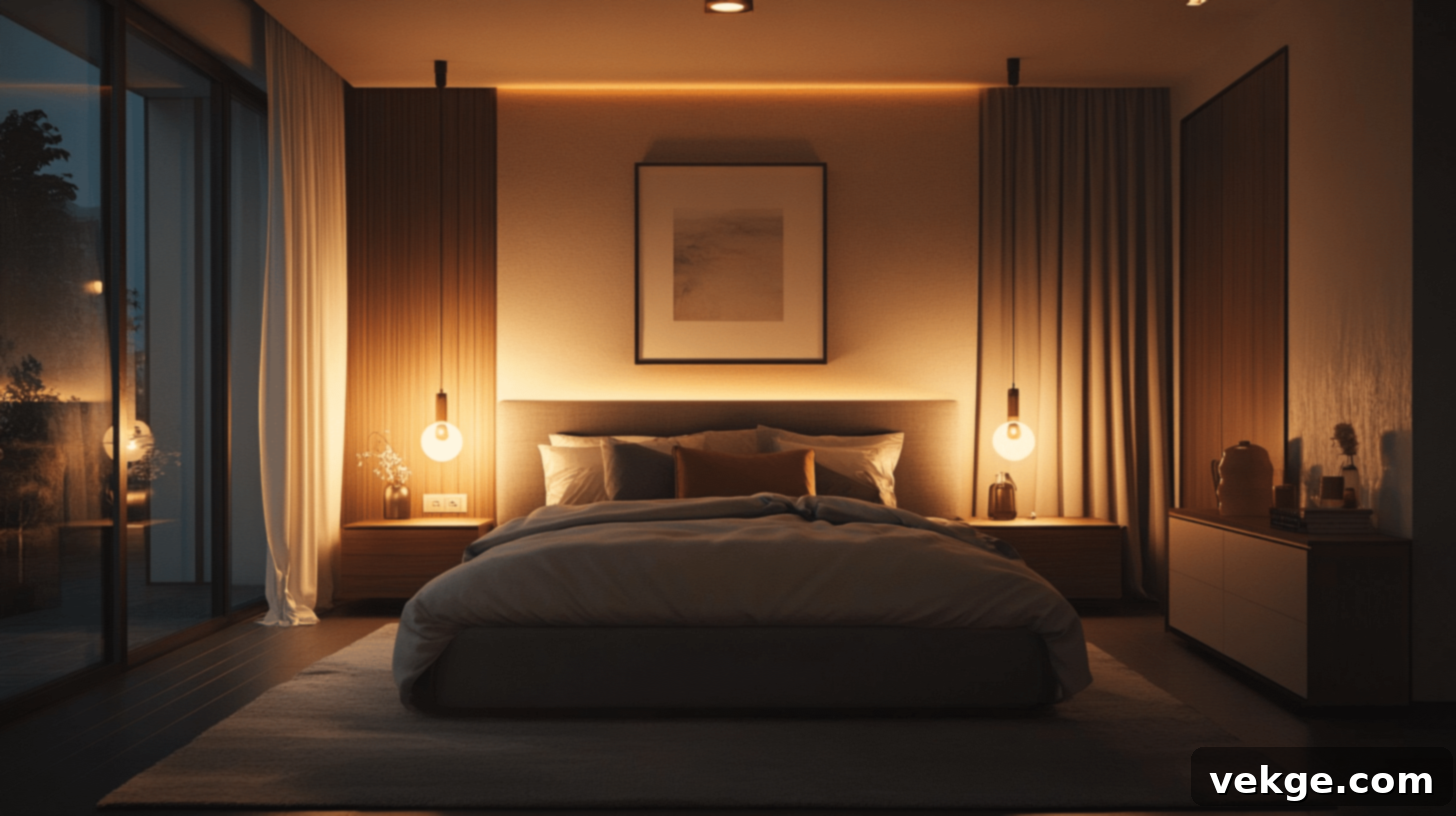
Your bedroom should be a haven of rest and relaxation, and its lighting should reflect this purpose. Prioritize gentle, warm-toned lighting (around 2700K-3000K) to promote a soothing environment conducive to sleep. A central ceiling fixture, ideally with a dimmer, provides basic overall illumination when needed for dressing or cleaning. For nighttime convenience, consider integrating smart bulbs or dimmers that can gradually brighten or dim.
Position bedside lamps at appropriate heights (the bottom of the shade should be roughly at your shoulder level when seated) for comfortable reading without disturbing a partner. Opt for lamps with opaque shades that direct light downwards. Small, low-intensity night lights or toe-kick lighting under beds can provide just enough illumination for safe movement during nighttime hours without fully waking you. Crucially, avoid harsh, cool-toned bulbs, as blue light can interfere with melatonin production and disrupt natural sleep patterns. Soft, indirect lighting, perhaps from wall sconces or cove lighting, contributes significantly to a tranquil, restful environment.
4. Bathroom Lighting: Functionality and Freshness
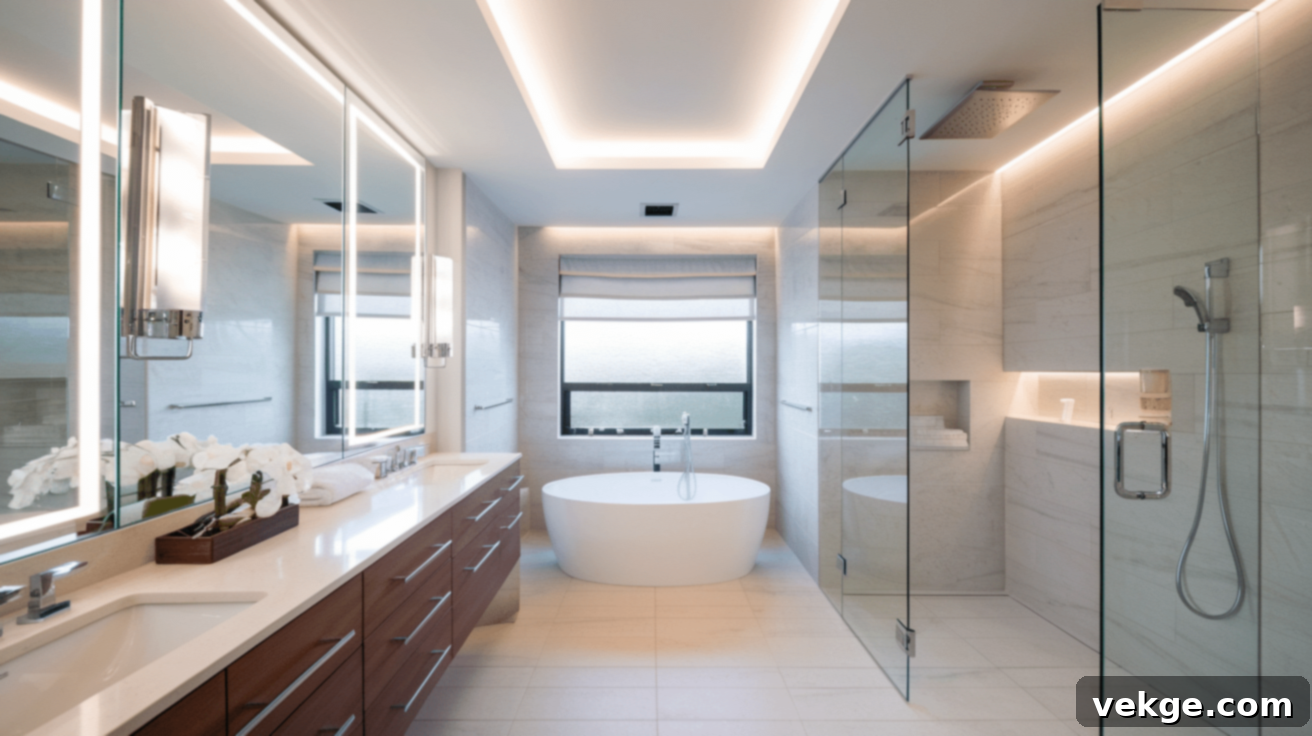
Bathroom lighting must meticulously balance functionality with an invigorating yet comfortable ambiance. The most critical element is vanity lighting: position fixtures on both sides of the mirror, or with a well-designed overhead light that casts even illumination across the face, to minimize harsh shadows—a crucial detail for grooming tasks like shaving or applying makeup. Avoid single overhead lights directly above the mirror, which can create unflattering shadows.
Always select fixtures with appropriate IP (Ingress Protection) ratings for moisture resistance and safety in damp environments. Combine ceiling lights (e.g., recessed LED downlights) for overall brightness with focused vanity lighting. A discreet night light option, perhaps motion-activated or integrated into a fan, helps with midnight visits without disrupting sleep cycles. For larger bathrooms, consider creating separate lighting zones for the shower area (requiring a high IP rating), the vanity section, and perhaps a freestanding tub area, each with its own control to tailor the mood and functionality.
5. Hallways and Entrance Lighting: Safety and Welcome
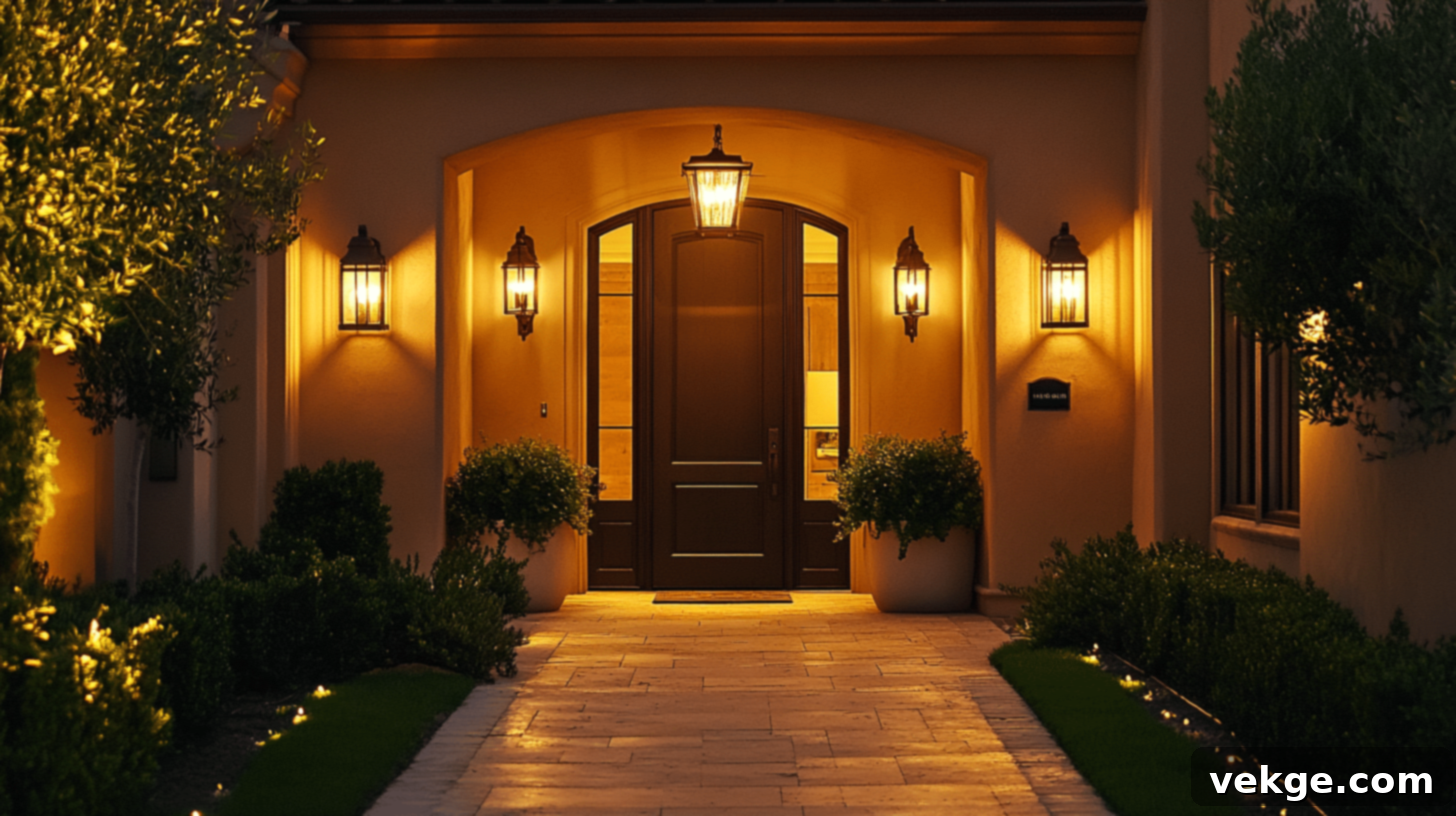
Hallways and entrance areas are transitional spaces that require adequate lighting primarily for safety, while also setting the initial tone and impression of your home. Install fixtures that cast sufficient light to prevent trips and falls, ensuring there are no dark spots or confusing shadows along pathways. However, avoid overly bright, jarring options that can feel unwelcoming or clinical.
Wall-mounted lights, such as sconces, can add significant visual interest and architectural detail while effectively illuminating pathways at eye level. Motion sensors are exceptionally useful in these areas, providing hands-free operation when carrying groceries or entering with children. For exterior entrances, consider robust, weather-resistant lighting that clearly highlights address numbers, illuminates path markers leading to your door, and enhances security. These transitional areas benefit immensely from warm, inviting light tones (around 2700K-3000K) rather than stark, institutional lighting, creating a comforting embrace as you enter or move through your home.
Common Lighting Mistakes to Avoid for a Perfect Home
While lighting has the power to elevate any space, it’s also an area where design can easily go awry. However, with thoughtful planning and awareness, you can deftly navigate common pitfalls and achieve truly brilliant results. As you meticulously design your home’s illumination, keep these critical points in mind to steer clear of frequent mistakes:
- Poor Light Distribution: The “Cave Effect”
One of the most common mistakes is relying solely on a single, central overhead light fixture. This often creates what is known as the “cave effect”—a brightly lit ceiling with dark, shadowy corners and walls, making the room feel enclosed and poorly lit. It neglects the concept of layering light. To avoid this, carefully spread your light sources across the room, incorporating ambient, task, and accent lighting from multiple points. Think about how light falls not just on the floor, but across walls, ceilings, and specific areas to eliminate shadows and create an even, inviting glow.
- Neglecting Furniture Placement and Creating Obstructions
Failing to consider your furniture layout when planning lighting can lead to major issues. Large pieces of furniture can block windows, reduce natural light, or cast unwanted shadows from artificial light sources. For instance, a tall bookcase might obscure a wall sconce, or a sofa placed under a window might make a reading lamp ineffective. Be strategic about where you place your furniture. Always mark furniture on your floor plan first (as discussed in Step 2) to anticipate potential blockages and ensure that your lighting complements rather than conflicts with your furniture arrangement. Design your lighting to highlight furniture or provide light for activities around it.
- Ignoring Room Characteristics and Using the Wrong Bulb
Every space possesses unique characteristics—its size, ceiling height, wall colors, and the amount of natural light it receives. Neglecting these can lead to lighting choices that feel mismatched. For example, dark paint colors absorb light, requiring more powerful illumination, whereas light colors reflect it, making a room feel brighter. Using a cool-toned bulb (e.g., 5000K) in a cozy bedroom with warm wall colors will create a jarring, uninviting atmosphere. Pay close attention to your room’s specific features and choose bulb colors (color temperature) and brightness (lumens) that work harmoniously with them. Don’t underestimate the impact of wall and ceiling color on light reflection and absorption.
- Forgetting About Dimmers and Flexibility
A static lighting system that offers only “on” or “off” settings severely limits a room’s versatility. Failing to incorporate dimmers for various light circuits is a common oversight. Dimmers provide invaluable flexibility, allowing you to adjust the intensity of light to suit different moods, activities, or times of day. They are also crucial for energy saving and extending bulb life. Without dimmers, you’re stuck with a single lighting scenario, regardless of whether you’re working, relaxing, or entertaining.
- Overlooking Natural Light Integration
Ignoring the natural light available in a room is a missed opportunity. Your artificial lighting plan should complement, not compete with, daylight. Consider how natural light enters a room throughout the day and design your artificial lighting to fill in gaps, enhance existing light, or provide illumination during darker hours. For instance, a room with ample morning sun might need minimal artificial light during those hours but require robust layering in the evening.
The ultimate goal is simple: to meticulously craft a lighting setup that feels inherently comfortable, undeniably functional, and perfectly aligned with how you and your family live. Take the necessary time to thoughtfully consider each lighting choice, and you will transform your space into a beautifully lit, welcoming, and deeply personalized home.
Conclusion: Illuminate Your Home, Transform Your Life
Creating the perfect lighting plan for your home is much more than a mere design decision; it’s an empowering act of crafting spaces that not only function flawlessly but also resonate deeply with your comfort, mood, and lifestyle. Each room in your home has a unique narrative, and through the thoughtful application of light, you possess the power to make that story warm, inviting, inspiring, and uniquely yours.
We’ve explored the foundational principles—from understanding the layers of ambient, task, and accent lighting to the critical considerations of bulb types, color temperature, and fixture placement. We’ve highlighted the immense benefits of early planning and the transformative potential of smart, energy-efficient technologies. Furthermore, our room-by-room guide and a focus on avoiding common pitfalls equip you with the knowledge to make informed, impactful choices.
Ready to truly transform your home’s ambiance and functionality? Don’t feel overwhelmed. Start small. Pick just one room—perhaps your living room or bedroom—and apply the comprehensive lighting principles outlined in this guide. Observe firsthand how the right light can dramatically change everything, making spaces feel larger, more comfortable, more welcoming, and profoundly personalized. The subtle shifts in brightness and mood will reveal the true magic of intelligent illumination.
If you find yourself seeking specialized guidance or wish to bring a complex vision to life, don’t hesitate to consult with a local lighting professional. Their expertise can provide tailored solutions, ensuring your lighting plan is executed with precision and flair, creating a home that truly shines.
