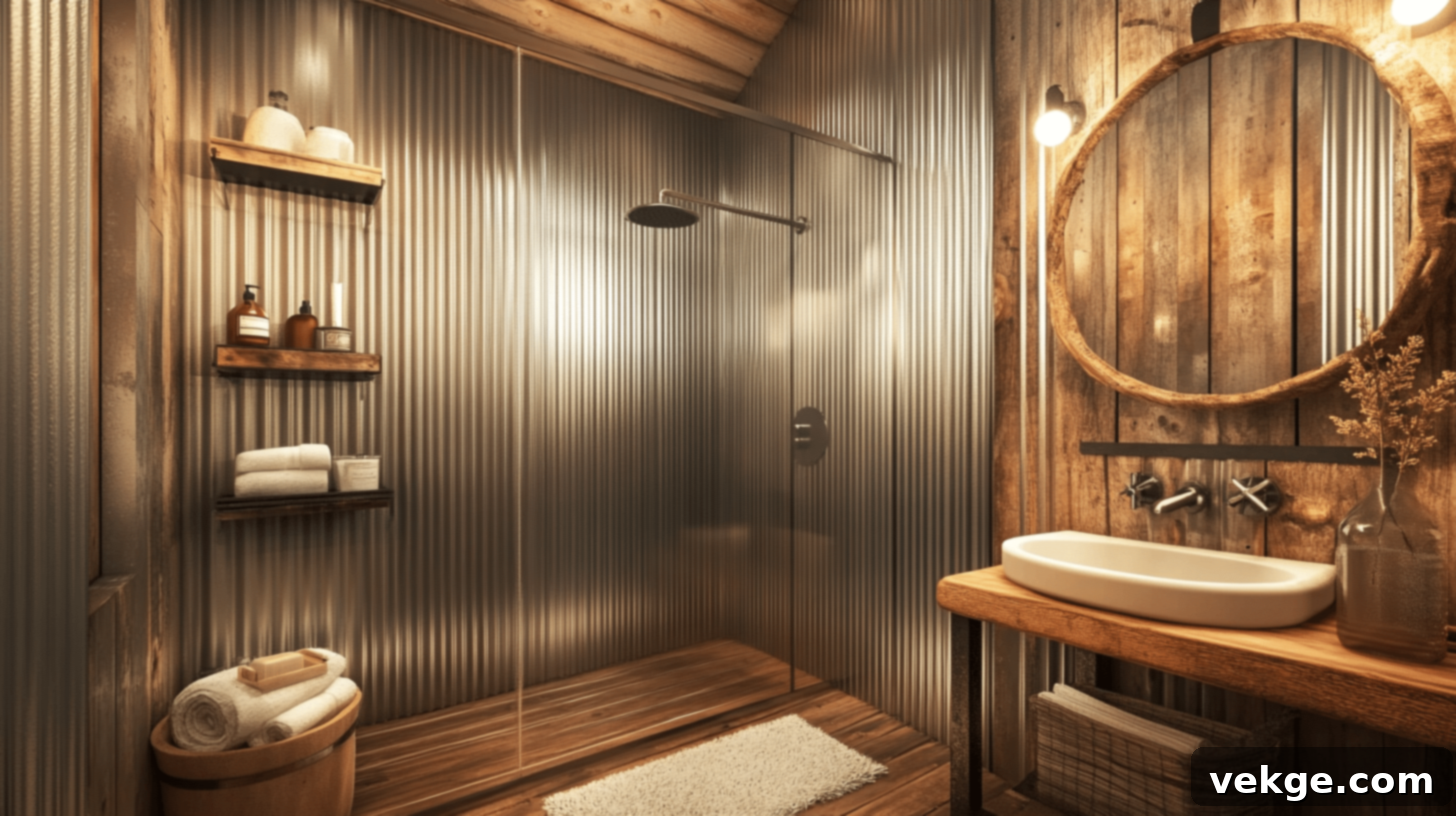
Transform Your Bathroom: The Ultimate Guide to Rustic Corrugated Metal Showers
Are you envisioning a bathroom that breaks away from the ordinary? Tired of conventional tiles and dreaming of a space with character, durability, and a distinct aesthetic? A rustic corrugated metal shower might be the innovative solution you’re searching for! This surprisingly simple upgrade can dramatically transform your bathroom, elevating it from bland to breathtaking with an unmistakable charm.
Corrugated metal shower walls offer a compelling combination of resilience, low maintenance, and striking visual appeal. Unlike many traditional materials, metal panels are inherently tough, remarkably easy to clean, and possess a unique texture that adds depth to any design. They often represent a more cost-effective alternative to high-end tiles or stone, while promising years of reliable service with minimal upkeep.
In this comprehensive guide, we will delve into every aspect of creating your perfect metal shower oasis. We’ll explore the best types of metal suited for wet bathroom environments, provide a step-by-step DIY installation guide, share essential tips for long-term maintenance, and inspire you with a variety of design ideas to seamlessly integrate corrugated metal into your personal style.
Whether your vision leans towards a cozy farmhouse aesthetic, a rugged industrial vibe, or a sophisticated modern rustic fusion, corrugated metal is incredibly versatile. It’s a material that tells a story, adds texture, and stands out. Ready to unlock the potential of metal and make your shower truly special? Let’s embark on this exciting journey!
The Enduring Benefits of Corrugated Metal in Showers
Integrating corrugated metal into your shower space offers a multitude of advantages that go beyond its distinctive appearance. When properly selected and installed, these metal panels deliver on both functionality and aesthetics, making them a smart choice for a bathroom renovation.
First and foremost, durability is a key benefit. Most metal panels, particularly those specifically treated for moisture resistance, are exceptionally robust. They are designed to withstand the constant exposure to water, steam, and humidity that is typical of a bathroom environment. Unlike some traditional materials that can crack or chip, metal stands up to daily wear and tear with impressive resilience. Their inherent strength means they can endure for many years, often outlasting other common shower wall materials.
The aesthetic appeal of corrugated metal is undeniable. Its signature wavy pattern instantly adds visual intrigue and texture without feeling overly decorative or busy. This understated yet impactful design element brings a simple, authentic, and often rustic or industrial charm that many homeowners desire. It can act as a stunning focal point or a subtle backdrop, depending on the overall design scheme.
Furthermore, metal surfaces are renowned for their ease of maintenance. With the right coatings and sealants, the panels become highly resistant to mold, mildew, and soap scum buildup. A quick wipe-down with mild soap and water is usually all it takes to keep them looking pristine. This low-maintenance quality translates into less time spent cleaning and more time enjoying your beautiful bathroom.
Finally, corrugated metal can be a surprisingly cost-effective solution. Compared to the expense of natural stone or high-end ceramic tiles, not to mention the specialized labor often required for their installation, metal panels can significantly reduce both material and installation costs, especially for DIY enthusiasts.
Choosing the Right Type of Corrugated Metal for Your Shower
Selecting the appropriate type of corrugated metal is crucial for ensuring longevity, aesthetic satisfaction, and optimal performance in a wet environment like a shower. Each metal variant offers distinct characteristics, making it important to understand their pros and cons before making your decision.
Galvanized Steel: The Classic and Cost-Effective Choice
Galvanized steel is a popular and readily available option, known for its affordability and practical resistance to corrosion. This steel is coated with a layer of zinc, which acts as a protective barrier against water damage and rust. The zinc sacrifices itself to protect the steel underneath, a process known as cathodic protection.
- Advantages: Galvanized steel is generally the most budget-friendly corrugated metal. It offers a classic, industrial look and is widely available at most home improvement stores in various sheet sizes and gauges (thicknesses). With proper care, it provides good rust protection.
- Considerations: To maximize its lifespan in a shower, it’s highly recommended to apply a clear protective sealant or clear coat spray after installation. This clear coat needs to be reapplied every few years to maintain its water-resistant properties and prevent the zinc coating from eroding. While suitable for shower walls, it’s generally not recommended for shower floors where it would be subjected to constant standing water and abrasive foot traffic.
Zinc-Coated Metal: Enhanced Protection and Elegant Patina
While galvanized steel is zinc-coated, “zinc-coated metal” often refers to products with a thicker, purer, or specifically formulated zinc layer, or even solid zinc panels. These advanced zinc coatings provide superior, longer-lasting water protection than standard galvanized steel, designed to withstand the harsh conditions of a shower environment more effectively.
- Advantages: The thicker zinc layer ensures excellent resistance to rust and corrosion, making it incredibly durable in wet spaces. A unique characteristic of zinc is its ability to develop a beautiful, natural gray patina over time as it ages and reacts with the environment. This “living finish” is highly sought after for its organic, evolving aesthetic. It also typically requires less frequent sealing or maintenance compared to standard galvanized steel.
- Considerations: Zinc-coated metal usually comes at a higher price point than basic galvanized steel due to its enhanced properties and production methods. However, the reduced maintenance and superior longevity can justify the initial investment for many homeowners.
Aluminum: Naturally Rust-Proof and Lightweight
Aluminum is another excellent choice for shower walls, distinguished by its inherent resistance to rust. Unlike steel, aluminum does not contain iron, so it simply cannot rust. This makes it an ideal material for any perpetually wet environment.
- Advantages: Aluminum is exceptionally lightweight, making it very easy to handle, cut, and install, even for a single person. It can be cut and shaped with standard tools, simplifying the DIY process. Its natural rust-proof quality means it maintains its appearance over time and will not change color or develop a patina like zinc. It also comes in a wide variety of finishes, from smooth to finely textured, offering more design flexibility.
- Considerations: The primary drawback of aluminum is its relative softness compared to steel. It can dent or scratch more easily if subjected to hard impacts, which might be a concern in high-traffic areas or homes with active children. Additionally, when touched, it might not convey the same solid, substantial feel as steel, although its performance is equally robust. It can also be a more expensive option than galvanized steel.
When selecting your metal, always ensure it is rated for interior use and specifically for wet environments to guarantee safety and performance.
How to Install Corrugated Metal in Your Shower: A Step-by-Step Guide
Ready to give your shower a distinctive makeover with corrugated metal? The installation process is manageable for a dedicated DIY enthusiast with basic tools and a patient approach. Follow these steps carefully to achieve a beautiful and watertight finish.
Materials and Tools Required:
Before you begin, gather all necessary items. Having everything on hand will ensure a smooth and efficient installation.
- Corrugated Metal Panels: Chosen type (galvanized steel, zinc, or aluminum) and desired gauge.
- Measuring Tape: For accurate measurements of your shower walls.
- Metal Shears or Jigsaw: With a fine-tooth metal blade for precise cutting.
- Cement Backer Board: Essential for creating a waterproof and stable substrate.
- Stainless Steel Screws: Corrosion-resistant, typically 1.5 to 2 inches long, suitable for wet environments.
- Rubber Washers: Crucial for creating a watertight seal around each screw and allowing for thermal expansion.
- Drill and Screwdriver: For pre-drilling and driving screws.
- Level: To ensure panels are installed straight and true.
- Silicone Sealant: High-quality, waterproof, mildew-resistant silicone for sealing seams and edges.
- Caulking Gun: To apply the sealant smoothly and evenly.
- Safety Gear: Work gloves (essential for handling metal edges), safety glasses.
- Utility Knife: For cutting backer board and trimming sealant.
- Stud Finder: To locate wall studs for secure attachment of backer board.
- Clean Cloths and Rags: For cleanup and smoothing sealant.
Now, let’s begin with the installation steps.
Step 1: Prepare the Shower Area Thoroughly
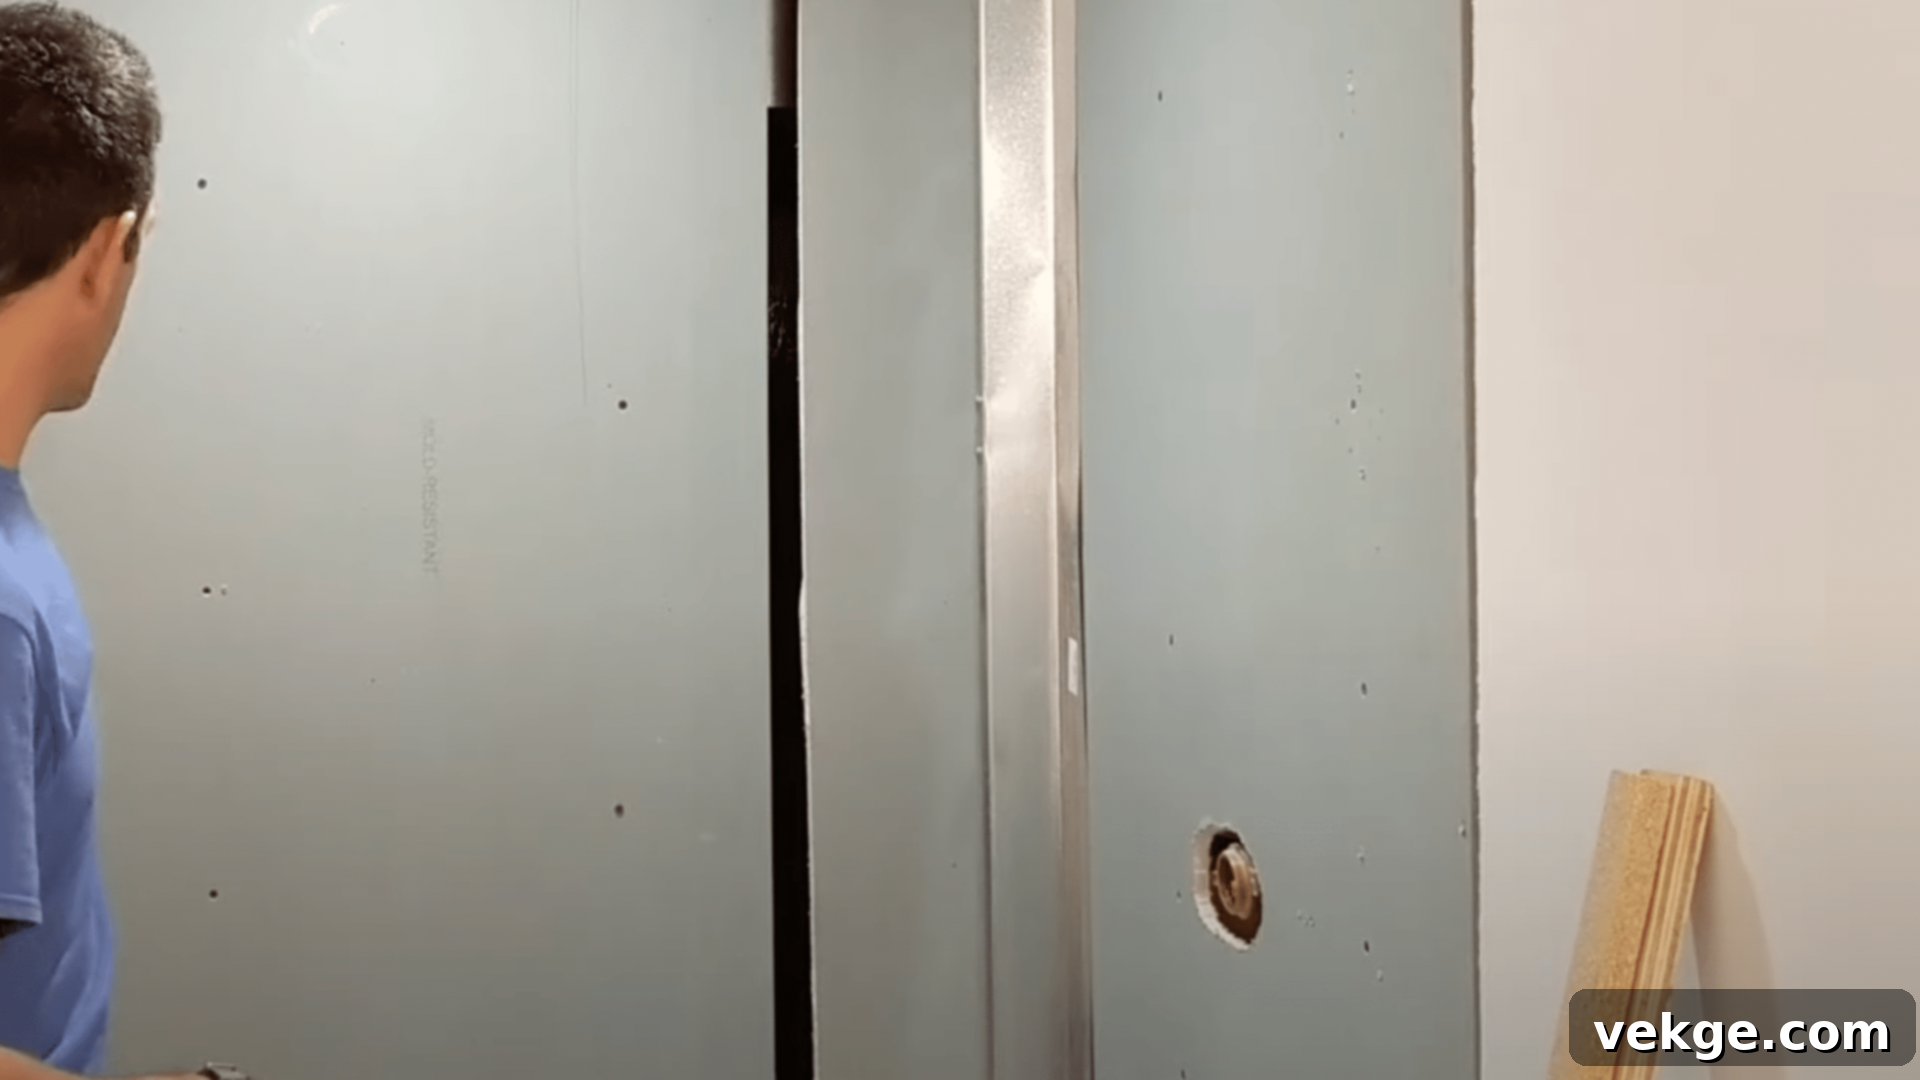
A successful installation begins with impeccable preparation. Start by completely clearing the shower area. Remove any old tiles, existing wall coverings, fixtures, and debris. Ensure the wall studs are exposed, clean, and in good condition. Address any rot or damage before proceeding. The area must be completely dry and free of any dust or grease. Using your measuring tape, carefully measure the height and width of each shower wall where the corrugated metal will be installed. Double-check your measurements to ensure accuracy. Make detailed notes and sketch out your panel layout. Lay down drop cloths or old sheets on the shower floor to protect it from dust, tools, and metal shavings during the work.
Step 2: Cut the Metal Panels to Size with Precision
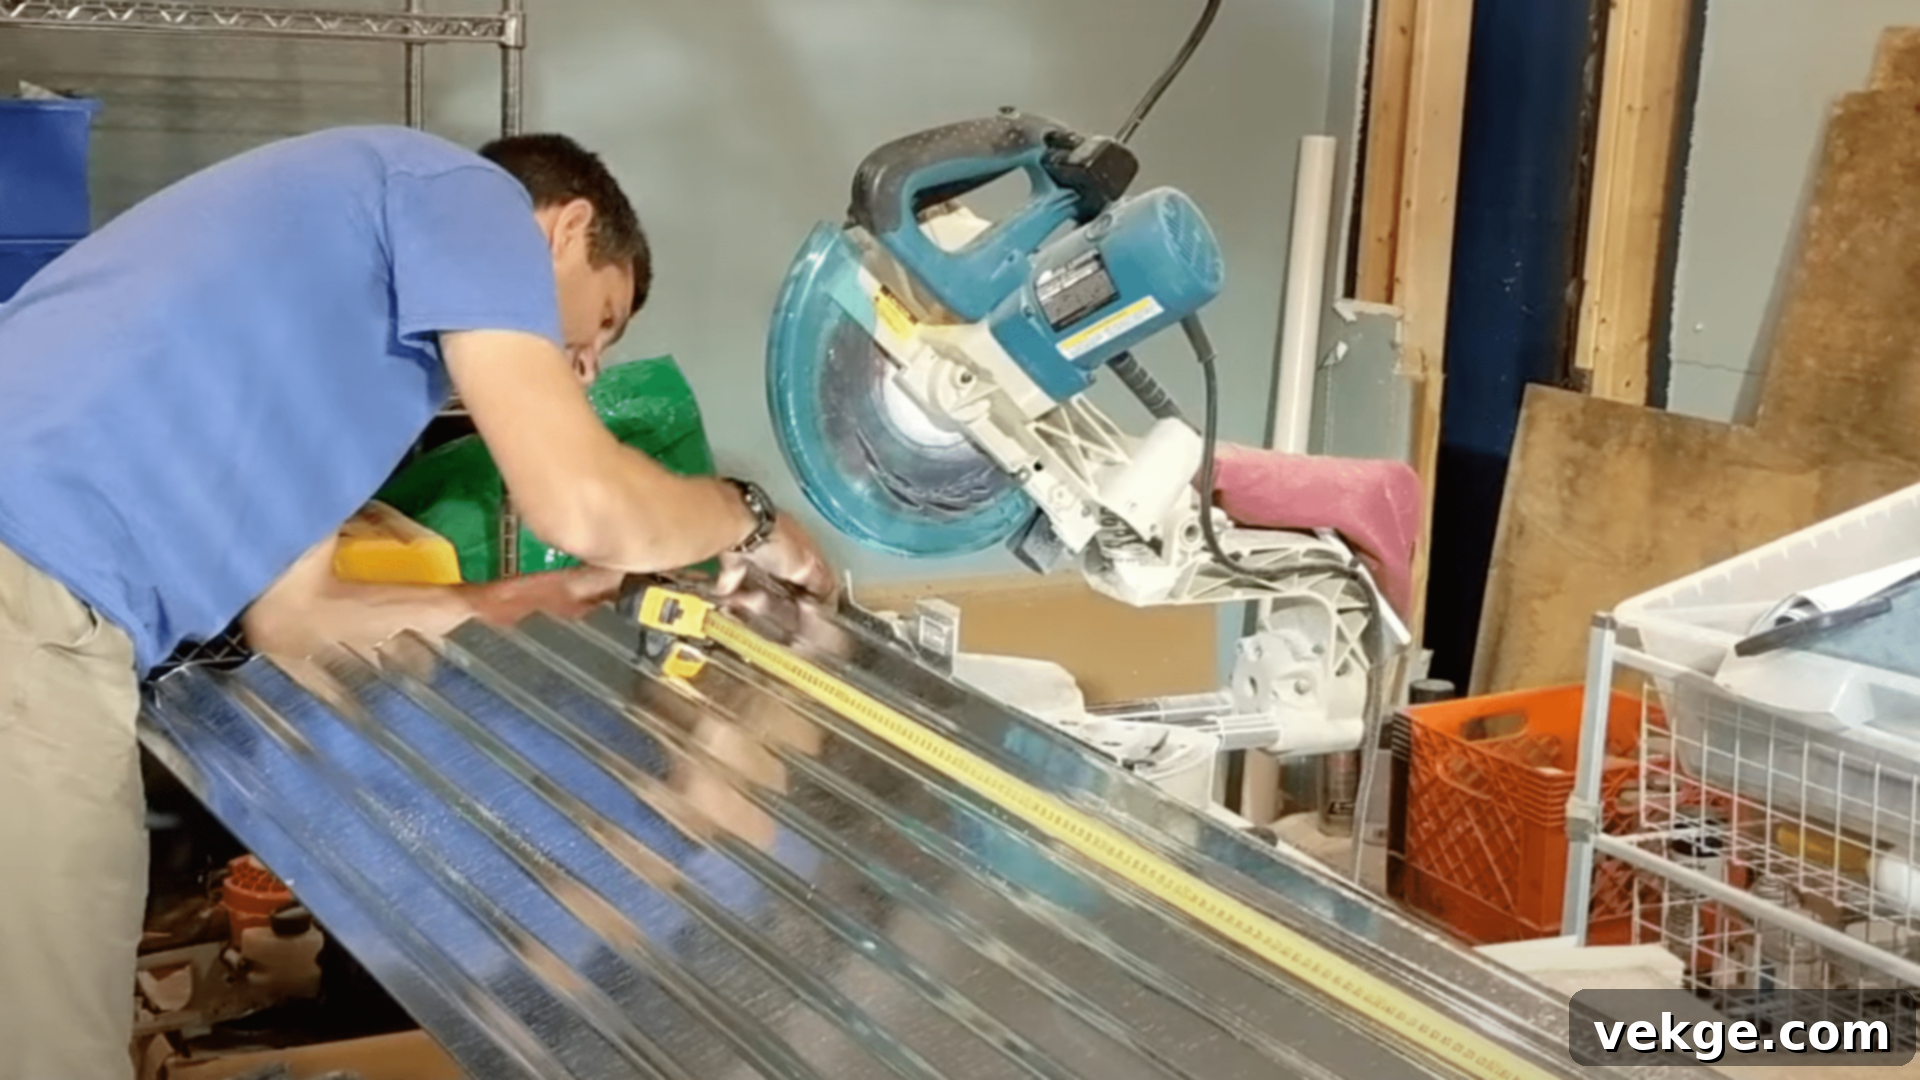
With your measurements in hand, transfer them onto your corrugated metal panels. Always remember the adage: “measure twice, cut once.” Put on heavy-duty work gloves and safety glasses – the edges of cut metal can be extremely sharp. Secure the panel firmly with clamps to a stable workbench to prevent movement during cutting. For precise, straight cuts, metal shears are effective. For more intricate cuts, such as around shower valves or faucet holes, a jigsaw fitted with a fine-tooth metal blade is ideal. Take your time, making slow and steady cuts to ensure clean edges that precisely match your wall dimensions. It’s often wise to make a test cut on a scrap piece first.
Step 3: Install a Robust Waterproof Backing
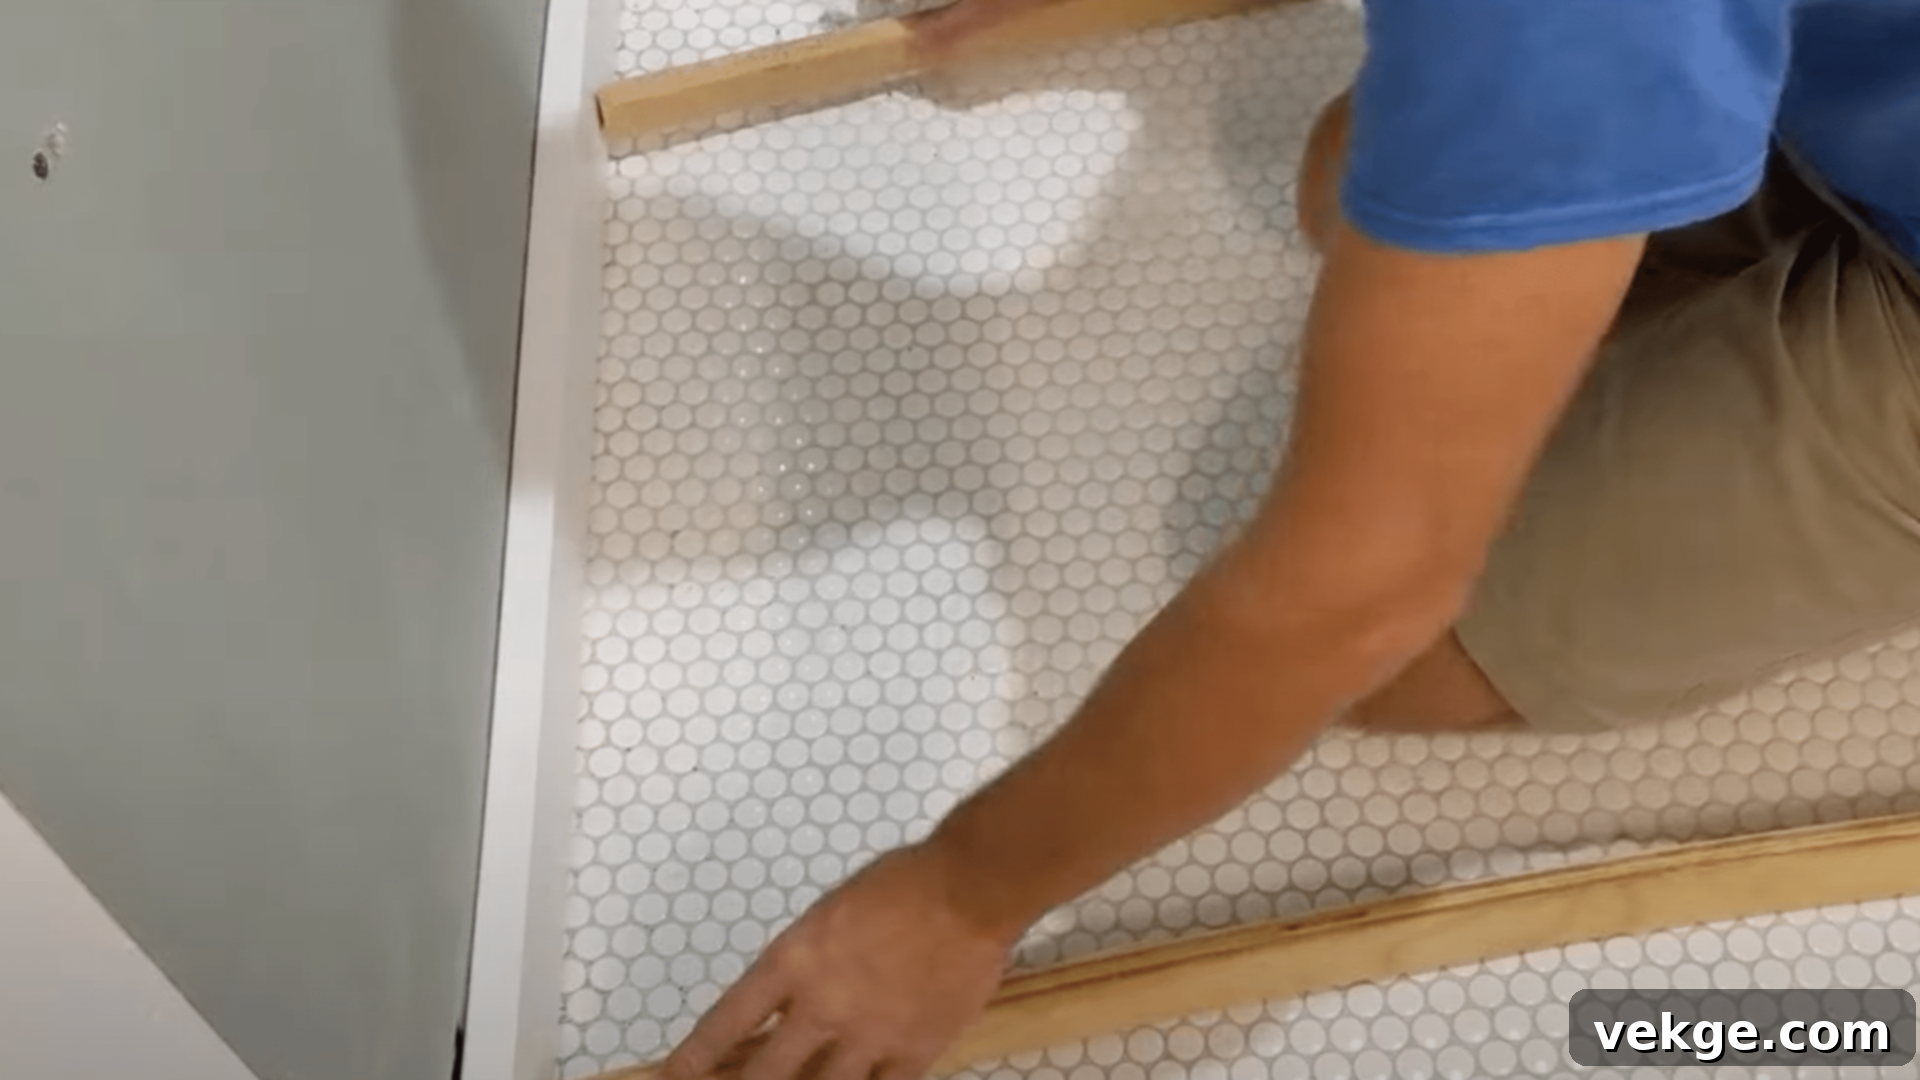
This is a critical step for long-term durability and waterproofing. Corrugated metal should not be installed directly onto drywall in a shower. Instead, install cement backer board onto the wall studs. This material is designed to resist water and provides a solid, stable base for your metal panels. Cut the cement board to fit your walls, ensuring snug seams. Securely attach the boards to the wall studs using cement board screws, following the manufacturer’s recommended spacing. Use your level frequently to ensure each piece of backer board is plumb and straight. Once installed, tape and thin-set the seams of the cement board, and consider applying a liquid waterproofing membrane over the entire surface for an extra layer of protection, just as you would for a tiled shower.
Step 4: Securely Attach the Metal Panels
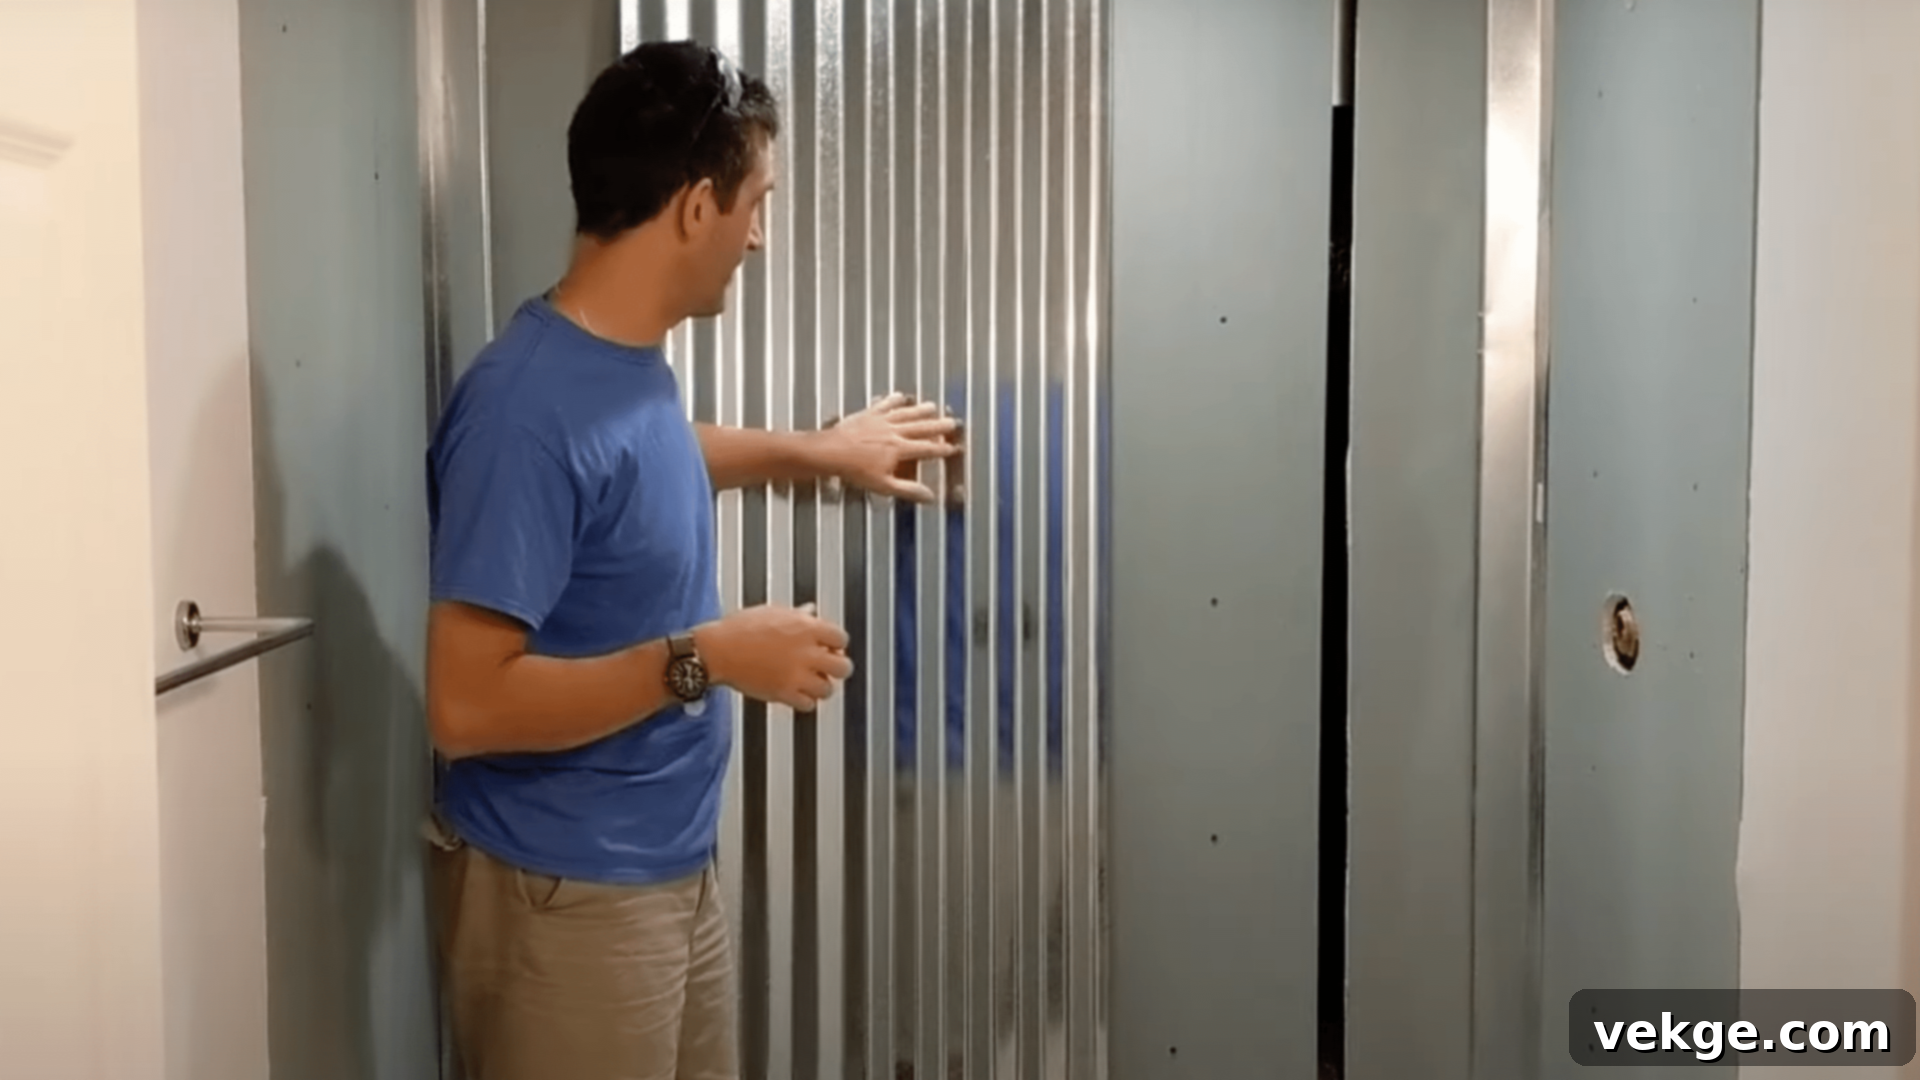
Begin attaching your metal panels from the bottom of the wall, working your way upwards and around the shower. Hold the first panel firmly against the waterproofed backer board, using your level to ensure it is perfectly straight. Mark the locations where you plan to drive your screws. It’s best practice to pre-drill pilot holes through the metal at the high points of the corrugated waves – this prevents the metal from deforming and ensures the screw heads sit properly. For each screw, place a rubber washer underneath the head. These washers are essential: they create a watertight seal, preventing moisture from penetrating behind the panel, and they allow for slight thermal expansion and contraction of the metal without stressing the panel. Use stainless steel screws to prevent rust. Drive the screws firmly, but avoid overtightening, which can damage the rubber washers or deform the metal. Overlap panels by at least one corrugation if covering a wide area, ensuring the overlap sheds water.
Step 5: Seal All Edges and Joints for Watertight Integrity
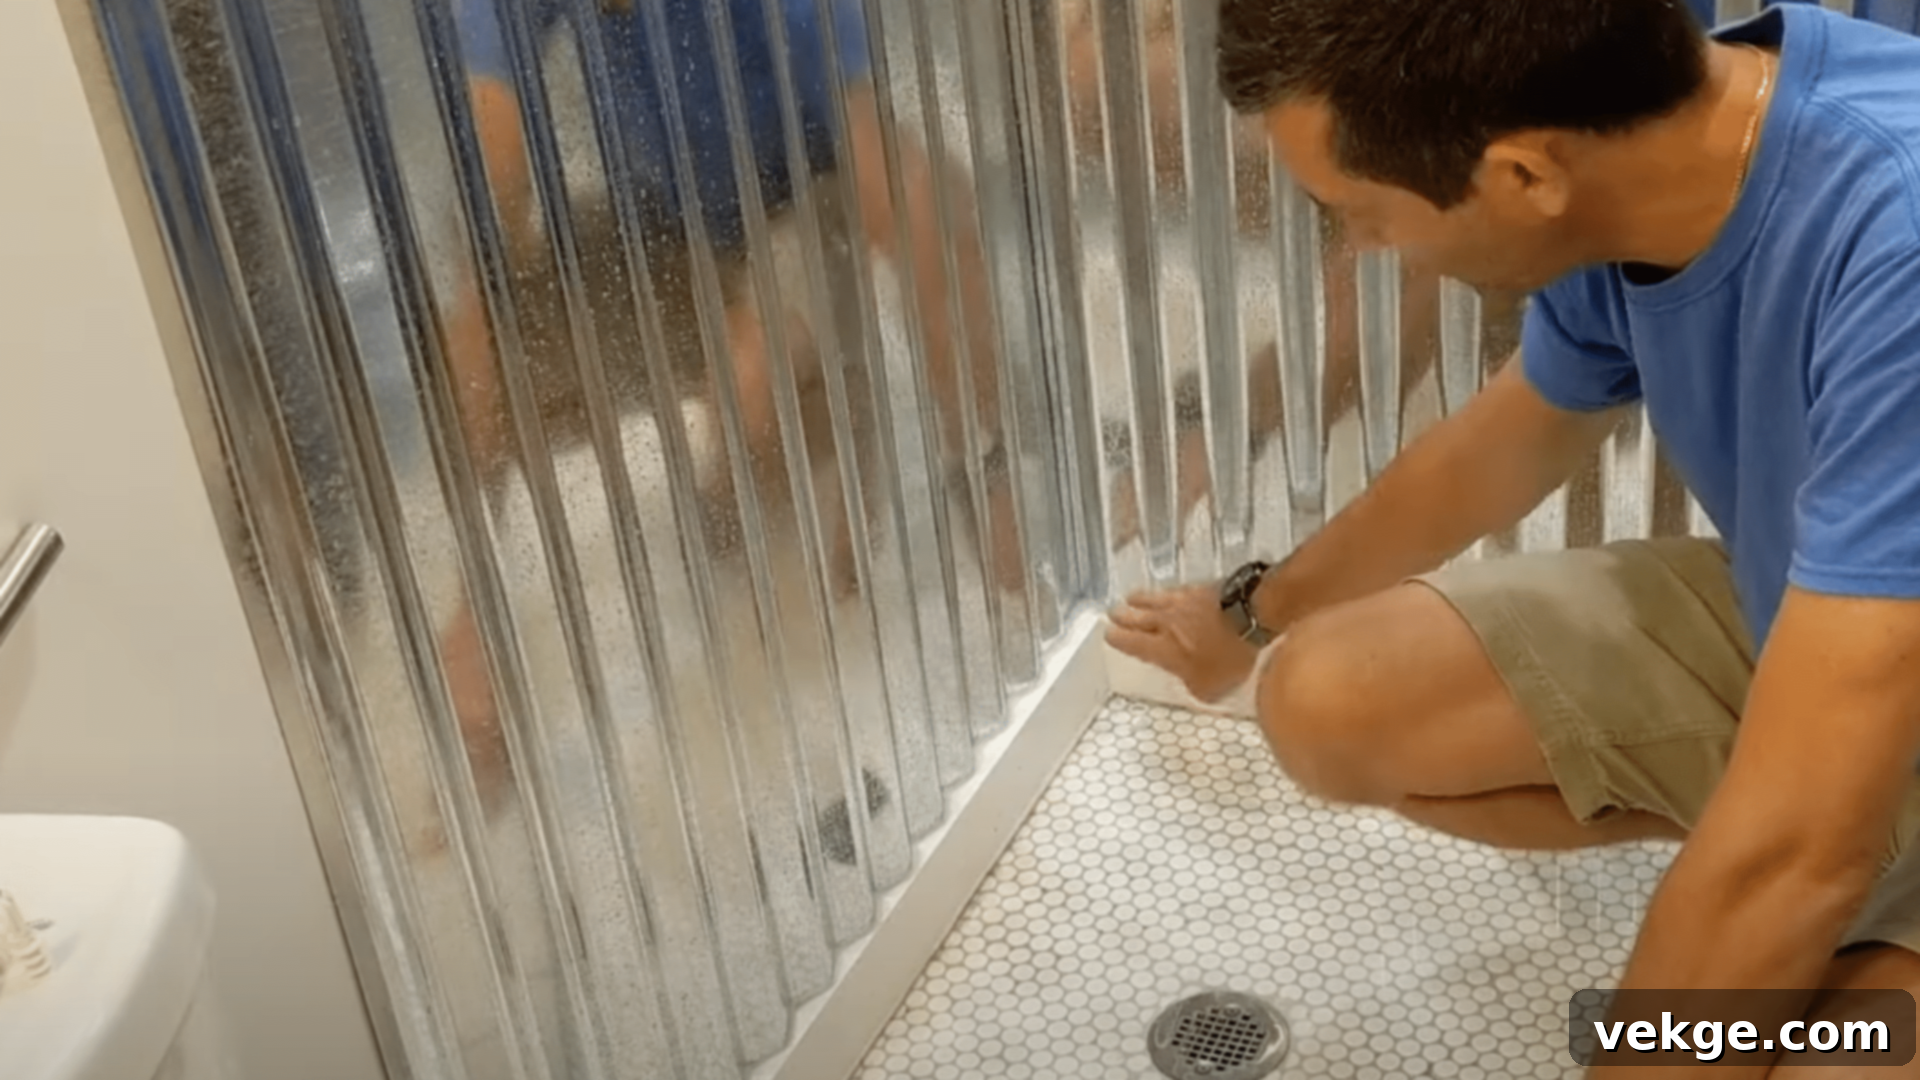
The final and perhaps most crucial step is to create a completely watertight seal. Load your caulking gun with high-quality, mildew-resistant silicone sealant. Apply a continuous, even bead of sealant along all seams where panels meet, around the perimeter of the shower where the metal meets other wall materials (like drywall or tile), and especially in the corners. Pay meticulous attention to areas around shower fixtures like faucets and showerheads. After applying the sealant, run a wet finger or a caulking tool along the bead to smooth it out and push it firmly into any gaps. This not only creates a clean, professional finish but also ensures maximum water impermeability. Allow the sealant to cure completely according to the manufacturer’s instructions before using the shower, typically 24-48 hours. This step is critical to prevent any water intrusion that could lead to mold, mildew, or structural damage.
For further detailed explanation and visual guidance, you can watch this helpful YouTube video:
Inspiring Rustic Corrugated Metal Shower Design Ideas
One of the most exciting aspects of incorporating corrugated metal into your shower is its incredible design versatility. Far from being a one-trick pony, metal shower walls can be styled to complement a wide range of interior aesthetics, from charming country retreats to sleek urban lofts. Here are some inspiring ideas to make your metal shower truly shine:
1. Farmhouse Charm: Cozy and Inviting
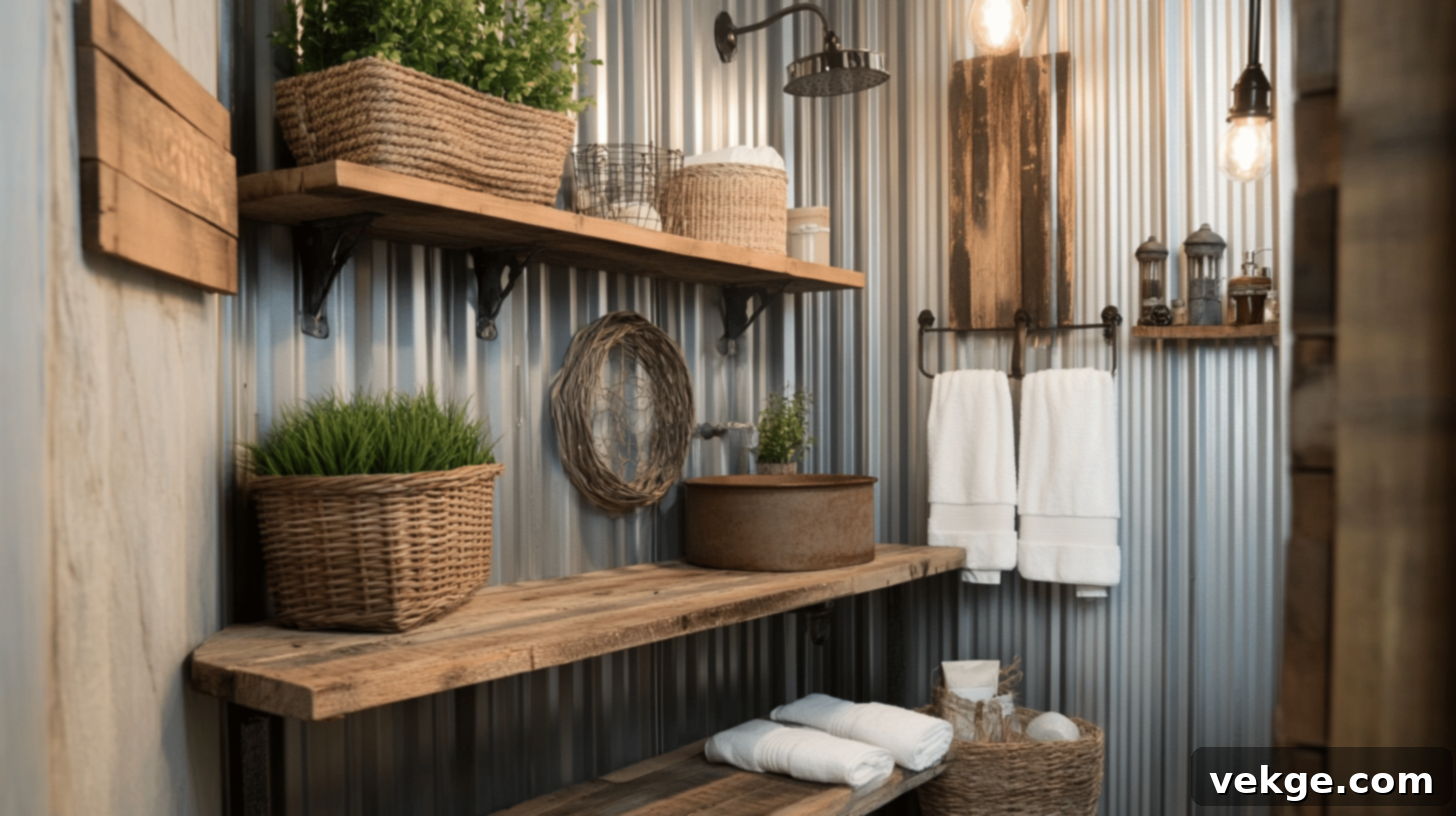
Embrace the warmth and comfort of the farmhouse aesthetic by pairing your corrugated metal walls with natural wood elements. Think reclaimed wood trim, open wooden shelving, or a charming wooden bench or stool within the shower. These natural materials soften the industrial edge of the metal, creating a cozy and inviting atmosphere. Opt for vintage-inspired light fixtures and plumbing in oil-rubbed bronze or matte black finishes. Enhance the rustic feel with simple, understated accessories like woven baskets for storage, soft linen towels, and a few potted green plants. A color palette of crisp whites, soft grays, and natural wood tones will tie the look together, creating a perfectly balanced and put-together farmhouse bathroom.
2. Industrial Edge: Raw and Modern
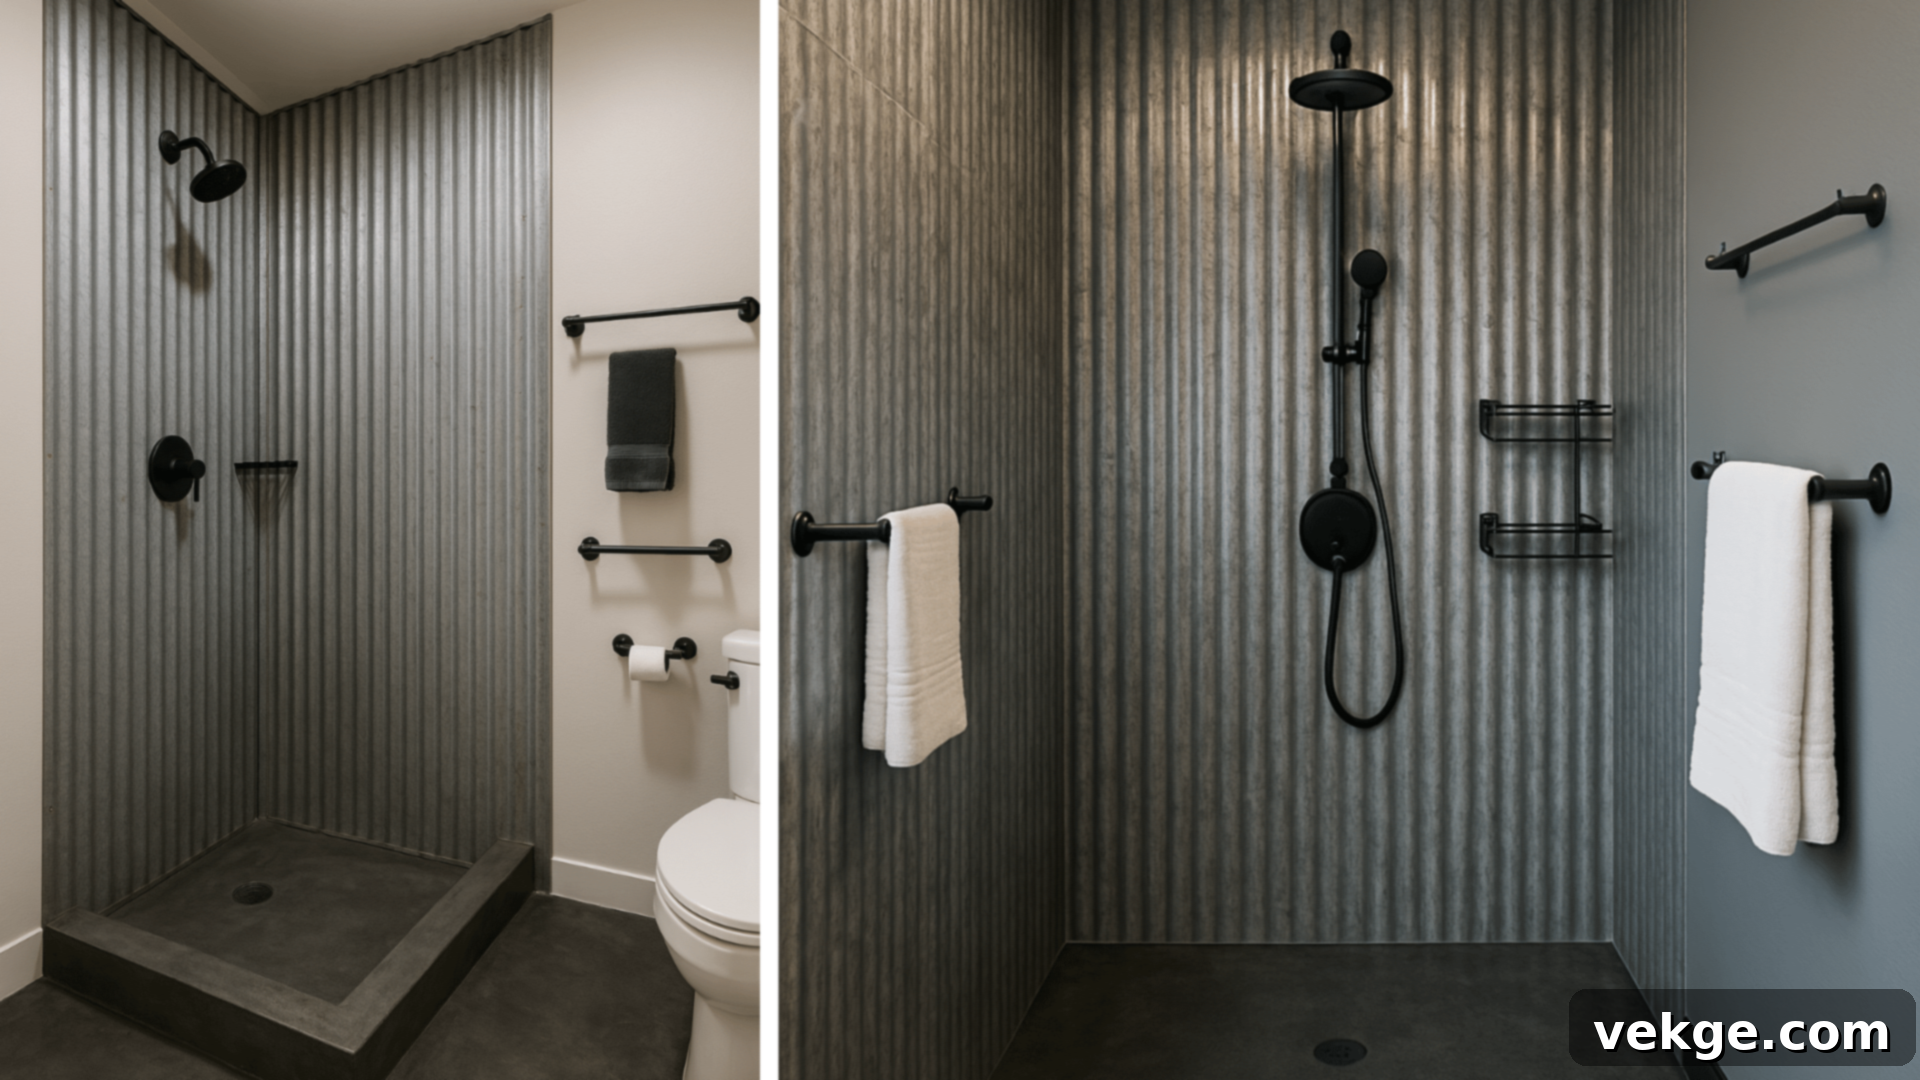
For a bolder, more contemporary statement, design your corrugated metal shower with an industrial edge. This style thrives on raw materials and strong lines. Pair the textured metal walls with dark-colored, polished concrete floors or large format gray tiles. Select minimalist, unadorned water taps and showerheads in sleek black, brushed nickel, or stainless steel finishes. Exposed plumbing, if tastefully done, can further enhance this look. Keep the space open and uncluttered, emphasizing clean lines and functional design. Adding metal towel bars, hooks, or even a simple metal framed mirror can reinforce the factory-inspired vibe. This style is particularly effective in spaces with high ceilings or an urban loft aesthetic, creating a powerful and undeniably cool environment.
3. Barn-Inspired Shower: Timeless and Authentic
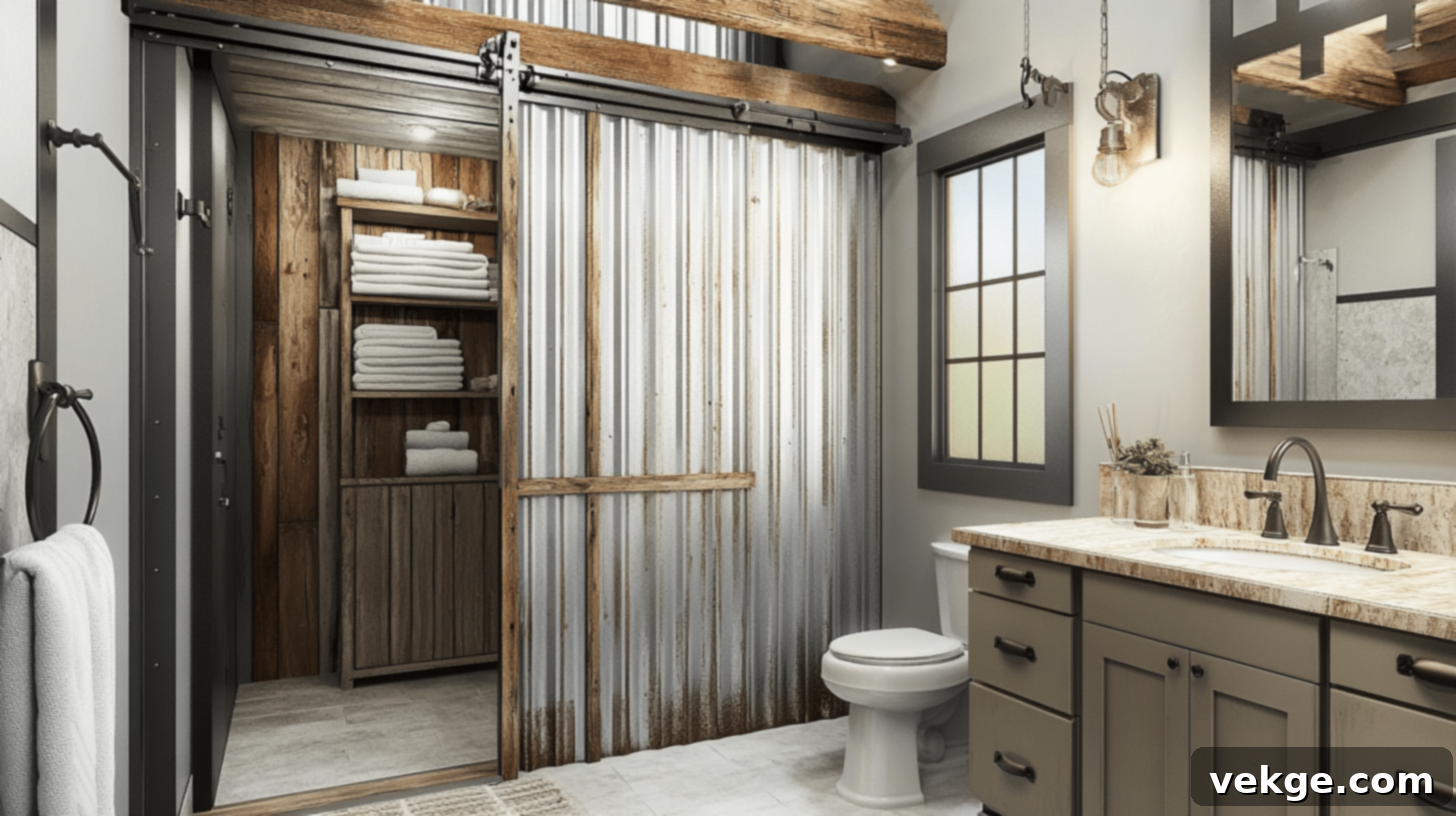
Evoke the charm of an old barn by opting for corrugated metal that has a slightly worn, aged, or distressed appearance. If using new metal, consider applying a subtle aging treatment before sealing (e.g., vinegar/salt spray for galvanized steel, followed by clear coat). Introduce rough-hewn wooden beams or planks across the top of the shower area to mimic barn rafters. For the shower entrance, consider a sliding barn door hardware system paired with a frosted glass or wood-paneled door, rather than a traditional swing door. Keep accessories and linens in muted, earthy tones such as white, cream, tan, or deep gray to maintain the authentic, unpretentious feel. This design successfully blends rustic heritage with modern functionality, creating a unique and memorable space that feels both nostalgic and fresh.
4. Modern Rustic Fusion: Elegant and Balanced
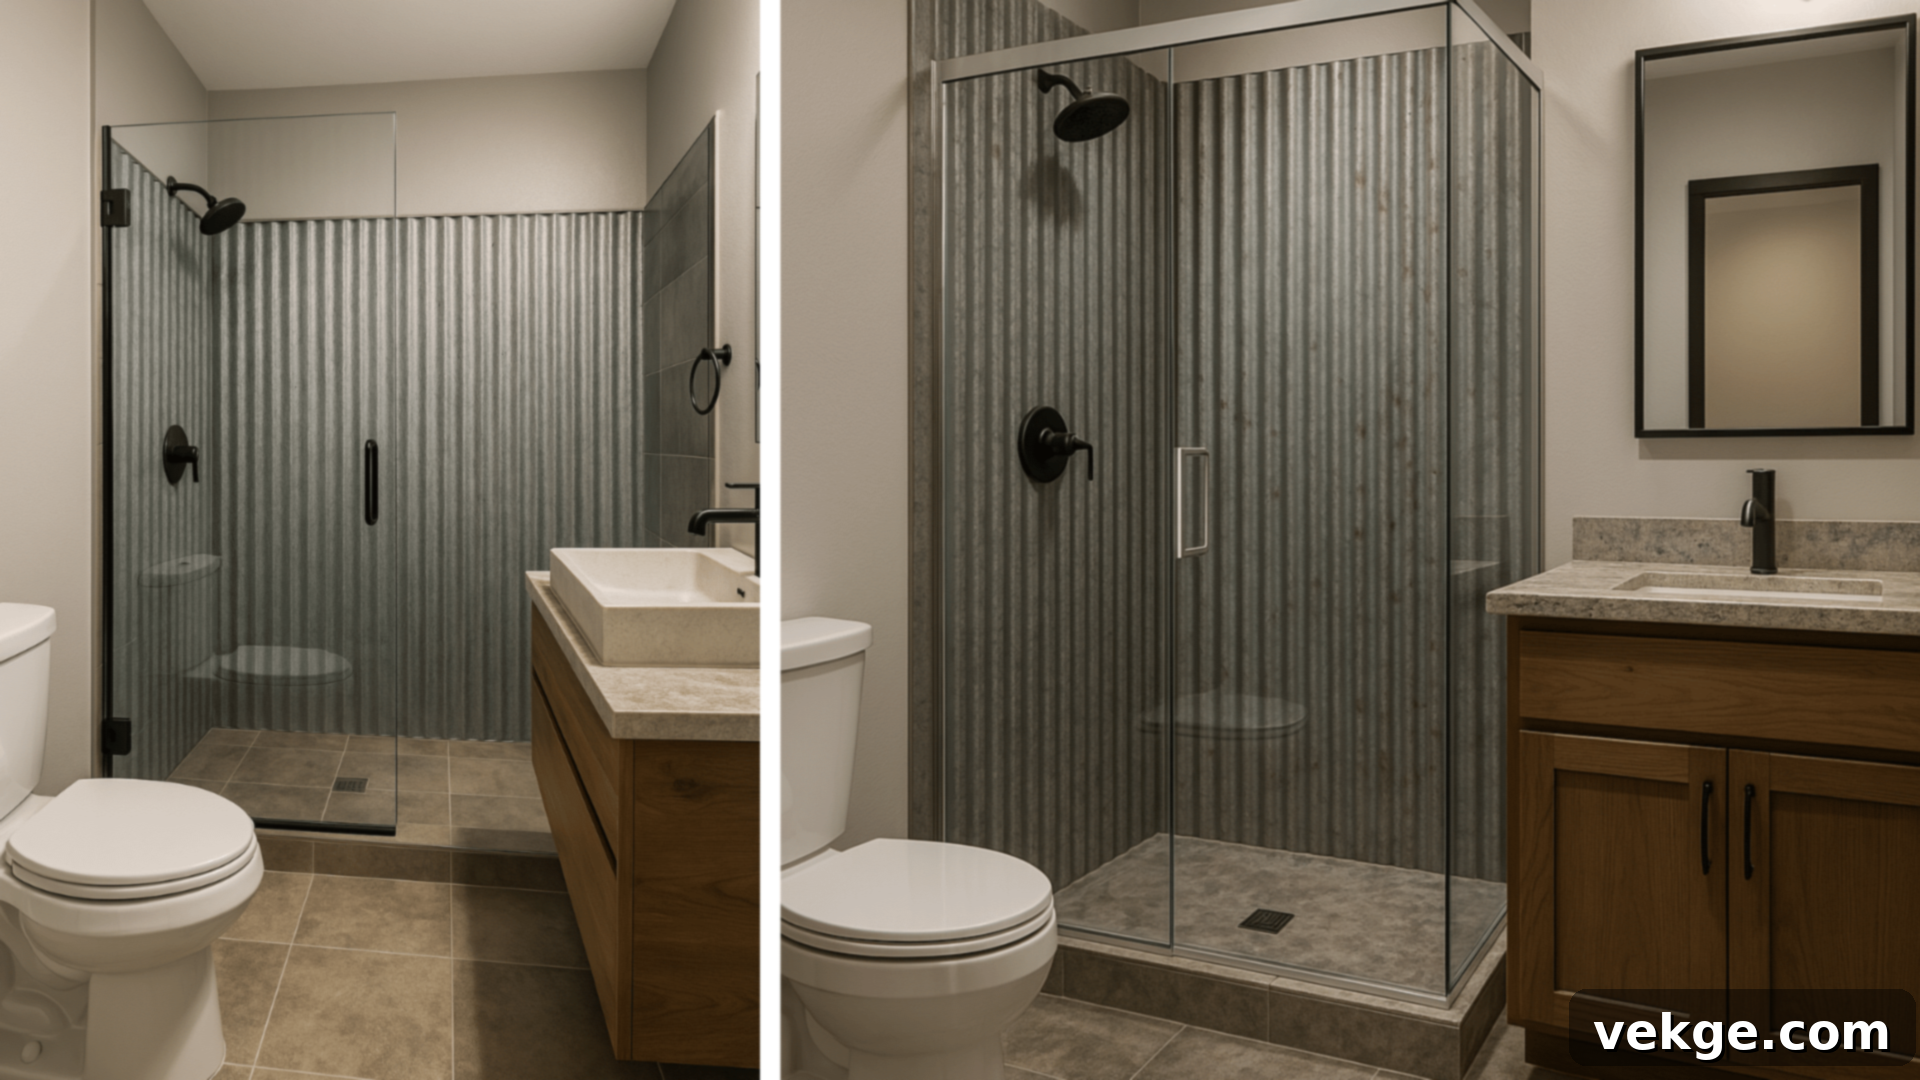
Achieve a sophisticated blend of old and new by combining the textural richness of corrugated metal with sleek, contemporary elements. Imagine metal shower walls paired with elegant clear glass shower doors, allowing the metal texture to be a focal point without overwhelming the space. Contrast the metal with smooth stone tiles, large-format porcelain, or even polished concrete for the floor and perhaps an accent wall outside the shower. Choose minimalist, high-end fixtures with clean lines in chrome or matte black. The key to this fusion style is balance: the raw, tactile quality of the metal is offset by the refined, understated elegance of modern finishes. This design is perfect for those who appreciate rustic charm but desire a bathroom that feels current, sophisticated, and uncluttered, creating a harmonious and visually interesting space.
Essential Maintenance and Care Tips for Your Corrugated Metal Shower
Proper and consistent care is vital for maintaining the beauty and extending the lifespan of your corrugated metal shower. Regular upkeep prevents common issues like mineral buildup, surface degradation, and potential rust, ensuring your unique shower remains a stunning feature for years to come. Here are detailed tips to keep your metal shower looking its best:
- Regular Cleaning Tips: For routine cleaning, use a soft cloth or sponge with a mild, pH-neutral soap and warm water. Gently wipe down the metal surfaces to remove soap scum and general grime. Avoid harsh chemical cleaners, abrasive scrubbers, or steel wool, as these can scratch the protective coatings, dull the finish, or even lead to corrosion. For stubborn water spots, a solution of equal parts white vinegar and water can be effective, but always rinse thoroughly with clean water immediately afterward to prevent etching.
- Preventing Rust and Corrosion: The primary defense against rust is maintaining the integrity of your chosen metal’s protective coating. Regularly inspect the entire shower for any signs of damage to the metal or sealant. Pay close attention to seams, corners, and around fixtures. If you notice any scratches on galvanized steel, promptly apply a zinc-rich cold galvanizing compound or appropriate touch-up paint to reseal the exposed area. Ensure your bathroom has good ventilation (e.g., a powerful exhaust fan) to reduce humidity and help panels dry quickly after each shower.
- Understanding Weathering Effects: For zinc-coated metals, a natural patina will develop over time, which is a desirable characteristic. If you wish to accelerate this “worn” look on galvanized steel, you can apply a mild vinegar wash or salt spray, but this should always be followed by a clear protective coat once the desired effect is achieved, to prevent actual damage and provide a lasting seal. Remember, this is about achieving an aesthetic, not compromising the metal’s protective layers.
- Daily Spot Checking and Drying: After each shower, take a moment to wipe down visible water spots, especially in areas with hard water. Mineral deposits can accumulate and leave unsightly marks if left to air dry repeatedly. Using a squeegee or a soft microfiber towel will help keep the surface pristine and reduce the need for deep cleaning.
- Thorough Seam and Fastener Inspection: At least every few months, conduct a detailed inspection of all sealant lines and screw points. Look for any signs of cracking, peeling, or separation in the silicone sealant. If gaps are forming, carefully remove the old sealant in the affected area and reapply a fresh bead of high-quality silicone. Also, check that all stainless steel screws are securely in place and that their rubber washers are intact and providing a tight seal. Replace any worn or damaged washers immediately.
- Periodic Water Testing: Twice a year, or if you suspect an issue, perform a simple water test. Spray water directly onto the metal walls (not just in the shower spray zone) and carefully observe for any drips, leaks, or signs of moisture appearing outside the shower pan or behind the panels. Early detection of a leak can prevent significant water damage to the underlying structure.
- Protective Coating Renewal: For galvanized steel and certain other metals, the clear protective coat applied during installation will degrade over time due to UV exposure (even from bathroom lighting) and constant moisture. Plan to reapply a fresh clear coat or sealant every 2-3 years, or as recommended by the product manufacturer. Before reapplication, clean the surface thoroughly and ensure it is completely dry for optimal adhesion of the new coat.
Wrapping Up Your Rustic Corrugated Metal Shower Journey
You’ve now explored the fascinating world of rustic corrugated metal showers, armed with a wealth of knowledge to embark on your own bathroom transformation! We’ve covered everything from the compelling benefits and diverse types of metal available to a detailed DIY installation guide, inspiring design ideas, and crucial maintenance tips.
Corrugated metal shower walls offer a unique blend of robust durability, exceptional water resistance, and striking aesthetic versatility. They provide a cost-effective yet high-impact solution for homeowners looking to infuse their bathrooms with character, whether your style is classic farmhouse, edgy industrial, or a sophisticated modern rustic blend. With proper selection and care, these distinctive walls promise to deliver a long-lasting and visually captivating showering experience.
The beauty of this project lies not only in the stunning end result but also in the satisfaction of creating something unique with your own hands. If you’re feeling inspired, why not take the plunge? Start small by considering one accent wall, or dive headfirst into a full shower renovation. Carefully take your measurements, source your chosen metal and materials, and confidently follow our step-by-step instructions. In just a weekend or two, your bathroom could unveil a completely revitalized and stylish look.
We encourage you to share photos of your rustic corrugated metal shower project online – your unique creation might just spark a new trend among your friends and family, inspiring others to embrace the charm and durability of this remarkable material!
