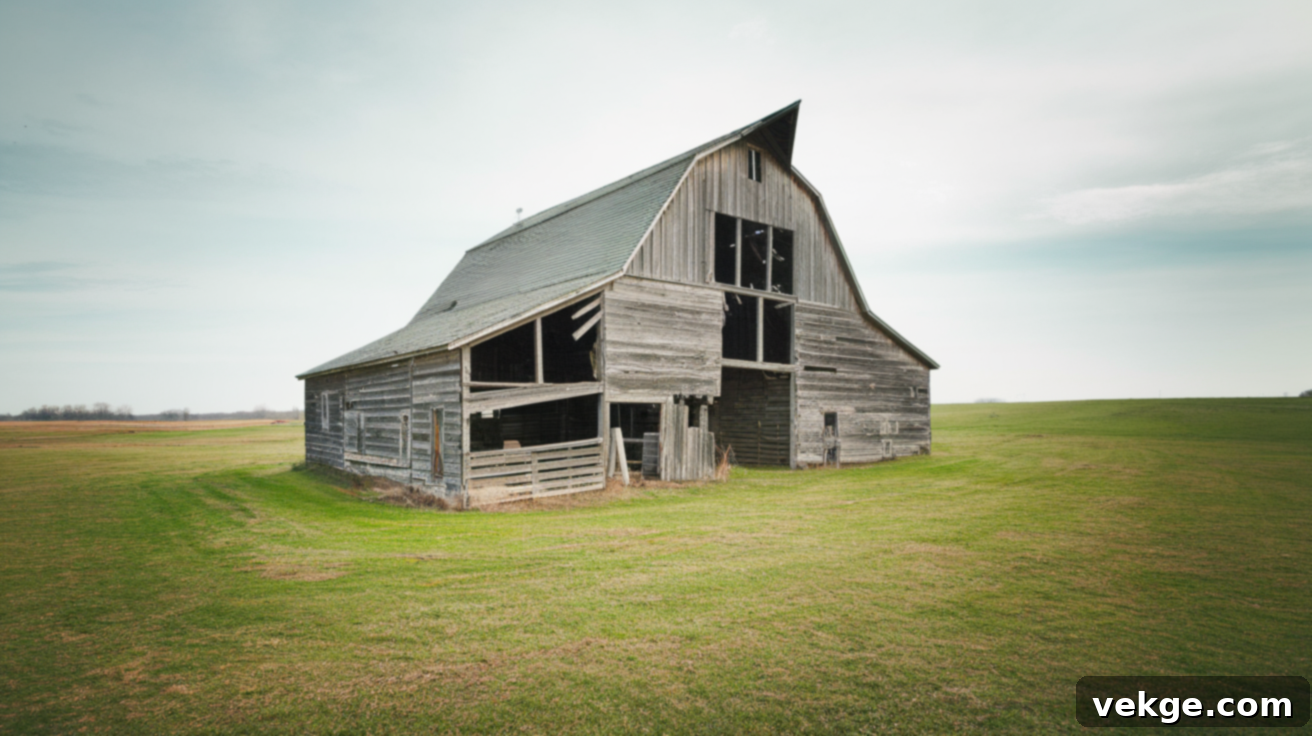
Your Comprehensive Guide to Safe & Efficient Barn Demolition: From Planning to Post-Cleanup
Deciding to tear down an old barn is never a decision made lightly. Often, these structures hold years of history and memories. However, there comes a point when a barn becomes more of a liability than an asset. Perhaps it’s structurally compromised, posing significant safety risks, or simply no longer serves its original purpose and is taking up valuable space on your property. You might be envisioning a new future for the land, or facing an urgent need to remove a deteriorating hazard.
Navigating the barn demolition process can seem daunting, especially if you’re wondering about the feasibility of a do-it-yourself approach versus hiring professionals. This comprehensive guide is designed to demystify barn demolition, walking you through every critical step. From initial safety assessments and securing the necessary permits to efficient debris management, cost considerations, and even the lucrative potential of salvaging old barn wood, we’ll cover it all. Get ready to discover the most effective and safest strategies to transform your property by removing that old barn. Let’s dive in.
Is Barn Demolition the Right Choice for Your Property?
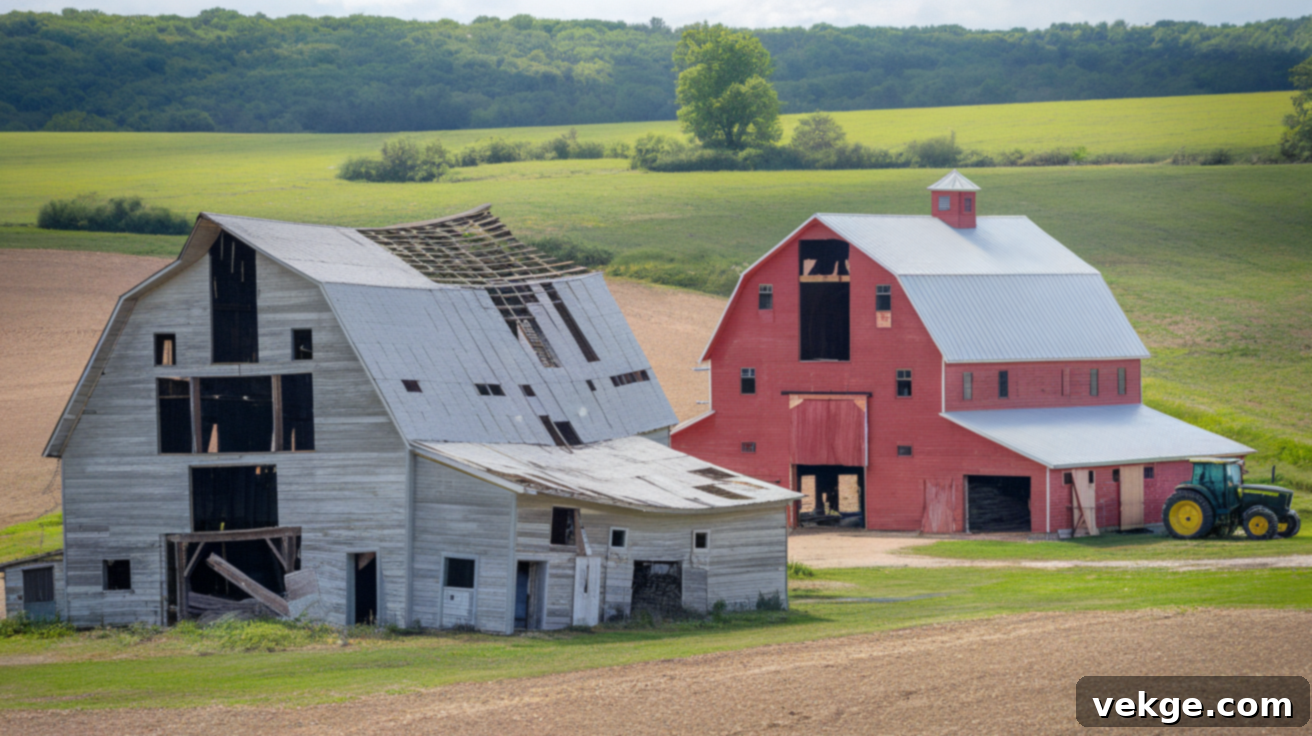
Before you even consider reaching for a hammer or contacting a demolition crew, it’s crucial to deeply assess why you want the barn gone. Is it an undeniable safety hazard, with crumbling foundations, rotting beams, or a collapsing roof? Is it infested with pests like rodents, termites, or even wasps, making it unsafe for human or animal use? Or perhaps you simply have a new vision for the land, such as constructing a modern outbuilding, expanding your farming operations, or creating a new recreational space?
It’s important to acknowledge that not every old barn needs to be demolished. Many historic barns possess incredible character and structural integrity that, with the right investment, can be restored and repurposed. If your barn is structurally sound, even with minor cosmetic issues, consider the long-term benefits and potential charm of a restoration project. Fixing it up could be a more sustainable and potentially cost-effective option, adding significant value and appeal to your property.
However, if the barn presents significant safety risks that are beyond reasonable repair, is severely compromised by extensive pest infestations, or is in an advanced state of decay, then demolition is most likely the safest and most practical course of action. Beyond the structural assessment, you must also research and understand your local regulations. Some municipalities have specific requirements for demolishing older structures, including mandatory permits or restrictions on how and when demolition can occur, especially if the barn holds historical significance.
A Detailed Step-by-Step Barn Demolition Process
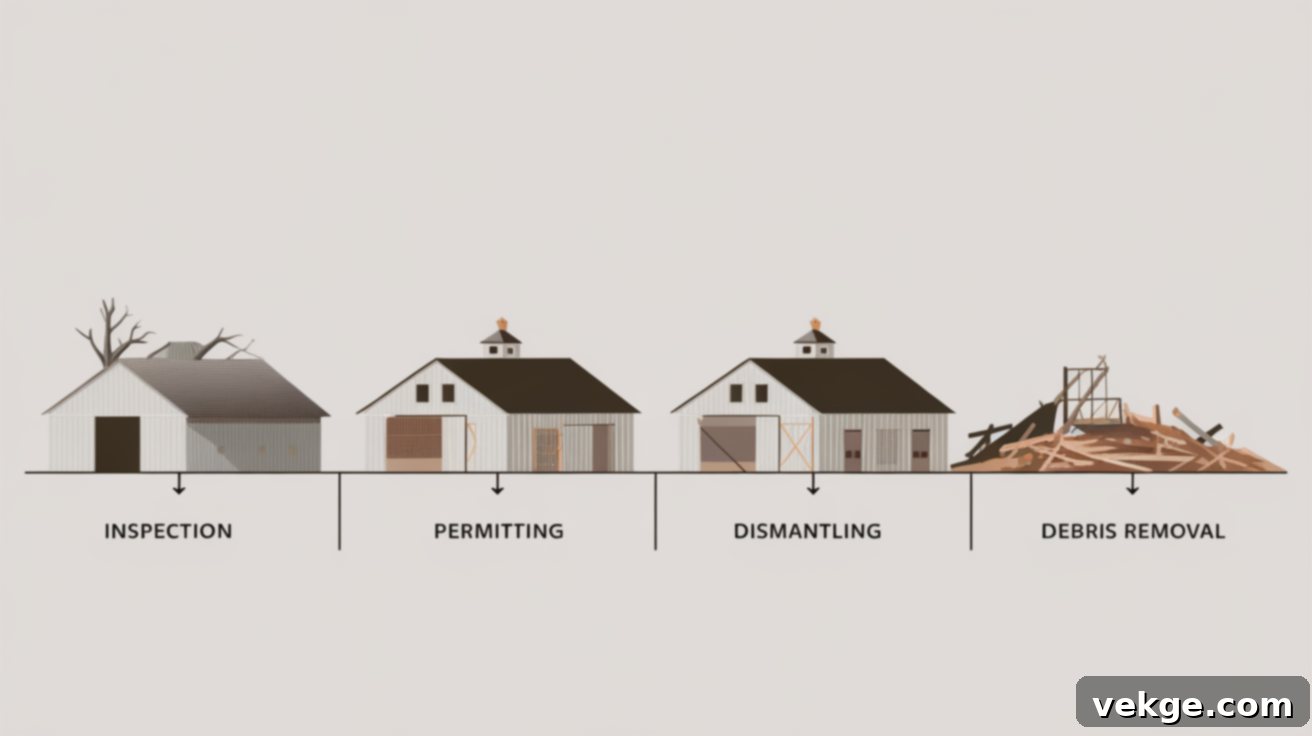
Step 1: Thorough Evaluation, Strategic Planning, and Permit Acquisition
The foundation of any successful barn demolition project lies in meticulous planning. Begin with a comprehensive inspection of the barn to assess its complete structural integrity. Look for signs of severe water damage, such as leaks in the roof or walls, widespread rotting in support beams and floor joists, and any indications of unstable or leaning walls. If you observe a collapsing roof, severely cracked foundations, or extensive structural failures, it’s a strong indicator that repair costs would far outweigh the benefits of restoration.
Once the decision for demolition is firm, your next critical step is to obtain all necessary permits from your local governmental authorities. This typically involves submitting detailed plans, site maps, and often, a structural assessment. Failure to secure the correct permits can result in hefty fines and mandated halts to your project. Simultaneously, clear the surrounding area of any vehicles, farm equipment, sensitive landscaping, or livestock that could be damaged or endangered. Crucially, identify and safely shut off all utility lines—electricity, water, and gas—that might be connected to or run near the barn. This often requires contacting your utility providers to ensure professional and safe disconnection, preventing accidents or service disruptions.
Step 2: Pre-Demolition Work: Removing Non-Structural Elements & Gathering Equipment
With planning complete and permits in hand, begin the physical process by carefully stripping the non-structural components of the barn. Start with the roof, working methodically from the top down. Depending on the material, roofing panels (metal or shingles) can often be salvaged or recycled. Following the roof, remove all siding, again with an eye towards salvaging any valuable wood or metal. As you remove these materials, sort them into separate piles for recycling, repurposing, or proper disposal. This initial sorting significantly minimizes waste and can offset demolition costs if materials are sold or recycled.
Once the barn is stripped to its skeletal structure, it’s time to bring in the heavy equipment. An excavator is typically the workhorse for structural barn demolition, providing the power and reach needed to safely dismantle the building. Ensure the ground around the barn is stable enough to support the weight and movement of the machinery. Equip your excavator with appropriate attachments, such as a hydraulic thumb or grapple for precise material handling and tearing, and a heavy-duty bucket for scooping debris, which will make the demolition process far smoother and more efficient.
Step 3: Structural Demolition & Initial Debris Management
With your heavy equipment in position and safety protocols firmly in place, commence the structural demolition. The excavator’s powerful arm and attachments are used to methodically push over walls, break down support beams, and dismantle the main framework of the barn. Control is paramount here; aim for a controlled collapse to manage debris dispersal and enhance safety. Always maintain a safe distance from the collapsing structure, and ensure only trained operators are at the controls.
As large sections of the barn come down, immediately begin managing the debris. Use the excavator to scoop up large chunks of wood, metal, and other materials, placing them into designated areas for further sorting or directly into a pre-dug disposal pit (if permitted) or rolloff dumpsters. Continuous debris management as you go prevents the site from becoming overwhelmed and reduces hazards. Pay close attention to structural reactions as you remove components to avoid unexpected collapses.
Step 4: Material Sorting, Processing, and Site Safety
Once the main barn structure has been reduced to rubble, the focus shifts to detailed material separation and processing. This stage is crucial for maximizing recycling efforts and minimizing landfill waste. Systematically separate materials like concrete, metal, and wood. Concrete slabs can be broken down further using a hydraulic hammer attachment on the excavator or specialized concrete breakers, then stockpiled for recycling as aggregate or for backfilling. Carefully sort out all scrap metal – nails, bolts, hinges, structural beams, and any metal roofing or siding – for transport to a scrap metal recycler.
Throughout this stage, site safety remains a top priority. Be acutely aware of prevailing weather conditions. Strong winds can create hazardous dust, scatter lighter debris, and in some regions, outright prohibit activities like burning untreated wood (even if otherwise permitted). In such conditions, prioritize mechanical grinding of concrete and efficient hauling away of recyclable materials. Maintaining a clean and organized demolition site is not only safer but also streamlines the entire cleanup process, reducing weather-related delays and potential hazards.
Step 5: Backfilling, Compaction, and Initial Site Cleanup
With the barn completely demolished and major debris removed, the next crucial step is to address any large excavations or holes created during the process. Begin filling these areas with subsoil – a mixture of dirt, gravel, and smaller, inert materials from the demolition that are suitable for foundational fill. If working in colder climates, frozen ground can sometimes aid this process by preventing excessive mud accumulation, providing a firmer base for compaction.
It’s vital to fill and compact the soil in layers, using heavy equipment or a vibratory compactor. Proper compaction is essential to prevent future settling, which could lead to depressions, drainage issues, or even create safety hazards for future use of the land. Over the subsequent days and weeks, diligently monitor the site. As the ground thaws (if applicable) and settles, you may notice minor depressions forming. Continue to remove any smaller, remaining debris – such as splinters of wood, shards of metal, or stray nails – ensuring the site is thoroughly clean and free from any hazardous materials that could pose a risk to people, animals, or machinery.
Step 6: Final Site Restoration & Planning for Future Use
Approximately a week after the primary demolition and initial backfilling, the site should show signs of settling. Take this opportunity to conduct a thorough final inspection, reflecting on any challenges encountered, such as unforeseen structural issues or weather-induced delays, to inform future projects. While the main excavations will be largely filled, the final touch involves adding a layer of nutrient-rich topsoil once the ground has fully thawed and settled over time. This layer is crucial for supporting new vegetation.
After leveling the area to your desired grade, the land will be fully prepared for its next chapter. This newly cleared space represents a significant opportunity. Take ample time to plan for its subsequent use, whether that involves planting a new garden, establishing a pasture, constructing a new outbuilding, or simply enjoying an open, clear landscape. The successful completion of the demolition project is not just about tearing down; it’s about opening up possibilities for your property’s future.
For a visual walkthrough of the entire barn demolition process, from the initial teardown to the final backfilling, check out the full video on YouTube below:
DIY Barn Demolition: Is It for You?
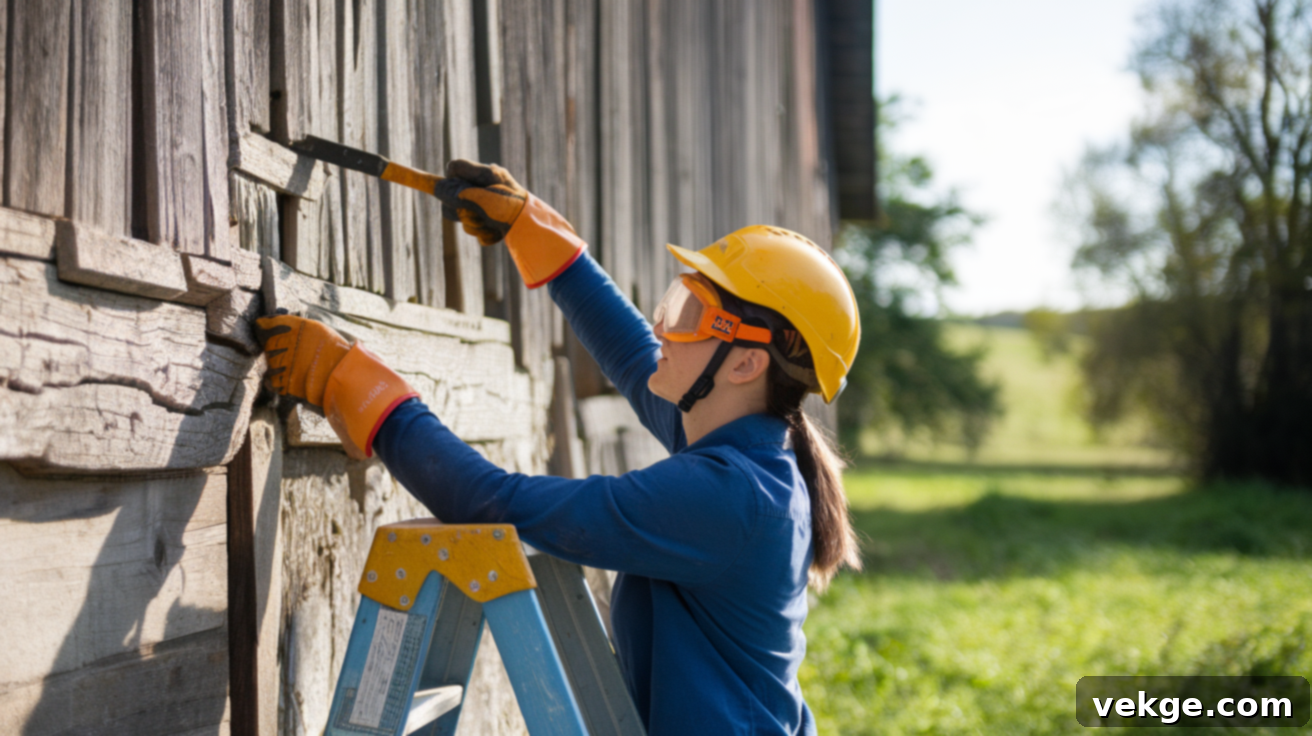
Undertaking barn demolition as a DIY project can certainly save on labor costs, but it’s a monumental task requiring careful preparation, robust equipment, and unwavering attention to safety. This path is only viable if you are genuinely ready, properly equipped, and commit to extreme caution at every stage. Here’s what’s essential:
- Personal Protective Equipment (PPE): Always wear non-negotiable safety gear, including hard hats to protect against falling debris, heavy-duty gloves for hand protection, safety glasses or goggles, sturdy work boots with steel toes, and hearing protection, especially when operating loud machinery.
- Access Equipment: You will need robust ladders and scaffolding systems to safely reach higher sections of the barn for initial stripping, ensuring stability and secure footing at all times.
- Dismantling Tools: Essential hand tools include pry bars for leverage, various saws (reciprocating, circular, chainsaws) for cutting wood, drills for removing fasteners, and sledgehammers for breaking stubborn connections.
- Debris Hauling: A reliable truck or a heavy-duty trailer, potentially requiring multiple trips, is indispensable for efficiently hauling away the considerable volume of debris. Consider renting a large dumpster for more organized waste management.
Approach the demolition slowly and systematically, focusing on one manageable section at a time. Never rush the process or cut corners, as this dramatically increases the risk of injury or structural failure. Should you encounter unexpected and significant issues—such as extensive hidden mold, large wasp or hornet nests, unstable structural shifts, or signs of asbestos—it is perfectly acceptable, and often advisable, to pause your DIY efforts and consult or hire professional assistance.
Hiring a Professional Barn Demolition Contractor
If the scale, complexity, or inherent dangers of DIY barn demolition feel overwhelming, hiring a professional demolition company is often the smartest investment. Professionals bring expertise, specialized equipment, and comprehensive insurance, taking the stress and significant danger off your shoulders. When selecting a contractor:
- Detailed Service Breakdown: Request a comprehensive breakdown of all services included in their quote. This should clearly detail everything from obtaining necessary permits, the actual demolition process, comprehensive debris removal, material sorting for recycling, and the final site cleanup to ensure no hidden costs or overlooked tasks.
- Written Quote & Payment Terms: Always insist on a precise, written quote that outlines all costs. Confirm payment terms upfront, including any required deposits, payment schedules, and final payment conditions, to avoid any financial surprises down the line.
- Insurance & Safety Compliance: Verify that the contractor is fully insured with liability and worker’s compensation coverage. This protects you from financial responsibility in case of accidents or damage. Furthermore, ensure they adhere strictly to all applicable safety regulations and industry best practices.
- License and References: A reputable company will provide proof of licensing and be happy to share references from previous clients. Check these references and review their online reputation and past project portfolio before signing any contract.
Understanding the Cost of Barn Demolition
The cost of demolishing a barn can fluctuate significantly based on various factors. While providing an exact figure without a detailed assessment is impossible, here’s a general ballpark to help with your budgeting:
- Small Barns (e.g., single-stall, smaller sheds): Typically range from $1,500 to $3,000.
- Medium Barns (e.g., two-story, average farm barns): Usually fall between $3,000 to $6,000.
- Large Barns (e.g., expansive dairy barns, commercial-sized structures): Can range from $6,000 to $10,000 or substantially more, depending on complexity.
Several critical factors influence the final price:
- Size and Structure: The overall footprint, height, number of stories, and complexity of the barn’s construction (e.g., timber frame vs. post-and-beam, presence of a concrete foundation or basement) significantly impact labor, equipment, and time required.
- Building Materials: The types of materials used in construction—such as heavy timbers, stone, brick, sheet metal, or asbestos-containing materials (ACMs)—directly affect the labor intensity, specialized equipment needs, and disposal requirements, especially for hazardous materials.
- Location and Accessibility: The barn’s geographical location (rural vs. urban, local labor rates) and the ease of access for heavy machinery and haul-away vehicles (e.g., narrow driveways, soft ground) can impact operational efficiency and thus cost.
- Disposal and Haul-Away Costs: These vary considerably by region and local regulations. The volume of debris, tipping fees at landfills, and the cost of recycling specific materials (e.g., concrete, metal) will all add to the total.
While a DIY approach might appear to save money upfront, it demands substantial time, physical effort, and the acquisition or rental of tools and safety gear. Moreover, the risks of personal injury or property damage due to inexperience can lead to significantly higher, unforeseen costs in the long run. Always weigh these hidden costs and risks when deciding between DIY and professional services.
Reclaiming and Selling Valuable Barn Wood
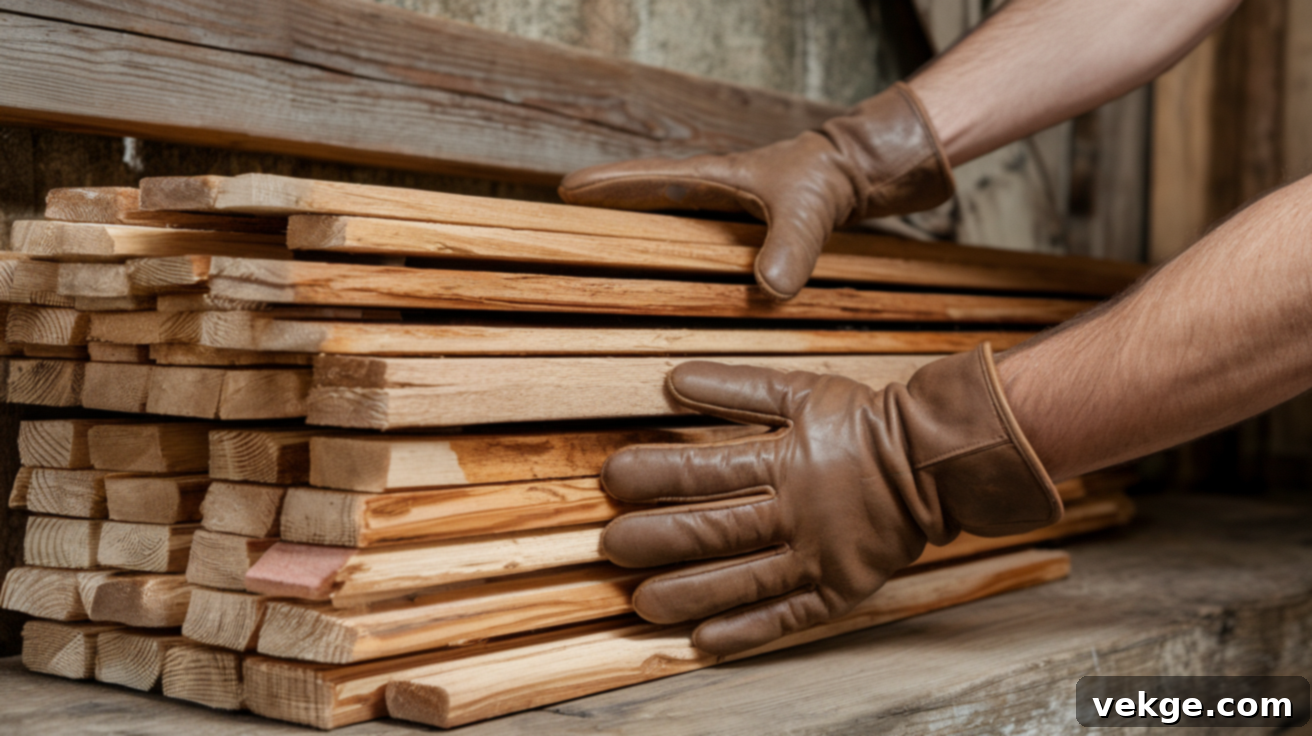
Old barn wood, often referred to as reclaimed wood or barn board, is a highly sought-after material due to its unique character, rich patina, and historical significance. It can be incredibly valuable to furniture makers, architects, interior designers, and DIY enthusiasts. If you’re interested in salvaging and selling this precious resource:
- Preparation is Key: Meticulously remove all nails, screws, and metal fasteners from the boards. Thoroughly clean the wood, removing dirt, dust, and any loose debris, using brushes or gentle power washing. Proper preparation significantly increases its market value.
- Sorting and Grading: Sort the boards by type (e.g., oak, pine, hemlock), size (length, width, thickness), and quality (e.g., pristine condition, distressed, structural timbers). Clear, straight, long boards, and large beams command the highest prices.
- Showcase Your Inventory: Take clear, high-quality photographs and videos of your prepared wood. Highlight its unique grain, color variations, and any interesting distress marks that add character. Accurate descriptions with dimensions and wood species are crucial.
- Marketing and Sales Channels: List the reclaimed wood on online marketplaces (e.g., Craigslist, Facebook Marketplace, specialized salvage sites), or reach out directly to local timber salvagers, architectural salvage yards, custom furniture builders, and interior design firms.
Beyond selling, you can also repurpose the wood for your own projects, transforming it into stunning furniture, unique accent walls, rustic flooring, or custom cabinetry. Just ensure the wood is properly dried and, if necessary, treated to prevent pest infestations or mold growth, especially if it will be used indoors.
Addressing Legal and Environmental Concerns in Barn Demolition
Properly navigating the legal and environmental aspects of barn demolition is paramount to protect yourself, your property, and the surrounding ecosystem. Overlooking these details can lead to severe penalties, environmental damage, and project delays. Here’s what you absolutely must check:
- Demolition Permits: Before any work begins, confirm the specific demolition permit requirements in your local municipality or county. This process often involves submitting applications, site plans, and potentially undergoing inspections. Always obtain written approval.
- Environmental Assessments: Inquire whether an environmental assessment is mandated for your barn. Older barns, especially those built before the 1980s, may contain hazardous materials such as asbestos (in roofing, siding, insulation) or lead-based paint. Professional testing and specialized abatement procedures are legally required for these materials and cannot be handled through general demolition.
- Waste Disposal Regulations: Research and understand your local regulations regarding the disposal of construction and demolition debris. This includes identifying approved landfills, recycling facilities for concrete and metal, and specific guidelines for hazardous waste. Illegal dumping carries heavy fines.
- Water Runoff and Soil Contamination: Consider the potential impact of demolition on nearby water sources, such as wells, streams, or ponds. Ensure proper erosion control measures are in place to prevent sediment runoff. Be aware of any potential soil contamination beneath the barn, especially if chemicals, fuels, or animal waste were stored there, and plan for remediation if necessary.
- Impact on Wildlife: Be mindful of local wildlife habitats. Demolition can displace animals, especially if nesting or denning occurs within the structure. Consider performing demolition outside of breeding seasons if possible.
- Burning Restrictions: Strictly adhere to local fire and environmental regulations concerning debris burning. Many areas have outright bans or require specific permits for burning untreated wood, and burning treated wood or hazardous materials is almost universally prohibited.
Post-Barn Demolition: What Comes Next for Your Cleared Land?
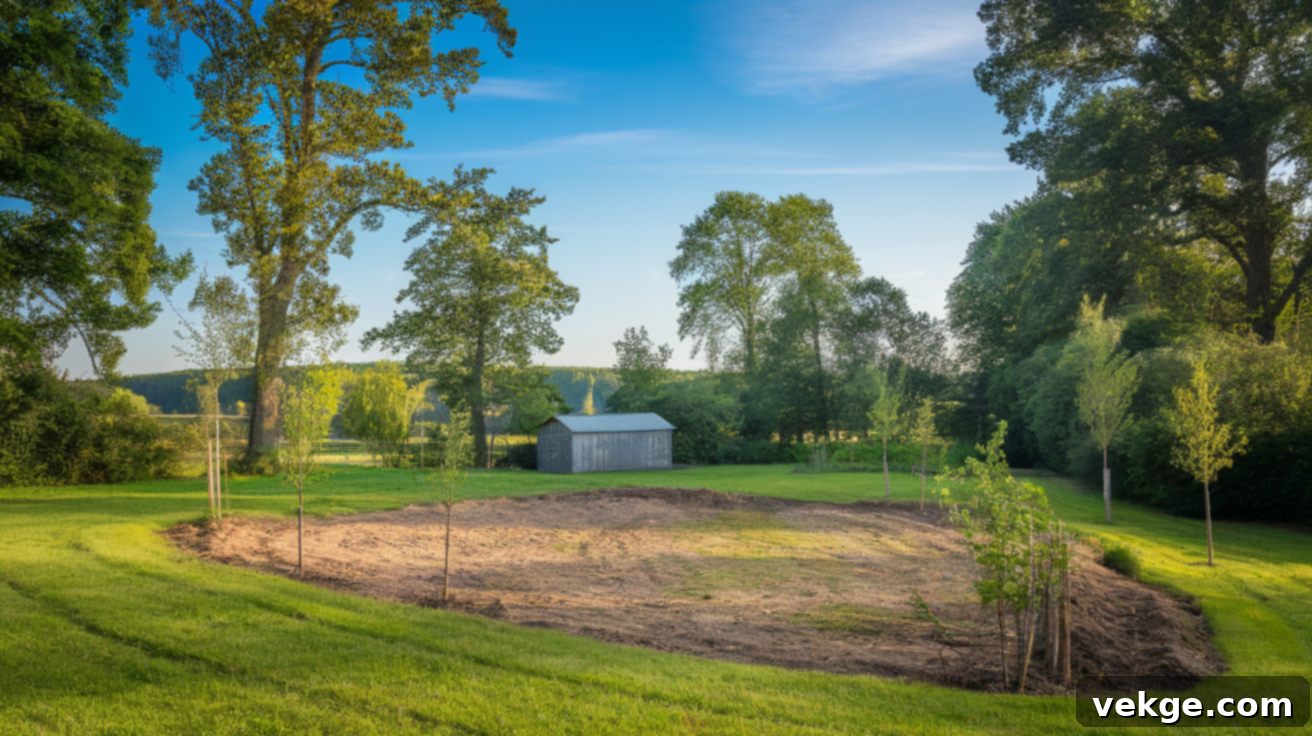
Once the barn is successfully demolished, and the site is cleaned and leveled, you’re left with a valuable blank slate—a clear piece of land brimming with potential. This is an exciting phase where your property can truly evolve. Here are some popular options for utilizing your newly cleared space:
- Land Restoration and Landscaping: You might choose to simply restore the area to a natural state. This could involve planting new grass to create a lawn or pasture, establishing trees for shade or a windbreak, or adding decorative fencing to define boundaries and enhance aesthetic appeal. This option often requires soil amendment and proper drainage planning.
- New Construction: The cleared space is ideal for a new structure. This could be anything from a modern utility shed for storage, a spacious new garage, an expanded workshop, or even the foundation for a small home or guest cottage. Remember to conduct soil bearing tests and ensure all necessary permits are obtained before any new construction begins.
- Agricultural or Recreational Use: Transform the land into something productive or enjoyable. Options include establishing a vibrant vegetable garden, creating a dedicated space for animals (e.g., a chicken coop, goat pen, or horse paddock), building a small riding arena, or even developing a recreational area like a sports field or a fire pit gathering spot.
Before embarking on any new project, it’s highly advisable to perform a comprehensive soil test to understand its composition and nutrient levels. Additionally, conduct a meticulous final sweep for any hidden debris, such as stray nails, shards of metal, or concrete fragments that might have been missed during the initial cleanup. Taking these preventative steps will save you significant problems, potential injuries, and costly delays down the line, ensuring your new project starts on the cleanest possible slate.
Conclusion
You now possess a comprehensive understanding of what goes into a smart, safe, and efficient barn demolition project. From the crucial initial planning and permit acquisition to the intricate details of a multi-stage demolition process, effective debris management, and thoughtful post-demolition cleanup, you’re equipped with the knowledge to make informed decisions. Whether you choose to tackle the project yourself or opt for the expertise of a professional contractor, this guide provides the foundational tools for confident action.
Beyond the physical act of demolition, you’ve also learned the value of reclaiming and selling old barn wood, the vital importance of navigating legal and environmental considerations to avoid costly pitfalls, and how to strategically plan for the exciting new possibilities that emerge once your land is cleared. Remember, every barn presents its own unique challenges and opportunities. Approach your project with patience, double-check every detail, and never hesitate to seek expert advice if you encounter unforeseen complexities or feel overwhelmed.
If you’re eager to continue expanding your knowledge and tackling more property improvement endeavors, I encourage you to explore the other guides available. Visit the rest of the blog for more hands-on tips, real-world advice, and practical insights to support your next big project.
Frequently Asked Questions About Barn Demolition
How long does the entire barn demolition process typically take?
The duration of a barn demolition can vary significantly, ranging from just a few days for smaller, simpler structures to several weeks for large, complex barns with extensive foundations or hazardous materials. Key factors influencing the timeline include the barn’s size, its structural complexity, the type of equipment used, the chosen method (DIY versus professional), and efficiency in debris removal and site cleanup.
Is old barn wood truly valuable and worth the effort to salvage and sell?
Absolutely, old barn wood can be quite valuable. If the wood is in good condition—meaning it’s free from significant rot, insect damage, and excessive splitting—and possesses the unique character, rich patina, and historical appeal that comes with age, it can fetch a premium price. Depending on the species, dimensions, and condition, reclaimed barn wood can sell for $5 to $20 per board foot or even more, particularly to specialty builders, furniture makers, and designers who value its aesthetic and sustainability.
Can I burn the old wood from my barn after demolition?
Burning old barn wood is permissible only if the wood is completely untreated (i.e., not pressure-treated, painted, or stained) and if burning is explicitly allowed by local fire and environmental regulations in your specific area. It is critically important to check with your local fire department and environmental protection agency before burning any debris. Burning treated wood releases toxic chemicals, and unauthorized burning can result in substantial fines, environmental pollution, and serious safety hazards.
What are the common hidden costs in barn demolition?
Hidden costs in barn demolition often include unexpected hazardous material abatement (like asbestos or lead paint), unforeseen foundation complexities (such as deep concrete slabs or hidden basements), additional fees for oversized or specialized debris disposal, soil remediation if contamination is discovered, and potential fines for not adhering to local permits or environmental regulations. Weather delays and equipment breakdowns can also add to the overall cost and timeline.
Do I need an environmental assessment before demolishing an old barn?
Yes, an environmental assessment is often required or highly recommended, especially for older barns. This assessment helps identify potential hazardous materials such as asbestos in roofing, siding, or insulation, and lead-based paint. Discovering and properly abating these materials is a legal requirement in many jurisdictions before demolition can proceed, preventing both environmental contamination and health risks to workers and the community.
