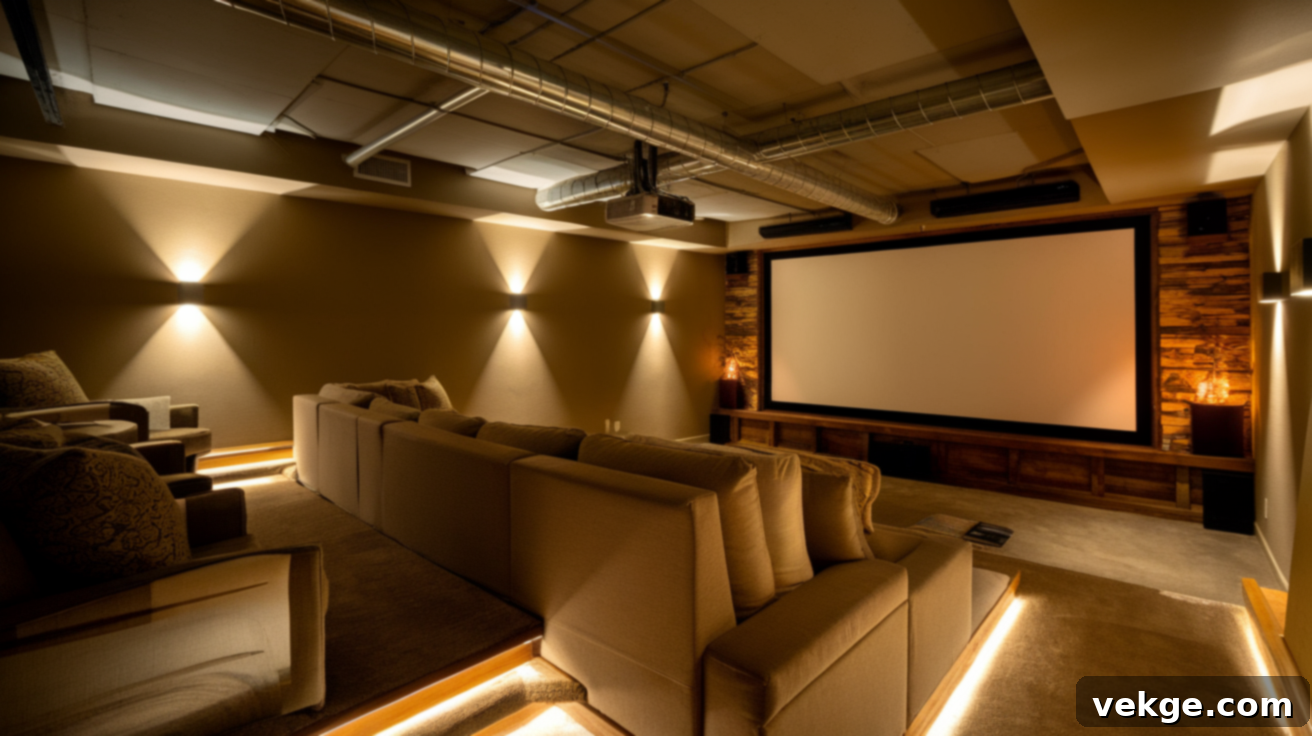
Ultimate Guide to Building Your Dream Basement Home Theater: Plan, Design & Equip
An empty basement holds incredible potential, often serving as an overlooked space ripe for transformation. If you’ve ever wondered how to best utilize this untapped area, consider converting it into a dedicated basement home theater. It’s a remarkably rewarding project that instantly upgrades your home’s entertainment capabilities, offering a private sanctuary for cinematic experiences, thrilling sports events, or cozy family movie nights, all without ever stepping outside.
This comprehensive guide is designed to walk you through every essential step of creating your ideal home theater. From meticulous space planning and selecting the perfect audio-visual equipment to implementing clever design strategies and avoiding common pitfalls, we’ll cover everything you need to know. Whether you’re envisioning a budget-friendly setup or aiming for a high-end, immersive cinema experience, this article provides practical advice and inspiring ideas to help you make informed decisions.
Get ready to unleash the full potential of your basement. By the end of this guide, you’ll have all the tools and insights to turn that unused space into your home’s most coveted entertainment hub, a place where memories are made and cinematic magic comes alive.
Why a Basement Home Theater is the Perfect Entertainment Hub
Converting your basement into a home theater is more than just a renovation; it’s an investment in your lifestyle and home value. Basements are uniquely suited for home theater setups for several compelling reasons, making them an ideal choice over other rooms in your house:
- Natural Light Control: Unlike above-ground rooms, basements typically have minimal windows, or none at all. This natural darkness is a significant advantage, as it simplifies light control and creates the perfect environment for projecting bright, vibrant images without interference from ambient light.
- Excellent Sound Isolation: Being partially or fully underground, basements naturally offer a degree of sound isolation from the rest of the house and outside noise. This inherent acoustic advantage minimizes disruptions, allowing you to immerse yourself fully in the movie’s soundtrack or the roar of the crowd during a game.
- Maximizing Unused Space: Many basements sit unfinished or are used merely for storage. Transforming this area into a home theater maximizes your home’s footprint, turning previously underutilized square footage into a functional, enjoyable living space.
- Increased Home Value: A well-designed and professionally installed home theater can significantly enhance your property’s appeal and market value. It adds a luxurious and desirable amenity that sets your home apart.
- Dedicated Entertainment Zone: A basement home theater provides a specific, dedicated area for entertainment, keeping noise and activity separate from living rooms or bedrooms. This separation allows family members to enjoy different activities simultaneously without disturbing one another.
- Customization Potential: Basements often offer more flexibility for customization due to their blank-canvas nature. You can design the layout, wiring, and aesthetics exactly to your specifications, creating a truly personalized space.
Whether you dream of a cozy spot for intimate family movie nights or a grand space to host friends for immersive sporting events, a basement home theater offers endless possibilities to cater to your entertainment needs. Let’s now delve into the practical steps to turn this exciting vision into a reality.
How to Build Your Ultimate Basement Home Theater: A Step-by-Step Guide
Step 1: Research & Planning – Laying the Foundation for Success
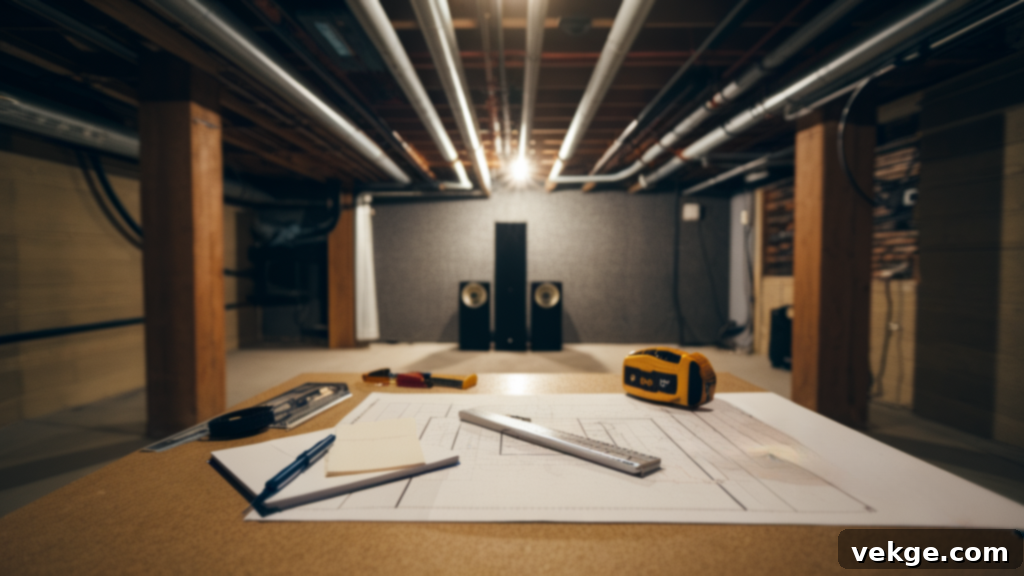
Before any construction or purchase, thorough research and meticulous planning are paramount. This initial phase dictates the success and efficiency of your entire project.
- Measure Your Space Accurately: Begin by precisely measuring your basement’s dimensions. Note down length, width, and ceiling height. This will determine screen size, projector throw distance, speaker placement, and seating capacity.
- Assess Existing Conditions: Check for any dampness, leaks, or inadequate insulation. Basements can be prone to moisture issues, which must be addressed before proceeding with any finishing work to protect your investment in electronics and furnishings. Consider professional waterproofing if necessary.
- Consider Acoustics: Think about the materials that will make up your walls, floor, and ceiling. Hard surfaces like concrete will cause sound to bounce, leading to echoes. Conversely, soft materials will absorb sound. Plan for a balance that minimizes echo and reverberation.
- Set a Realistic Budget: Develop a detailed budget that accounts for every expense: equipment (projector/TV, sound system, receiver), seating, acoustic treatments, lighting, wiring, potential construction/renovation costs (framing, drywall, flooring), and décor. It’s wise to allocate an additional 10-15% for unforeseen expenses.
- Define Your Vision: What kind of experience do you want? A dedicated cinema? A multi-purpose entertainment room? A space for gaming? Your vision will guide all subsequent decisions.
A clear, well-thought-out plan ensures that every component fits harmoniously, performs optimally, and stays within your financial constraints, laying a solid foundation for your dream home theater.
Step 2: Design Layout – Optimizing Your Viewing and Listening Experience
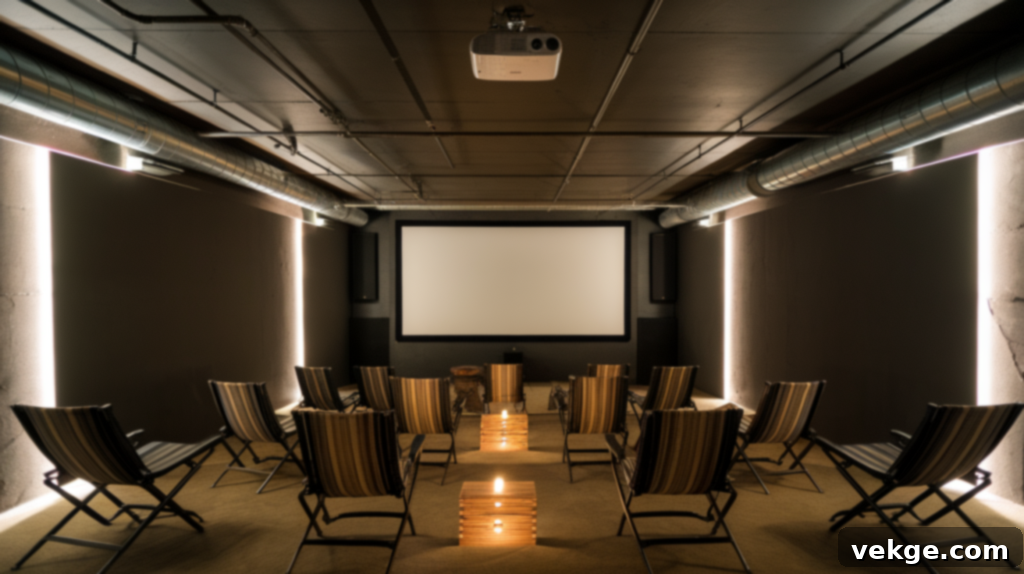
The layout is crucial for maximizing comfort, aesthetics, and performance. A well-designed layout ensures everyone has an excellent view and optimal sound.
- Screen Placement: The screen (either a projector screen or a large TV) should be the focal point. Ideally, it should be on the longest wall to allow for greater viewing distance. Ensure it’s positioned at eye level for comfortable viewing without neck strain.
- Seating Arrangement:
- Viewing Distance: For optimal comfort and immersion, seating should typically be placed at a distance of 1.5 to 2.5 times the diagonal screen size. For a projector, aim for at least 8-10 feet from the screen.
- Rows and Risers: If you plan for multiple rows of seating, consider building elevated platforms (risers) for the back rows. This ensures everyone has an unobstructed view, just like in a commercial cinema.
- Pathways: Ensure there’s ample space between rows and around furniture for easy movement, even when the room is dark. Avoid overcrowding, which can make the space feel cramped and diminish the experience.
- Speaker Placement: Proper speaker placement is critical for an immersive surround sound experience.
- Front Speakers (Left, Center, Right): Position the left and right speakers equidistant from the screen and the primary listening position. The center channel should be directly below or above the screen, aligned to the middle.
- Surround Speakers (5.1 or 7.1): For a 5.1 system, place surround speakers to the sides and slightly behind the main seating area. For 7.1, add two rear surround speakers directly behind the main seating.
- Subwoofer: Experiment with subwoofer placement; corners often provide the most bass, but finding the “sweet spot” may require testing different locations.
- Cable Management: Plan for concealed wiring. This might involve running cables through walls or using floor conduits to keep the space tidy and safe, preventing tripping hazards and maintaining a clean aesthetic.
An effective layout transforms your basement into a functional and aesthetically pleasing home theater that enhances every viewing and listening session.
Step 3: Selecting Equipment – Bringing Your Vision to Life
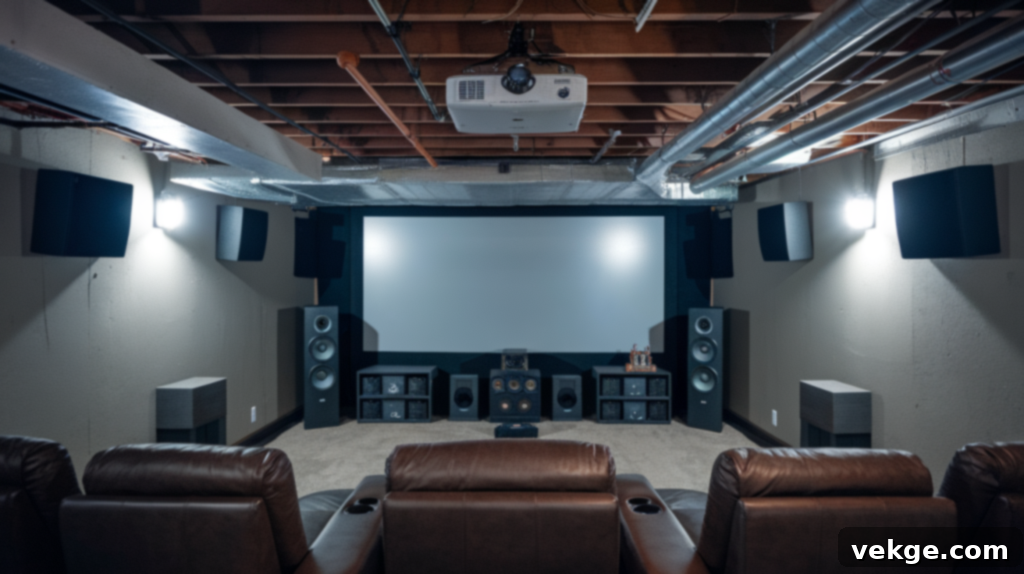
The right equipment is the heart of your home theater, determining the quality of your visual and auditory experience. Invest wisely to truly bring your home theater to life.
- Projector and Screen (or TV):
- Projector Type: Choose a projector that suits your room size and budget. Look for high resolution (4K is ideal), good brightness (lumens) for any ambient light, and a high contrast ratio for deep blacks.
- Screen Size and Type: Match the screen size to your viewing distance. Options include fixed-frame, motorized retractable, or acoustically transparent screens that allow speakers to be placed behind them for a seamless look.
- Alternative: Large Format TV: For smaller spaces or if a projector isn’t feasible, a large 65-inch+ 4K OLED or QLED TV can offer stunning picture quality and vibrant colors.
- Sound System:
- Surround Sound: A 5.1 or 7.1 system provides excellent surround sound. For the ultimate immersive experience, consider a Dolby Atmos or DTS:X setup with overhead speakers to create a three-dimensional sound field.
- AV Receiver: This is the brain of your sound system, connecting all your audio-visual components. Choose one with enough HDMI inputs, support for 4K/HDR, and the necessary audio decoding capabilities (Dolby Atmos, DTS:X).
- Subwoofer: Essential for deep, impactful bass that truly makes action scenes and music come alive.
- Seating:
- Comfort is Key: Opt for comfortable, supportive seating. Recliners are a popular choice for their ability to provide ultimate relaxation during long movie marathons.
- Theater-Style Seating: Dedicated theater chairs with built-in cup holders, power recline, and even massage features elevate the experience.
- Flexible Options: For multi-purpose rooms or smaller basements, sectionals or modular furniture offer versatility, easily adapting from a theater setup to a lounge area.
- Cabling and Connectivity: Invest in high-quality HDMI cables (HDMI 2.0 or 2.1 for 4K/HDR), speaker wire, and power conditioners to protect your equipment and ensure optimal performance.
Careful selection of these core components ensures your basement home theater delivers an unparalleled audio-visual experience.
Step 4: Adding Final Touches – Creating the Perfect Ambiance
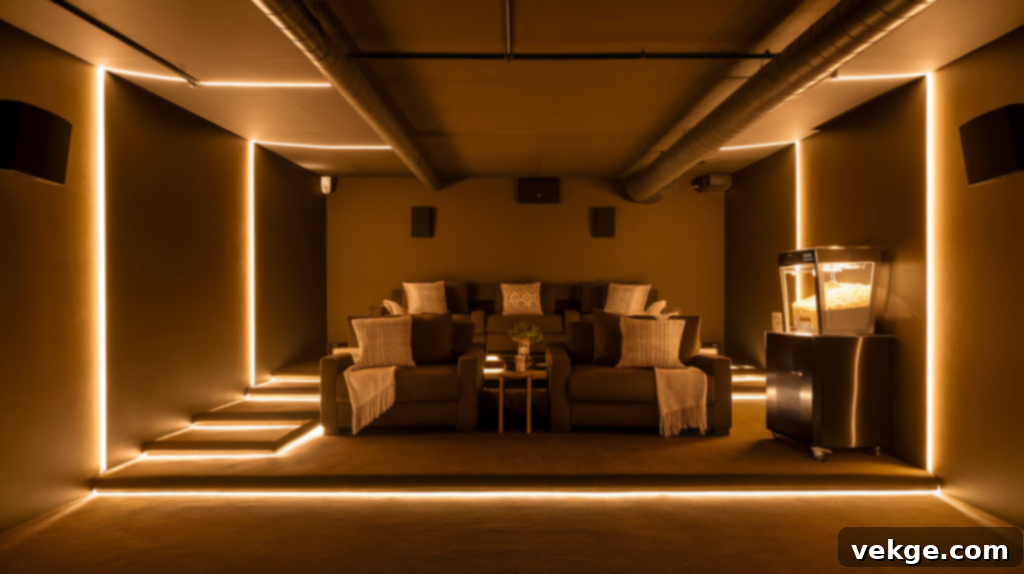
Once the major components are in place, it’s the final touches that truly transform your basement into an inviting and immersive home theater. These details enhance both aesthetics and functionality.
- Optimizing Lighting:
- Dimmable Lights: Install dimmable ceiling lights, recessed lighting, or sconces to allow for precise control over the room’s brightness.
- Accent Lighting: LED strip lights placed behind the screen, along pathways, or under seating can create a dramatic theater-like glow without causing glare on the screen. Smart lighting systems offer programmable scenes for different moods.
- Blackout Solutions: Even in basements, some light might seep in. Consider blackout curtains or shades for any small windows to ensure complete darkness for optimal viewing.
- Decor and Color Scheme:
- Dark Colors: Darker wall colors (deep blues, grays, black) and ceilings help absorb light, enhancing image contrast and preventing reflections.
- Movie-Themed Decor: Movie posters, framed film reels, or custom artwork can personalize the space and reinforce the cinematic theme.
- Acoustic Panels: Beyond their sound-absorbing properties, decorative acoustic panels can double as stylish wall art, integrating functionality with aesthetics.
- Comfort and Convenience:
- Soft Furnishings: Add throw blankets, decorative pillows, and a large area rug to enhance comfort and further improve acoustics by absorbing sound.
- Snack Bar/Mini-Fridge: A dedicated snack area with a mini-fridge and popcorn machine completes the authentic movie experience.
- Remote Control Management: Consider a universal remote or a smart home integration system to control all your devices with ease.
- Testing and Calibration: After everything is installed, thoroughly test your projector/TV and sound system. Calibrate the picture settings for optimal color and brightness, and run an audio calibration (many AV receivers have automatic room correction software) to fine-tune the sound for your specific room.
These thoughtful final touches elevate your home theater from merely functional to truly extraordinary, providing an inviting and immersive escape for years to come.
Inspiring Basement Home Theater Design Ideas
Your basement home theater can be as unique as your personal style. Here are several design ideas to spark your creativity, ranging from practical multi-use spaces to luxurious dedicated cinemas:
1. Sports Fan’s Dream Room Setup
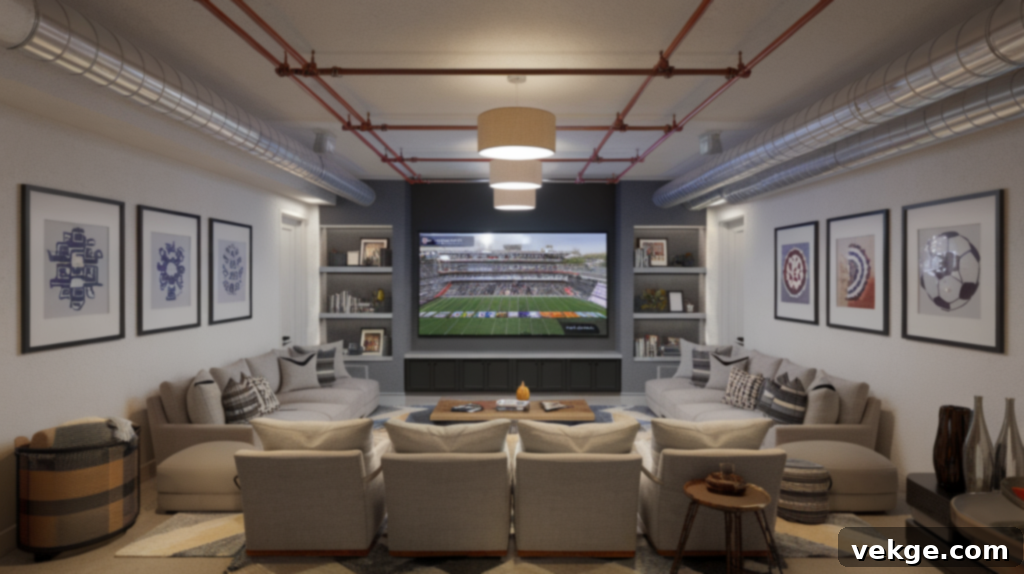
Transform your basement into the ultimate sports viewing arena. This setup focuses on creating an energetic and social atmosphere. Install a massive screen or projector for the main event, possibly flanked by smaller TVs to catch multiple games simultaneously. Incorporate a mini-bar or concession stand for snacks and drinks, and comfortable, durable seating like large sectionals or bar stools. Adorn the walls with your favorite team’s memorabilia, jerseys, or sports-themed artwork. This design keeps the focus on lively entertainment, perfect for hosting game day parties with friends and family.
2. Classic Cinematic Experience
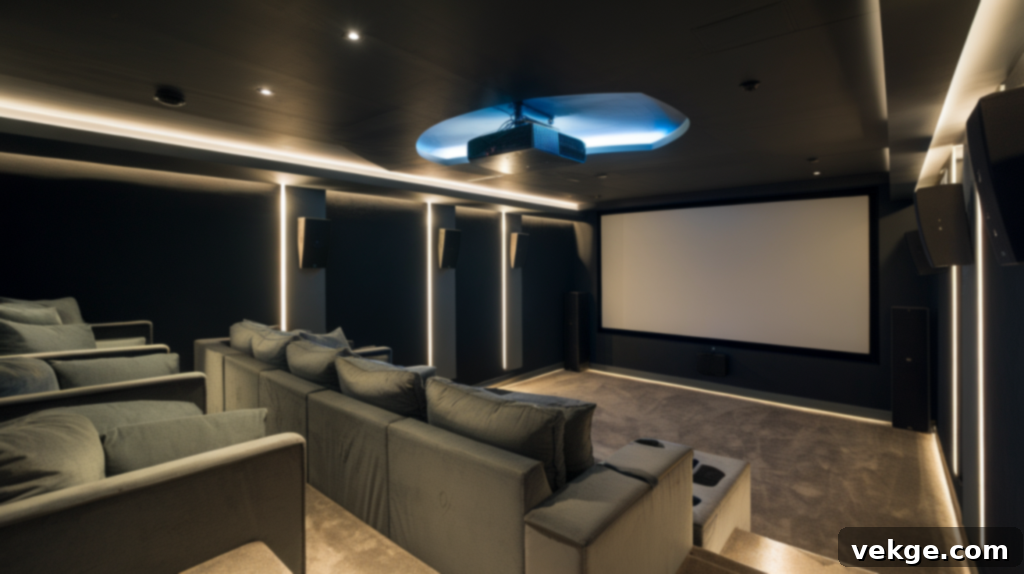
Recreate the magic of the movie theater right in your home. This design emphasizes deep immersion. Opt for plush, comfortable recliner seating, potentially arranged in tiered rows for optimal viewing angles. Dark, rich wall colors (like deep burgundy, navy, or charcoal gray) and velvet curtains enhance light absorption and contribute to a luxurious feel. Install a high-definition projector and a large acoustically transparent screen. A premium surround sound system with Dolby Atmos for overhead effects will truly bring that cinematic vibe to life, perfect for dedicated movie buffs.
3. Cozy Lounge Area Theater
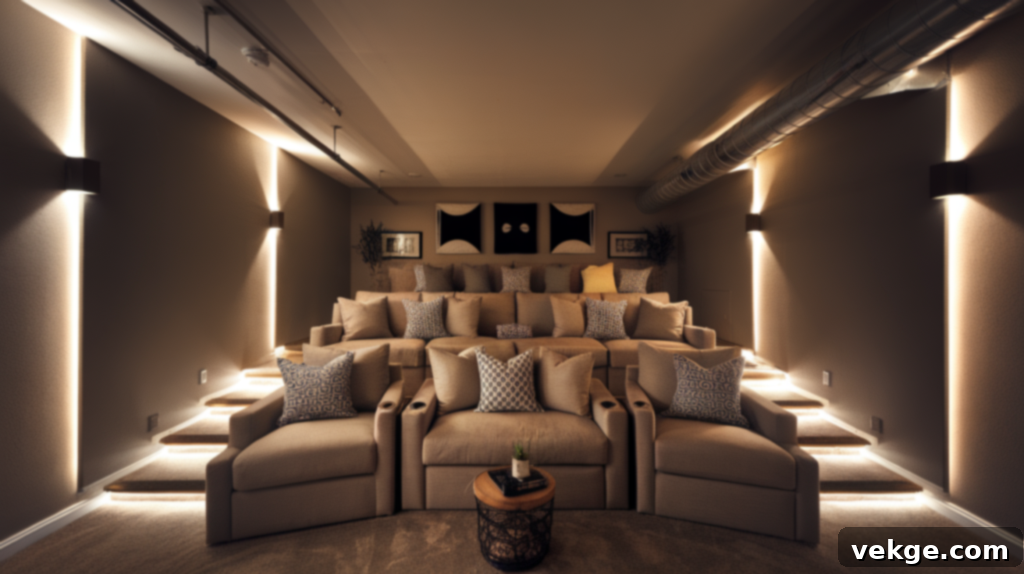
For a more relaxed and inviting space, combine the functionality of a home theater with the comfort of a lounge. Choose oversized, comfy sectionals or large, deep sofas with plenty of soft throws and pillows. Low, warm lighting from dimmable lamps or indirect LED strips creates a soothing atmosphere. A large area rug will define the space and absorb sound, adding to the cozy feel. This setup is ideal for long movie sessions, casual gatherings, or simply unwinding with your favorite show, making your basement a truly inviting retreat.
4. Industrial-Style Home Theater
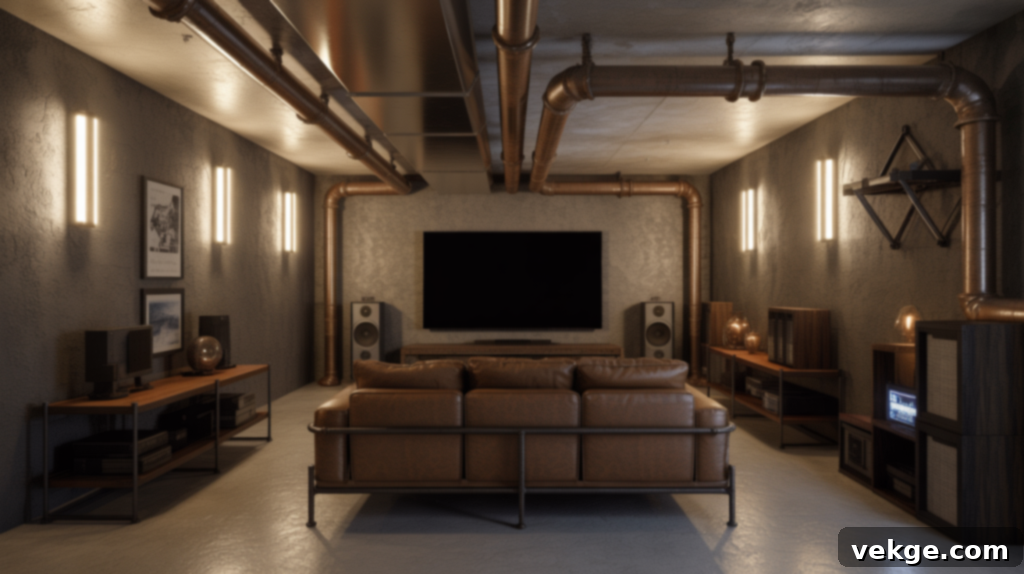
Embrace the raw, unfinished aesthetic of a basement with an industrial design. Highlight exposed pipes, brick, or concrete walls, incorporating metal accents, reclaimed wood, and utilitarian lighting fixtures. Comfortable, yet rugged, leather seating or dark fabric sofas complement this edgy style. The contrast between the raw architectural elements and high-tech entertainment equipment creates a uniquely modern and sophisticated home theater. This design works exceptionally well in basements where extensive finishing might be beyond the budget or simply not desired.
5. Multi-Use Entertainment Hub
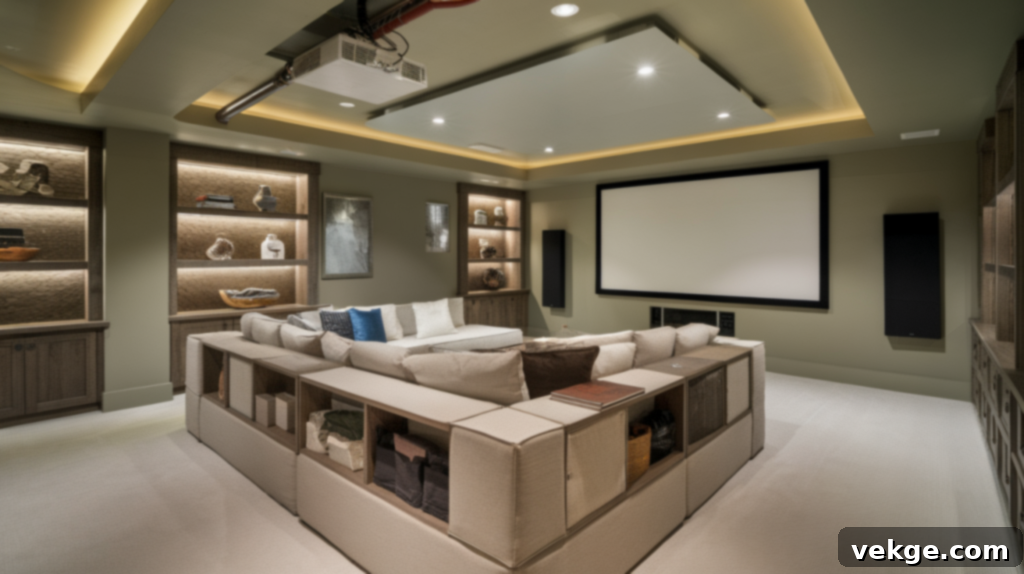
If your basement needs to serve multiple purposes, design a flexible entertainment hub. Utilize modular or multi-functional furniture, such as pull-out sofas, ottomans with storage, or convertible tables that can switch between a theater setup, a game room, or a general lounge area. A retractable projector screen that disappears when not in use can free up wall space. Zone the area with rugs or strategic furniture placement to accommodate different activities while maintaining an open feel. This practical approach maximizes space and utility without compromising on entertainment quality.
6. Minimalist Home Theater
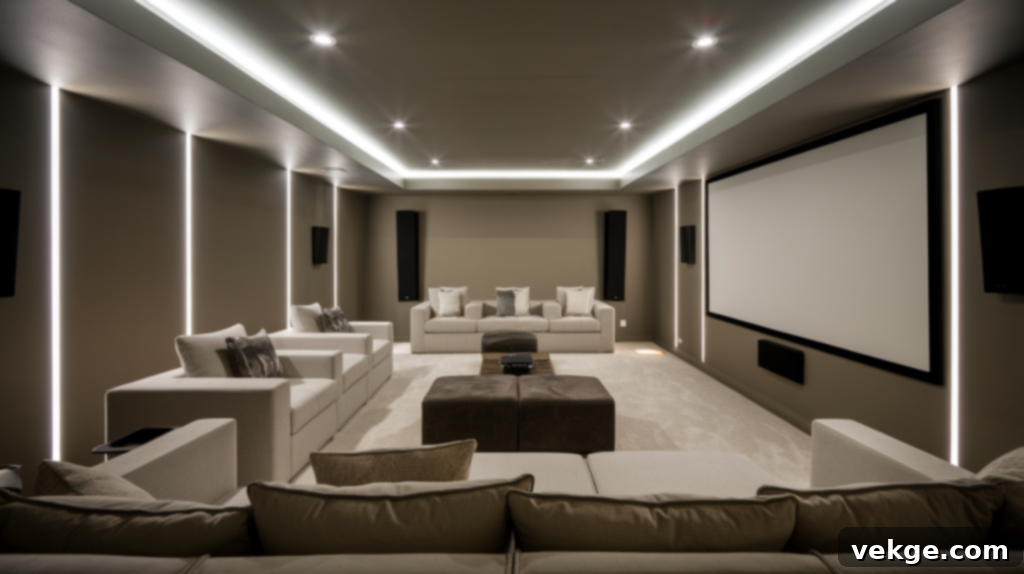
A minimalist design creates a clean, uncluttered, and sophisticated space where the focus remains on the immersive experience. Choose sleek lines, neutral color palettes (grays, whites, blacks), and modern, understated furniture. Hide all wires and equipment behind panels or within custom cabinetry. Wall-mounted or in-ceiling speakers can blend seamlessly into the environment. The emphasis here is on simplicity and functionality, with a few well-chosen elements that enhance the viewing experience without visual distractions. This design ethos results in an open, airy feel despite the basement setting.
7. Luxury Theater Setup
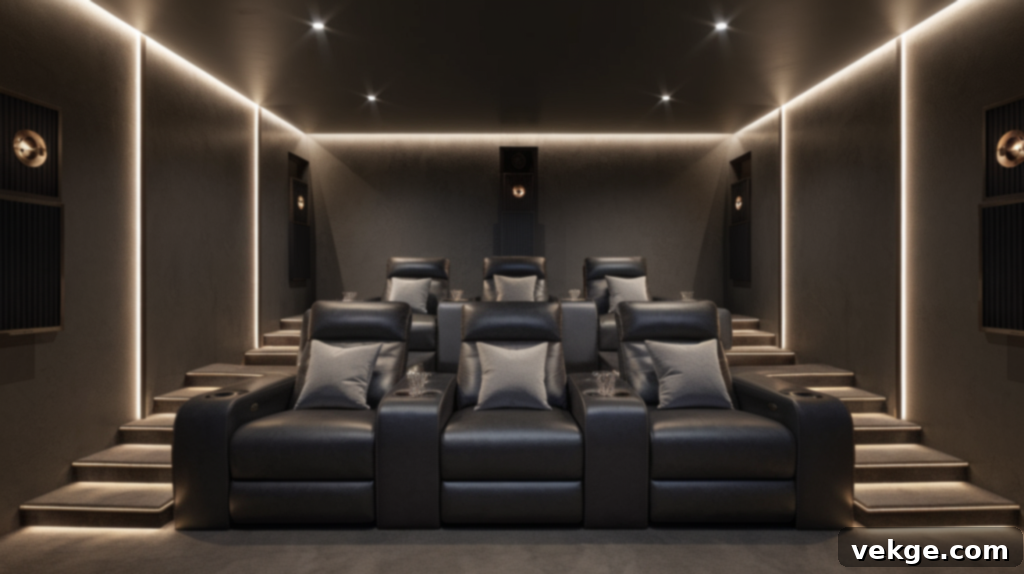
For those seeking the pinnacle of home entertainment, a luxury theater setup spares no expense. Invest in top-tier components: a high-end 4K projector, a massive acoustically transparent screen, and a professional-grade Dolby Atmos sound system. Custom-designed, motorized leather recliners with built-in cup holders, tray tables, and charging ports provide ultimate comfort. Integrate smart home automation for seamless control of lighting, climate, and AV systems. Rich, textured wall coverings, bespoke cabinetry, and subtle accent lighting complete a truly opulent and immersive audio-visual sanctuary.
8. Family-Friendly Theater
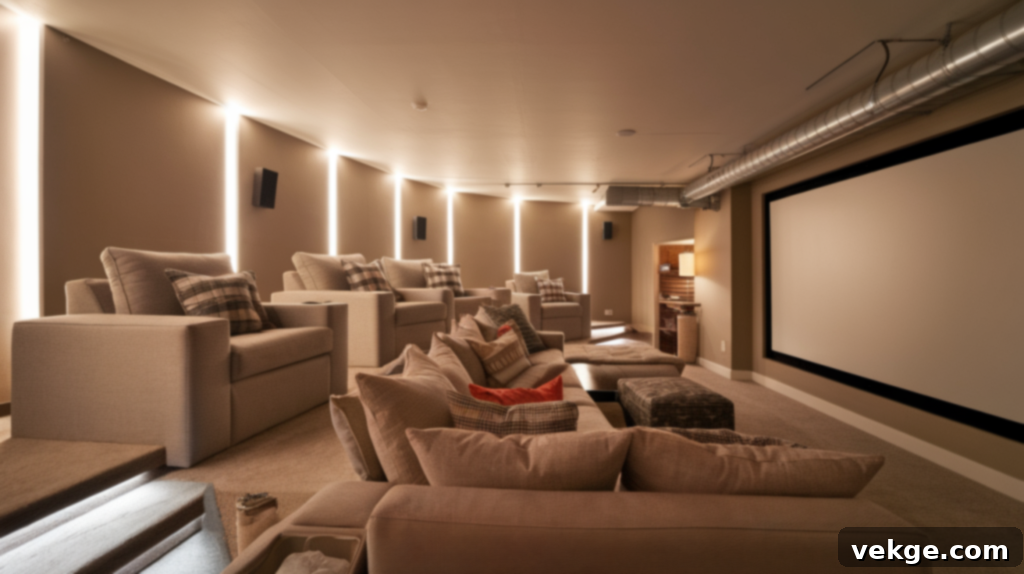
Design a home theater that caters to all ages. Focus on durable, easy-to-clean fabrics for seating, such as microfiber or performance fabrics. Large, comfortable sectionals or bean bags provide flexible seating for kids and adults. Incorporate ample storage for games, toys, and blankets to keep the space tidy. Soft, adjustable lighting ensures a comfortable environment for both movie watching and playtime. This versatile space can easily transition from a home cinema to a lively playroom or a comfortable hangout for the entire family, making it a highly utilized area in your home.
9. Compact Corner Theater
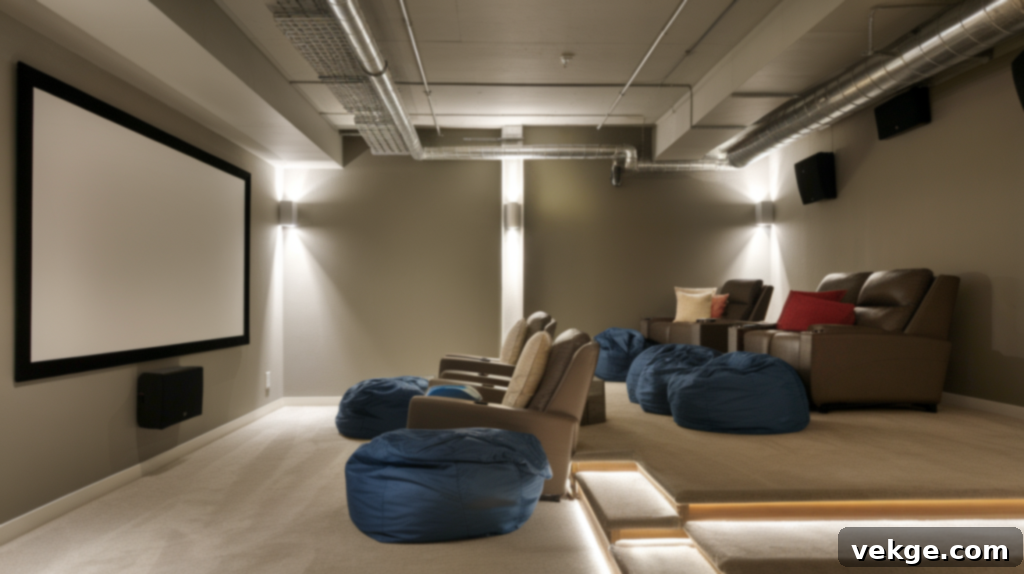
Even small basements can accommodate a home theater. A compact corner theater makes smart use of limited space. Mount your projector or TV on a wall, and utilize space-saving furniture like bean bags, compact recliners, or a small loveseat. Wall-mounted shelves or slim consoles can hold equipment and media without cluttering the floor. Strategic placement of a smaller screen and careful speaker positioning are key to creating an immersive experience in a tight footprint. This design proves that you don’t need a sprawling basement to enjoy the benefits of a dedicated home cinema.
10. Accent Lighting for Atmosphere
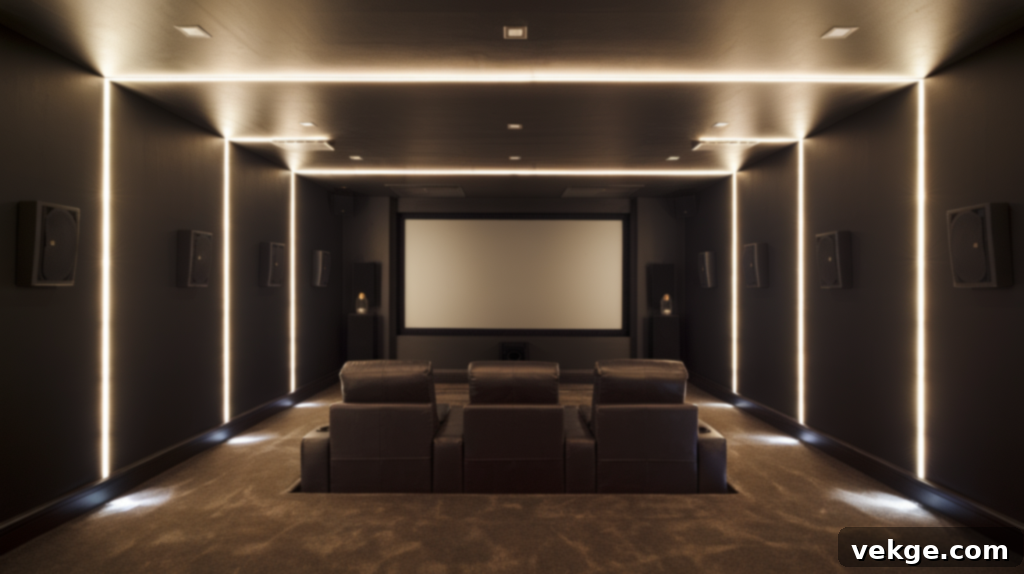
Lighting is a powerful tool for setting the mood and enhancing the theater experience. Beyond general dimmable overhead lights, incorporate various forms of accent lighting. Install LED strips behind your screen for a “bias lighting” effect that reduces eye strain and enhances perceived contrast. Recessed floor lights or wall sconces can illuminate pathways without creating glare. Starfield ceiling panels can mimic a night sky. Smart lighting systems allow you to program different scenes for movie watching, gaming, or general ambiance, making the space feel more immersive and personalized. Properly designed lighting elevates the entire experience, drawing you deeper into the content.
Whether your aim is a highly comfortable retreat or an opulent cinematic masterpiece, there’s a design option for every budget and basement size, allowing you to tailor your home theater to perfectly match your desires.
Equipment Selection: What You Need for an Immersive Experience
Choosing the right equipment is pivotal to creating a truly immersive and high-quality home theater experience. Here’s a more in-depth breakdown of the core components you’ll need to consider:
Projectors and Screens (or Televisions)
The display is your window to the cinematic world. Consider these factors when making your choice:
- Projector Technology:
- LCD (Liquid Crystal Display): Known for vibrant colors and good light output. Generally a good balance of performance and price.
- DLP (Digital Light Processing): Offers excellent contrast, sharp details, and can produce very deep blacks. Some sensitive individuals might perceive a “rainbow effect.”
- LCoS (Liquid Crystal on Silicon): Combines the best attributes of LCD and DLP, providing rich colors, excellent contrast, and deep blacks without the rainbow effect. Often found in higher-end models.
- Resolution: Aim for 4K (3840×2160 pixels) for future-proofing and stunning detail. 1080p (Full HD) is still a good option for budget-conscious setups.
- Brightness (Lumens): For a completely dark basement, 1500-2500 lumens is often sufficient. If there’s any ambient light, or you want a brighter image, look for 2500+ lumens.
- Contrast Ratio: A higher contrast ratio (e.g., 10,000:1 or more) means deeper blacks and brighter whites, resulting in a more dynamic and engaging picture.
- Screen Type:
- Fixed Frame: Best for dedicated theaters, offering a perfectly flat surface.
- Motorized Retractable: Ideal for multi-use rooms where the screen can disappear when not needed.
- Acoustically Transparent: Allows speakers to be placed behind the screen for a cleaner aesthetic and better sound staging.
- Ambient Light Rejecting (ALR): Specifically designed to maintain picture quality in rooms with some ambient light.
- Television Alternative: For smaller spaces or if a projector seems too complex, a large (65-inch or more) 4K OLED or QLED television offers incredible picture quality, deep blacks, and instant on/off convenience.
Projectors typically range from $300 for entry-level 1080p models to $1,500-$5,000+ for high-quality 4K units. Screens add another $200-$1000+. Large 4K TVs can range from $700 to several thousands.
Sound Systems
Immersive sound is half the battle for a true home theater experience.
- AV Receiver: This is the control center for your entire system. It decodes audio formats, amplifies sound to your speakers, and handles video switching. Ensure it supports 4K HDR passthrough, and the latest audio codecs like Dolby Atmos and DTS:X if you plan for an object-based surround sound system.
- Speaker Configuration:
- 5.1 Surround Sound: A classic setup with five speakers (front left/right, center, surround left/right) and one subwoofer. Provides excellent directional sound.
- 7.1 Surround Sound: Adds two rear surround speakers for a more encompassing audio field, especially in larger rooms.
- Dolby Atmos / DTS:X: These object-based formats add height channels (either ceiling-mounted or up-firing speakers) to create a three-dimensional sound experience, allowing sounds to move above and around you.
- Speaker Types: Choose from bookshelf speakers, tower speakers, in-wall/in-ceiling speakers (for a cleaner look), or soundbars with subwoofers for simpler setups.
- Subwoofer: Crucial for impactful bass that adds depth and realism to action sequences and music. Consider placement carefully, as it greatly affects bass response.
A decent 5.1 home theater system can range from $400 to $1,200, while a more advanced Dolby Atmos setup with quality speakers and receiver could easily run $1,500-$5,000+.
Seating
Comfortable seating is essential for long viewing sessions.
- Recliners: The gold standard for home theaters, offering individual comfort and support. Look for features like power recline, cup holders, and built-in storage.
- Sectionals/Sofas: Excellent for a more casual, lounge-like feel, allowing multiple people to stretch out. Choose durable, stain-resistant fabrics.
- Theater-Style Seating: Dedicated rows of cinema seats, often with plush cushions and ergonomic design, provide an authentic movie-going experience.
- Material: Leather offers a luxurious feel and is easy to clean, while fabric options provide a cozier aesthetic and often better breathability.
Seating costs can vary wildly, from a few hundred dollars for bean bags or a basic sofa to several thousand for custom luxury recliners.
With the right blend of these components, your basement home theater will provide an immersive, comfortable, and unforgettable viewing experience for every occasion.
Budget Breakdown: Good, Better, Best Home Theater Options
Before embarking on your basement home theater project, understanding what your budget can realistically achieve is key. This table offers a clear breakdown of features and expected investments across different price points, helping you plan effectively without overspending or underspending on critical elements.
| Feature | Good ($1,000–$2,500) | Better ($2,500–$6,000) | Best ($6,000–$15,000+) |
|---|---|---|---|
| Display | 1080p projector or 55–65″ smart TV | 4K projector or 65–75″ premium TV | High-end 4K or LCoS projector with screen |
| Sound System | Basic 5.1 system or soundbar with subwoofer | Mid-range 5.1 or 7.1 surround sound | Premium 7.1 or Dolby Atmos system |
| Seating | Sofa, sectional, or bean bags | Recliners with cup holders | Luxury motorized recliners with full layout |
| Lighting | Blackout curtains | Dimmable LEDs and acoustic panels | Smart lighting zones and ambient control |
| Installation | DIY wiring and setup | Some professional help with setup | Full professional design, install, and sound treatment |
Regardless of your budget, a well-defined plan and careful consideration of each component will help you create a home theater that perfectly fits your space and meets your entertainment needs. Investing more generally yields higher quality, greater features, and a more immersive experience, but even a modest budget can deliver a highly enjoyable setup.
Note: The prices listed above are general estimates. Actual costs may vary based on brand, quality, location, and availability. Be sure to research current pricing and obtain multiple quotes for services before making any purchases to ensure accuracy.
Home Theater Installation Tips for a Flawless Setup
Proper installation is paramount to ensure your home theater not only performs optimally but also looks professional and seamless. These key tips will guide you through the setup process and help you achieve the best possible results:
- Optimized AV Setup & Cable Management:
- Wire Thoughtfully: Plan your wiring before drywall goes up if possible. Run all necessary cables (HDMI, speaker wire, Ethernet) through walls and ceilings for a clean, hidden look. Use high-quality, certified cables to prevent signal degradation.
- Organize Cables: Use cable ties, clips, or sleeves to keep all visible cables neatly bundled and out of sight. Label cables at both ends to simplify troubleshooting or future upgrades.
- Speaker Positioning: Refer to your sound system’s manual or online guides (e.g., Dolby’s recommendations) for precise speaker placement relative to your main seating position. Correct angles and distances are crucial for accurate surround sound imaging.
- Receiver Setup: Follow the setup wizard on your AV receiver. Utilize its auto-calibration feature (often using a microphone) to fine-tune speaker levels, distances, and EQ for your specific room acoustics.
- Effective Soundproofing & Acoustic Treatment:
- Soundproofing (Isolation): To prevent sound from entering or leaving the room, consider adding mass and decoupling. This can involve using specialized drywall (e.g., QuietRock), adding extra layers of standard drywall, using mass loaded vinyl, or constructing a “room within a room” with isolated studs. Sealing gaps around doors and windows with weatherstripping is also important.
- Acoustic Treatment (Absorption & Diffusion): Once sound is contained, you need to manage how it behaves within the room.
- Absorption: Use acoustic panels, bass traps (for low frequencies), heavy curtains, and thick carpets/rugs to absorb sound and reduce echo and reverberation. Place absorption panels at first reflection points on walls and ceilings.
- Diffusion: Diffusers scatter sound waves, creating a more spacious and natural soundstage. These are often placed on the rear wall.
- Strategic Lighting Implementation:
- Dimmable Control: Install dimmable LED lights or sconces controlled by a dimmer switch or smart home system. This allows you to gradually adjust the light level to suit the activity.
- Accent Lighting: Use LED strips or cove lighting around the screen, under seating, or along pathways. Choose warm color temperatures (2700K-3000K) for a cozy theater feel.
- Minimize Glare: Ensure no light sources directly reflect on the screen. Keep overall ambient lighting low during viewing to maximize contrast and immersion.
- Smart Lighting: Integrate your lighting with a smart home system for pre-set “movie night” scenes that dim lights, close blinds, and power on your AV equipment with a single command.
By diligently following these installation tips, you’ll create a professional-grade setup that not only looks great but also delivers an uncompromised audio-visual experience every time you sit down to enjoy your home theater.
Common Basement Home Theater Mistakes to Avoid
Building a home theater is an exciting project, but it’s easy to overlook crucial details that can significantly impact your experience. Being aware of these common mistakes will help you avoid costly corrections and ensure your basement home theater is as enjoyable and functional as possible:
- Overlooking Proper Soundproofing:
Mistake: Assuming a basement is inherently soundproof or neglecting sound isolation. Noise can easily travel through floors, shared walls, and ventilation systems, disturbing others in the house or being disrupted by outside sounds.
Solution: Prioritize soundproofing during the planning phase. Implement strategies like adding mass to walls (extra drywall layers, mass loaded vinyl), decoupling walls from studs (using resilient channels or clips), sealing all gaps around doors and windows, and ensuring HVAC ducts are treated for sound transfer. This prevents both sound leakage and external noise intrusion.
- Choosing the Wrong Screen Size or Viewing Distance:
Mistake: Selecting a screen that is either too large (leading to eye strain and difficulty seeing the whole picture) or too small (lacking immersion) for your room’s dimensions and seating arrangement.
Solution: Calculate the optimal viewing distance based on your screen size and resolution. For 1080p, the ideal distance is typically 1.5 to 2.5 times the screen diagonal. For 4K, you can sit closer, usually 1 to 1.5 times the screen diagonal, to appreciate the added detail. Always measure your space and plan screen placement and seating distances accordingly.
- Ignoring Room Acoustics:
Mistake: Treating your home theater like a regular room, resulting in harsh echoes, muddied dialogue, or boomy bass. Bare walls, hard floors, and open spaces can cause sound waves to reflect excessively, distorting the audio.
Solution: Incorporate acoustic treatments. Use large area rugs, thick carpets, and upholstered furniture to absorb mid-to-high frequencies. Strategically place acoustic panels on walls (especially at first reflection points) and ceiling to control echoes and reverberation. Bass traps are essential for managing low-frequency issues that can make bass sound indistinct.
- Skipping Essential Lighting Control:
Mistake: Relying on standard overhead lighting that creates glare, washes out the projector image, or simply doesn’t set the right mood for a cinematic experience.
Solution: Install a comprehensive lighting system. Dimmable recessed lights or wall sconces allow for adjustable ambient light. Incorporate accent lighting (LED strips, rope lights) for pathways or behind the screen to enhance atmosphere and reduce eye strain. Choose light fixtures that minimize glare on the screen and opt for dark-colored finishes on walls and ceilings to absorb stray light.
- Underestimating the Budget:
Mistake: Focusing only on major equipment costs and forgetting about smaller, yet essential, expenses like cabling, mounts, surge protectors, electrical upgrades, HVAC modifications, and potential professional installation fees.
Solution: Create a detailed budget checklist that includes every possible item, from the smallest accessories to potential labor costs for carpentry or electrical work. Always factor in a contingency fund of 10-15% of your total budget for unexpected issues or desired upgrades that emerge during the project.
- Overcrowding the Room with Furniture:
Mistake: Packing too many seats or large pieces of furniture into a small basement, making the space feel cramped, impeding movement, and potentially blocking speaker sound.
Solution: Prioritize comfort and accessibility over quantity. Ensure clear pathways around seating and to exits. Choose furniture proportional to your room size. For smaller basements, consider compact recliners, bean bags, or modular seating that can be reconfigured or stored away. A less cluttered room enhances both the visual appeal and the overall user experience.
By proactively addressing these common pitfalls, you can streamline your building process and create a basement home theater that is not only visually stunning and acoustically perfect but also comfortable, functional, and enjoyable for years to come.
Conclusion: Your Dream Basement Home Theater Awaits
Transforming your basement into a home theater is one of the most fulfilling home improvement projects you can undertake. As someone who has experienced the joy of such a conversion, I can attest that it’s a smart, fun, and relaxing way to maximize unused space and create a dedicated entertainment oasis right within your home. With the right planning, a little creativity, and adherence to sound design principles, a basement home theater can be tailored to perfectly match any style, budget, and functional requirement.
You now possess the foundational knowledge: from the critical steps of research, planning, and layout design, to the specifics of selecting cutting-edge equipment, implementing inspiring design ideas, and crucially, understanding common mistakes to avoid. This comprehensive guide empowers you to embark on this journey with confidence, ensuring you make smart, practical choices every step of the way.
As you begin your project, remember to prioritize the key elements that truly make a difference: comfort in seating, pristine sound quality, and sophisticated lighting control. These are the cornerstones of an immersive and enjoyable home cinema experience.
Don’t let your basement remain an underutilized space. Take these insights and start building a captivating entertainment haven that you and your loved ones will cherish for years to come. Looking for more inspiration? Explore other resources on smart home setups, advanced acoustic treatments, or creative basement layouts to further refine your vision and craft a space that perfectly fits your unique lifestyle.
