Mastering the Art of DIY: Your Comprehensive Guide to Building a Custom Porch Swing
For over fifteen years, I’ve had the immense pleasure of crafting porch swings, and one profound truth has consistently emerged: this project transcends mere furniture construction. Each meticulously built swing becomes a vessel for cherished memories, echoing with the laughter of summer evenings, the warmth of family gatherings, and the quiet comfort of watching the world gently drift by. It’s more than just a place to sit; it’s a canvas for life’s most precious moments.
Just last month, I witnessed Sarah’s face illuminate with pure joy as her custom-designed porch swing was finally installed. “It’s precisely how I envisioned it,” she whispered, her voice filled with delight, as she gently tested its graceful motion. This, my friends, is the undeniable magic of building your own swing – it allows you to bring your unique vision to life, perfectly tailored to your space and dreams.
Through this comprehensive guide, I will meticulously share every invaluable detail and technique I’ve refined from countless builds. We’ll embark on a journey from understanding the nuances of proper lumber selection to mastering crucial assembly techniques, and finally, incorporating those subtle comfort details that elevate a good swing into an irreplaceable family heirloom. Whether you’re a seasoned woodworker eager for a new challenge or embarking on your very first major project, these detailed steps are designed to ensure your success and satisfaction.
Always remember, a truly well-built porch swing often possesses the enduring quality to outlast the very porch it adorns. Let’s create something not only beautiful but also robust and worthy of that remarkable responsibility, a piece that will be enjoyed for generations.
Step-By-Step Approach to Building Your Dream Porch Swing
Step 1: Setting Up Your Optimal Workspace
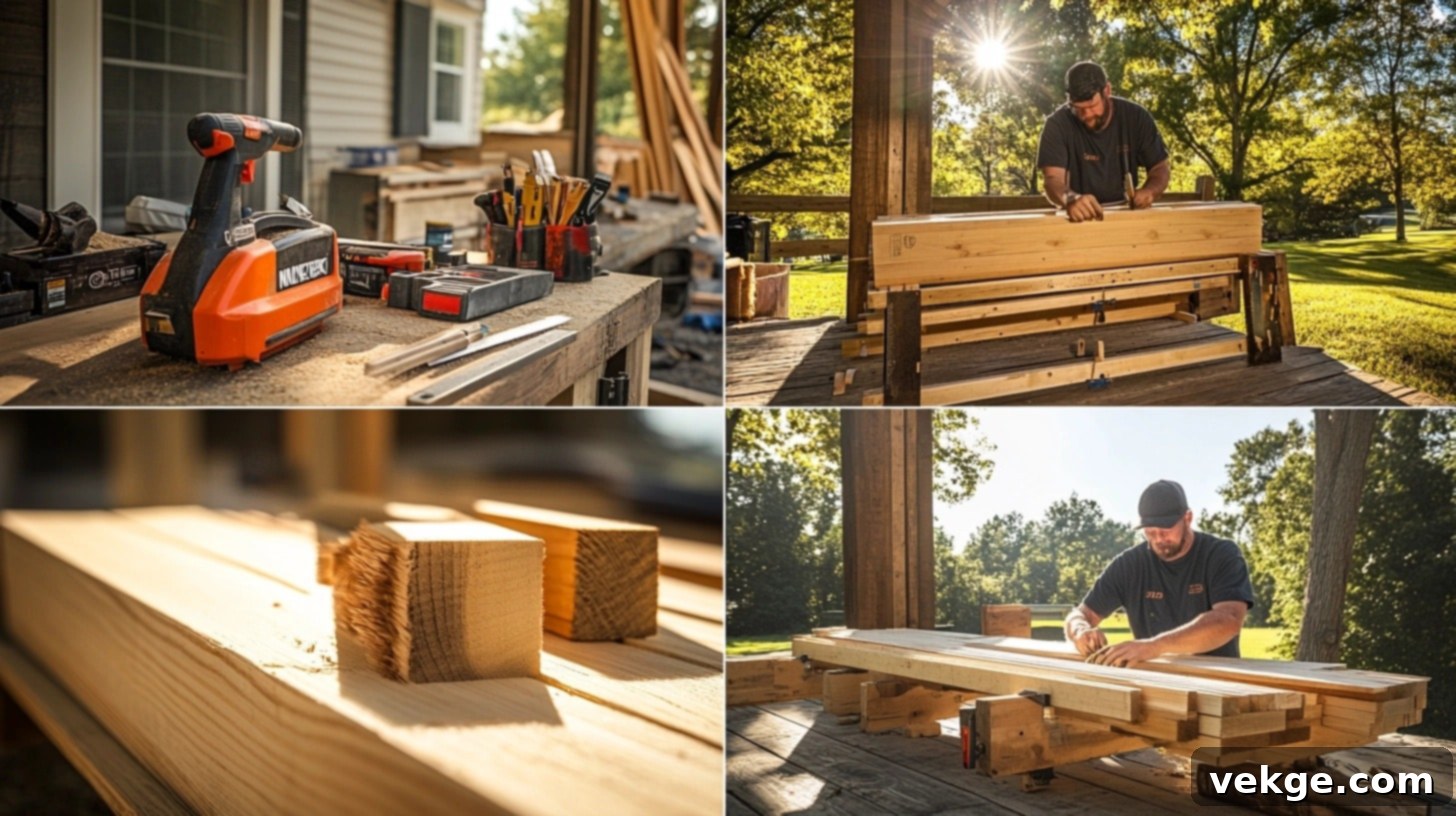
The foundation of any successful woodworking project begins with an intelligently organized and adequately sized workspace. Start by clearing an area that is at least twice the dimensions of your finished swing. This generous space is crucial for safely maneuvering long boards, assembling large components, and preventing the frustrating, time-consuming shuffle of tools and materials. I recall a client last week who attempted to work in a cramped garage corner; three hours of constant rearranging could have been entirely avoided with a more thoughtful initial setup.
Natural light will quickly become your most valuable ally throughout this project. Position your workbenches or sturdy sawhorses where the morning sun can aid your eye in spotting subtle grain patterns and any minor imperfections in the wood. If you’re working indoors, invest in bright LED shop lights positioned at strategic 45-degree angles to effectively eliminate shadowed areas that might conceal potential issues or flaws in your materials.
Your cutting station demands meticulous consideration. Ensure your sawhorses are placed on perfectly level ground and rigorously check their stability before commencing any cuts. I learned this vital lesson the hard way years ago when an uneven garage floor led to slightly angled cuts that caused significant headaches during the final assembly phase. Precision starts with a stable base.
To maximize efficiency and cleanliness, establish dedicated zones for different project phases. Your cutting area should be distinctly separate from the assembly space to prevent sawdust from contaminating crucial glue joints. Furthermore, designate a clean, dust-free area specifically for finishing touches and delicate detail work, ensuring a flawless end result.
For those working outdoors, consider the prevailing wind direction; fine sawdust blown onto freshly applied polyurethane can irrevocably ruin hours of careful preparation. A little foresight here saves a lot of rework.
Effective tool organization profoundly impacts every stage of your build. Arrange frequently used items within arm’s reach of your primary work zone. My personal system includes magnetic strips for keeping measuring tapes and rulers conveniently handy, and a pegboard system for organizing power tools. Always remember: time spent frantically searching for a misplaced tool is time stolen directly from the actual building process.
Finally, set up a small, dedicated table for your project plans, blueprints, and material lists. Keep these essential documents clean, protected, and easily accessible. Sawdust-covered, smudged measurements are a common culprit for costly mistakes. I personally use clear plastic sleeves to protect my plans and maintain a dedicated notebook for any modifications, measurements, or important observations.
Step 2: Lumber Selection and Preparation for Durability
The longevity and beauty of your porch swing begin with the right lumber. When selecting wood, always start at the end of lumber stacks where fewer people typically reach. These boards are often less disturbed and consequently suffer less damage from constant handling. Examine each piece individually with utmost care, standing at eye level with the board to meticulously spot any twisting, bowing, or cupping. Rushing this critical step invariably leads to more significant costs and complications down the line.
Look for boards exhibiting tight, straight-grain patterns that run consistently along their entire length. Lumber with wide grain spacing generally indicates faster-grown wood, which is typically less stable and more prone to warping or cracking over time. During a build last summer, I specifically selected boards with grain lines spaced approximately 1/8 inch apart; those swings continue to hang perfectly level and true to this day, a testament to careful selection.
The moisture content of your chosen wood can either make or break your project. Invest in an inexpensive yet reliable moisture meter. For exterior projects like a porch swing, aim for readings between 12% and 15%. Higher readings indicate that the wood requires additional drying time to prevent future warping or checking. Conversely, lower numbers might signal overly dry wood, which can be prone to cracking once exposed to environmental moisture fluctuations.
Before making any cuts, meticulously arrange your selected boards within your workspace. Group similar pieces together based on their intended use (e.g., seat slats, frame supports). Support long boards every four feet to prevent any sagging that could compromise the accuracy of your straight cuts later on. Lightly label each board’s intended purpose with a pencil to avoid confusion during the cutting phase.
Here’s a valuable trick learned from an old master craftsman: mark your cut lines directly onto blue painter’s tape applied to the wood, rather than directly on the timber itself. This simple technique not only helps prevent splintering during the cut but also removes cleanly without leaving any sticky residue. Last month, this precise method saved me hours of cleanup on a particularly complex swing design.
Rough-cut your pieces approximately an inch longer than their final dimensions. This small allowance provides crucial wiggle room for fine-tuning during assembly and allows you to remove any minor end-checking that could potentially compromise the structural strength of the joint. Store these pre-cut pieces flat, utilizing small spacers between layers to ensure proper air circulation and prevent moisture buildup.
Step 3: Achieving Precise Cutting and Measuring
Begin by accurately marking your primary support pieces, typically 2x4s, as these form the essential backbone of your swing and critically determine its overall squareness. For unparalleled accuracy, always use a carpenter’s square equipped with brass fittings; plastic squares can imperceptibly warp over time, leading to cumulative errors. Even one degree off at this stage can multiply into visibly problematic issues during later assembly.
Never rely on a single measurement. Instead, create durable physical templates for any repeated cuts you’ll be making. During a build just last week, sturdy cardboard templates saved countless hours of re-measuring and entirely eliminated inconsistencies across multiple identical pieces. Clearly mark your templates – for instance, “front rail,” “back support,” etc. – to prevent any mid-project confusion or errors.
Position your saw blade precisely on the waste side of your pencil line. That seemingly fine pencil mark itself represents nearly 1/16th of an inch, a significant margin when multiplied across several joints. Always be mindful of how wood grain affects the cutting direction; last month, cutting against the grain on several seat slats resulted in rough, splintered edges that required extensive and time-consuming sanding.
For accurate and repeatable angled cuts, securely clamp a guide block to your work surface. This creates a reliable fence for your saw, ensuring consistent angles without the need for constant re-checking. My current swing design, for example, incorporates 15-degree back supports, and every single cut matches perfectly, thanks to a simple pine guide block.
Environmental factors, such as temperature, can subtly affect both wood and tools. Cuts made in the cool morning might differ slightly from afternoon work as materials expand with heat. When feasible, endeavor to make all similar cuts in a single session. For instance, if you’re cutting seat slats, complete all of them before taking a break for lunch.
Always set up proper support for long pieces. A falling board end can not only pull your cut off square but also create a dangerous kickback situation. Two summers ago, I learned this lesson the hard way; now, adjustable roller stands support every single long cut I make, ensuring safety and precision.
Step 4: Mastering Frame Assembly Fundamentals

Establish your assembly area on a perfectly level surface. My garage floor, for instance, has a slight slope, so I compensate by using adjustable sawhorses topped with a leveled sheet of plywood. Double-check the level in both directions – even a tiny tilt will inevitably become a major, visible problem later on.
Before applying any glue or screws, always dry-fit every component. Lay out your main supports and meticulously check diagonal measurements to ensure a perfect square or rectangle. Just yesterday, a build appeared visually perfect until diagonal checks revealed a half-inch difference. Catching this early saved hours of tedious corrections and potential structural issues.
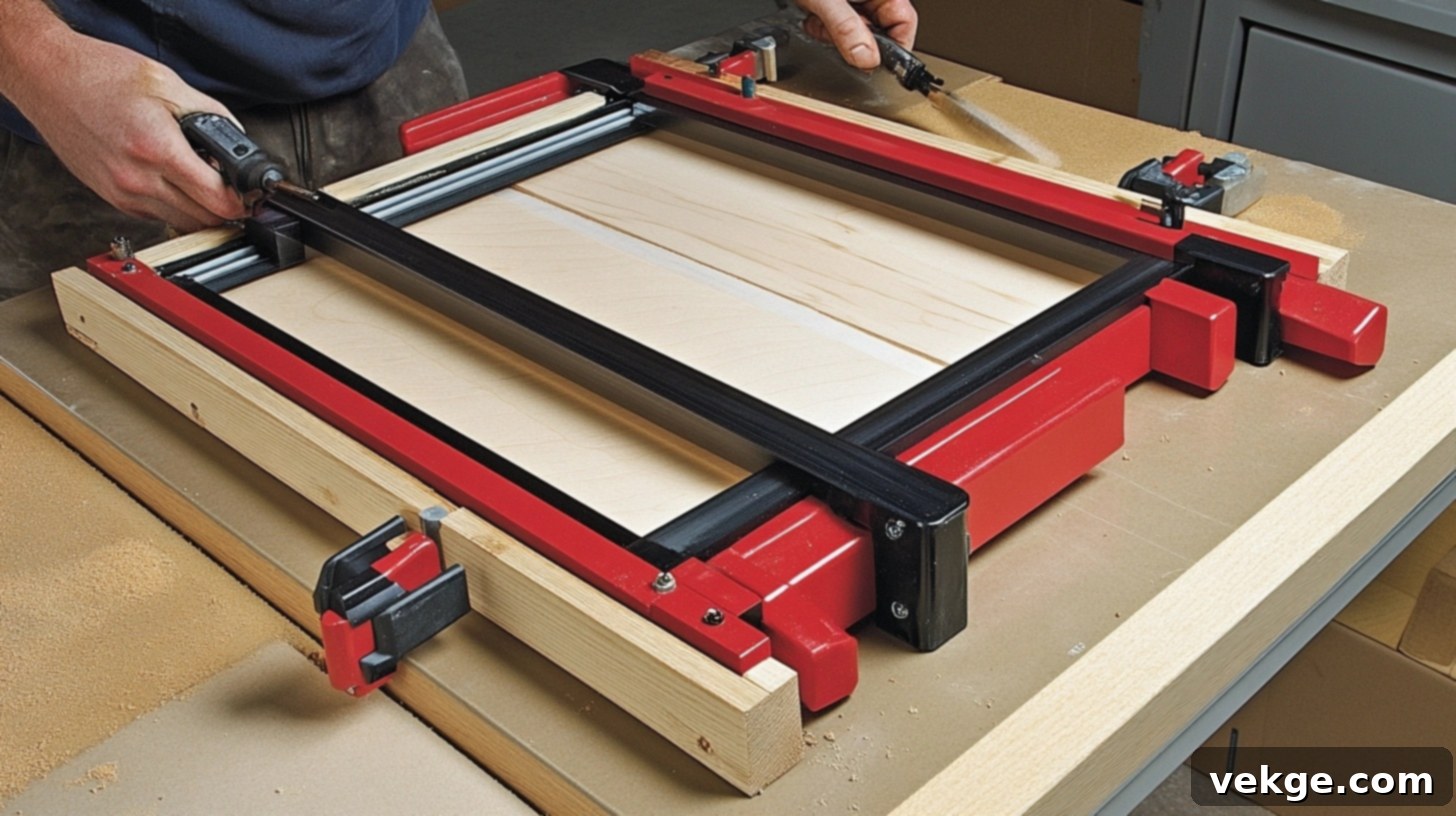
Begin by assembling the main rectangular frame. Apply waterproof wood glue generously but neatly to all joint surfaces; excessive squeeze-out creates future water traps and complicates finishing. Hold joints securely together with quick-grip clamps while driving screws. These “extra hands” prevent slight shifts that can significantly weaken the integrity of your joints.
Counter-sink all screws slightly below the surface level of the wood. A project from last month taught me the value of pre-drilling with two different bit sizes: one for the screw shaft to prevent splitting, and another, larger bit for the screw head to ensure perfectly flush seating. This meticulous step prevents unsightly hardware and provides a smoother finish.
Re-check for squareness after each major joint is secured. Use wooden cauls – small pieces of scrap wood – to protect the corners of your beautiful cedar or other chosen timber from clamp marks. Keep a damp rag readily available; it’s far easier to wipe away wet glue beads than to scrape off dried ones later.
Pay exceptionally close attention to the precise placement of support blocks. These seemingly small pieces are crucial for distributing weight evenly across all joints and preventing undue stress. My latest design, for instance, utilizes doubled blocks at all critical stress points – perhaps overkill, but no one has ever complained about a swing being too sturdy!
Step 5: Seamless Seat and Back Support Integration

Begin by establishing the seat support structure. Precisely position your lateral supports exactly 18 inches apart; this specific spacing is engineered to prevent any sag over time, ensuring enduring comfort and structural integrity. Last summer’s swing, built with 20-inch spacing, unfortunately started to dip in the center within a few months. Mark your positions clearly with a white pencil, which stands out well against most woods and wipes clean without residue.
The true secret to a supremely comfortable back angle lies in a 15-degree tilt. Anything steeper will feel uncomfortably upright, akin to a church pew, while anything less will transform your swing into more of a recliner. This is where your pre-made angle guide blocks are indispensable – attempting to eyeball these cuts rarely yields consistent or comfortable results. Before permanent attachment, temporarily position the back supports and actually sit against them to test the angle for optimal comfort.
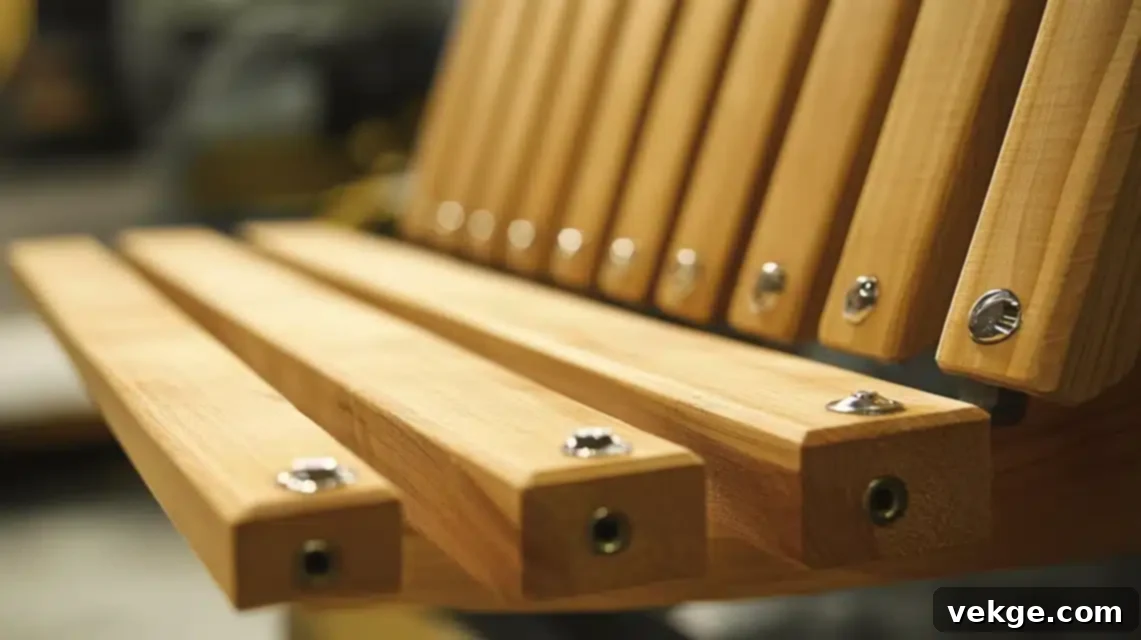
A critical joint alert: The connection point where the seat meets the back demands exceptional attention and reinforcement. Double up your support blocks here and use heavy-duty carriage bolts with washers, rather than just screws. Three months ago, I witnessed a beautifully crafted swing develop an unsettling wobble simply because someone skimped on this vital connection. Do not compromise on structural integrity here.
Slat spacing is paramount to user comfort and functionality. Leave precisely 3/8 inch between each seat slat. This gap is ideal for allowing proper drainage of rainwater, yet it’s not wide enough to snag phones or create uncomfortable pressure points. A simple spacer block, cut now from scrap wood, will help you maintain perfect consistency across all your slats.
Each slat requires at least three robust attachment points. Pre-drill every hole using a combination countersink bit. If you rush this step, those beautiful cedar slats will split easily, leading to frustrating rework and wasted material. Trust me, I learned that expensive lesson early in my career.
Now, prepare for one of the most satisfying moments of the entire assembly: attaching the back slats. Work methodically from the center outward, meticulously checking the level after every third slat. Any slight deviation will multiply as you move toward the edges, resulting in a noticeably uneven backrest. Keep your torpedo level constantly at hand for quick and accurate checks.
Step 6: Integrating Armrests and Refining Comfort Details

Begin the armrest integration process with a crucial height test. Temporarily stand your back slats in place and clamp a test armrest at approximately 8 inches above the seat. Then, sit down, relax, and consciously note where your elbows naturally rest. A client last week discovered that 7.5 inches suited her family far better; these personal adjustments are what truly elevate a swing from good to perfect.
Cut your armrest supports at subtle angles – typically 5 degrees forward and 3 degrees outward. While straight supports might appear aesthetically pleasing, they often feel awkward and uncomfortable in practice. Remember Mr. Johnson’s swing from last summer? After just a week, we ended up rebuilding those armrests because the straight supports created uncomfortable pressure points on his forearms.
Here’s a professional secret for added elegance and durability: route a subtle, shallow channel underneath each armrest. This thoughtful detail not only prevents water pooling on the surface, which can lead to wood degradation, but also adds an unexpected touch of refined craftsmanship. Keep the channel narrow – a 1/4 inch wide by 1/8 inch deep groove typically does the job perfectly.
The armrest connection demands surgical precision. Pre-drill pilot holes at slightly different, intersecting angles – this “cross-grain” technique effectively locks the arms securely into place, providing superior stability. Use exterior-grade screws that are one size larger than you initially think necessary. That extra strength proves invaluable during lively conversations and years of enthusiastic use.
Pay close attention to the front support curve of the armrests. A gentle radius here is vital for preventing snagged clothing and painful barked shins, especially for children. Use a reliable compass to mark perfect, symmetrical curves, then carefully cut them with a jigsaw. Once cut, sand these curves to a silky smoothness; they will be touched constantly and contribute significantly to the overall user experience.
Now is the ideal time to add those subtle, thoughtful comfort details. Round over all exposed edges with a 1/4 inch router bit to eliminate sharp corners. Consider creating slight, shallow indents where thumbs naturally rest for an ergonomic grip. These small, often overlooked touches are precisely what separates a good, functional porch swing from a truly great, cherished one.
Final Thoughts on Your Handcrafted Porch Swing
Having meticulously guided you through every single cut, reinforced joint, and refined finish detail, one enduring truth stands clearer than ever: the creation of a truly magnificent porch swing is a testament to patience, unwavering attention to detail, and a deep appreciation for craftsmanship. Your careful lumber selection, made with foresight and precision, will pay immense dividends through countless years of enjoyable family use.
Those extra minutes you thoughtfully spent checking and re-checking joints for squareness will translate into decades of creak-free, secure swinging. Every perfectly rounded edge and carefully calculated angle contributes significantly to the overall comfort and aesthetic appeal, enhancing the user experience in subtle yet profound ways. This project isn’t merely about assembling wood; it’s about crafting an enduring experience.
Take immense pride in the entire process. Document your progress with photographs, capturing each stage of your creation. Make detailed notes about your material choices, specific modifications, and any valuable lessons learned along the way. Good records not only serve as a personal chronicle of your accomplishment but also simplify any future repairs or adjustments, ensuring your swing remains a cherished piece for generations.
Most importantly, savor that first magical evening when you finally sit back, feeling the gentle, rhythmic sway of your very own creation. There is an unparalleled satisfaction that comes from relaxing in a beautiful swing you built with your own hands and vision. You haven’t merely constructed a piece of outdoor furniture; you have poured your effort and care into building a family gathering spot, a future sanctuary that will quietly collect countless precious memories for generations to come. Enjoy the fruit of your labor!
Frequently Asked Questions About Building and Maintaining Your Porch Swing
How Much Weight Can a Porch Swing Bed Safely Support?
A properly constructed porch swing, utilizing robust 2×4 (or larger) supports and high-quality hanging hardware, can typically and safely hold between 500 and 600 pounds. Key factors influencing this capacity include the grade and type of lumber used, the thoroughness of joint reinforcement, and the correct installation of all hanging hardware. Always build with doubled support in critical stress areas, such as where the armrests meet the seat and back, and where the hanging chains attach. Crucially, ensure your chain or rope strength is rated to match or exceed the swing frame’s capacity. Install heavy-duty eye bolts, rated at least 200 pounds above your expected maximum load, directly into structural elements.
What Type of Wood Is Best Suited for Outdoor Swings?
For outdoor swings, cedar stands out as a premier choice due to its natural resistance to rot, insects, and moisture, coupled with its beautiful aging properties. Cypress offers excellent durability, particularly in humid climates. White oak provides exceptional strength and longevity but typically comes at a higher cost. Pressure-treated pine is a more budget-friendly option that works well, but requires thorough sealing and often less aesthetically pleasing. Avoid softwoods like standard pine or spruce for exterior projects, as they will deteriorate quickly when exposed to the elements. Regardless of your wood selection, meticulous sealing and regular maintenance are absolutely crucial for its long-term preservation.
Do I Need Special Hardware to Hang a Porch Swing Bed?
Absolutely. Standard swing hardware is generally insufficient for the weight and stresses of a porch swing bed. You will need heavy-duty eye bolts (at least 1/2 inch diameter) that are specifically rated for significant weight capacity. It’s imperative to use through bolts with large washers and nuts where chains attach to the swing frame, rather than relying solely on screws. Spring-loaded snap hooks add an extra layer of safety, prevent chain binding, and make installation/removal easier. Never economize on hanging hardware; this is not the place to compromise on quality or strength.
Can I Install a Porch Swing Bed on a Covered Porch?
Yes, installing a porch swing bed on a covered porch is not only possible but often ideal, provided your porch structure is robust enough to support the load. First, meticulously inspect the ceiling joists – they must be capable of handling both the static weight of the swing and its occupants, as well as the dynamic forces generated by swinging motion. Look for joists that are 2×8 inches or larger and in excellent condition. Install all mounting points directly into these solid joists, never just into the ceiling surface or plywood. For additional peace of mind and structural integrity, consider adding extra blocking or support above the mounting points within the ceiling structure. Covered porches are advantageous as they naturally protect your swing from direct exposure to harsh weather elements, prolonging its life.
How Do I Effectively Weatherproof an Outdoor Swing Bed?
To effectively weatherproof your outdoor swing bed, begin with applying multiple coats of a high-quality, exterior-grade sealer or marine varnish, paying particular attention to end grain and all joints, as these areas are most vulnerable to moisture intrusion. Follow this with a UV-resistant finish to protect the wood from sun damage and fading. Design the swing with slight angles on horizontal surfaces to encourage water runoff, preventing pooling. When choosing cushions, opt for exterior-grade, quick-dry foam and UV-resistant fabrics. For severe weather conditions or during off-seasons, consider investing in a custom-fitted, breathable cover. Most importantly, establish a seasonal maintenance routine that includes checking seals, refreshing finishes, and inspecting all hardware for any signs of wear or corrosion.
