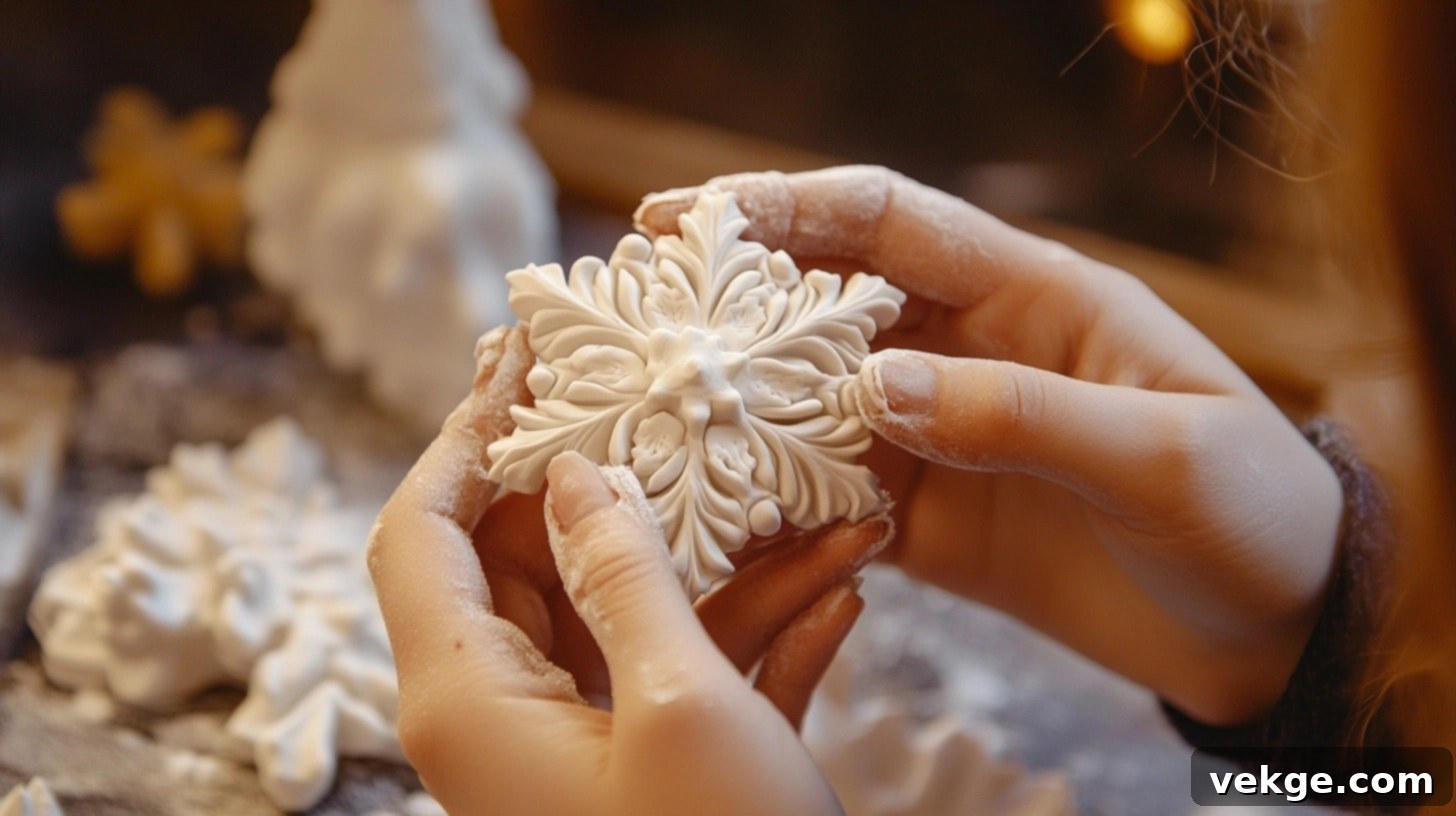
Craft Beautiful Air-Dry Clay Ornaments: The Ultimate DIY Guide for Creative Minds
Embark on a delightful journey into the world of crafting with air-dry clay and discover the joy of creating exquisite, personalized ornaments. This comprehensive, step-by-step tutorial is designed to transform you from a crafting novice into a skilled creator, guiding you through every stage of molding, shaping, and decorating your own unique pieces. Whether you’re seeking a relaxing weekend project, planning to craft heartfelt, handmade gifts, or simply exploring a new artistic outlet, this guide provides all the knowledge and inspiration you’ll need.
We’ll delve into every detail, from selecting the perfect type of air-dry clay to applying those final, artistic touches that make your creations truly shine. But our creative journey extends beyond just making; we’ll also share invaluable care and storage tips to ensure your beautiful air-dry clay ornaments not only stand the test of time but also remain vibrant and intact for years to come. Get ready to unleash your creative potential and bring your most imaginative ideas to life, one air-dry clay ornament at a time!
What to Know About Air-Dry Clay Before Using It
Air-dry clay is an incredibly versatile and user-friendly medium, making it perfect for crafters of all skill levels to create detailed ornaments, sculptures, and decorative items. However, to achieve the best results and ensure the longevity of your creations, it’s essential to understand its unique properties and handling precautions.
Types of Air-Dry Clay
Air-dry clay comes in several varieties, each with slightly different characteristics. Natural earth clays are usually heavier and can have a more organic feel, while synthetic versions, such as paper-based or polymer clays, often offer finer textures and lighter weights. Paper clay, for instance, is known for its strength and ability to be sculpted with fine details, drying to a very hard finish. Understanding these differences can help you choose the best clay for your specific ornament project, depending on the desired look and feel.
Drying Time and Factors Affecting It
Air-dry clay typically requires anywhere from 24 to 72 hours to dry completely. This duration can vary significantly based on several factors: the thickness of your piece (thicker items take longer), the humidity level of your environment (higher humidity slows drying), and the ambient temperature. Patience is key; rushing the drying process can lead to undesirable outcomes.
Shrinkage and Cracking During Drying
As air-dry clay loses moisture, it naturally shrinks slightly. This shrinkage, if uneven or too rapid, can lead to minor cracks, especially in pieces that are thick, have varying thicknesses, or are dried too quickly. Minimizing this risk involves ensuring uniform thickness when rolling out the clay and allowing for a slow, consistent drying process.
Sealing and Painting for Durability
Once your air-dry clay ornaments are thoroughly dry, they become ready for embellishment and protection. They can be beautifully painted using acrylic paints, which adhere well and offer a wide range of colors. After painting (or even if left unpainted), sealing with a varnish or sealant is crucial. This step not only enhances the appearance but also protects the surface from moisture damage, dust, and general wear, significantly extending the life of your creations.
Precautions for Proper Drying
To prevent rapid drying and subsequent cracking, it is vital to avoid placing air-dry clay creations in direct sunlight, near a heat source (like a radiator or oven), or in overly dry, drafty areas. Instead, allow your pieces to dry naturally in a cool, dry, and well-ventilated space. This controlled environment ensures that moisture evaporates slowly and evenly from all parts of the clay, promoting a smooth, crack-free finish.
Materials Required Before Beginning the Project
Before you dive into the exciting process of crafting air-dry clay ornaments, gathering all necessary equipment and supplies will ensure a smooth and enjoyable experience. Here’s a comprehensive list of what you’ll need:
Essential Equipment
- Rolling Pin or Bottle (not used for food): Crucial for rolling out your clay to an even thickness. A clean, smooth bottle can serve as an excellent alternative if a rolling pin isn’t available.
- Cookie Cutters: These are your primary tools for cutting consistent and varied ornament shapes. Collect a range of sizes and designs to spark your creativity.
- Thickness Guides (e.g., wooden rulers or similar): Essential for achieving uniform clay thickness, which is vital for even drying and preventing cracks. Place these on either side of your clay while rolling.
- Metal Straw (or an alternative like an eyeliner cap for making holes): Perfect for creating clean, precise holes at the top of your ornaments for hanging.
- Sponge and Bowl of Water: Used for dampening your fingers to smooth edges, blend seams, and keep the clay pliable without making it sticky.
- Craft Knife or Sculpting Tools (Optional): Useful for cutting intricate designs or adding fine details.
- Cutting Mat (Optional): Protects your workspace and provides a non-stick surface.
- Fine-Grit Sandpaper (Optional): For smoothing out any rough edges or imperfections after the clay has dried.
Necessary Supplies
- Air-Dry Clay: The star of your project! Choose a quality brand suitable for sculpting and detailed work.
- Natural Elements (e.g., evergreen branches, leaves, lace for texture): These items are fantastic for impressing unique textures and patterns onto your clay, adding an organic and personalized touch.
- Wax Paper or Baking Paper: Lay this down on your workspace to prevent the clay from sticking to surfaces and make it easier to lift your finished ornaments.
- Stamps or Cookie Stampers (for custom designs): Ideal for imprinting words, letters, or decorative motifs, allowing for personalization.
- Jute Twine, Ribbon, or String for Hanging: A natural and rustic choice for threading through your ornament holes.
- Acrylic Paints (Optional): For adding color and decorative flair after your ornaments have dried.
- Clear Varnish or Sealant (Optional but Recommended): To protect your finished ornaments from moisture and wear, giving them a durable finish. Choose matte, satin, or glossy based on your preference.
- Beads or Charms (Optional): For additional embellishment on your hanging string.
Here is a Step-by-Step Guide to Help You Make Clay Ornaments
Follow these detailed steps to craft your very own beautiful air-dry clay ornaments, perfect for any occasion or season.
1. Prepare Your Workspace and Materials
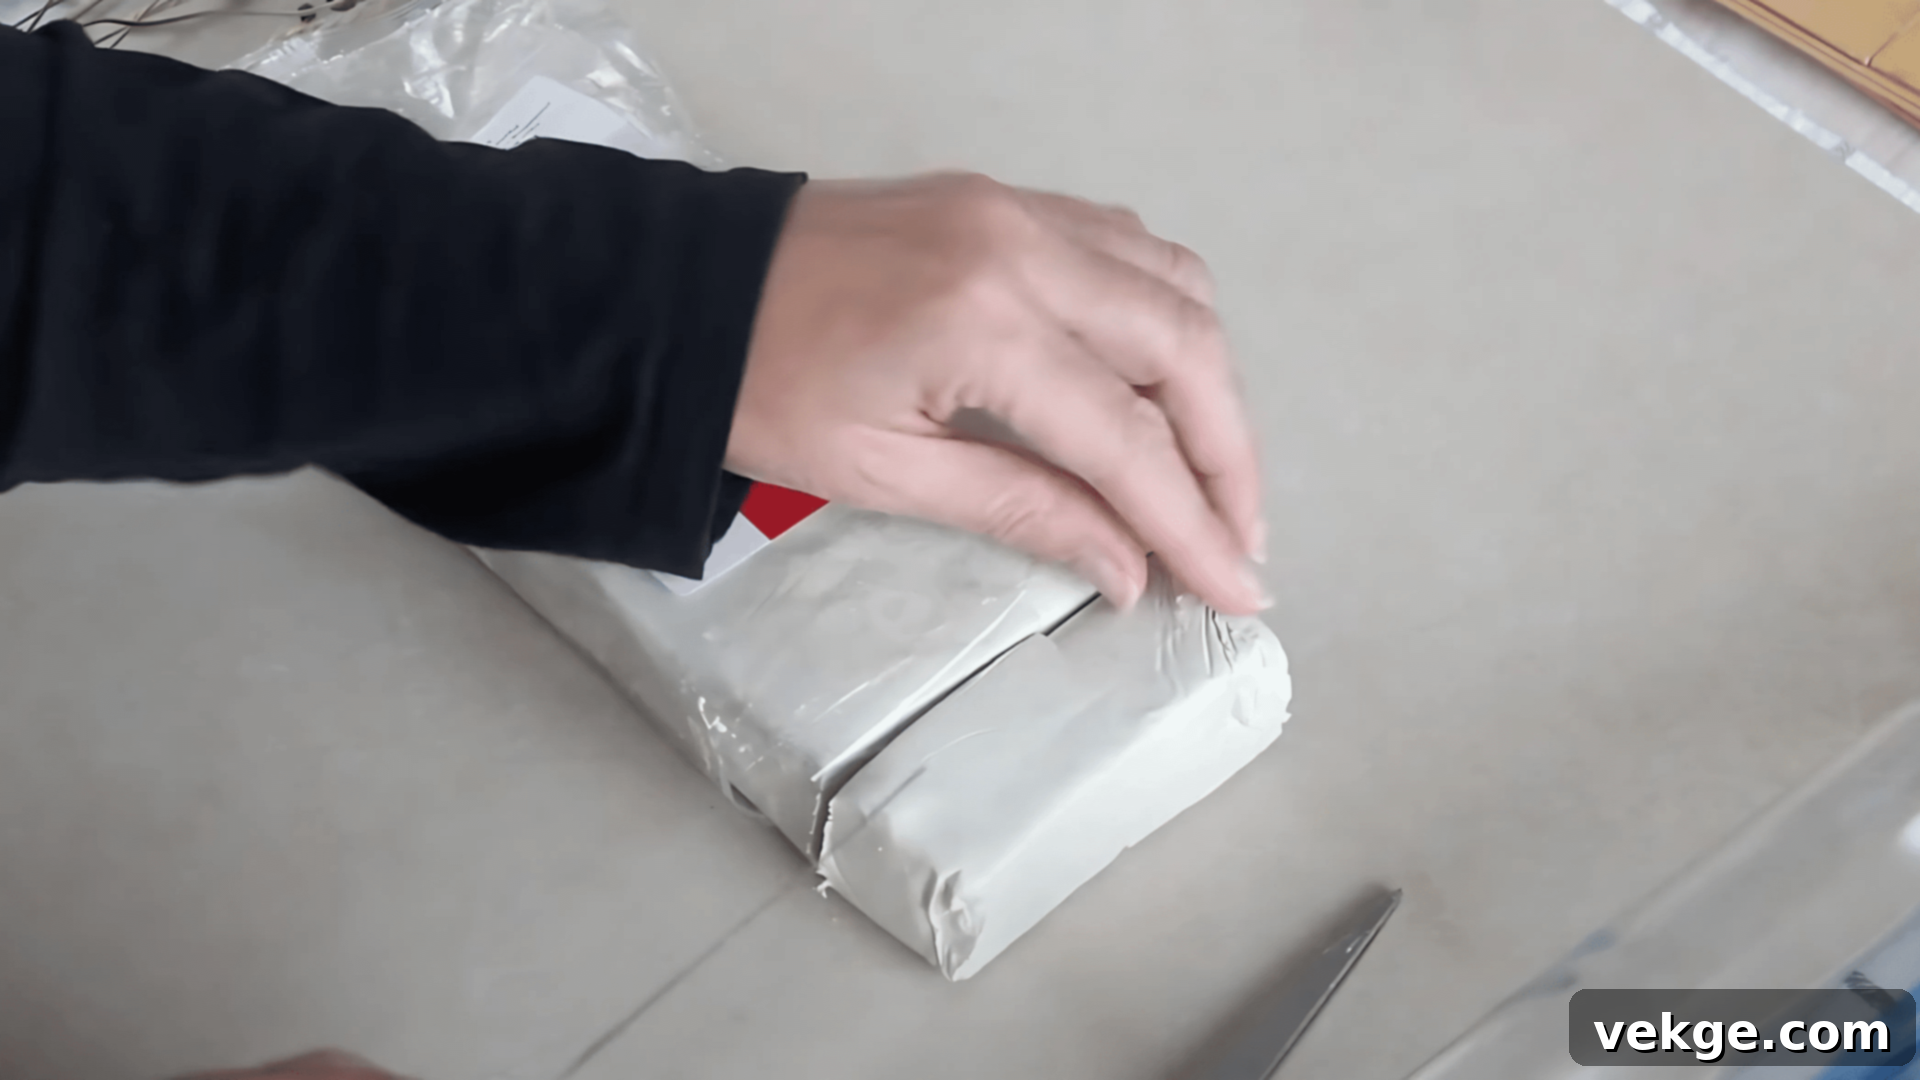
- Begin by clearing a clean, flat surface. Lay down wax paper or baking paper to create a non-stick workspace that protects your table and makes handling the clay easier.
- Gather all your tools and supplies: air-dry clay, rolling pin, cookie cutters, various stamps, natural elements for texture (like leaves or lace), a metal straw for holes, and your sponge and water bowl. Having everything within reach will streamline your crafting process.
2. Knead the Clay Thoroughly
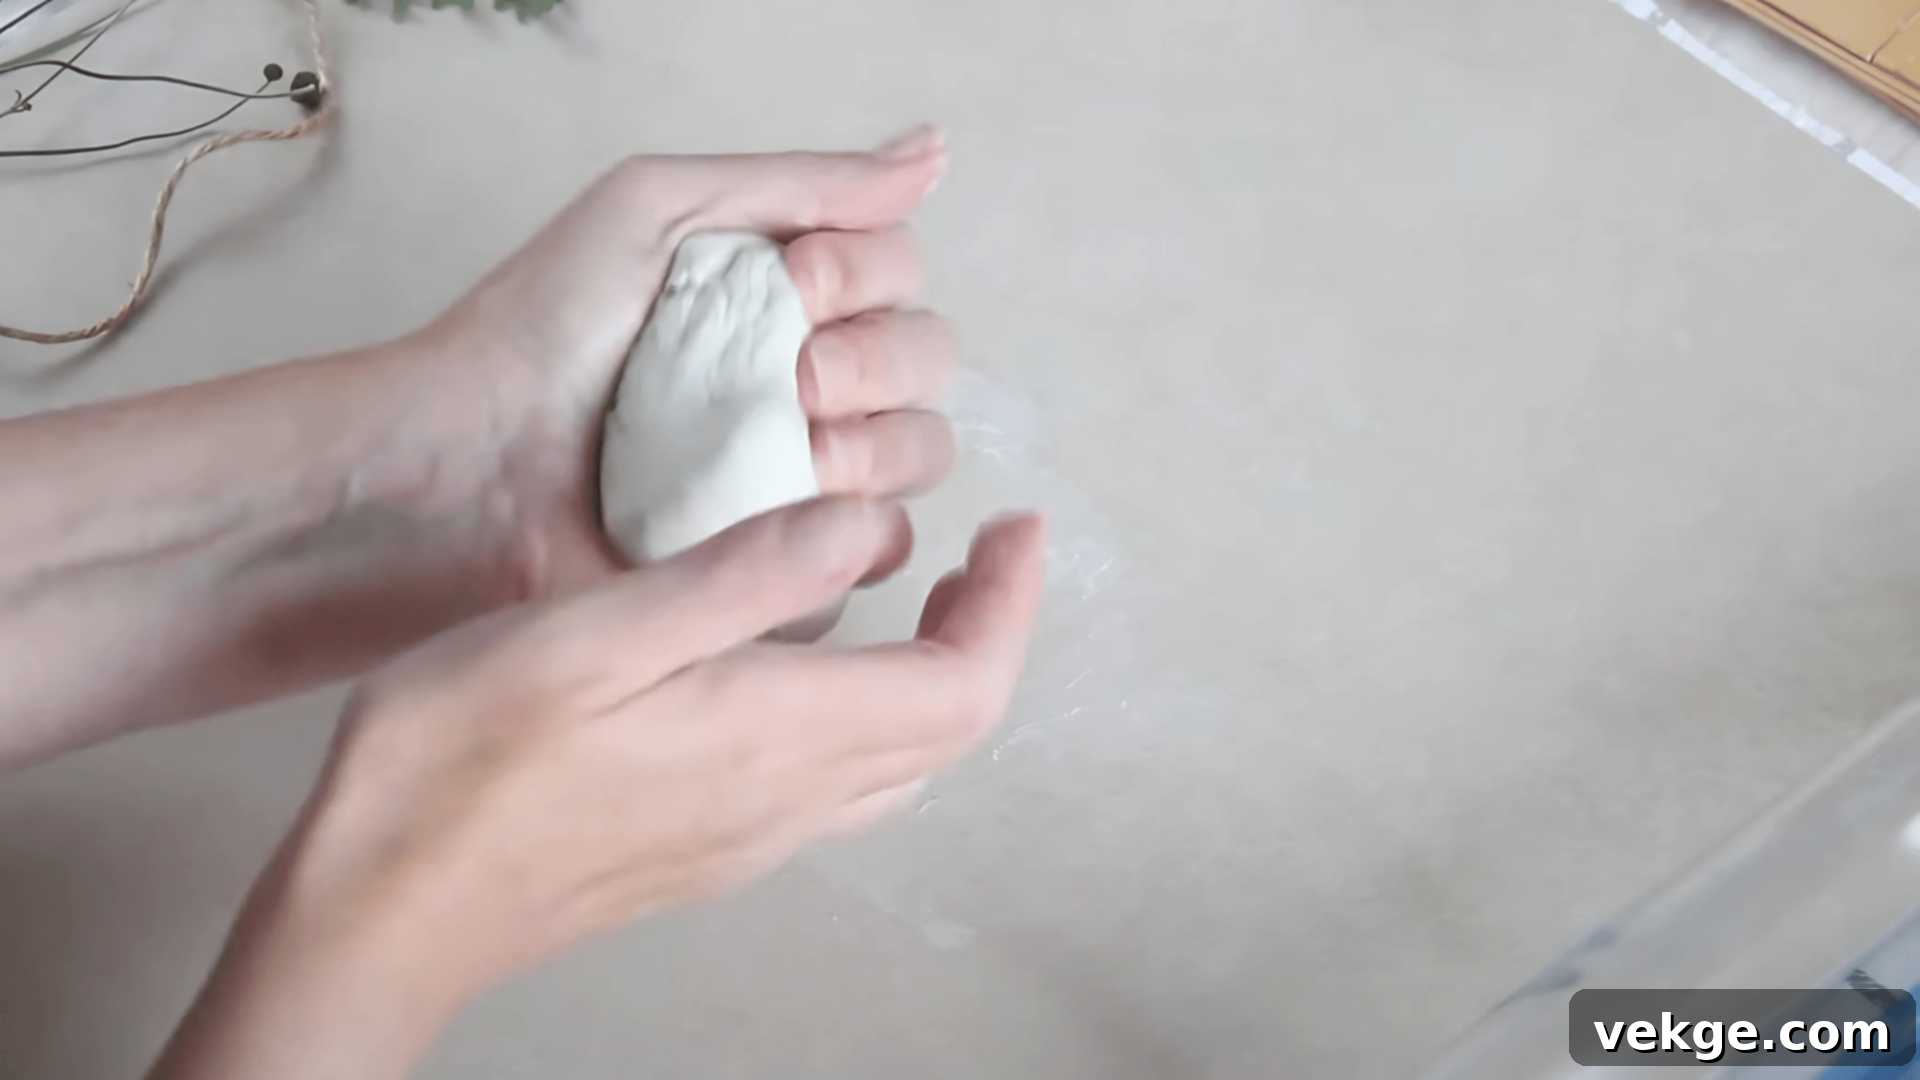
- Cut off a manageable chunk of air-dry clay from the block. Knead it vigorously with your hands for a few minutes. This process warms the clay, makes it more pliable, removes any trapped air bubbles, and ensures a consistent texture, which is crucial for preventing cracks during drying.
- Keep your wet sponge nearby. If the clay starts to feel too stiff or sticky, lightly dampen your fingers to help smooth and work it without adding excess water.
3. Roll the Clay Evenly
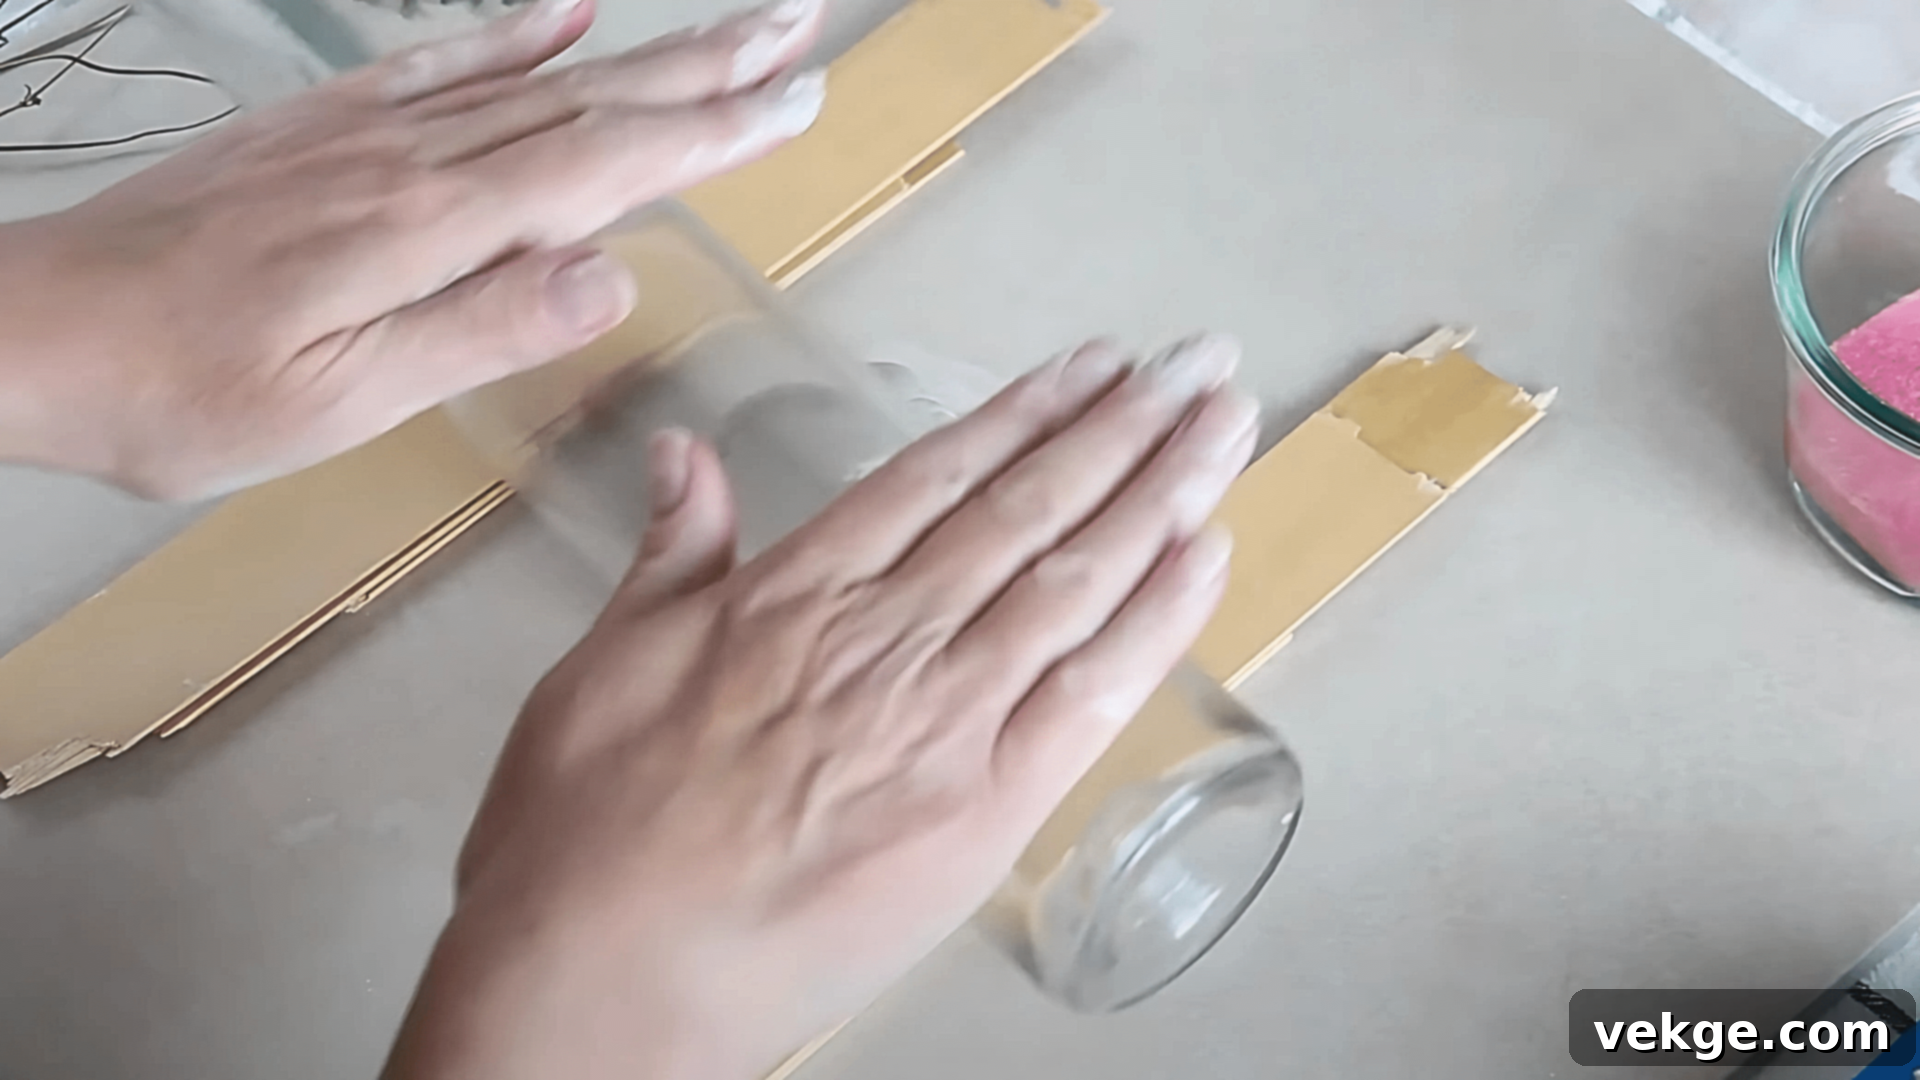
- Place your thickness guides (e.g., two wooden rulers) on either side of your clay. This is a critical step to ensure that your rolled clay has a uniform thickness throughout. Aim for a thickness between 1/8 to 1/4 inch (3-6mm) for ideal durability and drying.
- Using your rolling pin or bottle, roll the clay smoothly and evenly between the guides until it reaches the desired consistent thickness. Rotate the clay occasionally to ensure even pressure.
4. Create Patterns and Designs
- This is where your creativity truly comes to life! Carefully place natural elements like evergreen branches, individual leaves, or pieces of lace ribbon onto the rolled-out clay.
- Using your rolling pin, gently but firmly roll over these elements. Apply even pressure to imprint their intricate patterns and textures deeply into the clay surface. Experiment with different textures for varied effects.
5. Cut Out Shapes for Your Ornaments
- Once your patterns are imprinted, take your chosen cookie cutters and firmly press them into the clay to cut out your ornament shapes. Try to maximize space on your clay sheet to get as many ornaments as possible.
- Carefully remove the excess clay from around the cut shapes. This makes it easier to lift your delicate ornaments without distorting them. You can re-knead and re-roll the excess clay for more ornaments.
6. Smooth Edges and Add Details
- Dip your finger in water from your sponge and gently smooth any rough edges or imperfections on your cut-out ornaments. This step refines the look and gives your pieces a professional finish.
- If using stamps or cookie stampers, carefully press them onto the clay to add custom lettering, words (like “Joy” or “Peace”), or decorative motifs. Remember that if you’re stamping letters, they need to be pressed in reverse to appear correctly on the final ornament.
7. Make Holes for Hanging
- Using a metal straw or a similar small, cylindrical object, create a small, clean hole at the top of each ornament. Ensure the hole is centered and far enough from the edge to prevent tearing when hung, but not so far that it’s difficult to thread string through.
- For cleaner cuts and to prevent the clay from sticking inside the straw, dip the straw in water before pressing it through the clay. Twist gently as you pull it out.
8. Dry and Finish Your Ornaments
- Carefully transfer your freshly shaped ornaments to a clean, flat surface covered with wax paper or a drying rack (for maximum airflow). Allow them to dry completely in a cool, dry, well-ventilated area, away from direct sunlight or heat sources. This can take anywhere from 24 to 72 hours, depending on thickness and humidity.
- Once fully dry, your ornaments will be firm and lightweight. Now, you can thread jute twine, string, or ribbon through the holes for hanging.
- Optional: Decorate and Seal: If desired, paint your ornaments with acrylic paints for added color. Once the paint is dry, apply a clear varnish or sealant to protect them, enhance their durability, and give them a finished look (matte, satin, or glossy). These finished ornaments can also double as charming gift tags or unique table place markers.
Here is a YouTube video for detailed instructions:
7 Creative Design Ideas and Inspiration for Your Air-Dry Clay Ornaments
Let your imagination soar with these seven distinct design ideas for air-dry clay ornaments. Use them as a springboard for your own creativity, adapting them to suit your personal style and the occasion.
1. Pressed Evergreen Ornament
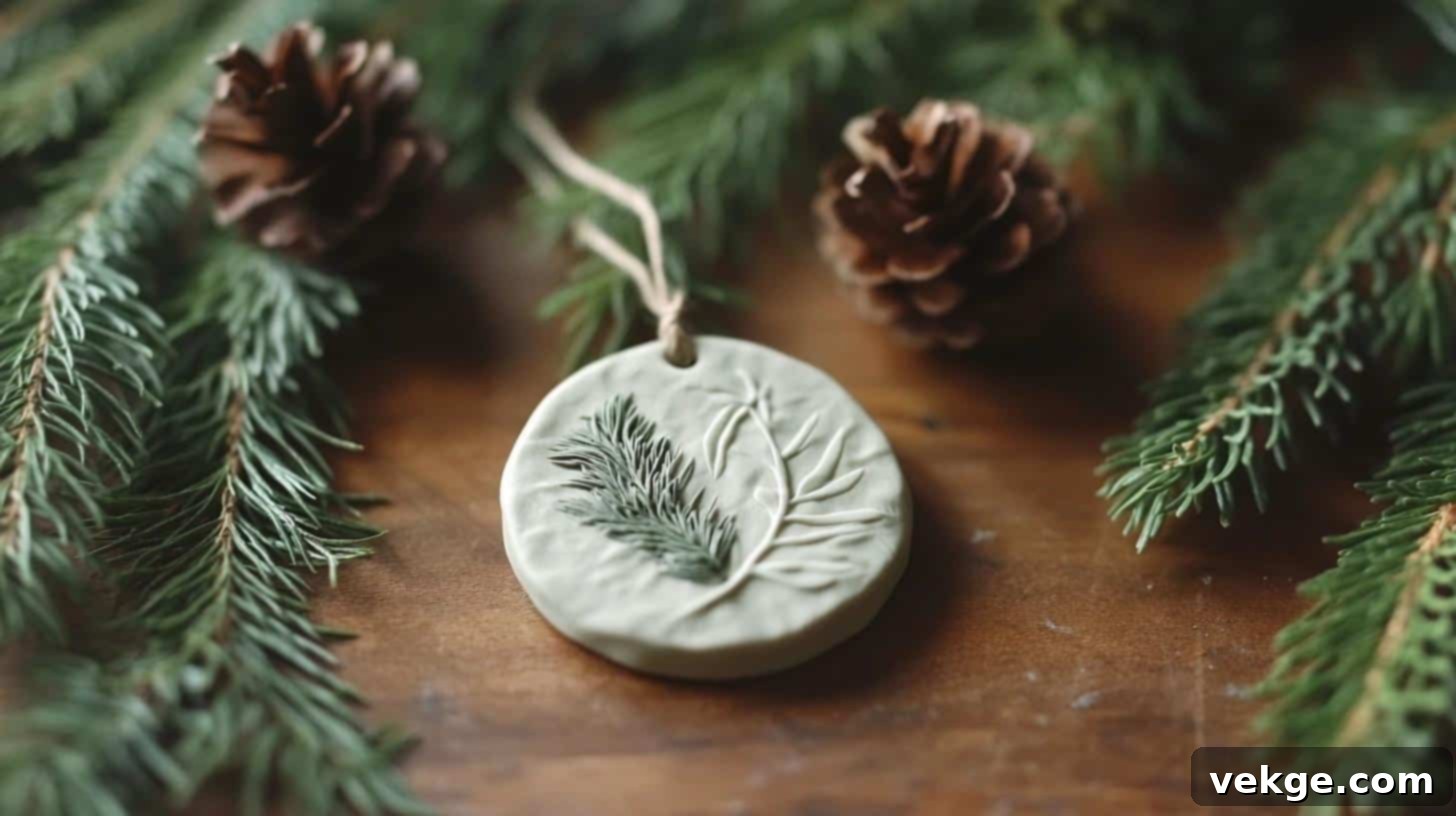
Capture the beauty of nature by pressing small evergreen branches, pine needles, or delicate leaves into your rolled clay. This technique creates stunning natural, textured patterns that evoke a rustic and botanical feel, making them perfect for holiday decorations or a woodland-themed aesthetic. Experiment with different types of foliage for varied impressions.
Materials Required: Evergreen branches or leaves, rolling pin, air-dry clay, cookie cutter.
2. Lace-Imprinted Ornament
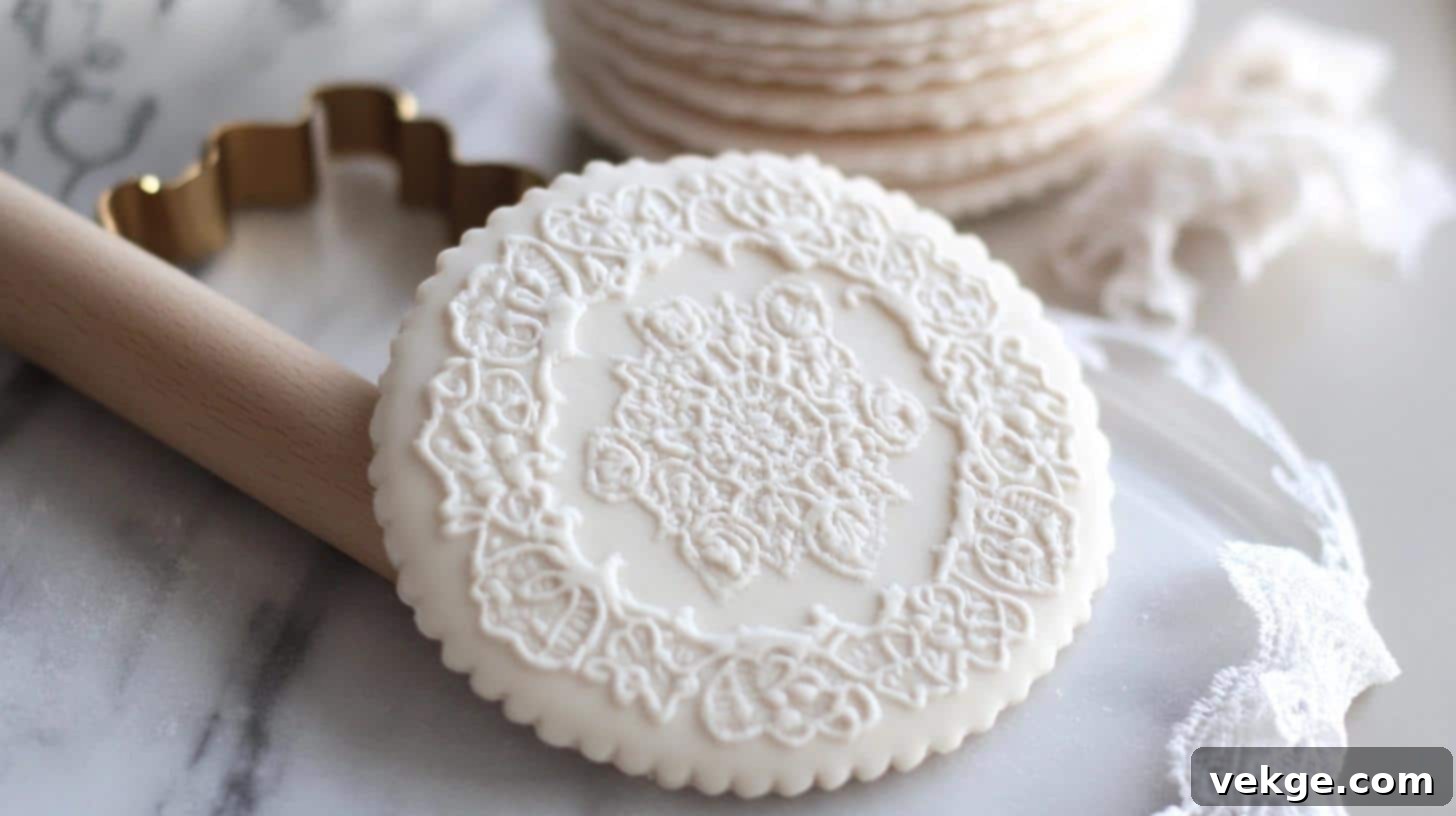
Elevate your ornaments with an elegant, delicate touch. Lay a piece of intricate lace fabric over the rolled clay and gently press it down with a rolling pin to transfer its fine, detailed pattern. This design creates a sophisticated and vintage-style ornament, ideal for elegant home decor or as part of a classic wedding theme.
Materials Required: Lace fabric, rolling pin, air-dry clay, cookie cutter.
3. Stamped Word Ornament

Personalize your creations by using letter stamps to imprint meaningful words or phrases directly into the clay. Words like “Joy,” “Peace,” “Love,” or family names add a heartfelt and custom touch, making them ideal for personalized gifts, festive holiday ornaments, or unique placeholders for special events.
Materials Required: Letter stamps (alphabet sets), rolling pin, air-dry clay, cookie cutter.
4. Snowflake Cookie Cutter Ornament
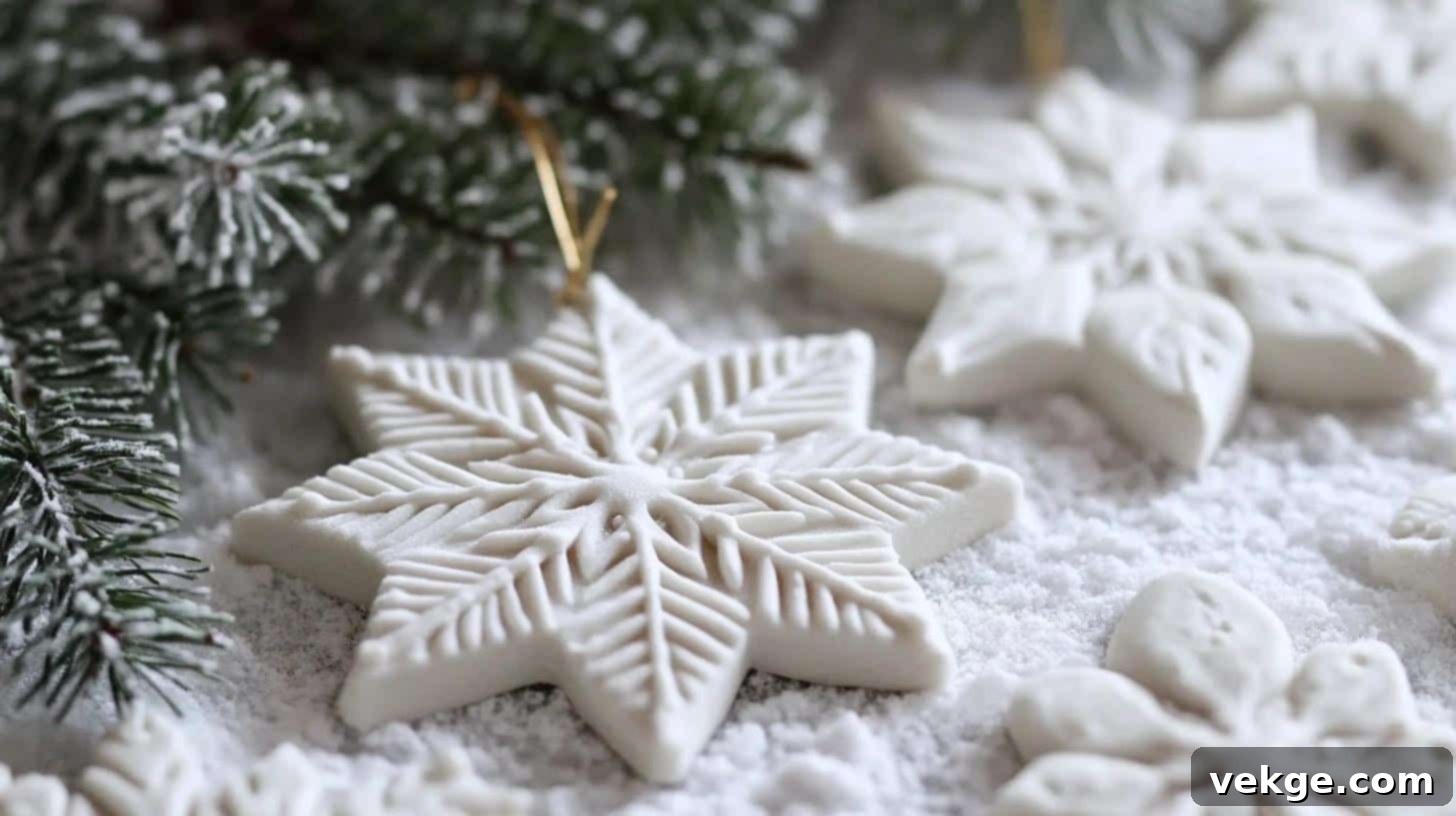
Embrace the magic of winter by cutting out ornaments in various snowflake shapes using specialized cookie cutters. Enhance the design by adding additional texture with small sculpting tools or stamps to create a truly wintry, frosted, or intricately detailed look. These are perfect for Christmas trees or winter wonderland decor.
Materials Required: Snowflake cookie cutter, small texture tools or stamps, air-dry clay.
5. Embossed Rolling Pin Ornament
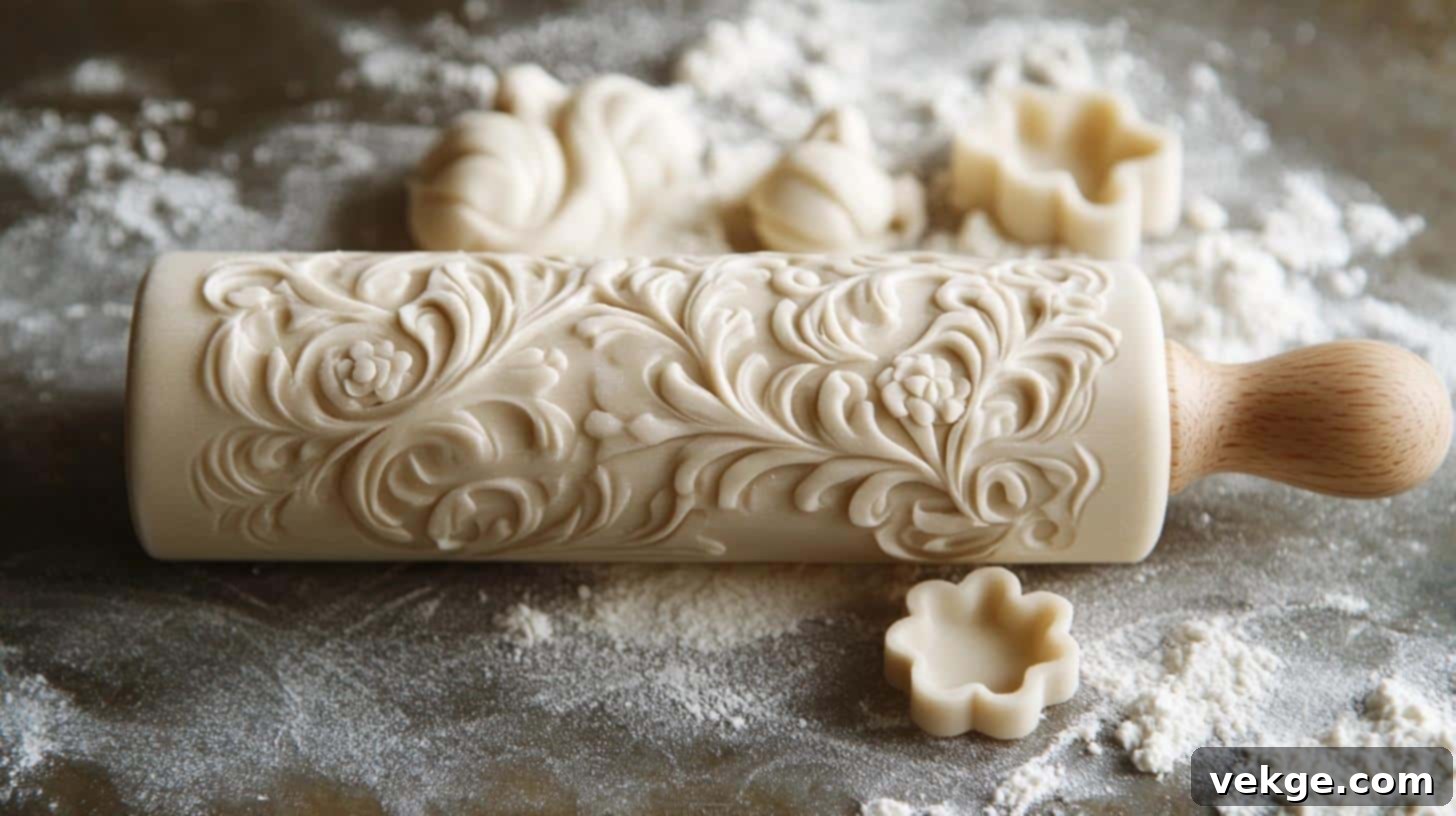
Achieve complex and repeating decorative patterns with ease by using an embossed rolling pin. Simply roll it over your clay surface to create a beautiful, continuous texture. This technique results in elegant, sophisticated designs suitable for any occasion, from festive holidays to everyday home accents.
Materials Required: Embossed rolling pin, air-dry clay, cookie cutter.
6. Hand-Drawn Pattern Ornament
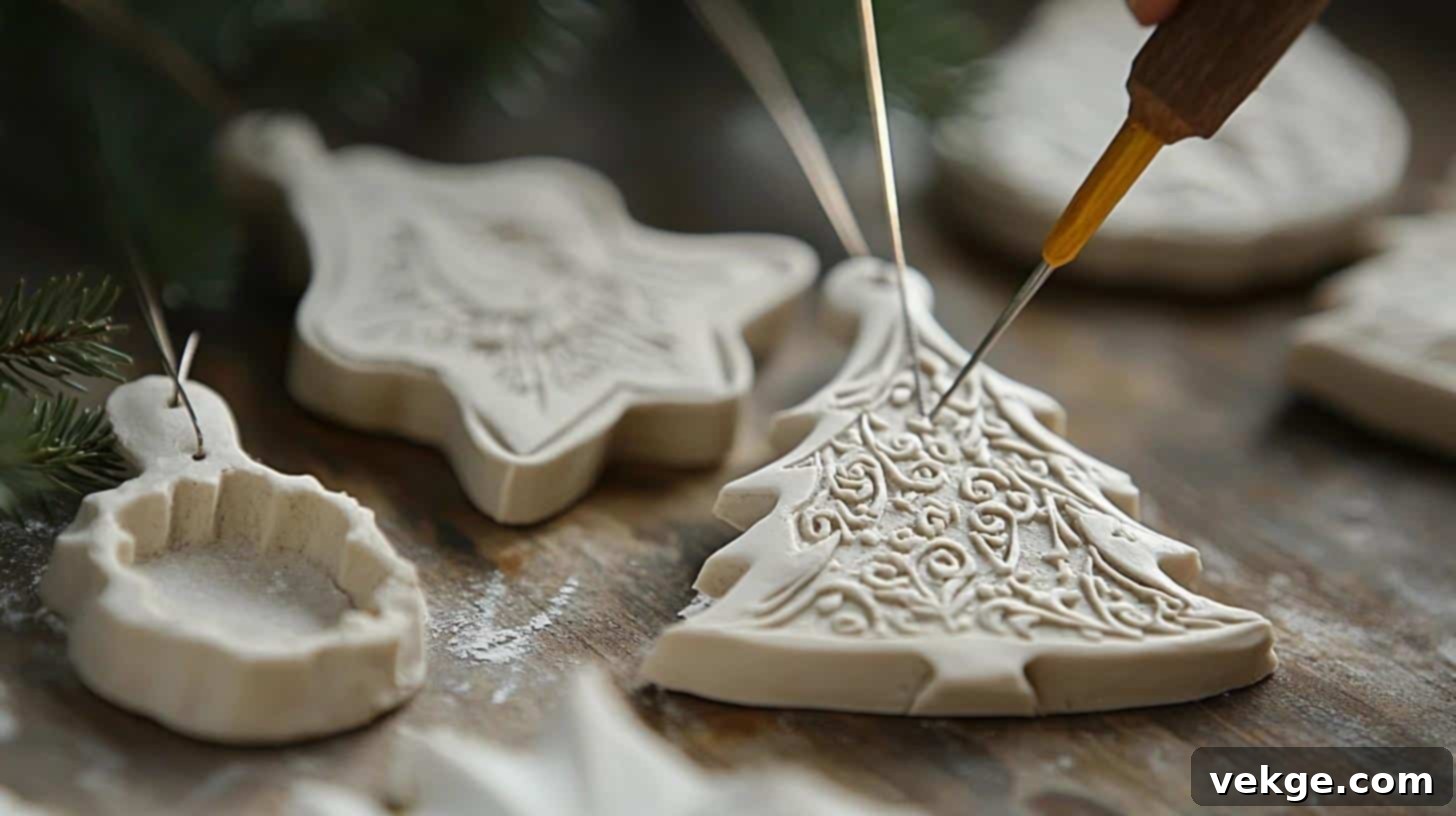
Unleash your artistic side by using a fine-tipped tool, like a needle or toothpick, to etch simple drawings, intricate mandalas, or abstract designs directly into the soft clay. This method adds a truly personal, artistic, and unique touch to each ornament, making every piece one-of-a-kind. These are excellent for showcasing your freehand drawing skills.
Materials Required: Needle or toothpick, air-dry clay, cookie cutter.
7. Pressed Flower Ornament
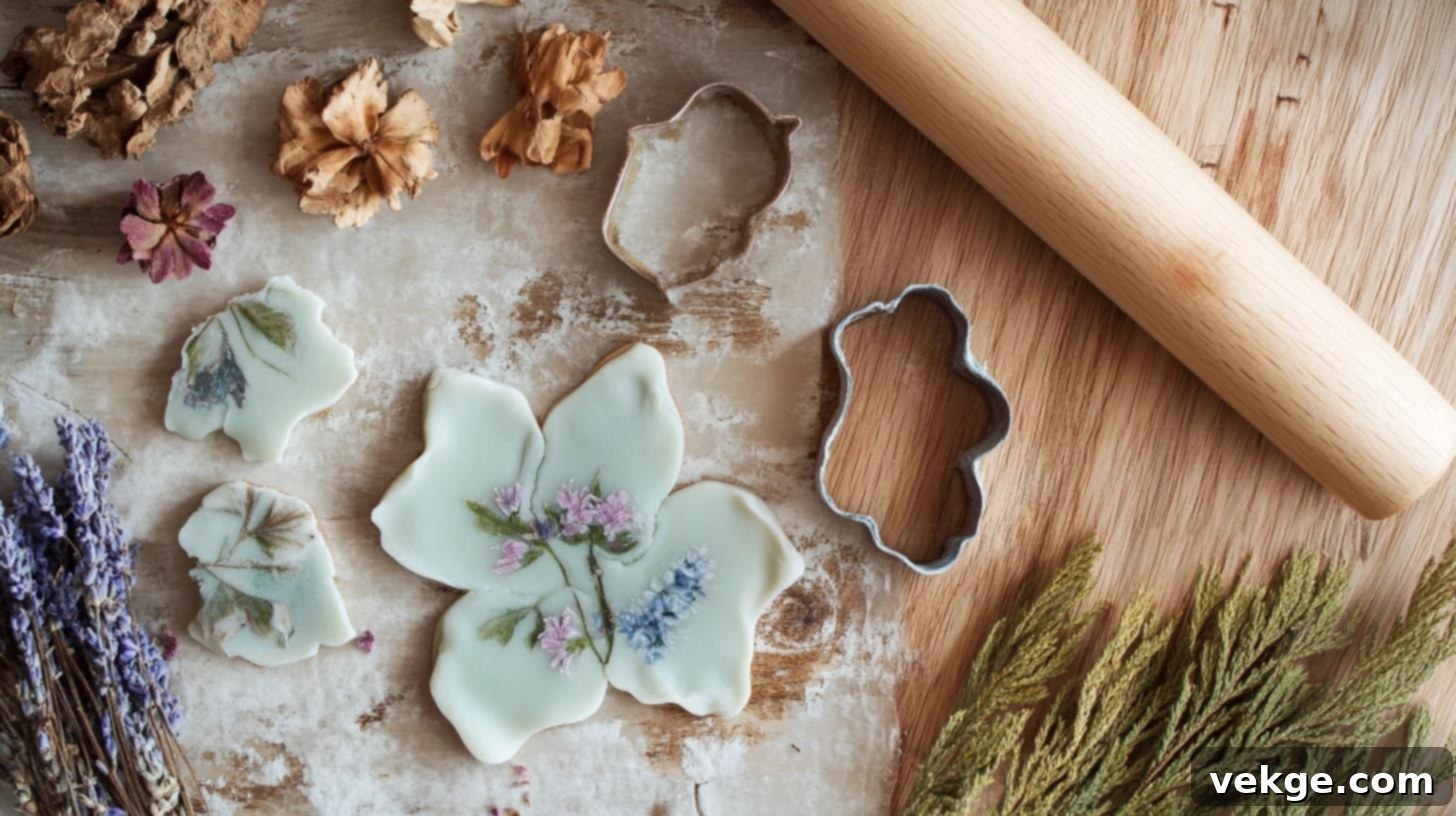
Create enchanting, nature-inspired ornaments by gently pressing dried flowers, petals, or delicate leaves into the surface of your clay. The organic shapes and soft colors of the botanical elements will leave beautiful impressions, resulting in whimsical, romantic ornaments with a natural, earthy charm. Ensure flowers are fully dried and flat for the best impression.
Materials Required: Dried flowers or petals, rolling pin, air-dry clay, cookie cutter.
Bonus Idea: Marbled Clay Ornament
For a truly unique look, gently swirl two different colors of air-dry clay together (without fully mixing) before rolling it out. This creates a beautiful marbled effect, giving each ornament a distinct and artistic pattern. You can then cut out shapes and add further embellishments.
How to Properly Dry Air-Dry Clay Decorations
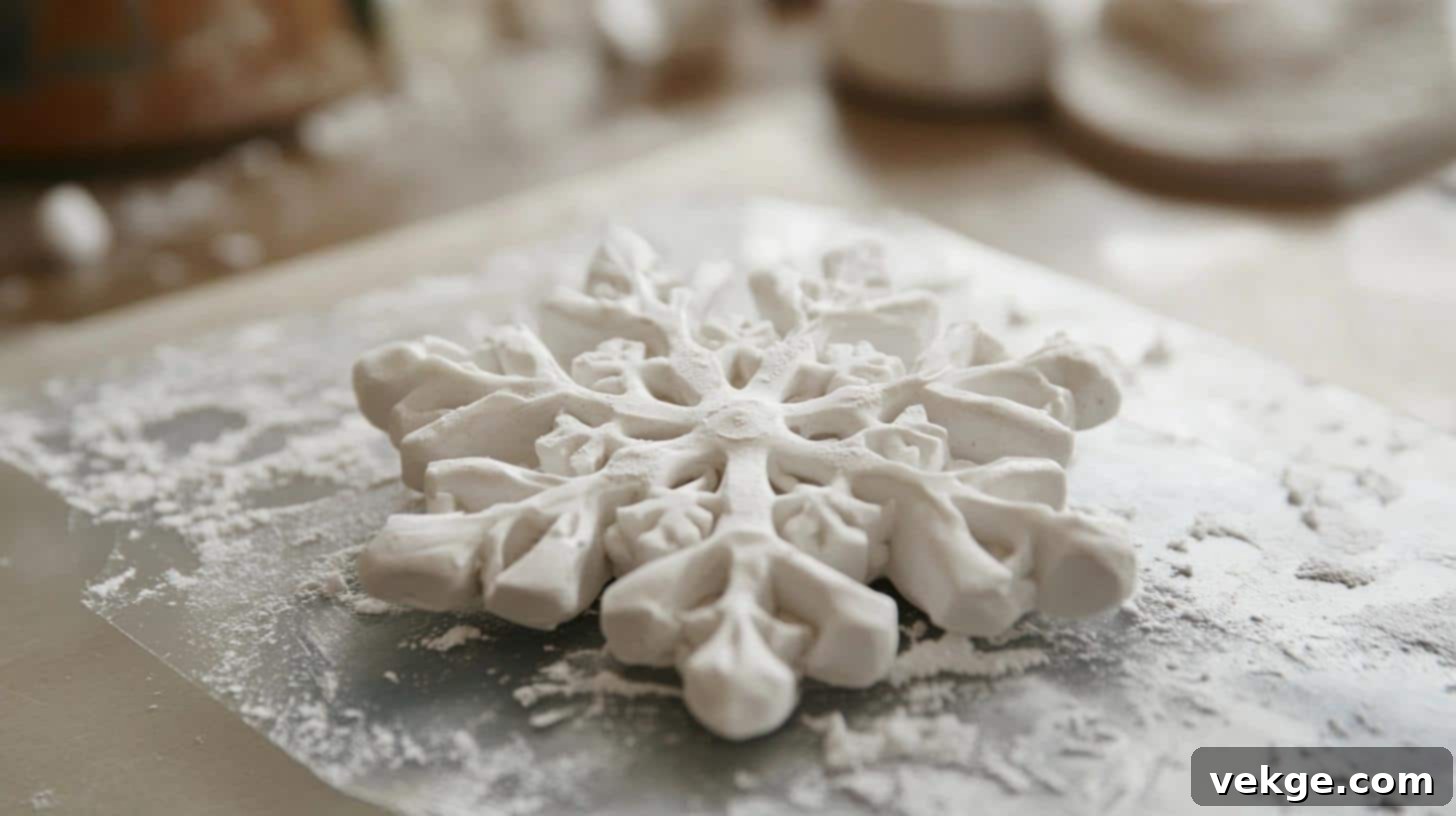
Correctly drying your air-dry clay decorations is paramount for achieving optimal results and preventing common issues like cracks, warping, or crumbling. Following the right techniques ensures that your handmade creations dry evenly, maintain their intended shape, and become beautiful, long-lasting pieces.
1. Dry in a Cool, Well-Ventilated Area
The ideal environment for drying air-dry clay is a cool, dry, and consistently well-ventilated space. Place your decorations away from any direct sunlight, heat sources (such as radiators, ovens, or heating vents), or strong drafts. Rapid or uneven drying, caused by these conditions, is the primary culprit behind cracks and warping. A slow, steady evaporation of moisture allows the clay to harden uniformly without stressing its structure.
2. Flip Decorations Occasionally
To promote even drying on all surfaces, especially for thicker pieces, gently flip your decorations over every few hours. This ensures that both sides are exposed to the air equally, preventing one side from drying faster than the other. Uneven drying is a common cause of warping, where the clay bends or curls as it dries. Flipping helps maintain the piece’s flat or intended shape.
3. Allow Ample Time for Drying
Patience is a virtue when working with air-dry clay. Depending on the thickness of your ornaments, complete drying can take anywhere from 24 to 72 hours, or even longer in very humid conditions. Do not rush this process. Test for dryness by gently tapping the piece – it should sound solid, feel lightweight, and be firm to the touch. Ensure there are no cool spots, which indicate residual moisture.
4. Use Wax Paper or a Drying Rack to Prevent Sticking
Always place your ornaments on a sheet of wax paper, baking paper, or a non-stick drying rack while they dry. This prevents them from sticking to the surface beneath, which could damage them when lifted. A drying rack is particularly beneficial as it allows air to circulate underneath the pieces, promoting faster and more even drying from all angles.
Dealing with Minor Cracks
If small surface cracks appear during the drying process (often due to uneven thickness or too-rapid drying), you might be able to repair them. While the clay is still somewhat pliable, mix a tiny amount of clay with a drop or two of water to create a thick slurry. Carefully use a toothpick or small tool to fill the cracks with this mixture, then smooth it over with a damp finger. Allow to dry completely. For major cracks or breaks, especially after full drying, strong adhesive might be needed, or you might consider embracing the “rustic” look.
How to Store Air-Dry Clay Without Drying It Out
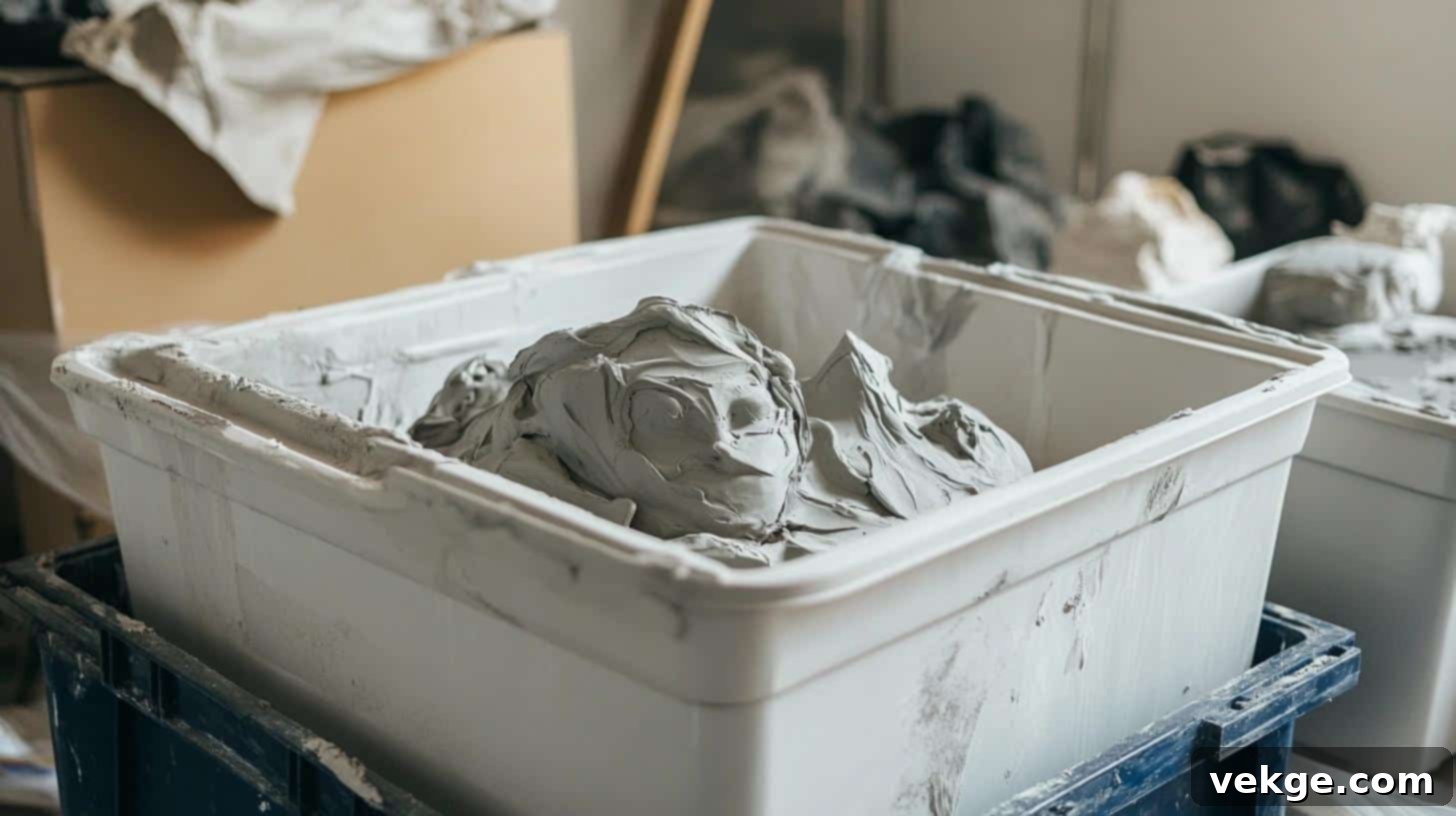
Preserving the pliability and freshness of unused air-dry clay is paramount for maintaining its usefulness and extending its shelf life. With the right storage techniques, you can keep your clay soft, workable, and ready for your next creative project, ensuring it’s always available when inspiration strikes.
1. Wrap Tightly in Plastic
The most crucial step is to prevent air exposure. Take the unused clay and wrap it as tightly as possible in plastic wrap (like cling film) or a heavy-duty, resealable plastic bag. The goal is to eliminate all air pockets. Squeeze out every bit of air from the bag before sealing it. For extra protection, especially if you plan to store it for a long time, consider double-wrapping the clay with multiple layers of plastic wrap or placing a tightly wrapped piece inside a second resealable bag.
2. Use an Airtight Container
After wrapping the clay tightly in plastic, place it inside an additional airtight container or a sealed plastic tub. This provides a secondary barrier against air exposure and helps maintain a consistent humidity level around the clay. Choose a container that is only slightly larger than your wrapped clay to minimize the amount of air trapped inside. This double-layer approach significantly enhances the clay’s shelf life.
3. Add a Damp Cloth (Optional, for long-term storage)
For prolonged storage, you can place a slightly damp (not wet!) cloth or a piece of paper towel inside the airtight container along with your wrapped clay. Ensure the cloth is damp enough to provide a little humidity but not so wet that it creates condensation or directly saturates the clay (which could lead to mold). The cloth should not directly touch the clay. Replace the damp cloth regularly, every few weeks, to prevent mold growth and maintain consistent humidity.
Rehydrating Partially Dried Clay
If your clay has become slightly stiff but isn’t fully hardened, it might be possible to rehydrate it. Lightly mist the clay with water from a spray bottle, wrap it tightly, and let it sit for a few hours or overnight. Then, knead it thoroughly. Repeat if necessary, being careful not to make the clay too soggy. This technique works best for clay that is just starting to dry out, not for fully hardened pieces.
Conclusion
As we conclude our comprehensive guide into the wonderful world of air-dry clay crafting, we hope you feel not only inspired but also fully equipped to embark on your own creative adventures. From mastering the proper techniques for storing your clay to ensure its pliability, to meticulously drying your finished creations for optimal longevity, you now possess a wealth of knowledge to make the most of this remarkably versatile medium.
The design ideas we’ve shared are merely a starting point; a catalyst to ignite your imagination. We wholeheartedly encourage you to let your creativity run wild, experimenting with textures, colors, and forms to see where your artistic instincts lead you. Remember, working with air-dry clay is a deeply satisfying process that transcends just the final product; it’s about enjoying the mindful, therapeutic act of creating something truly unique with your own hands.
So, gather your materials, get your hands wonderfully messy, and transform your imaginative ideas into tangible beauty. Who knows? Your next air-dry clay project might evolve into a cherished keepsake, a thoughtful handmade gift, or even a stunning piece of home decor that brings joy for years to come. The possibilities are as limitless as your creativity!
FAQ (Frequently Asked Questions)
How Durable are Air Dry Clay Ornaments?
When properly made with uniform thickness and thoroughly dried, air-dry clay ornaments are moderately durable. They can withstand typical handling and minor bumps, but they are not as strong as kiln-fired ceramics and can break if dropped from a height or subjected to significant impact. Sealing them with a good quality varnish or sealant significantly increases their durability, adds a protective layer against moisture, and makes them more resilient to everyday wear and tear.
Can Airdry Clay Ornaments be Used Outdoors?
Air-dry clay ornaments are generally not recommended for long-term outdoor use. Their porous nature makes them highly vulnerable to moisture, humidity, rain, and extreme temperature changes, which can cause them to soften, disintegrate, or crack. However, they can withstand very limited outdoor exposure if they are meticulously sealed with multiple layers of a high-quality, waterproof, and UV-resistant outdoor varnish. Even then, it’s best to place them in a sheltered area, away from direct elements, and bring them indoors during harsh weather.
How to Fix Cracks or Breaks in Ornaments?
For Small Cracks (before fully dry): If you notice small cracks appearing while the clay is still somewhat pliable, you can often repair them. Mix a small amount of fresh clay with a tiny drop of water to create a smooth, thick paste or slurry. Carefully apply this mixture into the cracks with a toothpick or small tool, then smooth the surface with a damp finger. Allow it to dry completely.
For Breaks (after fully dry): For completely broken ornaments, a strong adhesive is usually required. Super glue or a two-part epoxy glue works well for rejoining pieces. Apply the glue sparingly to the broken edges, press the pieces firmly together, and hold until set. Once the glue is completely dry, you can smooth any visible seams with fine-grit sandpaper (if safe to do so) and then touch up with paint and sealant to blend the repair.
Can I Paint Air-Dry Clay Ornaments?
Yes, absolutely! Air-dry clay ornaments are perfect for painting once they are completely dry. Acrylic paints are highly recommended as they adhere well, offer vibrant colors, and dry quickly. You can use various techniques such as solid colors, intricate patterns, or even a wash for a translucent effect. After painting, always apply a clear sealant to protect the paint and the clay.
Is Air-Dry Clay Food Safe?
Generally, air-dry clay is not considered food-safe. While some food-safe sealants exist, the porous nature of air-dry clay can still harbor bacteria and it’s not designed to withstand repeated washing or contact with food. It’s best to reserve your air-dry clay creations for decorative purposes only, such as ornaments, sculptures, or display pieces, and avoid using them for anything that will come into direct contact with food or beverages.
