DIY Concrete Mailbox Post: A Durable & Stylish Solution for Your Home
Are you searching for a resilient, low-maintenance, and uniquely customized alternative to traditional wooden mailbox posts? Look no further than a concrete mailbox post! Building your own concrete post not only provides superior durability but also adds a distinctive touch to your home’s curb appeal. Unlike wood, which is susceptible to rot, warping, and pest damage, concrete offers unmatched strength and stability, enduring through all seasons with minimal upkeep.
This comprehensive guide will walk you through every essential step of creating a solid and secure concrete mailbox post. From gathering the right materials to understanding critical legal regulations and troubleshooting common issues, we’ll equip you with the knowledge to undertake this rewarding home improvement project. Whether you’re replacing an old, dilapidated post or starting from scratch, a DIY concrete mailbox post promises a lasting, reliable, and aesthetically pleasing solution for years to come.
Essential Materials for Your Concrete Mailbox Post Project
Before embarking on your concrete mailbox post construction, it’s crucial to have all necessary materials readily available. This proactive approach ensures a seamless workflow, preventing interruptions and making the entire process more efficient. Here’s a detailed list of what you’ll need:
- Concrete Mix: A high-strength, general-purpose concrete mix is ideal. Consider quick-setting options if you want a faster curing time, but ensure it’s suitable for outdoor, structural applications.
- Rebar or Steel Reinforcement (Highly Recommended): For maximum strength and crack prevention, especially in areas with ground movement or harsh weather, rebar significantly enhances the post’s structural integrity. Typically, 1/2-inch or 3/8-inch rebar is sufficient.
- Mold: This can be constructed from plywood, lumber, or even a sturdy plastic form. The mold will define the shape and dimensions of your post. Ensure it’s robust enough to withstand the weight and pressure of wet concrete.
- PVC Pipe for Mailbox Holder: A section of PVC pipe (e.g., 2-4 inches in diameter) embedded in the concrete serves as a clean, secure sleeve for attaching your mailbox. This allows for easy mailbox replacement in the future. Alternatively, you can use anchor bolts or other hardware.
- Water: Essential for mixing the concrete. Have a reliable water source nearby.
- Trowel and Floats: Used for smoothing and finishing the concrete surface, giving it a professional look.
- Concrete Mixer (Optional but Recommended for Larger Batches): For smaller posts, hand-mixing in a wheelbarrow might suffice, but a concrete mixer ensures a more consistent mix and saves significant labor.
- Measuring Tape and Level: Critical for accurate measurements and ensuring your post is perfectly plumb and level.
- Safety Gear: Always wear gloves to protect your hands from concrete irritation, and safety goggles to shield your eyes from splashes or debris. A dust mask is also advisable when handling dry concrete mix.
- Shovel and Post-Hole Digger: For excavating the foundation hole.
- Wheelbarrow or Mixing Tub: For mixing concrete if not using a dedicated mixer.
- Stakes and String Line: For marking the exact location and ensuring proper alignment.
Gathering all these items before you start will allow your project to progress smoothly and without unexpected delays.
Step-by-Step Instructions: Building Your Concrete Mailbox Post

1. Preparing the Site
- Choose the Location: Select a suitable spot for your mailbox post. Ensure it is easily accessible for postal workers and complies with all local regulations regarding proximity to the road, driveways, and sidewalks. Before digging, always call 811 (or your local utility locate service) to identify and mark any underground utility lines to prevent accidental damage.
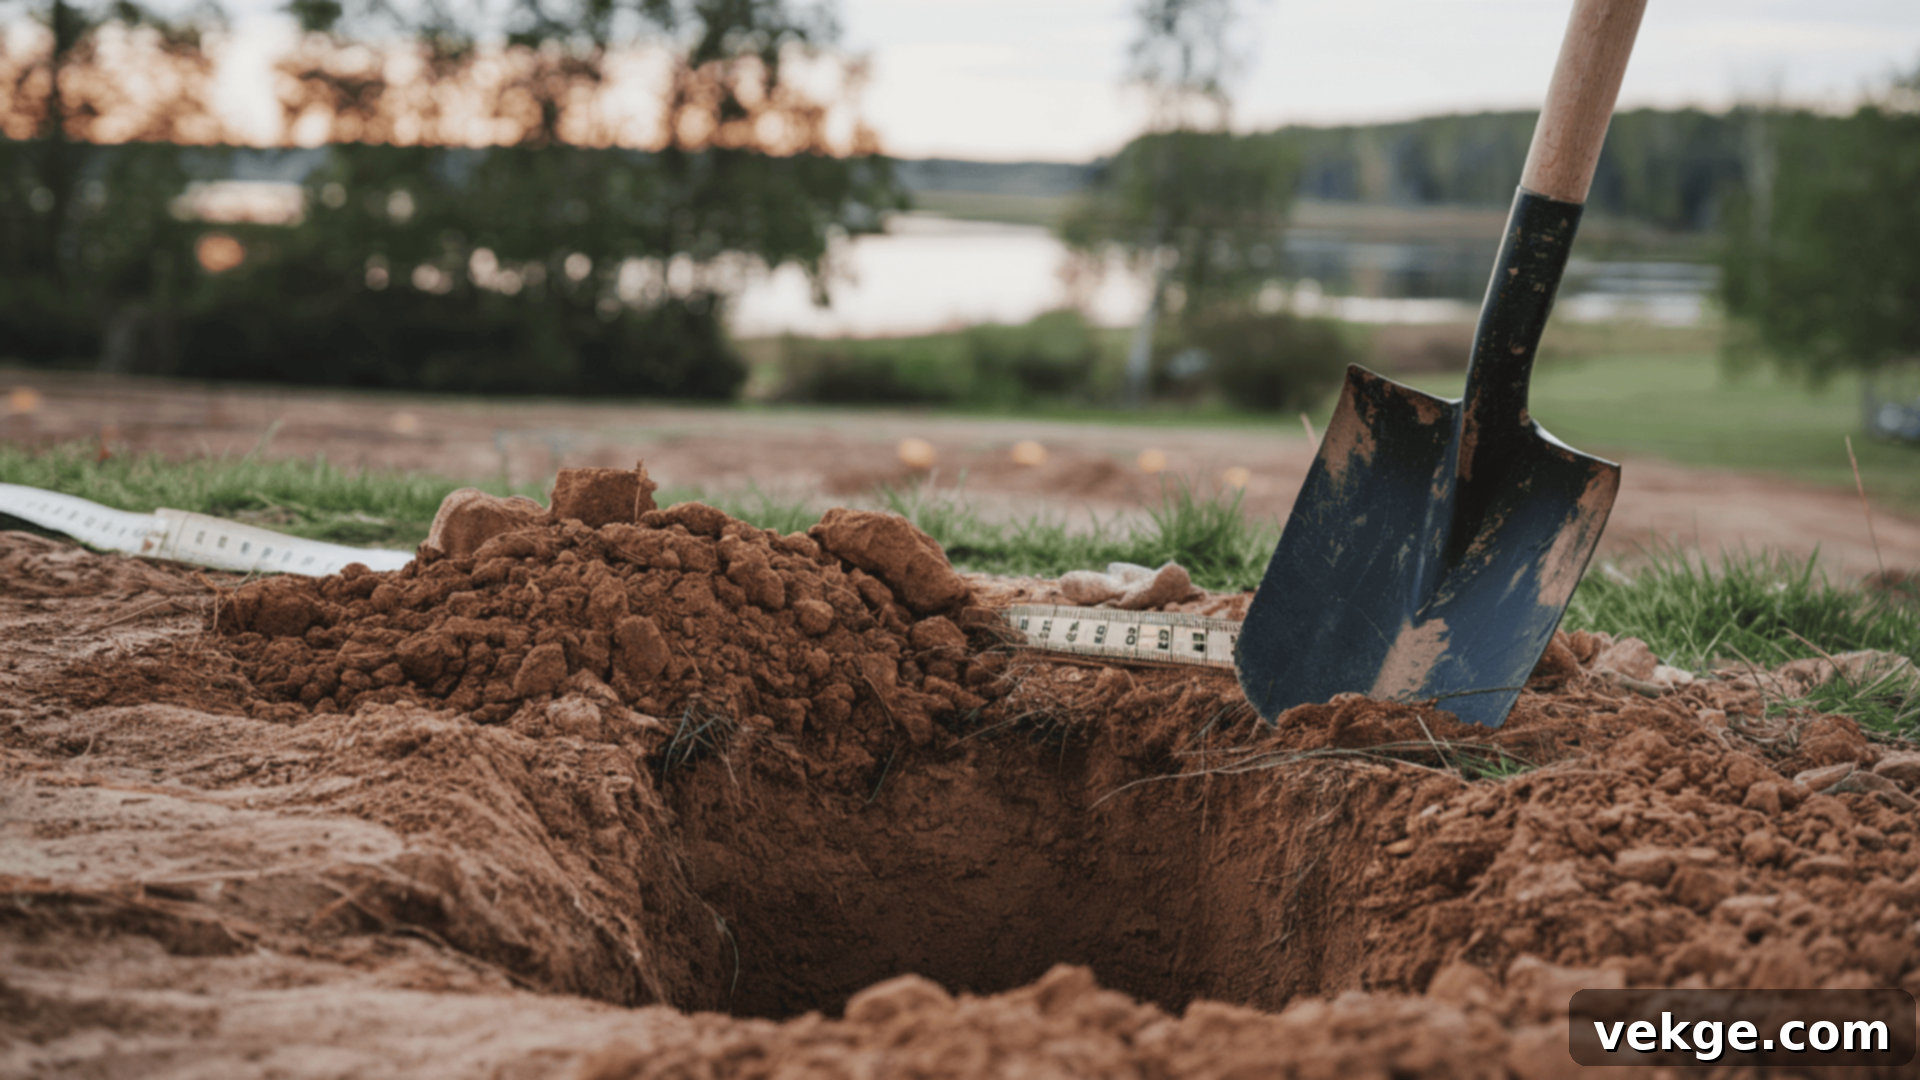
- Dig the Foundation Hole: Using a shovel or post-hole digger, excavate a hole large enough to accommodate the base of your mold and provide ample space for the concrete footer. For optimal stability, the hole should typically be at least 24-30 inches deep and wider than your post’s base (e.g., 12-18 inches in diameter). A deeper hole provides greater resistance against frost heave and ensures long-term stability.
2. Creating the Mold
The mold dictates the final shape and dimensions of your concrete post. Precision here is key for a professional finish.
- Construct or Purchase Your Mold: You can build a sturdy mold from plywood or 2×4 lumber. For a rectangular post, create a simple box form. For a tapered post, angle the sides slightly. Ensure the interior dimensions match your desired post size (e.g., 6×6 inches or 8×8 inches). Alternatively, pre-made plastic or cardboard tube forms are available for round posts.
- Ensure Sturdiness: The mold must be robustly constructed and securely braced to withstand the hydrostatic pressure of the wet concrete. Use screws and braces to prevent bowing or collapse during the pouring and setting phases. Apply a release agent (like vegetable oil or form-release spray) to the inside surfaces of your mold to facilitate easier removal once the concrete has cured.
3. Reinforcement and PVC Pipe Installation
Adding reinforcement is a critical step for creating a truly durable concrete mailbox post that resists cracking and impact.
- Incorporate Rebar for Strength: For superior strength and crack resistance, especially if your area experiences harsh weather conditions or ground movement, embed rebar within the concrete. Cut two or four pieces of rebar to the appropriate length (slightly shorter than the post’s height) and position them vertically within the mold, ensuring they are suspended off the bottom by about 2-3 inches and evenly spaced. Use rebar chairs or small stones to keep them centered and clear of the mold’s sides.
- Position the PVC Pipe (or Anchoring Hardware): Carefully place the PVC pipe (or your chosen mailbox anchoring system) centrally within the mold. This pipe will serve as the sleeve for your mailbox mount. Ensure it’s perfectly plumb and extends to the desired height for your mailbox. Secure it in place using temporary bracing or wires attached to the mold to prevent it from shifting during concrete pouring.
4. Mixing and Pouring Concrete
Proper mixing and pouring techniques are vital for achieving a strong, homogenous post free of voids.
- Mix the Concrete Thoroughly: Follow the specific instructions provided on your concrete mix bag precisely. Incorrect water-to-cement ratios can severely compromise the concrete’s strength. Aim for a workable, consistent mixture that is neither too watery nor too dry – it should have the consistency of thick oatmeal or peanut butter. If using a concrete mixer, add water gradually until the desired consistency is achieved.
- Pour the Concrete into the Mold: Carefully pour the mixed concrete into the prepared mold, filling it evenly. As you pour, use a piece of rebar or a stick to “vibrate” or “tamp” the concrete by repeatedly pushing it up and down. This action helps release trapped air bubbles, ensuring the concrete fills all corners and consolidates around the rebar and PVC pipe. Continue until the mold is filled to the desired height.
5. Setting and Curing the Concrete
Patience during the setting and curing phases is essential for the concrete to reach its maximum strength and durability.
- Allow Initial Setting: Once poured, let the concrete begin to set for 24-48 hours. During this initial period, it’s crucial to ensure the post remains perfectly vertical and level. Use stakes and braces to hold the mold securely in place. Protect the concrete from direct sunlight, heavy rain, or freezing temperatures during this stage.
- Begin the Curing Process: After the initial set, the concrete needs to cure for several days, often 7 to 28 days, to achieve its full design strength. Curing involves keeping the concrete moist to allow the hydration process to complete. You can achieve this by covering the post with plastic sheeting, burlap sacks kept damp, or by regularly misting the surface with water. Proper curing prevents rapid drying, which can lead to surface cracks and reduced strength.
6. Finishing Touches
Once the concrete has fully cured, you can add aesthetic and functional finishes.
- Remove Mold and Smooth Edges: After the concrete has sufficiently cured (check manufacturer guidelines, usually 3-7 days before stressing the post), carefully remove the mold. Use a trowel or a concrete rubbing brick to smooth out any rough edges or imperfections on the post’s surface for a neat and polished finish.
- Customize and Enhance: Concrete offers excellent versatility for customization. You can apply a concrete stain to give it a specific color, paint it to match your home’s exterior, or even adhere decorative stones or tiles for a unique, custom look. Consider applying a concrete sealer for added protection against moisture and stains.
- Attach the Mailbox: Once the post is fully cured and finished, you can confidently attach your mailbox. If you used a PVC pipe sleeve, simply slide the mailbox mounting post into it and secure it with bolts or screws as per your mailbox manufacturer’s instructions. Ensure all connections are tight and the mailbox is securely fastened.
Legal and Code Considerations for Your Concrete Mailbox Post

Adhering to local and federal regulations is paramount when installing a mailbox. Failing to do so can result in fines, the need for costly relocation, or even removal of your mailbox.
Mailbox Height and Placement Regulations
The United States Postal Service (USPS) sets federal guidelines for mailbox installation to ensure efficient and safe mail delivery. These are the general standards:
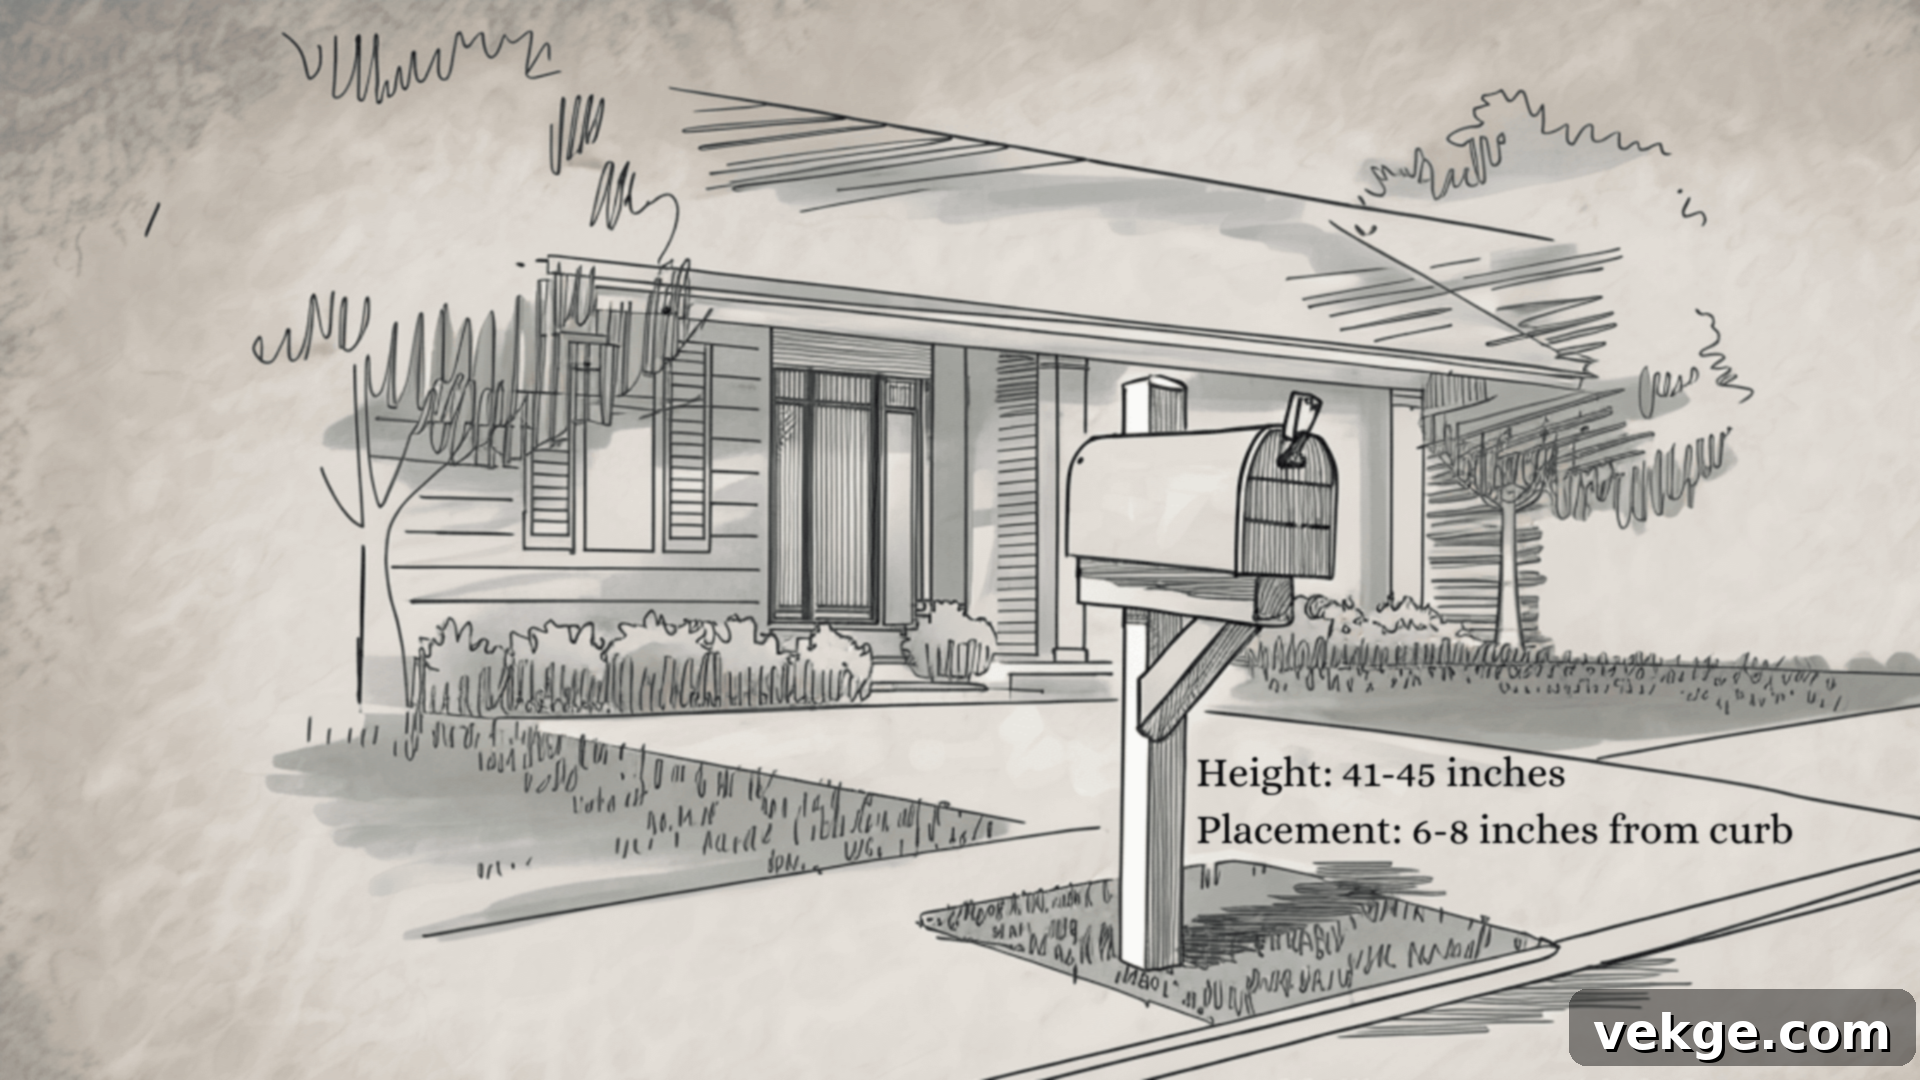
- Height: The bottom of the mailbox opening should be positioned between 41 and 45 inches from the ground or road surface. This range accommodates postal carriers’ reach for easy mail deposit and retrieval.
- Distance from Road: The mailbox should typically be set back 6 to 8 inches from the curb or edge of the road. This distance ensures that postal vehicles can approach safely without obstruction and allows the carrier to reach the mailbox without leaving their vehicle.
- Clearance: Ensure there are no obstructions (like overgrown bushes, fences, or other structures) that would impede access to the mailbox. The area around the mailbox should be clear and level.
It is vital to check with your local post office and municipal planning department for any specific local rules, as regulations can vary. For instance, some areas might have additional requirements regarding breakaway posts for safety in case of vehicular impact.
Compliance with Local Regulations and Homeowners’ Associations (HOAs)
Beyond USPS guidelines, many municipalities and counties have their own ordinances regarding mailbox placement. These might include rules about:
- Setbacks: Minimum distances from property lines, driveways, fire hydrants, or street signs.
- Materials or Design: Some communities might have aesthetic guidelines for outdoor structures, including mailboxes.
- Permits: In some cases, installing a new mailbox post might require a minor construction permit.
Furthermore, if you live in a community governed by a Homeowners’ Association (HOA), you must consult their Covenants, Conditions, and Restrictions (CC&Rs). HOAs often have strict rules concerning exterior modifications, including mailbox design, color, and placement, to maintain community aesthetics. Non-compliance could lead to fines or demands for modification.
To avoid any issues, always:
- Contact your local post office or review the official USPS guidelines online.
- Check with your city or county planning department.
- Review your HOA’s specific guidelines, if applicable.
Taking these precautions ensures your concrete mailbox post is not only functional and durable but also fully compliant with all governing regulations.
Benefits of Concrete vs. Wood for Mailbox Posts

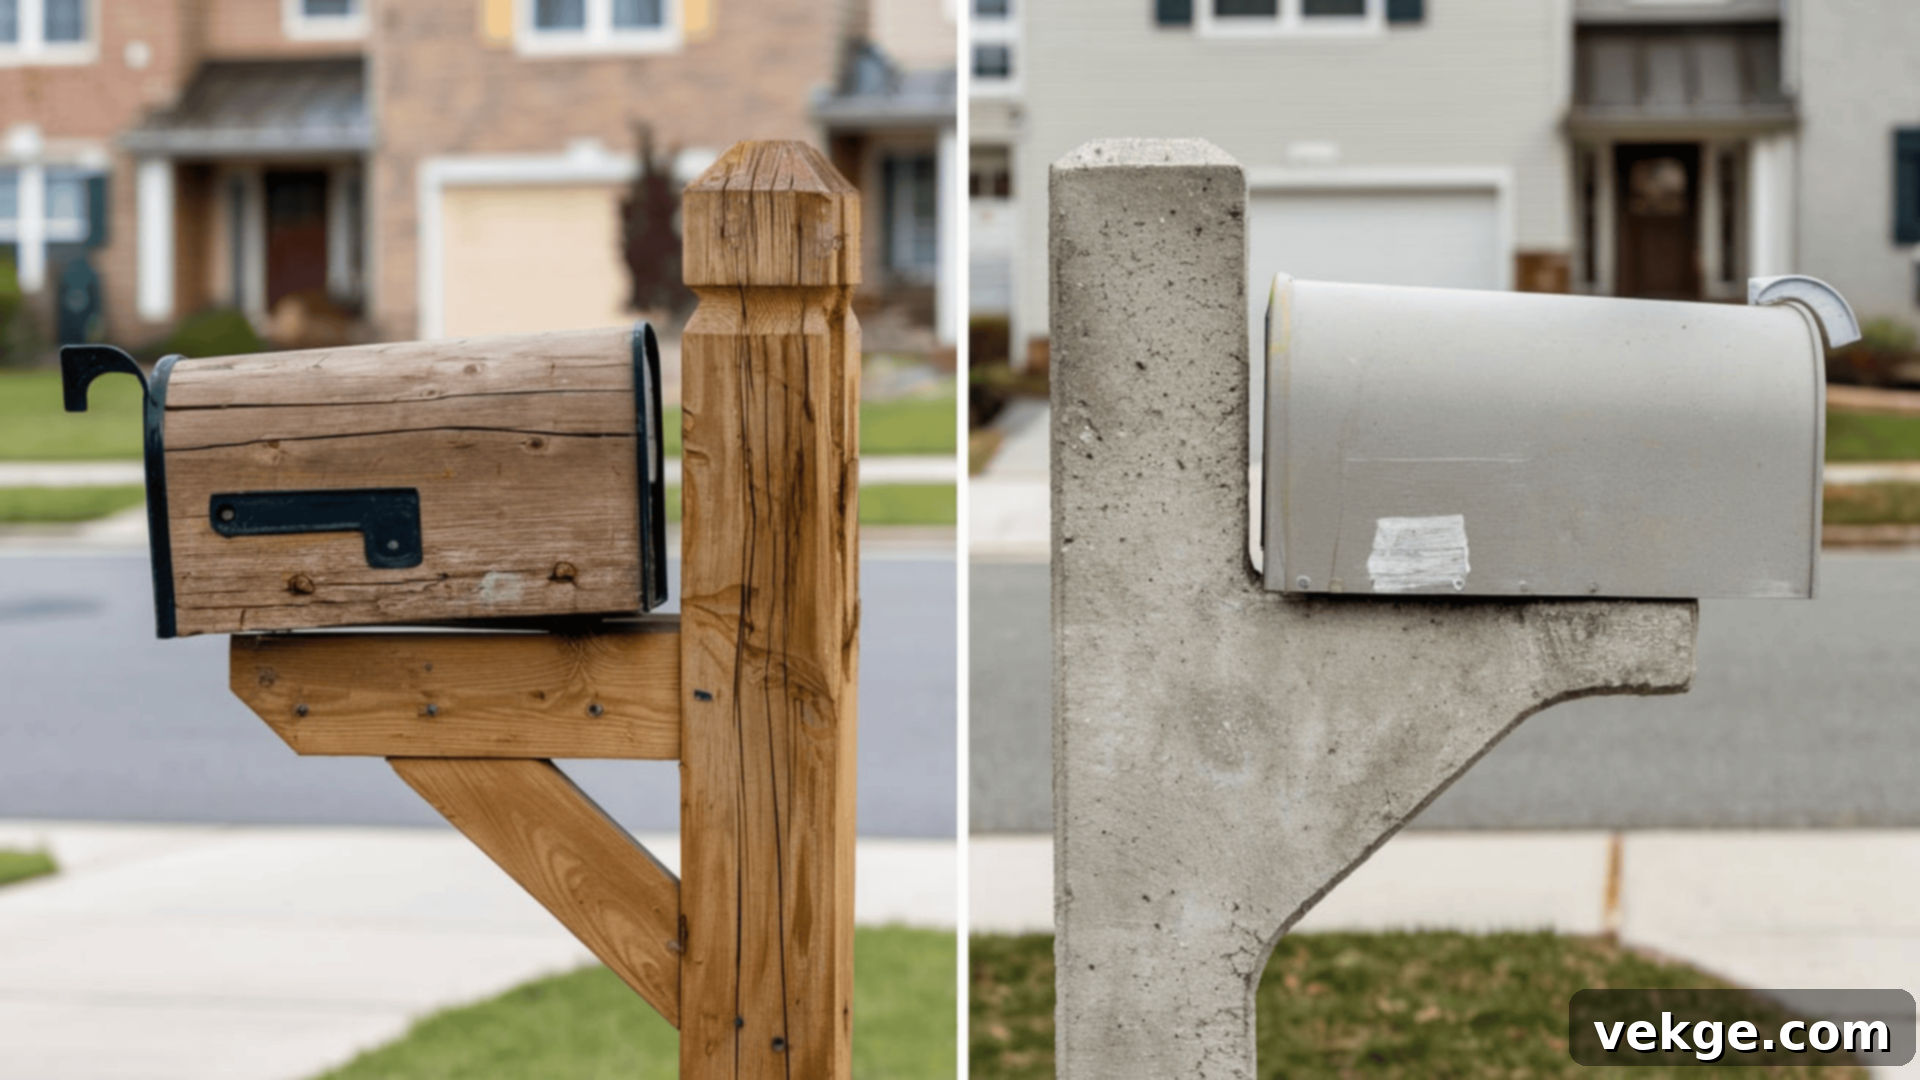
When choosing a material for your mailbox post, the comparison between concrete and wood highlights clear advantages for the former, especially in terms of longevity, maintenance, and aesthetics. Let’s explore why concrete stands out as the superior choice.
Unmatched Durability and Longevity
Concrete posts are renowned for their exceptional durability and lifespan. Unlike wooden posts, which are organic materials, concrete will not rot, warp, or succumb to damage from termites, carpenter ants, or other pests. This inherent resistance makes concrete an ideal material for outdoor structures that are constantly exposed to the elements. A well-constructed concrete mailbox post can easily last for several decades, often outliving multiple wooden counterparts, providing a truly long-term solution.
Minimal Maintenance Requirements
One of the most significant advantages of concrete is its incredibly low maintenance. Wooden posts typically require regular treatment such as painting, sealing, or staining to prevent decay, moisture damage, and UV degradation. Over time, this ongoing maintenance can be time-consuming and costly. Concrete, on the other hand, needs little to no upkeep beyond an occasional cleaning. This makes concrete a highly convenient and cost-effective choice for homeowners seeking a hassle-free option.
Superior Weather Resistance
Concrete offers unparalleled resistance to all types of weather conditions. While wooden posts can crack, splinter, and weaken when exposed to cycles of rain, snow, freezing temperatures, and intense sunlight, concrete remains steadfast. Its solid, dense composition means it holds up remarkably well against moisture, high winds, and extreme temperatures, maintaining its structural integrity and aesthetic appeal year after year. This resilience ensures your mailbox remains secure and upright, regardless of the climate.
Enhanced Customization and Aesthetic Versatility
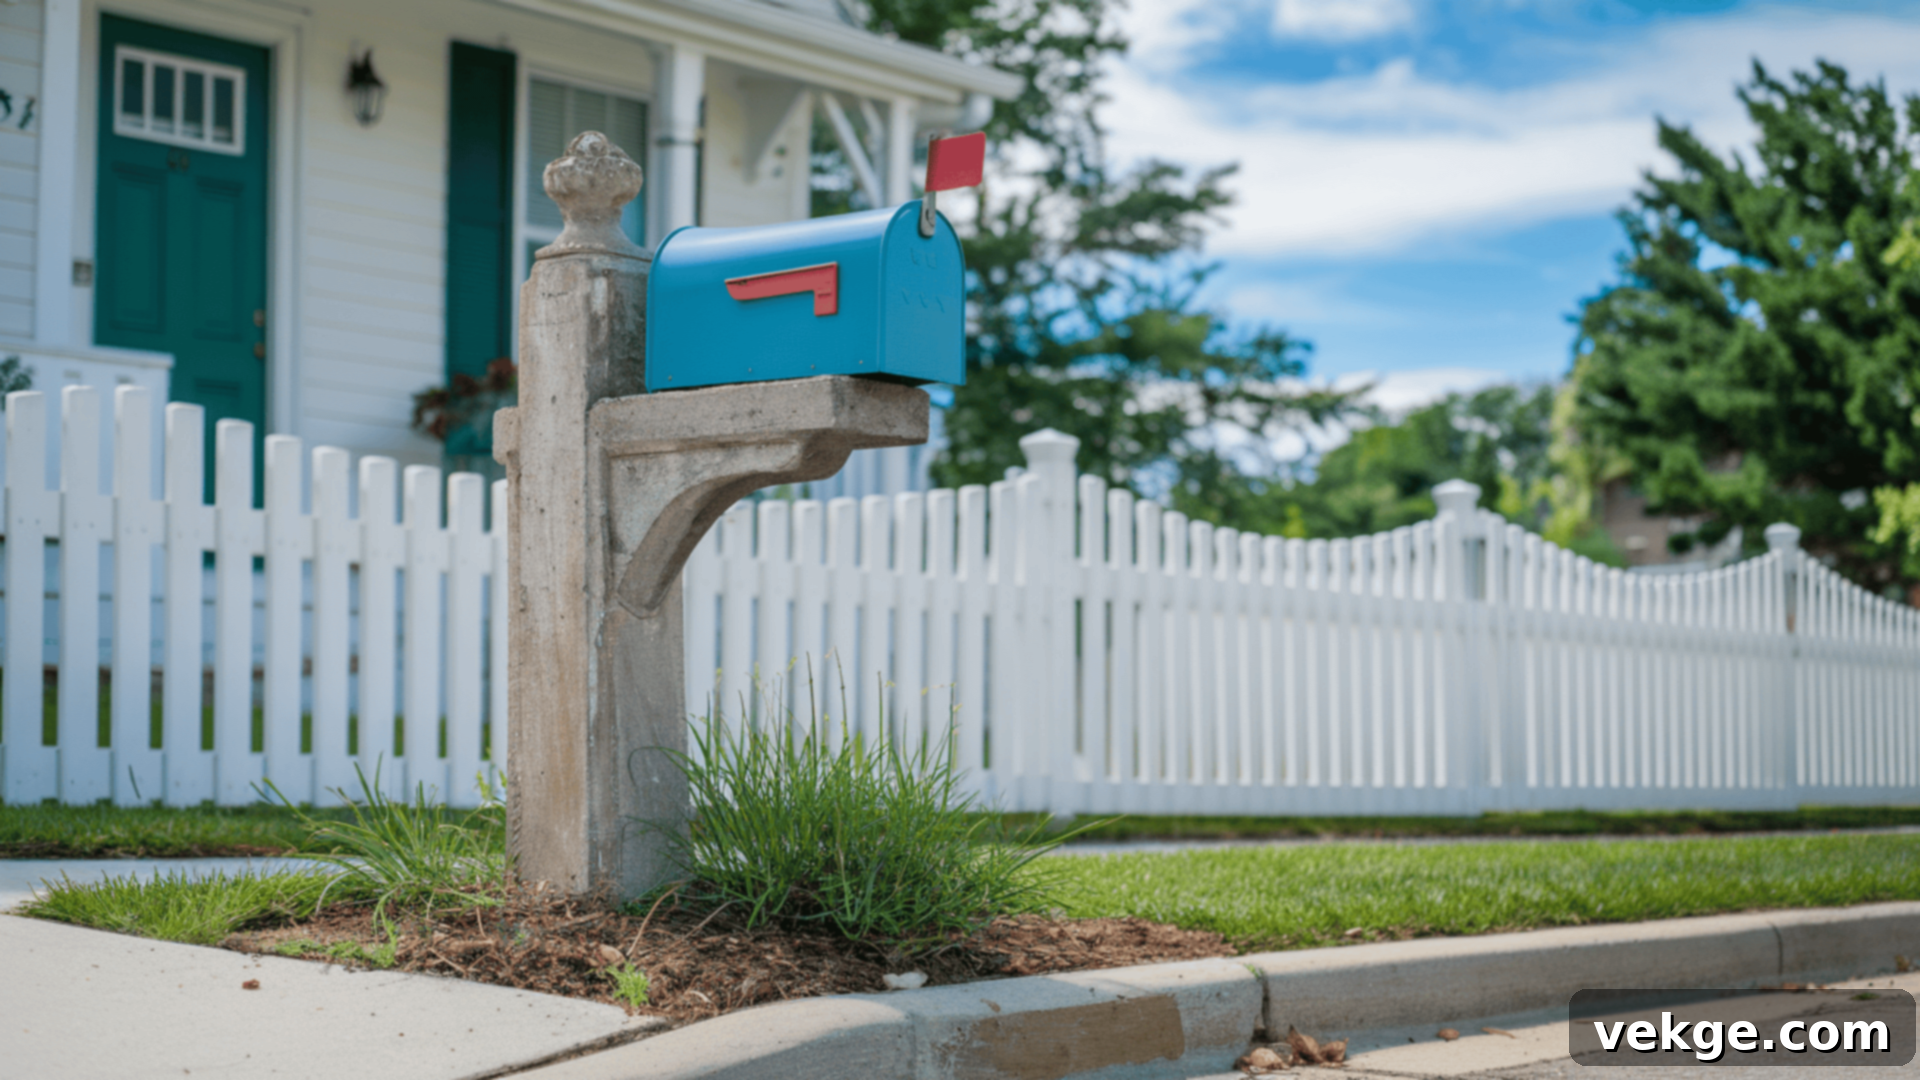
Beyond its practical advantages, concrete also excels in customization options. Its neutral base allows you to easily stain it to achieve various earthy tones, paint it to match your home’s trim, or even embed decorative elements like mosaic tiles, river stones, or custom engravings during the pouring process. This flexibility enables you to create a unique and personalized look that perfectly complements your home’s architectural style and enhances your property’s curb appeal. Wooden posts, while offering some staining or painting options, generally don’t provide the same level of design versatility or the ability to integrate durable decorative elements within the material itself.
In summary, concrete is a demonstrably superior choice for mailbox posts, offering unmatched durability, significantly less maintenance, and far more extensive customization options compared to wood. Investing in a concrete post means investing in a lasting, beautiful, and worry-free addition to your home.
Common Problems While Making a Concrete Mailbox Post and How to Avoid Them
Even with careful planning, issues can arise during concrete work. Understanding these common problems and their solutions will help ensure your concrete mailbox post is flawless and sturdy.
Air Bubbles in Concrete (Voids)
Problem: Air bubbles, or “bug holes,” can appear on the surface of the concrete or create voids within the post if the concrete isn’t properly consolidated during pouring. These bubbles can weaken the structure and detract from its appearance.
Cause: Insufficient vibration or tamping during pouring, or concrete mix that is too stiff.
Prevention & Solution: Ensure the concrete mix has the correct, workable consistency – not too dry. As you pour, use a piece of rebar or a sturdy stick to repeatedly jab and “vibrate” the concrete throughout the mold. Gently tapping the exterior of the mold with a rubber mallet can also help release trapped air. If small bubbles appear on the surface after setting, they can sometimes be filled with a concrete patching compound or smoothed with a trowel during the initial finishing stages.
Cracking Concrete
Problem: Cracks can range from hairline surface fissures to more significant structural cracks, compromising both the aesthetics and integrity of the post.
Cause: This is often due to improper mixing (wrong water-to-cement ratio), inadequate curing (drying too quickly), insufficient reinforcement, or ground movement/settlement.
Prevention & Solution:
- Mixing: Always adhere strictly to the concrete manufacturer’s instructions for the water-to-cement ratio. Too much water weakens the concrete and increases shrinkage.
- Reinforcement: Always use rebar or other steel reinforcement, especially in longer posts or areas prone to ground movement. This significantly improves tensile strength and prevents cracks.
- Curing: Ensure proper curing by keeping the concrete moist for at least 7 days (and ideally up to 28 days). Cover the post with plastic sheeting or damp burlap, and mist it periodically, especially in hot or windy conditions.
- Foundation: Prepare a stable foundation hole deep enough to prevent frost heave, and ensure the ground is well-compacted before pouring the footer.
Incorrect Curing
Problem: If concrete isn’t cured correctly – often by drying out too quickly – it will not reach its full potential strength, becoming weak, porous, and prone to cracking, spalling, and premature deterioration.
Cause: Exposure to direct sun, wind, or dry conditions immediately after pouring, or simply not keeping the concrete moist for a sufficient duration.
Prevention & Solution: Curing is not just about drying; it’s about hydrating. Always allow the concrete to have its initial set (typically 24-48 hours) before handling or removing the mold. After the mold is removed, begin the active curing process. Cover the post with plastic sheeting or damp cloths, or mist it regularly with water for at least 7 days (or as per manufacturer’s guidelines, often 28 days for full strength). This controlled hydration process is crucial for the chemical reactions within the concrete to create a strong, dense, and durable finished product. Protecting the concrete from extreme temperatures during curing is also important.
Uneven or Misaligned Post
Problem: The finished post is not perfectly vertical (plumb) or its top surface is not level.
Cause: Inaccurate measurements, a mold that isn’t plumb, or the post shifting during the initial setting phase.
Prevention & Solution: Use a level extensively throughout the installation process. Before pouring, ensure your mold is perfectly plumb in all directions. After pouring, brace the mold securely with stakes and string lines, then re-check for plumb. Periodically check during the initial setting to catch any minor shifts and adjust immediately. Use a float or trowel to achieve a perfectly level top surface while the concrete is still wet.
Conclusion: Your Durable Concrete Mailbox Post Awaits
Building a concrete mailbox post is a rewarding DIY project that yields a durable, low-maintenance, and aesthetically pleasing solution for your home. This robust alternative to traditional wooden posts offers a myriad of advantages, including exceptional weather resistance, unparalleled strength, long-term durability, and extensive customization options. By meticulously following the step-by-step instructions outlined in this guide, you are well-equipped to create a sturdy and lasting post that will stand resiliently against the elements for decades.
Remember that careful planning and execution are key to success. Ensure you adhere to proper mixing and curing techniques, diligently follow all local and federal height and placement regulations (including those from your HOA), and proactively address common issues like air bubbles or cracking. With a modest investment of your time and effort, you will not only construct a highly practical and functional concrete mailbox post but also significantly enhance your home’s curb appeal and property value.
We hope this comprehensive guide has empowered you to tackle this project with confidence. If you enjoyed the satisfaction of this home improvement endeavor, we encourage you to explore our other blogs for more helpful tips, innovative DIY ideas, and inspiring projects to further enhance your living space.
