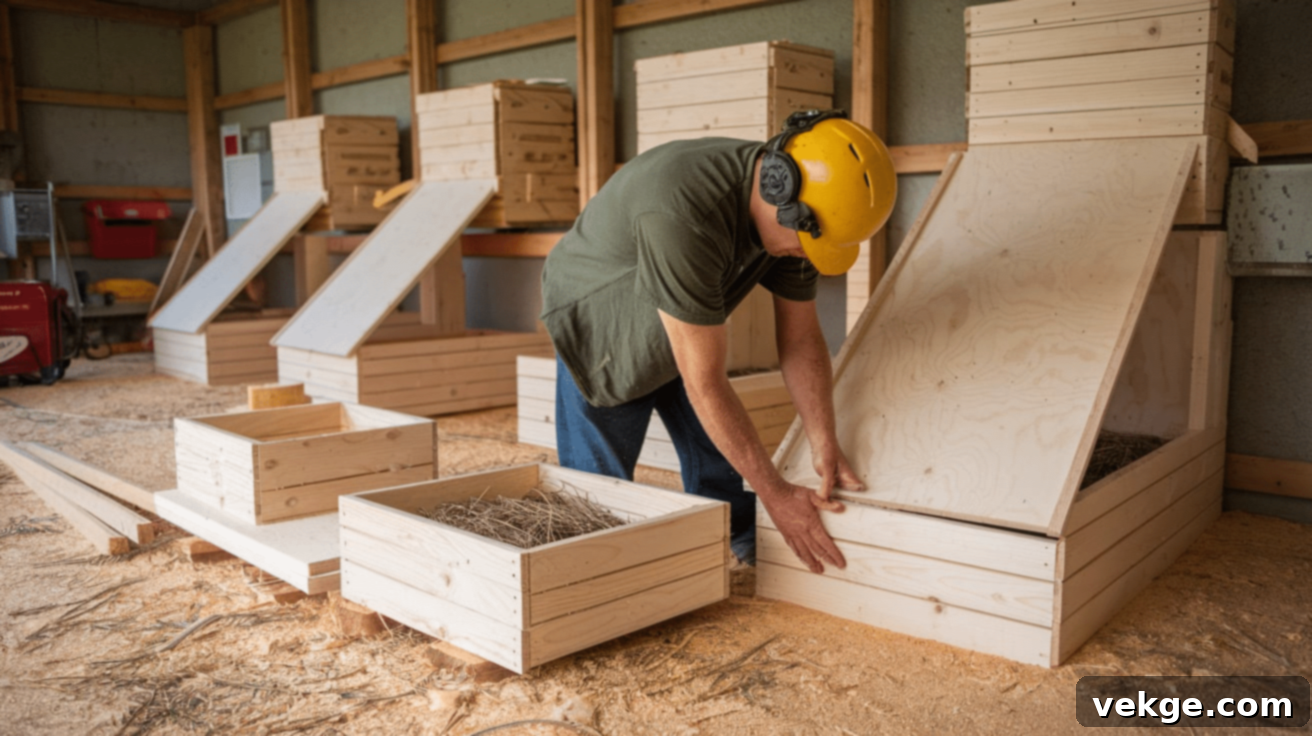
DIY Chicken Nesting Boxes: A Comprehensive Guide to Building Happy Hen Havens
Nesting boxes are more than just a convenience; they are an essential component of any well-designed chicken coop. These dedicated spaces offer your hens a safe, private, and comfortable sanctuary where they can lay their eggs peacefully. Providing proper nesting areas can significantly reduce stress for your flock, prevent egg breakage, and even encourage consistent egg production.
While many ready-made options are available, building your own chicken nesting boxes offers numerous benefits. It’s an excellent way to save money, allows for complete customization to perfectly fit your specific coop layout, and provides immense satisfaction from creating something practical with your own hands. Moreover, a DIY approach ensures that the boxes meet your hens’ exact needs, considering factors like size, comfort, and accessibility.
This comprehensive guide will walk you through each step of constructing durable and functional nesting boxes. Designed for anyone with basic woodworking skills, these instructions will help you create high-quality boxes that will serve your flock for years to come. By the end of this project, you’ll have robust nesting solutions that keep your chickens happy, comfortable, and productive.
Materials & Tools You’ll Need for Your DIY Nesting Boxes
Before diving into construction, it’s crucial to gather all necessary materials and tools. Most items are standard woodworking supplies, making this a straightforward project for beginners. Opting for good quality materials will ensure the longevity and stability of your nesting boxes.
Materials List
- 1″ x 12″ pine boards: Approximately 16 feet total. Pine is an excellent choice for its affordability, ease of cutting, and workability. It’s also generally safe for chickens.
- 1″ x 2″ furring strips: About 8 feet. These strips will provide additional structural support and can be used for various framing elements.
- 1 5/8″ deck screws: Ideal for attaching the main structural pieces, offering strong holding power and corrosion resistance if your coop is exposed to moisture.
- 3/4″ wood screws: Useful for smaller attachments, such as hinges or latches, where shorter screws are needed to prevent piercing through the wood.
- Cabinet hinges: You’ll need two per nesting box (e.g., 6 for a three-box unit). These allow the roof to open for easy egg collection and cleaning.
- Simple latches: One per nesting box. These secure the roof when closed, preventing it from blowing open or inquisitive hens from getting inside when not desired.
- Wood glue: An essential for strengthening joints. When applied properly, wood glue can make your joints stronger than the wood itself.
- Sandpaper (medium and fine grit): For smoothing rough edges and surfaces, preventing splinters for both you and your chickens.
- Optional: Non-toxic paint or sealer: If you wish to protect the wood from moisture and make cleaning easier, ensure any finish is explicitly labeled as non-toxic and safe for animals.
Tools Needed
- Circular saw or hand saw: For accurately cutting your wooden boards to size. A circular saw speeds up the process, but a hand saw is perfectly adequate.
- Drill with bits: Essential for pre-drilling holes and driving screws. Having a variety of bit sizes is helpful.
- Screwdriver: While a drill can drive screws, a hand screwdriver can be useful for finer adjustments or when a drill is too bulky.
- Measuring tape: Precision is key in woodworking, so a reliable measuring tape is a must.
- Square: To ensure all your cuts and assemblies are at perfect 90-degree angles, crucial for a sturdy structure.
- Pencil: For marking cuts and drilling points accurately.
- Kreg Jig (helpful but not required): A Kreg Jig allows for strong, hidden pocket-hole joints, which can make assembly cleaner and stronger.
- Sander or sanding block: For smoothing all cut edges and surfaces.
Step-by-Step Instructions for Your DIY Nesting Boxes
Step 1: Frame Construction – Cutting Your Wood Pieces
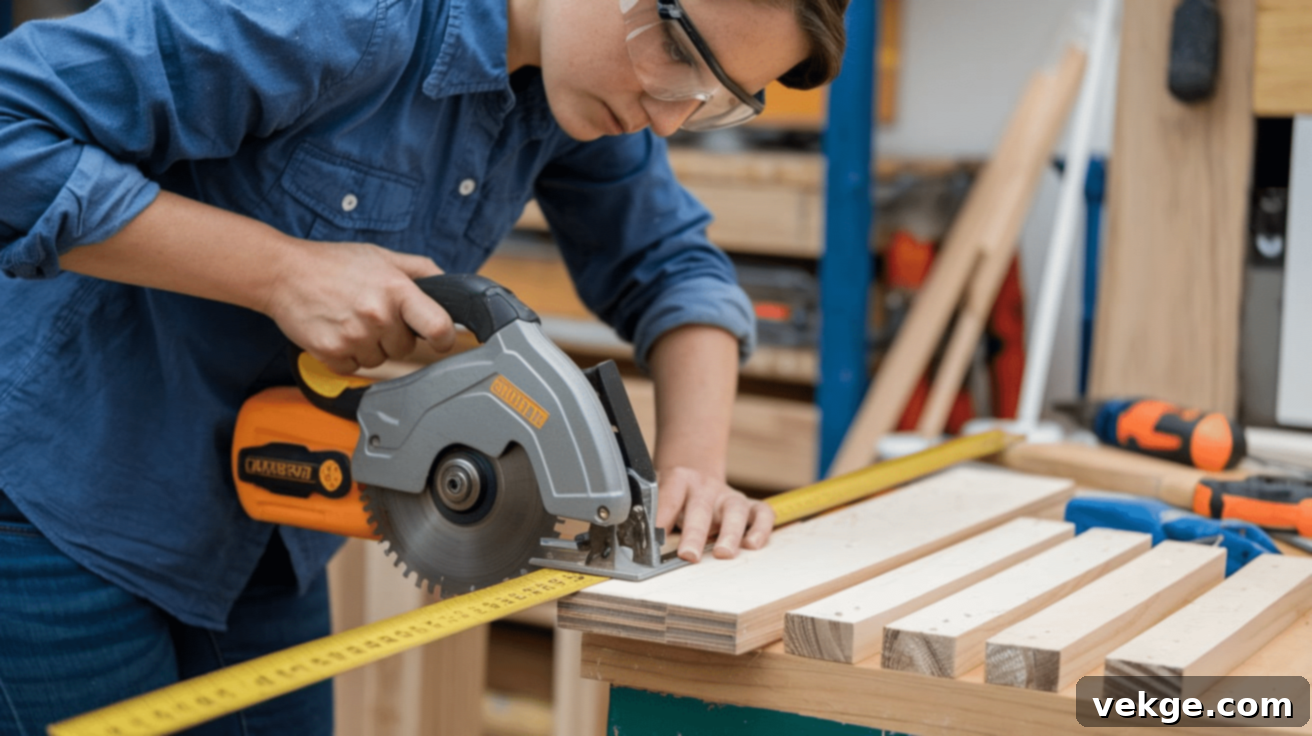
Accurate cutting is the foundation of a strong nesting box. Take your time with this step to ensure all pieces fit together perfectly.
- Measure and cut the base piece: For a standard three-box setup, cut one piece at 12″ x 36″. This will form the bottom of your nesting box unit.
- Cut side pieces: You’ll need four pieces cut at 12″ x 12″. These will form the two end walls and act as supports for the internal dividers.
- Cut divider pieces: For a three-box unit, you’ll need two pieces cut at 11″ x 12″. These will create the individual compartments for your hens. Note the slightly shorter length to account for the thickness of the back panel.
- Cut the back piece: This will be one piece at 12″ x 36″, matching the length of your base.
- Cut the roof piece: Cut one piece at 14″ x 38″. The extra dimensions allow for a slight overhang on all sides, protecting the interior from rain and providing easier lifting.
Tip: Always double-check all your measurements before making any cuts. Even small errors can lead to ill-fitting joints and wasted material. Use a square to mark your cut lines for perfect 90-degree angles, ensuring your boxes are truly square and stable. Safety first: always wear appropriate eye protection when using saws.
Step 2: Assembling the Sides and Dividers
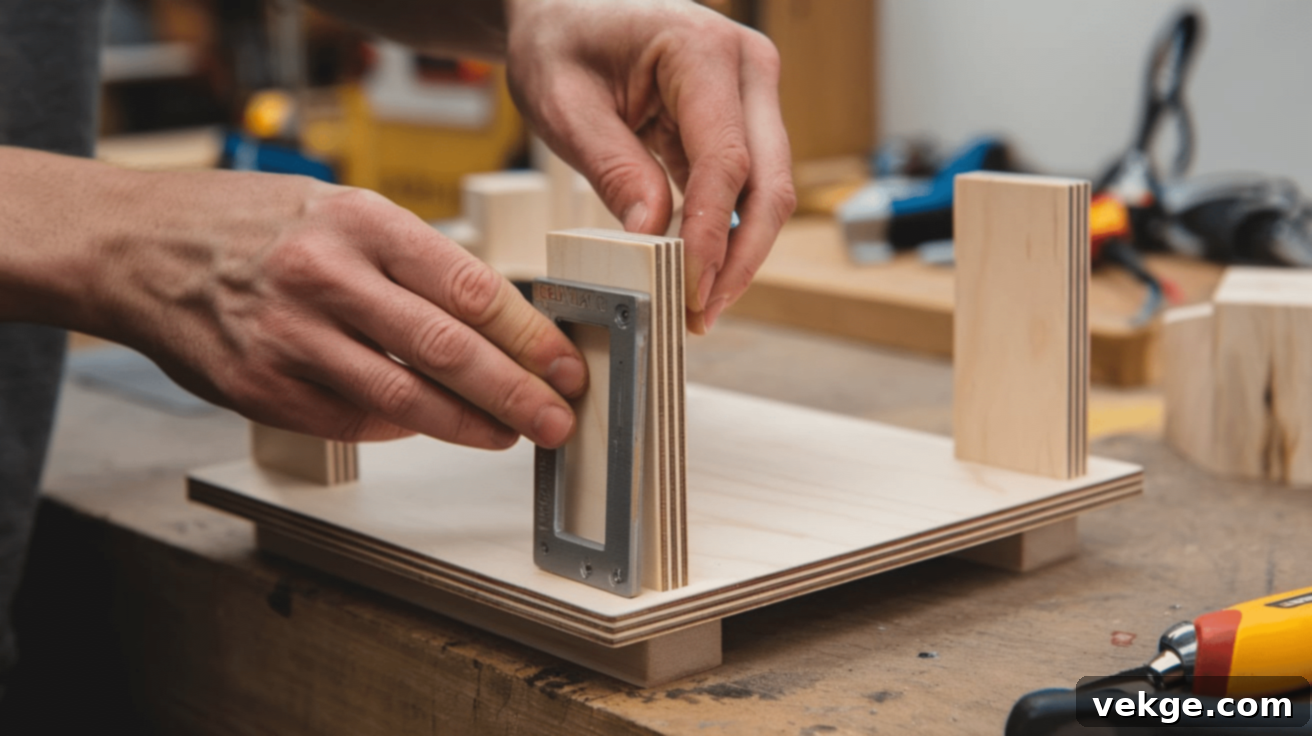
Now that your pieces are cut, it’s time to start forming the main structure of your nesting boxes.
- Attach the side pieces to the base: Apply a bead of wood glue along the bottom edge of the two outer side pieces and secure them to the ends of the 12″ x 36″ base using 1 5/8″ deck screws.
- Ensure square corners: Use your square to confirm that the side pieces are at perfect 90° angles to the base. This is critical for structural integrity.
- Position and secure dividers: Place the two 11″ x 12″ divider pieces equidistant along the base (approximately 12″ apart from each other and the outer sides). Apply wood glue to the bottom and side edges that will meet the base and side/divider pieces, then secure them with 1 5/8″ deck screws.
- Check overall squareness: After attaching all sides and dividers, measure diagonally from corner to corner across the entire structure. The measurements should be identical, confirming that your structure is square.
Tip: Always pre-drill pilot holes before driving screws, especially when working near the edges of the wood. This simple step prevents the wood from splitting, which is a common issue for beginners, and ensures a cleaner, stronger joint.
Step 3: Installing the Back and Front
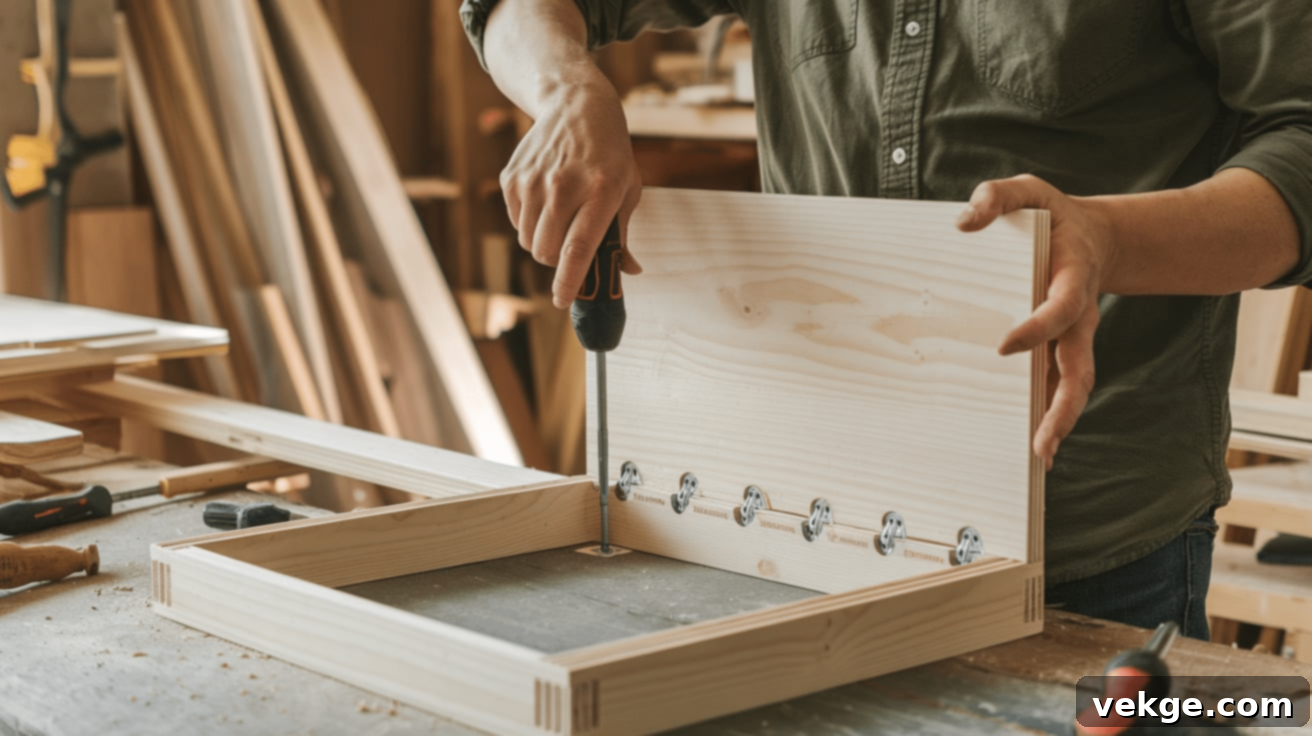
The back and front lips are vital for the functionality and comfort of your nesting boxes.
- Attach the back piece: Position the 12″ x 36″ back piece flush with the rear edges of your assembled base and side/divider structure. Apply wood glue along all contact points (bottom edge and edges of side/divider pieces).
- Secure with screws: Use 1 5/8″ deck screws, spacing them every 4-6 inches along the top, bottom, and side edges for robust support.
- Measure and cut front lip strips: Cut a 4″ strip of wood for the front lip of each box. If you are building a three-box unit, you will need three separate 11″ to 12″ long pieces (adjust to fit exactly between dividers).
- Attach the front lip pieces: Secure these front lip pieces 4″ up from the bottom of each box opening using wood glue and 1 5/8″ deck screws. This creates a barrier to keep bedding inside while allowing hens easy access.
Tip: The height of the front lip is crucial. It should be tall enough (around 4 inches) to effectively contain straw, pine shavings, or other bedding materials, preventing them from spilling out. However, it must also be low enough for your hens to comfortably step over when entering and exiting their nesting space. Observing your hens’ movement can help you fine-tune this dimension for optimal comfort.
Step 4: Installing the Roof and Latches, and Finishing Touches
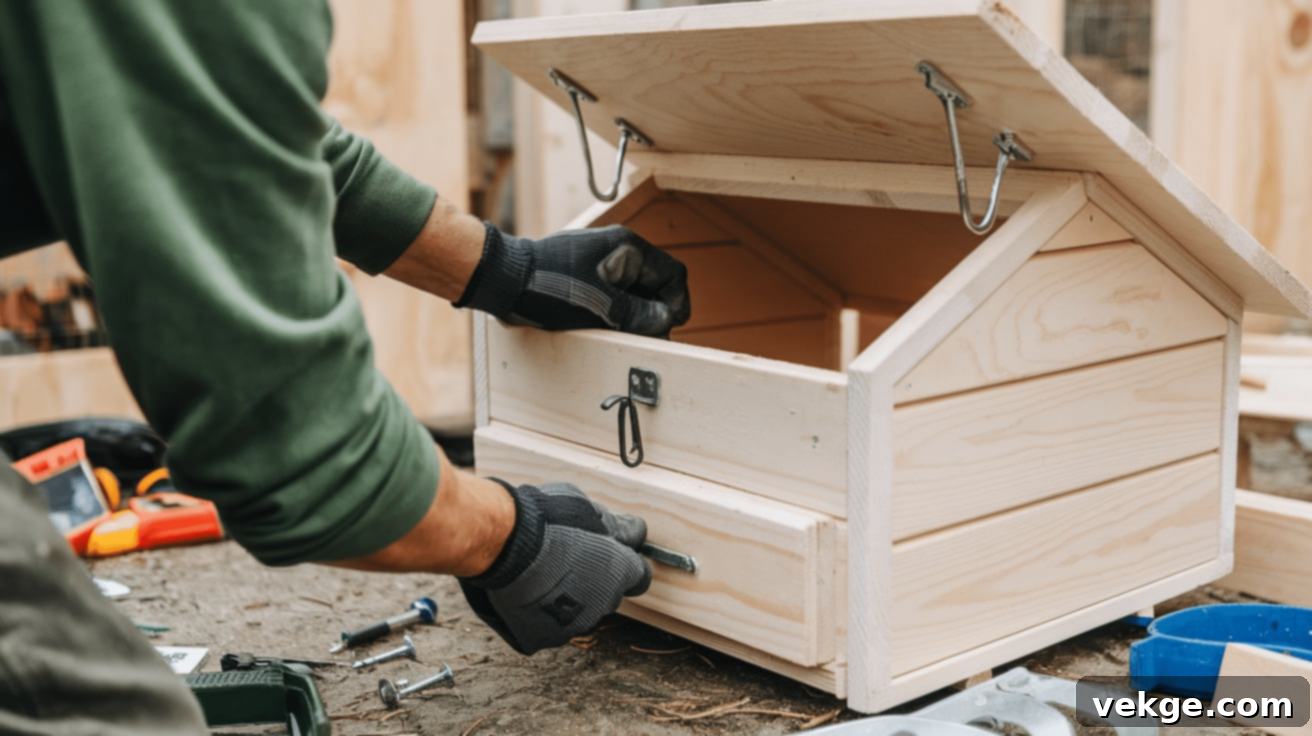
The final steps involve adding the hinged roof for easy access and ensuring the boxes are safe for your flock.
- Attach hinges to the roof: Place the cabinet hinges along the back edge of the 14″ x 38″ roof piece, evenly spaced. Secure them with 3/4″ wood screws.
- Secure roof to the structure: Position the roof over the nesting box structure, ensuring the overhang is even. Secure the other side of the hinges to the top rear edge of the nesting box structure with 3/4″ wood screws. Test the hinge movement to ensure it opens and closes smoothly.
- Install latches: Install a simple latch at the front of the roof, above each individual box opening. This provides easy access for egg collection while keeping the roof securely closed when not in use.
- Sand all edges smooth: Thoroughly sand all exposed edges and surfaces, especially the entrance points of the nesting boxes. This prevents splinters and sharp edges that could injure your chickens.
Tip: If your nesting boxes will be located in an area exposed to rain or significant moisture, consider applying a thin bead of silicone caulk along the seam where the roof meets the back panel. This extra step will create a watertight seal, effectively preventing water from leaking into the nesting compartments and keeping the bedding dry and clean for your hens.
How to Customize Your Nesting Boxes for Optimal Performance
One of the greatest advantages of building your own nesting boxes is the ability to customize them to perfectly suit your coop and your flock’s specific needs. From adjusting dimensions to adding functional features, these modifications can significantly enhance both convenience for you and comfort for your hens.
Size Adaptations for Any Coop
The standard three-box unit detailed in this guide is a great starting point, but you can easily adapt the dimensions to fit any coop size or flock count:
- For smaller coops or fewer hens: Consider building a more compact unit, such as a 24″ wide setup with just two boxes. This configuration still provides ample space for a small flock while conserving valuable coop real estate.
- For larger flocks or spacious coops: You have several options. You can build multiple independent units and stack them (ensuring stability), or create a longer, continuous unit with additional sections (e.g., 4 or 5 boxes wide). This approach allows for scalability and ensures every hen has a comfortable, private spot to lay, which can help prevent overcrowding and potential conflicts.
- Consider vertical space: If floor space is limited, explore designs that allow for stacking boxes. Ensure lower boxes are still accessible and stable.
Functional Additions for Enhanced Convenience and Comfort
Customizing your nesting boxes with additional features can make them even more functional and user-friendly:
- Sloped roof design: Instead of a flat roof, consider building a slightly sloped roof. This design is highly beneficial, especially for outdoor coops, as it helps with water runoff, keeping the boxes dry and preventing water from pooling. It also discourages chickens from roosting on top of the boxes and soiling them.
- Removable bottom trays: This is a game-changer for cleaning! By building a false bottom that slides out, you can quickly and easily remove soiled bedding without having to empty the entire box. This simplifies maintenance and ensures a consistently clean environment for your hens.
- Privacy curtains: Chickens, like many animals, appreciate privacy when laying. Installing small curtain rods with fabric strips at the entrance of each box can create a more secluded, darker space, encouraging shyer hens to lay there. Simple burlap or cotton fabric works well.
- External egg collection doors: For ultimate convenience, especially in larger coops, consider designing your nesting boxes with access doors that open from outside the coop. This allows you to gather eggs without having to enter the coop, minimizing disturbance to your flock and keeping your hands cleaner.
- Ventilation holes: While not a “functional addition” in the same sense, strategically placed small ventilation holes on the back or sides can significantly improve air circulation within the boxes, reducing humidity and preventing odors, which is crucial for hen health.
These thoughtful adjustments can significantly improve your chickens’ comfort and make the routine maintenance of your nesting boxes much easier, leading to a healthier and happier flock.
Common Mistakes to Avoid While Making Nesting Boxes
Even with clear instructions, beginners can sometimes fall into common traps. Being aware of these potential missteps can save you time, materials, and ensure your nesting boxes are perfectly suited for your flock:
- Making them too large: While it might seem counterintuitive, bigger isn’t always better for nesting boxes. The ideal size is approximately 12″ x 12″ x 12″. Boxes that are too spacious can encourage multiple hens to use the same space simultaneously, leading to broken eggs or even territorial disputes. Hens prefer a snug, secure spot.
- Building them too low to the ground: Nesting boxes should not be placed directly on the coop floor. They should be elevated at least 18″ off the ground, but typically not higher than your roosting bars. This elevation offers hens a sense of security and keeps the boxes cleaner by reducing the chances of bedding becoming soiled by ground-level activities.
- Forgetting ventilation: Proper air circulation is vital. Overly enclosed boxes can become humid and smelly, creating an unhealthy environment. Ensure you include small ventilation holes (e.g., drilled holes or small gaps) in the back or sides of the boxes, particularly if your coop has limited airflow.
- Using treated lumber: Avoid using pressure-treated lumber for any parts of the nesting boxes that your chickens might peck or come into contact with. Treated lumber contains chemicals that can be harmful to your flock if ingested. Stick to untreated pine or cedar.
- Front lip too high or too low: As mentioned in the construction steps, the front lip (or entrance barrier) is important. If it’s too high, smaller or less agile hens might struggle to enter, causing them stress. If it’s too low, bedding material will constantly spill out, requiring more frequent replenishment. Aim for approximately 4 inches high.
- Rough edges and splinters: Chickens are curious creatures, and they will investigate their nesting boxes thoroughly. Ensure all cut edges are thoroughly sanded smooth to prevent splinters, cuts, or other injuries to your hens.
- Insufficient number of boxes: While the general rule is one nesting box for every 3-4 hens, having slightly more than the minimum can reduce competition and stress, especially if your flock includes younger hens just starting to lay.
Maintenance Tips for Your Nesting Boxes
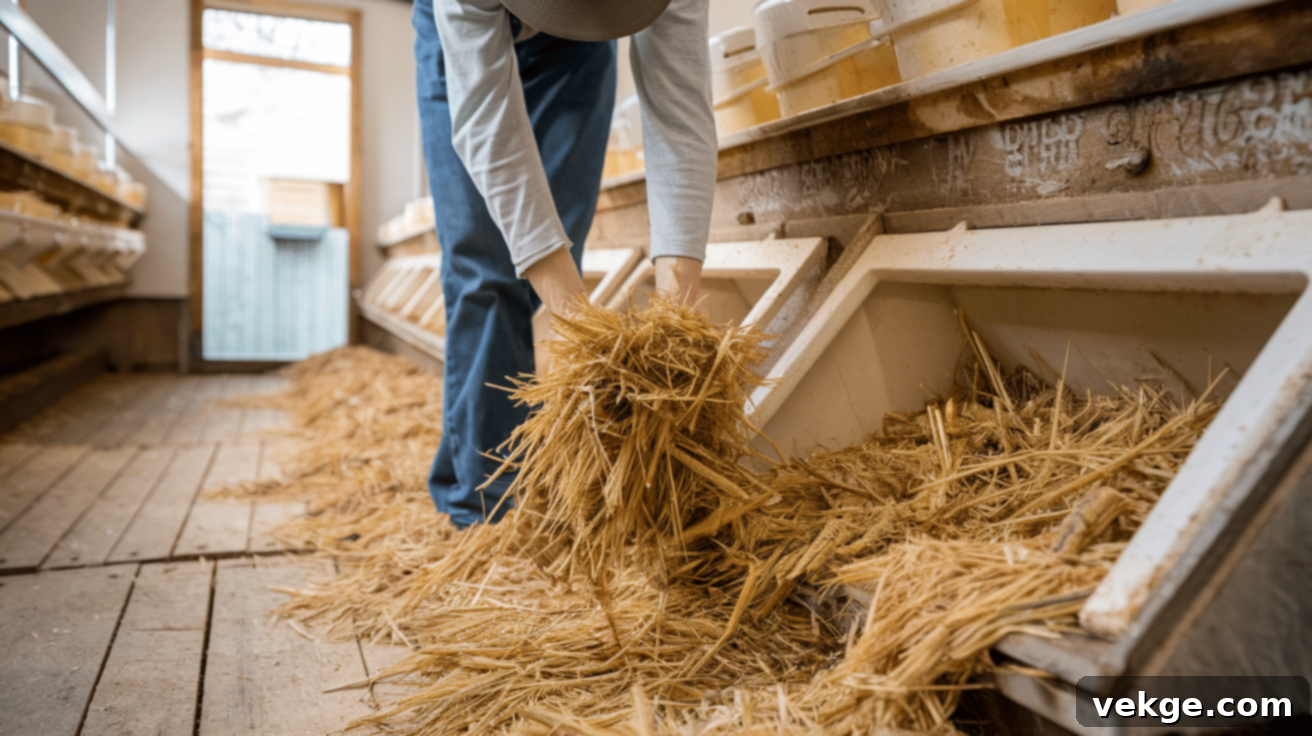
Regular maintenance ensures your nesting boxes remain hygienic, comfortable, and durable, promoting consistent egg production and the overall health of your flock.
- Clean boxes weekly: Remove all soiled bedding, droppings, and broken egg remnants. Fresh bedding is crucial for hygiene and comfort.
- Check for loose screws or weakening joints monthly: Inspect the structure for any signs of wear, wobbly joints, or loose screws. Tighten or replace as needed to maintain stability and safety.
- Apply fresh bedding: Replenish with clean, dry bedding materials such as straw, pine shavings, or shredded paper. These provide cushioning, warmth, and absorb moisture and odors.
- Inspect for signs of pests or parasites regularly: Look for mites, lice, or other pests in and around the nesting boxes. Early detection allows for prompt treatment and prevents infestations from spreading.
- Treat wood annually with food-safe mineral oil: For untreated wood, applying a food-safe mineral oil can help seal the wood, protect it from moisture, and extend the lifespan of your nesting boxes, making them easier to clean.
- Deep clean periodically: Every few months, completely empty the boxes, scrub them with a mild, chicken-safe disinfectant, rinse thoroughly, and allow them to dry completely before adding fresh bedding.
Conclusion
Building your own chicken nesting boxes is a rewarding and highly practical project that significantly enhances the functionality and comfort of your chicken coop. This straightforward DIY endeavor not only makes daily egg collection a much easier task but also provides your beloved hens with a clean, secure, and comfortable private space essential for their well-being and consistent egg-laying.
Beyond the practical benefits, undertaking this project offers a unique sense of accomplishment. You’re creating a tailored solution that perfectly fits your specific coop setup, ensuring optimal conditions for your flock. A peaceful and safe environment for laying eggs can noticeably improve your chickens’ egg production rates and overall contentment.
By investing a little time and effort into constructing these essential additions, you are taking a crucial step towards improving your flock’s overall health, happiness, and productivity. Your hens will thank you with plenty of fresh, delicious eggs!
Frequently Asked Questions About DIY Chicken Nesting Boxes
What are the Best Materials for DIY Nesting Boxes?
Pine boards are generally considered the best choice due to their affordability, ease of working with, and general safety for chickens. Cedar is also an excellent option, known for its natural pest-repellent properties, but it tends to be pricier. Always ensure the wood is untreated to avoid harmful chemicals.
How High should Nesting Boxes be in a Chicken Coop?
Nesting boxes should ideally be placed 18-24 inches off the ground. This height provides a sense of security for hens, keeps the boxes cleaner from ground-level activity, and makes egg collection more convenient for you. Avoid placing them higher than your roosting bars.
How Many Nesting Boxes Do I Need For 10 Chickens?
A good rule of thumb is one nesting box for every 3-4 hens. Therefore, for a flock of 10 chickens, 3 to 4 boxes would be sufficient. Having slightly more than the minimum can help reduce competition and stress among your flock.
Can I Use Recycled Materials to Build Nesting Boxes?
Absolutely! Using recycled materials is a cost-effective and environmentally friendly approach. Clean pallet wood (ensure it’s heat-treated, not chemically treated, by looking for an HT stamp), old cabinets, or sturdy plastic containers can work well. Just make sure they are clean, robust, and free from any sharp edges or hazardous chemicals.
What is the Best Location for Placing Nesting Boxes in a Chicken Coop?
Nesting boxes should be placed in a quiet, darker corner of the coop, away from high-traffic areas, feeders, waterers, and especially roosting bars. Hens prefer privacy and a sense of security when laying, and a slightly darker spot can encourage this. Keeping them away from roosting bars prevents them from being soiled overnight.
