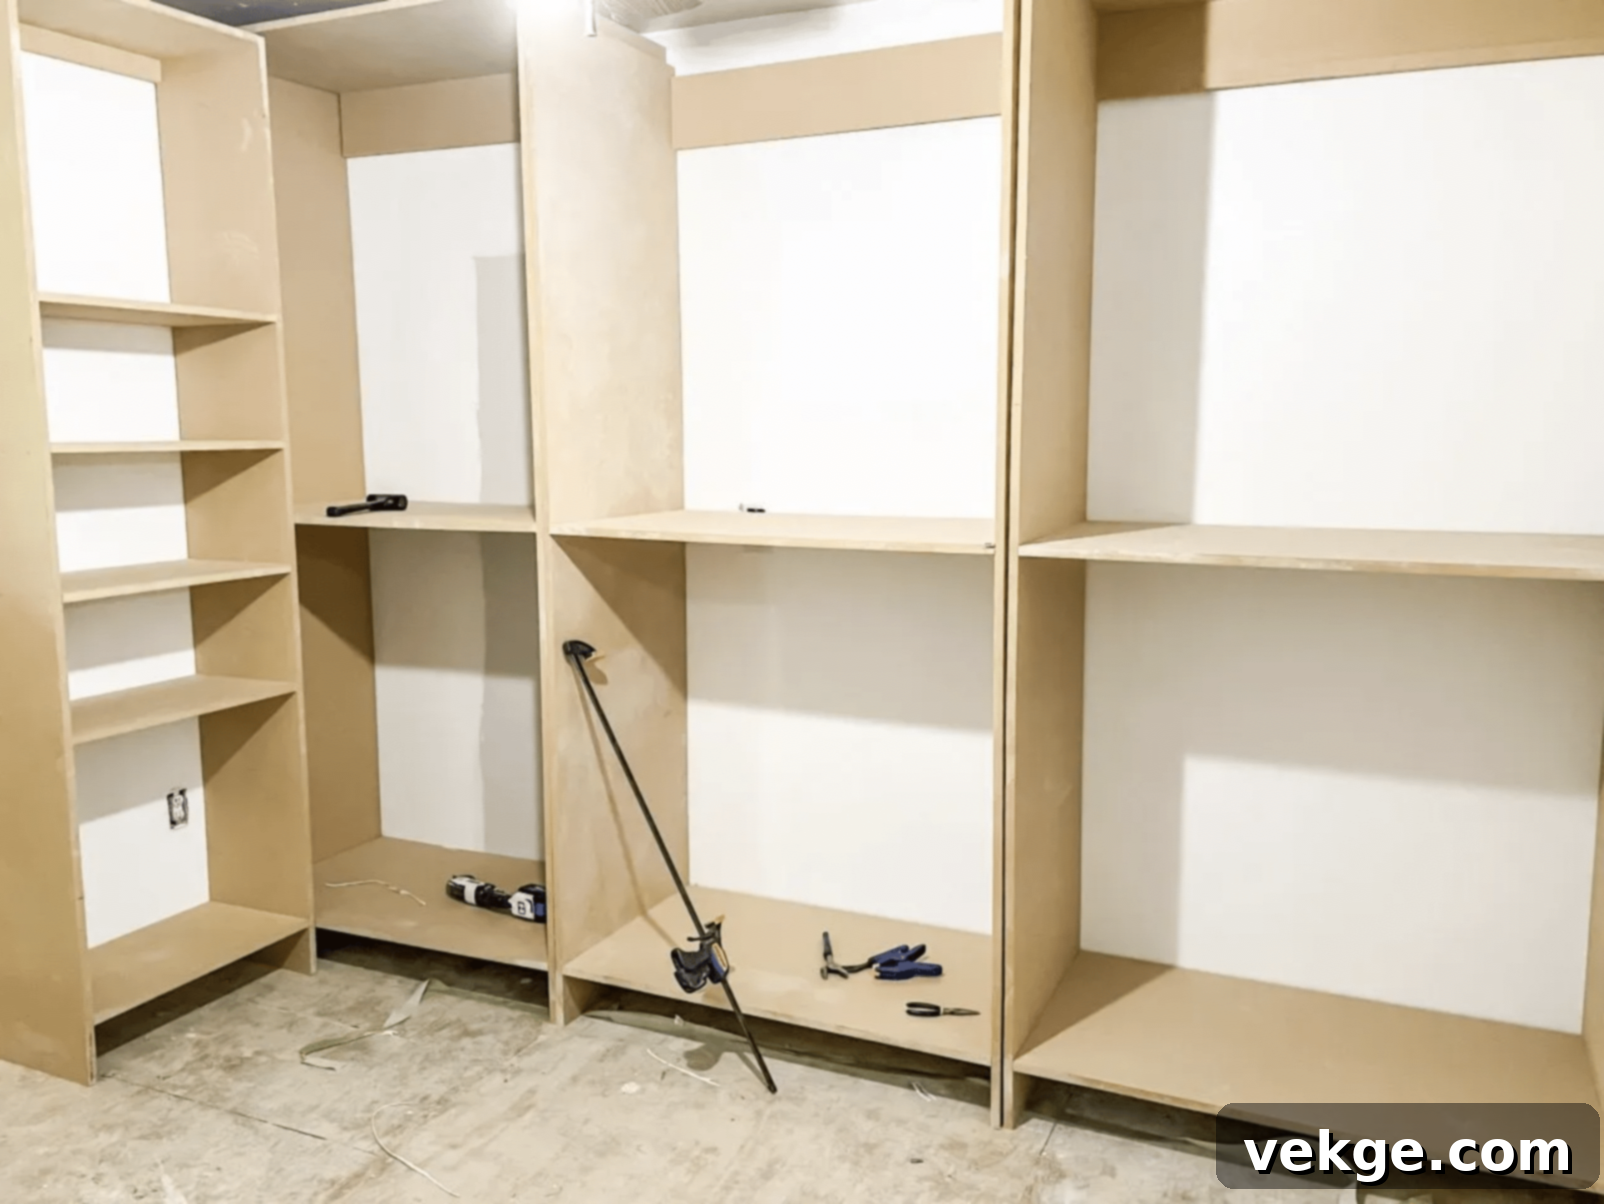
DIY Walk-In Closet: Build Your Dream Custom Storage on a Budget
Have you ever envisioned stepping into a perfectly organized space, where every garment, shoe, and accessory has its dedicated spot? That dream is often synonymous with a luxurious walk-in closet. You’re not alone in coveting this ultimate storage solution. Many homeowners aspire to have such a dedicated space, believing it’s an expensive luxury out of reach.
However, what if we told you that creating your very own walk-in closet isn’t just for professional designers or those with deep pockets? Building a DIY walk-in closet is not only achievable but often much easier and more affordable than you might imagine. This isn’t about being a master carpenter or having a workshop full of specialized tools. With some fundamental tools, a bit of effort, and our comprehensive guide, you can design and construct your ideal custom closet, transforming an underutilized space in just a few days.
Imagine the convenience of a custom-built sanctuary for all your belongings. A place where getting ready is no longer a scramble but a serene experience. A well-organized walk-in closet not only enhances your daily routine but also adds significant value and appeal to your home. It’s more than just storage; it’s an investment in efficiency and elegance.
Ready to turn this exciting dream into a tangible reality? This step-by-step guide will walk you through every phase of creating your DIY walk-in closet, from initial planning to the final decorative touches. Get ready to transform your space, upgrade your home’s storage capabilities, and enjoy the satisfaction of a project completed with your own hands. We’ll show you how to achieve a stylish and functional walk-in closet that perfectly fits your budget and personal aesthetic.
Starting Your DIY Walk-In Closet Project: The Foundation of Success
Embarking on a home improvement project like building a walk-in closet can feel daunting, but with proper preparation, you’ll set yourself up for success. Before you even think about grabbing a saw or measuring tape, it’s crucial to lay a solid foundation. This initial phase, though not always the most glamorous, is arguably the most vital. It’s all about strategic planning, assessing your space, clearing out the old, and meticulously preparing for the new structure.
A well-thought-out start ensures that your dream closet takes shape smoothly, avoiding costly mistakes and delays down the line. We’ll guide you through each essential step, ensuring you have a clear roadmap for your transformation. Remember, diligent prep work is the cornerstone of a beautiful and functional finished product!
The Initial Steps: Preparing Your Space for Transformation
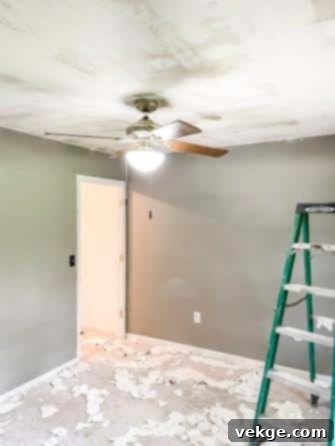
- Clear and Demolish: Begin by completely emptying the designated area. This includes removing any existing furniture, fixtures, or old closet components. If your space had old carpeting, linoleum, or outdated ceiling textures (like popcorn ceilings), now is the time to remove them. This creates a clean slate for your new design and allows for new, cohesive finishes.
- Assess and Redesign the Layout: This is your chance to truly customize. Consider if the current room layout serves your vision. You might want to remove non-load-bearing walls to expand the closet area, or reposition existing doorways to improve flow. For example, relocating a door can maximize wall space for shelving. Always consult with a professional if you’re unsure about structural integrity or load-bearing walls.
- Enhance Accessibility and Flow: Think about how you’ll use the closet daily. Some homeowners opt to open up the space to connect it directly to an adjoining master bathroom, creating a luxurious and convenient dressing area. This integration streamlines your morning routine and can significantly enhance the perceived value and functionality of your master suite.
- Electrical and Lighting Considerations: Before any new construction, plan your electrical needs. Will you need new outlets for chargers or steam irons? What type of lighting do you envision? Recessed lights, chandeliers, or LED strip lighting within shelves can dramatically improve functionality and ambiance. Ensure all electrical work is up to code and, if necessary, hire a licensed electrician.
Building the Closet Structure: Bringing Your Vision to Life
With your space meticulously prepped, the exciting part begins: constructing the physical framework of your walk-in closet! This is where your creative vision starts to materialize, as plain boards transform into functional, organized units. Don’t be intimidated if you’re new to woodworking. We’ll break down the process into clear, manageable steps, guiding you from raw materials to a robust closet structure.
You’ll gain a tremendous sense of accomplishment as you see your custom storage solution coming together before your eyes. Precision in measurement and execution at this stage is key to a professional-looking and long-lasting closet.
Essential Materials and Tools for Your Closet Build
Gathering the right materials and tools before you start will ensure a smooth and efficient building process. Quality tools and materials make a significant difference in the final outcome and ease of construction.
- Medium-Density Fiberboards (MDF), 3/4 inch thick: MDF is an excellent choice for closet building. It’s engineered wood made from wood fibers, wax, and resin, pressed into dense, flat panels. Its smooth surface takes paint beautifully, and its stability makes it resistant to warping, crucial for shelves and vertical dividers. Opt for 3/4-inch thickness for sturdy, durable units that won’t sag under weight.
- Brad Nails (2 inches): These thin, small-headed nails are perfect for joining wood pieces, particularly when a clean finish is desired. They leave tiny holes that are easy to fill, making them ideal for the visible surfaces of your closet.
- Level: An indispensable tool that ensures all your shelves, dividers, and units are perfectly horizontal and vertical. Using a level throughout the construction process prevents crooked shelves and an uneven appearance, which can be frustrating in a custom build.
- Nail Gun (Brad Nailer): A power tool that significantly speeds up the process of driving brad nails. It provides a consistent, strong fastening with minimal effort, resulting in a neat and professional finish compared to hammering each nail by hand.
- Square (Speed Square or Framing Square): This L-shaped or triangular tool is essential for checking and marking perfect right angles (90 degrees). Maintaining square corners is crucial for assembling units that fit together correctly and look aesthetically pleasing.
- Circular Saw or Table Saw: These power tools are fundamental for accurately cutting MDF boards to size. A circular saw is a versatile handheld option for various cuts, while a table saw offers greater precision and stability for ripping long, straight cuts, especially beneficial for consistent shelf lengths. Always use appropriate safety gear (eye protection, hearing protection) when operating power saws.
- Stud Finder: Essential for locating wall studs, which are the structural framing members behind your drywall. You’ll need to screw your closet units into these studs for maximum stability and safety.
- Drill/Driver: For pre-drilling holes to prevent wood splitting and for driving screws, especially when securing units to wall studs.
- Wood Glue: While not listed, wood glue provides additional strength to nailed joints, creating a much more durable and long-lasting structure. Apply a thin bead along the edges before nailing.
- Clamps: Various types of clamps (bar clamps, quick clamps) are invaluable for holding pieces together securely while you nail or glue, ensuring tight, flush joints.
- Height: Measure your ceiling height. Then, subtract approximately 4 inches. This allowance accounts for potential crown molding at the top, baseboards at the bottom, and provides a small gap for easier installation and to compensate for any slight variations in ceiling height.
- Width: A width of about 24 inches is standard and highly recommended for hanging clothes. This depth ensures that hangers and garments fit comfortably without brushing against the back wall or the closet door, preventing wrinkles and allowing for proper air circulation.
- Safety First: When using a circular or table saw, always wear eye protection and hearing protection. Ensure your workspace is clear and the MDF is securely supported. Make sure to cut slowly and steadily for clean, straight edges.
- Width: The width of your shelves should be the same as your side pieces, typically 24 inches, to create a seamless, flush look for your units.
- Length: The length of each shelf will determine the width of your individual closet sections. For example, if you aim for a unit that is 42 inches wide (as suggested in the original plan), cut your shelves to this length. Plan your unit lengths based on the total wall space available and how you intend to divide it (e.g., a 42-inch section for hanging shirts, another for folded items, etc.).
- Consistency: Cut all shelves for a single unit at the same time to ensure consistent lengths.
- Assembly Method: Apply a thin bead of wood glue along the edges where the shelves will meet the side pieces. This dramatically increases the strength and rigidity of the joint.
- Nailing: Use your nail gun with 2-inch brad nails. Nail from the outside of the long side pieces into the ends of the shelves. For added strength and stability, you can also nail from the top/bottom of the shelves into the side pieces.
- Precision Check: Continuously use your square to ensure that all shelves are perfectly perpendicular to the side pieces (creating perfect 90-degree angles). Also, use your level to confirm that each shelf is perfectly horizontal before securing it fully.
- Tip for Even Spacing: To maintain consistent distances between shelves, create simple wooden spacers (blocks cut to the desired shelf height). Place these between shelves during assembly. Using clamps to hold pieces firmly while nailing will also ensure tight, flush joints.
- Hanging Areas: Designate specific sections for different clothing lengths. Create a double-hang section (two rods, one above the other) for shirts, blouses, and folded pants. Allocate taller sections for dresses, coats, and long skirts. Measure your longest garments to ensure adequate hanging space.
- Shoe Shelves: Incorporate dedicated shoe shelving. A depth of 14 inches works well for most shoes, allowing them to sit neatly without protruding. Consider adjustable shelves for flexibility, accommodating boots or different shoe styles. Angled shoe shelves with a lip can also display shoes more effectively.
- Drawer Units: Integrate drawer units for smaller, foldable items like socks, underwear, ties, scarves, and accessories. You can build these yourself or purchase pre-made drawer inserts that fit within your custom units.
- Specialized Storage: Think about other items you need to store. Belts, ties, and jewelry can benefit from dedicated pull-out racks or velvet-lined drawers.
- Locate Studs: Use a stud finder to locate the wall studs behind your drywall. These are the strongest points for attachment. Mark their positions clearly.
- Attachment Points: Screw the top piece of each unit (and ideally, additional points along the sides) directly into the wall studs. Use long wood screws (e.g., 2.5-3 inches) that are appropriate for the depth of your MDF and the wall studs.
- Level and Plumb: Before fastening, ensure each unit is perfectly level and plumb (vertically straight). Use shims if necessary behind the units to compensate for any unevenness in the wall, preventing wobbling and ensuring a professional fit.
- Elegant Glass Cabinetry: Install a glass-front cabinet or display shelves for your most cherished items. This is perfect for showcasing luxury handbags, a collection of designer perfumes, statement jewelry, or even heirloom accessories. Adding internal LED strip lighting can further highlight these items, creating a boutique-like display.
- Functional Half Wall or Island: A half wall can elegantly separate your closet from an adjacent space, like a laundry area or dressing nook, without fully enclosing it. This maintains an open feel while providing a visual and functional division. Alternatively, if space allows, consider building a central island. A closet island offers additional counter space for folding clothes, an extra surface for laying out outfits, and often includes drawers or shelves for more storage, becoming a true focal point.
- Practical Cubby Shelves: Create a series of cubby shelves. These are incredibly versatile for organizing smaller items such as folded sweaters, T-shirts, athletic wear, or even small baskets containing accessories. Cubbies help maintain order and prevent stacks of clothes from toppling over, ensuring everything stays neat and accessible.
- Integrated Seating: If space permits, incorporate a built-in bench or a comfortable ottoman. This provides a convenient spot for sitting while putting on shoes, a temporary landing zone for accessories, or simply a place to pause and admire your organized wardrobe.
- Full-Length Mirror: No walk-in closet is complete without a prominent full-length mirror. This is essential for outfit checks and can also make the space feel larger and brighter, especially if positioned opposite a light source.
- Accessory Organization: Dedicate specific areas for accessories. This could include pull-out valet rods for tomorrow’s outfit, tie and belt racks, jewelry drawers with custom inserts, or wall-mounted hooks for scarves and hats.
- Apply Trim and Molding to Units: Just like fine cabinetry, adding decorative trim (face frames, edge banding) to the front edges of your MDF units instantly elevates their appearance. This covers raw edges, provides a more substantial look, and allows for a seamless painted finish.
- Construct or Install Drawers: If you’ve designed your closet with integrated drawers, this is the time to build and install them. Ensure smooth-gliding drawer slides for a high-quality feel. Alternatively, consider pre-fabricated drawer boxes or storage bins that fit perfectly within your custom cubbies.
- Prime and Paint Everything: Proper preparation is key for a flawless finish. Thoroughly sand all MDF surfaces, fill any nail holes with wood filler, and then apply a high-quality primer specifically designed for MDF. Once primed and lightly sanded again, apply two or more coats of durable, semi-gloss or satin paint in your chosen color. This protective coating will make your closet easy to clean and maintain.
- Install Crown Molding and Baseboards: These architectural details add a touch of elegance and provide a finished look, seamlessly integrating your closet into the room. Crown molding along the ceiling and baseboards along the floor hide imperfections and create a cohesive design.
- Install New Flooring: Choose a flooring material that complements your home’s aesthetic and is practical for a closet space. Options include hardwood, laminate, luxury vinyl plank, or plush carpeting. Ensure the new flooring is installed after all major construction is complete to protect it from damage.
- Hang a Thoughtful Light Fixture: Good lighting is paramount in a closet. Install a beautiful light fixture – whether it’s recessed lighting, a small chandelier, or elegant flush-mount fixtures – to provide ample illumination. Consider adding task lighting within shelves or hanging sections with LED strips for enhanced visibility.
- Trim Doorways and Install Doors: Frame any doorways leading into your walk-in closet with matching trim. Decide on your door style: traditional swing doors, space-saving pocket doors, modern barn doors, or even no door at all for an open concept. Install hardware that matches your home’s aesthetic.
- Exceptional Space-Efficiency: They are perfect for small homes, apartments, or rooms where every square inch counts. Built-ins leverage vertical space, offering substantial storage without consuming valuable floor area.
- Comprehensive Wardrobe Capacity: Despite their compact design, a well-organized built-in closet can comfortably house a full wardrobe. Smart shelving, drawer systems, and hanging solutions maximize every inch.
- Reduced Bedroom Clutter: By providing dedicated, enclosed storage, built-ins help keep your bedroom neat and free of visual clutter, promoting a calm and restful environment.
- Promotes a Minimalist Lifestyle: The finite space of a built-in closet naturally encourages a more deliberate approach to your wardrobe. It helps you keep only what you truly need and use, aligning with minimalist principles.
- Prevents Hoarding: By limiting the available storage, built-ins can be an effective tool against accumulating unused items. They encourage regular decluttering and conscious consumption.
- Potentially More Affordable for Extensive Storage: When built as a DIY project, a walk-in closet can be more cost-effective for creating a large volume of storage compared to hiring professionals for a complex built-in system. You save significantly on labor costs.
- Simpler to Install and Upgrade for Layout Changes: A DIY walk-in often involves less intricate carpentry and fewer structural modifications than a custom built-in that must precisely fit an existing niche. Its components can also be more easily reconfigured or upgraded as your needs change.
- Keeps Items Visible and Easy to Find: The open and expansive nature of a walk-in closet allows for greater visibility of your entire wardrobe. This makes it easier to browse, select outfits, and keep track of your belongings.
- Numerous Add-Ons Available to Boost Storage: Walk-ins offer ample space for incorporating a wide array of specialized storage solutions, such as central islands, custom shoe racks, display cabinets, and integrated hampers, all within the same dedicated room.
- Can Double as a Dressing Area: With enough space, a walk-in closet transforms into a private dressing room. Adding a full-length mirror, a comfortable bench, and good lighting creates a functional and luxurious space for getting ready.
- Storage Space Needs: While built-ins are efficient, walk-ins inherently offer more overall volumetric storage space if you have a vast wardrobe or need to store seasonal items.
- Available Wall Space: Built-ins require sufficient, uninterrupted wall space for installation. Walk-ins require an entire room or a significant portion of a room to convert.
- Future Planning: Consider your long-term needs. A built-in might be perfect for a single person or couple, but a growing family might eventually outgrow its capacity. Walk-ins can be more flexible for evolving storage demands.
- Resale Value: Both well-designed walk-ins and built-ins can add value. However, a walk-in that is too large or poorly integrated might be perceived as wasted space by potential buyers.
Step-by-Step Construction Guide
1. Cut the MDF for the Side Pieces and Vertical Dividers
The side pieces form the vertical structure of your closet units.
2. Cut Shelves and Horizontal Spacers
These pieces will define the horizontal divisions within your closet units.
3. Join Shelves to Side Pieces
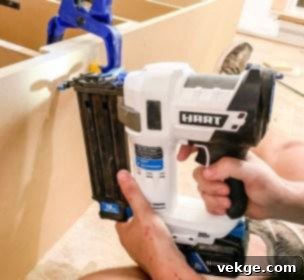
This is where your individual closet units begin to take shape.
4. Create Different Sections within Your Walk-in Closet
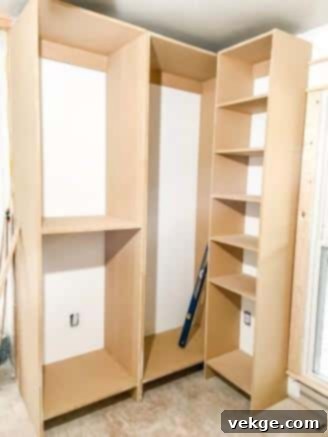
Now, customize the internal configuration of your units to suit your wardrobe.
5. Secure Units to the Wall for Stability
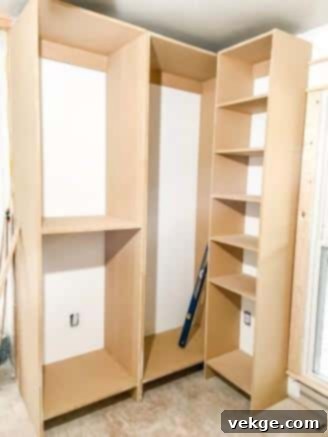
Once your individual units are assembled, it’s crucial to secure them to the wall for safety and stability.
Adding Special Features: Elevating Your Custom Walk-In Closet
To truly make your walk-in closet a bespoke and luxurious space, consider incorporating special features that reflect your style and meet your specific needs. These additions go beyond basic storage, enhancing both functionality and aesthetics.
Finishing Touches: Polishing Your DIY Walk-In Closet
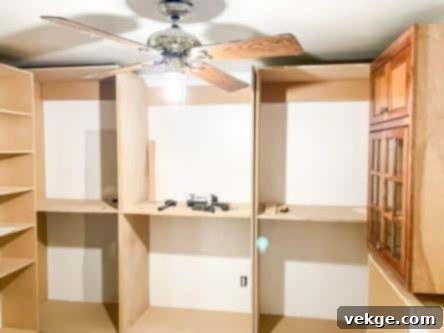
Your custom closet units are built, and the structure is in place. Now comes the exciting phase of adding the finishing touches that transform a functional framework into a beautiful, polished, and inviting space. This is where your personality truly shines through, making the closet feel like a natural extension of your home.
Your Essential Finishing Touches To-Do List:
Remember, building your dream closet is a journey, not a race. Take your time with these finishing touches, paying attention to detail. Each step contributes to the overall elegance and functionality of your space. Soon, you’ll have a beautifully customized walk-in closet that not only fulfills your storage needs but also enhances your daily life, all without the exorbitant cost of a professional installation!
Estimated Cost So Far: Approximately $450 for MDF boards. This cost can vary based on local material prices and the size of your closet, but DIY significantly reduces labor expenses.
Walk-In Closet Alternative: The Efficient Built-In Closet
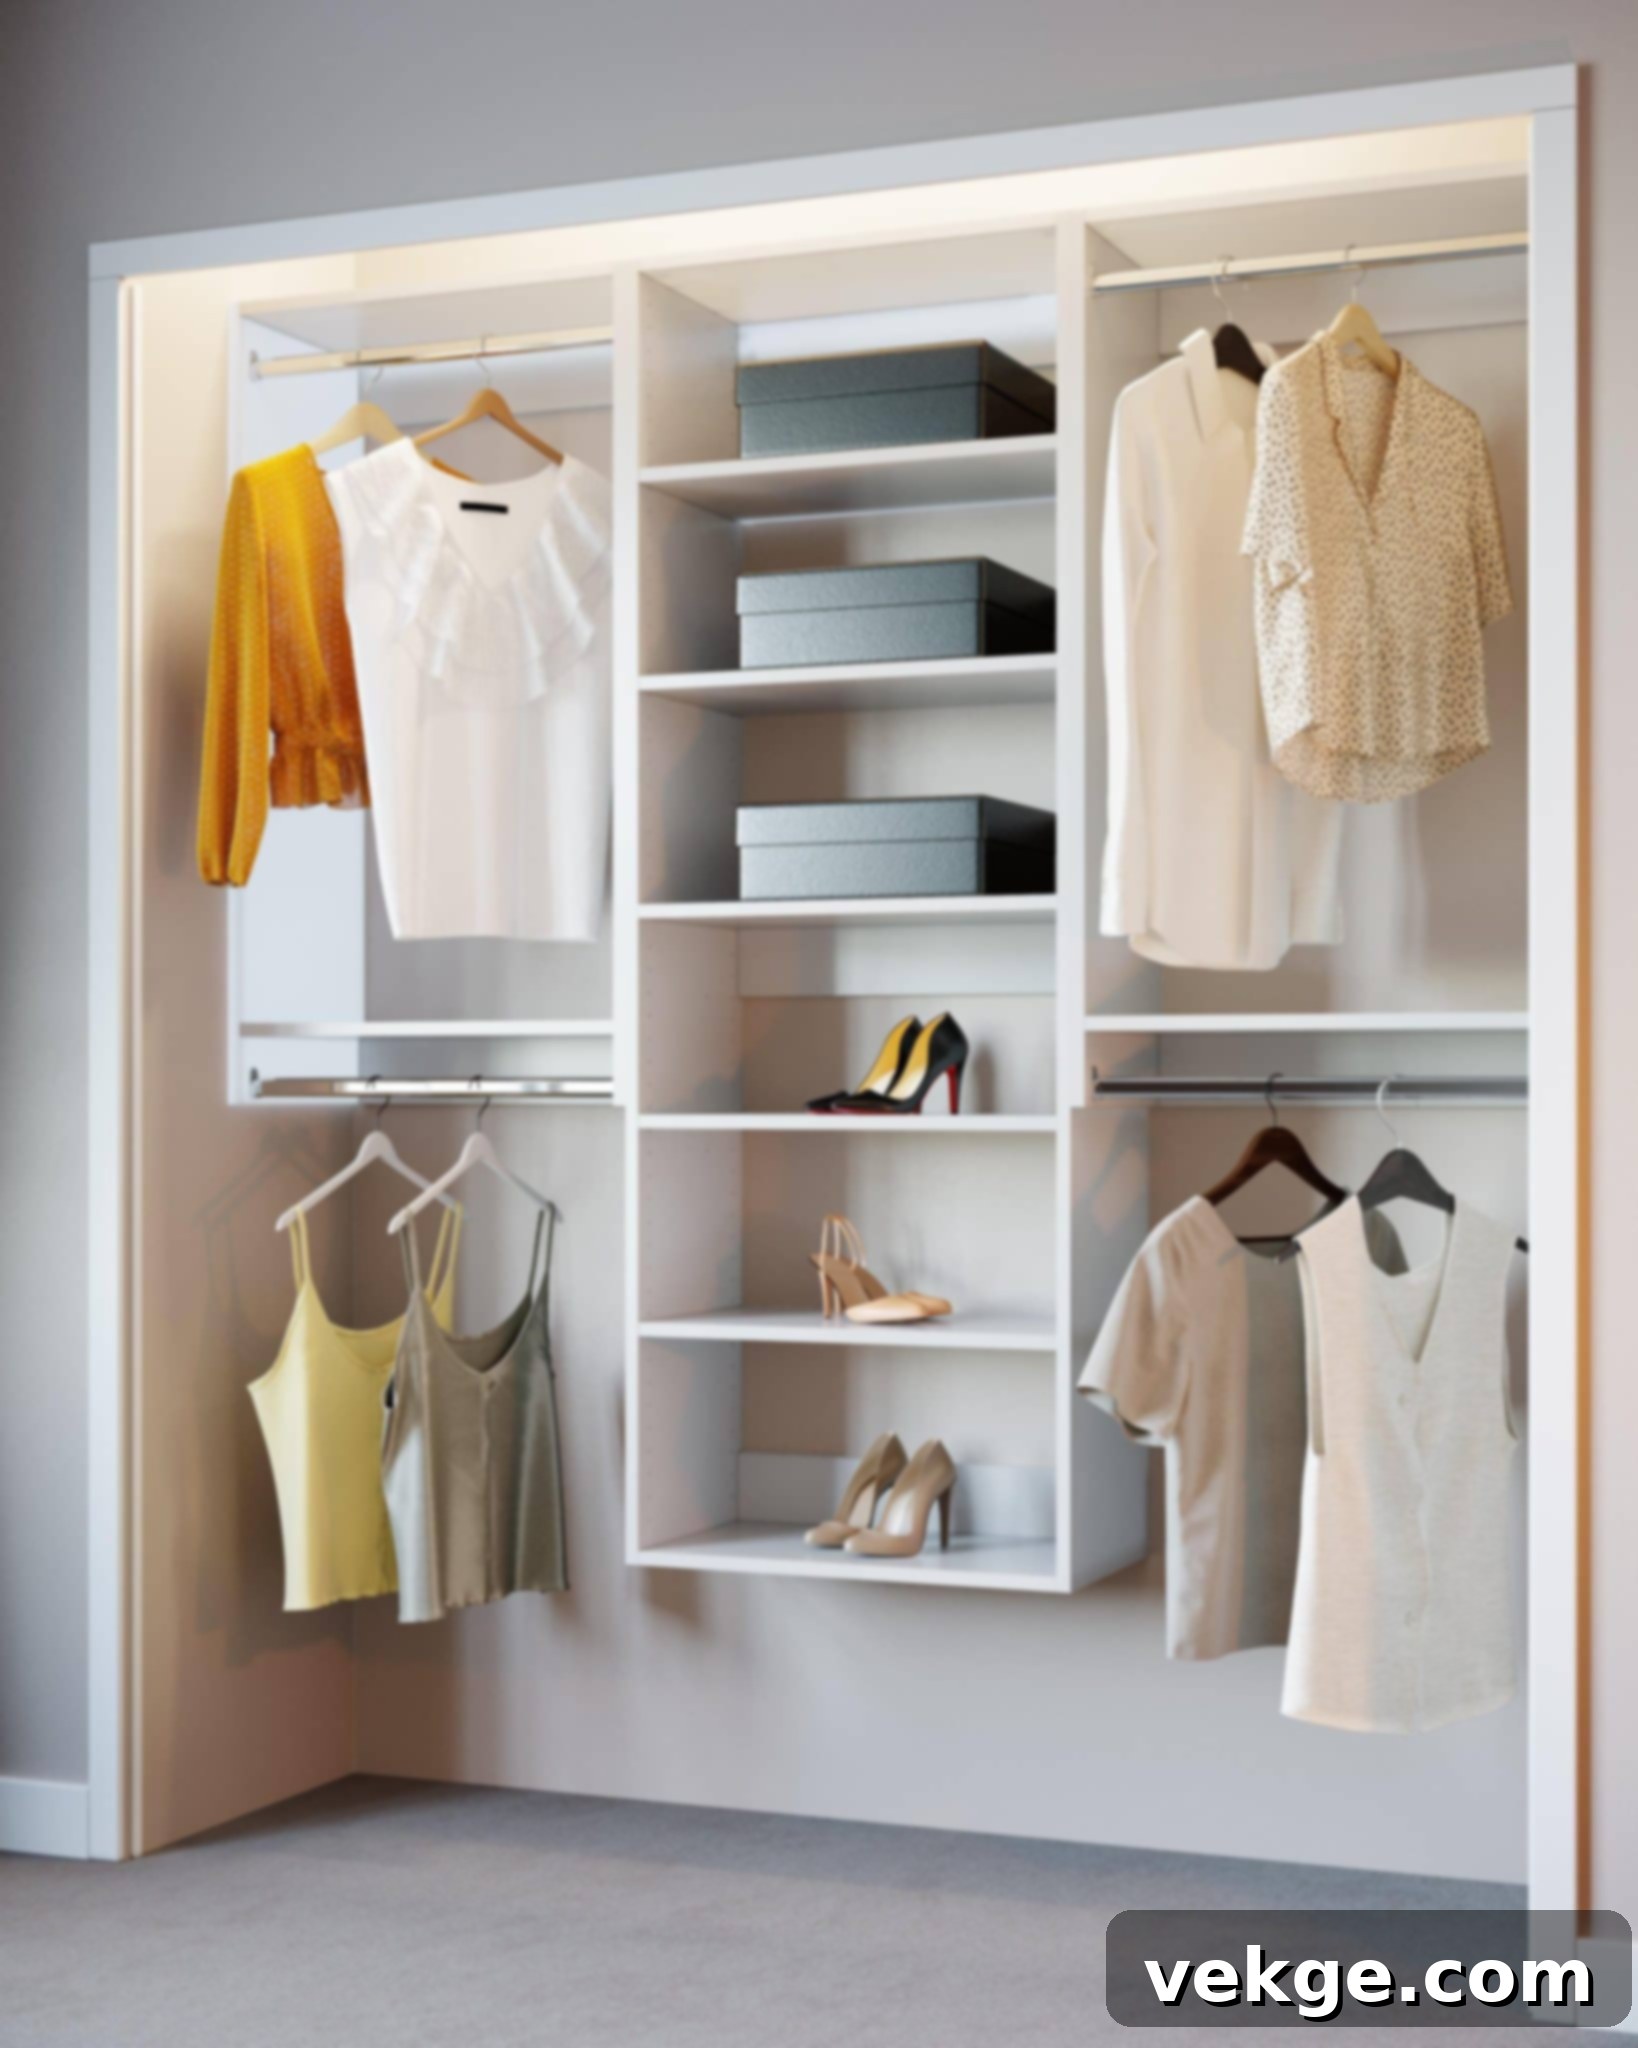
While a walk-in closet offers a luxurious experience, it’s not always the most practical or space-efficient solution for every home. For those looking to maximize storage within a smaller footprint, built-in closets present an excellent and highly popular alternative. Though you can’t literally “walk into” them, their smart design and efficient use of space often make them just as, if not more, functional than many walk-ins.
Built-in closets are seamlessly integrated into the room’s architecture, making them incredibly space-efficient. They utilize existing wall space, often floor-to-ceiling, to provide extensive storage without protruding into the room. In contrast, a poorly designed walk-in closet can sometimes feel like wasted floor space, especially if it becomes disorganized over time. Built-ins, by their very nature, encourage more precise organization due to their contained structure.
Maintaining a smaller, well-designed built-in closet is often considerably easier and more efficient. Their compact nature helps in keeping items tidy and accessible, preventing the accumulation of clutter that can sometimes plague larger, less structured walk-in closets. For many homeowners, the ease of maintenance and inherent tidiness of a built-in closet outweighs the allure of a larger, potentially messy, walk-in space.
Key Benefits of Built-In Closets
Built-in closets offer compelling advantages, particularly for modern living:
Advantages Of DIY Walk-In Closets
While built-ins have their merits, DIY walk-in closets also offer distinct benefits, especially for those with available space and a desire for customization:
Factors to Consider When Choosing
Making the right choice depends on your individual circumstances:
Is a Built-in Closet Right for You?
Choose a built-in closet if you have limited available space, a smaller wardrobe, or prioritize minimalist living. They are generally budget-friendly (especially if DIY), low-maintenance, and incredibly compact, making them ideal for urban living or smaller homes.
However, be prepared for regular tidying to maintain their efficiency. Consider your current and long-term storage requirements carefully before deciding. If you dream of a more expansive, immersive dressing experience and have the square footage, a DIY walk-in closet might be your perfect project.
Summing It Up: Enjoying Your Custom DIY Walk-In Closet
Embarking on the journey of building a DIY walk-in closet is a profoundly rewarding home improvement project. It’s a chance to transform an underutilized area into a highly functional and aesthetically pleasing space, significantly upgrading your home’s storage capabilities and overall value. Throughout this comprehensive guide, you’ve learned the essential steps involved, from meticulous planning and precise measurement to the robust construction and elegant finishing of your custom closet.
Remember, the cornerstone of a successful DIY project lies in careful, detailed planning and diligent, accurate execution. Every measurement, cut, and joint contributes to the durability and beauty of your finished closet. By investing your time and effort, you’re not just building a storage unit; you’re crafting a personalized sanctuary that perfectly caters to your lifestyle.
As you near completion, consider adding those final personal touches that truly make the space your own. A stylish full-length mirror, a comfortable bench for dressing, or thoughtfully placed lighting can elevate the ambiance and functionality. These details transform your closet from merely practical to utterly luxurious.
Once the construction dust settles, the final, and perhaps most enjoyable, step is to organize your belongings effectively. With your brand-new DIY walk-in closet, you’ll experience the joy of easy access to all your clothing, shoes, and accessories. Say goodbye to cluttered bedrooms and frustrating searches; embrace a newfound sense of order and serenity in your daily routine. We sincerely hope this guide has inspired and empowered you to take on this exciting home improvement challenge, leading to a perfectly organized and beautiful space you’ll cherish for years to come.
