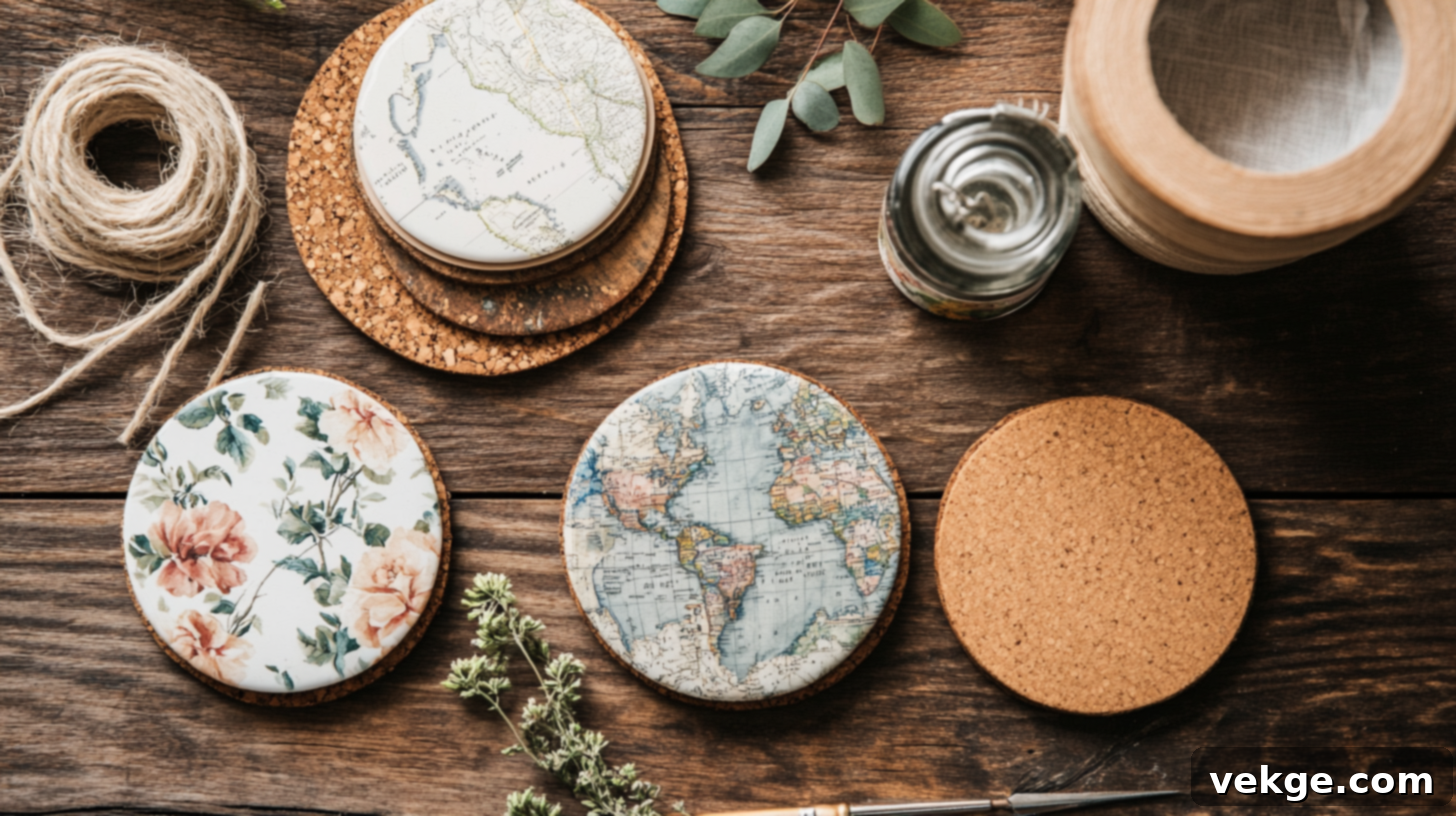
Craft Your Own Custom Coasters: A Complete Guide to DIY Cork, Ceramic, and Wooden Designs
Ever cringed at a water ring appearing on your beloved coffee table? We’ve all been there! Protecting your furniture is essential, and what better way to do it than with stylish, personalized coasters you’ve made yourself? Crafting your own coasters isn’t just a fun and rewarding weekend project; it’s a practical way to safeguard your surfaces while infusing your home with a unique, personal touch.
In this comprehensive guide, we’ll walk you through three distinct and simple ways to create custom coasters that are both incredibly useful and aesthetically pleasing. You’ll discover how to make versatile cork coasters for a quick and easy craft, robust ceramic tile coasters designed to withstand daily wear and tear, and rustic wooden coasters that add a touch of natural elegance to any space.
By the end of this post, you’ll possess all the knowledge and inspiration needed to craft a collection of personalized coasters that perfectly match your home decor and effectively protect your tables from spills, heat, and condensation. Get ready to unleash your inner crafter and create something truly special!
Why Choose to Make Your Own Coasters?
Beyond the simple act of protection, making your own custom coasters offers a myriad of benefits. It’s an enjoyable and fulfilling creative outlet that yields tangible, useful results. There’s a special satisfaction that comes from creating something with your own hands that store-bought items simply cannot replicate.
Unparalleled Personalization and Style
One of the most compelling reasons to DIY your coasters is the incredible freedom for personalization. You can design coasters that truly reflect your personality, passions, and the specific aesthetic of your home. Imagine coasters featuring:
- Colors and patterns perfectly coordinated with your living room’s accent pillows.
- Fun, whimsical designs ideal for a themed party or a child’s playroom.
- Cherished family photos, maps of meaningful places, or abstract art to create a truly unique conversation starter.
When guests visit, these small but significant details will undoubtedly catch their eye, showcasing your creativity and making your home feel distinctively yours. Your personality will shine through in every custom coaster you craft.
Thoughtful and Cost-Effective Gifts
Handmade coasters are an excellent choice for thoughtful gifts that won’t strain your budget. For birthdays, holidays, housewarming parties, or even as a simple thank-you gesture, a set of custom coasters conveys a powerful message: “I took the time and effort to create something truly unique just for you.”
People cherish gifts that come from the heart and demonstrate genuine care. A beautifully crafted set of DIY coasters often costs significantly less than many store-bought presents, yet it holds immeasurable sentimental value for the recipient.
Practicality Meets Style: Furniture Protection
Above all, coasters are functional items designed to protect your furniture. They diligently guard against unsightly water rings, heat damage from hot mugs, and accidental spills. But their utility doesn’t mean they have to be bland. On the contrary, custom coasters add a layer of charm and polish to any room.
Strategically placed on coffee tables, nightstands, kitchen counters, or even desks, they serve a crucial purpose while making your space feel more organized and aesthetically coherent. Effective furniture protection can absolutely be beautiful.
How to Make Easy DIY Cork Coasters
Creating custom cork coasters is remarkably straightforward and requires minimal time and materials. This method is perfect for beginners, group crafting sessions, or anyone looking for a quick and satisfying project with beautiful results.
Materials You’ll Need:
- Pre-cut cork coasters (available at craft stores in various shapes and sizes)
- Mod Podge (matte or gloss finish) or strong white craft glue
- Scissors or a precision craft knife
- Decorative paper, fabric scraps, personal photos, or artwork
- Small paintbrush or sponge applicator
- Craft paint (optional, for adding border designs or patterns)
- Clear acrylic sealer spray (optional, for extra durability)
Step 1: Prepare Your Decorative Paper or Artwork
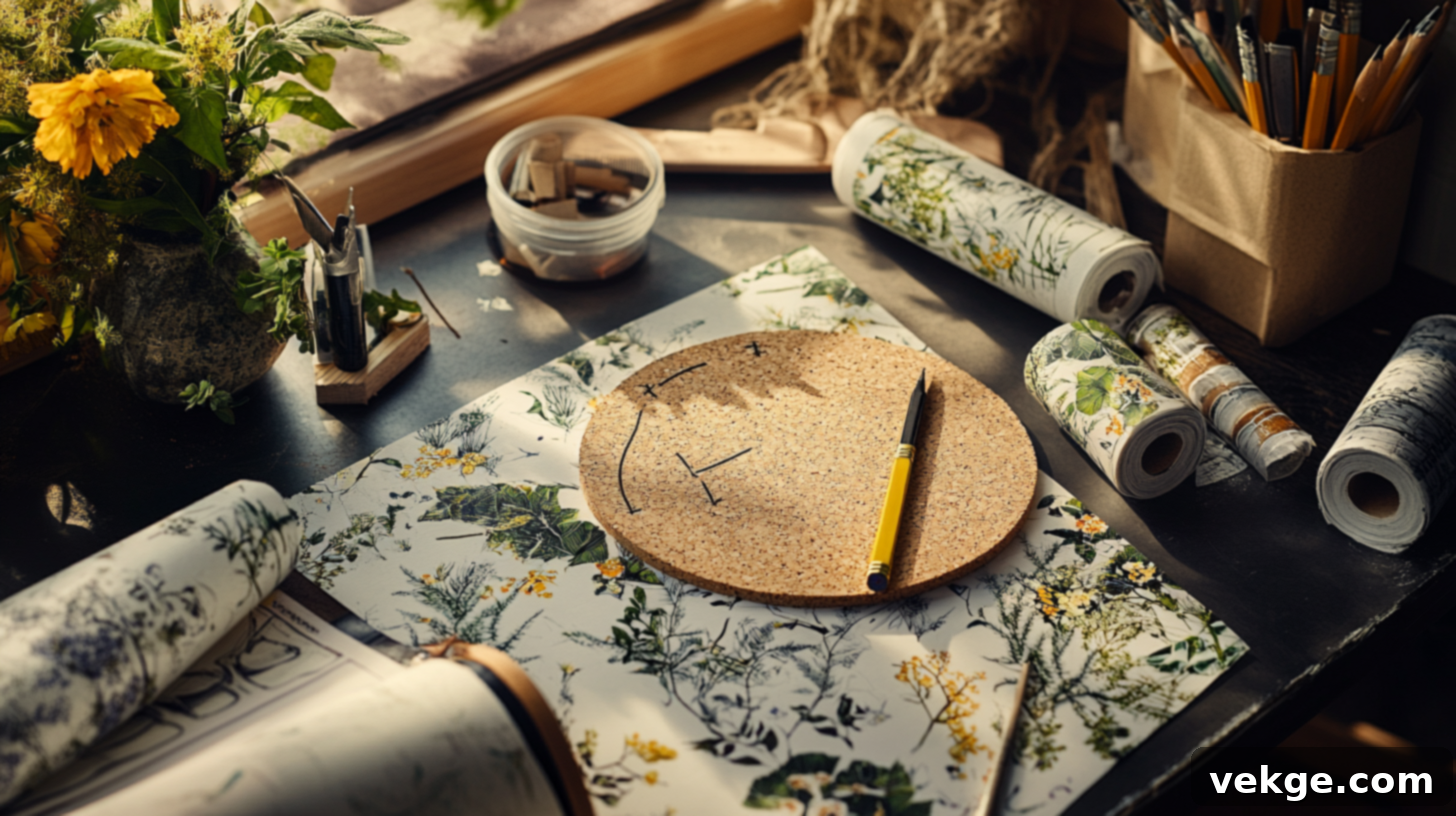
The first crucial step is to cut your chosen decorative paper, photo, or fabric to perfectly match the size and shape of your cork coaster. Precision here makes a significant difference in the final, professional appearance of your coaster. I highly recommend tracing the coaster’s shape onto the back of your paper, then cutting *just inside* the traced line. This ensures a snug fit without any paper edges overhanging, which can peel later.
Pro Tip: If you’re using printed photos, opt for ones printed on standard paper rather than glossy photo paper. Glossy surfaces can sometimes cause air bubbles or resist proper adhesion when sealed with Mod Podge.
Step 2: Securely Glue the Paper to the Cork
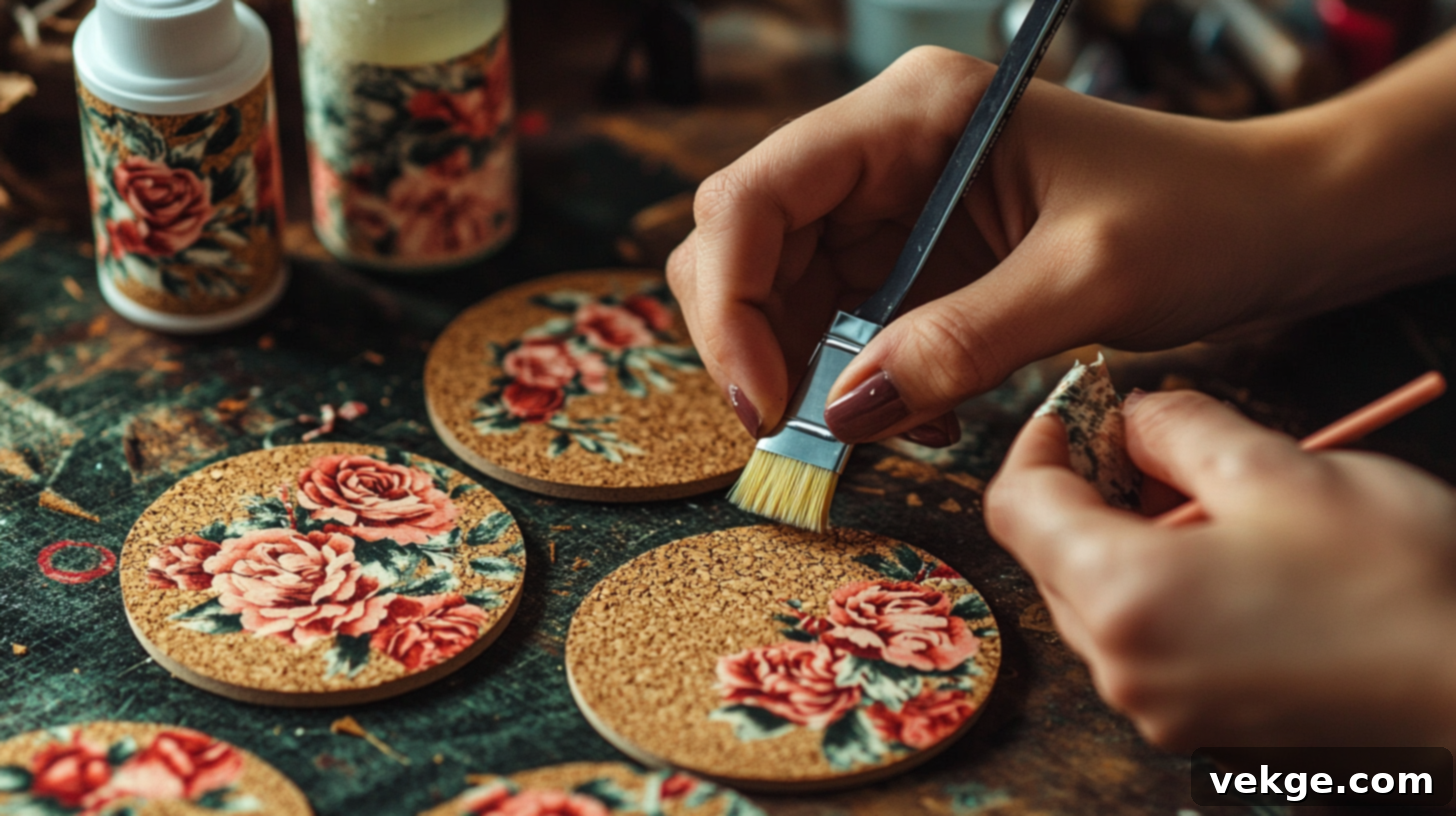
Now for the creative assembly! Apply a thin, even layer of Mod Podge or white craft glue to the entire top surface of your cork coaster using your paintbrush or sponge applicator. Don’t be afraid to be generous, but aim for an even coat. Excess glue can always be gently smoothed out.
Carefully place your cut decorative paper onto the wet glued surface. Starting from the center, gently press down and smooth outwards towards the edges. This technique helps to eliminate any trapped air bubbles, ensuring a perfectly flat and secure bond. Allow this layer to dry for at least 15-20 minutes before proceeding.
Step 3: Seal and Protect Your Design
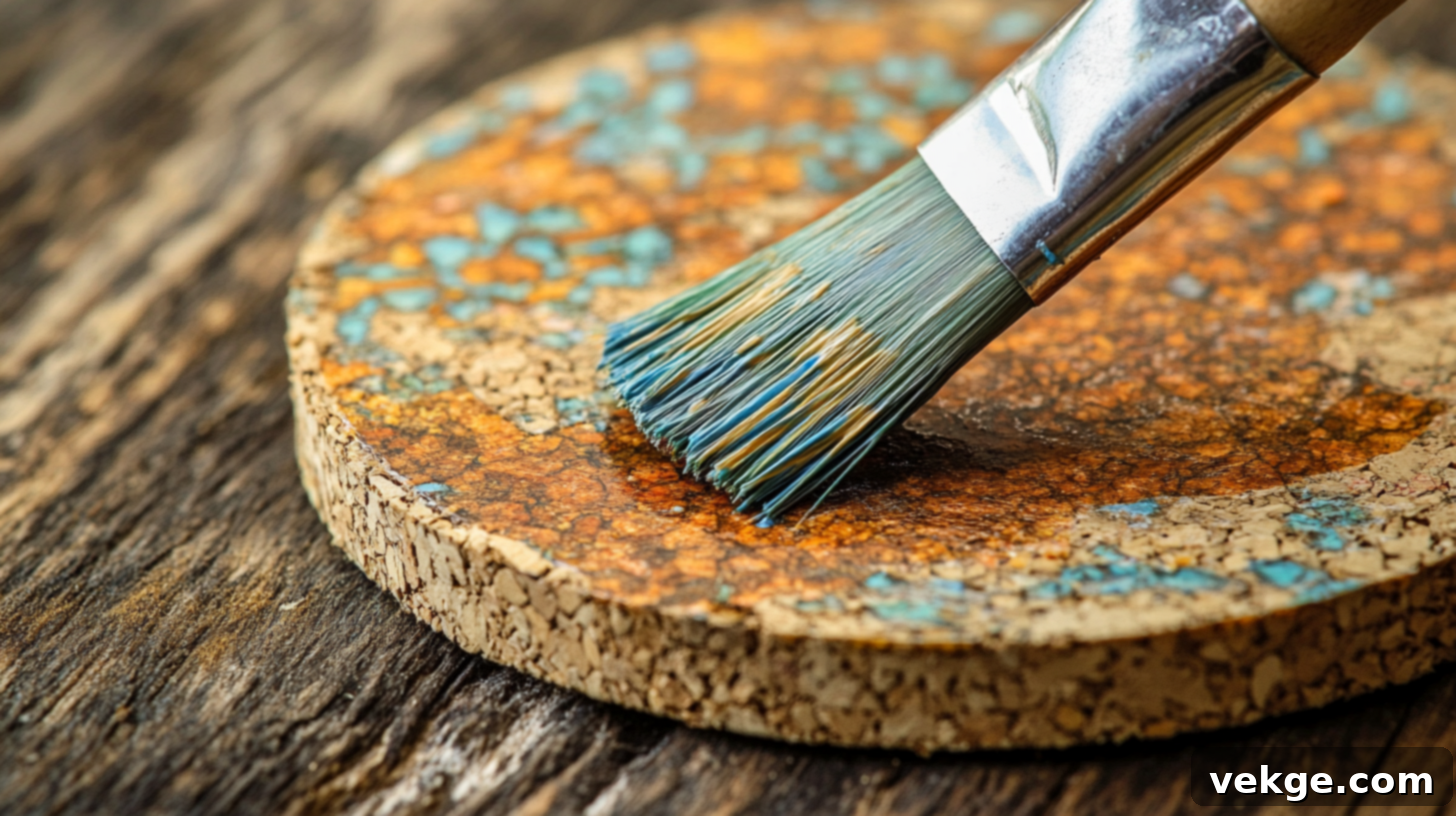
Once your paper is firmly adhered and looks smooth, it’s time to protect your beautiful design from moisture and wear. Apply a generous layer of Mod Podge over the entire top surface of your coaster. Use your brush or sponge, working in a consistent direction (e.g., left to right or top to bottom) for the smoothest possible finish.
Don’t be alarmed if the Mod Podge appears white or cloudy when wet; it will dry completely clear, forming a durable, water-resistant seal. This top coat is essential for preventing water damage from drink condensation or minor spills, ensuring your coasters remain beautiful and functional for longer.
Step 4: Dry Thoroughly and Add Finishing Layers
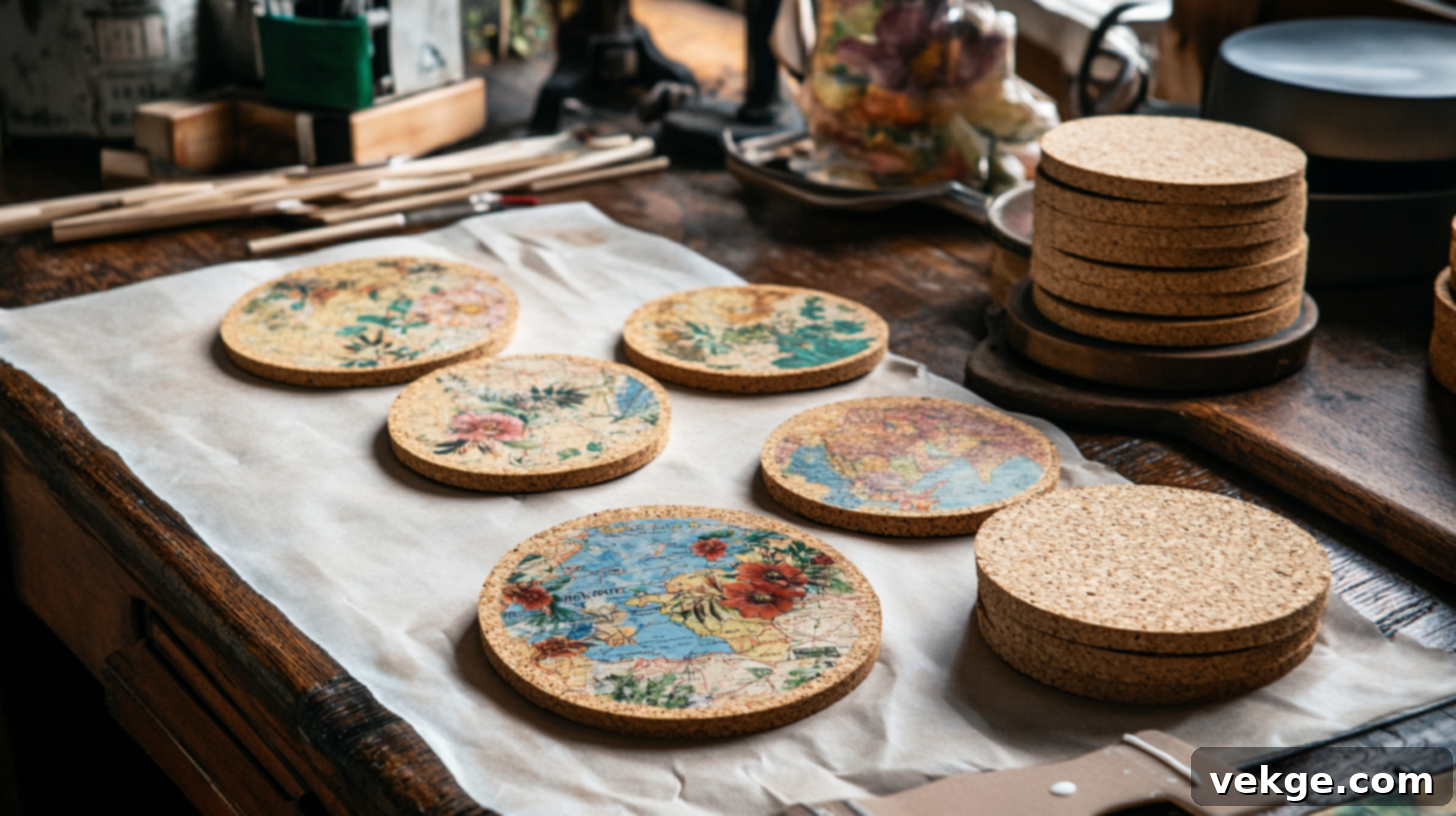
Allow your newly sealed coasters to dry completely. This typically takes at least 2-3 hours, but leaving them to cure overnight is even better for maximum durability. Once the first layer is dry to the touch, apply a second layer of Mod Podge for enhanced protection. For highly used coasters or a very robust finish, you can even add a third or fourth thin layer, allowing each to dry completely between applications.
For an exceptionally smooth, professional-grade finish, consider very lightly sanding with super-fine grit sandpaper (like 400-grit) between the final layers of Mod Podge. This step helps eliminate any brush strokes or slight imperfections.
Bonus Tip for Personalization:
Elevate your cork coasters by incorporating maps of places that hold special meaning to you or the recipient. For instance, I once created a set of coasters featuring maps of cities where my closest friends reside. The personal connection made them incredibly cherished gifts, demonstrating thoughtfulness beyond a generic store-bought item.
How to Make Durable Ceramic Tile Coasters
For coasters that truly stand the test of time and heavy daily use, ceramic tile coasters are an outstanding choice. Their solid construction makes them resilient against hot beverages, cold, sweating glasses, and years of activity, all while maintaining their pristine appearance. The substantial feel of a ceramic tile coaster also conveys a sense of quality and craftsmanship.
Materials You’ll Need:
- 4″x4″ (or similar size) ceramic tiles (plain white or light-colored work best)
- Mod Podge or strong white craft glue
- Decorative paper, high-quality photos, or printed artwork
- Scissors or craft knife
- Small paintbrush or sponge applicator
- Envirotex Lite Pour-On Resin (or similar two-part epoxy resin for a waterproof finish)
- Protective gloves, disposable mixing cups, and stirring sticks (for resin)
- Felt pads or cork sheets (for backing)
- Rubbing alcohol and paper towels (for resin cleanup)
- Toothpicks or a small torch (for popping resin bubbles)
Step 1: Prepare Your Ceramic Tiles and Design
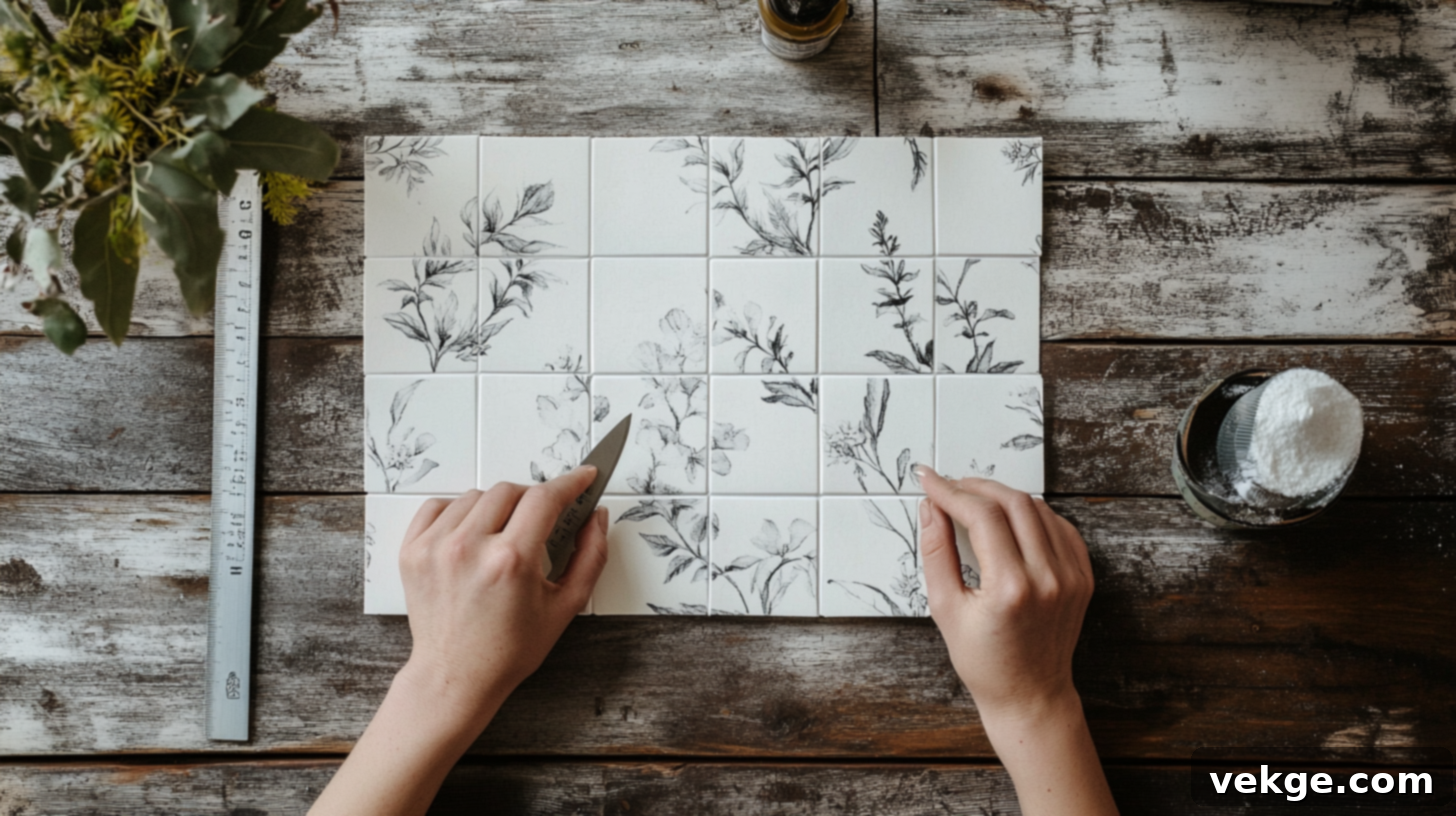
Before beginning, ensure your ceramic tiles are impeccably clean and completely dry. Any dust, grease, or moisture can compromise adhesion. Next, precisely cut your chosen paper or photos. I’ve learned from experience that it’s best to cut your design approximately 1/8 inch smaller than your tile on all sides. This slight margin creates a neat border around your design and makes placement significantly easier. When I first tried, I cut my paper to the exact tile size, and it was a frustrating struggle to align it perfectly without edges sticking out or tearing. Trust me, leaving that small gap simplifies the entire process and results in a cleaner finish.
Step 2: Glue and Thoroughly Seal the Paper
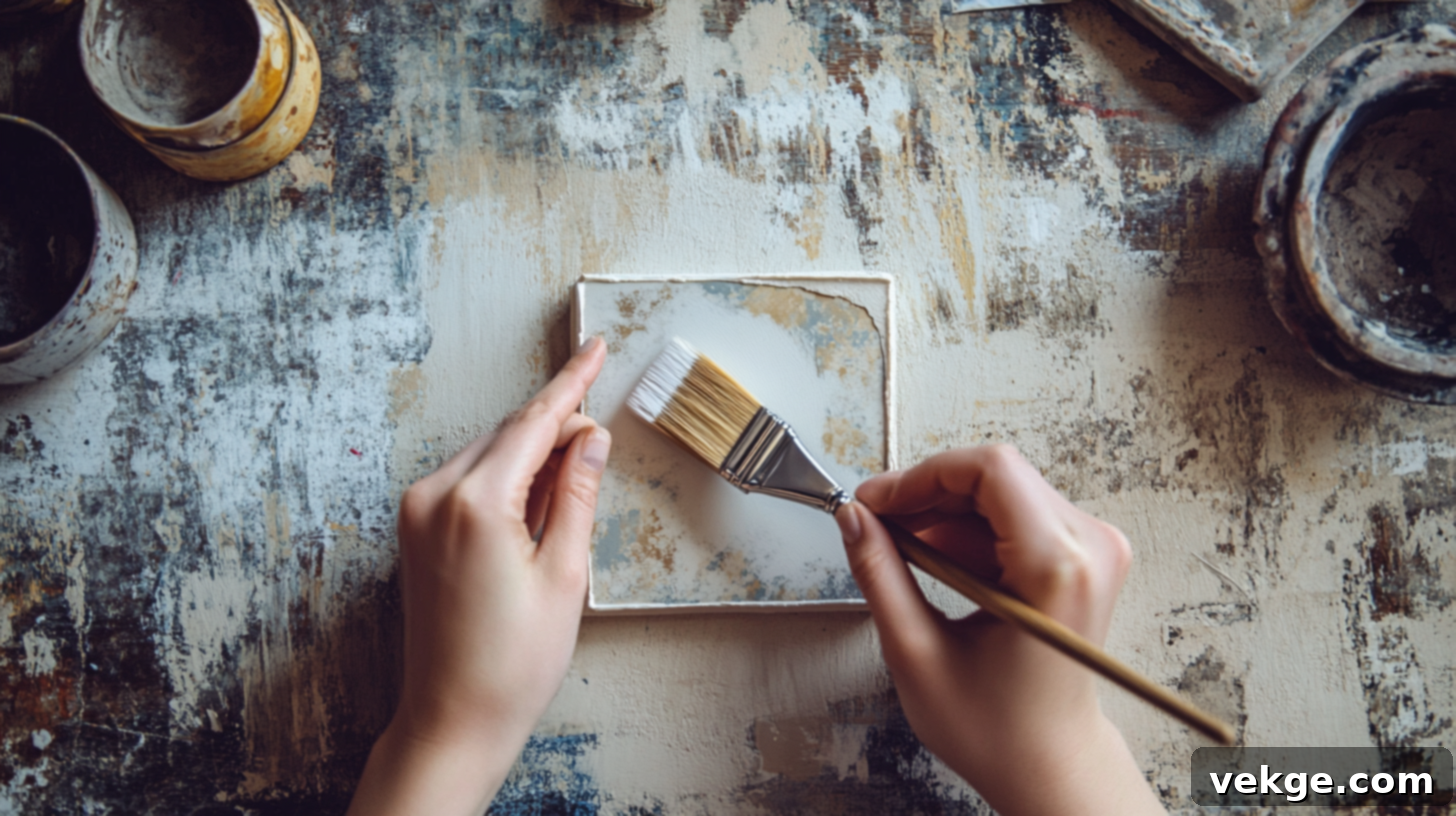
Brush a thin, even layer of Mod Podge onto the top surface of your clean tile. Carefully center and place your cut paper onto the Mod Podge, then gently smooth it out from the center outwards to push any trapped air bubbles towards the edges. Let this layer dry for about 15-20 minutes. Once dry, apply a second layer of Mod Podge directly over the top of your paper, sealing the design completely. Repeat this process for a third thin coat, allowing each layer to dry completely between applications.
Patience is Key: This multi-layer sealing is critical. It protects the paper from the resin and provides a strong base for the resin to adhere to. Rushing the drying times here can lead to bubbles or a weakened bond, jeopardizing all your hard work.
Step 3: Carefully Apply the Envirotex Resin
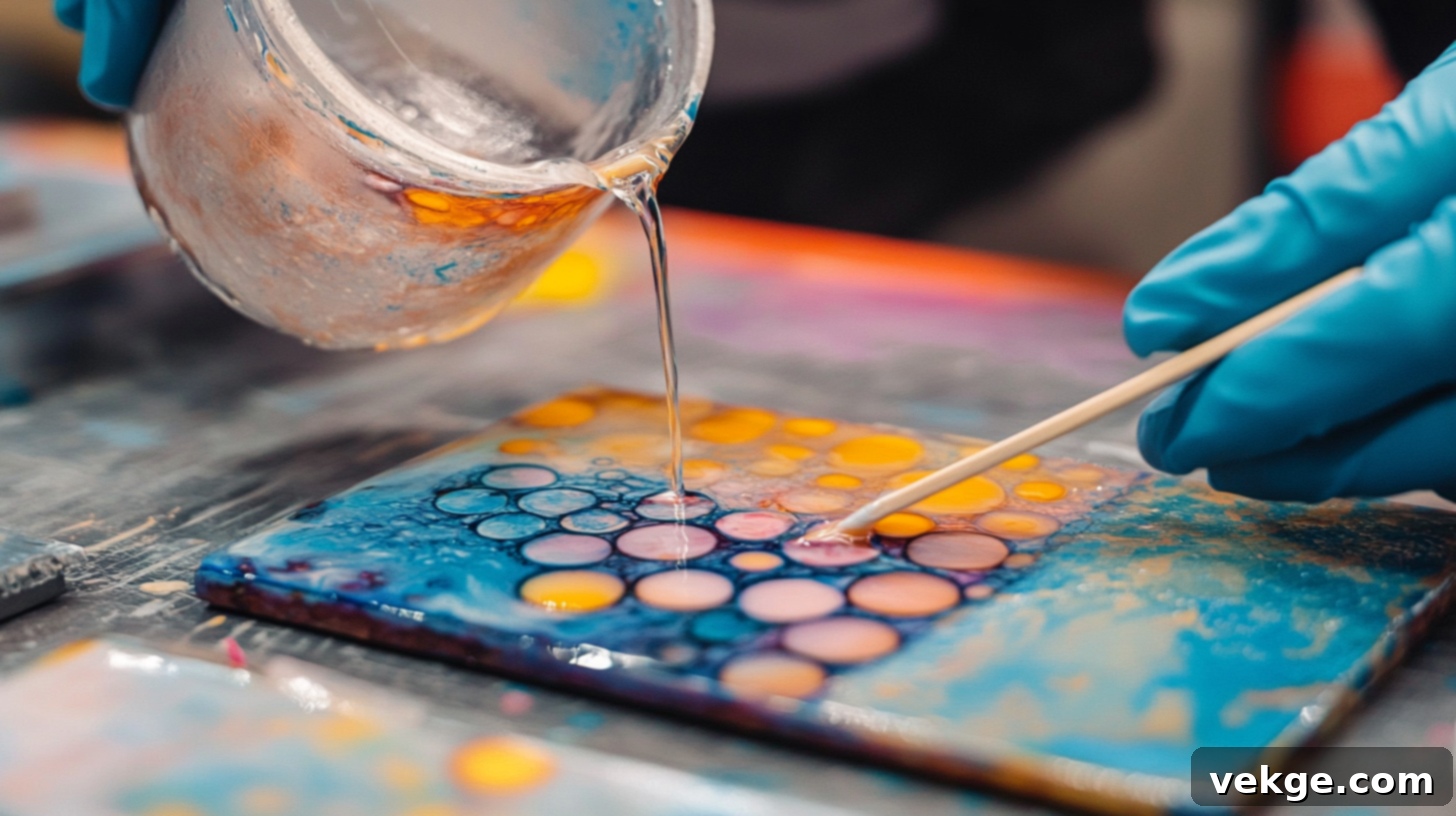
This step is where your coasters gain their incredible durability and glossy finish. First, ensure you’re working in a well-ventilated area and wearing protective gloves. Read the Envirotex instructions thoroughly, as proper mixing is vital. Measure equal parts of the resin (Part A) and hardener (Part B) into a disposable cup, stirring slowly but continuously for a full minute. Then, pour the mixture into a second clean disposable cup and stir again for another minute. This “two-cup method” ensures the resin and hardener are perfectly combined, which is crucial for proper curing.
Carefully pour a small puddle of the mixed resin in the center of your prepared tile. Use a popsicle stick or an old playing card to gently spread the resin to the edges of the tile. The resin is self-leveling, so it will naturally smooth out to create that stunning, glass-like finish that makes these coasters so special.
Step 4: Remove Drips and Allow for Full Curing
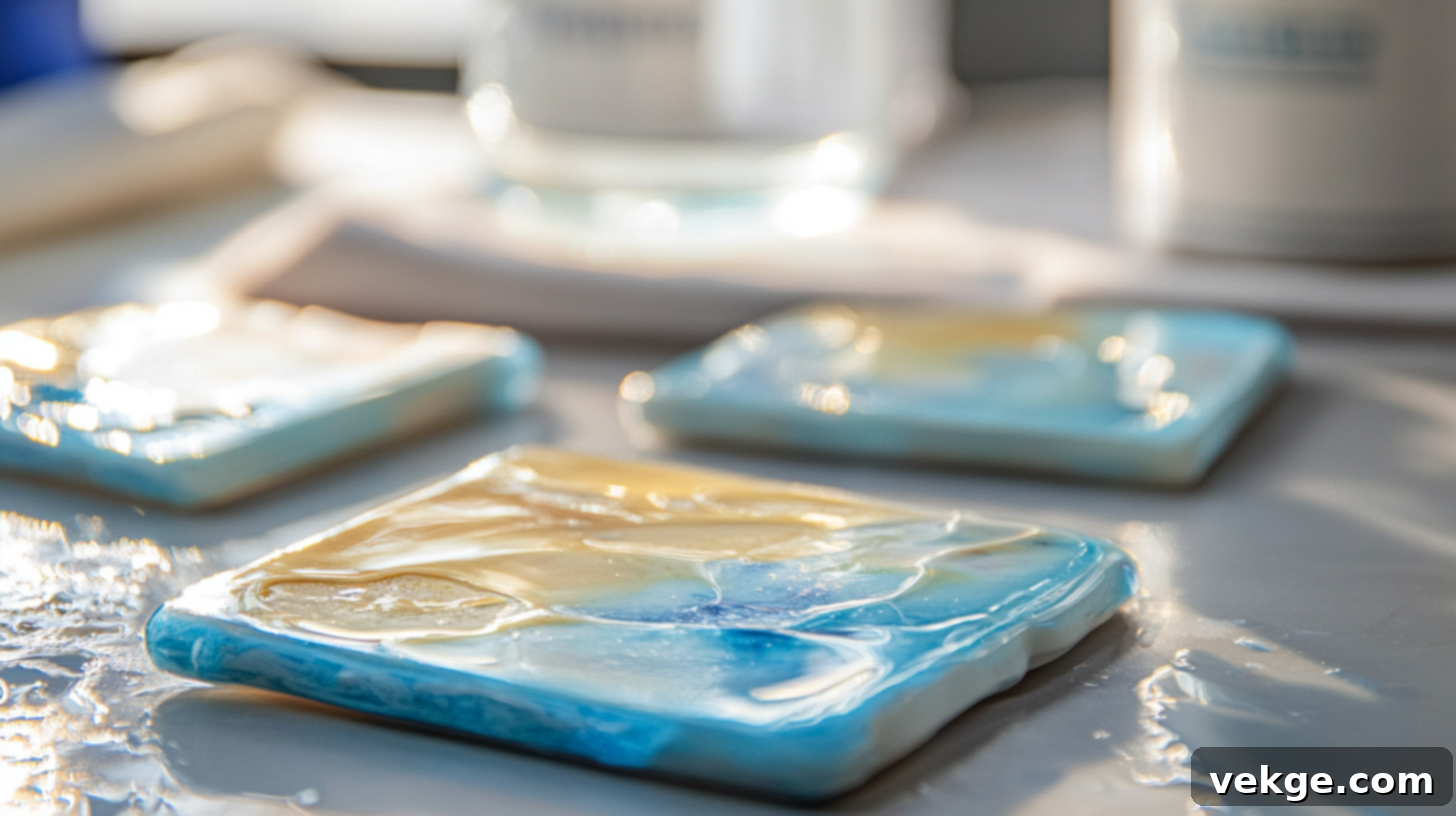
After about 30 minutes to an hour, inspect the edges of your tiles for any resin drips that may have formed underneath. Gently wipe these away with a paper towel lightly dipped in rubbing alcohol. Now comes the most challenging part: waiting! Place your coasters in a dust-free area and let the resin cure undisturbed for at least 24 hours. While it’s tempting to touch them or move them, resist the urge completely. The wait is absolutely worth it for perfectly smooth, hard, and glossy coasters.
Dealing with Bubbles: Within the first 10-15 minutes after pouring, look closely for tiny air bubbles. You can gently exhale over them (the CO2 helps pop them), use a heat gun on a low setting held far away, or carefully pop them with a toothpick.
Step 5: Add Protective Backing to Your Coasters
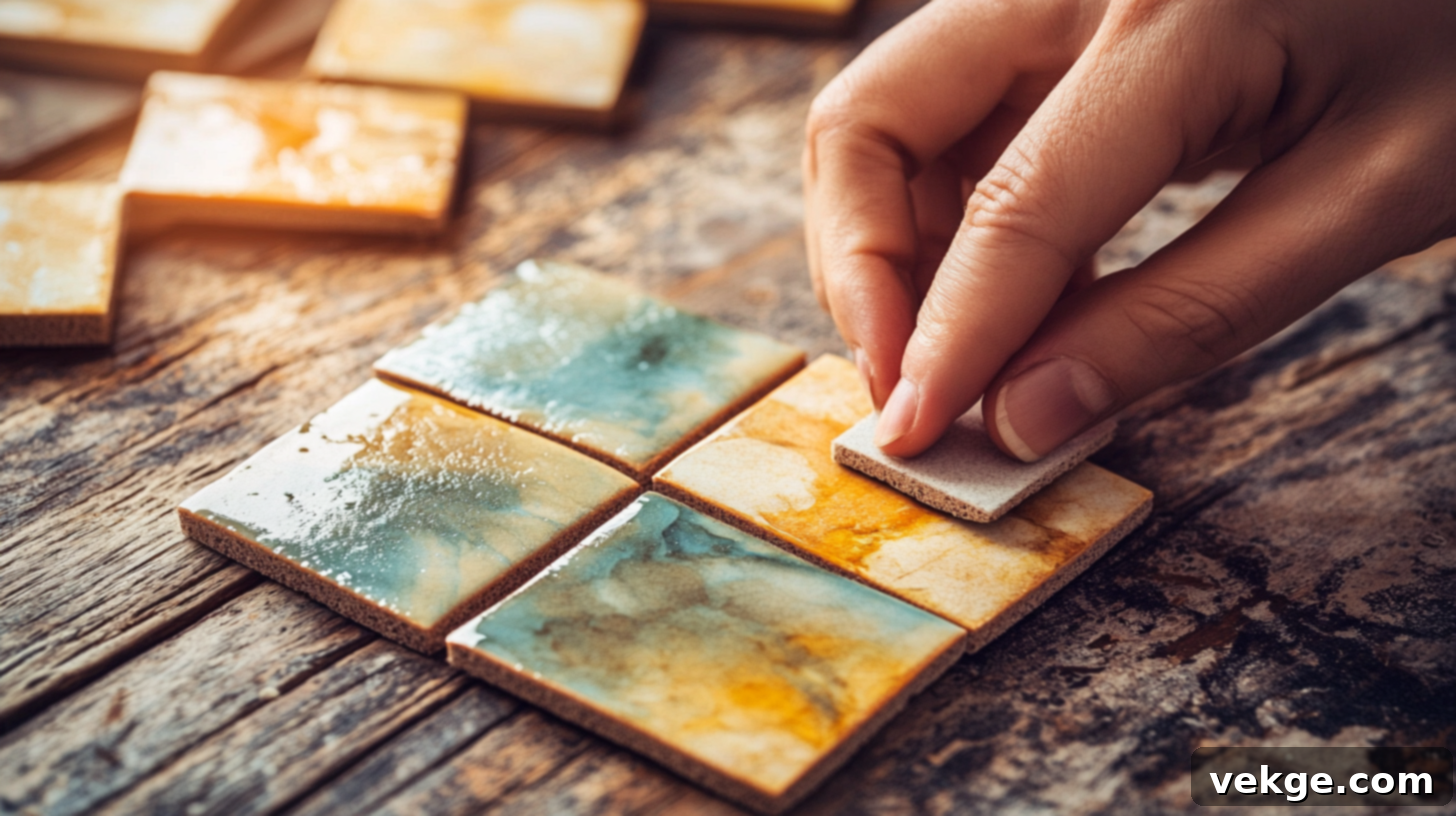
Once your resin has fully cured and is rock hard, flip your tiles over. It’s time to attach a protective backing to the bottom. This crucial step prevents your coasters from scratching your furniture surfaces and provides a non-slip grip, making them easier to pick up. Self-adhesive felt squares are a convenient option. Alternatively, you can cut cork sheets to size and attach them with a strong craft glue or super glue.
Important: Ensure your backing covers the entire bottom surface of the tile. Partial coverage can lead to unevenness, causing the coasters to wobble or still allow scratches.
Pro Tips for Resin Application:
- Warm the Resin: Before mixing, place your Envirotex bottles in a warm water bath for about 10-15 minutes. Warming the resin makes it less viscous, easier to mix, and helps reduce air bubbles.
- Dust-Free Zone: Work in the cleanest, most dust-free environment possible. Even tiny dust particles can settle on your wet resin and become permanently embedded in your beautiful glossy surface. Covering your curing coasters with a cardboard box is a good idea.
- Level Surface: Ensure your work surface is perfectly level before pouring resin to prevent it from running off the edges or pooling unevenly.
How to Make Rustic Wooden Coasters
Wooden coasters imbue any home with a natural, warm, and inviting ambiance. There’s an undeniable charm in the unique grain patterns and tactile texture of real wood that cannot be replicated by synthetic materials. These handcrafted coasters make a distinct statement, blending rustic beauty with everyday functionality.
Materials You’ll Need:
- Hardwood scraps (e.g., oak, walnut, maple, cherry, or even exotic woods like chechen for unique patterns)
- Saws (table saw, band saw, miter saw, or a good quality hand saw)
- Sandpaper (various grits: 120, 180, 220, and optionally 320 or 400 for a super-fine finish)
- Wipe-on oil finish (e.g., tung oil, Danish oil, or similar penetrating oil)
- Paste wax (for added protection and a smooth feel)
- Clean rags or lint-free cloths
- Small felt pads or rubber feet (for backing)
- Optional: Wood burning tool, carving tools, or stamps for decorative elements
Step 1: Precisely Cut Your Wood Blanks
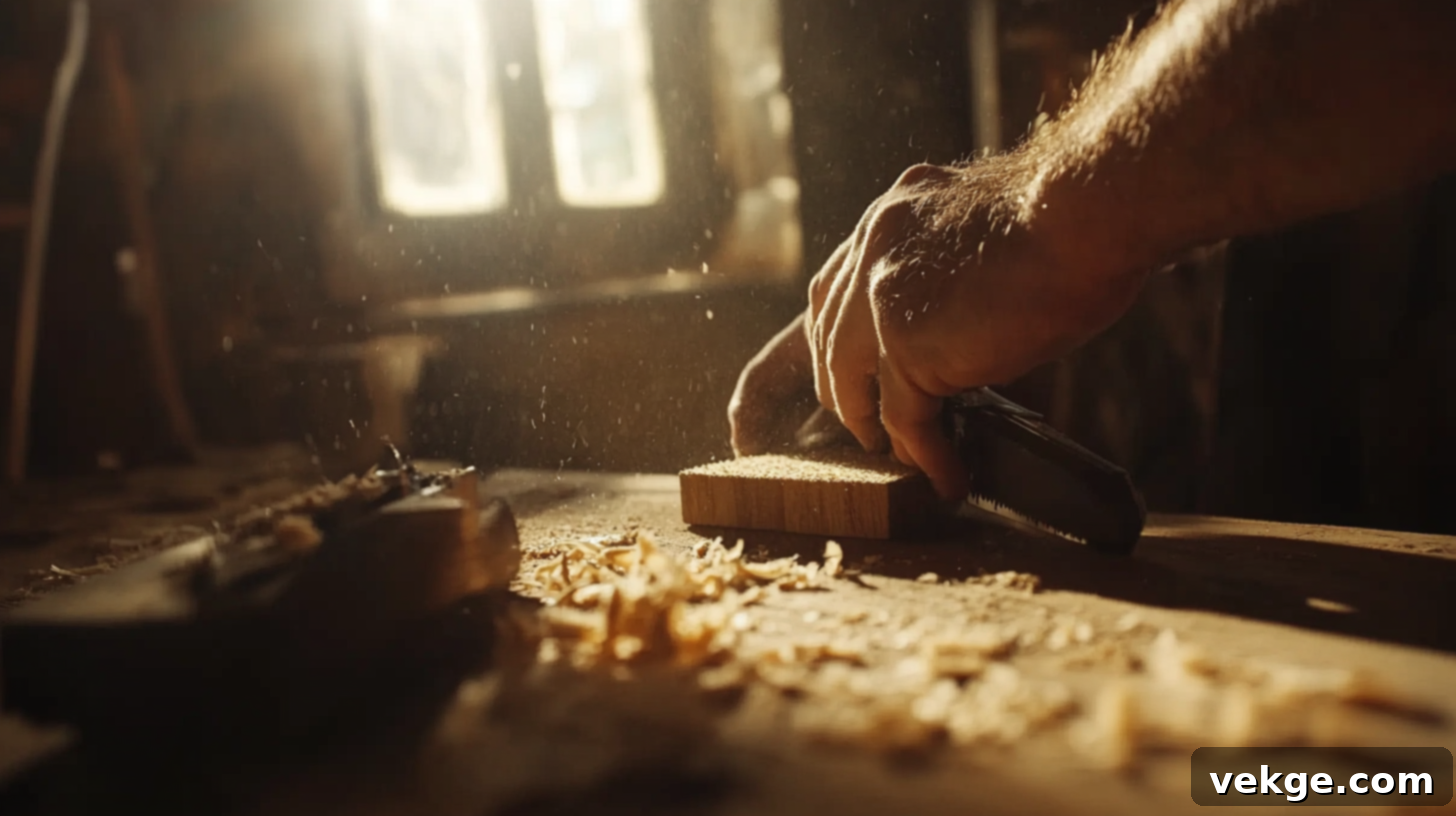
Begin with hardwood pieces that are between 3/8 inch and 3/4 inch thick. Thinner wood might warp or crack with moisture exposure, while thicker pieces can feel overly bulky. Cut your wood into squares, typically around 3 7/8 inches on each side, though you can adjust this to your preferred size. If you don’t have access to power tools like a table saw or band saw, don’t worry! A good quality hand saw can achieve excellent results, albeit requiring more time and effort. The slightly imperfect, rustic edges that can result from hand-cutting can often enhance the handmade charm of your wooden coasters.
Safety First: Always use appropriate safety gear (eyewear, hearing protection) when operating saws, and ensure your workpiece is securely clamped if using hand tools.
Step 2: Achieve a Perfectly Smooth Surface
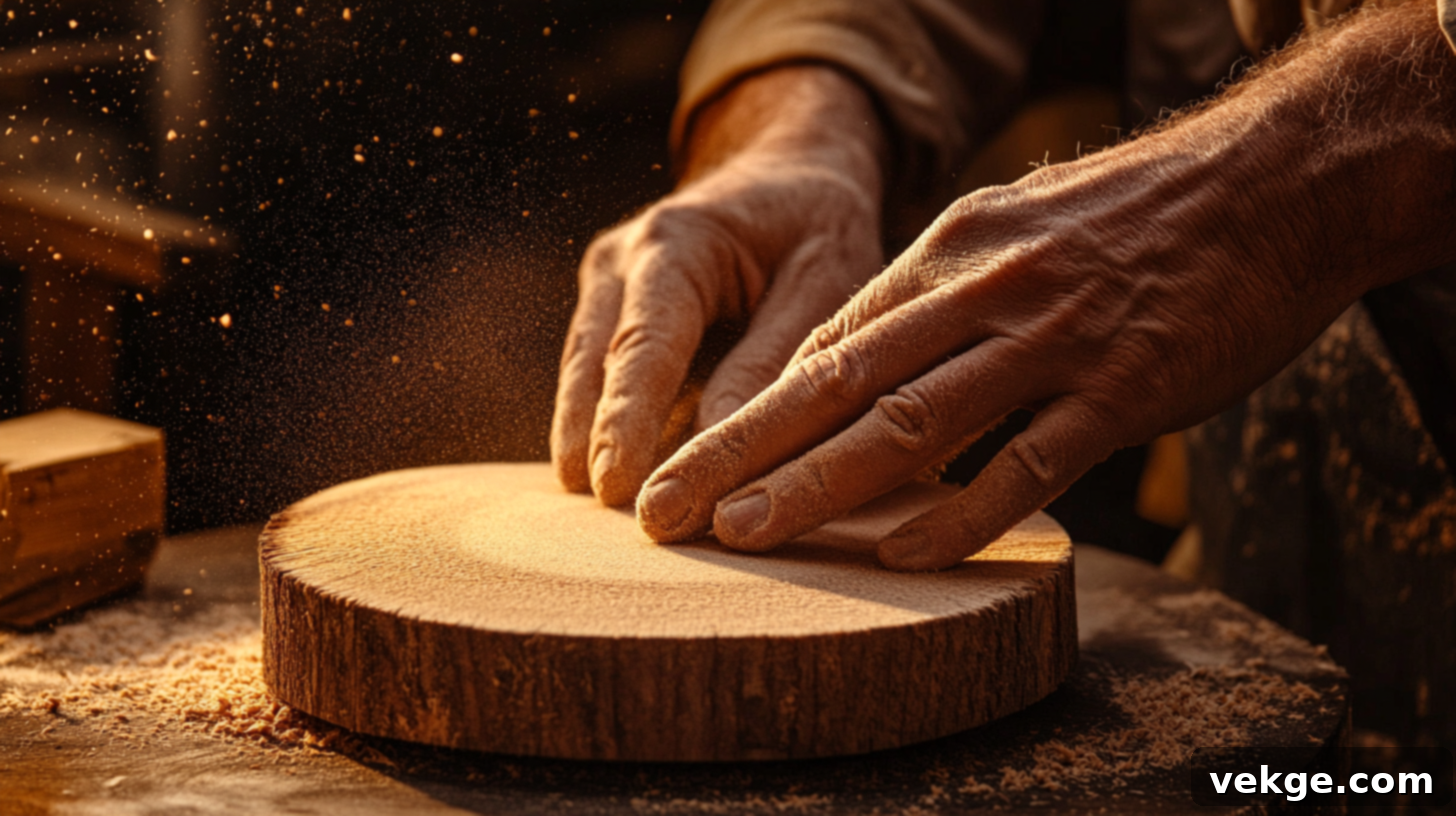
This is often the most satisfying part of woodworking – transforming rough lumber into a smooth, tactile surface. If you have access to a planer, run your cut pieces through it to ensure they are perfectly flat and even. Otherwise, start sanding with 120-grit sandpaper to remove saw marks and rough spots from both the faces and edges. Progressively move to finer grits: 180-grit, and then finish with 220-grit for a beautifully silky-smooth finish. Always sand in the direction of the wood grain to prevent noticeable scratches. Run your fingertips over all surfaces, including the edges, to detect any remaining rough spots that might have been missed.
Tip: If you desire an even finer finish, you can wet the wood lightly after sanding with 220-grit (this raises the grain), let it dry completely, then do a final light sanding with 320 or 400-grit sandpaper.
Step 3: Apply a Protective and Enhancing Wood Finish
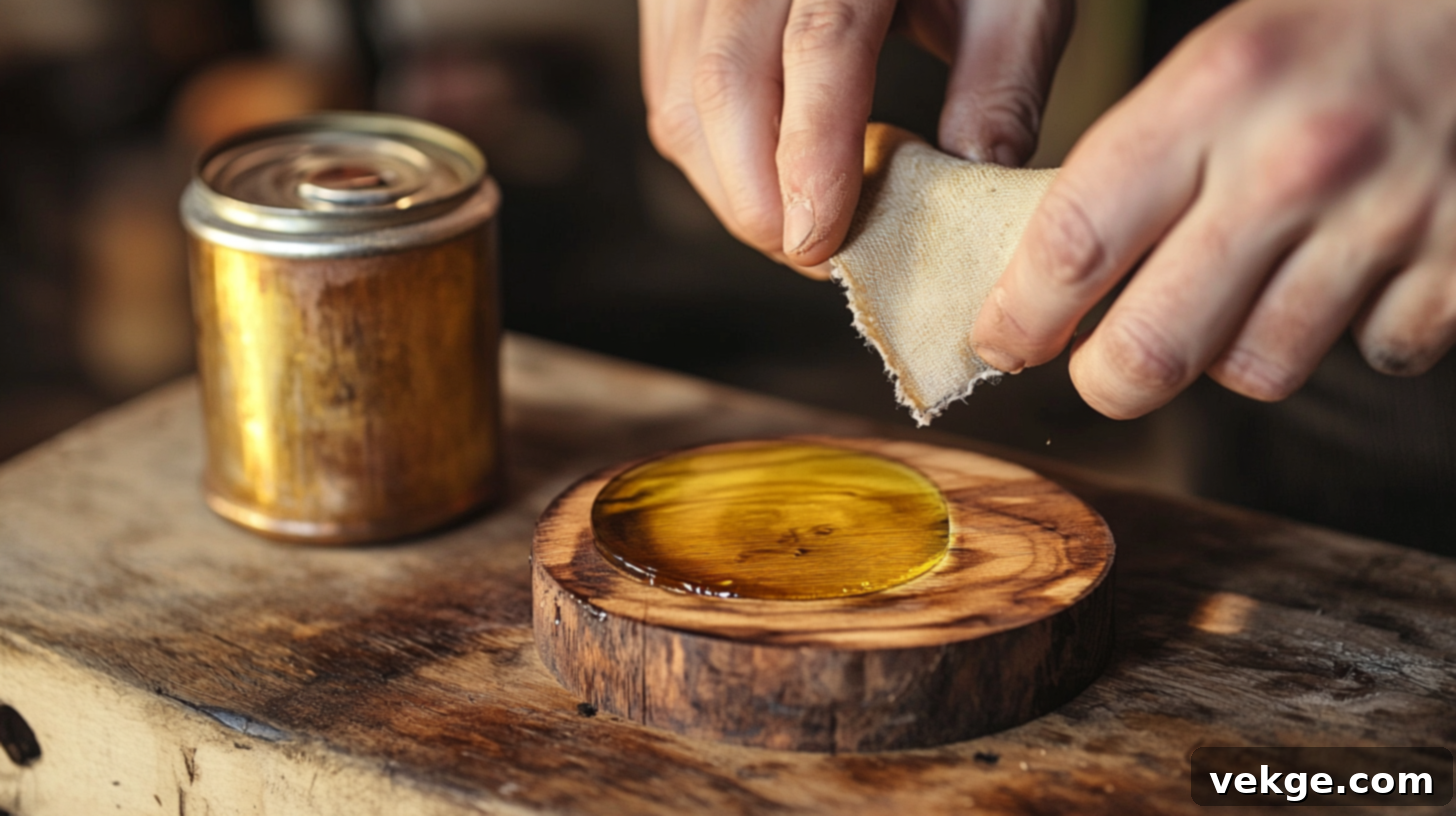
To ensure your wooden coasters can withstand moisture from wet glasses, apply two coats of a wipe-on oil finish. This type of finish penetrates the wood, enhancing its natural beauty, bringing out the rich grain, and creating a warm, inviting glow that makes each coaster uniquely stunning. I vividly remember the first time I applied oil to a sanded piece of wood; its dull appearance instantly transformed, revealing incredible depth and color.
After the oil has dried completely (check product instructions for specific drying times, usually 12-24 hours), apply a thin, even layer of paste wax. Buff it gently with a clean, lint-free cloth. The wax provides an additional layer of protection, a silky-smooth feel, and a subtle sheen. While these finishes offer good water resistance, wooden coasters will naturally develop a beautiful patina and character over time with use.
Step 4: Add Thoughtful Final Touches
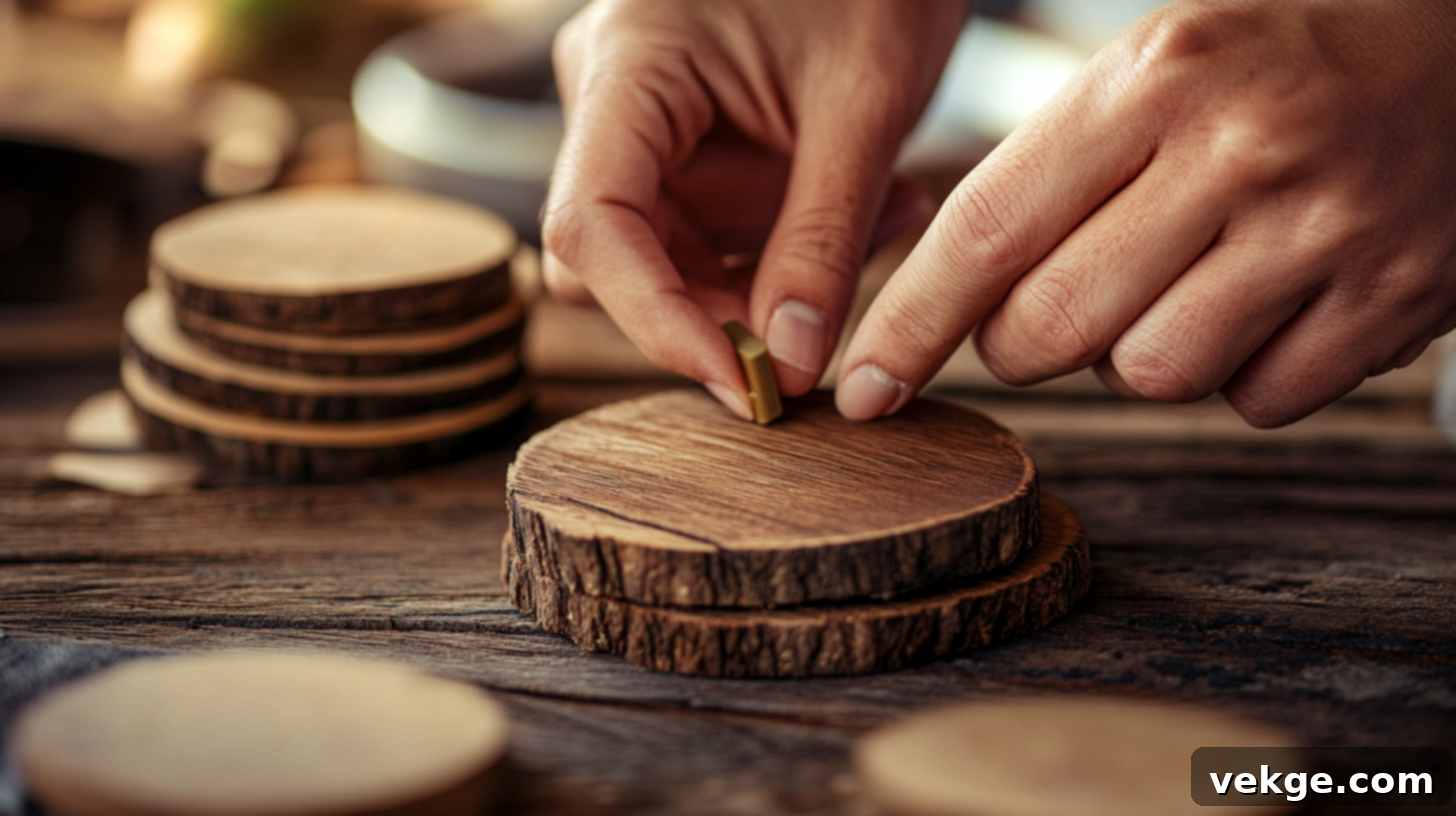
To fully protect your furniture and enhance the functionality of your wooden coasters, consider adding a soft backing. Small felt pads or discreet rubber feet attached to the bottom of each coaster are ideal. These simple additions prevent scratches on delicate table surfaces and stop the coasters from sliding around unexpectedly. Self-adhesive felt circles are readily available and incredibly easy to apply, working perfectly for this purpose.
Get Creative: Before applying the finish, you can personalize your wooden coasters further. Experiment with wood-burning tools to etch intricate designs, carve simple motifs, or use rubber stamps with permanent ink for unique patterns. These decorative touches will make each coaster truly one-of-a-kind and even more special.
Helpful Woodworking Tip:
Wooden coaster projects are fantastic for honing your woodworking skills, particularly hand-sawing and sanding. Their small size makes them manageable, and if you happen to make a mistake on one piece, you haven’t wasted much material. Plus, there’s an immense sense of personal pride and satisfaction in setting your favorite drink on a beautiful, sturdy coaster you crafted entirely from scratch!
Which DIY Coaster Type is Right for You?
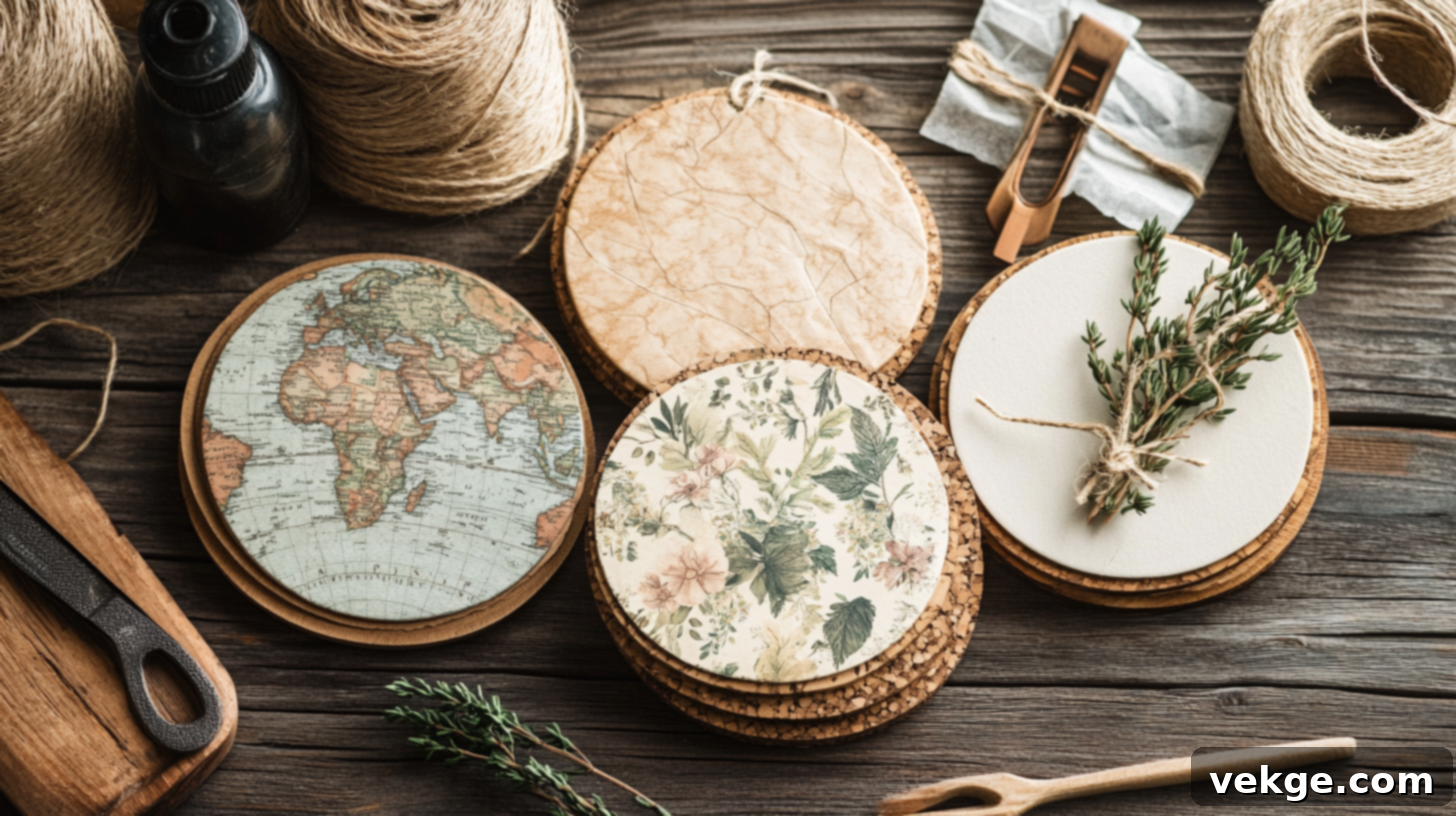
With three fantastic DIY coaster options, you might be wondering which one best suits your needs and skill level. Not all coasters are created equal, and understanding their unique characteristics can help you select the perfect project. Let’s break down how each type excels in different areas, ensuring your crafting experience is both enjoyable and yields the most useful results for your home.
| Feature | Cork Coasters | Ceramic Tile Coasters | Wooden Coasters |
|---|---|---|---|
| Durability | Medium (can dent or fray over time) | High (extremely robust and long-lasting) | High (solid wood is very durable with care) |
| Water Resistance | Good (with sufficient Mod Podge layers) | Excellent (resin finish provides waterproof seal) | Good (with proper oil and wax finishing) |
| Heat Resistance | Low-Medium (cork insulates, but Mod Podge can soften) | High (ceramic and resin are highly heat-resistant) | Medium (wood insulates, but extreme heat can mark the finish) |
| Look & Feel | Casual, lightweight, soft texture | Polished, modern, heavy, glass-like finish | Warm, natural, substantial, rustic feel |
| Best For | Quick projects, beginners, temporary decor, children’s crafts, party favors | Everyday use, high-traffic areas, sophisticated gifts, modern homes | Natural or rustic home decor, woodworking enthusiasts, timeless gifts |
| Maintenance | Wipe clean; may need replacement if heavily worn | Wipe clean; exceptionally durable and low maintenance | Wipe clean; may benefit from occasional re-waxing or re-oiling |
If you’re looking for a quick, low-cost craft project that offers immediate gratification, cork coasters are your best bet. They are incredibly forgiving and perfect for beginners. For unparalleled durability and a high-end, waterproof finish suitable for even the busiest households, ceramic tile coasters with resin are the ultimate choice. Finally, for those who appreciate natural aesthetics and have some basic woodworking skills, wooden coasters offer a timeless appeal and a rewarding hands-on experience.
Ultimately, the best coaster type is the one that most excites your creative spirit and fits your lifestyle. Feel free to experiment with all three methods to discover your favorite!
Essential Tips for Crafting Superior DIY Coasters
While making custom coasters is a relatively simple and accessible craft, a few crucial tips can elevate your projects from good to truly exceptional. These insights, often gained through personal trial and error, will help you achieve professional-looking results and avoid common pitfalls.
1. Selecting the Optimal Protective Finish
The finish you choose is paramount to your coaster’s functionality and longevity. Different materials require specific finishes to perform effectively as drink protectors:
- For Tile Coasters: Envirotex Lite Pour-On Resin (or similar two-part epoxy resin) provides an unbeatable, crystal-clear, glossy, and completely waterproof surface. It’s ideal for cold drinks that produce a lot of condensation. My initial experience with resin was a bit intimidating, but the stunning, professional results made the effort entirely worthwhile.
- For Wooden Coasters: A penetrating wipe-on oil followed by a protective paste wax is excellent. This combination maintains the wood’s natural feel and appearance while offering good water resistance. The wax also creates a pleasant tactile surface and can be easily reapplied as needed to refresh the protection.
- For Cork Coasters: Mod Podge is usually sufficient for cork, providing a durable, water-resistant seal. For extra protection, especially if you anticipate heavy use, a final coat of clear acrylic sealer spray can add another layer of defense against moisture.
2. Avoiding Common Crafting Mistakes
- Rushing Drying Times: This is arguably the most common mistake. I learned the hard way when water seeped into my first set of hastily sealed cork coasters, ruining the paper design. Always allow each layer of glue, Mod Podge, or resin to dry completely according to product instructions. Patience ensures durability.
- Ignoring Air Bubbles: Especially with Mod Podge and resin, tiny air bubbles can spoil a smooth finish. For Mod Podge, smooth thoroughly from the center out. For resin, watch closely within the first 15-30 minutes and gently pop any bubbles with a toothpick or a quick pass of a heat gun (held at a distance).
- Inadequate Sealing: Don’t skimp on sealant layers, particularly for cork or paper-backed coasters. Multiple thin coats are far more effective than one thick, gloopy layer.
- Unclean Surfaces: Always start with clean, dry materials. Dust, oils, or residue can prevent proper adhesion and ruin your finish.
3. Elevating Your Coaster Presentation
If you’re making coasters as gifts, how you present them can significantly enhance their perceived value and specialness. A few simple touches can make all the difference:
- Ribbons and Twine: Tie sets of coasters together with colorful ribbon, natural twine, or raffia. A simple bow adds a charming, finished look that highlights the handmade nature of your gift.
- Small Gift Tags: Attach a small, handwritten tag with care instructions or a personalized message.
- Themed Sets: Consider making coasters in various styles but with a cohesive color palette or theme. For example, a set of two cork, two ceramic, and two wooden coasters, all featuring shades of blue or nature-inspired patterns, creates an eclectic yet harmonious collection that’s far from boring.
Conclusion: Your Creative Coaster Journey Awaits!
Congratulations! You are now fully equipped with the knowledge and inspiration to create beautiful, useful, and personalized coasters that will both protect your furniture and beautifully showcase your creative side. Whether you opt for the quick and delightful cork method, the exceptionally durable ceramic tile approach, or the warm and rustic wooden technique, your handmade coasters are guaranteed to add a unique, special touch to your home decor.
Remember, the beauty of handmade items lies in their individuality. Don’t be discouraged if your very first attempts aren’t absolutely perfect; those minor imperfections often add to the charm and tell a story of your creative journey. Each coaster you craft will carry your personal touch and a piece of your effort.
The most rewarding aspect of making your own coasters is seeing them in action. There’s a quiet joy and immense satisfaction in watching friends and family actually use something you thoughtfully created with your own hands. So, gather your chosen materials, set aside some dedicated crafting time, and immerse yourself in the delightful process of making something both aesthetically pleasing and wonderfully practical!
